
Quick(er) + Easy Skillet Pizza
I’ve reached the pizza-making part of quarantine.
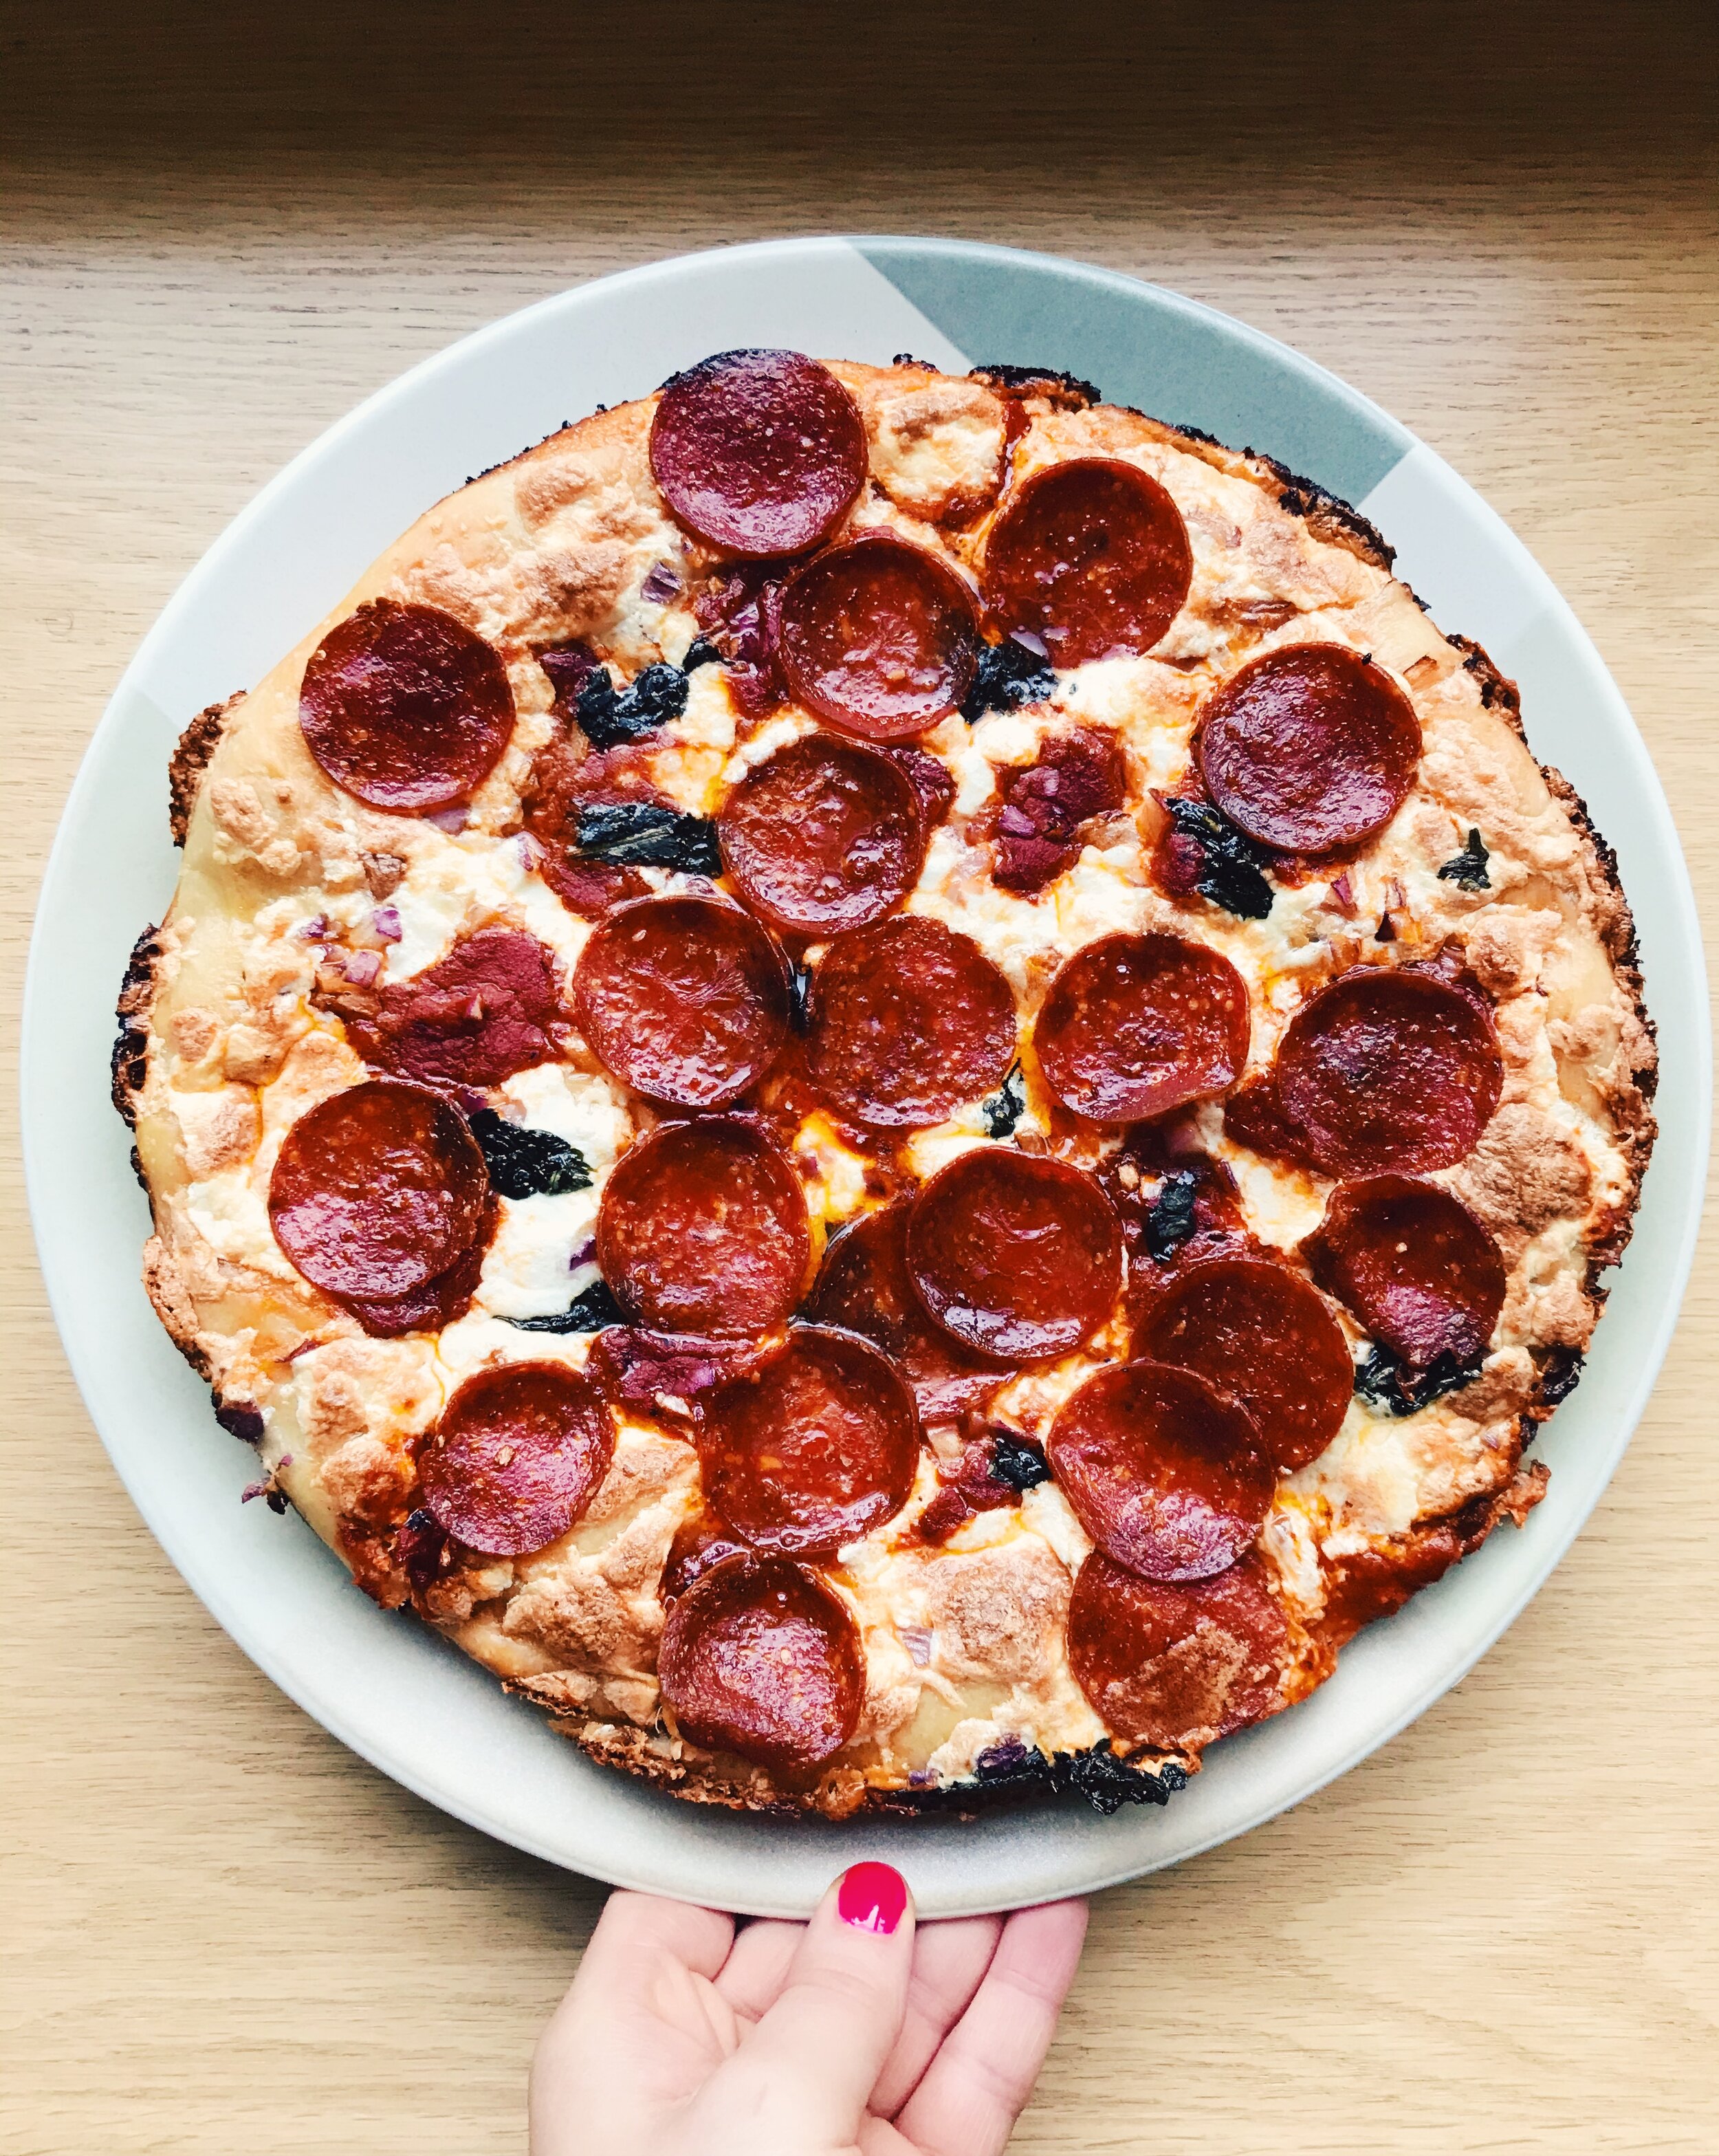
It all started a few months ago when I came across this article from Food52 touting a quick and cost-effective way to make a pizza at home using a regular cast-iron skillet instead of a fancy pizza stone. I gave it a try and was absolutely amazed by the results: a crispy crust with delightfully-cheesy edges (with supreme caramelization), a pillowy soft center, and a (relatively) quick and uncomplicated preparation process.


I have been known in the past to try my hand at making pizza at home, but the process always seems so long - one of the biggest parts of making your own pizza is the waiting. Some recipes I’ve tried have called for two hours of active dough-making, and 24 hours of refrigeration for the dough to fully develop. Who has that kind of time? This recipe calls for an hour of dough-making, a less-strenuous kneading process, and only a 12-hour waiting period. Any homemade pizza worth eating will require some planning (a small inconvenience for a custom pie you’ve made yourself), but I love that the wait time is instantly cut in half! And because we’re using a skillet instead of a sheet pan (my old go-to), heat distribution is even, leading to a crispy, pan-style pizza crust.

My favorite part about this pizza dough is that once you’ve got the basics down (cheese first, then the tomato sauce to prevent a soggy crust), the pizza toppings are SUPER customizable! I even suspect that with the right cheese blend, you can even convert this pizza dough into the perfect vehicle for white pizza as well! (I smell a future recipe on the way…)


Sick of the soggy and disappointing store-bought pizzas stacked up in your freezer? I think it’s time you took pizza night into your own hands with this versatile, non-fussy skillet pizza recipe!
Quick(er) + Easy Skillet Pizza

What You’ll Need:
2 cups all-purpose unbleached flour
3/4 teaspoon fine sea salt
1/4 teaspoon sugar
1/2 teaspoon active dry yeast
3/4 cup lukewarm or room temperature water
1 tablespoon olive oil, plus 2 tablespoons olive oil for the pan
2 cups low-moisture mozzarella, grated
1/2 cup marinara sauce
Optional (My personal favorite toppings!):
1 cup thin pepperoni slices (or more, depending on your preference)
2 tablespoons red onion, finely diced
Fresh basil, lightly chopped
Directions
In a large mixing bowl, place flour, salt, sugar, yeast, water, and 1 tablespoon of the olive oil. Mix together well to form a shaggy, slightly sticky mass of dough with no dry spots.
Scrape down the sides of the bowl to create a rough ball of dough, then cover the bowl for five minutes.
After five minutes, uncover the bowl and, with a slightly wet hand, reach between the side of the bowl and the dough and lift, stretching the bottom of the dough up and over itself in one motion. Repeat this process three more times, rotating the bowl 90 degrees each time.
Re-cover the bowl and let the dough rest for five minutes. After five minutes, wet your hand again and repeat the stretching and folding process, then re-cover the dough and let it rest again for five minutes. Repeat the folding and resting two more times. After the final fold, cover the bowl and let the dough rest for 45 minutes. (I have found the best results by placing the dough in a proofing bucket with an airtight lid, but covering with a kitchen towel or cling wrap works too.)
After 45 minutes, transfer the dough to a gallon-sized resealable storage bag lightly coated with olive oil. Once the dough is in the bag, be sure to drizzle a little more olive oil over the top to prevent the dough from drying out. Refrigerate the dough for as little as 12 hours, or as long as 72 hours. At this stage, the dough will slowly rise and begin to develop its flavor.
About 2.5 hours before you’re ready to make your pizza, place two tablespoons of olive oil in a large (preferably 10-inch) cast-iron skillet, making sure the bottom is fully coated. Using a pastry brush, a paper towel, or even your fingers, apply additional olive oil up the sides of the pan to prevent the pizza from sticking later.
Transfer the dough from the fridge to the pan, flipping in once on each side to make sure it’s evenly coated in olive oil. Slowly, using the tips of your fingers, begin spreading the dough to the edges of your pan. As you do it, you should see yourself lightly creating dimples in the dough. If you experience any resistance from the dough, such as shrinking back, wait a few minutes and try again.
Cover the dough with plastic wrap and let it rise for 2 hours at room temperature. The final result should be a pillowy-soft dough full of tiny air bubbles.
30 minutes before you’re going to start making the pizza, place oven racks in the bottom and upper third of the oven, then pre-heat to 450 degrees Fahrenheit.
Once you’re ready to bake your pizza, sprinkle the mozzarella evenly over the dough, making sure that the dough is entirely covered from edge to center, meaning no bare spots.
Next, dollop small spoonfuls of the marinara sauce all over the top, but do not spread. The sauce will spread as the dough bakes. At this point, add all other pizza toppings evenly (see my personal favorites above!).
Bake the pizza on the bottom rack for about 20 minutes, until the cheese is bubbling and the crust has taken on a golden brown hue. Quickly remove from the oven. Using a small spatula, check the bottom. If the bottom is golden brown, but the top is still pale, place the pizza back in the oven for another 2-4 minutes (i usually have to leave mine in for the full 4 minutes. This will depend on your oven). Use your own intuition to discern when the pizza has reached your definition of doneness.
Remove the pizza from the oven and carefully and quickly run a table knife or small spatula along the edge between the pizza and the pan to ensure that the pizza doesn’t stick to the pan via the cheese hardening as it cools. Wait for about 2 minutes, then carefully lift and transfer the pizza from the skillet to a cooling rack (I like to place something under the cooling rack to catch any runaway toppings or leaks) to finish cooling (this will prevent a soggy bottom).
Serve the pizza while it’s still warm, but not screaming hot. Enjoy!
TO STORE: Any leftovers can be stored in an airtight container for up to one week. To return it to its crispy glory, heat it in a 350 degree Fahrenheit oven for about 10 minutes.
SOURCE: Adapted from Food52 via King Arthur Baking Co.