Beef + Scallion Skillet Pizza

What a week, huh? There aren’t a lot of words to express the mixed emotions that many of us are surely feeling. History, both triumphant (you did it, Georgia!!) and devastating (the desecration of the US Capitol) was made in the span of just two days. Quite a literal example of the old saying, “two steps forward, one step back.” Like many, I decided to keep my expectations incredibly low for 2021. It wasn’t as if some switch would flip at midnight on January 1, 2021 that would magically solve all the issues we had in 2020, but at least we had hope that life in America could get a little bit better. And I believe it will, but if the first full week of this new year has taught me anything so far, it’s that the journey will be glacially-paced.
I’m reminded of a conversation I had with an old friend of mine recently who is also of color. We’re really into the new period series Bridgerton on Netflix (it’s excellent!), and as we were talking, the subject of what era of time we would most like to travel to came up. We each had a favorite decade or two that we’d love to experience in person, but just as soon as we’d name it, one or both of us would follow it up with, “But it probably wouldn’t be great for people who look like us.” And that’s the sad truth. History lovers, myself included, have a habit of romanticizing the past and glossing over the negative aspects, but they exist whether we like it or not. And we have to start having some hard conversations if we, as a global society, ever want a shot at truly moving forward together.
With everything that we’ve already faced literally EIGHT DAYS into 2021, the pandemic we’re still facing, and whatever fresh catastrophes may await us in the future, we’re all in need of some SERIOUS comfort right now. And when I think of comfort, I think, lovingly, of carbs. But not just any carbs, I think of PIZZA. So let’s all take a deep breath, grab our favorite cast-iron skillet, and make ourselves some pizza, shall we?

As many food people out there will tell you, once you’ve mastered the basics of something, you’ve opened yourself up to a blank canvas filled with endless possibilities. There are tons of great pizza dough recipes out there, but I frequently use this one because the dough comes together beautifully, only needs 12 hours to rest (as opposed to 24), and I can pop it into a skillet for crispy edges and minimal clean-up afterwards. Toss a quick salad together while it’s in the oven, and dinner’s on the table in no time!

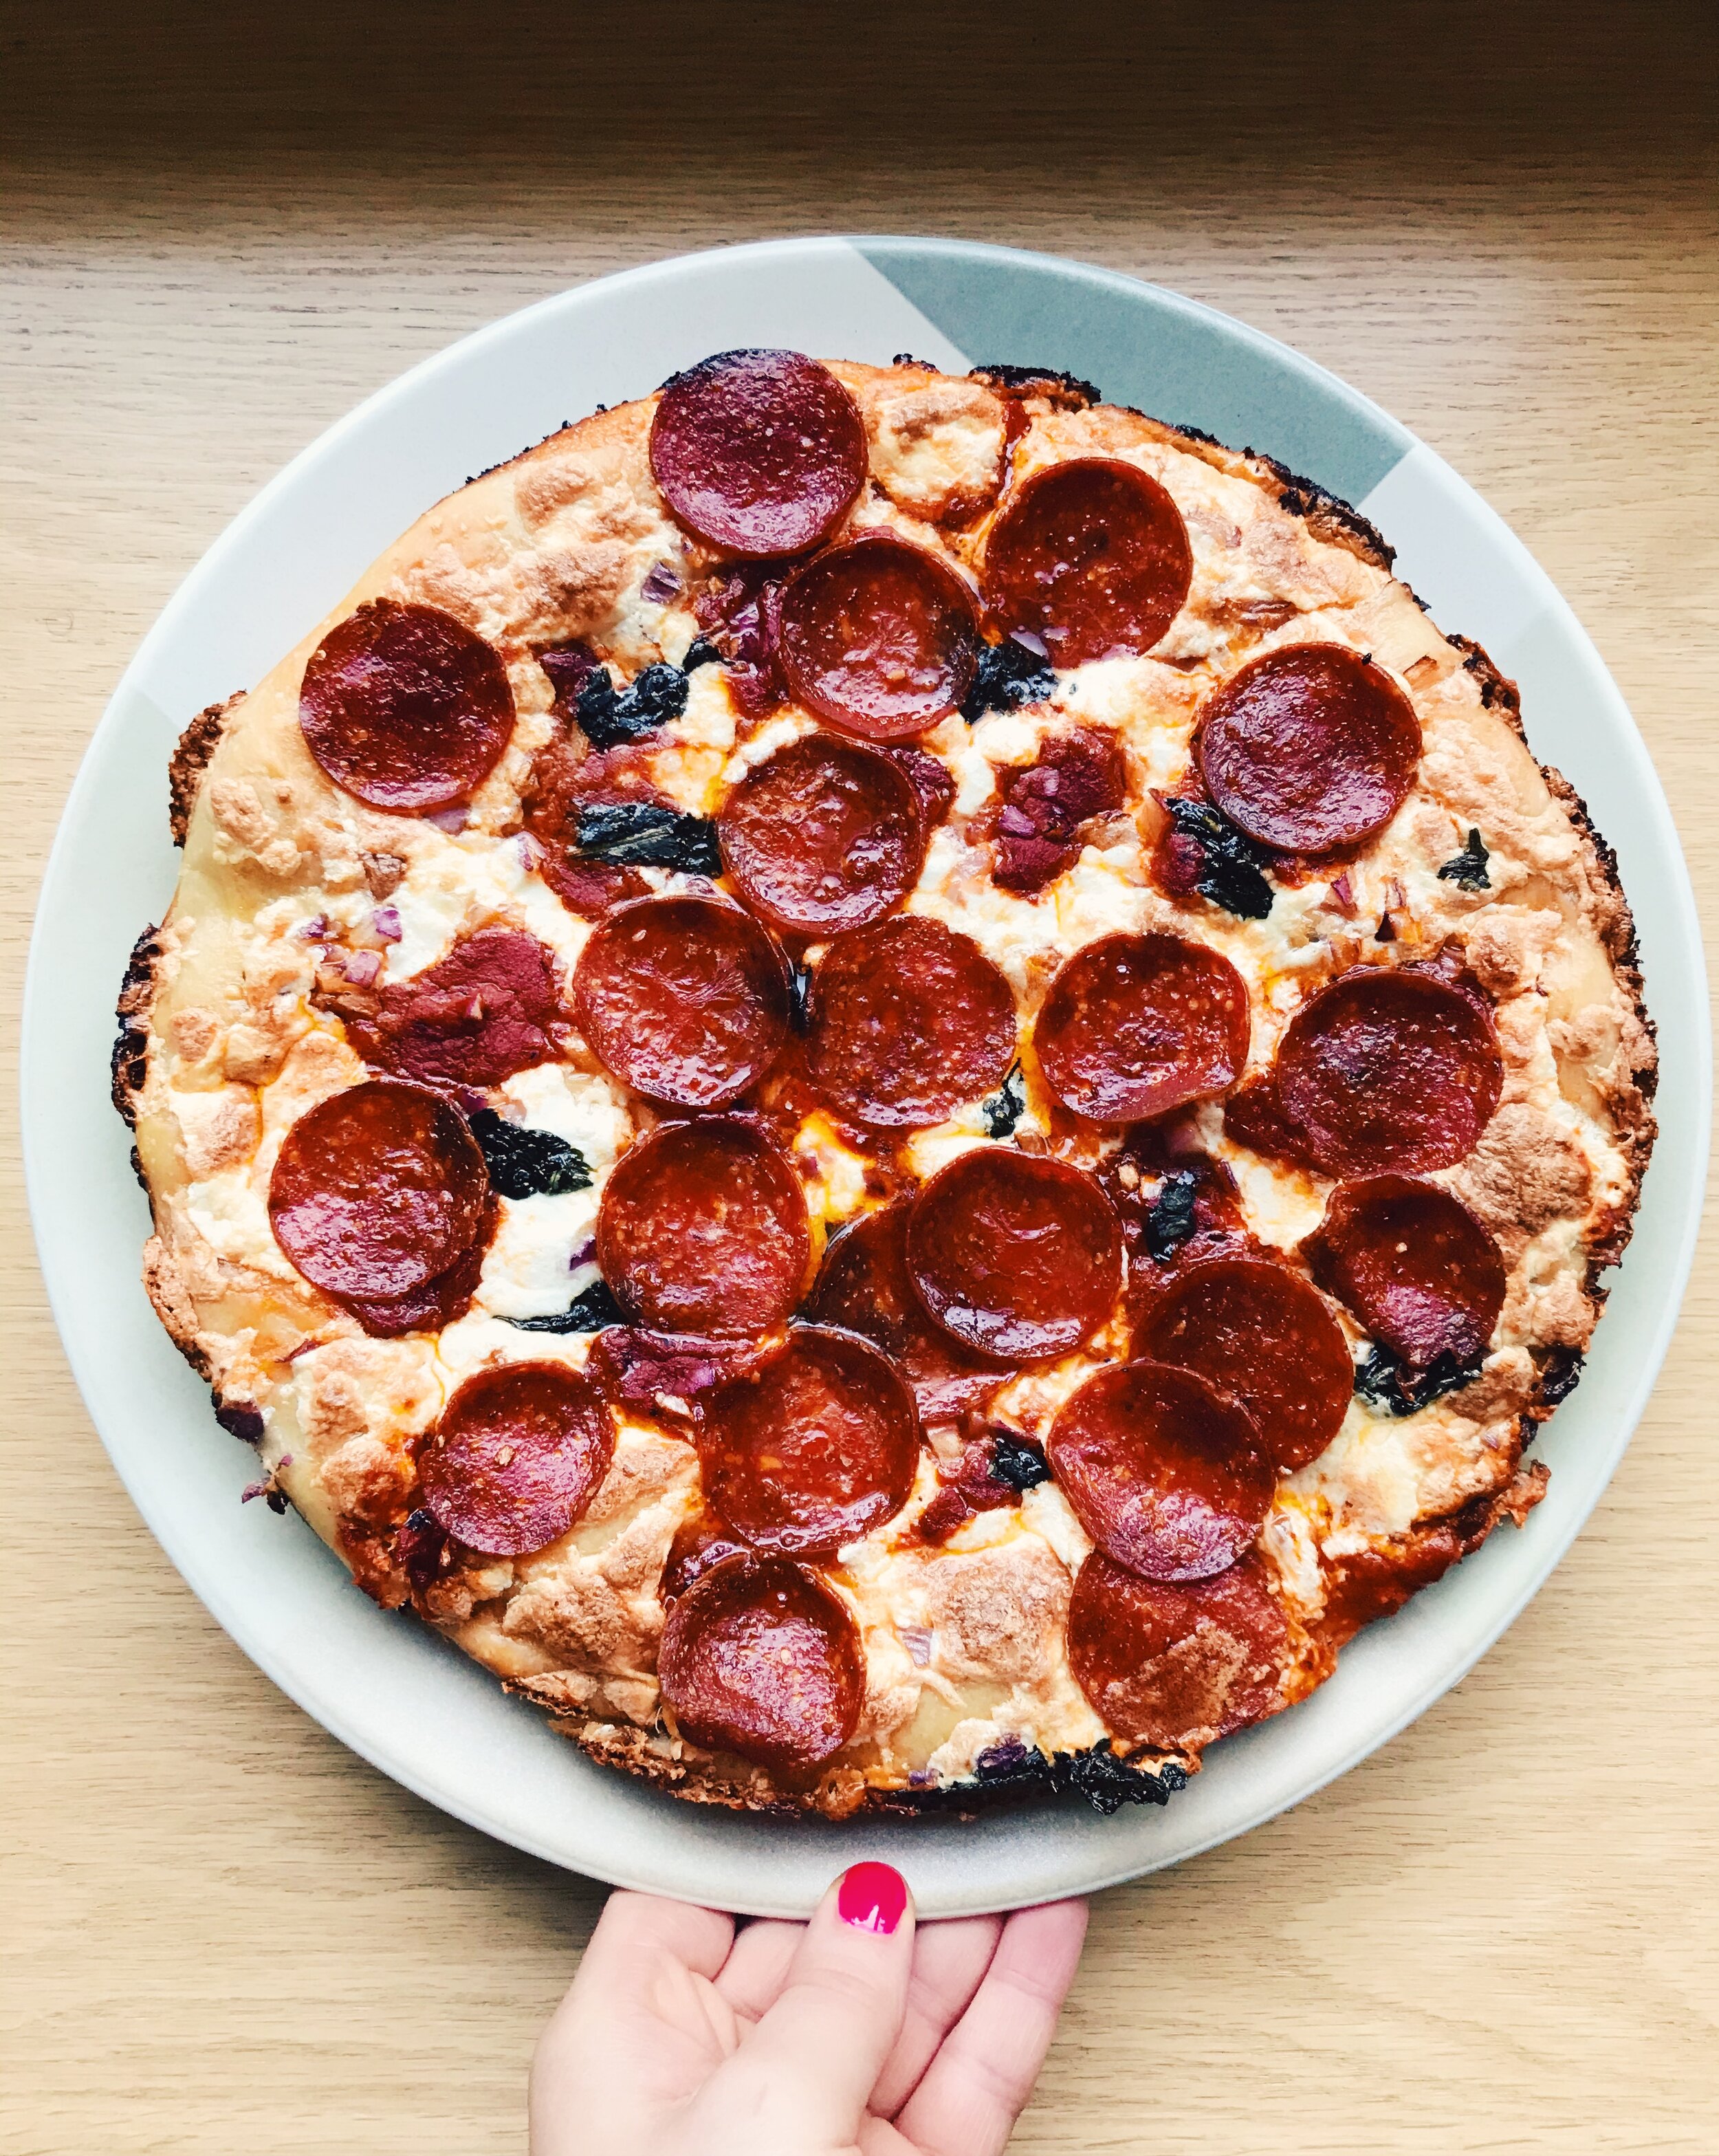
Up until now, the homemade pizzas that I’ve put together have veered more on the classic side with mozzarella, pepperoni, some onions, and maybe a little basil sprinkled on top for a little pizzaz. There’s nothing wrong with sticking with what works and tastes good, but where’s the fun in not switching things up from time to time?
Last year, in the Before Times, when we never gave a thought to big crowds squeezing into tiny spaces, and restaurants were wonderfully packed to the gills with folks unafraid to pick up their food with their bare hands and dig in, I used to venture over to the many amazing pizza shops in Providence on my lunch break. It’s always funny to me to hear the heated debates between my friends as to which city has the best pizza, New York or Chicago, but what they fail to realize, in so many ways, is that Providence is the dark horse in that fight. I’ve had slices that could rival just about any I’ve had in either big city, and been introduced to some truly unique and delicious flavor combinations. I still try to get out to my local eateries for takeout orders as much as I can these days, but the coronavirus numbers here in Rhode Island and beyond have me staying close to home far more often. But there’s one particular pizza combination that I love and couldn’t stop thinking about recently that I just had to try my hand at making: beef and scallion with a parmesan-peppercorn sauce.

The beauty of white pizzas is that they’re perfect for people who can’t take all the acidity and heaviness of tomato-based sauces. This beef and scallion skillet pizza has everything: crisp, olive-oil rich edges, savory beef, slightly sweet scallions, and a deliciously buttery and cheesy sauce. The best part is, the whole process takes about an hour to put together - just make sure your dough has had a chance to rest in the skillet for at least two hours beforehand.
What screams “self-care” and “comfort” more than making (and eating!) homemade pizza?
Beef + Scallion Skillet Pizza
What You’ll Need:
2 tablespoons extra virgin olive oil
1/2 cup heavy cream
1 large egg yolk
1/4 cup finely grated Parmesan cheese, plus extra
Coarse kosher salt
Freshly-ground black pepper
1 bunch fresh scallions, cut into small rings
0.5 lb steak tips
Directions
Prepare the dough:
About 2 hours before you make your pizza, add 2 tablespoons of olive oil into the bottom and sides of a 10-inch round skillet. Take your dough out of the fridge and place it in the skillet. Make sure that both sides of the dough are covered well in olive oil, then begin to gently spread it out so that your dough covers the entire bottom of the pan. (The dough may resist at first by immediately shrinking. That’s fine. Wait a few moments, then try again). Once you have evenly spread out the dough, take the tips of your fingers and gently dimple the dough from top to bottom. Cover the skillet with plastic wrap and let it sit until it’s time to add the toppings.
About 30 minutes before you start preparing the pizza, place a rack in the lower third of the oven and preheat the oven to 450 degrees Fahrenheit.
Prepare the meat:
Add your steak tips to a large plastic bag. Make sure there is no air in the bag, then seal it. Using a rolling pin, carefully beat the meat until it has flattened into about a 1/4-inch thickness.
Next, season the meat well on both sides with coarse kosher salt and freshly ground black pepper. Using your hands (or a knife) carefully tear the meat into bite-sized pieces. Set aside.
Make the sauce:
Add the heavy cream and egg yolk into a small saucepan and whisk to combine.
Place the saucepan over medium-low heat and stir continuously with a wooden spoon until the mixture has gotten slightly thicker, bubbles at the edges, and a finger run down the spoon leaves a noticeable line, about five minutes.
Remove the saucepan from the heat and immediately add the Parmesan cheese, stirring until it has fully melted. Season with kosher salt and black pepper to taste.
Put it together:
Add the beef to the top of the dough, making sure that the dough is completely covered. Next, liberally sprinkle scallions over the top, but make sure to save some scallions to sprinkle on top once the pizza is out of the oven as well.
Next, dot the pizza all over with the Parmesan-peppercorn sauce, making sure that you do not spread it (it will spread on its own in the oven). Note: Depending on how much sauce you want on your pizza, you may end up with a little extra at the end. Use your own discretion and if you think you’ve added enough and don’t want a soggy crust, stop adding the sauce.
Place the skillet on the lower rack of the oven and cook until the meat and bottom of the pizza are fully cooked, and the edges have gotten golden brown and crispy, about 20-25 minutes.
Once the skillet is out of the oven, take a butter knife and run it along the edges of the pizza to ensure none of it sticks (this is also a good time to gently lift the pizza up to make sure the bottom is done as well). Gently lift the pizza out of the skillet and place it on a wire rack to cool slightly before serving (I’ve found 10 minutes to be enough time). Sprinkle with extra parmesan and scallions if desired.
Serve warm.
TO STORE: Pizza can be kept in an airtight container in the refrigerator for several days.
SOURCE: Parmesean-peppercorn sauce adapted slightly from Fine Cooking.