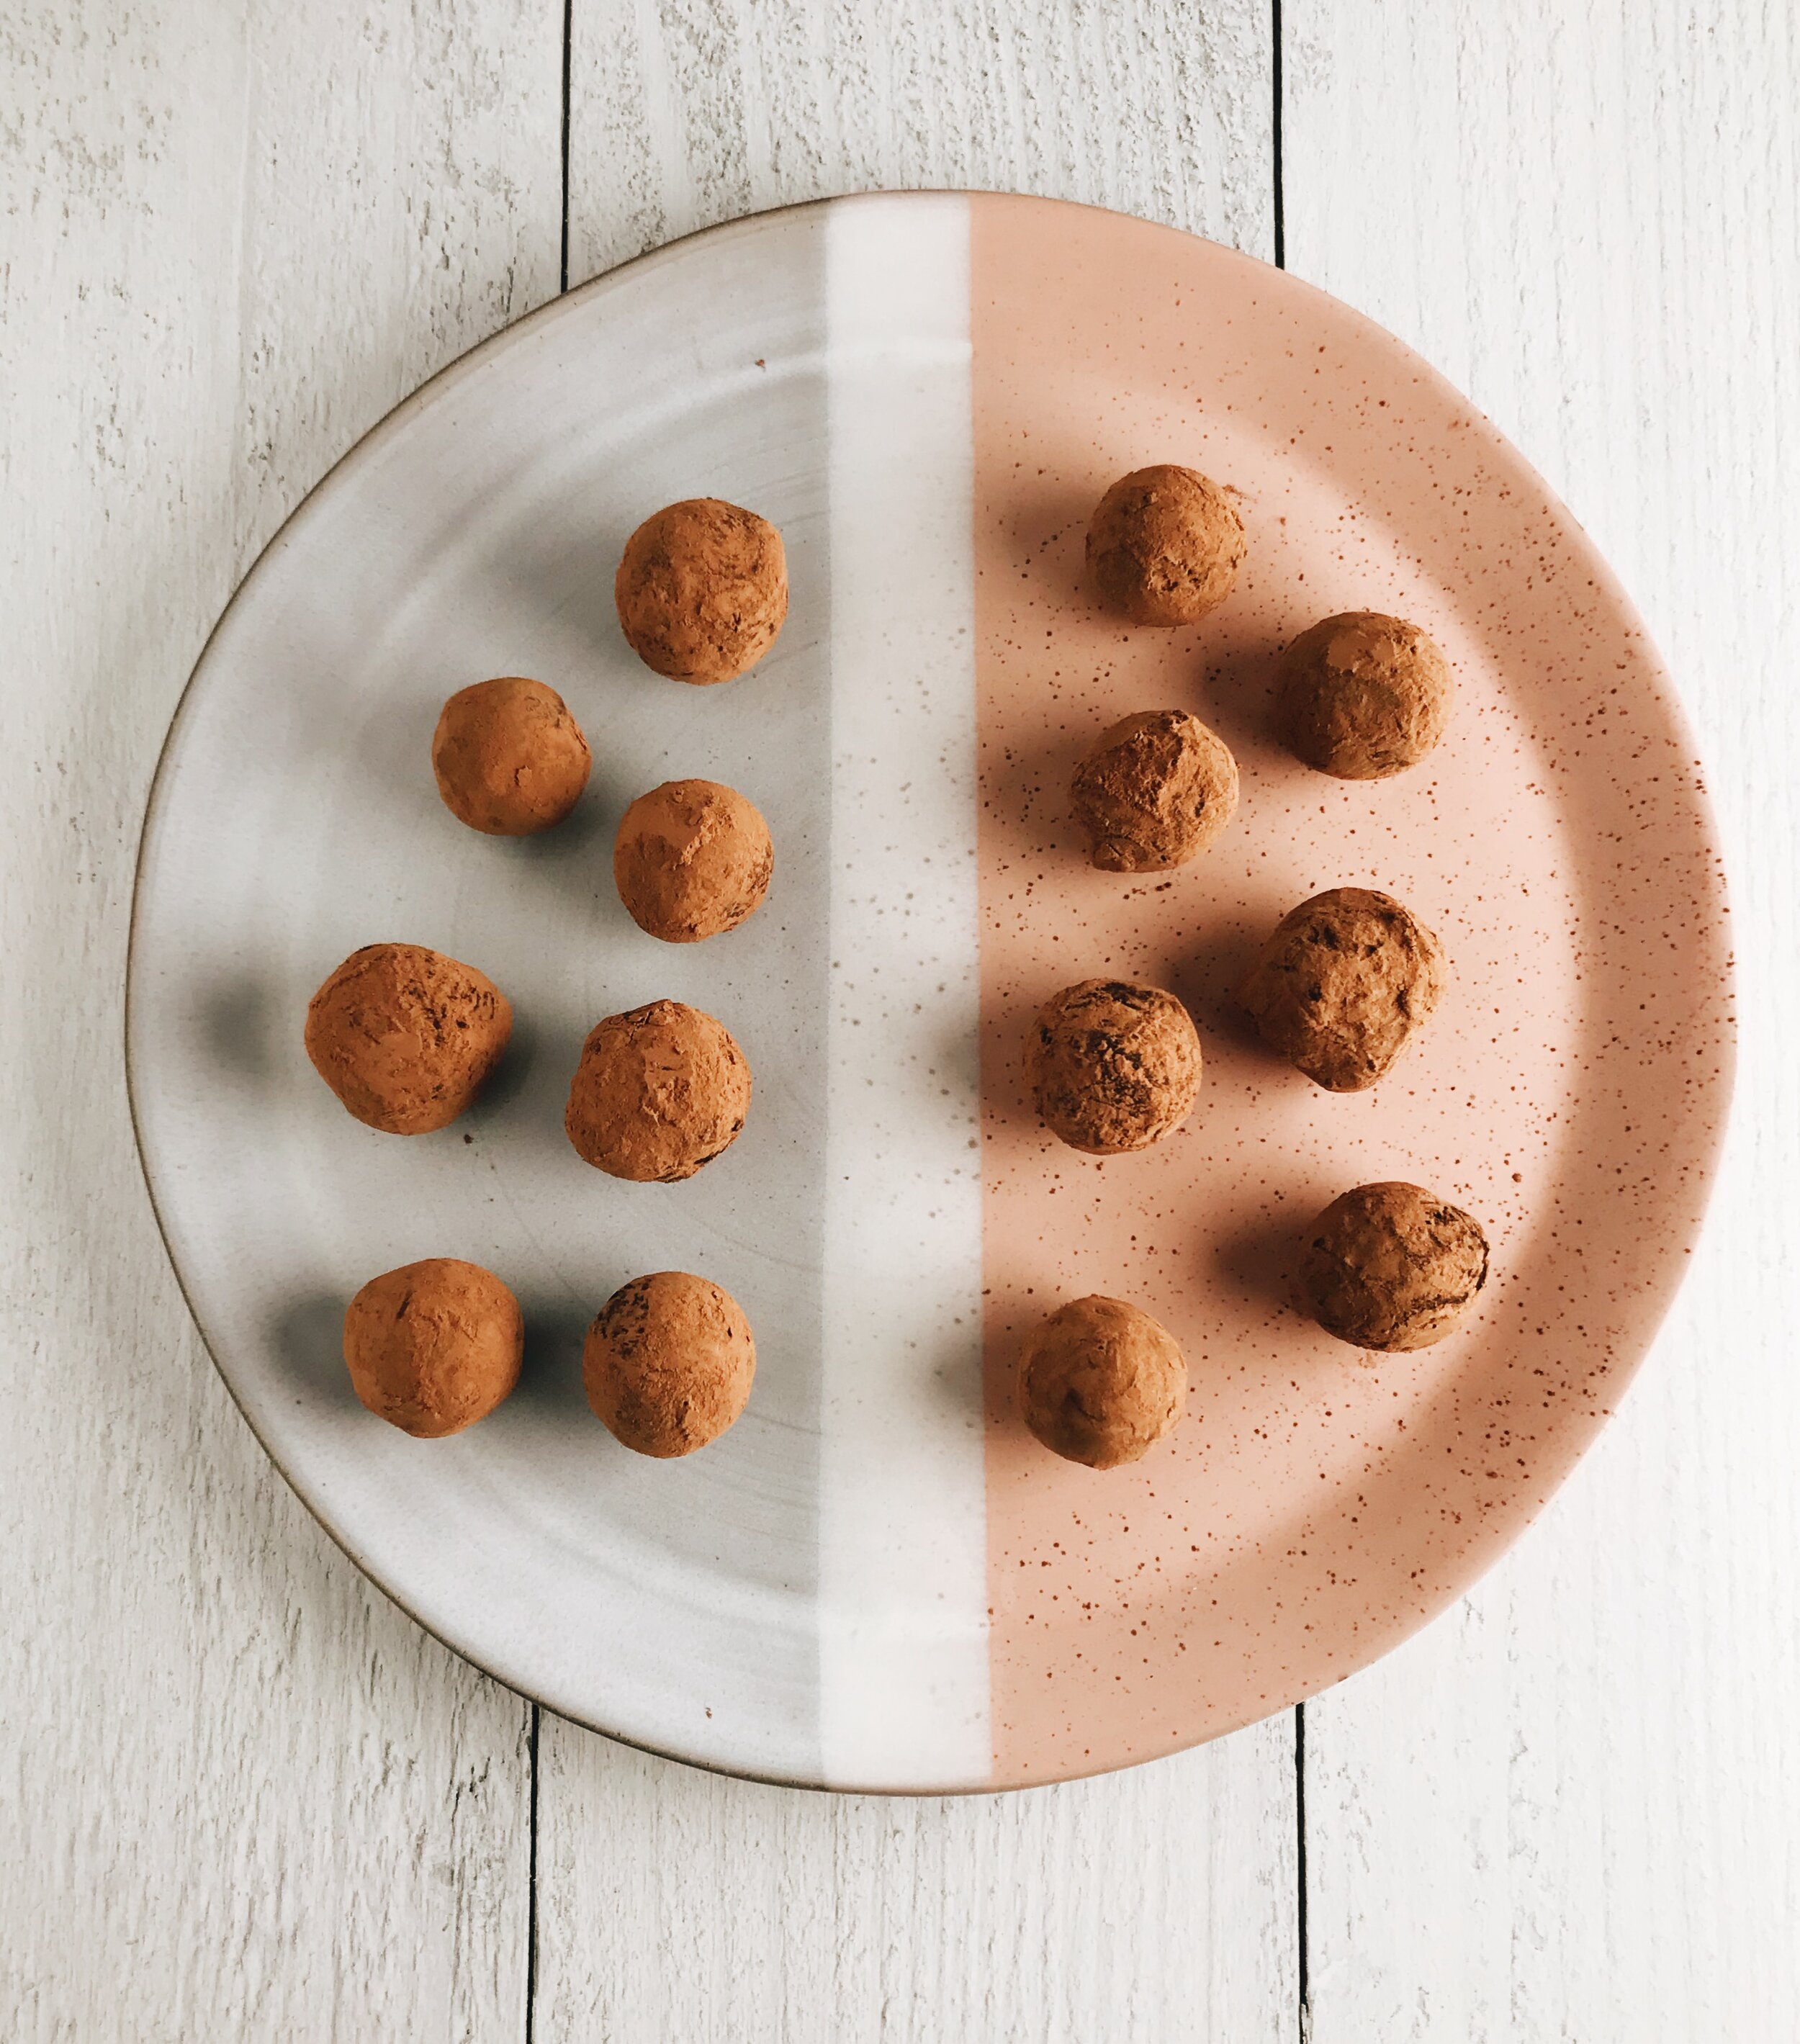
Chocolate Chai Truffles

Recipe: Chai Spice Truffles - Seasoned with Sydney blog

I’m not that into Valentine’s Day, and I can’t decide if it’s because there’s just way too much pressure to not be single, or because I’ve never had a particularly good one. The worst Valentine’s Day, by far, was the spring semester of my sophomore year of college when a guy I’d been seeing for a while decided for the both of us that we were going to bypass the holiday altogether; it was just going to be a regular Tuesday. The only problem with that? He forgot to fill me in on it. So there I was the night before, burning a CD filled with happy songs (a few of them my own), and carefully cutting out a homemade card with a track listing on the back. We hadn’t been dating that long, so I knew to avoid the “L” word at all costs, but I thought a nice little gift would let him know that he was appreciated.

Since our colleges were within walking distance of each other, we had plenty of opportunities to spend time together. Twice a week, we had a standing coffee date at a new shop right downtown, and as luck would have it, that fateful V-Day happened to fall on one of them. I couldn’t wait to see him, and even got my hopes up that maybe, even though we hadn’t talked about how we were going to handle the holiday, he’d surprise me, too. And boy, was I surprised. The look on this guy’s face when I gave him the card and CD would make anyone beg the floor to open up wide and swallow them whole. “I…didn’t think we were doing anything special today,” he said, with a voice filled with gentle caution generally reserved for calming spooked horses. “I’m sorry, I didn’t get you anything.” And because we were freshly an item, I tried with all my might to brush off my utter embarrassment, and act like his gift was just one of MANY I was handing out that day, and that the playlist HADN”T taken me a full hour to curate because I wanted to get the flow just right. I think I mumbled something about how it was totally fine, then tried to finish my piping-hot coffee as quickly as possible without completely eviscerating my taste buds.

So did this incident sour Valentine’s Day for me forever? Not really. I don’t blame him for what happened - we were brand new, young, and in the end, not emotionally mature enough to properly communicate. And in case you’re wondering whatever happened to our dear friend, the Valentine’s Day Dodger, I heard he got married a few years ago and had a kid. So all’s well that ends well.

At any rate, Valentine’s Day isn’t all bad. The new movies and books that come out around this time are usually heartwarming, and It’s one of the biggest days of the year to celebrate everything sweet. I can’t think of anything sweeter than making homemade Chocolate Chai Truffles.

Recipe: Homemade Chai Spice Truffles - Seasoned with Sydney blog

Making truffles might seem intimidating at first. For quite some time, I believed that it took a certain amount of mastery before you could even attempt such a delicious and professional-looking act of confectionery, but it’s just not true! When it all boils down, chocolate truffles consist of just two things: heavy cream, and pure chocolate. Put those two together in the correct ratio, give your mixture plenty of time to set, and you’ve got yourself the perfect, chocolate-y canvas for whatever decorations your heart desires. And while simple chocolate truffles are amazing on their own, why not take it up a notch? I love chocolate, and I love chai, so let’s put them together!

Recipe: Homemade Chai Spice Truffles - Seasoned with Sydney blog

These Chocolate Chai Truffles are by far some of my favorite things to make. They’re incredibly chocolate-forward with floral, spicy notes of star anise, black tea, cardamom, and cinnamon, finished beautifully with just a hint of sea salt. These feel perfectly weighted in the hand, but aren’t so solid that when you bite into them, you break your teeth. Quite the opposite actually! Each bite melts in the mouth into nothing but decadent creaminess, making it totally impossible to have just one.

Whether you’re celebrating Valentine’s Day with a long-term partner, a virtual Zoom date, or just yourself, these Chocolate Chai Truffles guarantee that the day will be nothing but sweet (and a little pleasantly spicy)!

Chocolate Chai Truffles

What You’ll Need:

  • 8 oz (two 4 oz bars, NOT chocolate chips) semi-sweet chocolate, finely chopped

  • 10 cardamom pods

  • 5 whole star anise pieces

  • 2 cinnamon sticks

  • 5 chai tea bags

  • 2/3 cup heavy cream

  • 1/4 teaspoon fine sea salt

  • 1/2 cup unsweetened coca powder

Directions:

Place the chocolate in a medium, heatproof bowl. Set aside.

Using a mortar and pestle, or the side of a knife, gently crush the cardamom pods. Place the cardamom pods, star anise, cinnamon sticks, and heavy cream in a small saucepan. Set the saucepan over medium-low heat, and bring the cream to a simmer (be careful not to burn the cream).

Take the saucepan off the heat, add the tea bags, then cover the saucepan and let it sit for 10 minutes.

Remove the tea bags, then place the saucepan over medium-low heat again and bring the cream back up to a simmer. Remove from heat and strain the cream into the bowl with the chocolate. Discard the spices.

Let the cream and chocolate sit in the bowl for three minutes until the chocolate has softened, then slowly begin to whisk the chocolate and cream together, starting in the center and working your way to the edges of the bowl. Whisk until completely smooth. Add the sea salt, then whisk to combine. You’ve just made ganache!

Place a sheet of plastic wrap directly on top of the ganache, making sure no air can come through, then chill the ganache in the refrigerator for 2-3 hours until it has set.

Just before you’re ready to roll your truffles, place a piece of parchment paper on a cookie sheet and set aside. Next, fill a small bowl with the unsweetened cocoa powder.

Remove the plastic wrap from on top of your ganache and discard. Using a melon baller the size of a teaspoon, a teaspoon cookie scoop, or an actual teaspoon measuring spoon, roll two teaspoons of the ganache at a time, then mold, shape, and roll them together until you have a smooth truffle. Roll the truffle in the coca powder, then place on the cookie sheet. Repeat this process until you have run out of ganache. You should have about 20 truffles at the end.

Transfer the cookie sheet to the refrigerator and let the truffles set for at least 1 hour.

TO STORE: Truffles can be kept in an airtight storage container in the refrigerator for one week.

Everything Bagel Soft Pretzels (2 Ways!)

IMG_8213.jpg

There was a brief moment in time when I cared very deeply about football. It was my sophomore year of college, and I was thousands of miles away from Wisconsin and anyone who would even remotely care about the Dairy State. Feeling homesick and finding it hard to relate to people whose hometowns never saw temperatures dip below 60 degrees Fahrenheit, I turned to football. I longed to catch a glimpse of people in the stands wearing foam rectangular hats shaped like cheese, and shirtless men whose naked chests were yellow and green from body paint, and bright red from the negative wind chill. There/s just no place like home.

And so, right at the start of the 2010s, I sat alone in my shared dorm room every Sunday to watch a Green Bay Packers game, regardless of the fact that I didn’t yet know all the rules. When Packer fans cheered, I cheered. When booing started, I’d find myself quietly chiming in. As the season progressed and hopes of making it to the playoffs rose, I managed to pick up a few friends along the way who would fill me in on what I still didn’t understand and celebrate wins with me, especially as their favorite teams failed to deliver. At the end of 2010 I considered myself a full-on football fan, even going so far as to order gear for when the Packers, in a game that was quite unforgettable, clinched the NFC title and became eligible for the Super Bowl for the first time in 14 years. It certainly felt incredible to be backing a winning team, and I finally understood why people were so fervent about sports. When you win, directly or indirectly, you feel like you’re part of something bigger than yourself. And when you lose, you have a million shoulders to cry on. Plus, trash-talking can be kind of fun (and useful if you’re trying to flirt with a guy in your media class who’s cheering for the other team…but that’s a story for another day). Long story short, the Packers won the Super Bowl that year, and with every celebratory status update I saw on Facebook, I felt closer to home.

Though my interest in football lasted only a few years after that, switching from professional to collegiate along the way, it didn’t hold the same power for me when I moved back home. Football and following the Packers had been my way of staying connected, but once my feet hit frozen soil again, I no longer needed it. And I still don’t to this day, despite the fact that I find myself away from home anew. But that doesn’t mean that I don’t occasionally tune in to a game now and then when I’m channel surfing. And I always, ALWAYS, watch the Super Bowl. Sure, I could say that I actively participate in Super Bowl Sunday because I love the game, but that just wouldn’t be telling the truth. I love watching the Super Bowl for one reason and one reason only: the SNACKS!

IMG_8211.jpg

I won’t lie, I kind of miss going to live sporting events because the snacks are always on point: nachos covered in creamy, melted cheese, hot dogs/bratwurst with all the fixings, cotton candy the size of a human head, and, of course, soft pretzels, a personal favorite of mine. A few years ago, around this time, I tried my hand at making mini soft pretzels. They were pretty good for a first attempt, and would definitely fit in on any party table, but this year, I wanted to up the ante a little bit. The only thing better than a perfectly-salted soft pretzel? One with everything on it. Or, well, Everything Bagel Seasoning, anyway.

IMG_8220.jpg

I’m going to level with you for a second: shaping baked goods is not yet my forte. Give me a mold and I’m golden, but if I have to do it freehand? Well, let’s just say some of the first pretzels I attempted to roll and twist and fold into their classic shape came out looking a little…off. That’s why I’m offering you not one, but TWO ways to make these pretzels. If you, like me, struggle with the decoration aspect of baking, consider abandoning the pretzel shape altogether and instead, make pretzel bites! It’s much easier, requires less shaping, and if you’ve got a larger immediate family, there’s plenty more to go around! You just can’t go wrong either way.

Here’s what I love about these Everything Bagel Soft Pretzels: they’re delightfully yeasty and chewy, and with every bite, you get the perfect hits of salt, garlic, onion, and sesame, with the extra crunch of poppy seeds. Best served warm, these pretzels will be gobbled up by halftime!

Everything Bagel Soft Pretzels

What You’ll Need:

  • 1 and 1/2 cups lukewarm water

  • 1 package active dry yeast

  • 1 teaspoon salt

  • 1 tablespoon dark brown sugar

  • 1 tablespoon unsalted butter, melted and cooled slightly

  • 3 cups flour, plus 3/4 cups more, and more for dusting the work surface

  • 1/2 cup baking soda

  • 9 cups water

  • Everything Bagel Seasoning (store-bought, or you can make your own!)

Directions:

Place oven racks in the middle and lower third of the oven. Preheat the oven to 400 degrees Fahrenheit.

Line two baking sheets with parchment paper. Set aside.

In a large bowl, whisk the yeast and lukewarm water. Let sit for five minutes until foamy and bubbles are on the surface. Whisk in the salt, dark brown sugar, and melted butter.

Working with one cup at a time, add 3 cups of flour to the bowl, mixing thoroughly after each addition with a wooden spoon (the best way to measure flour is by carefully spooning flour into a measuring cup and leveling off the excess with a knife). At this point, the dough will be very sticky. Add more flour to the dough one tablespoon at a time (up to 3/4 cups) and mix well until the dough is no longer sticky to the touch). The dough is ready to be kneaded when it becomes bouncy to the touch.

Turn the dough out onto a clean work surface that has been floured. Using lightly floured fingers, knead the dough for 5 minutes, then shape it into a ball. Let the dough rest, covered with a clean cloth or paper towel, for 10 minutes.

While the dough is resting, fill a heavy-bottomed pot with nine cups of water and add the baking soda. Stir well, then bring the mixture to a boil.

After 10 minutes, uncover the dough and carefully shape it into a 12-inch log with your hands. Using a sharp knife or bench scraper, cut the log into 12 equal pieces.

For Traditional Pretzels:

Roll out a piece of dough into a long rope (about 20 inches long). Take each end of the rope and bring them together so they form a ring, then twist the ends together. Next, bring the ends down so they are touching the inner center of the bottom of the circle, ensuring that everything is attached securely. (Depending on how it goes, you may have to use your fingers to more clearly define the pretzel shape. There’s no shame in it!) Repeat the steps until you have twelve pretzels of equal-ish size.

For Pretzel Bites:

Roll out a piece of dough into a long rope (about 20 inches long). Using a sharp knife or bench scraper, cut the rope into small, bite-sized pieces. Roll each cut piece into a ball. Repeat until all the pieces have been rolled into balls.

When You’re Ready

Once your pretzels or pretzel bites are shaped and ready, drop 1-2 pretzels, or 2-4 pretzel bites, into the pot of boiling baking soda water for 20 seconds. Remove immediately using a slotted spoon or spatula and let excess water drip back into the pot. Gently set the pretzels on one of the prepared baking sheets with parchment paper, spacing them a half-inch apart. Once all pretzels or pretzel bites have been taken out of the water and placed onto the baking sheets, generously sprinkle each with the Everything Bagel Seasoning.

Bake the pretzels in the oven for 12-15 minutes, switching the baking sheets from top to bottom halfway through, until the pretzels are golden brown.

Serve pretzels warm with your preferred dipping sauce (though I eat mine as-is!)

TO STORE: Allows pretzels to cool, then place them in an airtight storage container for up to 3 days. When ready to serve, warm the pretzels in a 350 degree Fahrenheit oven for 5-10 minutes.

SOURCE: Adapted from Sally’s Baking Addiction

Beef + Scallion Skillet Pizza

Recipe: Beef and Scallion Skillet Pizza - Seasoned with Sydney blog

What a week, huh? There aren’t a lot of words to express the mixed emotions that many of us are surely feeling. History, both triumphant (you did it, Georgia!!) and devastating (the desecration of the US Capitol) was made in the span of just two days. Quite a literal example of the old saying, “two steps forward, one step back.” Like many, I decided to keep my expectations incredibly low for 2021. It wasn’t as if some switch would flip at midnight on January 1, 2021 that would magically solve all the issues we had in 2020, but at least we had hope that life in America could get a little bit better. And I believe it will, but if the first full week of this new year has taught me anything so far, it’s that the journey will be glacially-paced.

I’m reminded of a conversation I had with an old friend of mine recently who is also of color. We’re really into the new period series Bridgerton on Netflix (it’s excellent!), and as we were talking, the subject of what era of time we would most like to travel to came up. We each had a favorite decade or two that we’d love to experience in person, but just as soon as we’d name it, one or both of us would follow it up with, “But it probably wouldn’t be great for people who look like us.” And that’s the sad truth. History lovers, myself included, have a habit of romanticizing the past and glossing over the negative aspects, but they exist whether we like it or not. And we have to start having some hard conversations if we, as a global society, ever want a shot at truly moving forward together.

With everything that we’ve already faced literally EIGHT DAYS into 2021, the pandemic we’re still facing, and whatever fresh catastrophes may await us in the future, we’re all in need of some SERIOUS comfort right now. And when I think of comfort, I think, lovingly, of carbs. But not just any carbs, I think of PIZZA. So let’s all take a deep breath, grab our favorite cast-iron skillet, and make ourselves some pizza, shall we?

Recipe: Beef and Scallion Pizza - Seasoned with Sydney food blog

As many food people out there will tell you, once you’ve mastered the basics of something, you’ve opened yourself up to a blank canvas filled with endless possibilities. There are tons of great pizza dough recipes out there, but I frequently use this one because the dough comes together beautifully, only needs 12 hours to rest (as opposed to 24), and I can pop it into a skillet for crispy edges and minimal clean-up afterwards. Toss a quick salad together while it’s in the oven, and dinner’s on the table in no time!

Recipe: Beef and Scallion Pizza - Seasoned with Sydney blog

Up until now, the homemade pizzas that I’ve put together have veered more on the classic side with mozzarella, pepperoni, some onions, and maybe a little basil sprinkled on top for a little pizzaz. There’s nothing wrong with sticking with what works and tastes good, but where’s the fun in not switching things up from time to time?

Last year, in the Before Times, when we never gave a thought to big crowds squeezing into tiny spaces, and restaurants were wonderfully packed to the gills with folks unafraid to pick up their food with their bare hands and dig in, I used to venture over to the many amazing pizza shops in Providence on my lunch break. It’s always funny to me to hear the heated debates between my friends as to which city has the best pizza, New York or Chicago, but what they fail to realize, in so many ways, is that Providence is the dark horse in that fight. I’ve had slices that could rival just about any I’ve had in either big city, and been introduced to some truly unique and delicious flavor combinations. I still try to get out to my local eateries for takeout orders as much as I can these days, but the coronavirus numbers here in Rhode Island and beyond have me staying close to home far more often. But there’s one particular pizza combination that I love and couldn’t stop thinking about recently that I just had to try my hand at making: beef and scallion with a parmesan-peppercorn sauce.

Recipe: Beef and Scallion Pizza - Seasoned with Sydney blog

The beauty of white pizzas is that they’re perfect for people who can’t take all the acidity and heaviness of tomato-based sauces. This beef and scallion skillet pizza has everything: crisp, olive-oil rich edges, savory beef, slightly sweet scallions, and a deliciously buttery and cheesy sauce. The best part is, the whole process takes about an hour to put together - just make sure your dough has had a chance to rest in the skillet for at least two hours beforehand.

What screams “self-care” and “comfort” more than making (and eating!) homemade pizza?

Beef + Scallion Skillet Pizza

What You’ll Need:

  • 1 skillet pizza dough

  • 2 tablespoons extra virgin olive oil

  • 1/2 cup heavy cream

  • 1 large egg yolk

  • 1/4 cup finely grated Parmesan cheese, plus extra

  • Coarse kosher salt

  • Freshly-ground black pepper

  • 1 bunch fresh scallions, cut into small rings

  • 0.5 lb steak tips

Directions

Prepare the dough:

About 2 hours before you make your pizza, add 2 tablespoons of olive oil into the bottom and sides of a 10-inch round skillet. Take your dough out of the fridge and place it in the skillet. Make sure that both sides of the dough are covered well in olive oil, then begin to gently spread it out so that your dough covers the entire bottom of the pan. (The dough may resist at first by immediately shrinking. That’s fine. Wait a few moments, then try again). Once you have evenly spread out the dough, take the tips of your fingers and gently dimple the dough from top to bottom. Cover the skillet with plastic wrap and let it sit until it’s time to add the toppings.

About 30 minutes before you start preparing the pizza, place a rack in the lower third of the oven and preheat the oven to 450 degrees Fahrenheit.

Prepare the meat:

Add your steak tips to a large plastic bag. Make sure there is no air in the bag, then seal it. Using a rolling pin, carefully beat the meat until it has flattened into about a 1/4-inch thickness.

Next, season the meat well on both sides with coarse kosher salt and freshly ground black pepper. Using your hands (or a knife) carefully tear the meat into bite-sized pieces. Set aside.

Make the sauce:

Add the heavy cream and egg yolk into a small saucepan and whisk to combine.

Place the saucepan over medium-low heat and stir continuously with a wooden spoon until the mixture has gotten slightly thicker, bubbles at the edges, and a finger run down the spoon leaves a noticeable line, about five minutes.

Remove the saucepan from the heat and immediately add the Parmesan cheese, stirring until it has fully melted. Season with kosher salt and black pepper to taste.

Put it together:

Add the beef to the top of the dough, making sure that the dough is completely covered. Next, liberally sprinkle scallions over the top, but make sure to save some scallions to sprinkle on top once the pizza is out of the oven as well.

Next, dot the pizza all over with the Parmesan-peppercorn sauce, making sure that you do not spread it (it will spread on its own in the oven). Note: Depending on how much sauce you want on your pizza, you may end up with a little extra at the end. Use your own discretion and if you think you’ve added enough and don’t want a soggy crust, stop adding the sauce.

Place the skillet on the lower rack of the oven and cook until the meat and bottom of the pizza are fully cooked, and the edges have gotten golden brown and crispy, about 20-25 minutes.

Once the skillet is out of the oven, take a butter knife and run it along the edges of the pizza to ensure none of it sticks (this is also a good time to gently lift the pizza up to make sure the bottom is done as well). Gently lift the pizza out of the skillet and place it on a wire rack to cool slightly before serving (I’ve found 10 minutes to be enough time). Sprinkle with extra parmesan and scallions if desired.

Serve warm.

TO STORE: Pizza can be kept in an airtight container in the refrigerator for several days.

SOURCE: Parmesean-peppercorn sauce adapted slightly from Fine Cooking.

Homemade Vanilla Extract

homemade vanilla extract recipe seasoned with sydney blog

Early on in the pandemic when Zoom happy hours were bountiful and everyone pretended that they were just as good as the real thing, a person I was kind of “seeing” in June (a story for another time) and I decided that a fun activity for us to do in our respective homes was a little cocktail party in which each of us got the ingredients for the other’s favorite drink, made them “together,” then tried them on camera. To make it easy, I suggested one of my favorite beers instead of an actual mixed drink because I got the impression that anything more complicated would result in him not even attempting it, and me waving my hands and saying, “Oh, it’s fine” when it would, in fact, not be fine at all.

For my part, I was assigned a Screwdriver (orange juice and vodka). We were still in the phase when you’re supposed to pretend to be super breezy and chill with everything, so I didn’t mention that I’m not a particular fan of either ingredient. So, I bought the cheapest bottle of vodka I could find that would still taste okay, and a small bottle of orange juice, and our cocktail party for two was on. I feel like it shouldn’t surprise you though to learn that on the day of our cocktail hour, I was the only one who had actually kept up my side of the bargain. Despite me texting him not one, but two alternative beer choices in the event that the liquor store in his neighborhood didn’t carry my favorite, and him texting me back saying it wouldn’t be a problem because they seemed to carry everything, when it came time for us to log on, both parties were pouring orange juice and vodka into our glasses. Maybe I should’ve spoken up about the beer - after all, he’d agreed to do the drink swap with me, hadn’t he? But, as they say, you shouldn’t ask questions you don’t want the answer to, so I very breezily pretended that making Screwdrivers together had been the plan all along. Needless to say, the courtship didn’t last, but the nearly-full bottle of vodka that I’d purchased for one purpose had. And since I’ve made more of a commitment this year to reduce as much waste as possible, I set out to come up with a way to use it up. Then it hit me: what’s one thing I’ve always wanted to make that I use all the time? Vanilla extract!

homemade vanilla extract recipe - seasoned with sydney blog

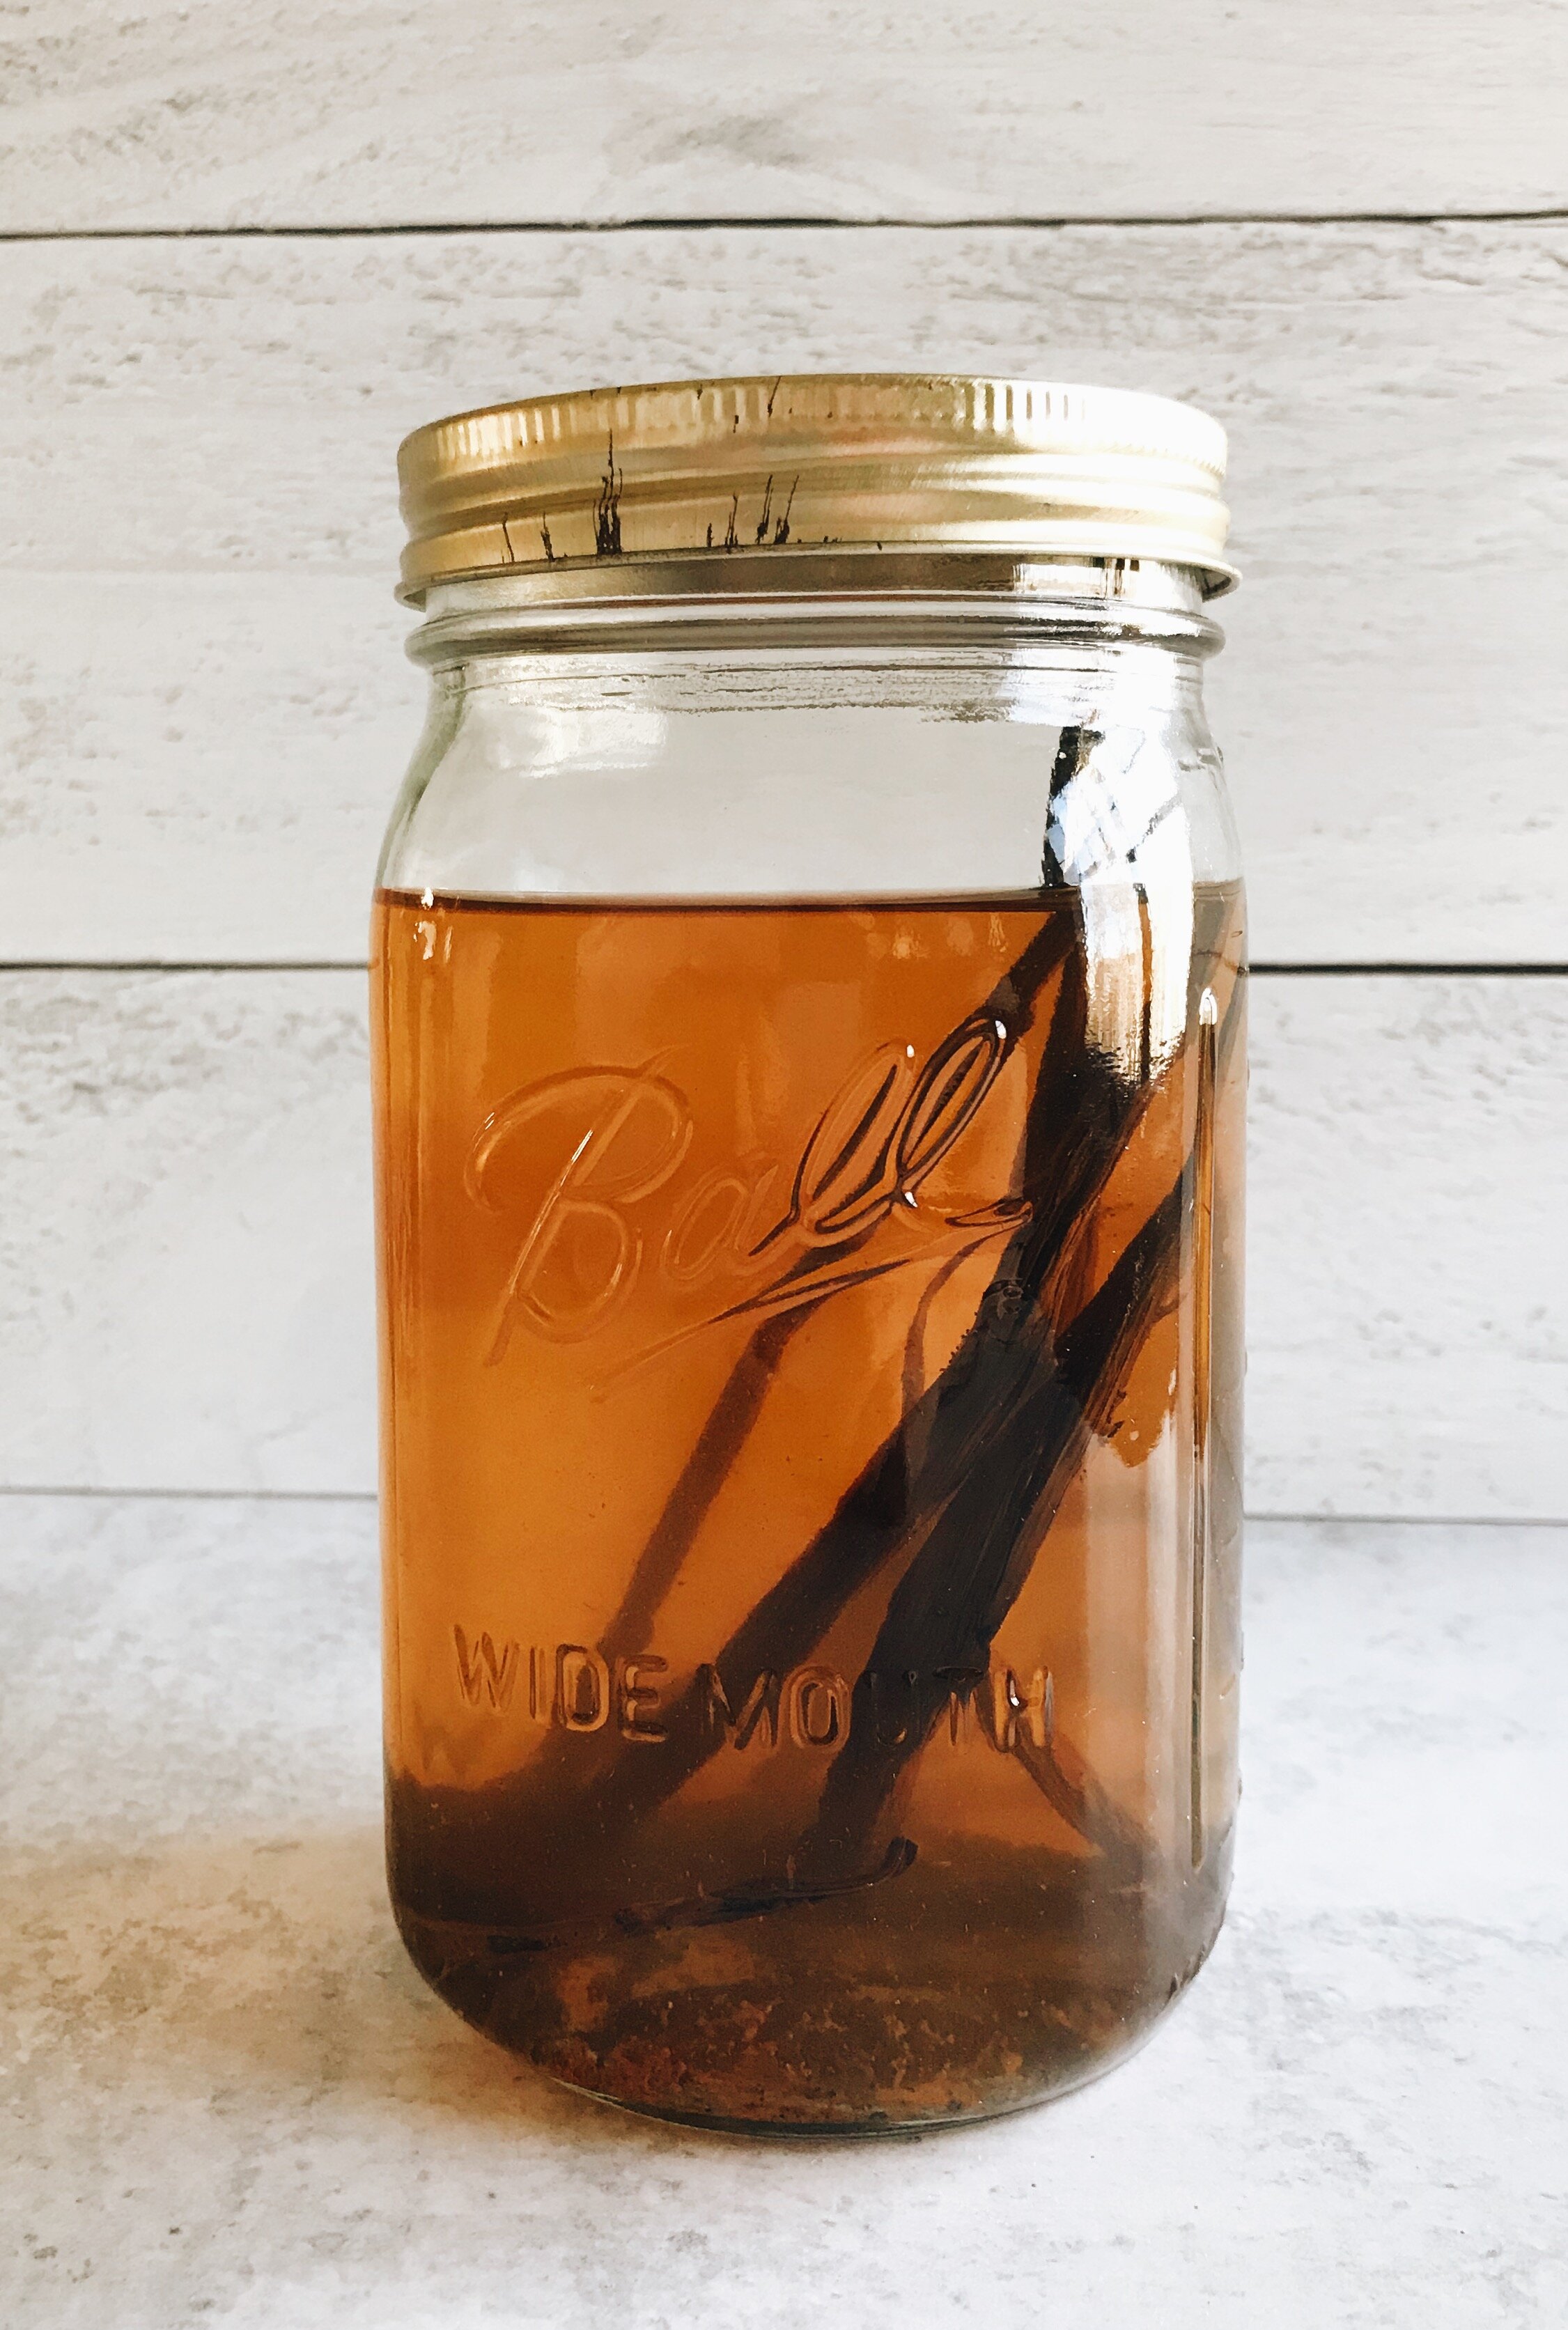
Making vanilla extract is super easy and incredibly cost-effective if you bake a lot and go through vanilla faster than most people. I don’t believe in buying the tiny bottles at the grocery store because it always feels like you get a few tablespoons out of each bottle before it’s time to go back to get more. So, I opt for the large size, and with that increase in fluid ounces (though the bottles are never quite FULL are they?), comes a rather hefty price tag - and that adds up over time. While it will cost you a bit upfront to make your own extract (quality vanilla beans aren’t cheap), I know of people who have gone years adding on to the original extract they made, only adding more vodka and vanilla beans to the mix when the potency has diminished, saving them major money in the long run.

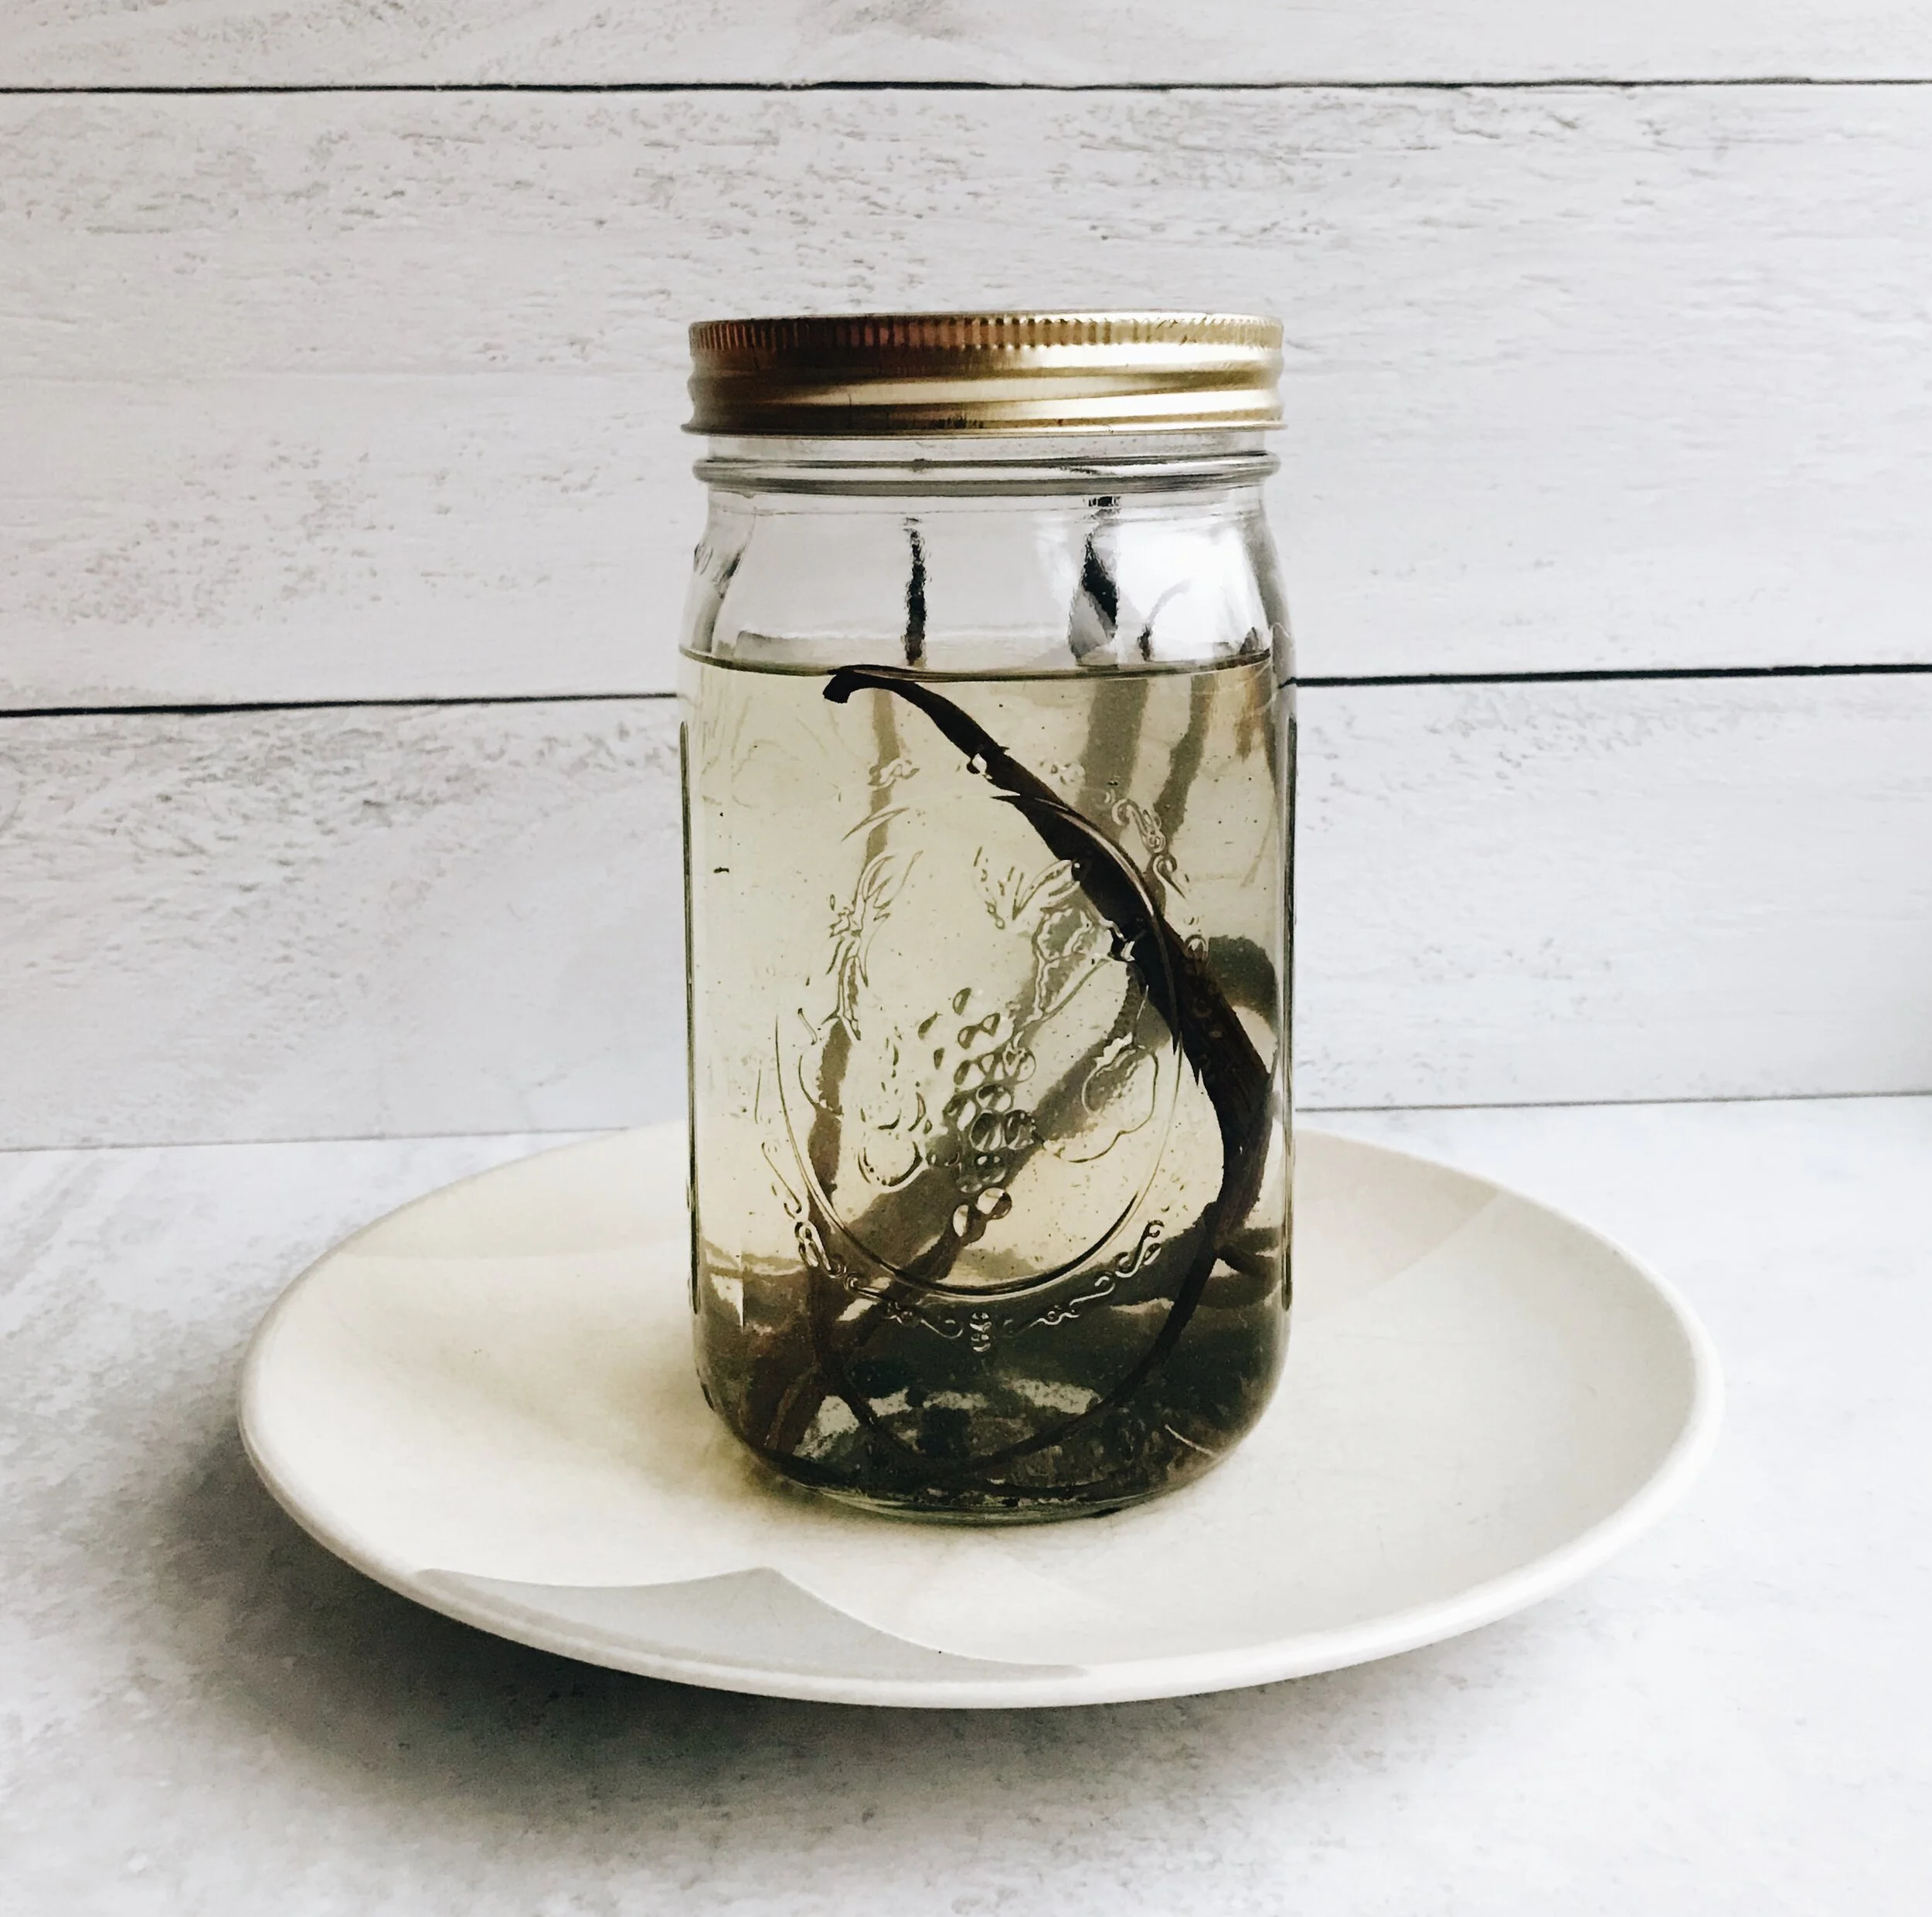
All you’ll need to make your own vanilla extract is 4-6 vanilla beans, vodka, and an airtight glass bottle or jar. That’s it!

homemade vanilla extract recipe - seasoned with sydney blog

The last thing you’ll need when making vanilla extract is a whole lot of patience. Though your new vanilla-rich concoction is technically ready to use in as little as two months, the longer you wait, the deeper the color and flavor will be. For that reason, it’s best to wait 6-12 months before you pop open your bottle and start treating your baked goods to that highly-elevated vanilla flavor. And trust me, it’ll be worth it!

It only took a failed Zoom-based courtship during a global pandemic, a couple of vanilla beans, and a bottle of vodka to fulfill a years-long goal of mine. Who knew?!

Homemade Vanilla Extract

What You’ll Need:

  • 4-6 fresh vanilla beans

  • Vodka

  • A clean glass jar or bottle with an airtight lid

Directions:

Using the tip of a very sharp knife, split each vanilla bean lengthwise all the way down, then gently pull apart to expose the seeds inside. Carefully scoop out the seeds of each and place them in the glass bottle or jar you’re using. Once all vanilla beans have been split open and the seeds have been removed, add the vanilla bean hulls to the jar (depending on how big your vessel is, you may have to fold the hulls in half to fit them in).

Using the back of a wooden spoon, gently muddle the vanilla bean hulls and seeds together to start the breakdown process. Remove the spoon and scrape any seeds or hull pieces that might be on it back into the jar.

Next, pour enough vodka into the jar to completely cover the seeds and vanilla bean hulls.

Tightly seal the jar, then give it a few very strong shakes.

Store in a cool, dark place such as a kitchen cabinet, and be sure to shake the jar at least once a week. With each passing day, you’ll start to see the color deepen into a beautiful amber hue.

The vanilla extract is ready to use in 6-12 months. The longer you wait, the more potent the flavor will be. Make sure to label your jar in some way with the date so you’ll know when it’s time to use your extract.

KEEP IT GOING: Be sure to add more vodka after every use to continue the extraction process with the vanilla bean hulls and seeds still in the jar. Over time, the potency of the vanilla aroma and flavor will start to diminish, and more seeds and vanilla bean hulls will need to be added to the jar.

TO STORE: Always keep your vanilla extract in a cool, dry, and dark place.

One-Pot Chicken Burrito Bowl

Recipe: One-Pot Chicken Burrito Bowl - Seasoned with Sydney blog

Burritos and I have a passionate, long-standing relationship that spans decades. They were a go-to meal on weeknights after late theater rehearsals in high school, a no-mess lunch to wolf down between classes in college, and the perfect dinner companion to eat in bed when a day at my first professional job had been long and I just wanted to switch on Netflix and turn off my brain. That deliciously warm tortilla. filled to the brim and seasoned to perfection, was all I needed. Then, I got older and that lightning-fast metabolism that only teenagers and young adults are blessed with stopped processing the calories as well as it once did. I know it happens to all of us, but dang, doesn’t it feel like it just switches overnight??

There was no way that I could quit eating my favorite food cold turkey, especially since the filling was still healthy-ish, so I sought out an alternative. I started ordering burrito bowls at my favorite fast-casual establishments and discovered that, apart from the fact that now I needed cutlery, I wasn’t really missing the tortilla. It was a pleasant surprise and, if I’m honest, a relief! Of course, dining out gets expensive over time, and though I relished the delicious convenience of it all, I wasn’t enjoying the rather sizeable hit to my wallet. But I knew the ingredients like the back of my hand. Why not try to recreate the burrito bowl at home?

This recipe for a one-pot chicken burrito bowl has been carefully honed over the last five years and is a family favorite at my house. The tender chicken, combined with warm spices, fresh tomatoes and onion, and creamy black beans, topped with a healthy amount of just-melted cheddar jack cheese and crushed tortilla chips (I know, I know, but they add a good crunch!) makes for a super simple weeknight meal that comes together in just under an hour. Throw in a playlist of trendy indie-pop songs at max-volume and dim the lights, and your at-home dining experience just might mimic the real thing!

One-Pot Chicken Burrito Bowl

What You’ll Need:

  • 2 tablespoons extra-virgin olive oil

  • Coarse kosher salt

  • Freshly-ground black pepper

  • 1 sweet yellow onion, diced

  • 1.5 lbs chicken tenderloins, diced and seasoned with coarse kosher salt and freshly-ground black pepper

  • 1 cup long grain white rice

  • 2 1/2 cups low-sodium chicken broth

  • 1 pint fresh cherry or grape tomatoes, quartered

  • 1 15 oz can black beans, drained

  • 1 heaping teaspoon ground cumin

  • 1 heaping teaspoon garlic powder

  • 1 heaping teaspoon chili powder

  • 2 cups cheddar jack cheese

    Optional:

  • 1 avocado, sliced

  • 1 bunch scallions, chopped

  • Tortilla chips

  • Sour cream

Directions:

In the bottom of heavy-bottomed pot such as a dutch oven, heat 1 tablespoon of olive oil over medium-low heat. Add the diced onion and cook until it has started to soften and become translucent, about 3 minutes.

Turn the heat up to medium and add the chicken, stirring occasionally until it has started to brown, about 2-3 minutes.

Move the onions and chicken to one side of the pot and add 1 tablespoon of olive oil to the other side; heat for 30 seconds. Add the rice, moving it around occasionally so that it doesn’t stick to the bottom, but does start to toast, about 1 minute.

Next, add the chicken broth, tomatoes, black beans, cumin, chili powder, and garlic powder and stir so that all the ingredients in the pot are well combined. Season with coarse kosher salt.

Let the mixture come to a boil, then turn the heat to low and let simmer with the lid on until all the liquid has been absorbed, about 30-35 minutes.

Turn off the heat, then add the cheese. Put the lid back on and let the cheese begin to melt for 1 minute. Season once more with kosher salt.

Serve in bowls and top with more cheese, avocado, tortilla chips, and/or scallions.

TO STORE: Leftovers can be kept in the fridge in an airtight container for up to one week.
Easy Homemade Croutons

recipe: easy homemade croutons - seasoned with sydney

The bakery department at my local independent grocery store has been killing it lately. Ancient grain baguettes, country loaves, rosemary-garlic ciabatta - you name it, they’ve got it. And since everything is made on-site, the prices are incredible. The only problem? I can’t stop buying multiple loaves with no clear game plan! I’m the world’s biggest fan of freezing everything I’m not going to use right away, but even my trusty icebox has its limits. So when the days pass and I can see my little loaves in the corner of the kitchen slowly packing their bags for the big trash bin in the sky, I know there’s only one thing left to do: make croutons.

recipe: easy homemade croutons - seasoned with sydney

Making homemade croutons is the easiest way to keep the party going with your favorite loaves long after you’ve left the bakery. Sure, you could also make a killer french toast, but what’s better over a salad, on top of soup, or, honestly, just as a pass-by snack than crispy, crunchy, salty, and olive-oily bread morsels? Nothing! Nothing’s better!

recipe: easy homemade croutons - seasoned with sydney

30 minutes, an oven, and a few items in your pantry are all you need to turn that day-old bread into magical bits of crunchiness. Got an extra loaf lying around? Let’s make croutons! Trust me, you’ll never want to use store-bought again.

Easy Homemade Croutons

recipe: easy homemade croutons - seasoned with sydney

What You’ll Need:

  • 1 loaf of a day-old crusty bread (such as a baguette or ciabatta)

  • Coarse kosher salt

  • Freshly-ground black pepper

  • Extra virgin olive oil

Directions

Place an oven rack in the center of the oven, then preheat to 400 degrees Fahrenheit. Line a baking sheet with aluminum foil. Set aside.

Using a serrated knife, cut the bread into small, bite-sized pieces that are roughly the same size and shape. Place the bread pieces on the baking sheet.

Liberally season the bread on the baking sheet with kosher salt and black pepper. Next, drizzle the bread all over with olive oil.

Using your hands (or a large spoon), toss the bread around on the baking sheet, making sure that every piece is fully coated with the oil, salt, and pepper. When finished, spread the bread pieces out into a single layer on the baking sheet.

Bake for 20 minutes, or until the pieces have taken on a golden brown hue and are crisp to the touch.

Let cool on the sheet for at least 10 minutes (the croutons will harden slightly as they cool), then serve.

TO STORE: Croutons can be stored in an airtight container on the counter for at least one week.

Green Goddess Dressing

green goddess dressing recipe - seasoned with sydney

I’m getting into the dressing game.

After years of relying on the grocery store shelves to determine what I could slather on leaves in an attempt to trick myself into eating vegetables, it’s about time I started taking matters into my own hands by seeing what a few minutes, a handful of common ingredients, and an impossibly large collection of empty jars can do.

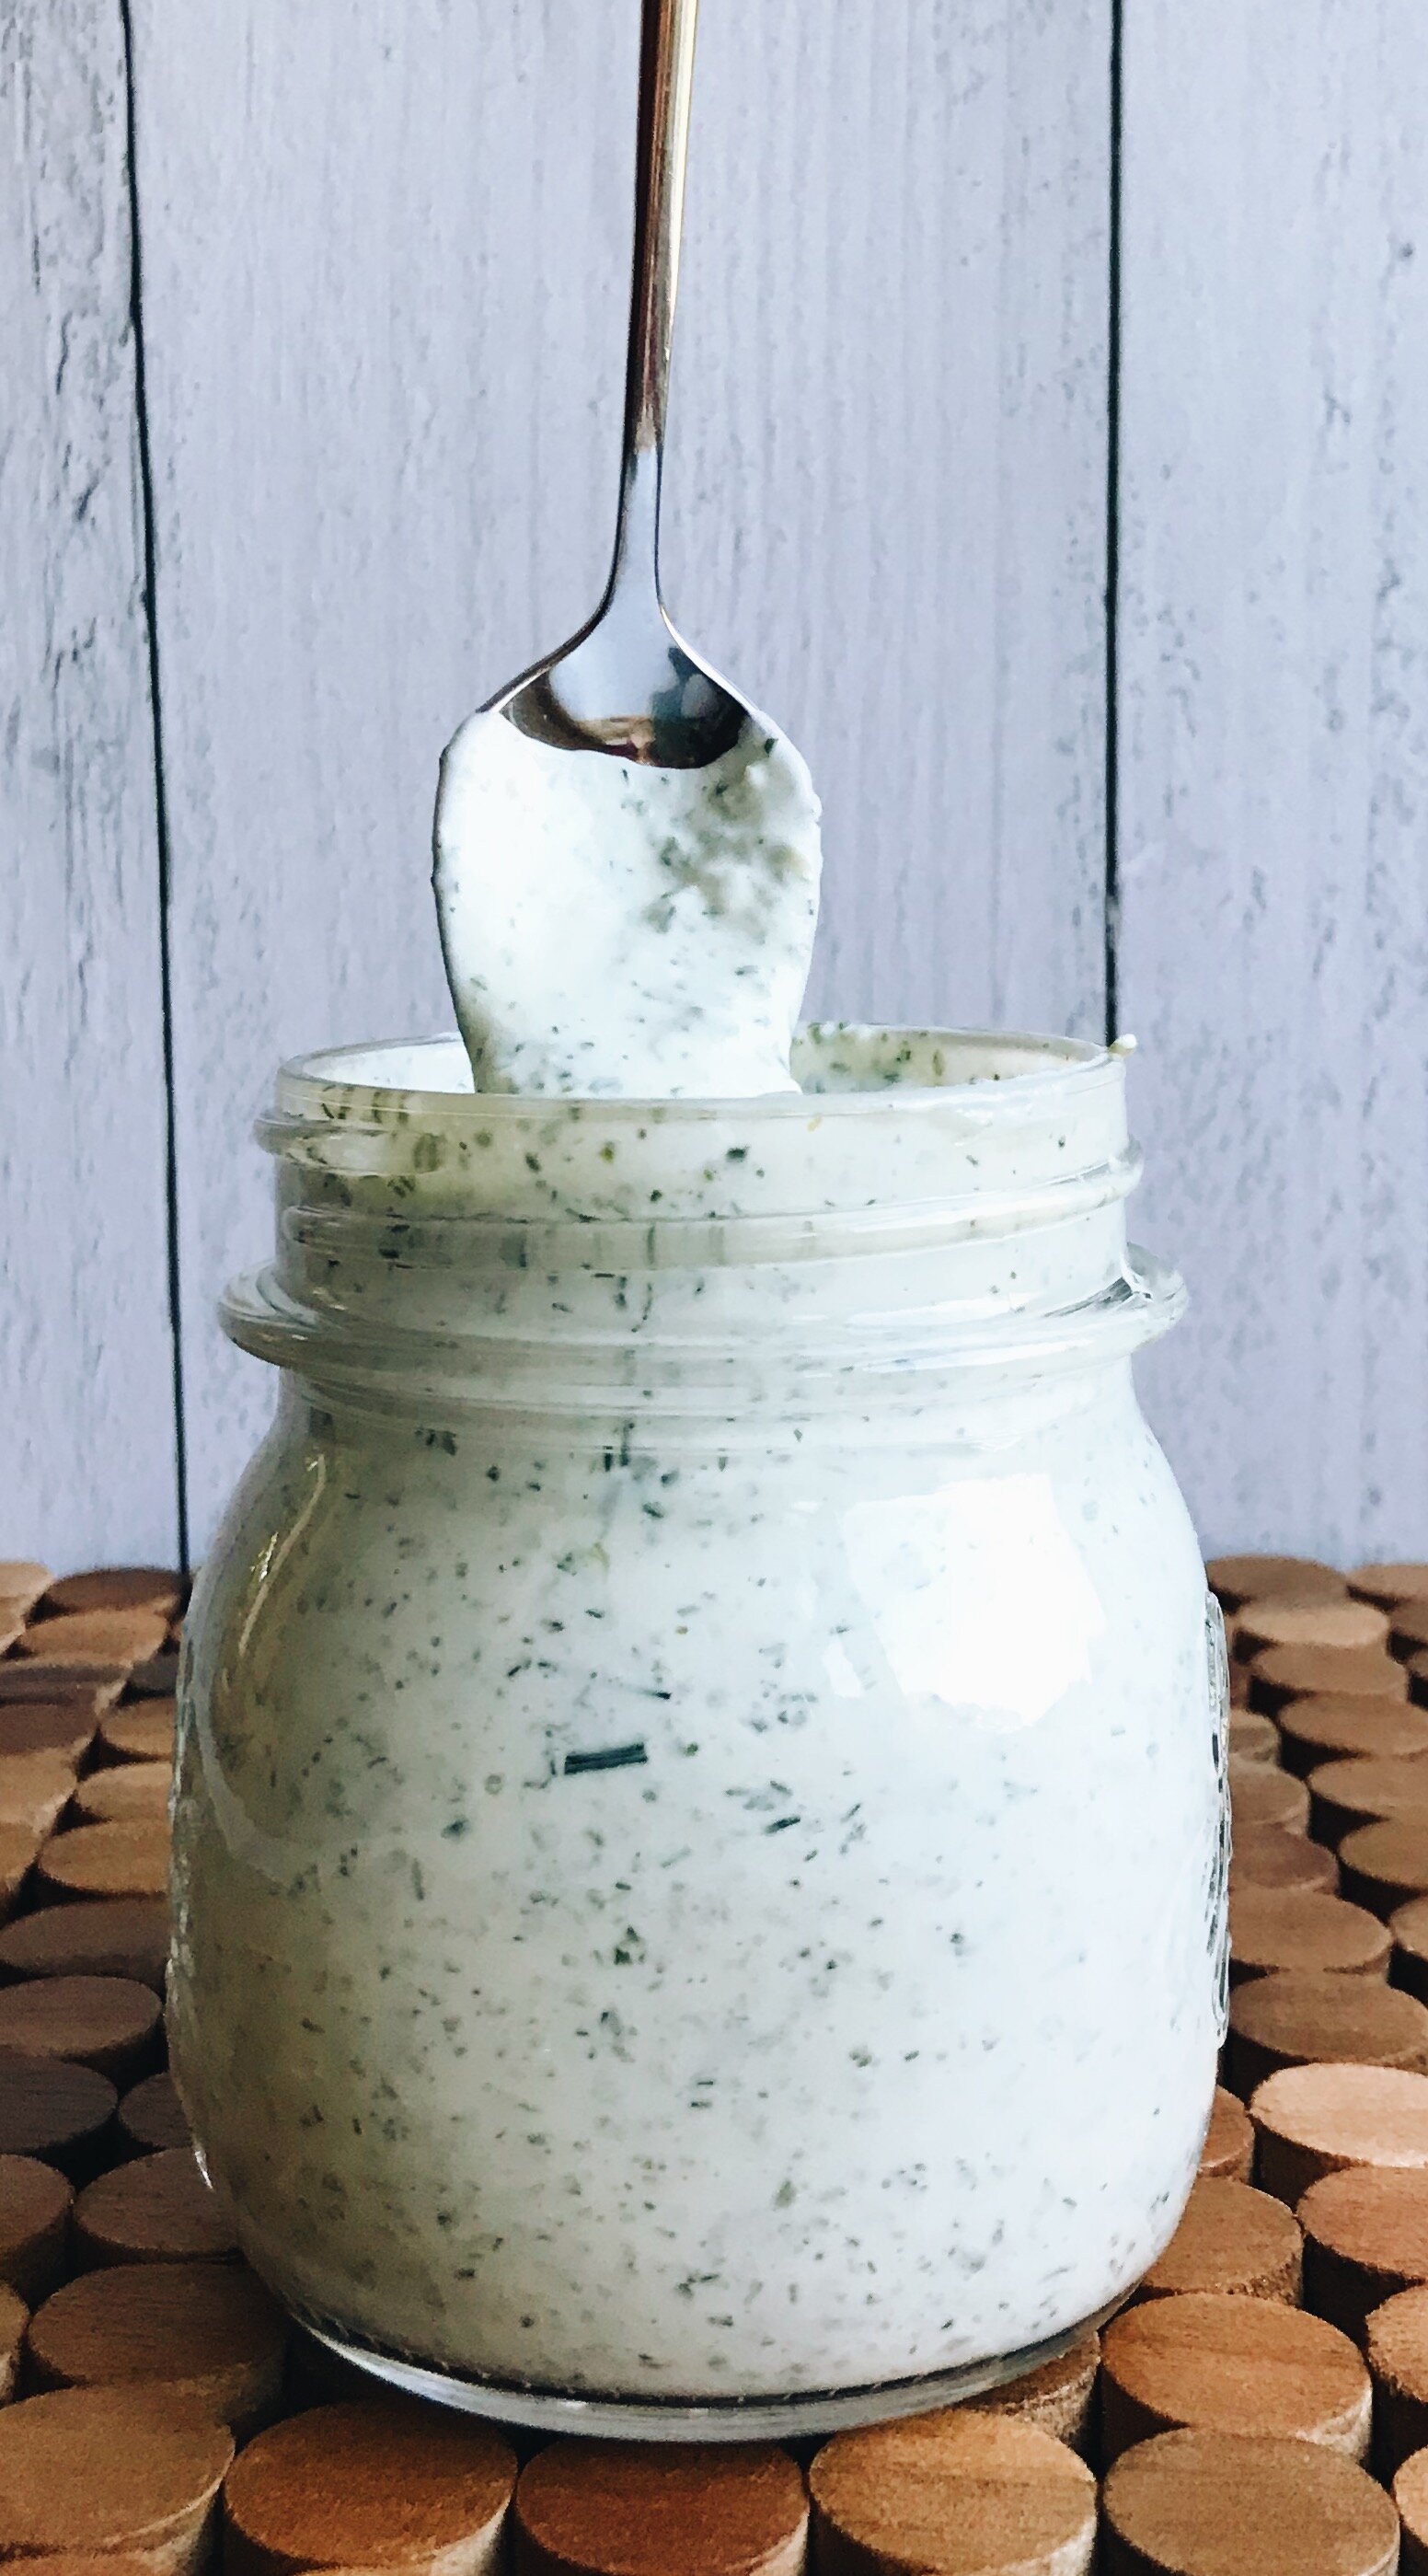
One of my absolute favorite dressings is green goddess. It’s thick and creamy with a deep green hue and a medley of flavors ranging from slightly spicy to a little bit brine-y. Traditionally, green goddess dressing is made with egg yolks, mayonnaise, garlic, anchovies, salt, and pepper - not unlike its fellow dressing, Ceasar. But the addition of a handful of fresh herbs sets it apart (and gives it its lovely green color).

green goddess recipe - seasoned with sydney

While I’m usually not one to shy away from traditional recipe ingredients, for my first foray into dressing-making, I decided to take a few creative liberties. More specifically, I ditched the anchovies and eggs. Don’t get me wrong, I love eggs and tolerate (at best) anchovies, but since there’s no real “cooking” or heat involved, I felt a tad iffy about using them. I also wanted a dressing that was on the lighter side, so I swapped out the mayonnaise for plain, full fat (or whole milk) Greek yogurt. It helps the dressing keep its wonderful viscosity, but doesn’t make it feel quite as heavy.

green goddess recipe - seasoned with sydney

The beauty of this easy homemade dressing is that any herbs will do as long as you’ve got enough for at least one cup. I happened to have on hand tarragon, dill, and cilantro which created a nice mix. But if you’ve only got one bunch of herbs, it’ll still be grand. This is also the perfect way to use up all the herbs in the garden before the big frost of fall sweeps over them for good.

With just a 20-minute prep time this light, spicy, and deliciously herbaceous take on the traditional green goddess dressing is sure to become an instant favorite!

Green Goddess Dressing

green goddess dressing recipe - seasoned with sydney

What You’ll Need:

  • 1 cup plain, whole milk Greek yogurt

  • 1 cup fresh herbs (I used tarragon, dill, and cilantro), roughly chopped

  • 2 garlic cloves

  • 1/2 tsp fine salt like sea salt or kosher salt

  • 2 tablespoons fresh chives, roughly chopped

  • Juice and zest of 1 lemon

  • Freshly ground black pepper

Directions

In the bowl of a food processor, place the Greek yogurt, herbs, garlic cloves, salt, chives, lemon zest, lemon juice, and black pepper. Pulse on low until the ingredients have fully combined, creating a light green sauce that is thick enough to coat the back of a spoon.

Adjust the seasonings with more salt and pepper to taste.

TO STORE: Dressing can be kept in an airtight container in the refrigerator for up to 1 week.
SOURCE: Adapted from Love and Lemons


Homemade Everything Bagel Seasoning

everything bagel seasoning, seasoned with sydney

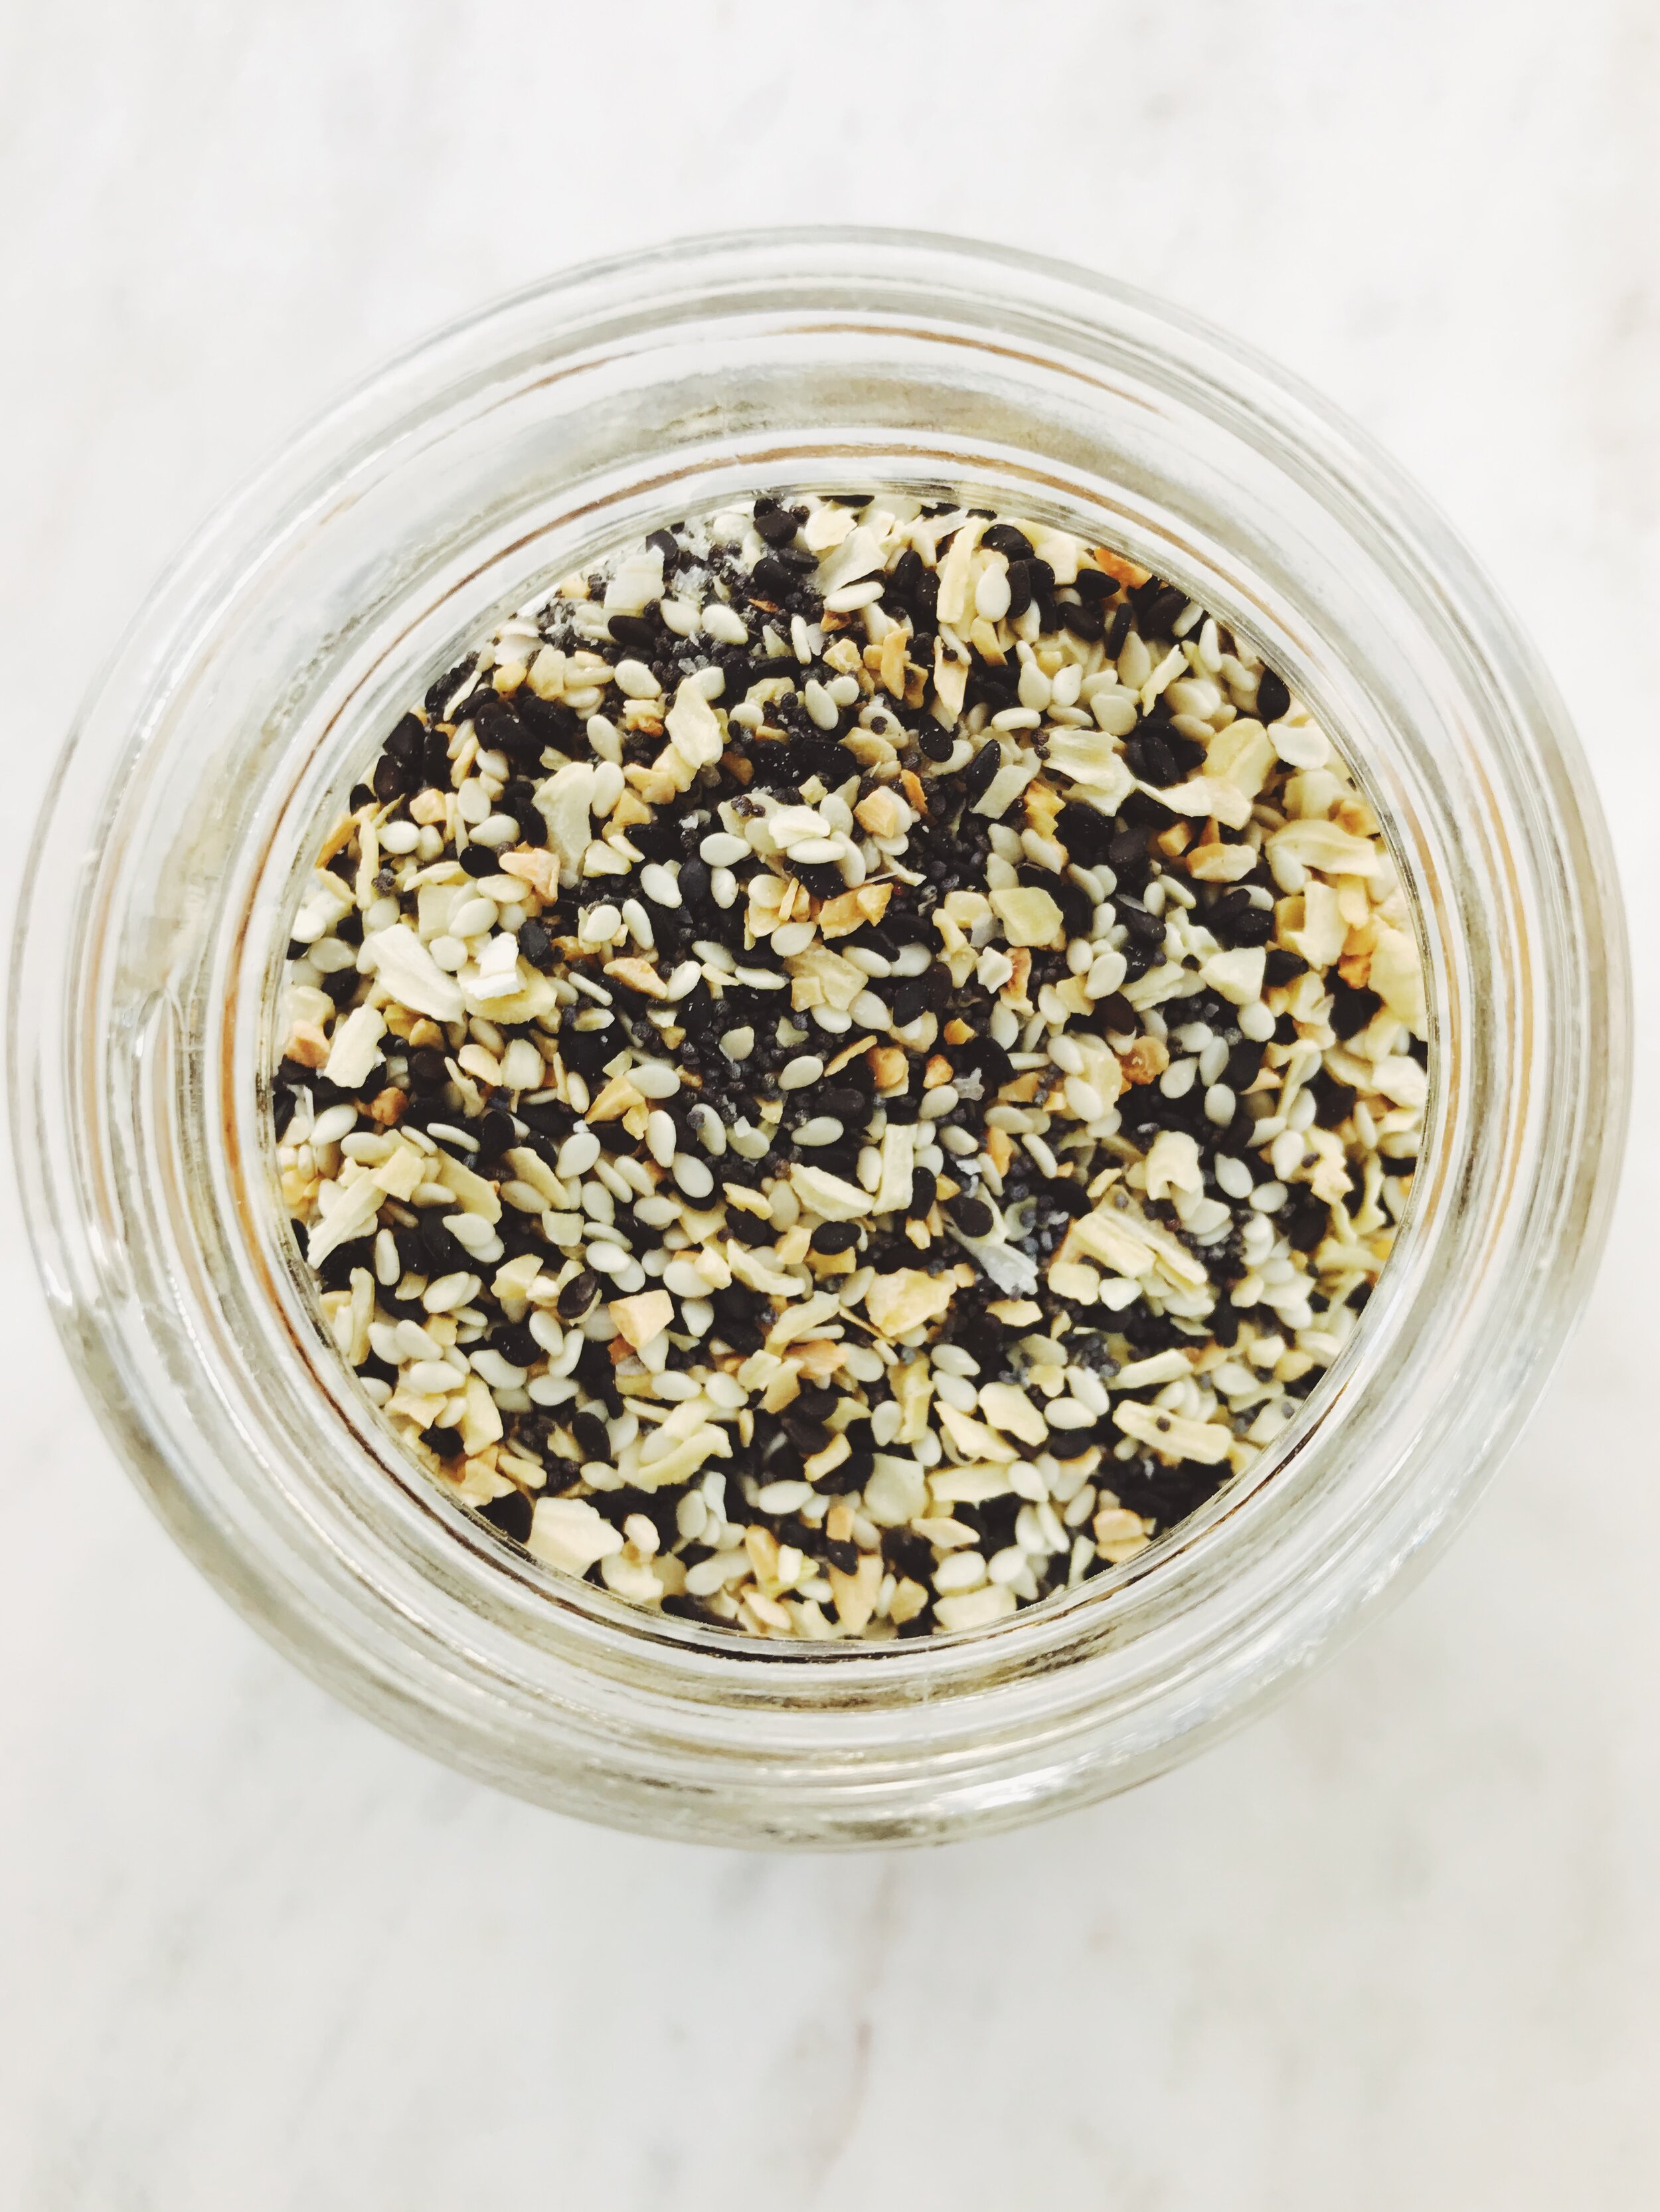
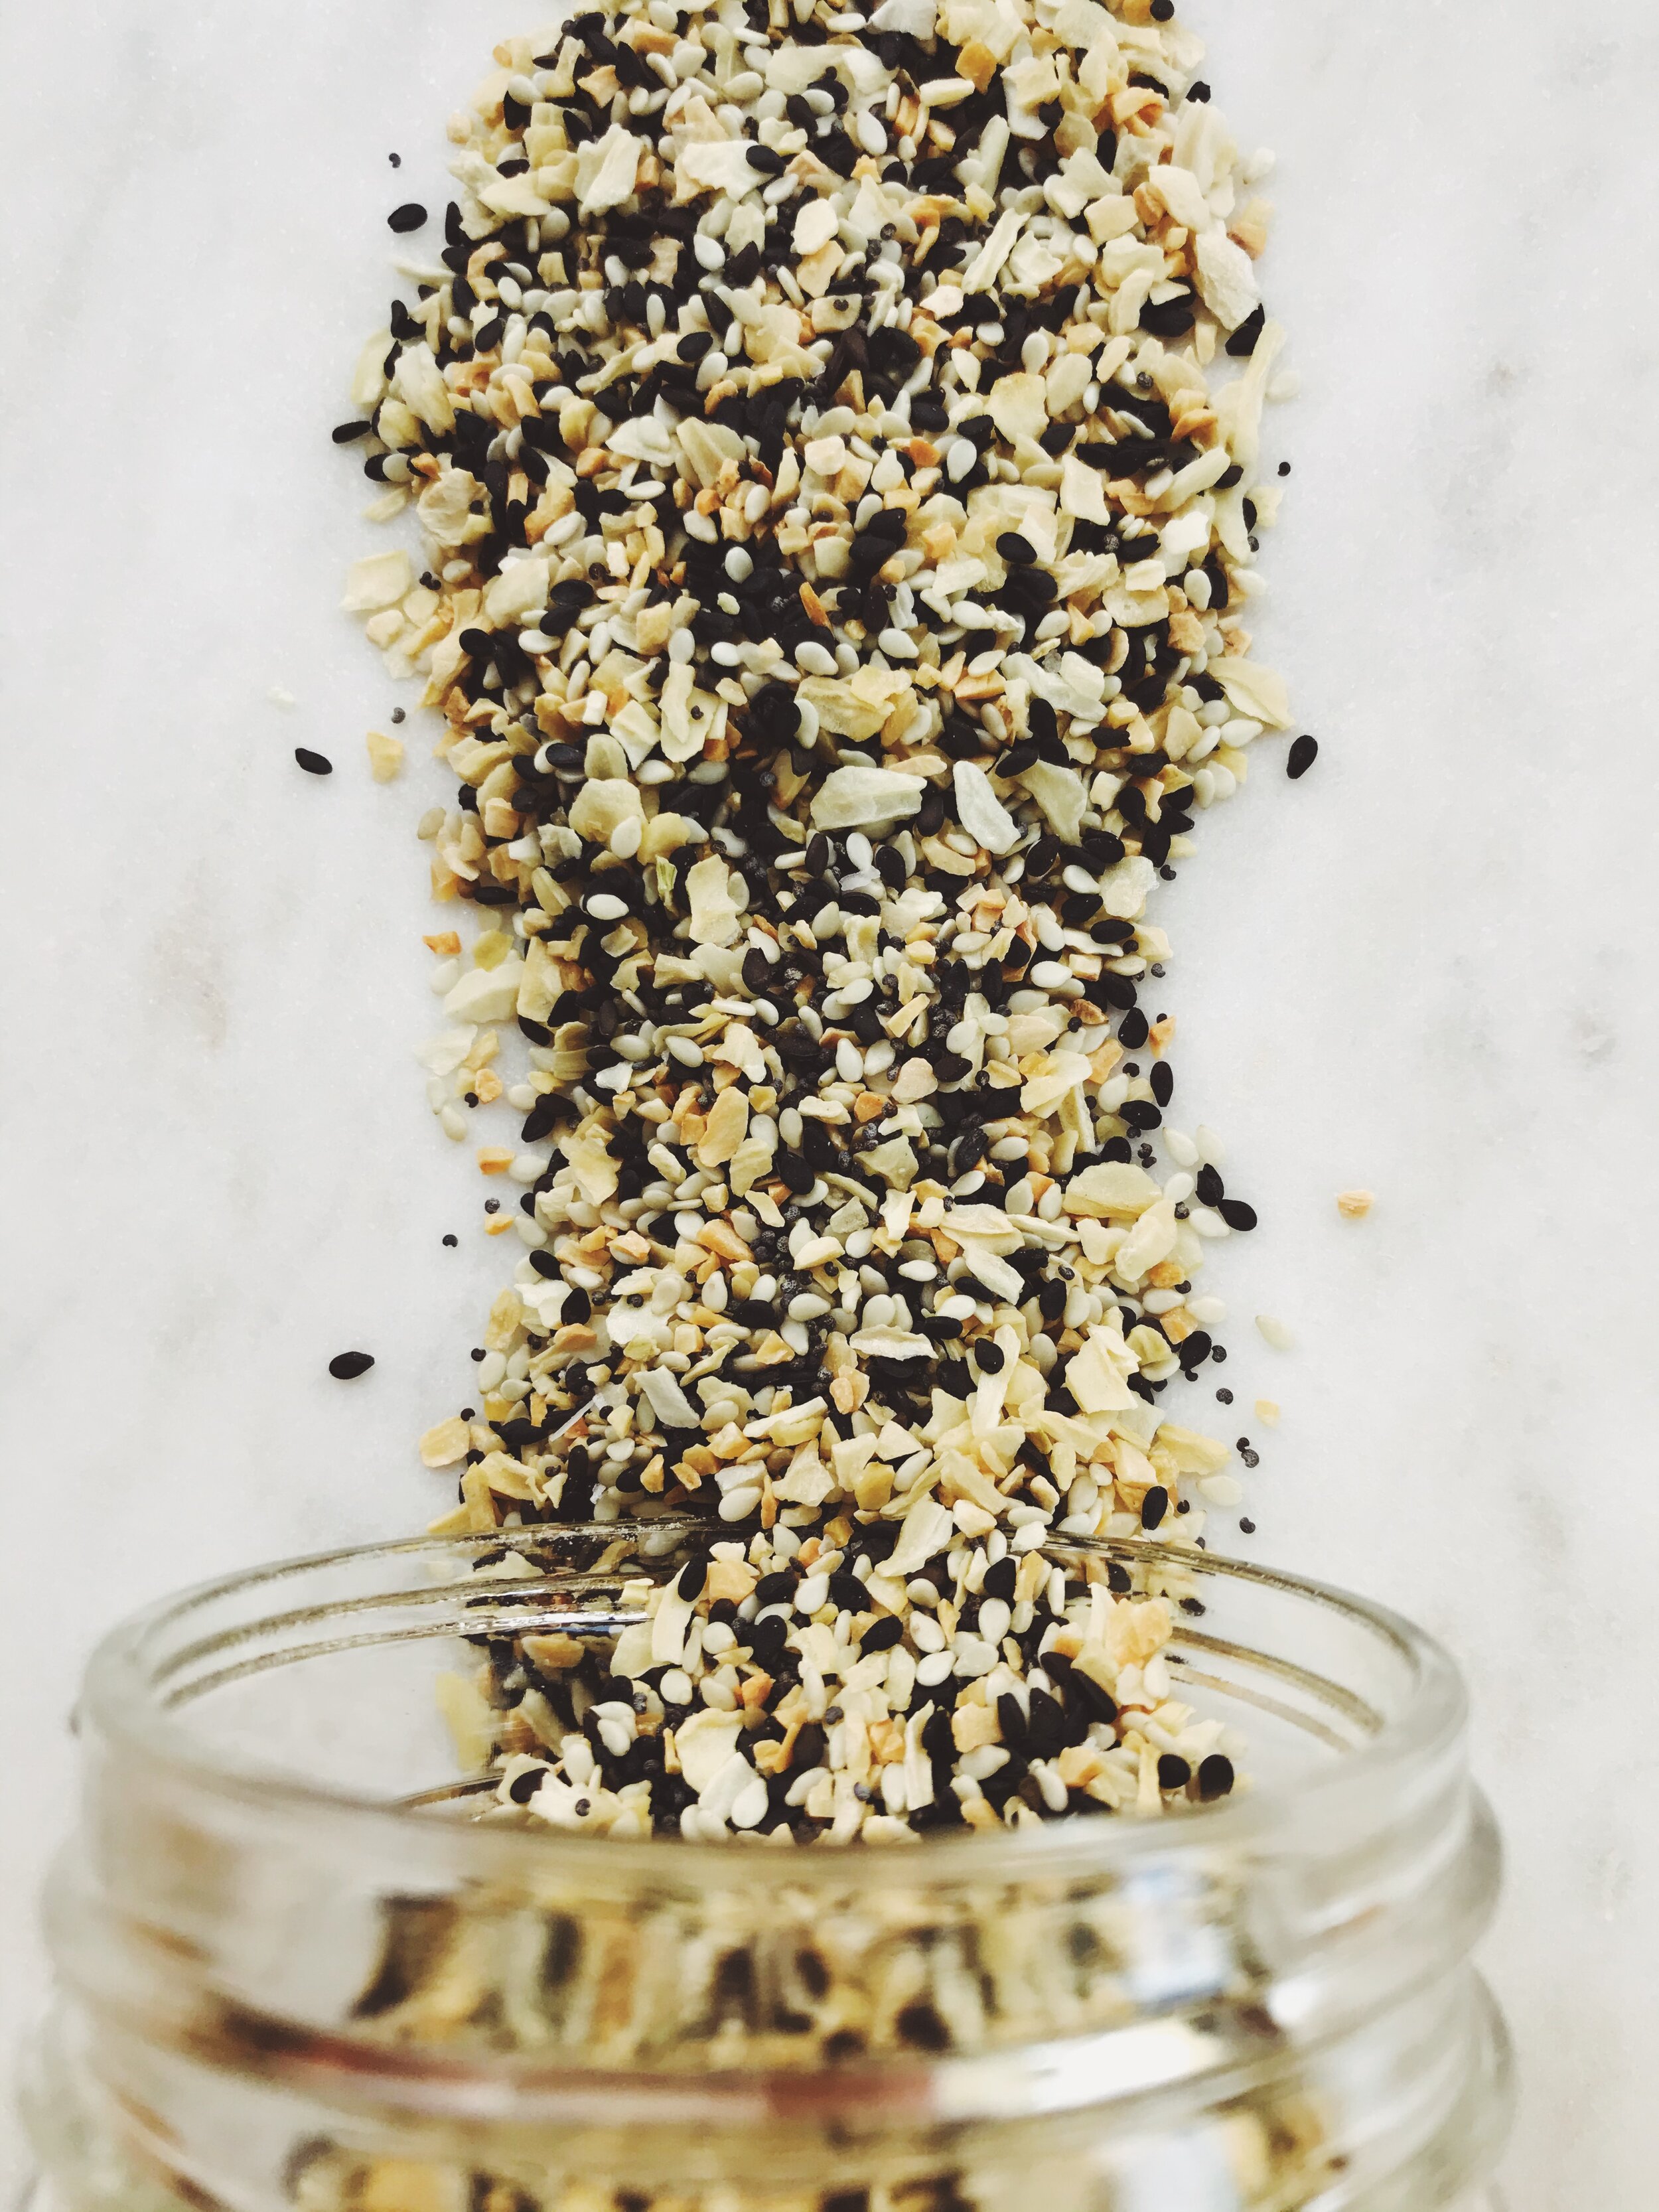
Ah, Everything Bagel Seasoning: the splendid combination of salt, crunch, and umami mixed into one. Perfect for sprinkling on homemade bagels, fried eggs, avocado toast, and even by the occasional spoonful directly into your mouth - the possibilities are truly endless, and that’s a beautiful thing.

everything bagel seasoning, overhead picture - seasoned with sydney

Throughout the years I’ve seen countless brands getting into the Everything Bagel Seasoning game, from Trader Joe’s to McCormick. While it’s been a fan favorite flavoring mix for decades, Everything Bagel Seasoning has grown in popularity recently thanks in part to food world superstars like Molly Yeh and Gaby Dalkin, who frequently incorporate it into their recipes. Dalkin even partnered with Williams-Sonoma to come out with her own line of Everything Bagel Seasoning.

everything bagel seasoning spread out - seasoned with sydney

So with so many pre-made options on the market located practically everywhere, you might be wondering: why make your own?

My answer? As with countless other things in life, homemade is always the best. Not only will you get to control the proportions (fancy a little more minced garlic or want an enhanced crunchiness with extra sesame seeds?), you’ll also get the sense of accomplishment that only comes from creating something from nothing using your own hands - and with this being an incredibly low-stakes DIY endeavor, the payoff I’d say is pretty high!

So go ahead, grab your favorite spice jar and the ingredients and get to work creating a magical combination that will take your favorite dishes to the next level. You’ll be glad you did!

EVERYTHING BAGEL SEASONING

Everything Bagel Seasoning - Seasoned with Sydney

What You’ll Need:

  • 1 tablespoon poppy seeds, plus more

  • 1 tablespoon black sesame seeds, plus more

  • 1 tablespoon white sesame seeds, plus more

  • 1 tablespoon dried minced garlic, plus more

  • 1 tablespoon dried minced onion, plus more

  • 1 teaspoon coarse kosher salt, plus more

DIRECTIONS

In a small mixing bowl, combine the poppy seeds, black sesame seeds, white sesame seeds, minced garlic, minced onion, and coarse kosher salt. Mix well.

Transfer the combined mixture to your preferred spice storage container such as a spice jar or another small, airtight container.

Repeat the process until the storage jar has reached capacity.

To store: Store in a dry place. Mixture should last for several months.

*Use this as a guide and don’t be afraid to add or subtract based on your preferences. The beauty of adding “everything” is you get to decide just what “everything” means to you!

Peach Jam

How can we let Summer pass us by without celebrating one of it's many gifts: peaches? Seems like an opportunity that just can't be missed if you ask me. Now, there are many different directions that we could go in with our little round friends that are only in season for a hot (really hot, like 90-degree-weather kind of hot) second. Ice cream, shortcake, scone, sangria. But I decided to do what my heart was telling me to do; make jam. And what baby wants, baby gets. My heart is the baby in this scenario...Or maybe it's my stomach?

Let's move on.

Some people prefer to make their jam with granulated sugar, but I tend to prefer light brown. To me, it brings a warmth and more nuanced flavor than just white sugar. It helps to sweeten whatever berry or stone fruit that you've decided to make into a jam, while also giving more of a depth of flavor. This go-round, I also decided to add a little splash of vanilla. But, you should only do this if you're truly a die-hard vanilla fan as it is a flavor that refuses to stay subtle. I happen to love it, but the choice is yours and yours alone.

Of course, one very vital ingredient when making jam, whatever kind you choose, must be lemon. Not lemon extract, but fresh lemon juice, plus the zest. What lemon does is not only brighten the other flavors in your delectable compote, but also cuts through some of the sweetness with a little kick of acidity. Without lemon, your jam could become cloyingly sweet, and no matter how big of a sweet tooth you have, there is actually such a thing as something being too sweet. I learned that the hard way.

Processed with VSCO with s2 preset

I've said it before, and I will say it forever: I am at my utter best when making jam. Perhaps it's that it fills the home with such warm and sweet aromas that linger for hours. Or maybe it's because it's the closest I ever feel to my ancestors, the ones who lived in the real country in Tennessee, who knew the value of hard work, who foraged and canned not because it was on trend, but because it's just what was done. I feel like my great-grandmother is with me somehow when I'm standing over a bubbling pot, guiding me along, and introducing me to the Tennessee side of me. I call her Country Sydney, and I only get to see her when the sun's out and I'm frolicking outside in a field in a pair of wellies. I like Country Sydney  And I think my great-grandmother would, too.

Great Granny Tiny, this peach jam is for you.


PEACH JAM 

What You'll Need:

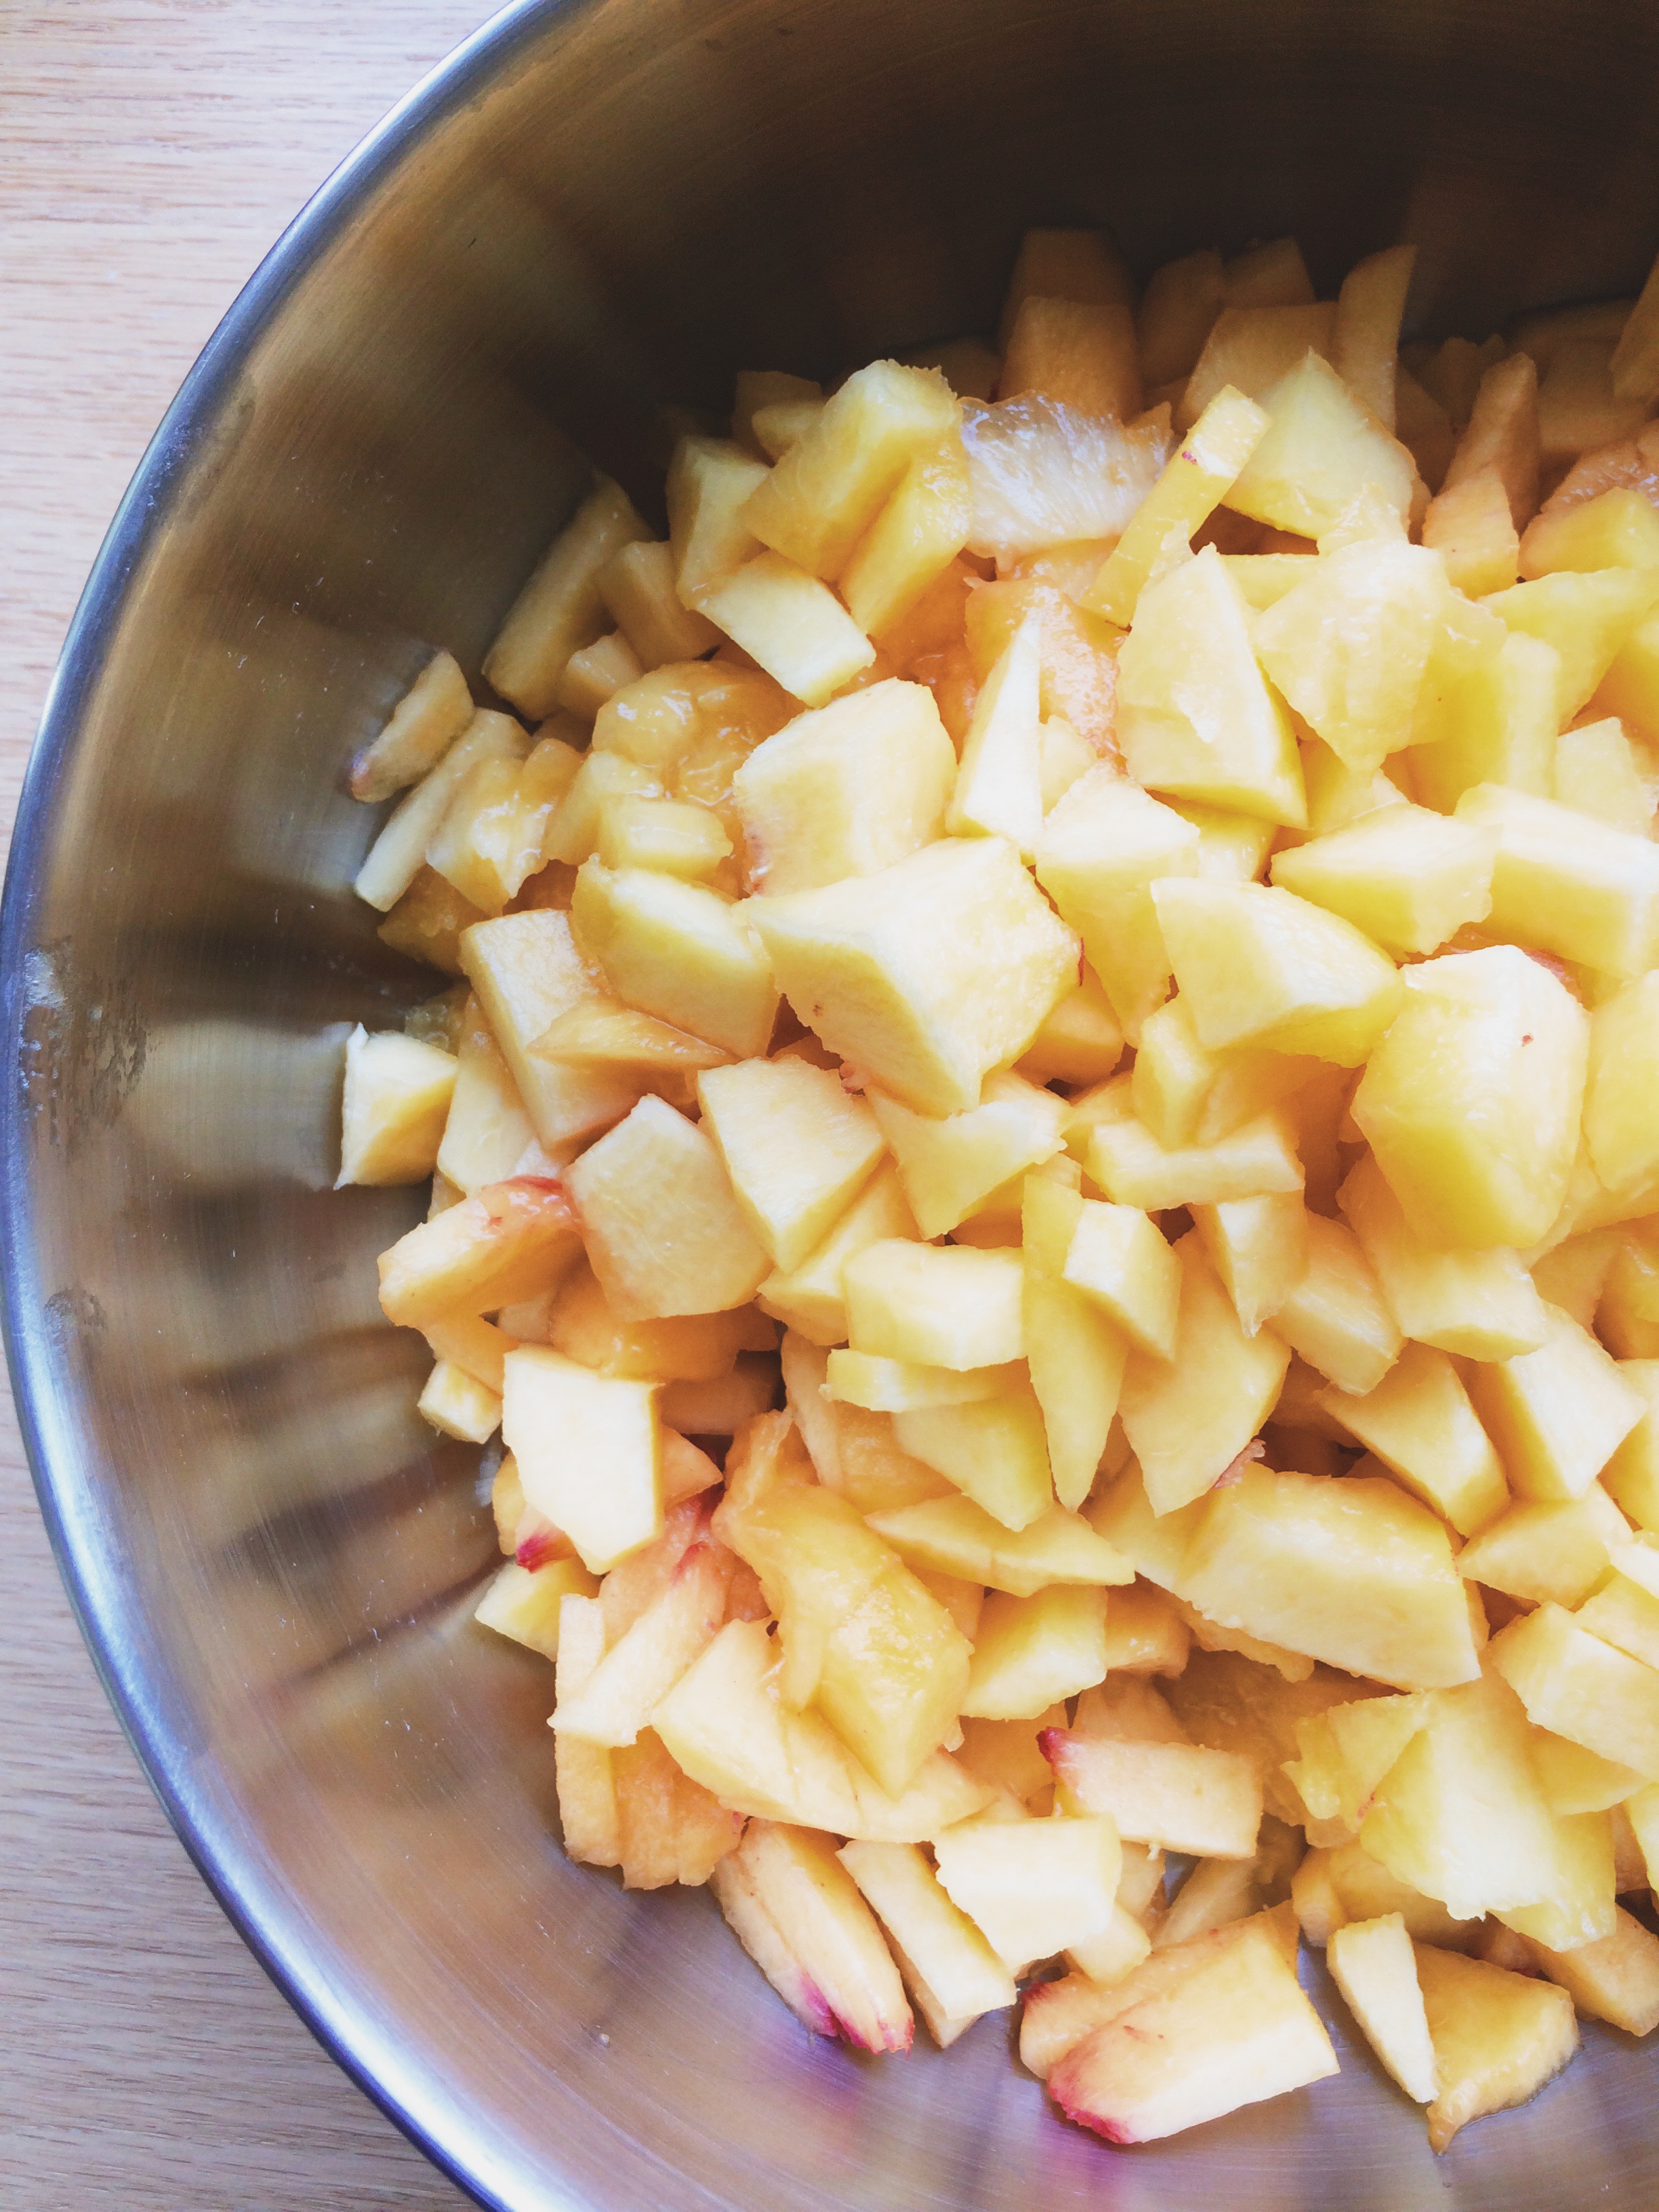
  • 6 peaches, peeled, pitted, diced
  • 1 cup (at least) brown sugar
  • Zest of 1 lemon, plus juice of (AT LEAST) half
  • Splash of vanilla, optional
  • Pinch of salt

DIRECTIONS

Add peaches, brown sugar, lemon zest, juice of half of a lemon, vanilla (if using), and pinch of salt to a medium sauce pan. Stir to combine.

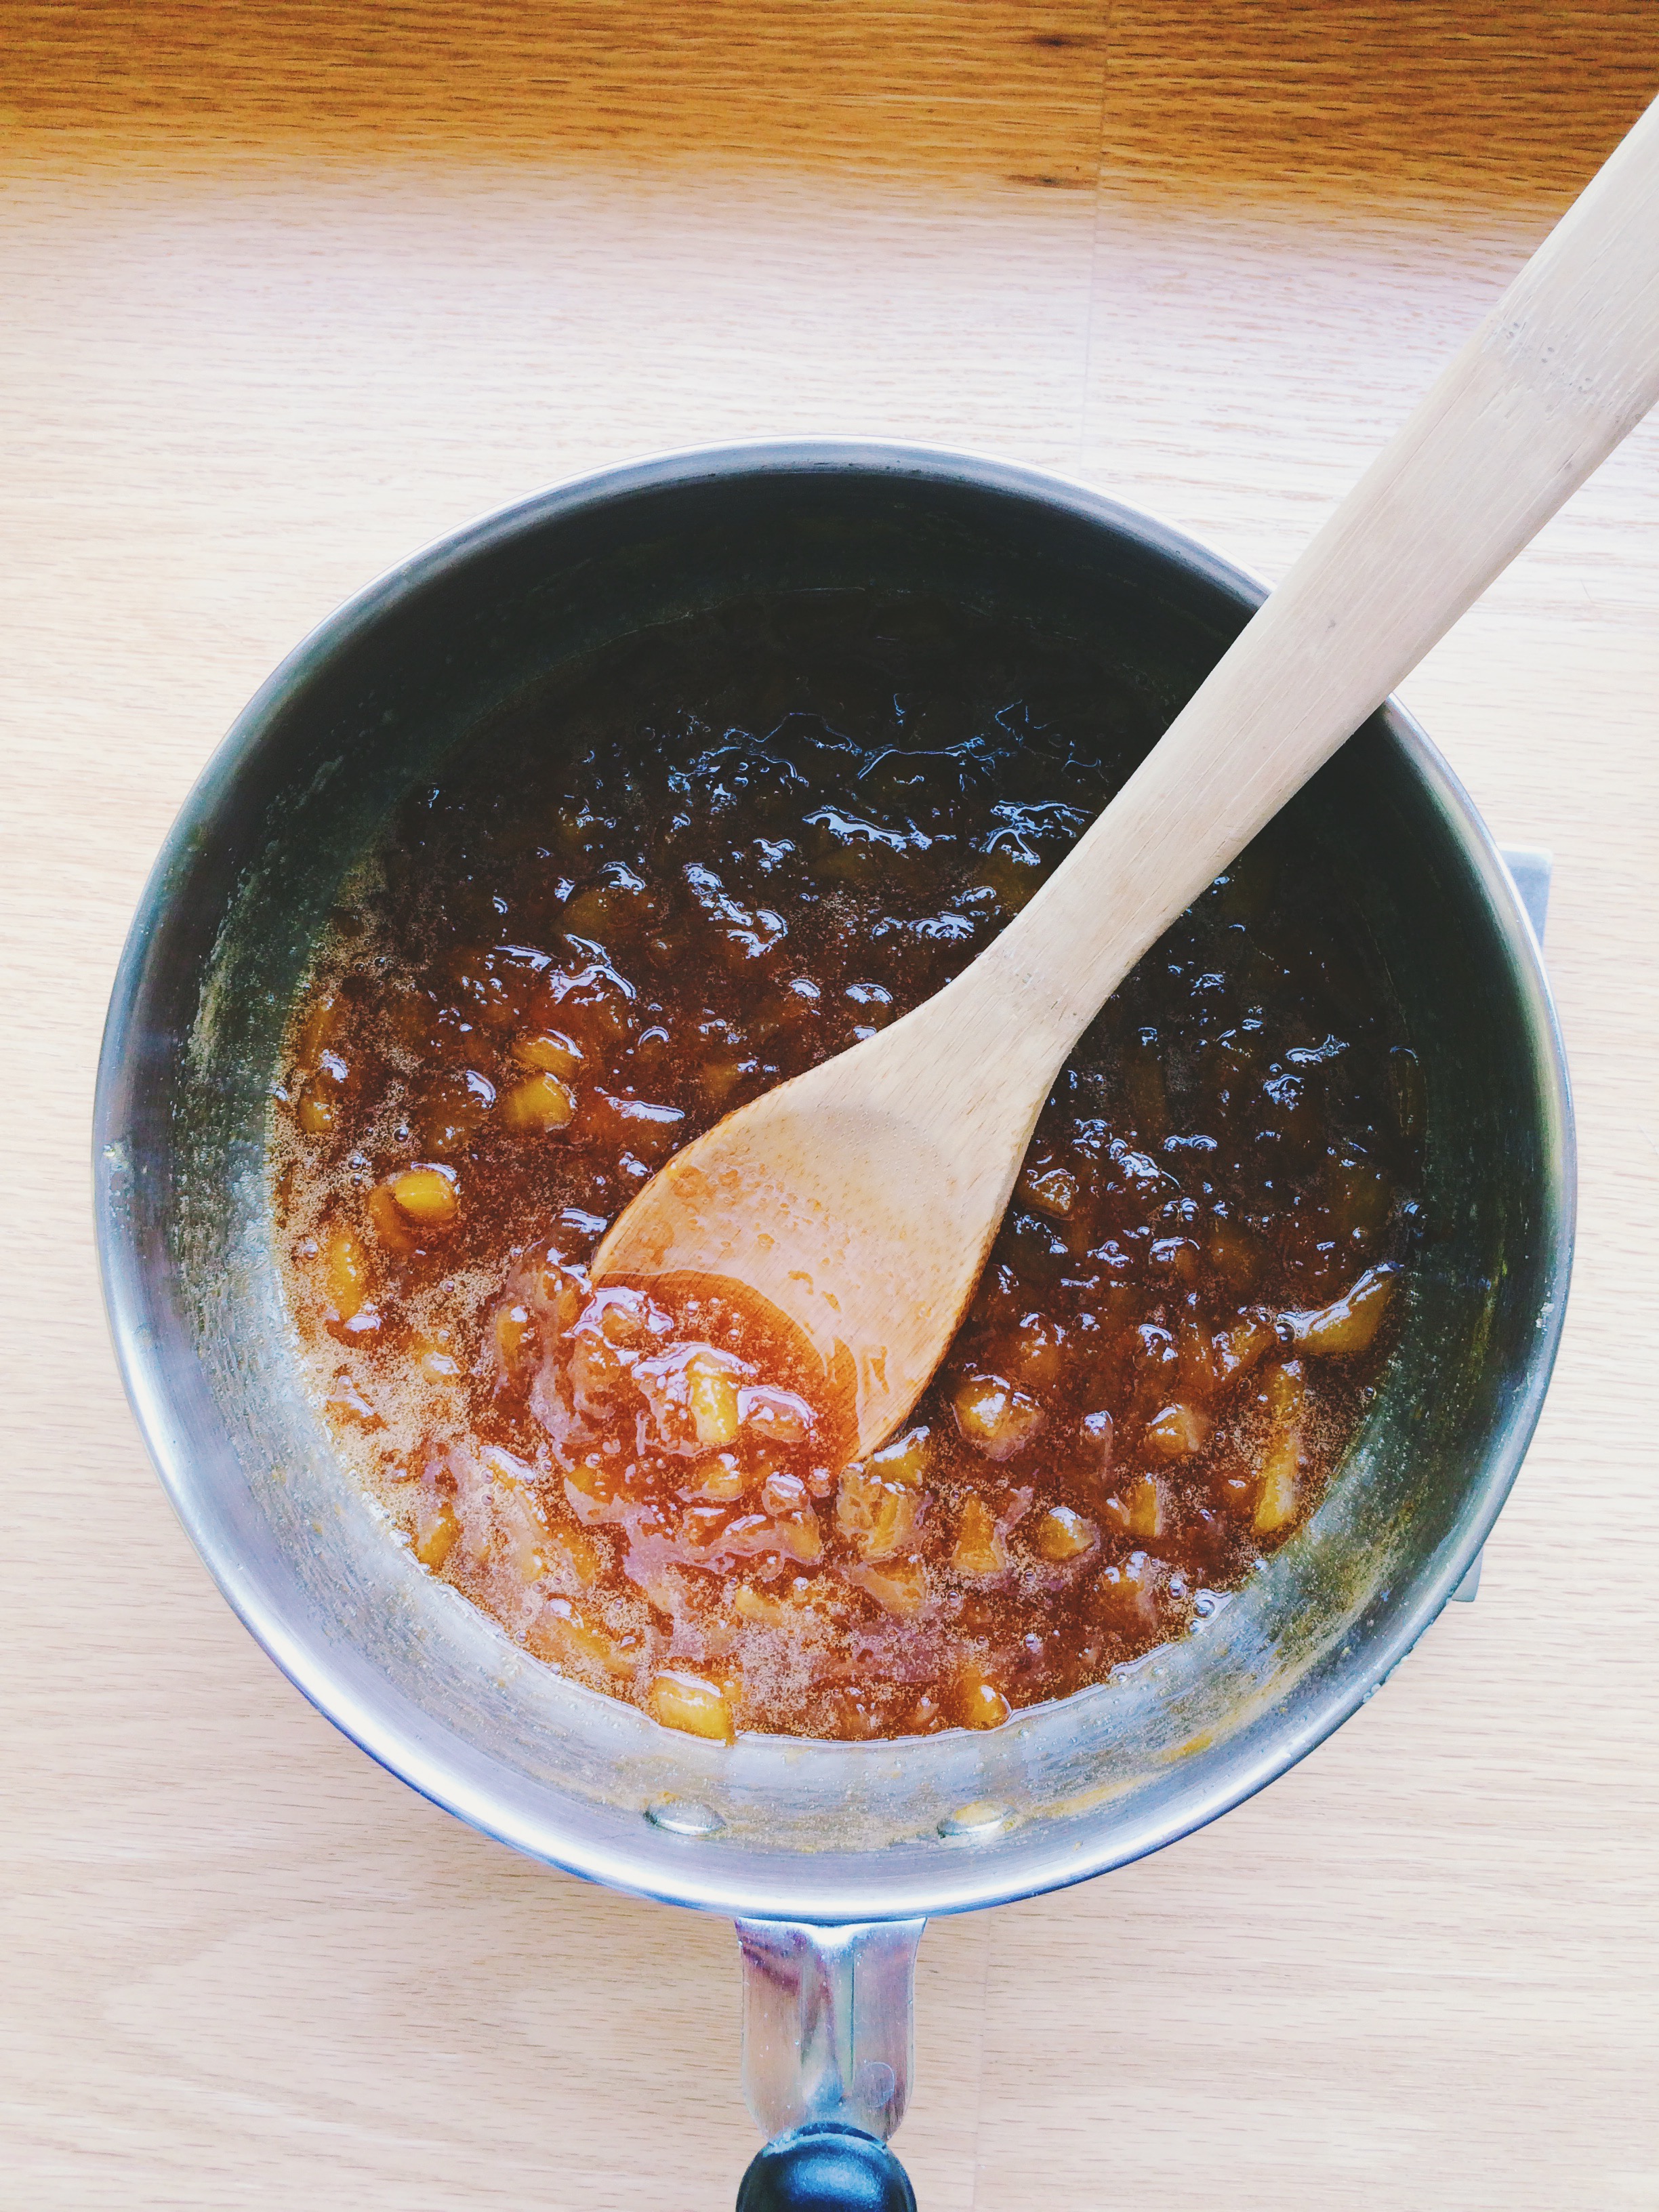
Cook the pan over medium-high heat, stirring frequently with a wooden spoon so that the sugar starts to dissolve, and the peaches begin to release their juices. Occasionally, mash the peaches with the back of your spoon to flatten them.  As the mixture starts to heat up, it will start bubbling rather vigorously, and maybe even spit up at your arm while you're stirring. Do not be alarmed. This is par for the course when you are creating delicious magic. DO NOT leave your jam at any time during this stage as it can go from fruit to burnt-beyond-belief in very, very little time.

Along the way, make sure to taste test. If the mixture is too sweet, add the other half of the lemon juice. If it's not sweet enough, add sugar by the teaspoon until it's sweet enough to your liking. (I tend to think that it's better to start off with less and add a little more, rather than start off with too much and not be able to fix it.)

Cooking time should be around 30-50 minutes depending on your stove. What to look for when seeing if your jam is done is whether or not it coats the back of the spoon. CAREFULLY draw a vertical line down the back. Has it left a defined line while the rest of your spoon is still coated with a thick jam? Yes? Congratulations, you've just passed the "line" test. Also, YOU HAVE PEACH JAM.

It's important to note that I prefer my jams on the "chunkier" side  because I like the differences in texture. If you are the same way, make sure that while there are still some little chunks of peaches, those chunks are completely soft. If you just want straight-up smooth jam, you can run it through a fine mesh sieve when it has cooled.

Once your jam has reached it's final stage, take it off the heat and let it cool in the saucepan before transferring to a clean mason jar. Store in the refrigerator.

The jam should keep in the refrigerator for several weeks.