
Homemade Oreos
 I've been missing Boston lately. More specifically, I've been missing my local eateries; and there were many. I miss reading about new restaurants opening, and just hopping on the train, hopping in line, and experiencing something first-hand instead of reading about it later. And when I get into a mood like this, I turn to my cookbooks, for they always know how to cheer a girl up. Do you know what also cheers a girl up? Chocolate. Chocolate cookies. Buttercream frosting. Buttercream frosting sandwiched between two chocolate cookies. Oreos. I'm talking about Oreos.
The first time I ever visited Flour Bakery I was amazed by the selection of truly beautiful foods. How could they fit so much loveliness into such limited space? But more importantly, I was amazed by the sheer unpretentiousness of what Flour had to offer. Some of the biggest bakeries in the city try to dazzle you with sophisticated names, bright lights, fancy decorations, and anything else they can think of to draw you in. Don't get me wrong, I like to be dazzled by complicated creations as much as the next food lover, but sometimes I want a no-frills, just great taste, bakery experience. And while Flour did have cases filled to the brim with impressive pastries and sandwiches, it also stayed true to the neighborhood bakery feel with classic cakes and cookies that I grew up eating. I loved that Flour could take a childhood classic, like an Oreo, and make it completely rustic and completely their own. It was that sort of approachability to the classics that made me come back every time.
So, on days when that feeling of missing something just won't go away, I have to slip on the apron, and make it at home. Oreos, here we come.
 I think the only thing that I was truly worried about when making these cookies was rolling up the dough. I'd never done slice-and-bake cookies before, and perhaps this was unnecessary, but I felt that the task might be a little daunting. What if I didn't roll the log into a smooth enough shape? What if, when I went to slice them, I would slice too thinly or too thickly? What if, in an especially clumsy state, I went to cut the log and the whole thing went rolling to the floor? Two out of three scenarios actually happened. I'll let you guess which ones.
 In all honesty, I probably shouldn't have been so nervous. Though it wasn't the smoothest log that it could've been, it still had a nice shape, and I was able to get great cookies out of it. Yes, I did slice a few too thinly, and also a few slightly thicker than the rest, but the trick is to make sure every cookie has a mate. These are sandwich cookies after all! And as good as these cookies taste on their own, trust me, you'll want that buttercream frosting on every single one. No buttercream shall go to waste!

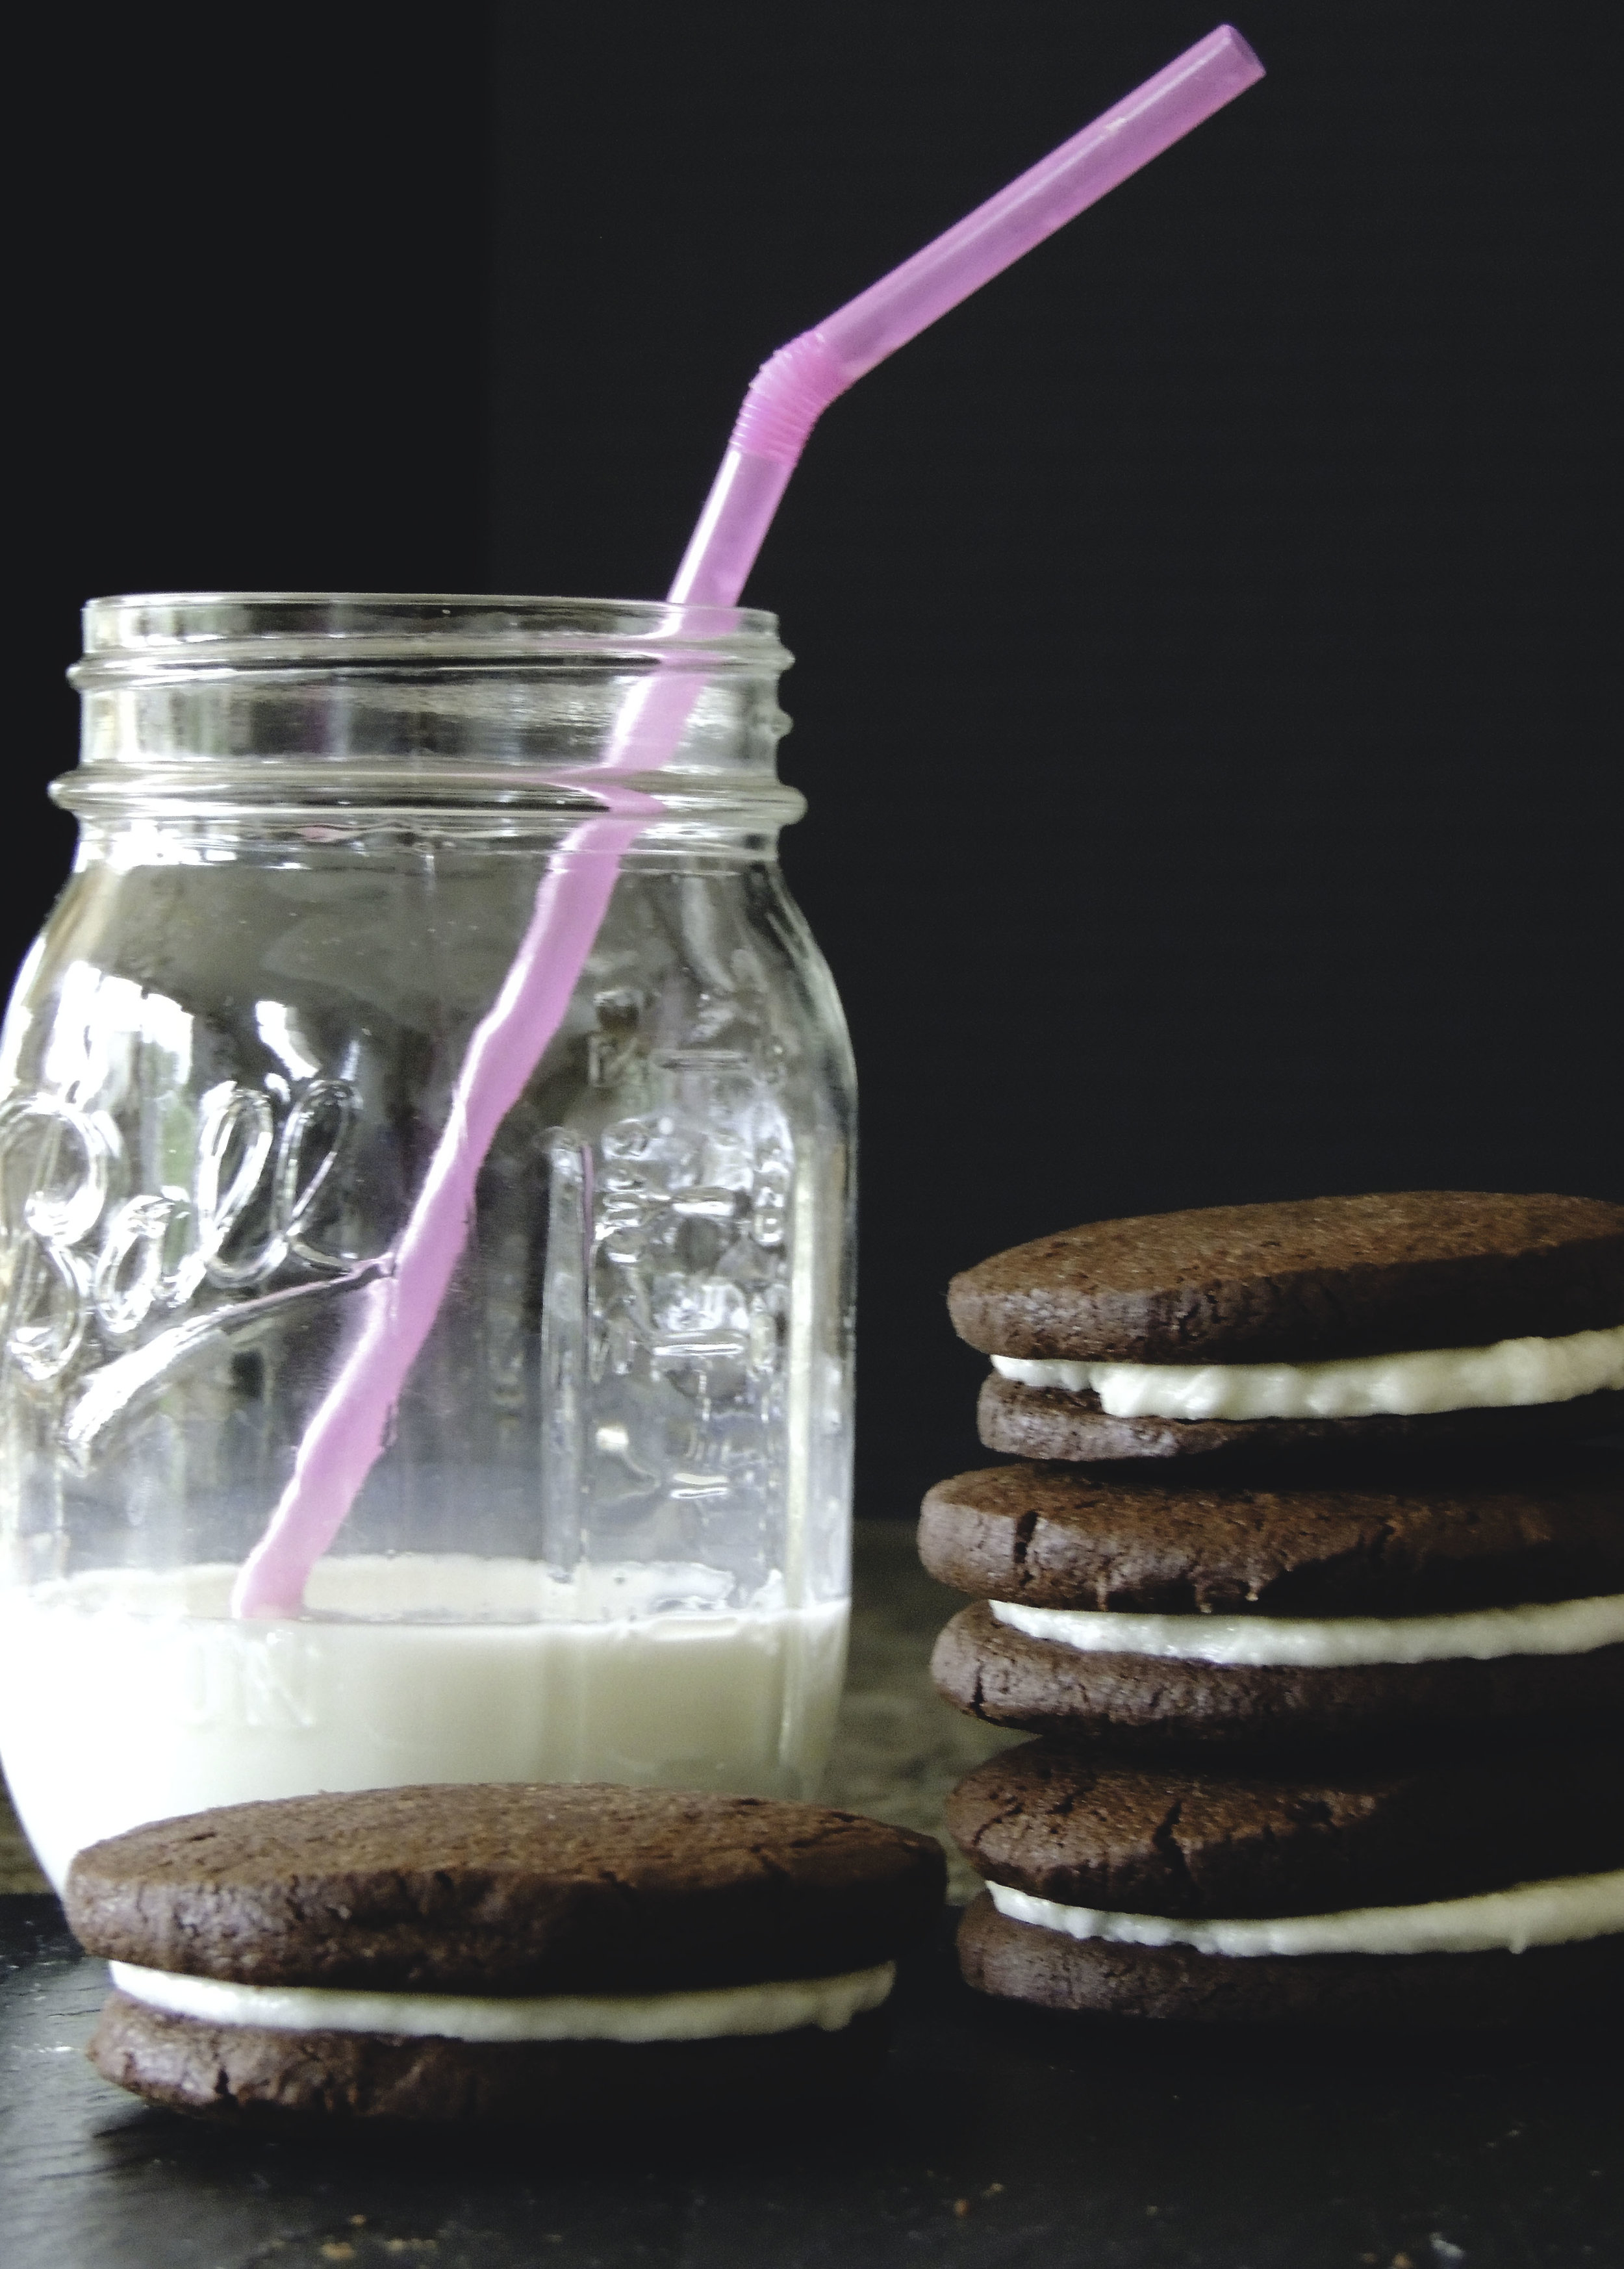
It's almost scary how good these cookies are. They're partially crunchy, partially fudgey, partially creamy, and wholly delicious. And also sooo unbelievably tasty paired with a nice glass of whole milk. They're a little too big for dunking in the average-sized glass, but you can always break them up into pieces should the need for dunking arise.
Boy, am I going to miss these cookies when they're gone.
What You'll Need:
For the Cookies:
- 1 cup (2 sticks) unsalted butter, melted and slightly cooled
- 3/4 cup granulated sugar
- 1 teaspoon pure vanilla extract
- 1 cup semisweet chocolate chips, melted and slightly cooled
- 1 egg, room temperature
- 1 1/2 cups all purpose flour
- 3/4 cup cocoa powder
- 1 teaspoon fine kosher salt
- 1/2 teaspoon baking soda
For the Buttercream Frosting:
- 1/2 cup (1 stick) unsalted butter, softened and at room temperature
- 1 2/3 cups confectioners’ sugar
- 1 teaspoon pure vanilla extract
- 1 tablespoon whole milk
- dash of kosher salt
Directions:
In a large bowl, whisk together the melted butter and granulated sugar until well combined. Next, whisk in the vanilla extract and melted chocolate. Add the egg and whisk until well combined.
In a medium bowl, stir together the flour, cocoa powder, salt, and baking soda until well combined. With a wooden spoon, slowly add the flour mixture into the bowl with the chocolate mixture. As you’re mixing, the dough might seem to get a little tougher to work with; don’t worry, that’s normal. Once it comes together, it should have a play dough-like consistency. Let the dough rest at room temperature for one hour to firm up.
Cut out a 15-inch sheet of either parchment or wax paper (I used wax paper), and carefully transfer the dough onto it. With your hands, roughly shape the dough into a log about 10 inches long. Place the log on the end of the sheet of wax or parchment paper, and roll the paper around the log. With the paper fully around the log, roll it into a smoother log shape. (I cut into an old paper towel roll, and used that to roll the log into a smoother shape.) Refrigerate for at least two hours, or overnight.) It may lose its shape while resting in the fridge, so make sure to check on it once in a while and take it out for a re-roll.
When it’s time to bake:
With a rack positioned in the center of the oven, heat the oven to 325 degrees F. Line a baking sheet with a piece of parchment paper. (Depending on how many cookies you slice, you may end up lining several baking sheets.)
Take your log out of the refrigerator, and let sit for a a minute or two to soften a little bit. Cut the log into 1/4 inch thick slices. (It should be noted that I tried to do this, and only managed to slice 1/4 inch slices some of the time. If you end up in the same boat as I was remember this: just try to keep your slices evenly sized, whatever you do.)
Place your slices about 1 inch apart on the baking sheet, as they tend to spread a little bit while baking.
Bake for 20-25 minutes, or until the cookies are firm to the touch. Make sure to keep a close eye on them, and after about 17 minutes, gently poke them in the middle to see if they’re firm. As soon as they’re firm to the touch, take them out of the oven. (Determining how long to keep them in will depend on your oven. For me, they weren’t firm until they’d been in for 21 minutes, so make sure to test your cookies for yourself!)
Let your cookies rest on the baking sheet(s) until they’ve come to room temperature. (It’s important that your cookies have cooled properly. If they’re too warm, the delicious buttercream will melt and slide right off of them. No one wants that.)
While your cookies are cooling, let’s make the filling!
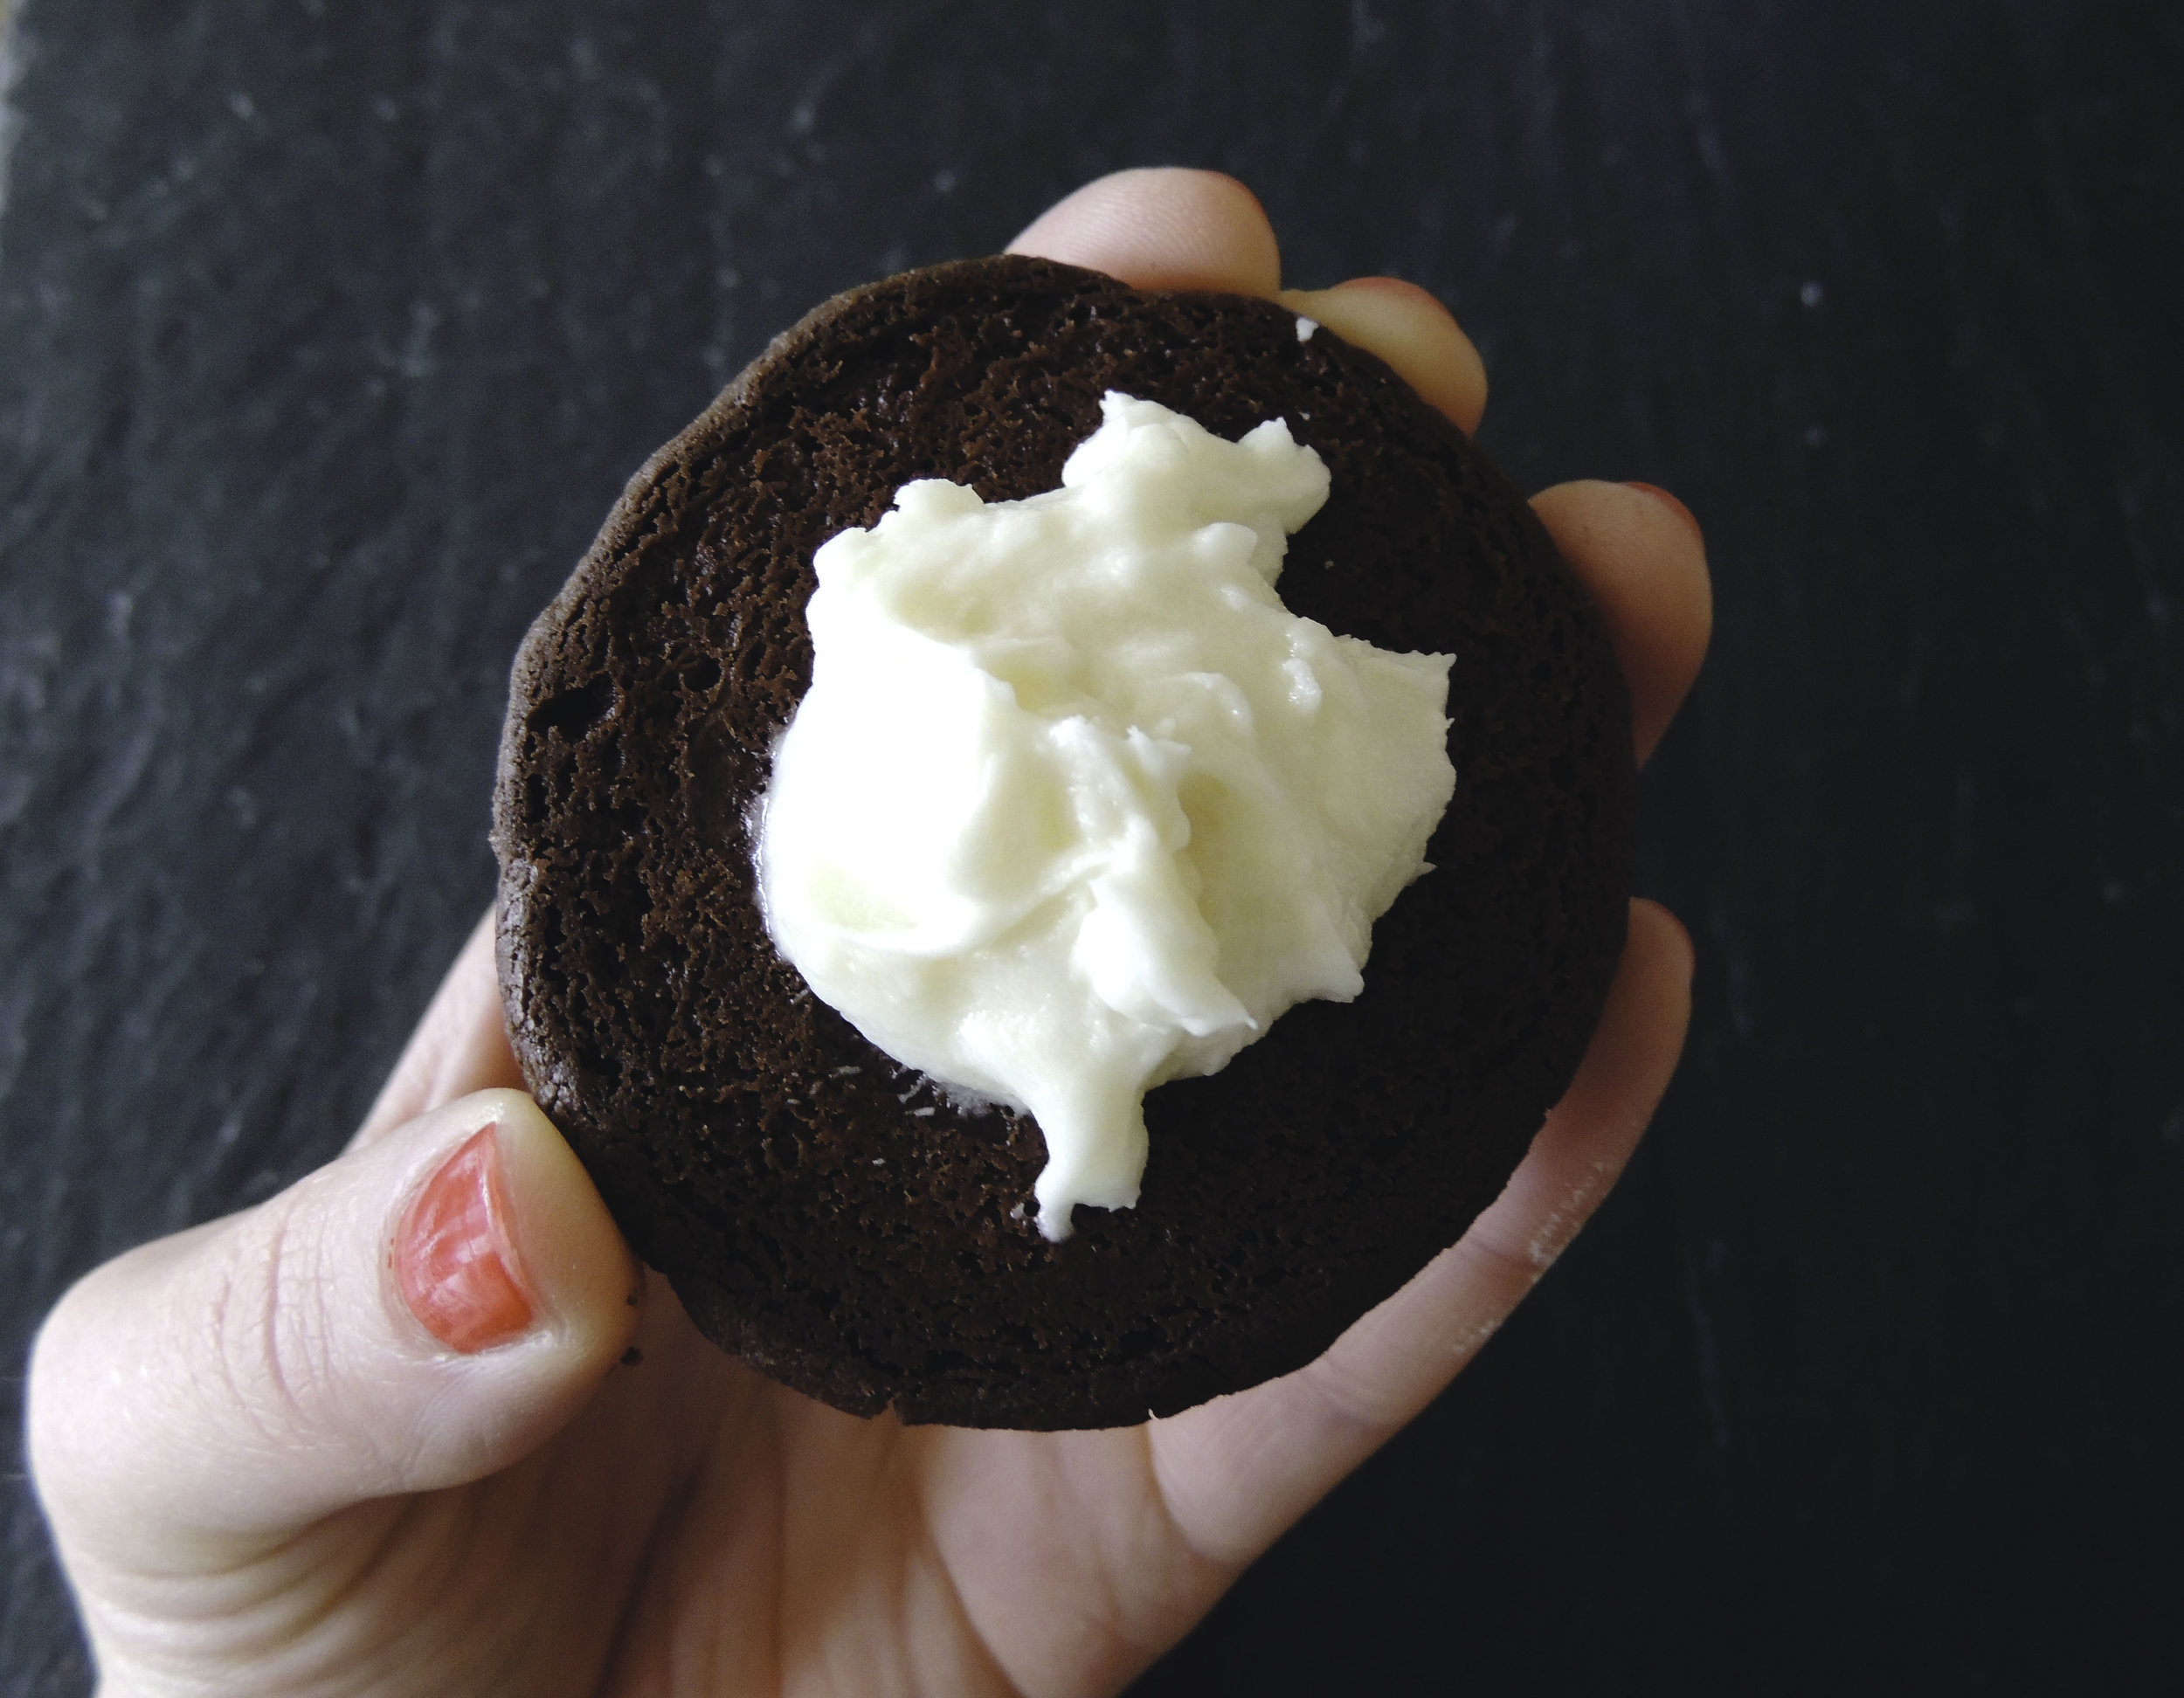
Using a stand mixer fitted with the paddle attachment (or using a hand mixer), beat the butter on low until it’s completely smooth. Add the confectioners’ sugar and vanilla, and beat on low until the mixture is smooth and well combined. Next, add the milk and a dash of kosher salt, and beat until smooth. (Should have a putty-like consistency.)
Scoop about a tablespoon’s worth of filling onto the bottom side of one cookie. Top it with another cookie, bottom side down. CAREFULLY press the cookies together, allowing the filling to spread evenly toward the edges. Repeat until all the sandwich cookies have been made.
*Store in an air-tight container to retain freshness.*
SOURCE: Flour: Spectacular Recipes from Boston's Flour Bakery + Cafe