Coffee Stracciatella

For my birthday last year, I decided that the gift that I wanted to give myself the most was an ice cream maker. I love ice cream. I love how versatile it is. I love how it can be eaten a million different ways. Most of all, I just loved that there was a (relatively) inexpensive appliance out there that could help me make a treat that I seek out at various life stages (monthly mood swings, breakups, summer giddiness, etc. etc.)

The day it arrived my brain danced with all the different recipes that I could toss into my little white ice cream/gelato/sorbet/frozen yogurt maker, but, like with literally every single new thing I ever buy, I deemed it too nice to use just then and promptly put it back in its box to "rest" until an occasion momentous enough arose for me to finally break it out and use it. Classic Sydney move. My ice cream maker sat new, empty, and alone in its original packaging for 1.3 years.

Finally, friends, an occasion momentous enough arose: I found a recipe, and I wanted ice cream. Groundbreaking stuff, guys.

I am far and away a morning person. Always have been. When I was in college I woke up at 6:30 for my 8 AM classes with a pep in my step whilst my roommates couldn't even utter a syllable without first groggily shoving a mug under the coffe-maker and taking a few sips. But there was one class that even I couldn't wake myself up for and thus had to turn to those beyond delicious frappe drinks that Starbucks sells in grocery stores. My go-to was always "vanilla mocha." Did it totally wake me up? Not really. Was it delicious? Totally!

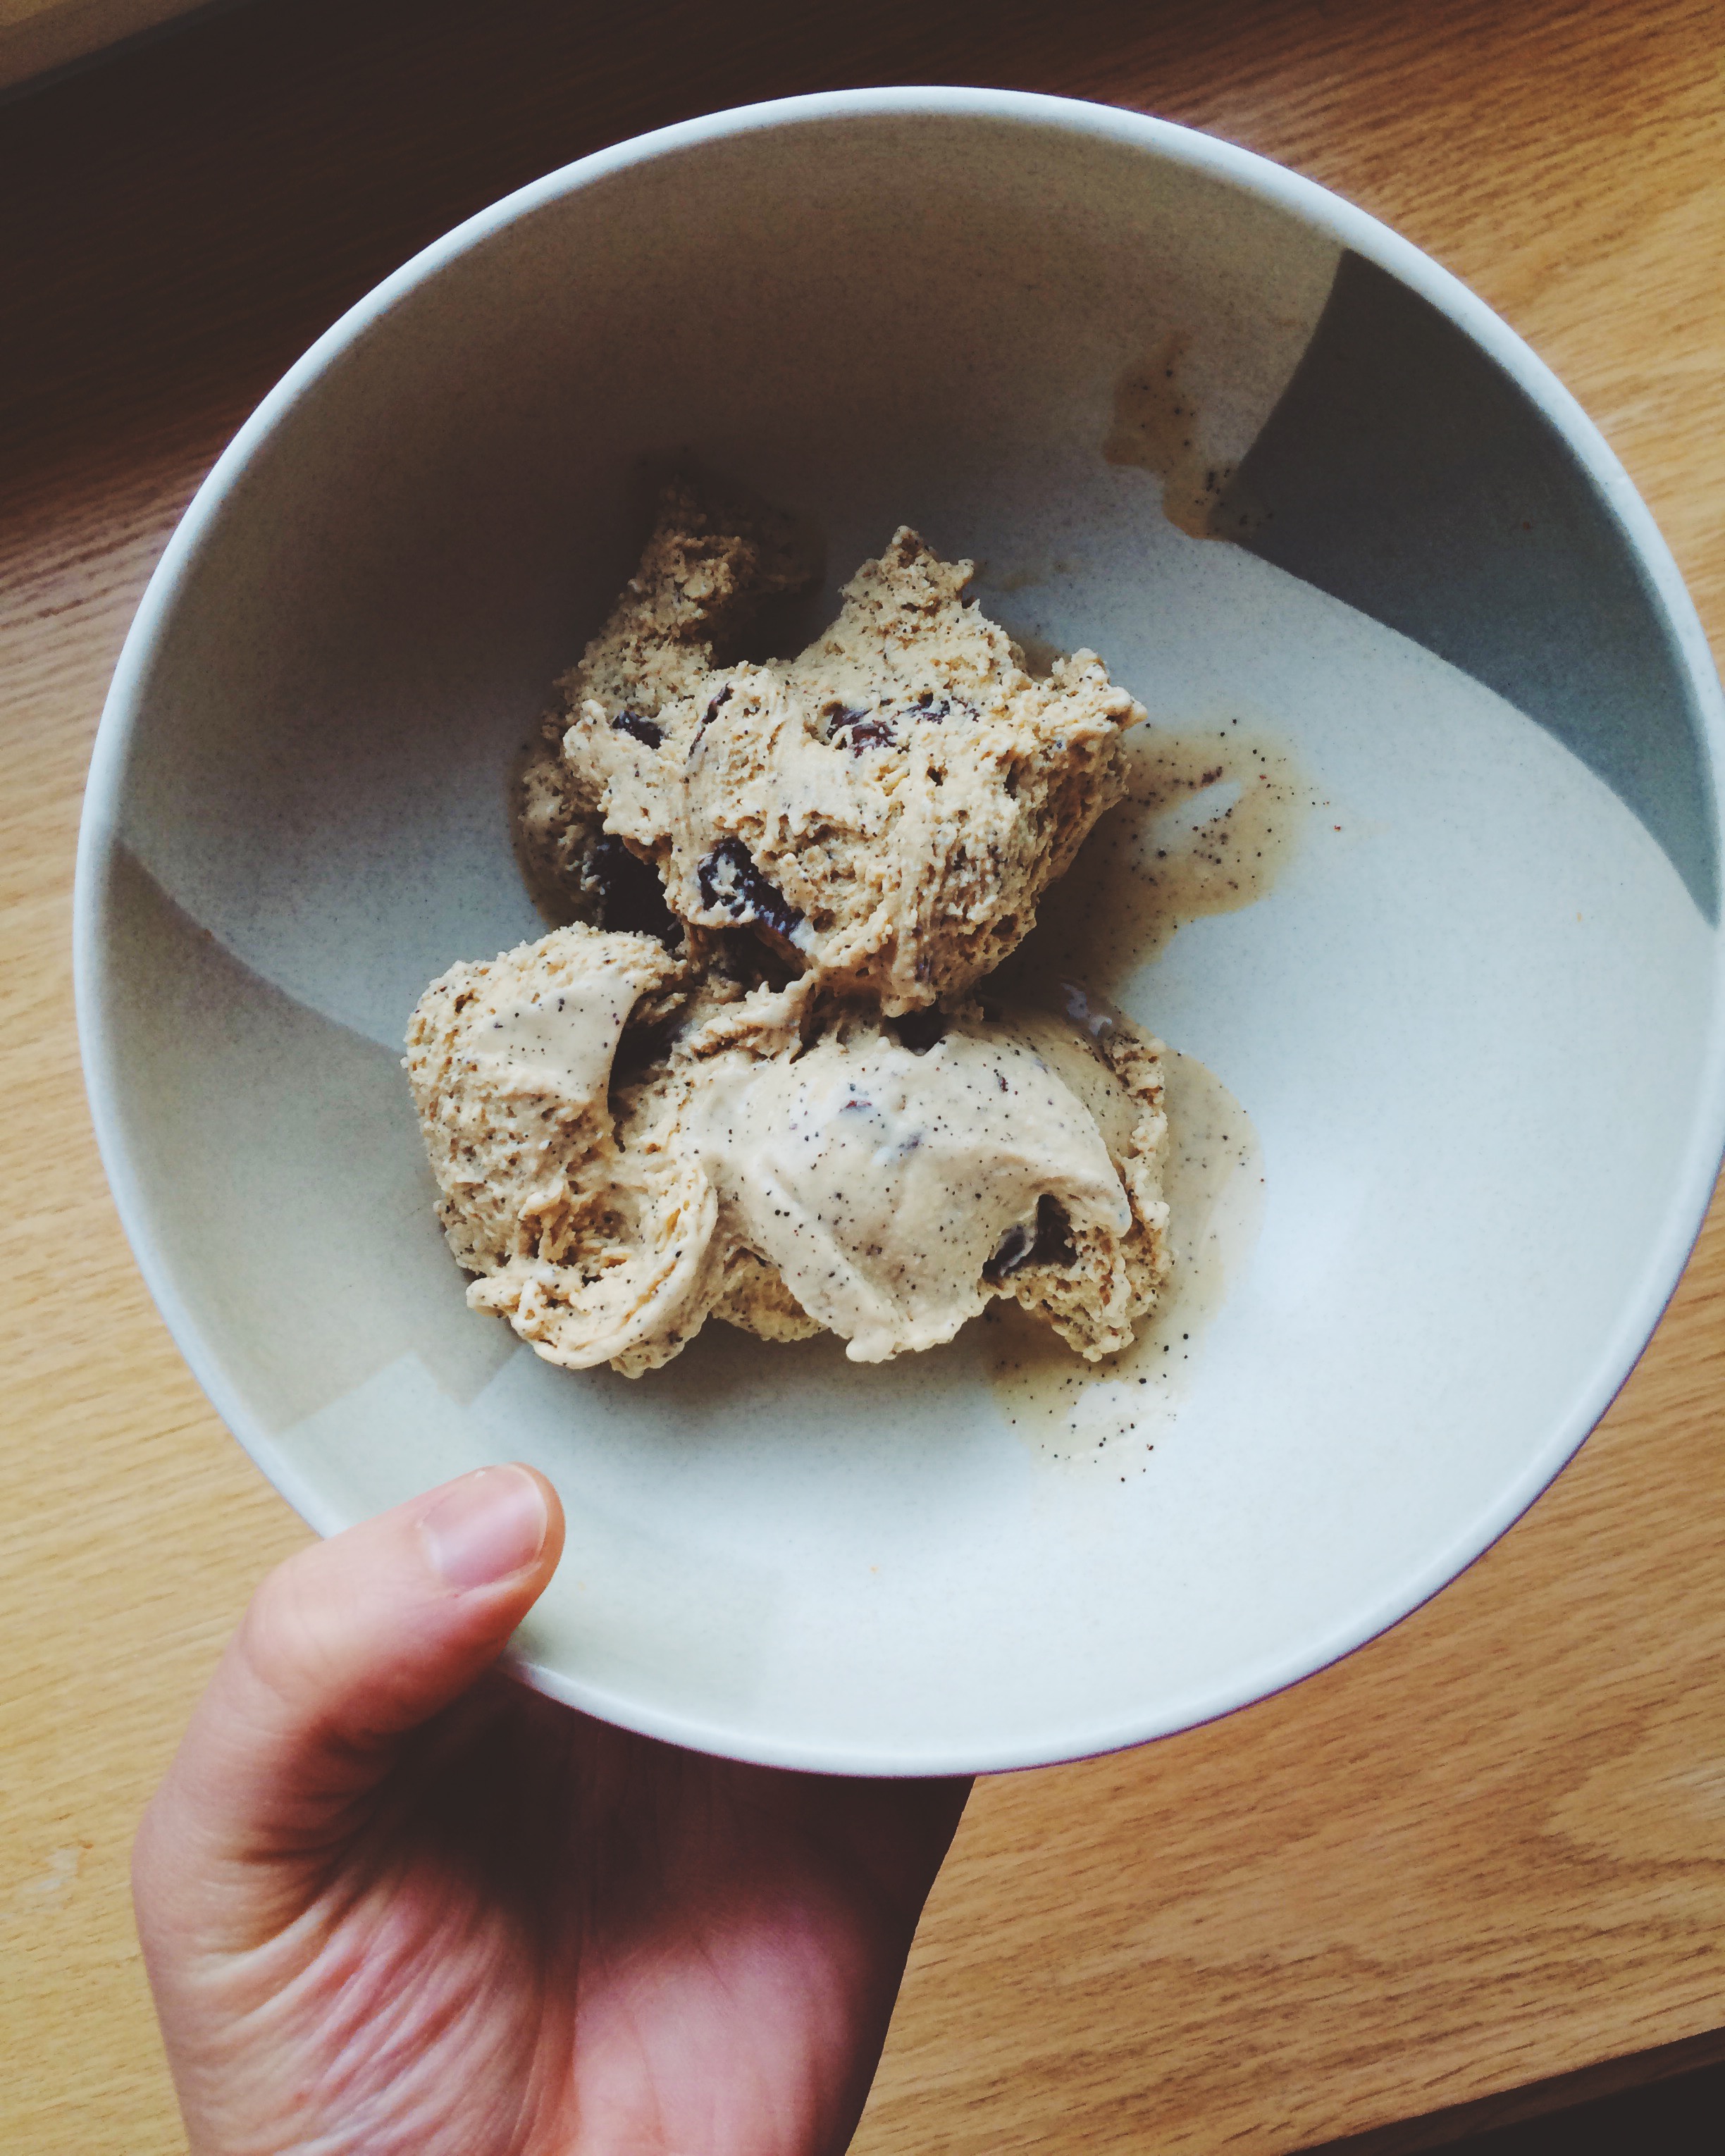
And so, as I spooned this decadent coffee stracciatella into my mouth, all of a sudden the memories of my vanilla mocha frappe days came rushing back. I was there again, in that 8 AM, sipping away at my creamy, milky, choclatey coffee drink which was perfectly cold and perfectly delicious. And it of course makes perfect sense: Stracciatella is milk-based, mixed with heavy cream, sugar, vanilla, and egg yolks. Add in two heaping tablespoons of espresso powder, plus a drizzling of melted bittersweet chocolate (the latter is added whilst the ice cream is churning), and you've got the frozen vanilla mocha treat of dreams. It's rich, creamy, decadent, and so velvety smooth. The coffee flavor is concentrated and completely complimented by the flecks of chocolate that, while being churned, freeze instantly and disperse throughout the entire ice cream. This particular ice cream is special, and I'm so glad it was my first homemade.


Have an ice cream maker? You've GOT to try this coffee stracciatella


COFFEE STRACIATELLA 

What You'll Need:

  • 1 1/2 cups heavy cream
  • 1 cup whole milk
  • Pinch of kosher salt
  • 1/2 cup sugar, divided
  • 1 teaspoon vanilla extract
  • 5 large egg yolks
  • 2 teaspoons instant espresso powder (I like Cafe Bustelo)
  • 3 ounces bittersweet chocolate, melted


DIRECTIONS 

In a medium saucepan, combine the cream, milk, salt, and 1/4 cup sugar. Next add the vanilla extract and stir to combine. Bring your mixture just to a simmer, stirring often to dissolve the sugar. Once the sugar has dissolved, remove from heat.

Whisk egg yolks and the remaining 1/4 cup sugar in a medium bowl until pale, which should take about 2 minutes. Very carefully whisk in about 1/2 cup of the warm cream mixture to temper the eggs, then whisk the yolk mixture into the remaining cream mixture. Cook the mixture over medium heat, stirring constantly, until the mixture is thick enough to coat the back of a wooden spoon. This should take about 2-3 minutes. Remove from heat.

Strain the custard into a medium bowl set over a large bowl of ice water. Next, stir in the espresso powder until dissolved. Let the mixture cool, stirring every so often.

Process your custard in an ice cream maker according to manufacturer's instructions (Make sure to read them VERY carefully!). Once custard is frozen to your desired consistency in the ice cream maker, gradually pour in the melted chocolate (this is best to do when the machine is on, so you won't get any frozen clumps). Process until the ice cream is flecked with chocolate, about 2-3 minutes longer.

At this stage, your ice cream will probably be at soft-serve consistency. If you prefer a harder consistency, go ahead and pop your ice cream into a freezer-safe storage container and into the freezer for another hour or two. The longer you keep it in, the more solid it will become. Enjoy!!


SOURCE: Bon Appetit 

Dark Chocolate and Anise Biscotti

There are two sides to me. One side has this need to bake things all the time. The other side is aware that if I bake all the time, then I will feel obligated to eat everything I've made in the event that I don't have anyone to share the wealth with. It's very complicated. That's why I love, love, love biscotti. They're crunchy, they're sturdy, and they last for WEEKS at a time.  I have the freedom to nibble (or not nibble) at my leisure without the looming pressure to not waste a single crumb. It's beautiful.

Biscotti are tough cookies in the best way. The longevity of them is fantastic, but they're also the perfect option for care packages. As much as I love the Midwest (especially now that I can walk outside without a parka), most of the people I care about live in completely different parts of the country. You know that I am a big fan of sending and receiving gifts in the mail. but the edible options for packages are limited. Biscotti are PERFECT for this task.

This week I whipped up a quick batch of Buttery-Cayenne Pecans, then made these Dark Chocolate Anise Biscotti, wrapped everything in half a roll of bubble wrap, threw in a couple of heartfelt cards, then sent them on their way. Two days later, I got a "thank you" text, and a very warm heart. Care packages are my jam. And one of these days, you and I are going to make one together, step-by-step.

As you're well aware by now, I am a huge fan of deceptively easy recipes. Making biscotti? Wayyyy easier than you think. All you have to do is keep up with the time. The rest is a total breeze.

What I love most about this recipe is that it's a lot like having a chocolate chip cookie, but with a hint of licorice. And if you aren't a black licorice fan (I'm not,), have no fear, you'll still love these The anise seeds bring a subtle flavor of licorice that does nothing but completely compliment the oodles of dark chocolate chunks throughout. And I will never turn down a crispy cookie that brings a little texture to the game. If a little softness is more of what you're after, you totally have my permission to dunk a couple of these babies in a steaming cup of coffee.

Eat some biscotti.

Send some to your friends.

Do your thing.


DARK CHOCOLATE AND ANISE BISCOTTI 

What You'll Need:

  • 2 cups all purpose flour
  • 1 1/2 teaspoons anise seeds, slightly crushed
  • 1 teaspoon baking powder
  • 1/4 teaspoon salt
  • 6 tablespoons unsalted butter, softened
  • 1 cup granulated sugar, plus more for sprinkling
  • 2 large eggs
  • 1 large egg yolk
  • 4 oz chocolate, roughly chopped

DIRECTIONS

Place oven racks in the center and upper third of the oven, then preheat to 325 degrees F. Line two cookie sheets with parchment paper. Set aside.

Whisk together the flour, slightly crushed anise seeds, baking powder, and salt in a medium bowl, then set aside.

In the bowl of a stand mixer fitted with the paddle attachment (or with a hand mixer, or with a wooden spoon), cream together the butter and sugar on medium speed until light and fluffy; about 5 minutes.

Reduce mixer speed to low, then add one egg and the egg yolk, then beat until well combined; about 3 minutes.

Add the flour mixture all at once to the stand mixer, and beat on low until well combined. The dough may seem a bit crumbly. Next, add the chocolate chunks and make sure they are evenly distributed throughout.

Divide the dough in half, then place each half on a parchment-lined cookie sheet. Gently knead the dough a few times, just to get it to come together a little more. Next, shape each dough into logs about 8 inches long, and 1 1/2 inches wide. Beat the remaining egg, then generously brush it over each log. Next, sprinkle sugar liberally over each log.

Bake the biscotti on both racks for 20 minutes, then swap racks and bake for an additional 15-20 minutes, until the biscotti are golden brown and baked all the way through.

Take your cookie sheets out of the oven, and let the biscotti rest for a few minutes. Once the biscotti logs are cool enough to handle, cut into 1-inch slices using a serrated knife, cutting in a swift motion.

Place the cookies cut side up onto the baking sheets, then put back in the oven for another 15-25 minutes, depending on how crisp you'd like your biscotti to be. (I prefer mine on the crispier side, so I kept an eye on mine for 25 minutes.)

For an even crispiness, flip your biscotti over and bake for another 2-5 minutes.

Let cool, then store in an airtight container for up to 2 weeks. 


SOURCE: Adapted from Joy the Baker Cookbook: 100 Simple and Comforting Recipes 

Homemade Oreos

oreo5 I've been missing Boston lately. More specifically, I've been missing my local eateries; and there were many. I miss reading about new restaurants opening, and just hopping on the train, hopping in line, and experiencing something first-hand instead of reading about it later. And when I get into a mood like this, I turn to my cookbooks, for they always know how to cheer a girl up. Do you know what also cheers a girl up? Chocolate. Chocolate cookies. Buttercream frosting. Buttercream frosting sandwiched between two chocolate cookies. Oreos. I'm talking about Oreos.

The first time I ever visited Flour Bakery I was amazed by the selection of truly beautiful foods. How could they fit so much loveliness into such limited space? But more importantly, I was amazed by the sheer unpretentiousness of what Flour had to offer. Some of the biggest bakeries in the city try to dazzle you with sophisticated names, bright lights, fancy decorations, and anything else they can think of to draw you in. Don't get me wrong, I like to be dazzled by complicated creations as much as the next food lover, but sometimes I want a no-frills, just great taste, bakery experience. And while Flour did have cases filled to the brim with impressive pastries and sandwiches, it also stayed true to the neighborhood bakery feel with classic cakes and cookies that I grew up eating. I loved that Flour could take a childhood classic, like an Oreo, and make it completely rustic and completely their own. It was that sort of approachability to the classics that made me come back every time.

So, on days when that feeling of missing something just won't go away, I have to slip on the apron, and make it at home. Oreos, here we come.

oreos 1I think the only thing that I was truly worried about when making these cookies was rolling up the dough. I'd never done slice-and-bake cookies before, and perhaps this was unnecessary, but I felt that the task might be a little daunting. What if I didn't roll the log into a smooth enough shape? What if, when I went to slice them, I would slice too thinly or too thickly? What if, in an especially clumsy state, I went to cut the log and the whole thing went rolling to the floor? Two out of three scenarios actually happened. I'll let you guess which ones.

oreo2In all honesty, I probably shouldn't have been so nervous. Though it wasn't the smoothest log that it could've been, it still had a nice shape, and I was able to get great cookies out of it. Yes, I did slice a few too thinly, and also a few slightly thicker than the rest, but the trick is to make sure every cookie has a mate. These are sandwich cookies after all! And as good as these cookies taste on their own, trust me, you'll want that buttercream frosting on every single one. No buttercream shall go to waste!

oreo3

It's almost scary how good these cookies are. They're partially crunchy, partially fudgey, partially creamy, and wholly delicious. And also sooo unbelievably tasty paired with a nice glass of whole milk. They're a little too big for dunking in the average-sized glass, but you can always break them up into pieces should the need for dunking arise.

Boy, am I going to miss these cookies when they're gone.


What You'll Need:

For the Cookies:

  • 1 cup (2 sticks) unsalted butter, melted and slightly cooled
  • 3/4 cup granulated sugar
  • 1 teaspoon pure vanilla extract
  • 1 cup semisweet chocolate chips, melted and slightly cooled
  • 1 egg, room temperature
  • 1 1/2 cups all purpose flour
  • 3/4 cup cocoa powder
  • 1 teaspoon fine kosher salt
  • 1/2 teaspoon baking soda

For the Buttercream Frosting:

  • 1/2 cup (1 stick) unsalted butter, softened and at room temperature
  • 1 2/3 cups confectioners’ sugar
  • 1 teaspoon pure vanilla extract
  • 1 tablespoon whole milk
  • dash of kosher salt

Directions:

In a large bowl, whisk together the melted butter and granulated sugar until well combined. Next, whisk in the vanilla extract and melted chocolate. Add the egg and whisk until well combined.

In a medium bowl, stir together the flour, cocoa powder, salt, and baking soda until well combined. With a wooden spoon, slowly add the flour mixture into the bowl with the chocolate mixture. As you’re mixing, the dough might seem to get a little tougher to work with; don’t worry, that’s normal. Once it comes together, it should have a play dough-like consistency. Let the dough rest at room temperature for one hour to firm up.

Cut out a 15-inch sheet of either parchment or wax paper (I used wax paper), and carefully transfer the dough onto it. With your hands, roughly shape the dough into a log about 10 inches long. Place the log on the end of the sheet of wax or parchment paper, and roll the paper around the log. With the paper fully around the log, roll it into a smoother log shape. (I cut into an old paper towel roll, and used that to roll the log into a smoother shape.) Refrigerate for at least two hours, or overnight.) It may lose its shape while resting in the fridge, so make sure to check on it once in a while and take it out for a re-roll.

When it’s time to bake:

With a rack positioned in the center of the oven, heat the oven to 325 degrees F. Line a baking sheet with a piece of parchment paper. (Depending on how many cookies you slice, you may end up lining several baking sheets.)

Take your log out of the refrigerator, and let sit for a a minute or two to soften a little bit. Cut the log into 1/4 inch thick slices. (It should be noted that I tried to do this, and only managed to slice 1/4 inch slices some of the time. If you end up in the same boat as I was remember this: just try to keep your slices evenly sized, whatever you do.)

Place your slices about 1 inch apart on the baking sheet, as they tend to spread a little bit while baking.

Bake for 20-25 minutes, or until the cookies are firm to the touch. Make sure to keep a close eye on them, and after about 17 minutes, gently poke them in the middle to see if they’re firm. As soon as they’re firm to the touch, take them out of the oven. (Determining how long to keep them in will depend on your oven. For me, they weren’t firm until they’d been in for 21 minutes, so make sure to test your cookies for yourself!)

Let your cookies rest on the baking sheet(s) until they’ve come to room temperature. (It’s important that your cookies have cooled properly. If they’re too warm, the delicious buttercream will melt and slide right off of them. No one wants that.)

While your cookies are cooling, let’s make the filling!

Using a stand mixer fitted with the paddle attachment (or using a hand mixer), beat the butter on low until it’s completely smooth. Add the confectioners’ sugar and vanilla, and beat on low until the mixture is smooth and well combined. Next, add the milk and a dash of kosher salt, and beat until smooth. (Should have a putty-like consistency.)

Scoop about a tablespoon’s worth of filling onto the bottom side of one cookie. Top it with another cookie, bottom side down. CAREFULLY press the cookies together, allowing the filling to spread evenly toward the edges. Repeat until all the sandwich cookies have been made.

*Store in an air-tight container to retain freshness.*


SOURCE: Flour: Spectacular Recipes from Boston's Flour Bakery + Cafe 

French Silk Pie

photo-10 Happy Valentine's Day! I love love, and I love chocolate, so let's dive right in.

Ever since my visit to Chicago's Bang Bang Pie, I have been obsessed with french silk pie. I've been told it's a classic diner pie , but this girl has been to her fair share of diners, and no french silk in sight! It's just as well; the first time you have french silk pie has to be a straight up experience, not just another dessert.

People are always likening the things they really, really like to Heaven. You know what I mean? "That massage I just got? HEAVEN." "That shoe place is like HEAVEN." "Those dogs kisses on my mouth? HEAVENNN." It's become so overused. But let me tell you something right now: the only thing better than this pie once it's completely chilled and set, is the actual moment of euphoria that is finding extra filling in the mixing bowl once the pie shell has been filled. That unset, chocolate mousse filling is actual Heaven on Earth. It's silky (hence the name!), chocolaty beyond belief, creamy, and lighter than air. It's silky, chocolaty, creamy air on a spoon. I will not tell you how much of it I ate before I could finally snap myself out of it to transfer the pie to the fridge before there was nothing left but crumbs in a disposable tin. If it wasn't already destined to be dessert at a Valentine's Day party, this french silk pie, along with its identical twin pie brother, would've been gone SO FAST with no regrets.

Alas, they were promised for many other tummies besides mine, so I had to let them go.

There better be leftovers.


What You'll Need:

For the Crust: 60 Vanilla wafers, finely crushed 1/4 teaspoon cinnamon 3/4 cup (1 1/2 sticks) unsalted butter, melted and cooled For the Filling: 3/4 cup superfine sugar 2 large eggs, lightly beaten 2 1/2 ounces bittersweet chocolate, melted 1/2 cup (1 stick) unsalted butter, softened 1 1/4 cup heavy whipping cream 2 teaspoons vanilla extract

Preheat the oven to 350 degrees F

To make the crust: Place your freshly crushed vanilla wafers, cinnamon, and melted butter into a medium sized mixing bowl, and stir together until all ingredients are completely combined.

Pour your mixture into a 9 inch pie plate and press the bottom and sides to create an even layer. You may end up with a little extra once you're finished.

Bake your crust for 10-15 minutes until it's golden brown. Once removed from the oven, set it on a cooling rack to cool completely, then place in the refrigerator until you need it.

To make the filling: Place eggs and sugar in a medium saucepan, continuously whisking together on medium-low heat. You'll know that your mixture is ready when it is thick enough to coat the back of a spoon. This should take 5-7 minutes. While your mixture is cooking, melt the chocolate.

Stir your melted chocolate into the mixture, and continue to stir until it's smooth. Remove from heat, and let it completely cool.

In a stand mixer fitted with the paddle attachment (or in a bowl with a hand mixer, or with a wooden spoon), beat your butter until it is light and fluffy. Add your cooled chocolate mixture, and continue to mix until everything is fully combined. Make sure to scrape down the sides of the bowl occasionally.

In a separate bowl, beat together your heavy cream and vanilla extract until stiff peaks form. Fold your newly whipped cream into your chocolate mixture and mix until it's light and fluffy. (I've found that it's sometimes necessary to help the process by mixing it with a rubber spatula for a few seconds to make sure all of the chocolate is incorporated.)

Remove your chilled crust from the refrigerator, and fill with chocolate filling. (You may end up with some extra filling at the end. I find it best to eat with a spoon). Refrigerate for 4-6 hours (or overnight). Once ready to serve, top with some homemade whipped cream, and enjoy!

SOURCE: Spoon Fork Bacon


Forks up! Everybody have some pie.

When Chocolate Chip Cookies Just Aren't Enough

The sad news: My work chum, Kate, had her last day at the office today. The happy news: We ate like champions.

DSCN0614

When Kate told me that this week would be her last, I immediately started brainstorming the perfect going away surprise. But the more i thought about, and the more I scoured my cookbooks for the answer, the less certain I became. So I asked her: What was her favorite go-to dessert? Her answer: chocolate chip cookies. Good. Done.

But then I thought about it: chocolate chip cookies are always amazing, and absolutely no one can tell me otherwise, but are they good for goodbyes? I guess it depends on who you ask, but for me, no way. They're the perfect treat to have in hand for hangout sessions, good for break ups, great for sick days, and perfect for when you need a quick pick-me-up. But for goodbyes, they're just not epic enough. So it was time to think outside of the box: how can I stay true to her favorite, while still taking it to the next level? Then it came to me: a chocolate chip cookie cake. 

DSCN0617

When I was little, my parents got for me one Christmas a Mrs. Fields Cookie Oven. They were just like the Easy Bake Ovens, but way better because it was like having a mall favorite right in your play room. I made tiny cookie cakes and brownies constantly, and as I set out to make Kate's cake, it took me back. What was so good about those cakes, other than the fact that they cooked like magic under a dinky light bulb, was that they always turned out gloriously under-baked. So chewy, so yummy. And now that I'm feeling all nostalgic, I wonder what happened to it...

(Note to self: scour the basement next time I'm home. I've got mini cookies to make.)

photo

I've got a fun little story to tell you. Last night, I made two of these cakes. And it wasn't because I wanted us to have one at home. It was because I didn't exercise enough patience, and tragically broke Cake # 1.

A word to the wise: If a recipe tells you to wait until something is completely cooled before taking it out of the pan, wait until it is completely cool. In my haste to start frosting this thing, I thought that just leaving the pan on the wire rack for thirty minutes would do the trick. I was wrong. Very, very wrong. Yeah, it came out of the pan alright, but in several very large chunks. Cake #1 was hurled in pieces into both the trash and my mouth. Cake #2 went straight into the freezer as soon as it was out of the oven, and cool enough for me to handle it without an oven mitt on.

I would also like to note that this was my first successful attempt at using a pastry bag! Also, this was my first time using gel-based food coloring instead of liquid. The colors are more vibrant, you don't taste the colors, so to speak, and it just takes a few drops to get the shade you desire. Use gel food coloring. Trust me.

photo

After frosting, cover your cake and pop it in the fridge overnight. It allows the buttercream to set, and makes it taste OUT OF THIS WORLD. Seriously, the buttercream was the best part, and I saved the best part for last.

One piece of this cake, and you're done. But man, is it worth it.


I miss my work chum Kate already, but we had a forced office group hug, so I'm counting today as one of the best I've had in a while.


Chocolate Chip Cookie Cake:

What You'll Need:

  • 2¼ cups all-purpose flour
  • 3/4  teaspoon baking powder
  • 1/2 teaspoon baking soda
  • 1/2 teaspoon salt
  • 12 tablespoons unsalted butter, melted and cooled to room temperature
  • 1 cup light brown sugar
  • 1/2 cup granulated sugar
  • 1 egg  and 1 egg yolk
  • 2 teaspoons vanilla extract
  • 1 cup semisweet chocolate chips

Preheat the oven to 325F. Throughly grease a  9 inch round cake pan, then line the bottom with a piece of parchment paper cut to size. Set aside.

Whisk together the flour, baking powder, baking soda, and salt in a medium bowl. Set aside.

With an electric mixer set to medium speed, beat the butter and both sugars together until combined. Beat in the egg, then egg yolk, one at a time until combined. Then add the vanilla. Slowly add the dry ingredients and beat at a low speed until just combined. Fold in the chocolate chips using a rubber spatula.

Scoop the dough into the prepared cake pan, and use your fingers to evenly press the dough into the pan. Bake until the cake is golden, and the outer edges have started to harden; about 20-25 minutes (Watch out for cracking!) Place on a wire rack to cool COMPLETELY before removing from the pan.

Make sure to throughly wrap in plastic wrap to ensure freshness. If kept at room temperature, this can last for up to five days.


SOURCE Brown Eyed Baker


THE PERFECT BUTTERCREAM FROSTING 

What You'll Need:

  • 2 cups powdered sugar, sifted
  • 5 tablespoons unsalted butter, at room temperature
  • 2 tablespoons whole milk
  • 1/4 teaspoon vanilla extract

Beat the powdered sugar and butter together using an electric mixer on medium speed until the mixture comes together, and is throughly mixed.

With the mixer on low speed, combine the milk and vanilla extract, and slowly stream it into the butter-sugar mixture.

Once fully incorporated, turn the mixer to high speed and beat until the frosting is perfectly light and fluffy, for a minimum of five minutes. (As Joy the Baker says: "The longer the frosting is beaten, the lighter and fluffier it becomes!")

Add dyes into the frosting for the desired color, and beat until fully incorporated.


Next stop: Key Lime Pie for my work chum Brad's 25th!


HAPPY FRIDAY, MY LAMBS!

singature gray

Adventures in Recipe Testing: Nutella Edition

DSCN0523Since it's kind of World Nutella Week (but when is it NOT Nutella week, am I right?) I decided to make cookies for my work chums (aka recipe testers) using this heavenly hazelnut spread as my anchor. The test? Salted Nutella Oatmeal Cookies. DSCN0529Testing a recipe is kind of scary, isn't it? You honestly never really know how it's going to go until those cookies (or whatever you're baking) have are done. You could get the timing wrong, you could add too much flour and as a result they're too dry, you could have been heavy-handed with the vanilla, killing it. Tons of things could go wrong, and yet, tons of things could also go right. Nothing ventured, nothing gained and all that.

When I first started baking (that is, when I finally started making things that were actually edible, and couldn't double as door stops and paper weights...) I thought that my food heroes spent hours in the kitchen, taking different flours together and mixing it with ingredients. Kind of like a mad scientist with those really long rubber gloves, cooking chemicals on burners in their labs. But now, after lots of time watching the greats I realized: all the best recipes are based on the classics. For instance, the classic rice crispy treat recipe on the back of the cereal box. Great bakers take that recipe as the base and say: what makes this better? For one, brown butter. A great baker is one who takes a recipe, tries it, then improves upon it because at the end of the day, it's about making something taste out--of-this-world. The recipe I based these cookies off of was for a classic oatmeal raisin cookie.

DSCN0546

I should be honest: I may or may not have just wanted to buy a tub of nutella so that I could eat it by the spoonfuls in my kitchen...which I did. Twice. But after that, I used about a cup worth of it to make these cookies...then scooped out the remainder of the jar with my finger. No nutella was wasted in the testing of this recipe.

DSCN0553Have I ever mentioned that sea salt is my favorite ingredient? Put it on some dark, dark chocolate with caramel, and I'll marry you. (No, I won't.) It was the perfect topping for cookies that are extra sweet. Not only is it a great contrast, but it also brings out the flavor of the nutella even more. It's like magic. Delicious, salty magic. I would also like to note that no matter how much you love sea salt, do not let yourself get carried away. I was so excited once that sea salt had taken my dark chocolate oatmeal cookies to the next level, that I pinched a bunch with my fingers and threw it in my mouth. That was a terrible decision. Learn from my mistakes.

Tomorrow my dear work chums will be my taste testers. After some workshopping, these babies will be up on the blog.

Happy friday!! Eat some nutella today. (by the spoonful. It's the weekend, who cares?)

P.S. This is my 100th post. I can't believe it.

singature gray

Be My Valentine?

Screen Shot 2014-01-26 at 8.44.50 PM In all honesty, I've never really been a fan of Valentine's Day. I think it puts too much pressure on us,  and if you're single, it'll make you feel a teeny bit lonely if you let it. But the one thing I've always loved  is all the cute things you can buy to celebrate the day. It's also one of those holidays that fully embraces novelty. You want those salt and pepper shakers that make a heart when you put them together? Go for it. You want that tea set with a million hearts painted and heart-shaped handles that would be useless and tacky any other time of the year? Throw it in the cart. And the most delicious part of all: the candy you can buy at half the price the day after the holiday.

So thank you, Valentine's Day, for inspiring my favorite shops to make adorable products that I can't resist. And for making it so my beloved Dove Dark Chocolates come in the shape of hearts, and in bulk.

Screen Shot 2014-01-26 at 11.44.04 PM

Sweetly Sipping Tea Set, ModCloth // Heart Knee Cableknit Over-the-Knee Sock, Urban Outfitters // 'Love' Hand-Carved Book Shelf Art, Nordstrom // Valentine Spatulart, Williams-Sonoma // Coming Up Rosy-Cheeked Rouge in Crimson, ModCloth // Mast Brothers Chocolate: A Family Cookbook, bookstores

Go on, get shopping!

singature gray

Cookie Party!

First, I have to apologize for my brief absence. The second I was seated next to a coughing, sneezing, sniffling gentleman on my plane ride back to Boston from Wisconsin, I knew that I was a goner. It took maybe an hour or two for the sickness to sink in, and I was out of commission for a full week. I'm just now starting to feel like myself, and if I ever see my row-mate again, I'm going to cough all over him.

Being sick for ages and ages limited my activity, and the one thing that I wanted the most while I was sick, was the one thing I was too exhausted to make: a cookie. I have a sweet tooth that cannot be denied, and because I refuse to buy anything from bakeries that I can't make myself, I was fresh out of luck. But now, now that I'm feeling better, I set out to complete my mission. And just in time as well, because my co-worker and I decided to throw an impromptu cookie party for the office! Fair, it'll just be us bringing cookies, but there will be cookies, and that's really all that matters.

If there's anything you know about me thus far, it's that I collect a lot of recipes, but I hardly ever do anything with them but stick them in my "Recipes" folder. I've got so many that my fingers start to get tired after a while from scrolling through. But today, as I searched and searched for a recipe that was simple enough to make, but still totally impressive, there was one special cookie that screamed out to me: Oatmeal Chocolate Chip S'Mores Cookies. YEAH, S'MORE. I've tasted a s'mores cupcake, but never a s'mores cookie. And today was the day.

Image

And for real, I can't believe how simple these cookies were to make, but also how INSANE THEY TASTED. There are few things better in this world than a toasted marshmallow, and I did it using the broiler on my oven. I tell you, my mind was blown. And I'm going to blow the minds of all my work chums tomorrow, mark my words.

Oatmeal Chocolate Chip S'Mores Cookies: totally into it.

What You'll Need:

  • 1 cup softened salted butter
  • ¾ cup dark brown sugar
  • ¾ cup white sugar
  • 2 eggs
  • 2 teaspoons vanilla extract
  • 1¼ cups all-purpose flour
  • ½ teaspoon baking soda
  • ½ teaspoon salt
  • ¼ cup graham cracker crumbs
  • 2½ cups quick oats
  • 2 cups mini semisweet chocolate chips
  • 12 giant marshmallows, sliced into thirds

Preheat the oven to 325°F. Prepare a baking sheet with parchment paper; set aside.

Using a stand mixer fi tted with the beater attachment, cream the butter and sugars at medium-low speed until well combined.  Add in the eggs, one at a time, beating well after each addition.  Add in the vanilla; combine well.

In a separate bowl, combine the fl our, baking soda, salt, and graham cracker crumbs.

Add the dry ingredients to the wet batter. Mix on low until just combined. Stir in the oats and chocolate chips.

Scoop rounded balls of batter onto the prepared sheets. The batter will spread, so be sure to leave ample space between.  Bake for 13–15 minutes, or until the edges are very lightly browned.

Remove from the oven, and immediately top with a slice of marshmallow.  Allow to cool on baking sheets.  Before serving, place the pan under the oven broiler or use a kitchen torch to toast the marshmallows.

SOURCE: The Cake Blog

The cookies are safely tucked in their tin foil, and ready for a trip to the office tomorrow, and I'm snuggled in my blankets becaause it is positively freezing. And I'm totally slacking on my holiday movie-viewing, so if you'll excuse me, I've got a date with The Santa Clause before bed.

HAPPY BAKING!!

singature gray

Saturdays Downtown

DSCF0525

There are always perks to living in a city. This weekend, after five years of living in Boston, I finally made it to the Boston Public Library (BPL). Well, let me rephrase that: I finally got the chance to look around without being restricted to the rooms my professors mapped out for class trips.  While I think that I've been there at least three times before, this was a trip that I got to take just for me.

I have to say, it is getting CHILLY here on the East Coast! But I run with Midwestern blood in my veins, and a higher tolerance for cold weather. In fact, sometimes I actually get excited when I see the temperature, because it means that I get to wear my warm boots and coat. The other day, it was 39 degrees and I couldn't wipe the smile off of my face. I don't know what's wrong with me. 

DSCF0527 DSCF0528

I didn't take my trip downtown alone. At Copley, I met up with my best friend Anna (this is her blog!), and we practically ran inside because the wind had picked up so much that I wondered why I even bothered combing my hair in the first place. 

DSCF0526

And while the wind was blowing, and it had to have been close to 48 degrees, we braved the weather to visit the one part of the library that I've only seen from above: the courtyard. It's true what they say: the courtyard is the true jewel of this place. It's huge, it's peaceful, and if you visit at the right time of year, you can get little lunches from the cafe, and just lounge. It really is quite fantastic, and definitely worth a few minutes of shivering.

Though the BPL is huge and historic, and there are things to look at in every room, it is, after all, a library. So unless you're there to study, or check out books, your visit will be rather short-lived.  But it was no matter. Anna and I had tons of catching up to do (we hadn't seen each other in weeks!). It was time for some hot chocolate in a quiet cafe, but before we could make it, Anna suggested we visit a place that should never be refused:

DSCF0530


How can you ever say "no" to visiting a chocolate shop? I'll be honest, the things I knew about Lindt before our visit were limited to the commercials I see during the holiday season; presumably their busiest. So to actually go inside a shop was pretty interesting...and delicious. WOW, there is a reason that people can't get over those chocolates! Within the first five minutes of our visit, a nice sales associate approached us and offered a sample of their seasonal chocolate: milk chocolate with white chocolate inside. Heavenly. Those are little balls of Heaven wrapped up in some shiny, blue foil. After that, I was hooked, and kind of sort of impulse-bought a number of chocolates that might be too embarrassing to admit. But it's FINE because I'm totally planning on taking them home and sharing with my family! You know, if they make it home without getting eaten.

Hanging out with Anna is always the most fun. In the six years that we've known each other, there has never been a point when we weren't laughing, or exploring, or even sitting around watching movies. True friendship is when you can do absolutely nothing, but still enjoy every minute of it. That's when you know you'll always be best friends. 

 The start of the holiday season is upon us! Tonight, I've got some speed-packing to do, and speed-collecting my recipes! THIS IS THE YEAR THAT I GET TO HELP COOK THANKSGIVING DINNER. I'm TOO pumped!! 

I want to hear all about what you've got planned for Thanksgiving!!


Happy Tuesday, and STAY WARM!

singature gray


When You're in the Mood for Cheesecake...

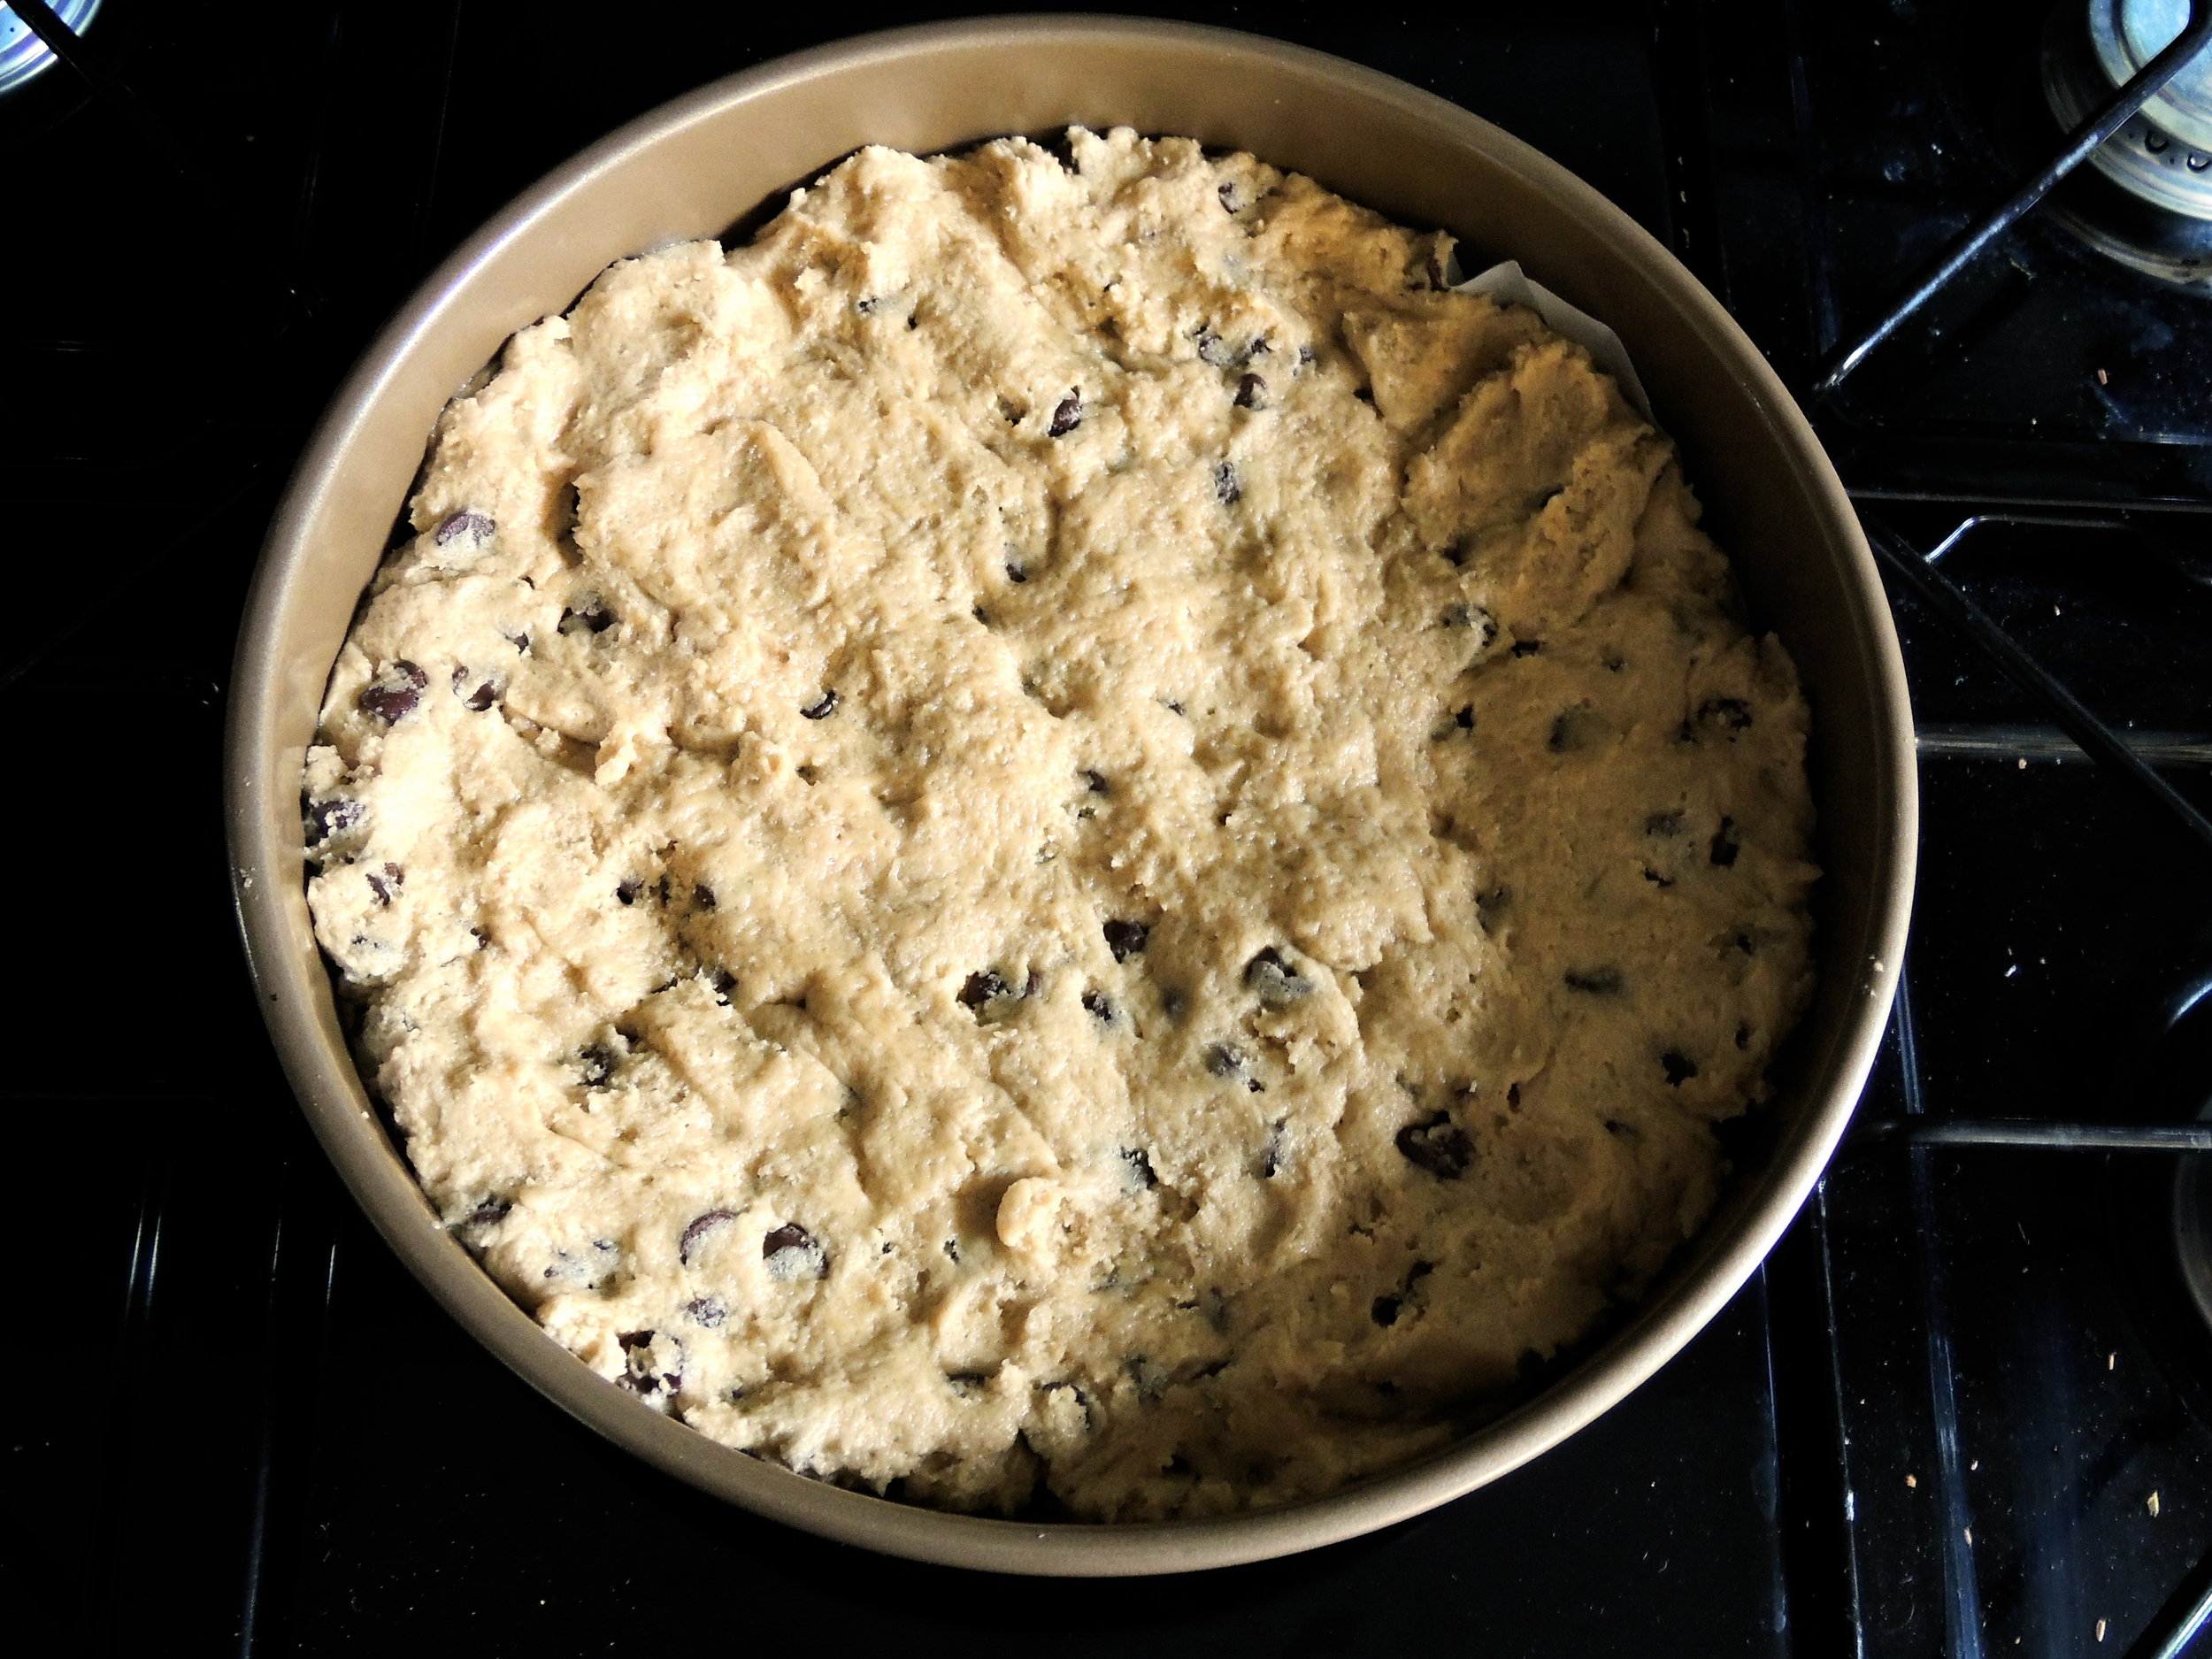
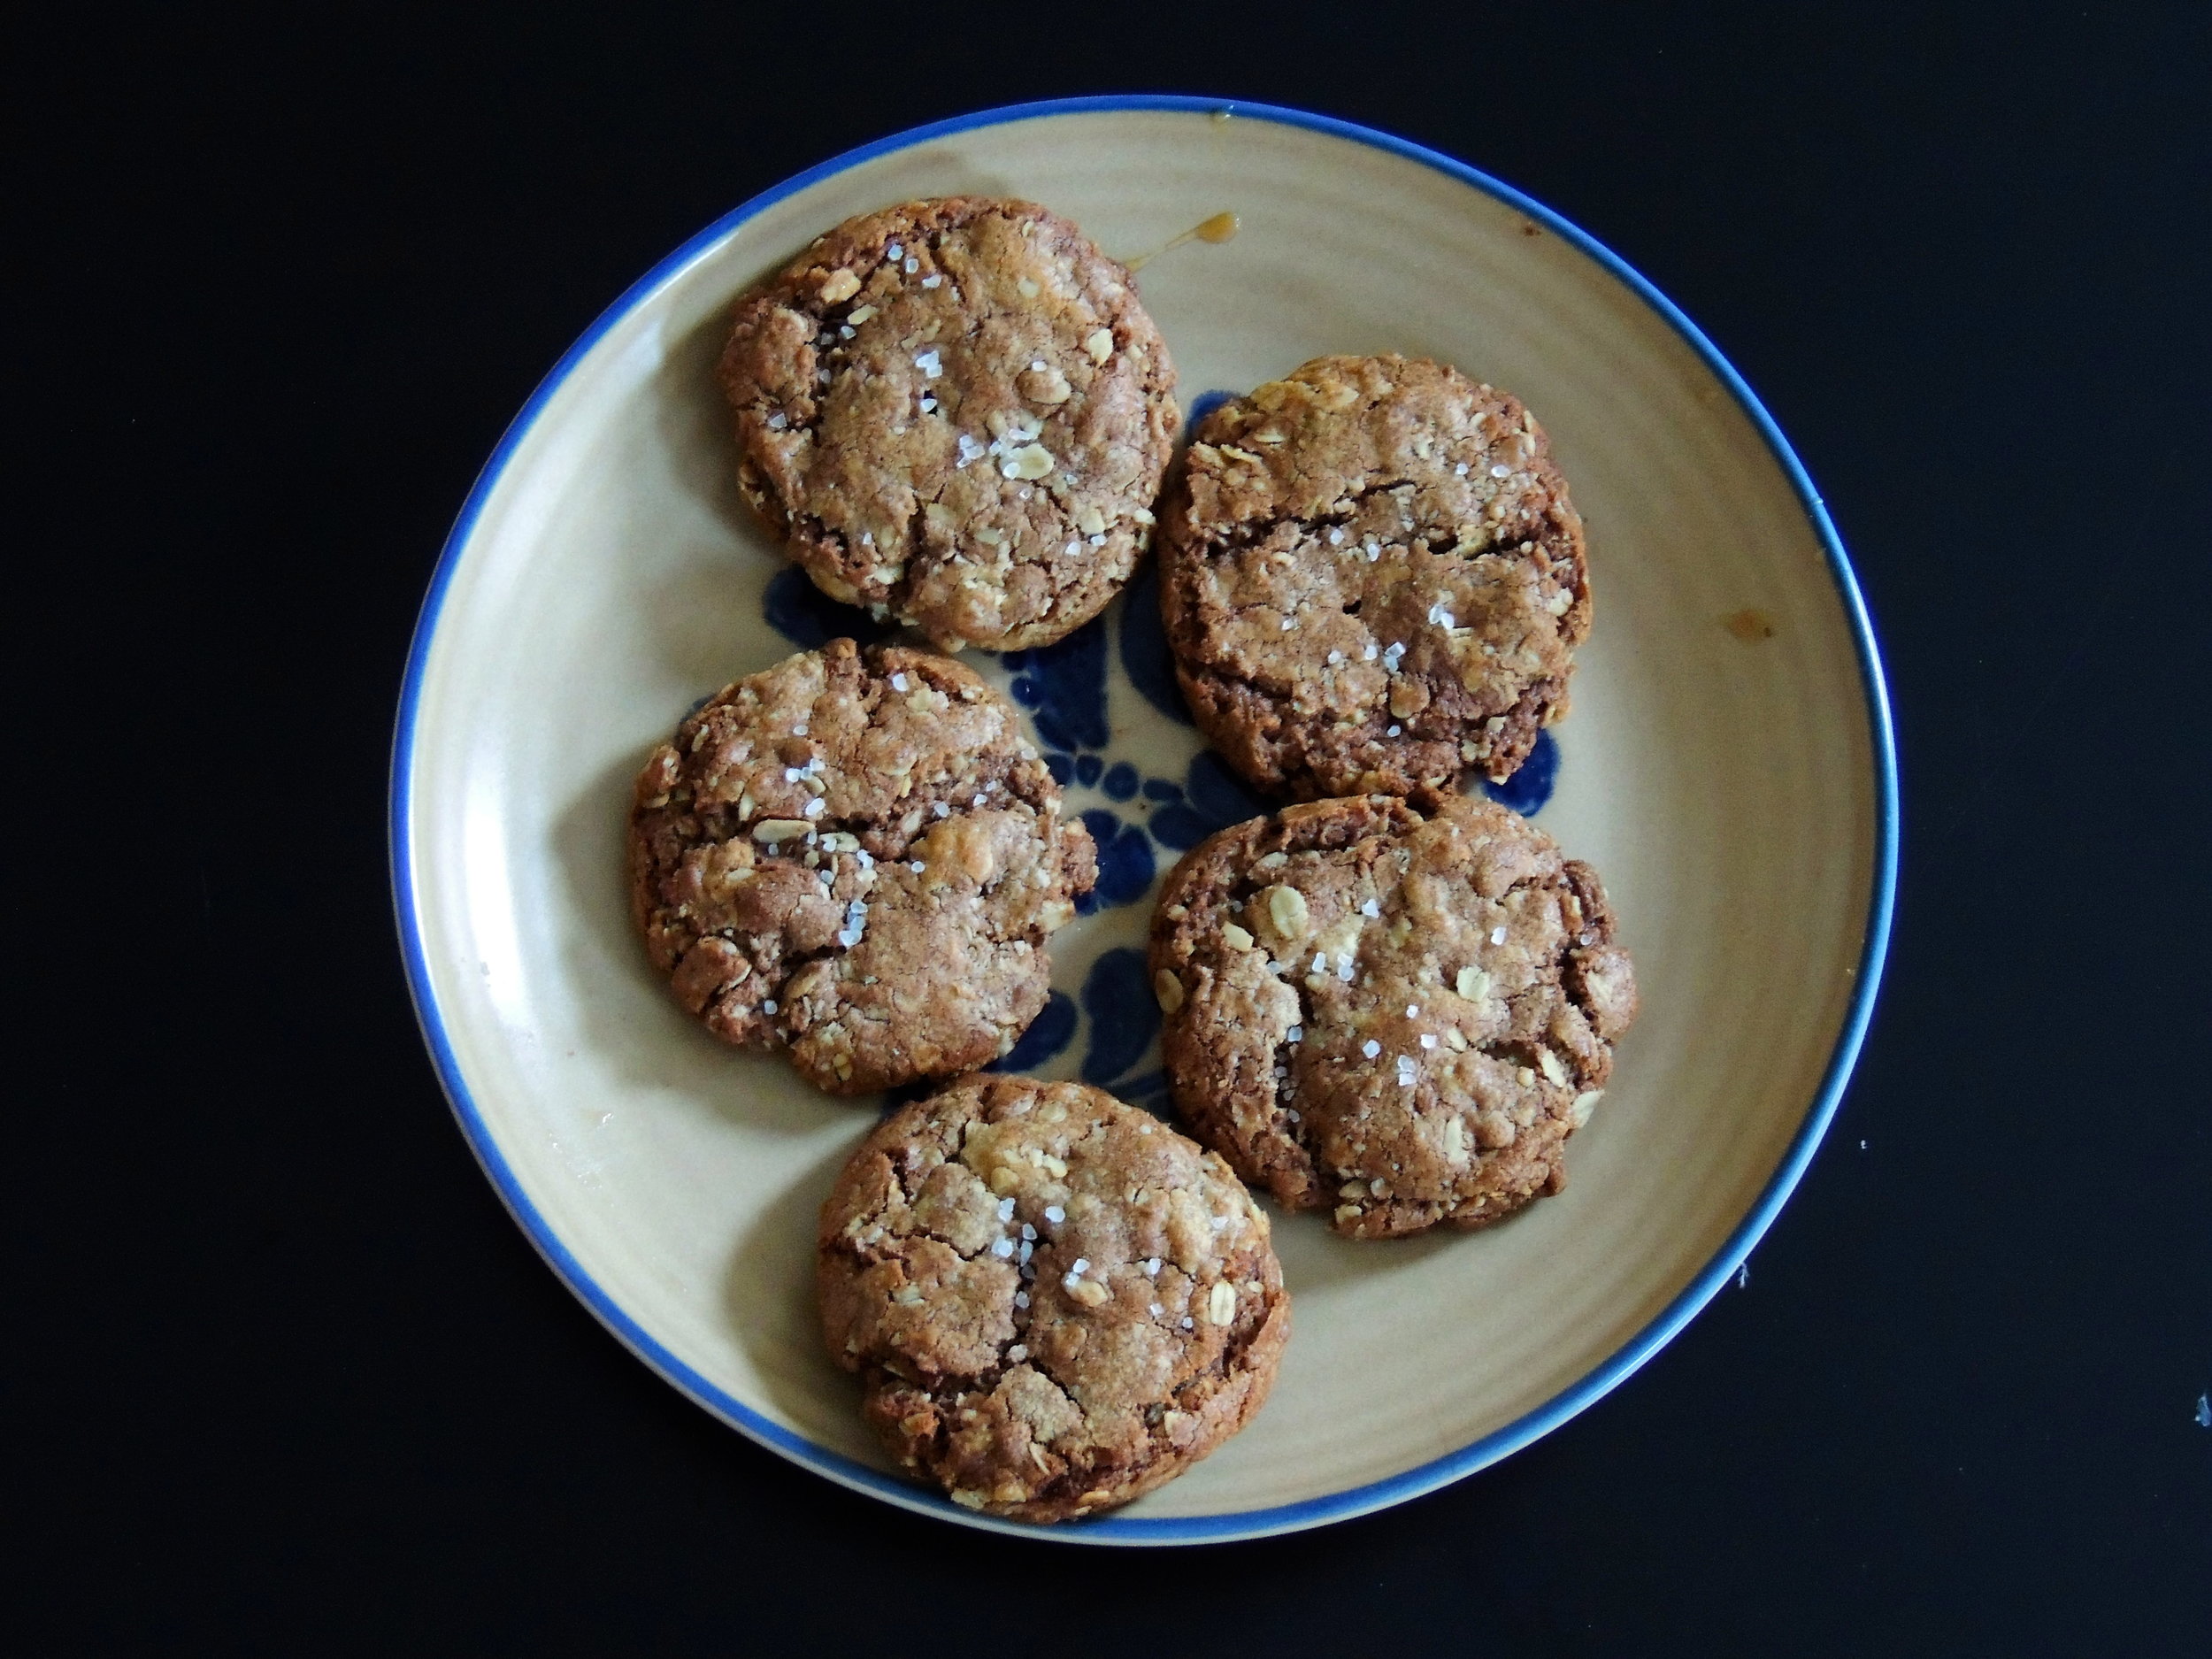
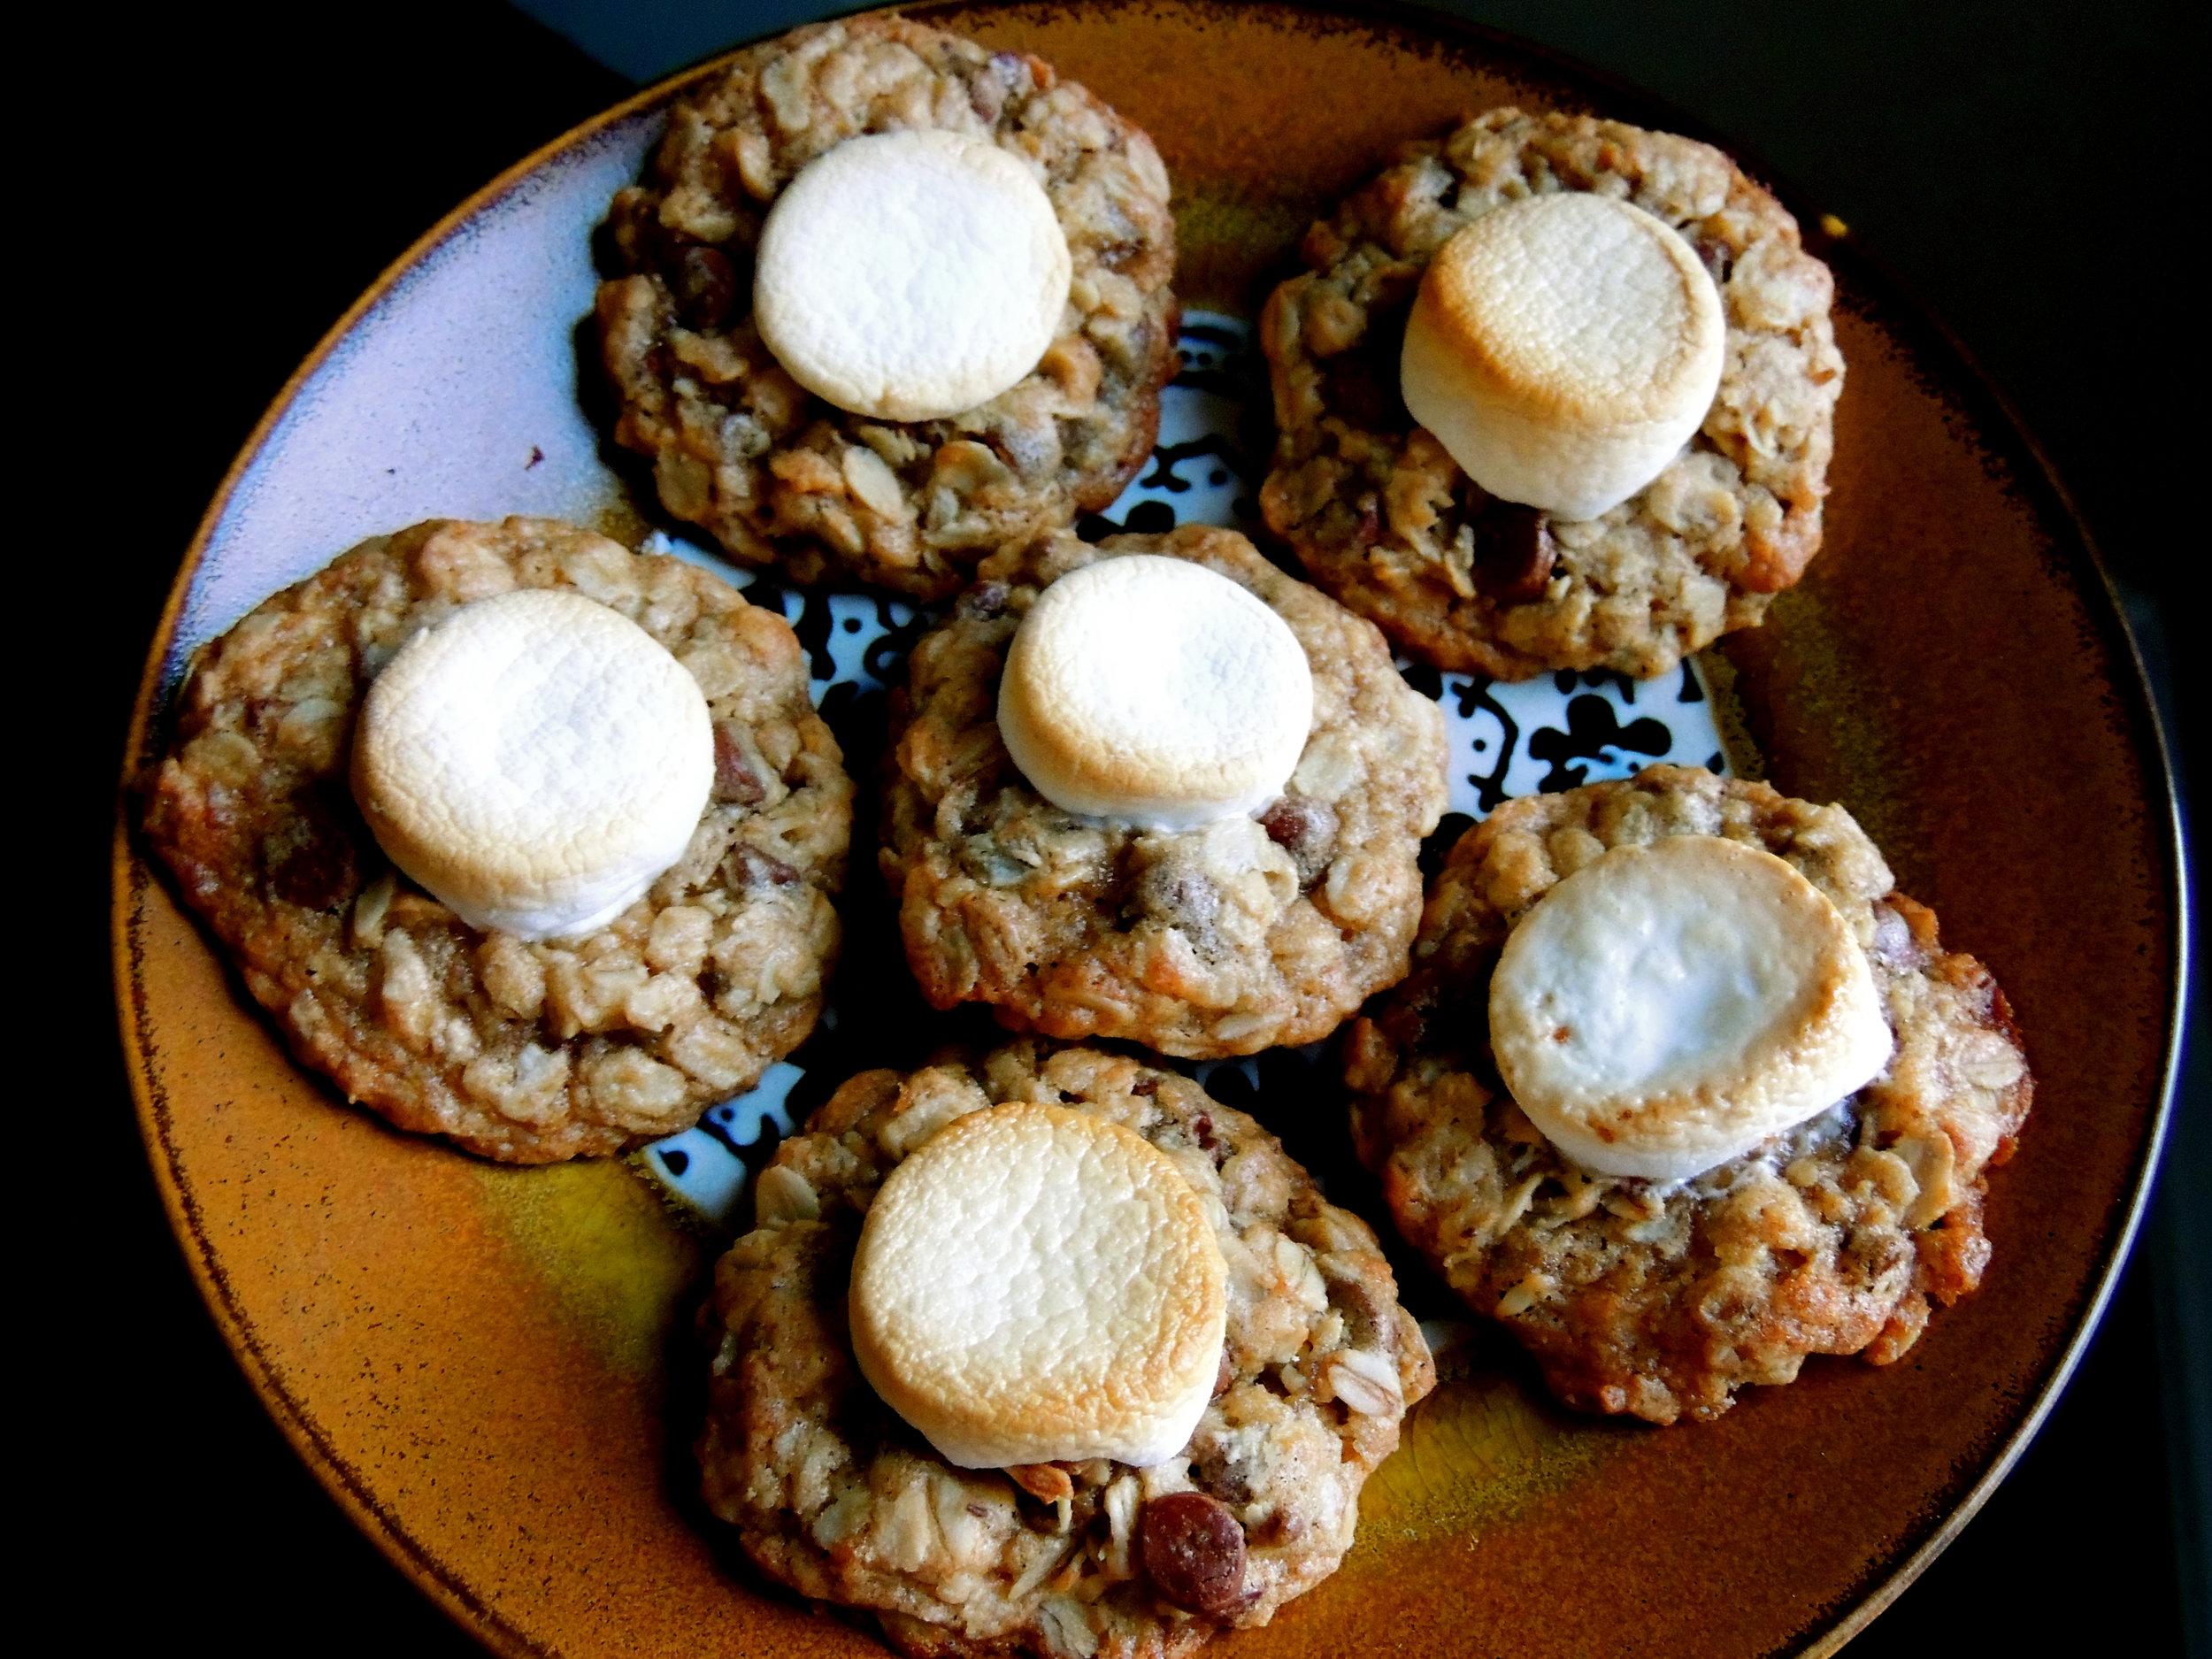
On Tuesday, my works chums and I were shooting the breeze for a little while, and decided that as a way to bond, we should have a little workday get-together. Mind you, we wouldn't leave our desks, and we wouldn't stop working, but we would share a little something. And because I have a massive sweet tooth,  I volunteered to provide that little something. What that "little something" would be, was going to be a surprise of course; for them mostly, but for me as well. Even though I had quickly volunteered, I had no idea what to make at first. And really, when I set out to bake something, I hardly ever do.

I was surfing Tumblr the next morning when it came to me: Chocolate Chip Cookie Dough Cheesecake. It was like the Heavens had opened up, and placed it on my dashboard. And I looooove when that happens. When I have no idea what I'm doing, and then BAM! There it is. That sort of thing happens with other parts of my life as well: songwriting, books to read, and of course, what to watch on Netflix. So many choices, sometimes I need a little guidance.

So off I went to the store, ingredient list in hand, and the chill of Fall finally in the air, followed by a giant gust of cold wind, followed by me ever wondering why I would wish cold weather upon anyone. I ran into Roche Brothers and emerged 20 minutes later with all the fixins' to make me a cheesecake!

LOOK HOW MANY CHOCOLATE CHIPS THERE ARE. Ughh. It took everything I had not to eat every bit of this as I slowly rolled them into dough balls and placed them on a carefully parchment-papered cookie sheet. Side note: the cookie dough portion of this recipe is glorious in that, there are no eggs. And you know what that means: no salmonella! WHICH MEANS, you can make these cookie dough balls at a separate time, and place them into your classic vanilla ice cream! It's brilliant, and a great way to spice up a classic, but sometimes boring, ice cream flavor. Or, you know, you can just eat them as is. (There is no shame in that, believe me. I did it.)

FINALLY FINISHED and ready for the oven!

And after fully cooling, and taking all night to get its beauty rest...

DSCN0217

This little baby was born, and ready to be devoured.  Sadly, it cracked. But that did NOT stop it from being one of the tastiest treats ever produced in Sydney's Kitchen.

My workmates, who I'm pretty sure had forgotten about my promised treat, were throughly surprised and delighted. We each had a piece, rubbed our bellies because that is a LOT of sweetness on one plate, drank like, a gallon of water each, then went back for seconds.

Cheesecake is always a great way to cheer up a rather gloomy, windy, Thursday.

What You'll Need:

Cookie Dough:
  • ½ cup butter, softened
  • ½ cup sugar
  • ½ cup packed light brown sugar
  • 2 tablespoons milk
  • 2 teaspoons vanilla extract
  • 1 cup all-purpose flour
  • 1/4 teaspoon salt
  • 1 cup mini chocolate chips
  • Set aside an additional 1 cup mini chocolate chips to fold into the batter with the cookie dough balls
Crust:
  • 4 tablespoons butter, melted
  • 2 1/2 cups graham cracker crumbs or chocolate cookie crumbs (like Oreos) I used crushed up (I spent 20 minutes!) Nilla wafers! It gives it a little something extra!
Filling:
  • 4 (8-ounce) blocks cream cheese, softened to room temperature
  • 1 cup sugar
  • 4 large eggs
  • 1 teaspoon all-purpose flour
  • 1 teaspoon vanilla
  • 1 cup sour cream
For the recipe, click here!
HAPPY BAKING!!
singature gray