Winter Favorites (So Far)
Winter has been kind of long, you guys. Normally, I love the cold weather, but I've been sick twice, and now I'm ready for spriiiiiiiiiing. But it hasn't been all bad: I've purposefully chosen to surround myself with some pretty things here and there, enrich my mind with some books that I really want to read (to counter all the books I have to read for class), and make a little time for my beloved television.
Here are some things I'm digging this winter:
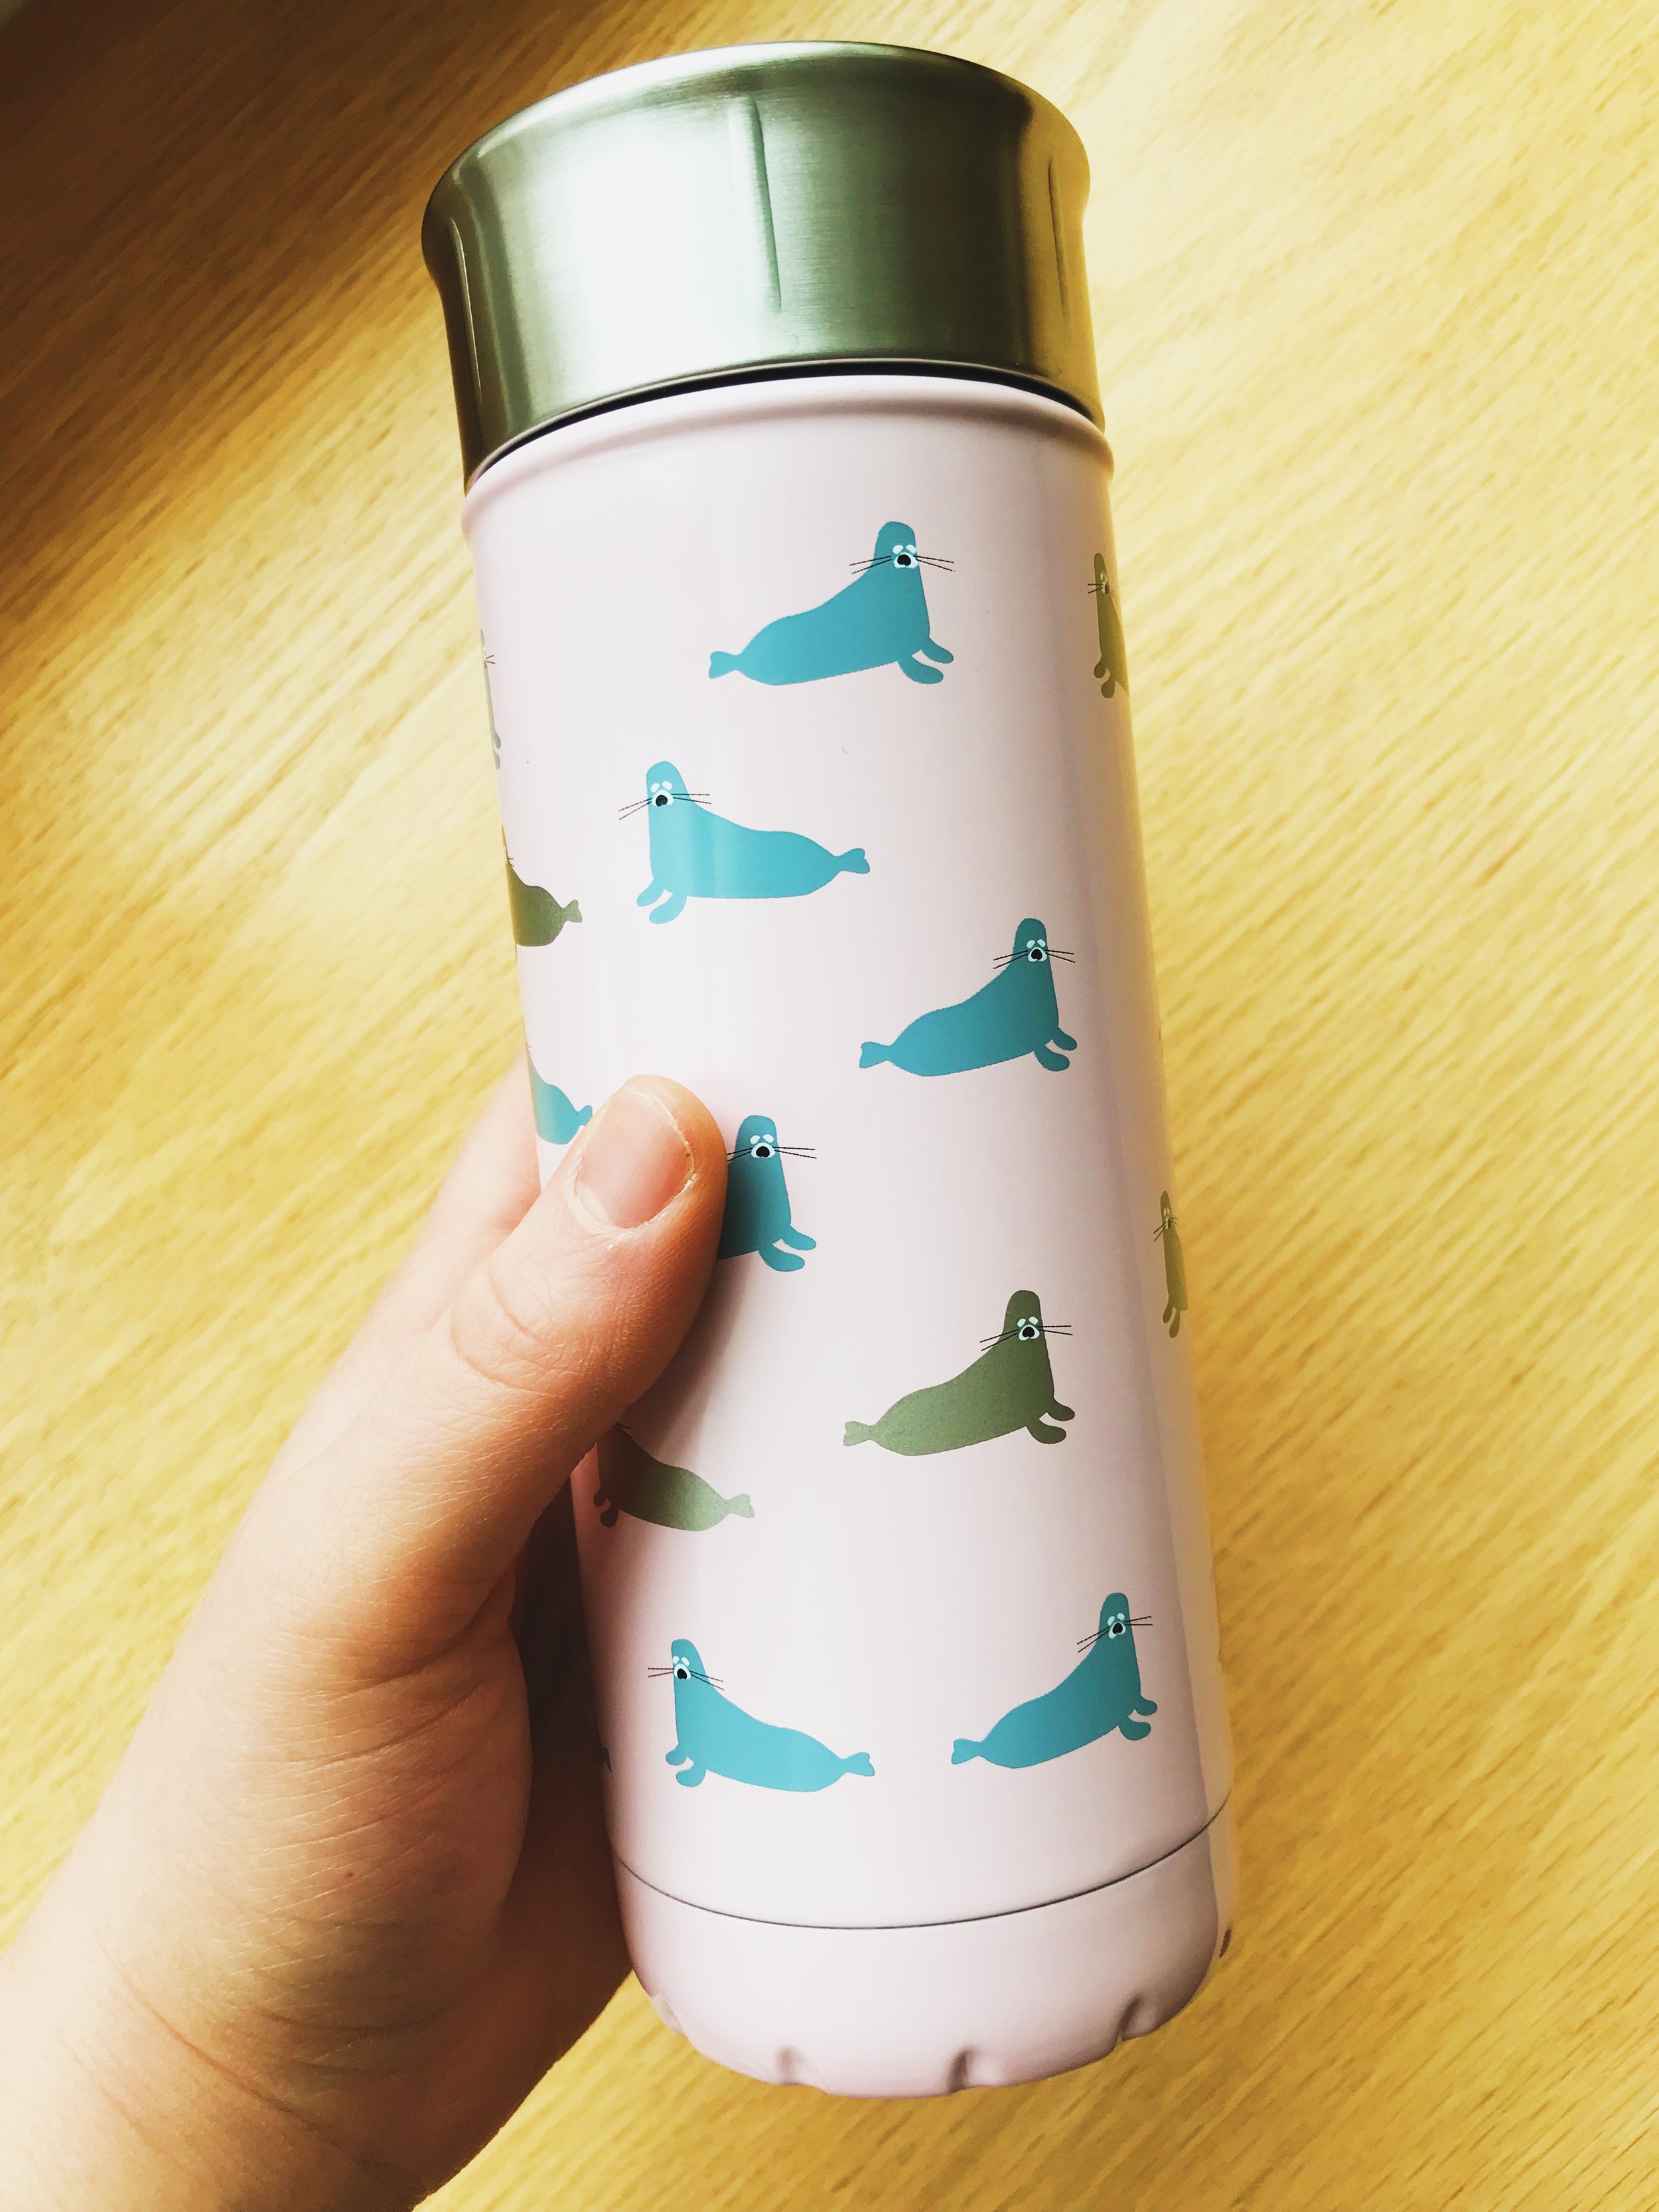
I start my mornings VERY early these days. To get over getting up before the sun, I need my trusty travel mug of green tea. And while any vessel would do (so long as my tea stays piping hot), I find that the commute is just more fun when lounging walruses are around. If you're new to S'ip by Swell bottles, allow me to introduce you to your new favorite way to consume temperature-sensitive beverages. S'Well is just a company that I very much enjoy for their focus not only on eye-catching patterns, but their promise of keeping drinks hot and cold respectively. AND THEY DO. My commute is two hours, and in those two hours, not a single degree changes from the time the tea is made to the time I'm being squeezed against a seat by a person with poor spatial reasoning, but determination to force themselves into a teeny two-person seat. I live for a fun pattern. My only gripe is that these travel mugs work almost too well: my first trip ended in a severely burned tongue. From that point on, exactly three ice cubes make their way into that boiling hot leaf-water as soon as it's steeped.

Life is just one big collection of important papers, isn't it? Syllabi, to-do lists, receipts, everything. And because I have a minor panic attack when I can't find a post-it note with nothing on it but the word "lunch" even though I can SEE the lunch in front of me and am unlikely to forget it, I desperately need my papers to all be in one place. But just because I need to stay organized does NOT mean that my office supplies have to be boring. As you'll soon learn, I am never one to turn down a good print. And when I found this SUPER CUTE accordion folder on Amazon (at such a good price), I threw it in the proverbial cart. And so far so good: every time I snap the little button in place, I silently congratulate myself on being a good adult who has access to all her documents.

Yes, target marketing works on me. I see Glossier videos every single day of my life on social media. EVERY DAY. And because I am a sucker for minimalist packaging with a pop of color, make-up videos, and persuasive positive reviews, I finally, FINALLY caved and bought two tubes of the utterly popular Cloud Paint. My thoughts? I WILL VERY LIKELY NEVER GO BACK TO PRESSED BLUSH AGAIN. I love these blushes. I love them. Just as the name describes, the teensiest dot of this gel-based blush feels like you're painting your cheeks with ultra-light paint; leaving this subtle, BEAUTIFUL tint to your cheeks. While the tubes look small, I reckon these will last for months because honestly, a little goes a long way. I bought "Pufff" and "Beam" and I use them interchangeably. Get some.

Oh, are you surprised that I own more than one of these S'ip by S'Well bottles? You know I only enjoy my beverages out of novelty vessels!! This one is in the print "Crab Walk" and it has SEEN some things. I have banged it, dropped it, and scratched it, and my lil buddy is still going strong, keeping my ice water icy for hours and hours. Totally worth it.

This list would not be complete without a cookbook because my obsession has not waned, not even one bit. If you're a part of the food world, then you have seen Alison Roman's book everywhere; and for good reason. She is amazing, and this book is just an awesome extension of the talented former Senior Food Editor of Bon Appetit. Alison is like that cool teacher who wants you to learn, but doesn't pressure you or push you before you're ready, and adds a little humor while she's at it. I have been learning to cook from her for years now, and I can already tell I will be reaching for this book over and over again. This book passed the test, and is now resting comfortably on prime real estate on Sydney's bookshelf. Expect a fuller review in the coming weeks!

There are twp things I love: PRINTS, and pouches. I have many, many of them, and they're all being put to very good use. There's something else I love: finding new stores on Etsy to fawn all over! When I saw this GORGEOUS print from Flowiestyle. I added it to the cart. I think I'm going to make this lil guy my travel snack bag.

I think I got two paragraphs into Exit West before I was absolutely hooked. Mohsin Hamid is a poet, a true poet. Every line is romantic and captivating and unique. If you love romance novels with a twist, you'll love this book.
and last but not least...
THE OLYMPICS!!!!!!!!!!!
PLEAAASSEEEEEE tell me you're watching The Olympics, guys! I know, I know, the summer games are decidedly more exciting, but DANG do I LIVE for the competition. Particular favorites: figure skating, snowboarding, and SKI JUMPING! Everyone goes so fast, so high!! I lose my MIND every four years without fail.
What are some of YOUR winter favorites?