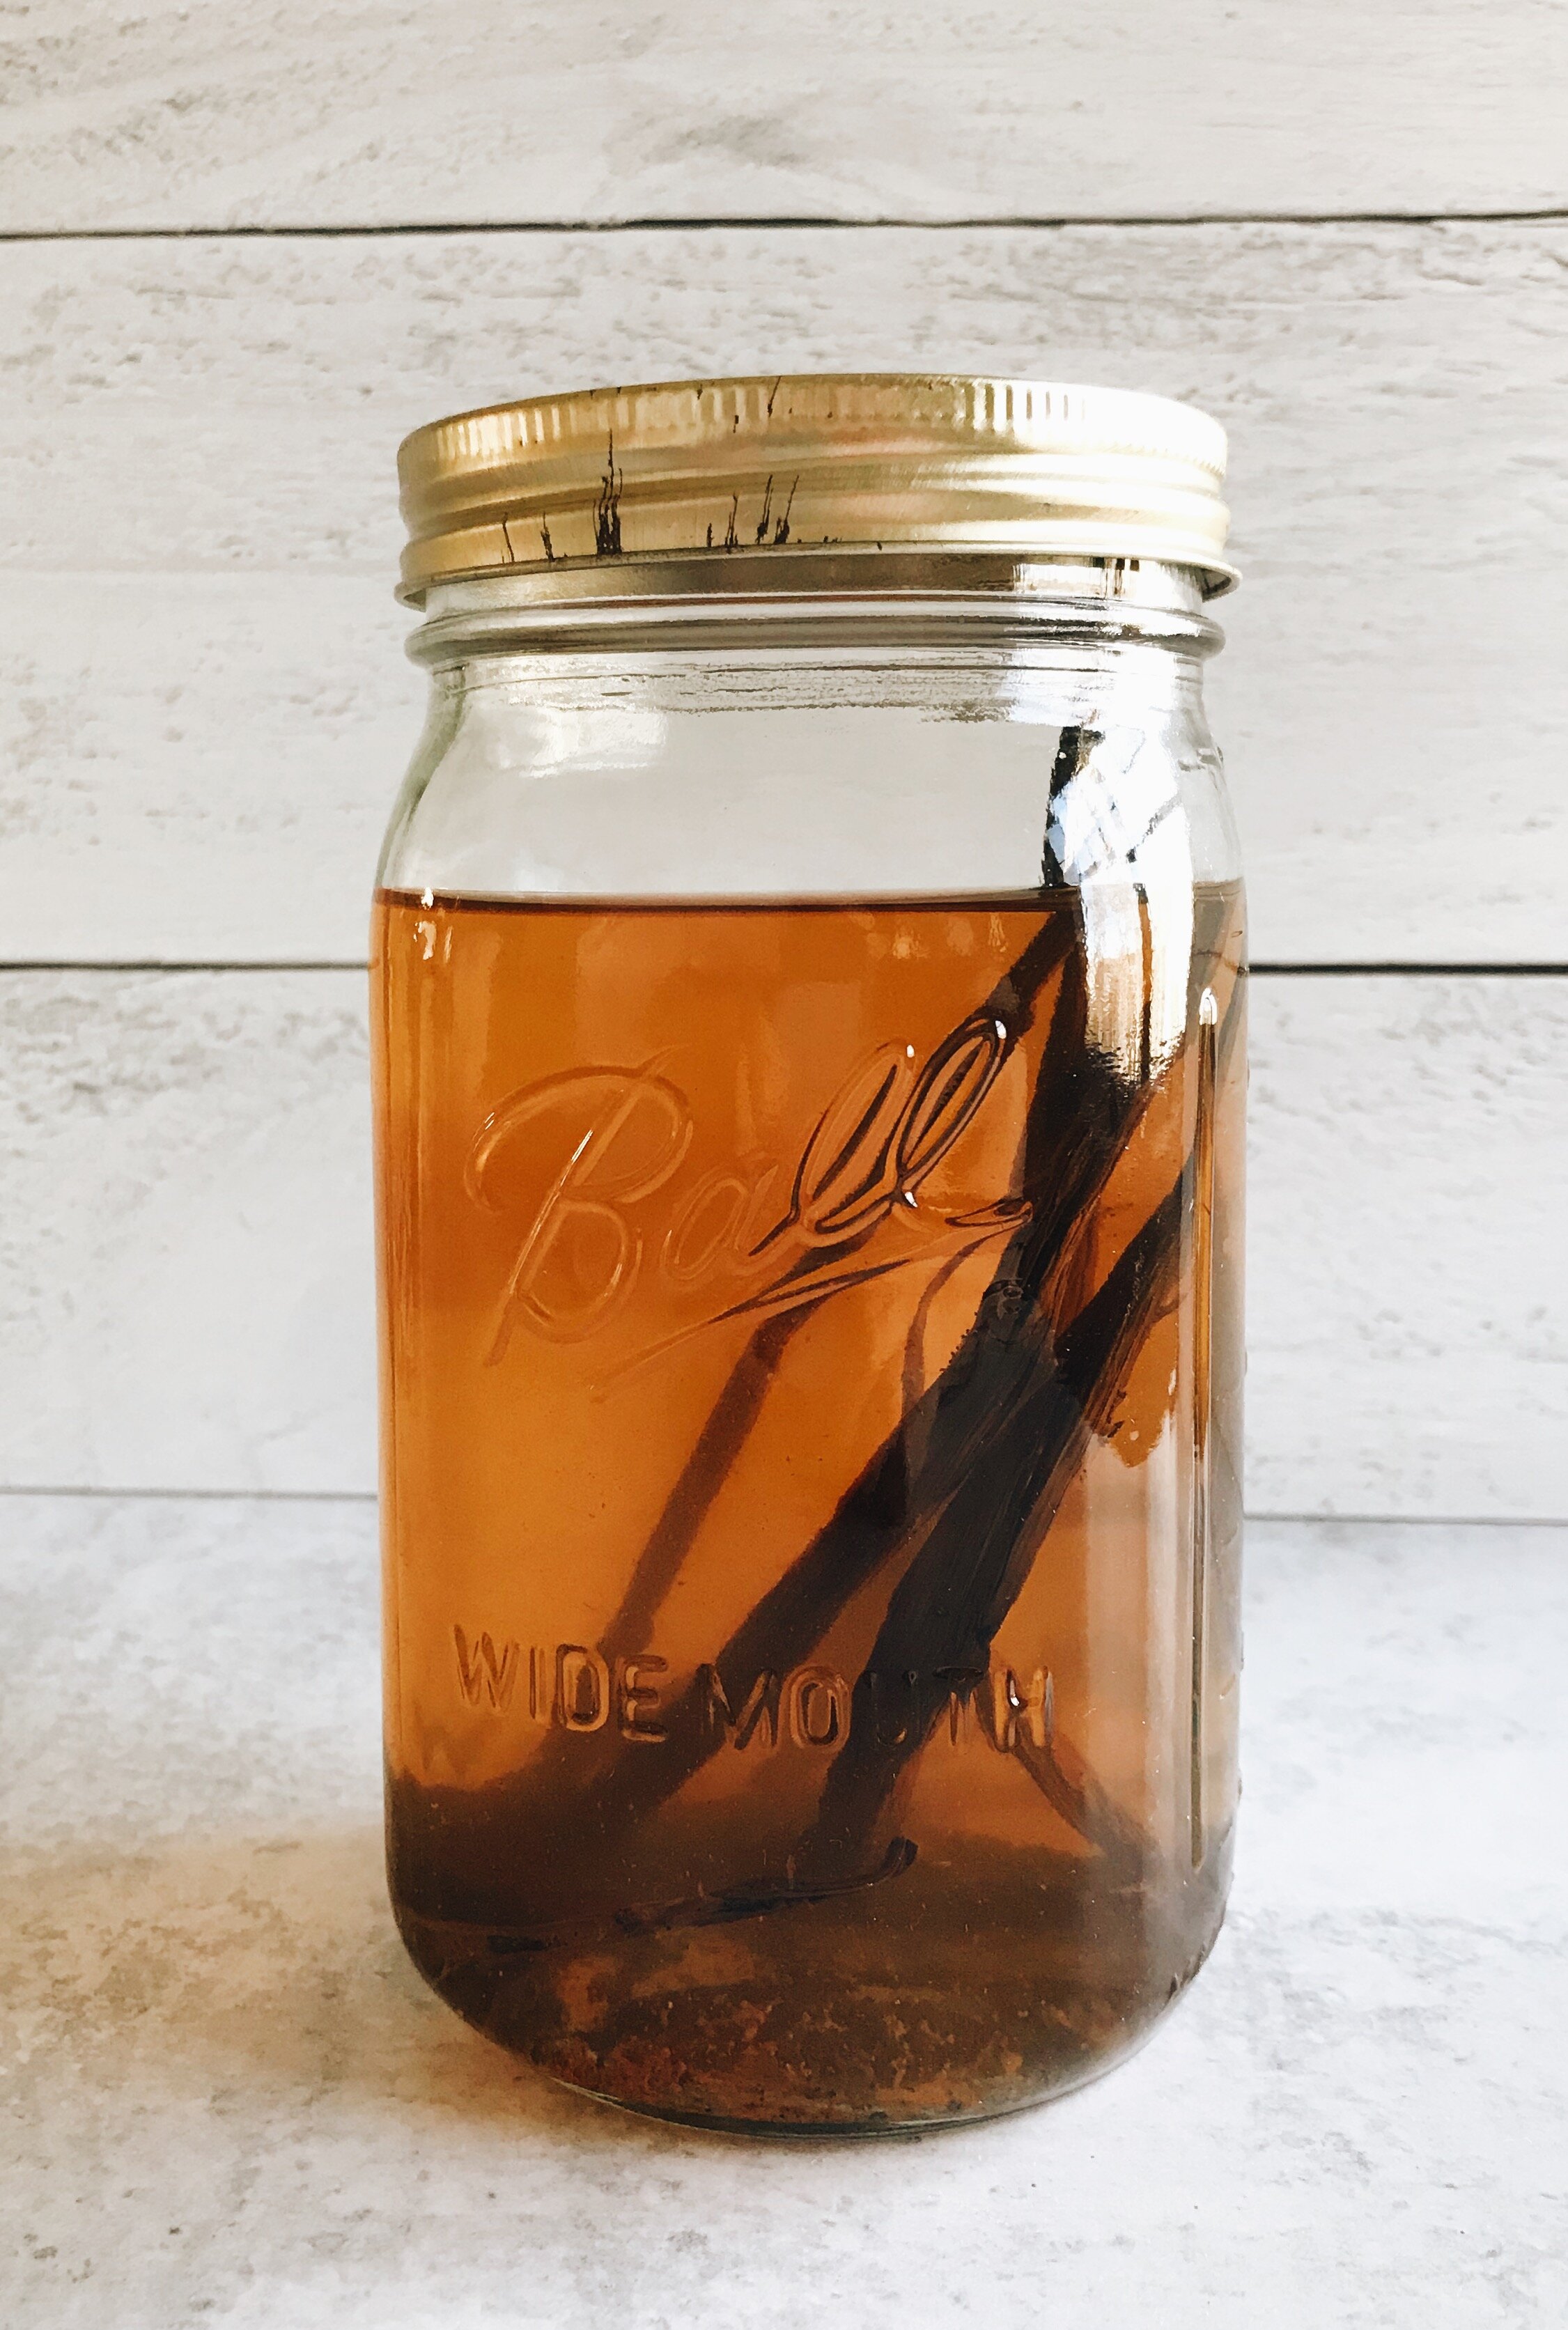
Homemade Vanilla Extract
Early on in the pandemic when Zoom happy hours were bountiful and everyone pretended that they were just as good as the real thing, a person I was kind of “seeing” in June (a story for another time) and I decided that a fun activity for us to do in our respective homes was a little cocktail party in which each of us got the ingredients for the other’s favorite drink, made them “together,” then tried them on camera. To make it easy, I suggested one of my favorite beers instead of an actual mixed drink because I got the impression that anything more complicated would result in him not even attempting it, and me waving my hands and saying, “Oh, it’s fine” when it would, in fact, not be fine at all.
For my part, I was assigned a Screwdriver (orange juice and vodka). We were still in the phase when you’re supposed to pretend to be super breezy and chill with everything, so I didn’t mention that I’m not a particular fan of either ingredient. So, I bought the cheapest bottle of vodka I could find that would still taste okay, and a small bottle of orange juice, and our cocktail party for two was on. I feel like it shouldn’t surprise you though to learn that on the day of our cocktail hour, I was the only one who had actually kept up my side of the bargain. Despite me texting him not one, but two alternative beer choices in the event that the liquor store in his neighborhood didn’t carry my favorite, and him texting me back saying it wouldn’t be a problem because they seemed to carry everything, when it came time for us to log on, both parties were pouring orange juice and vodka into our glasses. Maybe I should’ve spoken up about the beer - after all, he’d agreed to do the drink swap with me, hadn’t he? But, as they say, you shouldn’t ask questions you don’t want the answer to, so I very breezily pretended that making Screwdrivers together had been the plan all along. Needless to say, the courtship didn’t last, but the nearly-full bottle of vodka that I’d purchased for one purpose had. And since I’ve made more of a commitment this year to reduce as much waste as possible, I set out to come up with a way to use it up. Then it hit me: what’s one thing I’ve always wanted to make that I use all the time? Vanilla extract!

Making vanilla extract is super easy and incredibly cost-effective if you bake a lot and go through vanilla faster than most people. I don’t believe in buying the tiny bottles at the grocery store because it always feels like you get a few tablespoons out of each bottle before it’s time to go back to get more. So, I opt for the large size, and with that increase in fluid ounces (though the bottles are never quite FULL are they?), comes a rather hefty price tag - and that adds up over time. While it will cost you a bit upfront to make your own extract (quality vanilla beans aren’t cheap), I know of people who have gone years adding on to the original extract they made, only adding more vodka and vanilla beans to the mix when the potency has diminished, saving them major money in the long run.
All you’ll need to make your own vanilla extract is 4-6 vanilla beans, vodka, and an airtight glass bottle or jar. That’s it!


The last thing you’ll need when making vanilla extract is a whole lot of patience. Though your new vanilla-rich concoction is technically ready to use in as little as two months, the longer you wait, the deeper the color and flavor will be. For that reason, it’s best to wait 6-12 months before you pop open your bottle and start treating your baked goods to that highly-elevated vanilla flavor. And trust me, it’ll be worth it!
It only took a failed Zoom-based courtship during a global pandemic, a couple of vanilla beans, and a bottle of vodka to fulfill a years-long goal of mine. Who knew?!
Homemade Vanilla Extract
What You’ll Need:
4-6 fresh vanilla beans
Vodka
A clean glass jar or bottle with an airtight lid
Directions:
Using the tip of a very sharp knife, split each vanilla bean lengthwise all the way down, then gently pull apart to expose the seeds inside. Carefully scoop out the seeds of each and place them in the glass bottle or jar you’re using. Once all vanilla beans have been split open and the seeds have been removed, add the vanilla bean hulls to the jar (depending on how big your vessel is, you may have to fold the hulls in half to fit them in).
Using the back of a wooden spoon, gently muddle the vanilla bean hulls and seeds together to start the breakdown process. Remove the spoon and scrape any seeds or hull pieces that might be on it back into the jar.
Next, pour enough vodka into the jar to completely cover the seeds and vanilla bean hulls.
Tightly seal the jar, then give it a few very strong shakes.
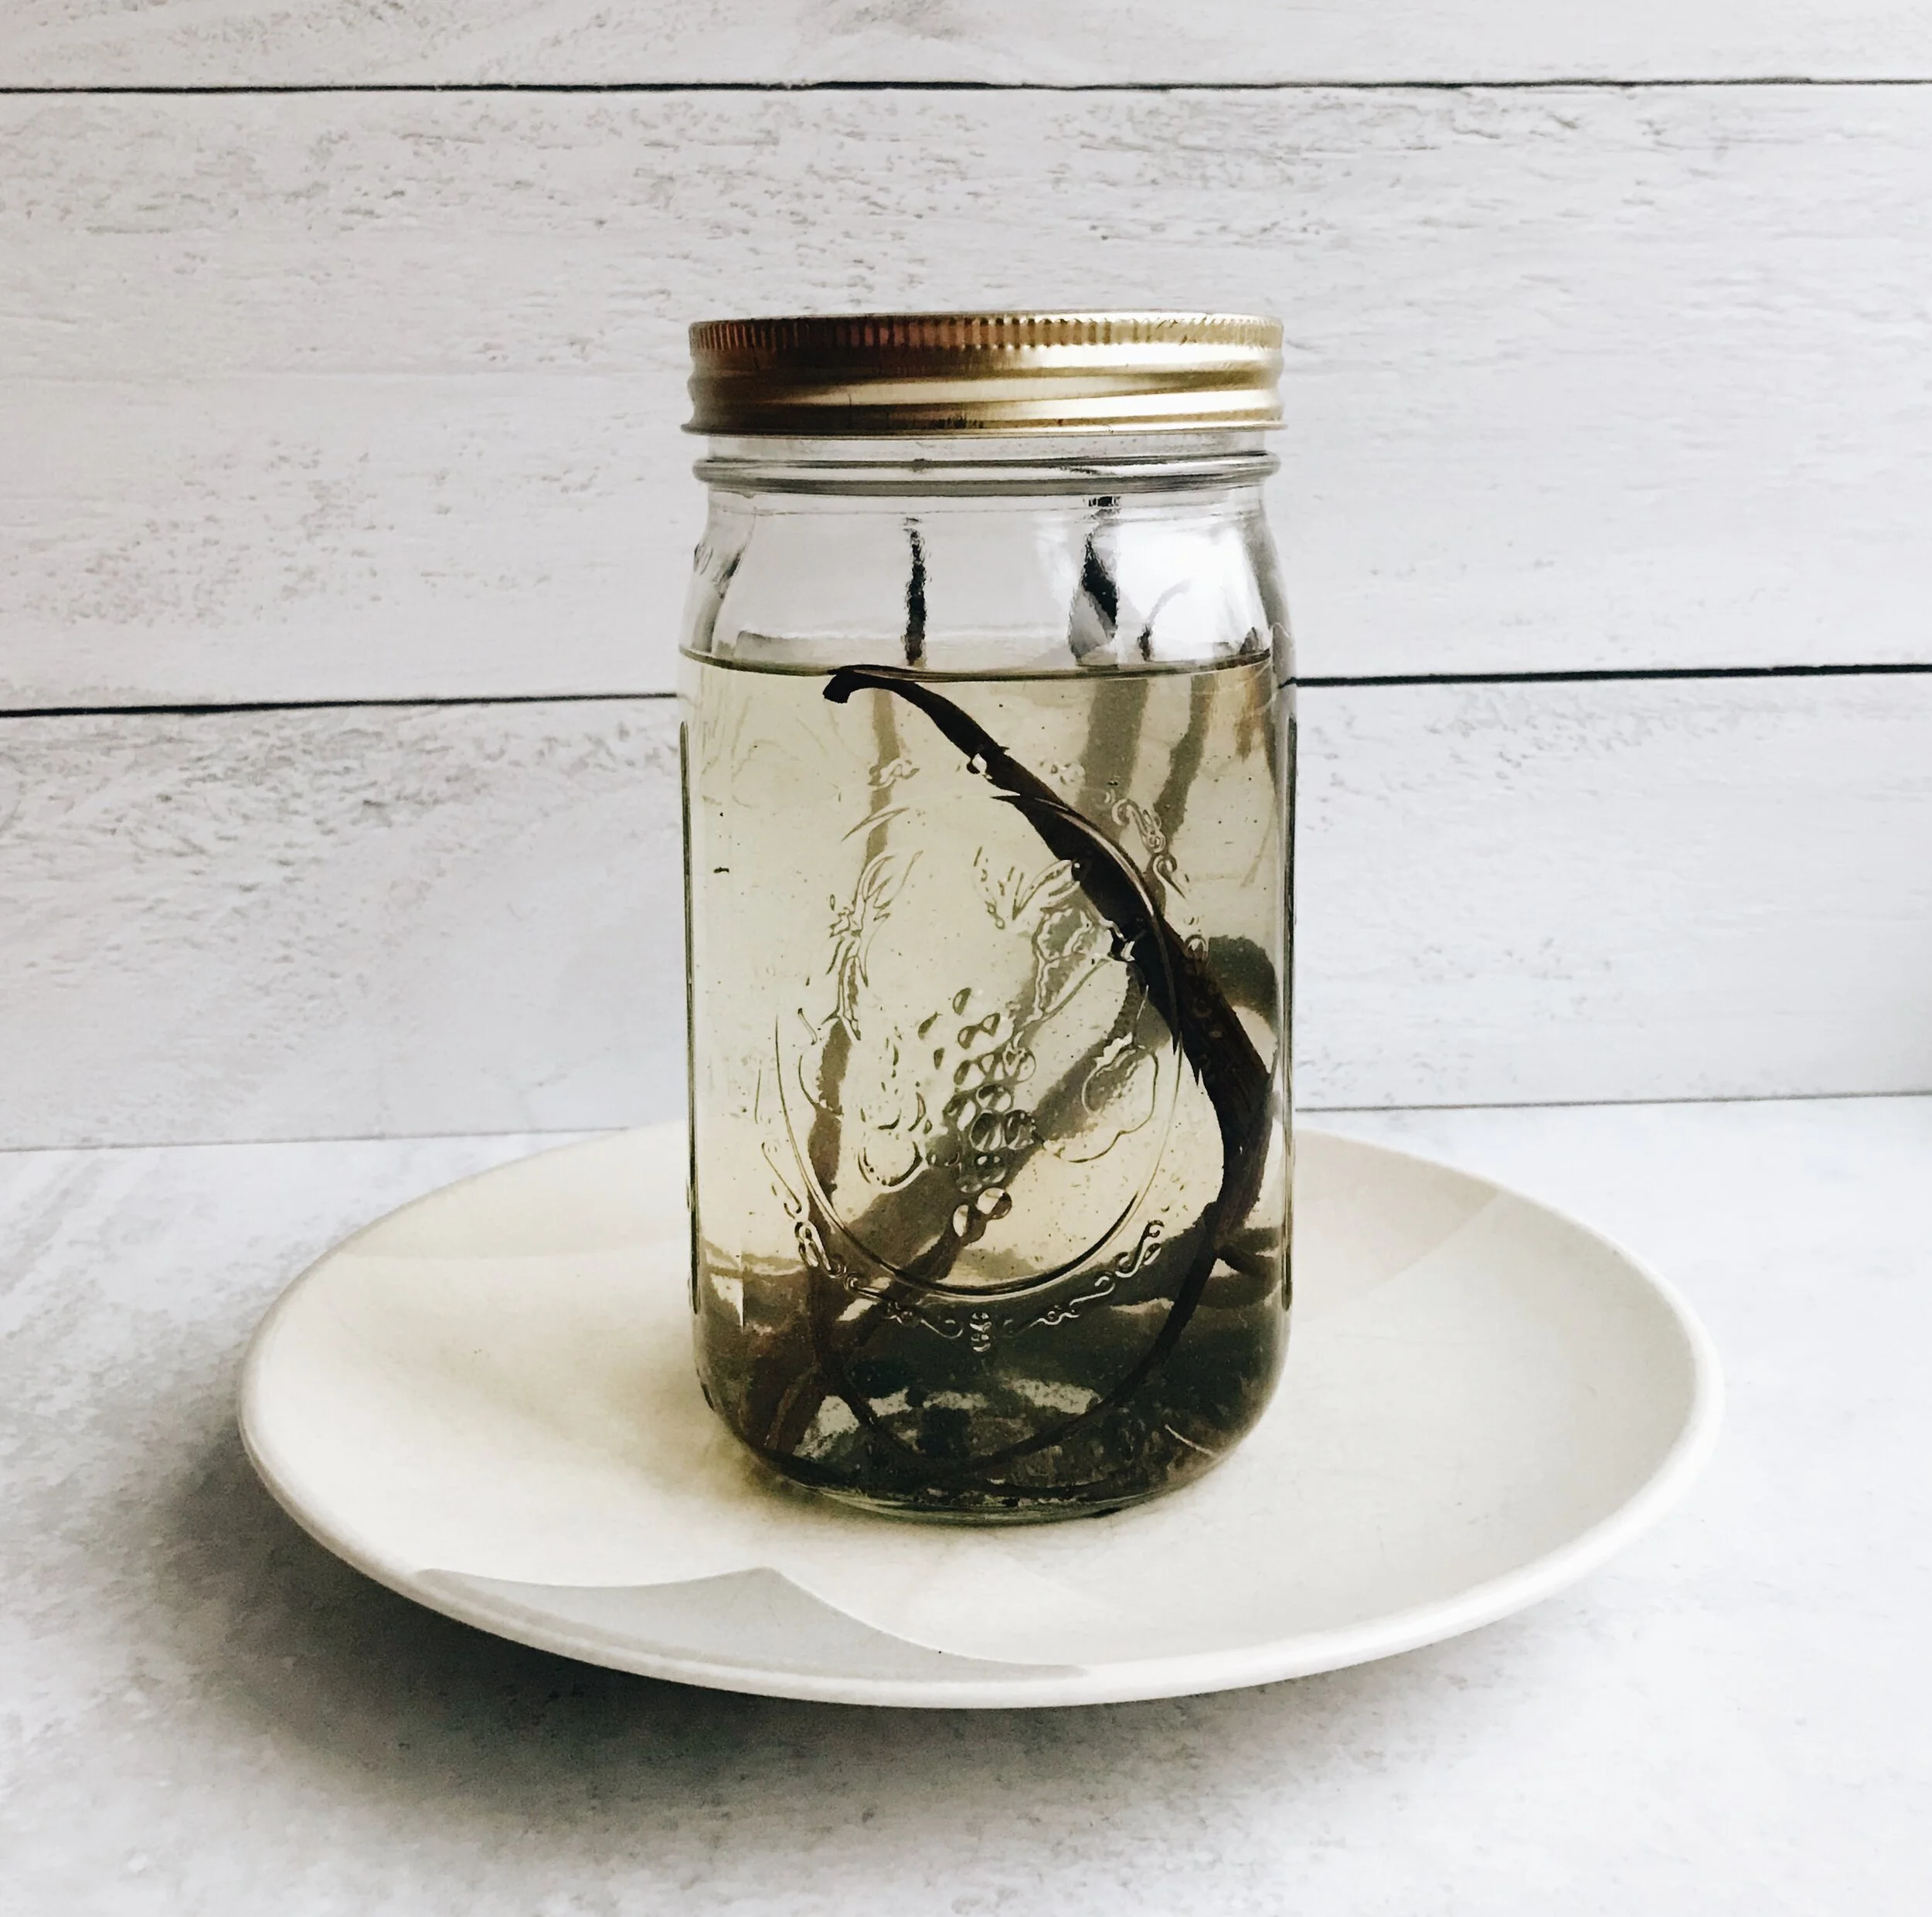
Store in a cool, dark place such as a kitchen cabinet, and be sure to shake the jar at least once a week. With each passing day, you’ll start to see the color deepen into a beautiful amber hue.
The vanilla extract is ready to use in 6-12 months. The longer you wait, the more potent the flavor will be. Make sure to label your jar in some way with the date so you’ll know when it’s time to use your extract.
KEEP IT GOING: Be sure to add more vodka after every use to continue the extraction process with the vanilla bean hulls and seeds still in the jar. Over time, the potency of the vanilla aroma and flavor will start to diminish, and more seeds and vanilla bean hulls will need to be added to the jar.
TO STORE: Always keep your vanilla extract in a cool, dry, and dark place.