Fried Green BLTs
 I think we all love a good BLT. I mean, it's a classic. But have you ever felt like you weren't getting that extra element of crunch? Sure, the bacon is supposed to pull triple duty as the salty, meaty, crunchy component to that sandwich, but still, sometimes you just need more. How about frying the tomatoes? Perfect.
On a particularly pleasant day, it's good to throw on your sun hat and shades, and your perfectly dainty fan to keep the heat at bay, and enjoy a nice, Southern-style sandwich out on the back porch. You're meant to enjoy food in warm weather, and you're most definitely not meant to spend a lot of time in the kitchen preparing it.
These fried green BLTs are not only a super-fast, very fresh lunch option, they're also totally perfect for a spontaneous summer picnic. They hold up and travel very well, and I may just be imagining it, but I think they actually taste ten times better when eaten al fresco. That might just me though.
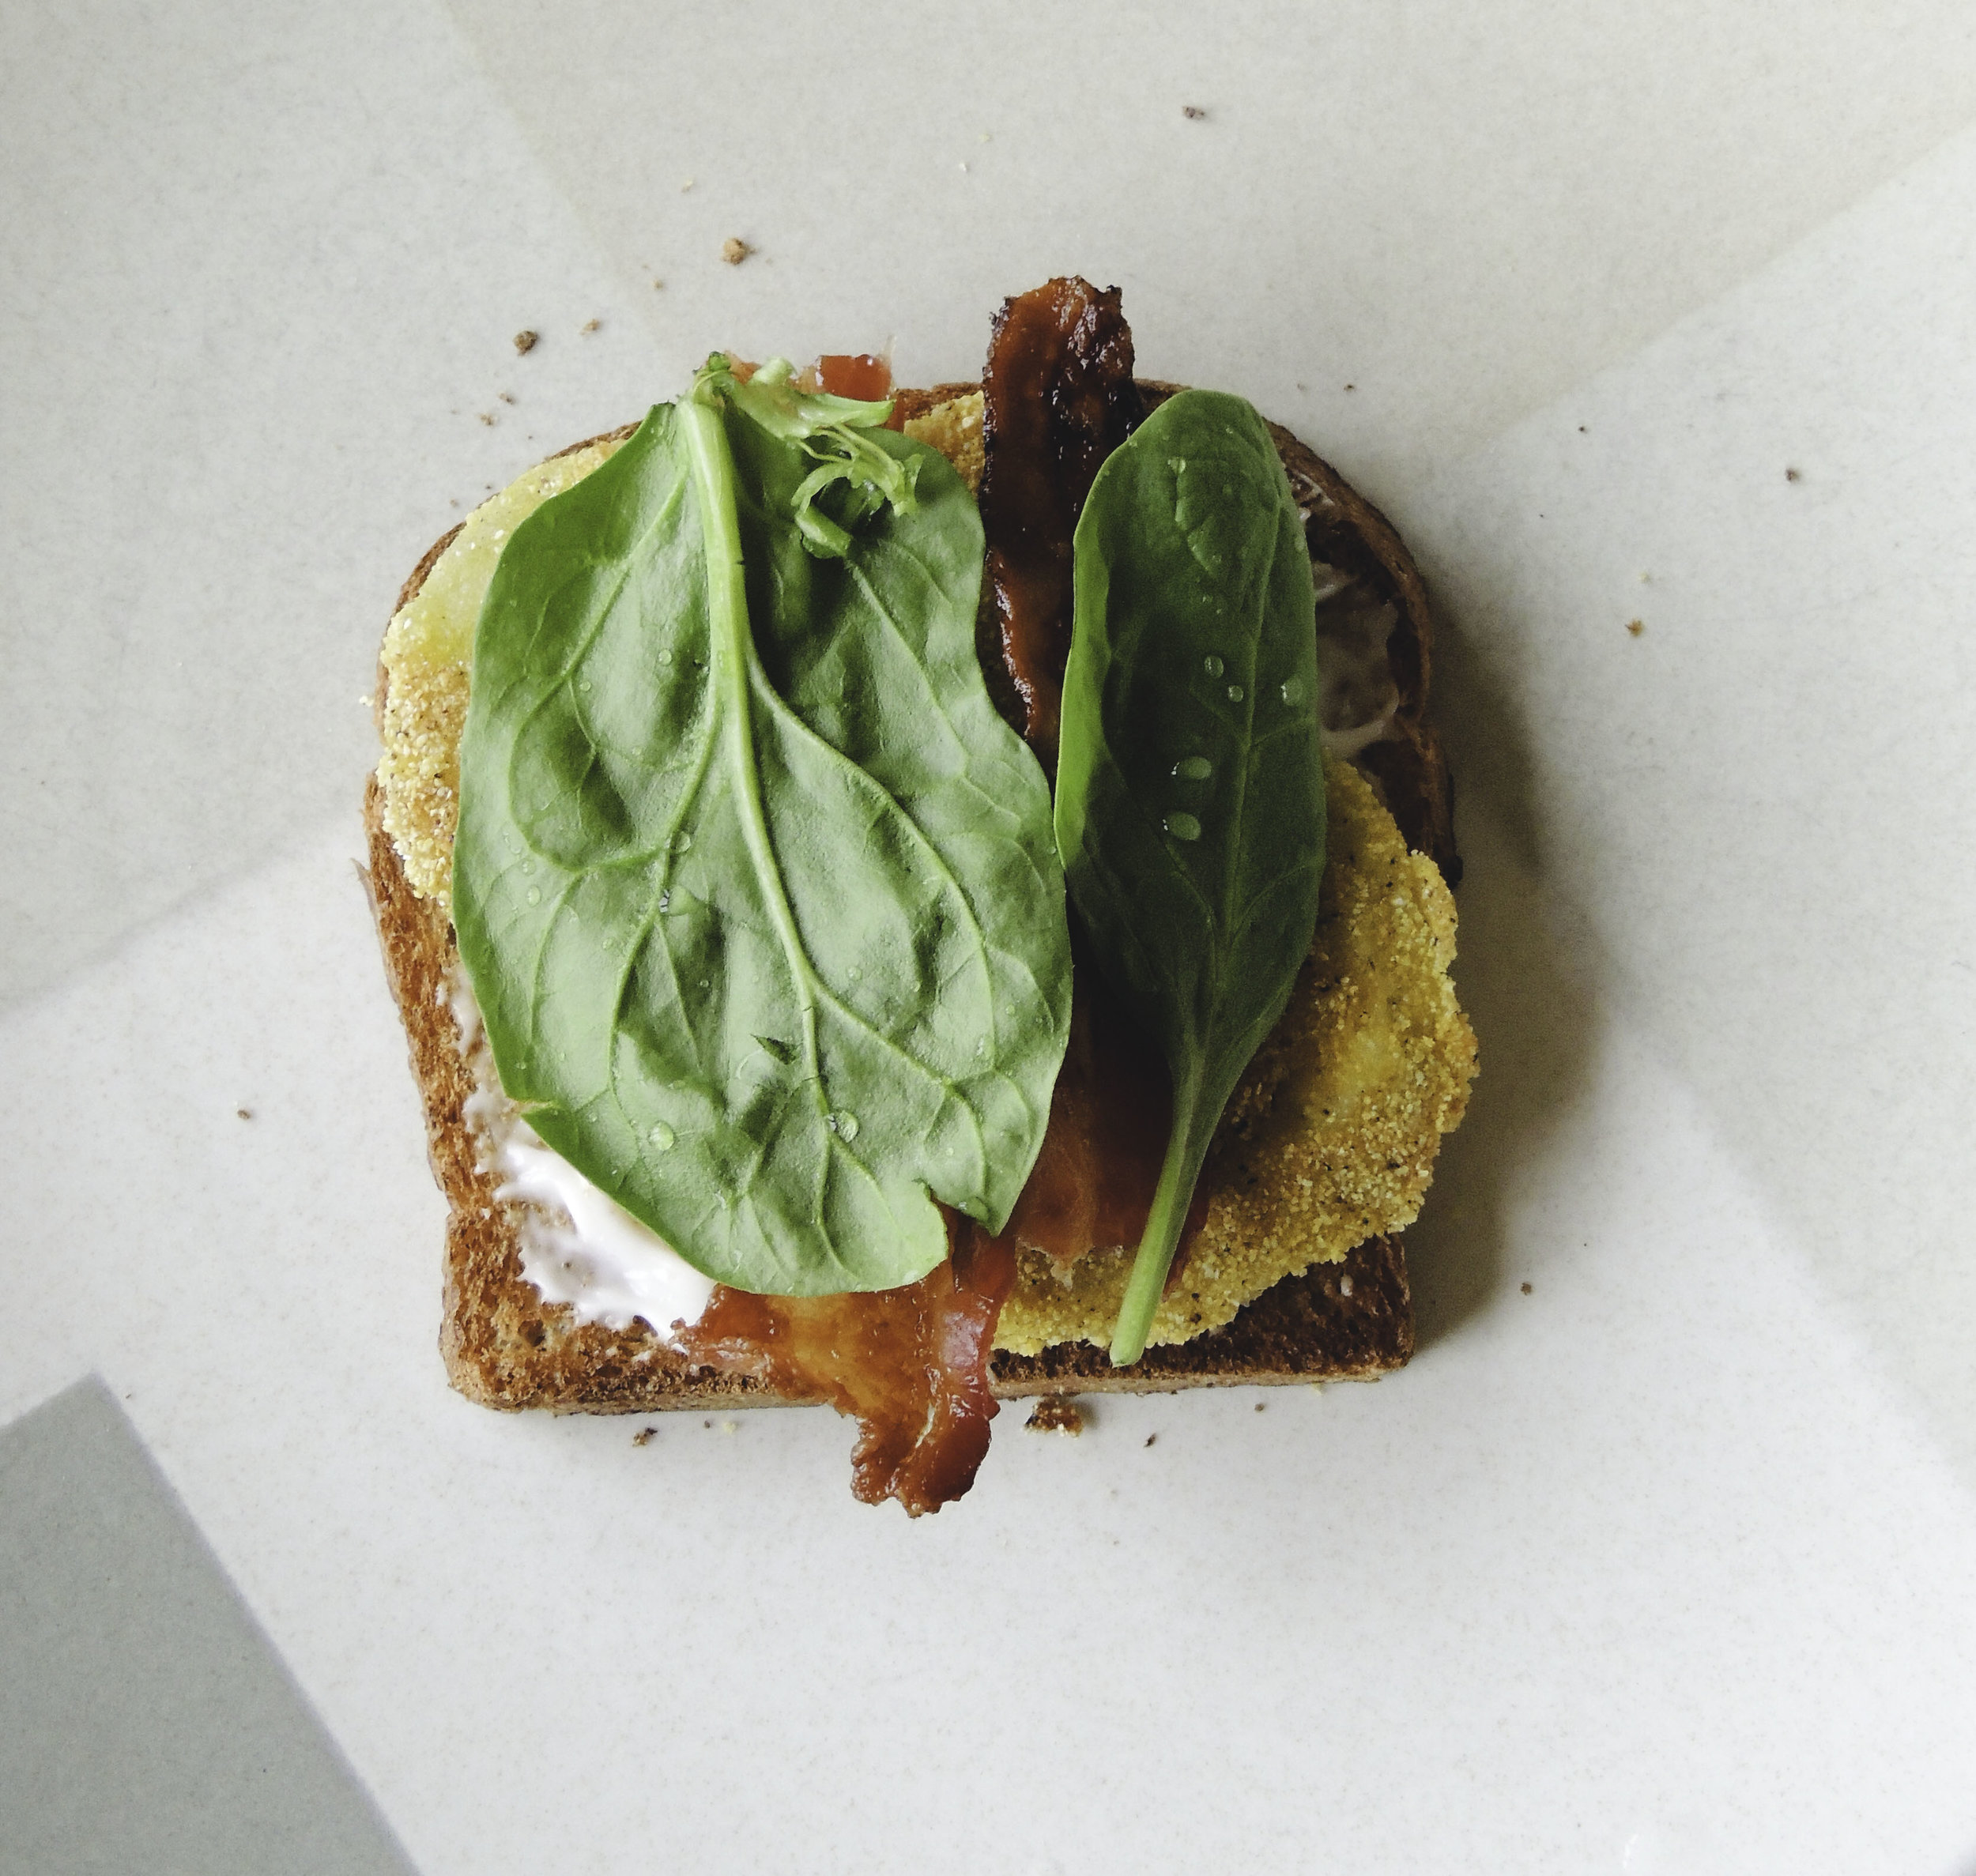
All you need is an egg, unripe green tomatoes, some cornmeal, a little vegetable oil, some nice crispy bacon, some baby spinach, a little mayo, and fresh thick-sliced bread (don't forget to toast it!), and you've got a totally fresh take on a pretty traditional sammie. Now all you need is a tall glass of ice-cold sweet tea to wash it down, and you've got the perfect summer day. Aaaaaahhhhhhh.
FRIED GREEN BLTs
What You'll Need:
- 4 slices of bacon
- 1/2 cup all-purpose flour
- 1 large egg, beaten
- 1 tablespoon water
- 1/2 cup yellow cornmeal
- Salt
- Fresh black pepper
- 1 pound unripe green tomatoes, sliced (Note: I've found that using a serrated knife not only makes it easier to cut the tomatoes, but it also keeps them from getting mashed, releasing too much of their juices, and bruising)
- Canola or Vegetable oil
- 8 thick slices of your favorite bread, toasted
- Mayonnaise
- Baby spinach or arugula
DIRECTIONS
Preheat the oven to 400 degrees F. Line a rimmed baking sheet with two layers of aluminum foil. Lay your bacon on the foil, and bake for 12-15 minutes, or until it has reached your desired level of crispiness. Once out of the oven, drain your bacon on paper towels.
Fill three separate bowels with flour, your egg and water mixture, and cornmeal. Season the cornmeal with plenty of salt and freshly ground pepper. Dip each tomato slice in the flour, then the egg mixture (shaking gently to remove any excess) and then finally into the cornmeal, making sure that every bit of it is covered. Place the slice on a wax-paper lined platter or plate. Repeat the process until all of your slices are perfectly coated.
In a large skillet, heat 1 tablespoon of vegetable or canola oil until it is shimmering. Add the tomatoes, and cook over medium-high heat, turning once, until golden brown and crispy. This should take about five minutes. Drain your tomatoes on paper towels.
To Assemble:
Lay four slices of toasted bread on a cutting board, and lightly spread some mayonnaise on each. Next, add at least two slices of tomatoes on top. Next, cut your slices of bacon in half, and add two halves of each on top of the tomatoes. Top with a few spinach leaves.
Now, if you like open-faced sandwiches, then you're done! If you like a classic sandwich, top each with another slice of toasted bread, and cut in half. Enjoy!
SOURCE: Delish