Happy Thanksgiving!

You guys. You guys. I've been up since before the sun came up, hunched over lightly floured services cutting holes out of dough, peeling so many apples that my fingers became prunes, and definitely accidentally licking the bitter white part of a lemon while trying to sneak some of the juice on the sly. But you know what they say: No pain, no pie...

...That's how that saying goes, right?

I'm so tired.

Despite the increase in yawning this afternoon, I'm feeling GREAT. Thanksgiving pies are FINISHED, cooling, and getting ready to be wrapped up tight for maximum Turkey Day freshness. Also, I'm one step closer to achieving my goal of being Pie Queen of the Midwest. I think I've finally, FINALLY mastered pie dough, and everything's coming up Sydney today.


I was really inspired by this video and decided to try out making a few freehand designs for my pie vents. AND I got to use some of my extra dough to make some freehand leaves! They're very easy to make, and I think it adds a little something. If nothing else, the leaves remind you that this pie is a celebration of the Harvest Season.  If you're wondering what kind of pie this is, it's the Double Apple-Pear Pie, with about 1 and 1/2 teaspoons finely chopped thyme. Adding herbs gives it some sophistication, and I'm REALLY excited to taste it. THANKSGIVING NEEDS TO GET HERE FASTER!!

I hope you have the BEST THANKSGIVING that has ever Thanksgiving'd.

It's nap time.

Last-Minute Halloween: Easy Lady Fingers

If you're trying to be kind of festive, but find yourself running out of time this Hallow's Eve, you should TOTALLY make some lady fingys. It's SUPER EASY: Just a basic sugar cookie recipe, a little food coloring, a paint brush, and some slivered almonds, and you're done!

The movie marathon is starting in a few hours (I may be the only one that watches, but so be it), and I refused to celebrate one of the best holidays without at least SOMETHING kind of creepy and festive. And I love cookies. So here we are.

What's super great about these (besides how simple they are to make) is that you really can't mess up. Halloween isn't about being perfect, in fact, the more imperfect the better! When you're rolling out your fingers, it's up to you how you want them to look. Do you want them to be bent and out of shape with brownish-yellow nails, or perfectly manicured with your favorite color like you've just brought them home from the salon? It's totally up to you. Go all out!

Since I made these for my family, I figured I should keep things kind of tame (I've seen examples of lady fingers where the ends have been dipped in raspberry jelly to look like they'd just been severed off the hand!), but next year? Next year we're upping the ante.

Until then, this is the perfect last-minute Halloween project for you and your friends, served however you'd like. Maybe all in a bowl? Or, you can be like me, and use it as a prop to point to things I want, but am too lazy to get myself. It's whatever you choose!

HAPPY HALLOWEEN, GUYS!! Be safe. Make sure all the kids that come to your door know how adorable they look, because they always do.


LADY FINGERS 

What You'll Need:

  • Food-safe paintbrush
  • 1-2 tablespoons red food coloring (or your favorite color, OR leave them plain)
  • 30 blanched almond slivers
  • 2 large eggs, at room temperature
  • 1/2 teaspoon vanilla extract
  • 1 stick unsalted butter, at room temperature
  • 1/2 cup confectioners' sugar
  • 5 tablespoons granulated sugar
  • Pinch of salt
  • 1 2/3 cups all-purpose flour

DIRECTIONS

Place food coloring in a small bowl, and, using a small food-safe paintbrush, color one side of each almond. Set aside on a sheet of wax paper to dry.

Separate one egg. Set the egg white in the fridge; we'll need it later. In a small bowl, whisk together the yolk, remaining egg, and vanilla extract until well combined. Set aside.

In the bowl of a stand mixer fitted with the paddle attachment (or using a hand mixer, or a wooden spoon), combine the butter, both sugars, and salt. Beat on medium speed until well combined. Next, add the egg mixture and mix until well combined and smooth, about 2-3 minutes. Add the flour, then mix on low speed until JUST combined.

Wrap the dough in plastic wrap, then chill in the fridge for 25-30 minutes to firm up.

While the dough is chilling, preheat the oven to 350 degrees F, and line two cookie sheets with parchment paper.

Once your dough has chilled, divide the dough in half, working with one half at a time. Keep the remaining half in the fridge wrapped in plastic wrap until you're ready to use it. Lightly flour your work station.

Using a knife or bench scraper, divide the first half into 15 pieces. Roll each piece back and forth with your palms into a finger shape (whether they be really thin fingers, or really short fingers, or really craggily fingers, it's up to you!), about 3-4 inches long. Pinch the dough in two places on one end to create knuckles. Lightly score each finger with the back of the knife to create the natural lines we have in our fingers. Push down on the nail bed LIGHTLY to make it easier to attach the fingernails later. Transfer fingers to the cookie sheets, and repeat the process with the other half of dough. (Note: Make sure to work kind of quickly when making the fingers because the dough warms up really fast, making it harder to work with!)

Once all of your fingers have been formed, brush the egg white from earlier lightly over each finger to create a light browning once they're in the oven. Position each almond nail, then push down to attach (Be careful not to push to0 hard so you don't a. chip a nail or b. misshape the finger). If you find that the nail isn't attaching, add a little more egg white to the area to create a sort of glue.

Bake in the oven until slightly browned, about 10-12 minutes. Let cool completely.

Enjoy!

SOURCE: Adapted from Martha Stewart 

Quiche Lorraine

A while back, Williams-Sonoma was having a fantastic sale that I considered would be a crime not to participate in. Why scour the website daily if I'm not going to end up getting anything when the times comes to get it at a discounted rate (and with free shipping no less)? So, there I was, browsing the baking section when there IT was: a beautiful, french tart pan. Up until that point I could only bookmark all the tart recipes I came across and wonder, what if? But now, now was the time to take action, so in went the pan into my cart, with all the tart possibilities finally becoming attainable. And then it arrived and I said, "It's way too nice to use. Better save it for a special occasion. Back in the box you go!"

That was months ago.

Honestly, that always happens. I pine over something for what seems like forever, to the point where it's the only thing I can search for, and then I get it, and I deem it way too nice to use. "I NEED AN OCCASION TO BREAK IT IN," I'll insist. But then no occasion is ever good enough, so whatever it is waits and waits to be used. But that has to change, so I made Quiche Lorraine.

I love this tart pan, and I'm so excited that the first thing I decided to make was Quiche Lorraine for dinner. It's so good, and so simple to make. Plus, it can be served or cold depending on the setting. It may be getting a little chillier outside, but we've still got some warmish days in the forecast that are pretty perfect for a picnic. Trust me, take it from someone who lives in the Midwest, these are the golden weather days. Soon all we'll have is snow piles and distant memories of when the temperature was a steamy 50 degrees. And if given the choice to eat outside while the trees are beautiful hues of yellow, red, and orange, you take it.

Here's something that broke from tradition: I used pancetta instead of lardons. One because I love pancetta and will take any excuse to use it, and two, because lardons in 5 oz containers are a little hard to get my hands on around here. And as it turns out, pancetta really, really works. It still gives you the salty, crispiness that lardons give you, but it doesn't overpower. I may have to alter the salt levels in the egg mix, but I think it really all comes down to personal preference.

And remember: Quiche Lorraine is just egg, heavy cream, bacon, and a little salt and pepper. If you add anything else, it's no longer Quiche Lorraine. Still delicious, but no longer Quiche Lorraine.


QUICHE LORRAINE

What You'll Need:

For the Pastry

  • 6 tablespoons butter, softened and at room temperature
  • 1 teaspoon sugar
  • A pinch of salt
  • 1 1/2 cups AP flour
  • 2 eggs, separated
  • Cup of ice water

For the Quiche Filling

  • 5 oz pancetta (or lardons if you're lucky enough to find it!)
  • 4 eggs and 2 egg yolks
  • 1 1/4 cups heavy cream
  • 1 tsp salt
  • Black pepper to taste

First, Make the Pastry:

Using a wooden spoon, beat together the butter, sugar and salt in a medium bowl until smooth. Mix in the flour, followed by  the egg yolks, and 2 tablespoons of ice water. Mix together until a smooth ball forms, only kneading the dough as much as necessary to bring it together. If the dough seems a bit dry, you can add more water, but be careful not to make the dough too wet.

Once the dough has come together, wrap in plastic wrap and chill overnight. (If you don't have the time, make sure to at least let it chill for an hour. )

When It's Time for Quiche:

Preheat the oven to 350 degrees F.

When you are ready to roll out the dough, take it out of the fridge and let it rest on the countertop for at least 30 minutes to make it easier to work with. Roll out the pastry dough between two even sheets of parchment paper until it is 1/4 inch thick, and use it to carefully line your tart pan. If you have any extra pastry dough, use it to patch up any cracks. Brush the sides  and pastry base with the leftover egg whites. Pop your tart pan back into the refrigerator while you prepare the filling.

To make the filling, fry the pancetta in a frying pan until golden brown and crispy, then, using a slotted spoon, transfer to a plate lined with paper towels to drain off any excess grease.

In a bowl, lightly beat the egg and egg yolks, then add the heavy cream, then the seasoning. Beat again until everything is mixed together well.

Remove the tart pan from the fridge, then scatter the cooled pancetta all around in the pastry shell. Next, pour in the egg mixture.

CAREFULLY transfer the quiche to the oven (I placed it on a baking sheet both for stability, and to catch any overflows), and bake for 30-45 minutes, depending on your oven. MAKE SURE to keep an eye on it so that it doesn't stay too long in the oven and crack. A perfect quiche has a golden brown top, and is set. No  one wants cracked quiche.

This quiche can be served warm or cold.

SOURCE:  Adapted slightly from The Little Paris Kitchen: 120 Simple but Classic French Recipes, by Rachel Khoo

Follow my blog with Bloglovin

Double Apple + Pear Pie

So, I've given this a lot of thought and, in ten years time, I want to be referred to as The Pie Queen.  I know it's a lofty goal, but we all need dreams, right? I've had visions lately of winning state fairs, and a beyond giant wedding pie. Or a cake disguised as a pie. I'm still working out the details.

There's just something about pie that puts me in the best mood. More than anything else I bake, pie really makes me feel like I've actually put tangible love into something to give to others. Do you ever feel like that? And apple pie is just so classic. If we try hard enough, maybe making one will speed up Fall a little bit, for what is Fall without apple pie? Just a season when everything dies, that's what.

Now, let's talk about adding a pear to your apple pie. Never in a million trillion years would I have thought of doing it, and now I can't believe that it isn't the norm. It's genius. Not only does adding a pear bring more complexity to an already pretty complex pie (due to the use of two different kinds of apples), but in the words of Pie School's author, Kate Lebo, "Your guests won't be able to tell where the flavor is coming from." You get to have a secret, and isn't that always fun? (Unless it's peanuts. Nut allergies aren't so fun. Best to let the cat out of the bag when it comes to peanuts.)

My suggestion with this pie is that you make it a hundred times before Fall and Winter are over. And if that seems like too many times, I don't know why we're friends in the first place.

Double Apple-Pear pie is at its best when served warm, and preferably with your favorite hot drink.    Throw in a scoop of freshly-made vanilla bean ice cream for good measure. Mmmm. Be right back, gonna go make one.


DOUBLE APPLE + PEAR PIE

What You'll Need:

  • Super Flaky Pie Crust
  • 3 Granny Smith apples, peeled, cored, and thinly sliced
  • 2 Golden Delicious apples, peeled, cored, and thinly sliced
  • 1 Bartlett pear, peeled,cored, and thinly sliced
  • Juice of 1/2 lemon (1 to 2 tablespoons)
  • 3/4 cup granulated sugar
  • 1/2 teaspoon ground cinnamon
  • 1/4 teaspoon ground nutmeg
  • Generous pinch of salt
  • 3 tablespoons AP flour
  • 2 tablespoons chilled unsalted butter, cut into small pieces
  • Egg white wash (1 egg white, beaten, mixed with one teaspoon water)
  • Demerara sugar for sprinkling

Directions

Make your pie crust. Chill overnight.

Roll out the bottom crust and place it in a 9 inch pie dish. Trim the edges, then refrigerate while you make the filling.

Preheat the oven to 425 degrees F.

Put your apple and pear slices in a bowl, and squeeze the lemon juice evenly on top to prevent browning. Stir in the granulated sugar, cinnamon, nutmeg, and salt. This would be a good time to taste and adjust your flavors as needed. Once you've got your filling just right, add the flour and set the filling aside.

Take your bottom crust out of the refrigerator, and set aside. Roll out your top crust.

Using a slotted spoon, place the apple-pear filling in the bottom crust, gently pressing down to make sure there's enough room for all the filling. It may not look like it will all fit, but trust me it will. Pour the liquid from the filling evenly over the apples, then dot the filling with the cut up pieces of unsalted butter.

Carefully drape the top crust over your bottom crust, then trim and crimp the edges. Make sure to cut generous slits over the top crust so that there is plenty of space for steam to escape. Brush the crust with the egg white wash, then sprinkle generously with Demerara sugar.

Bake the pie in the middle of the oven for 15-20 minutes, until the crust is blond and blistered. Rotate the pie front to back, then reduce the oven temperature to 375 degrees F. Bake for an additional 35-45 minutes, until the crust is deeply golden brown and the juices are bubbling.

Cool on a wire rack for at least two hours. Serve warm.

To store: Keep the pie loosely wrapped on the counter for up to 3 days.


SOURCE: Pie School: Lessons in Fruit, Flour, and Butter

Vanilla Bean Cake Doughnuts

You know what's hard to make? Doughnuts. Seriously, I have so much more respect for the contestants on Donut Showdown now that I've tried it at home. And they're under time constraints! Dough is sticky, flour goes everywhere, oil is HOT, and finding the perfect glaze consistency takes practice. It all takes practice. Is it worth it in the end? You bet. My life was filled with homemade fried dough for several days, and that's all a girl could want.

I've been thinking. I really want my life to look like that scene in Marie Antoinette where all the women do is sit around playing cards, drinking champagne out of coupe glasses, gorging themselves on the most beautiful, fresh-fresh-fresh pastries and candies you've ever seen. And they're doing all this while wearing three pounds' worth of silk, tulle, and ruffles. Oh, and mile-high hair. I've always been a fan of big hair. Ask my beautician. And when I would say "Let them eat cake," no one would be upset with me because I would then immediately follow it up with actual cake. I'd be the most beloved queen in all the land.

Truth be told, it'll be quite some time before I'm Versailles-level good at making doughnuts and other beautifully complicated pastries. I will say though, that for only my second time frying dough in the kitchen, things didn't turn out badly at all. There could've been a little less rolling and re-rolling involved in the dough-cutting stage.. Oh, and I'm still working on my fear of hot oil, but baby steps. Rome wasn't built in a day (and while we're on the topic of Rome, neither is good pizza).

One of my favorite things to get at my local bakery is a classic cake doughnut. More than anything else, I adore a good cake doughnut. Especially when it's Fall and tastes like pumpkins and apple cider and cinnamon sugar. In the summer, I prefer my doughnuts covered in rainbow nonpareils and vanilla glaze. Throw in the comforting speckling of fresh vanilla bean seeds, and you've got me. To be able to make my favorite treat in the comfort of my own home, curlers in hair, 40s Big Band blaring in the background, is such a splendid concept.

Now, I like you, so I won't lie to you and say that it's particularly easy, or that it isn't time-consuming. But I mean, It's REALLY worth it. Your reward is DOUGHNUTS at the end! That's my incentive for everything, but in this scenario, doughnuts is the actual GUARENTEE. Yes, I do have a few new tiny burn marks from absent-mindedly plopping doughnut holes into 350 degree oil, but I just ran one hand under some very cold water, and popped two slightly-cooled doughnut holes in my mouth with the other. I felt exponentially better after that.

Bottom line: make your own doughnuts. Tell me how it goes.

Why don't you try this Vanilla Bean Cake Doughnut recipe from one of my favorite blogs, Apt.2B Baking Co!


Blackberry Cobbler

blackberry cobbler 1 
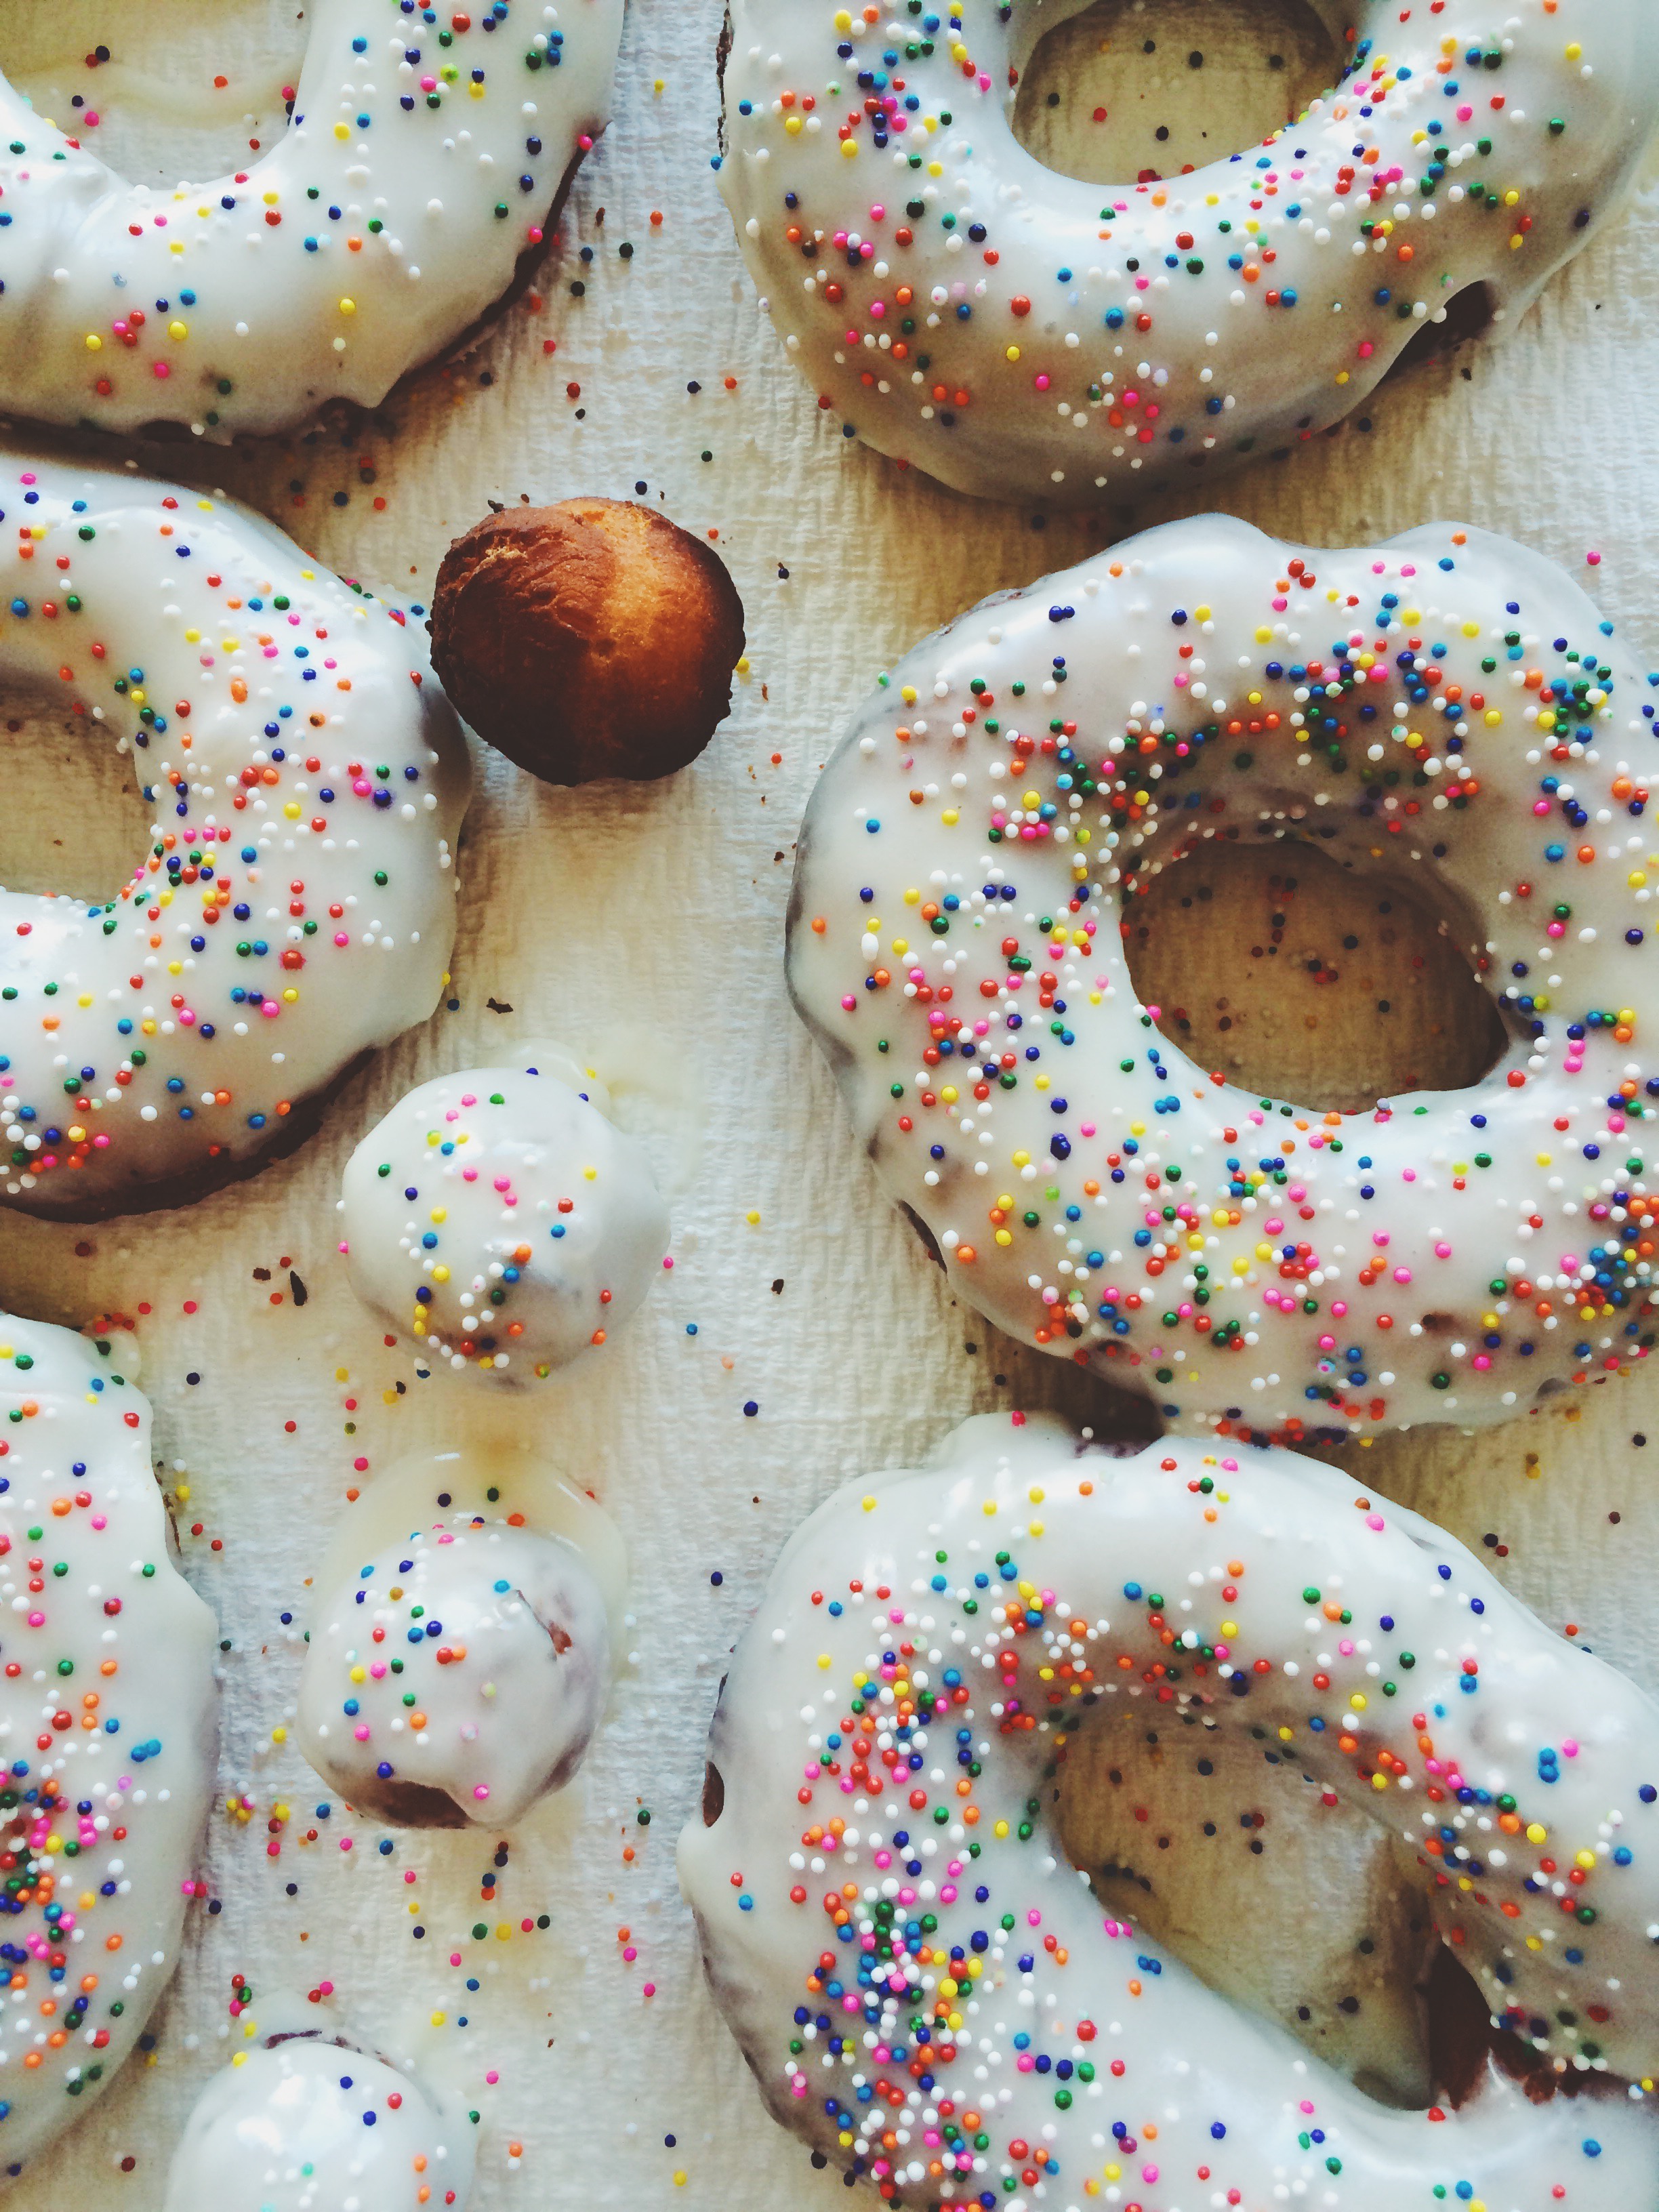
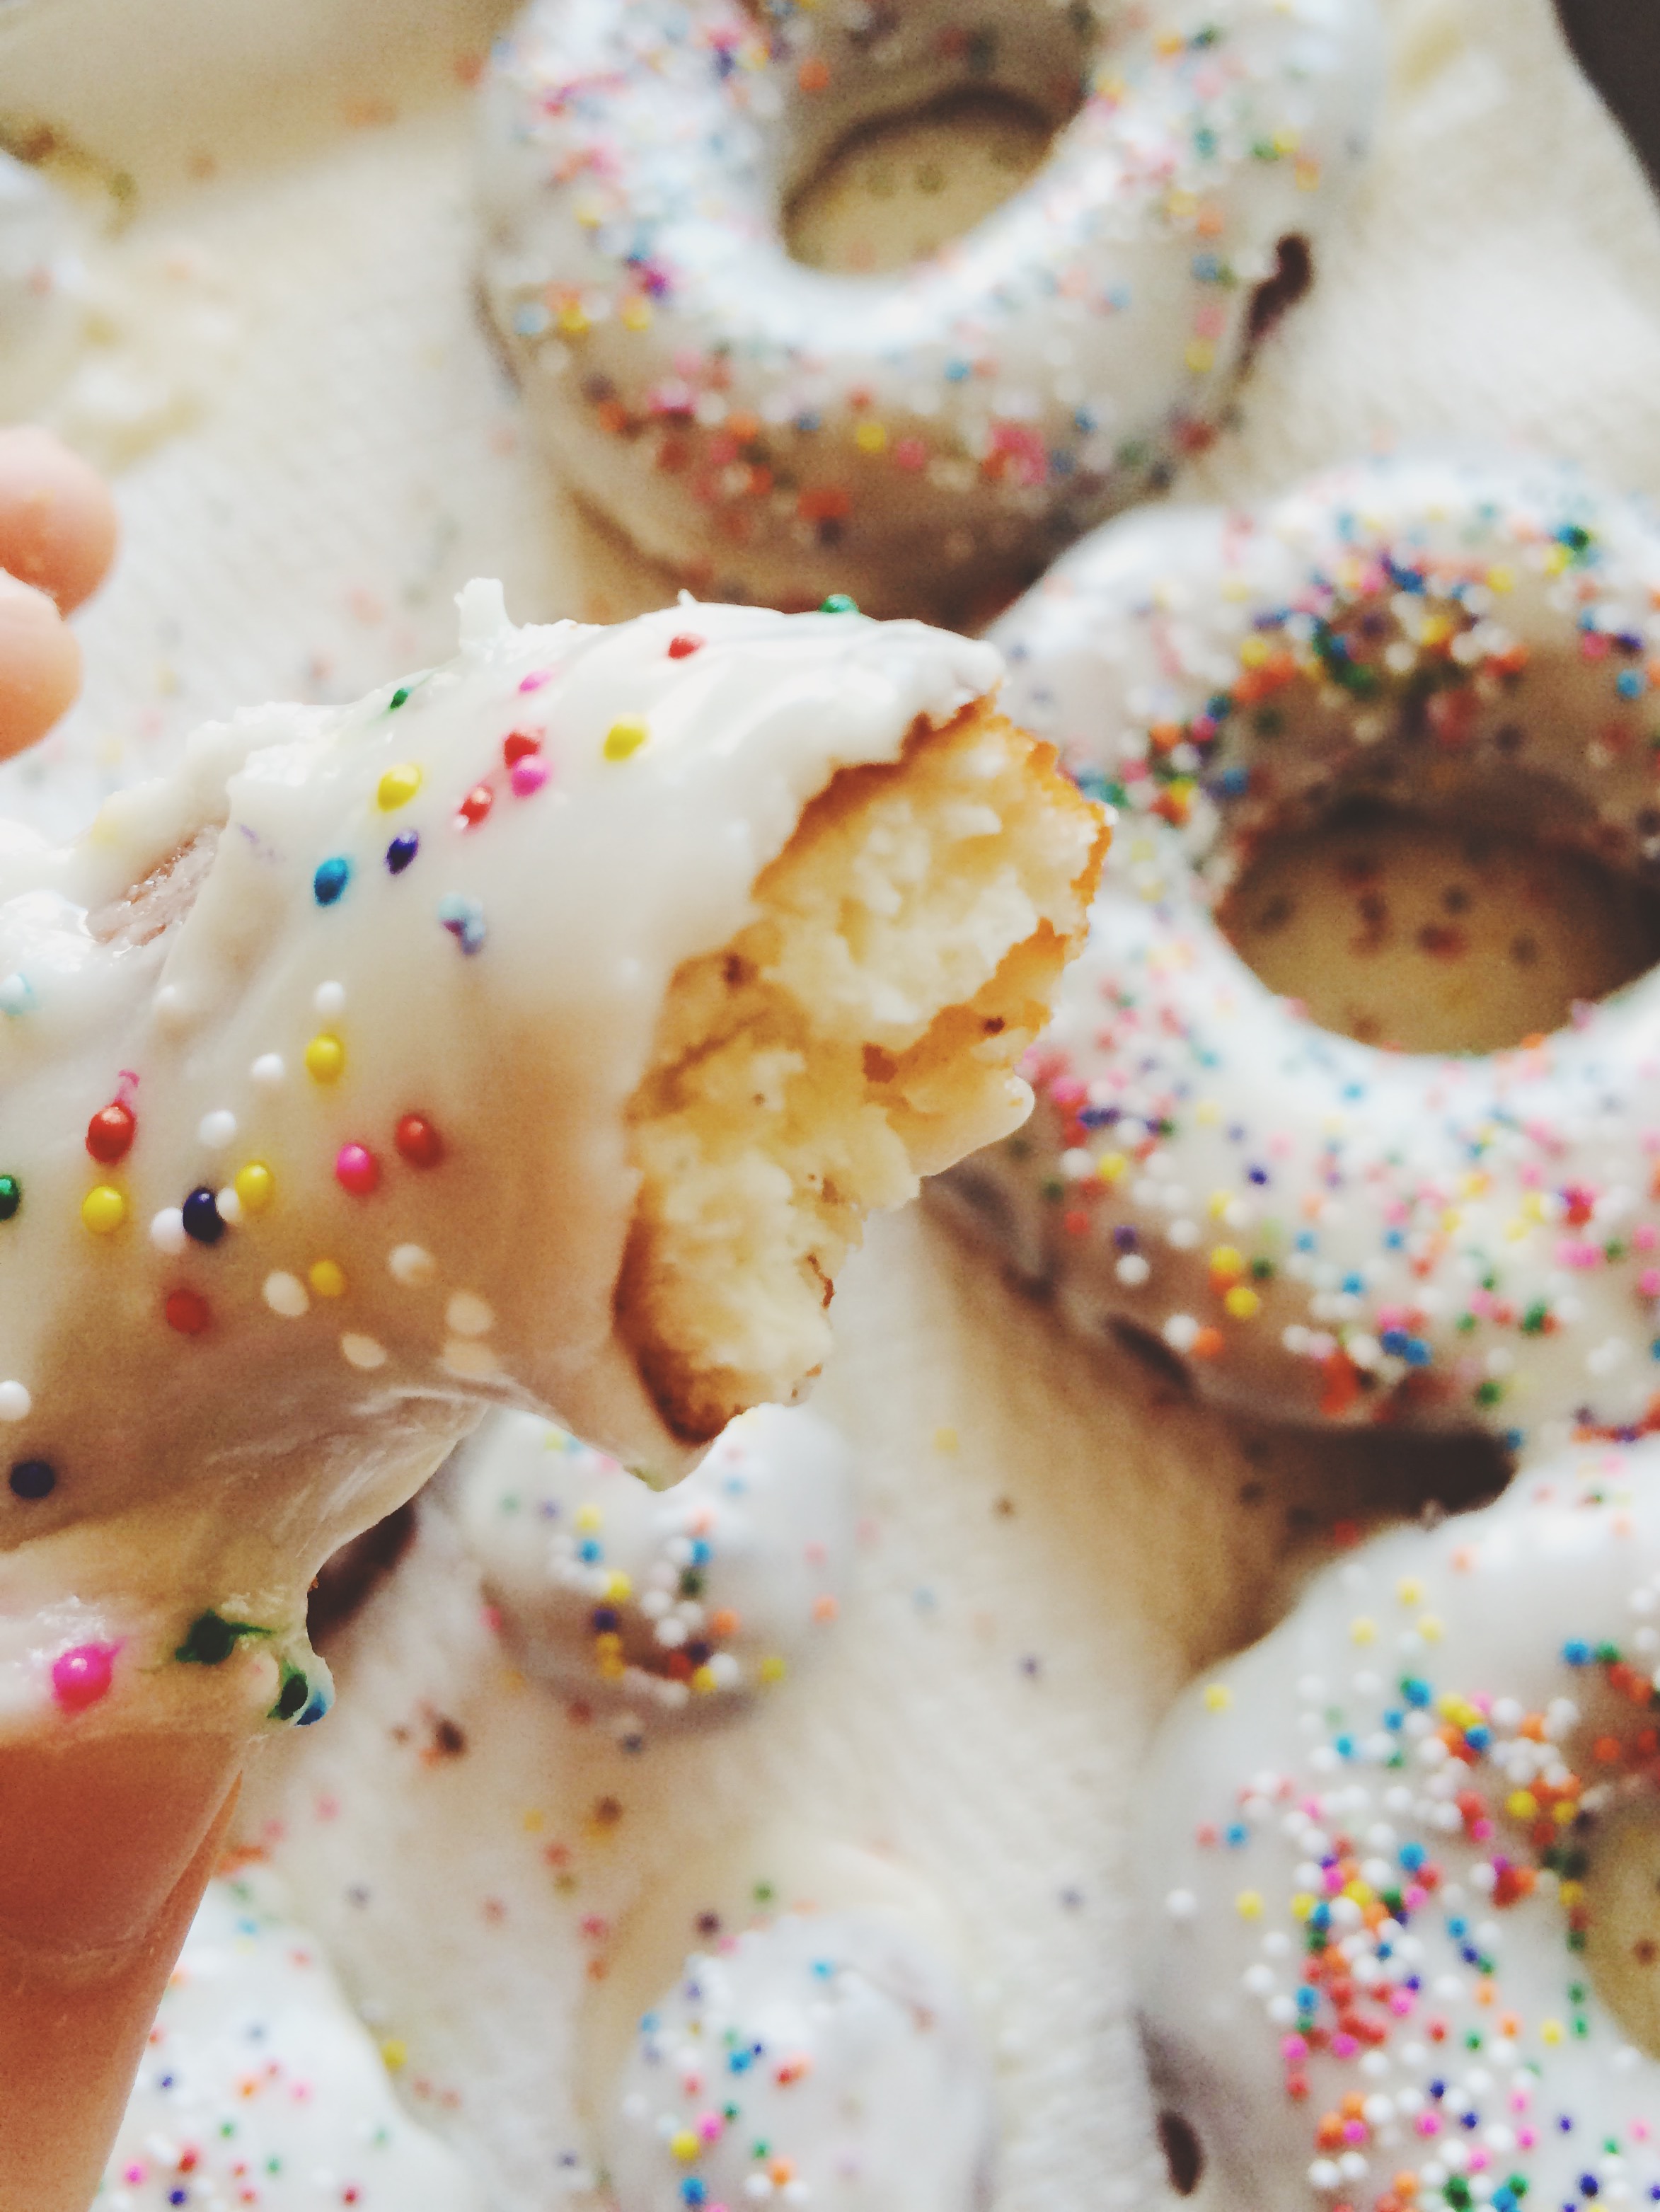
Hi, we're embracing seasonality now. It was a GREAT week at the market for produce, and to celebrate, I decided to put a bunch of sugar and fruit into a bowl together, then throw it in a pan. Maybe it's a pie. Most definitely, it's a cobbler.

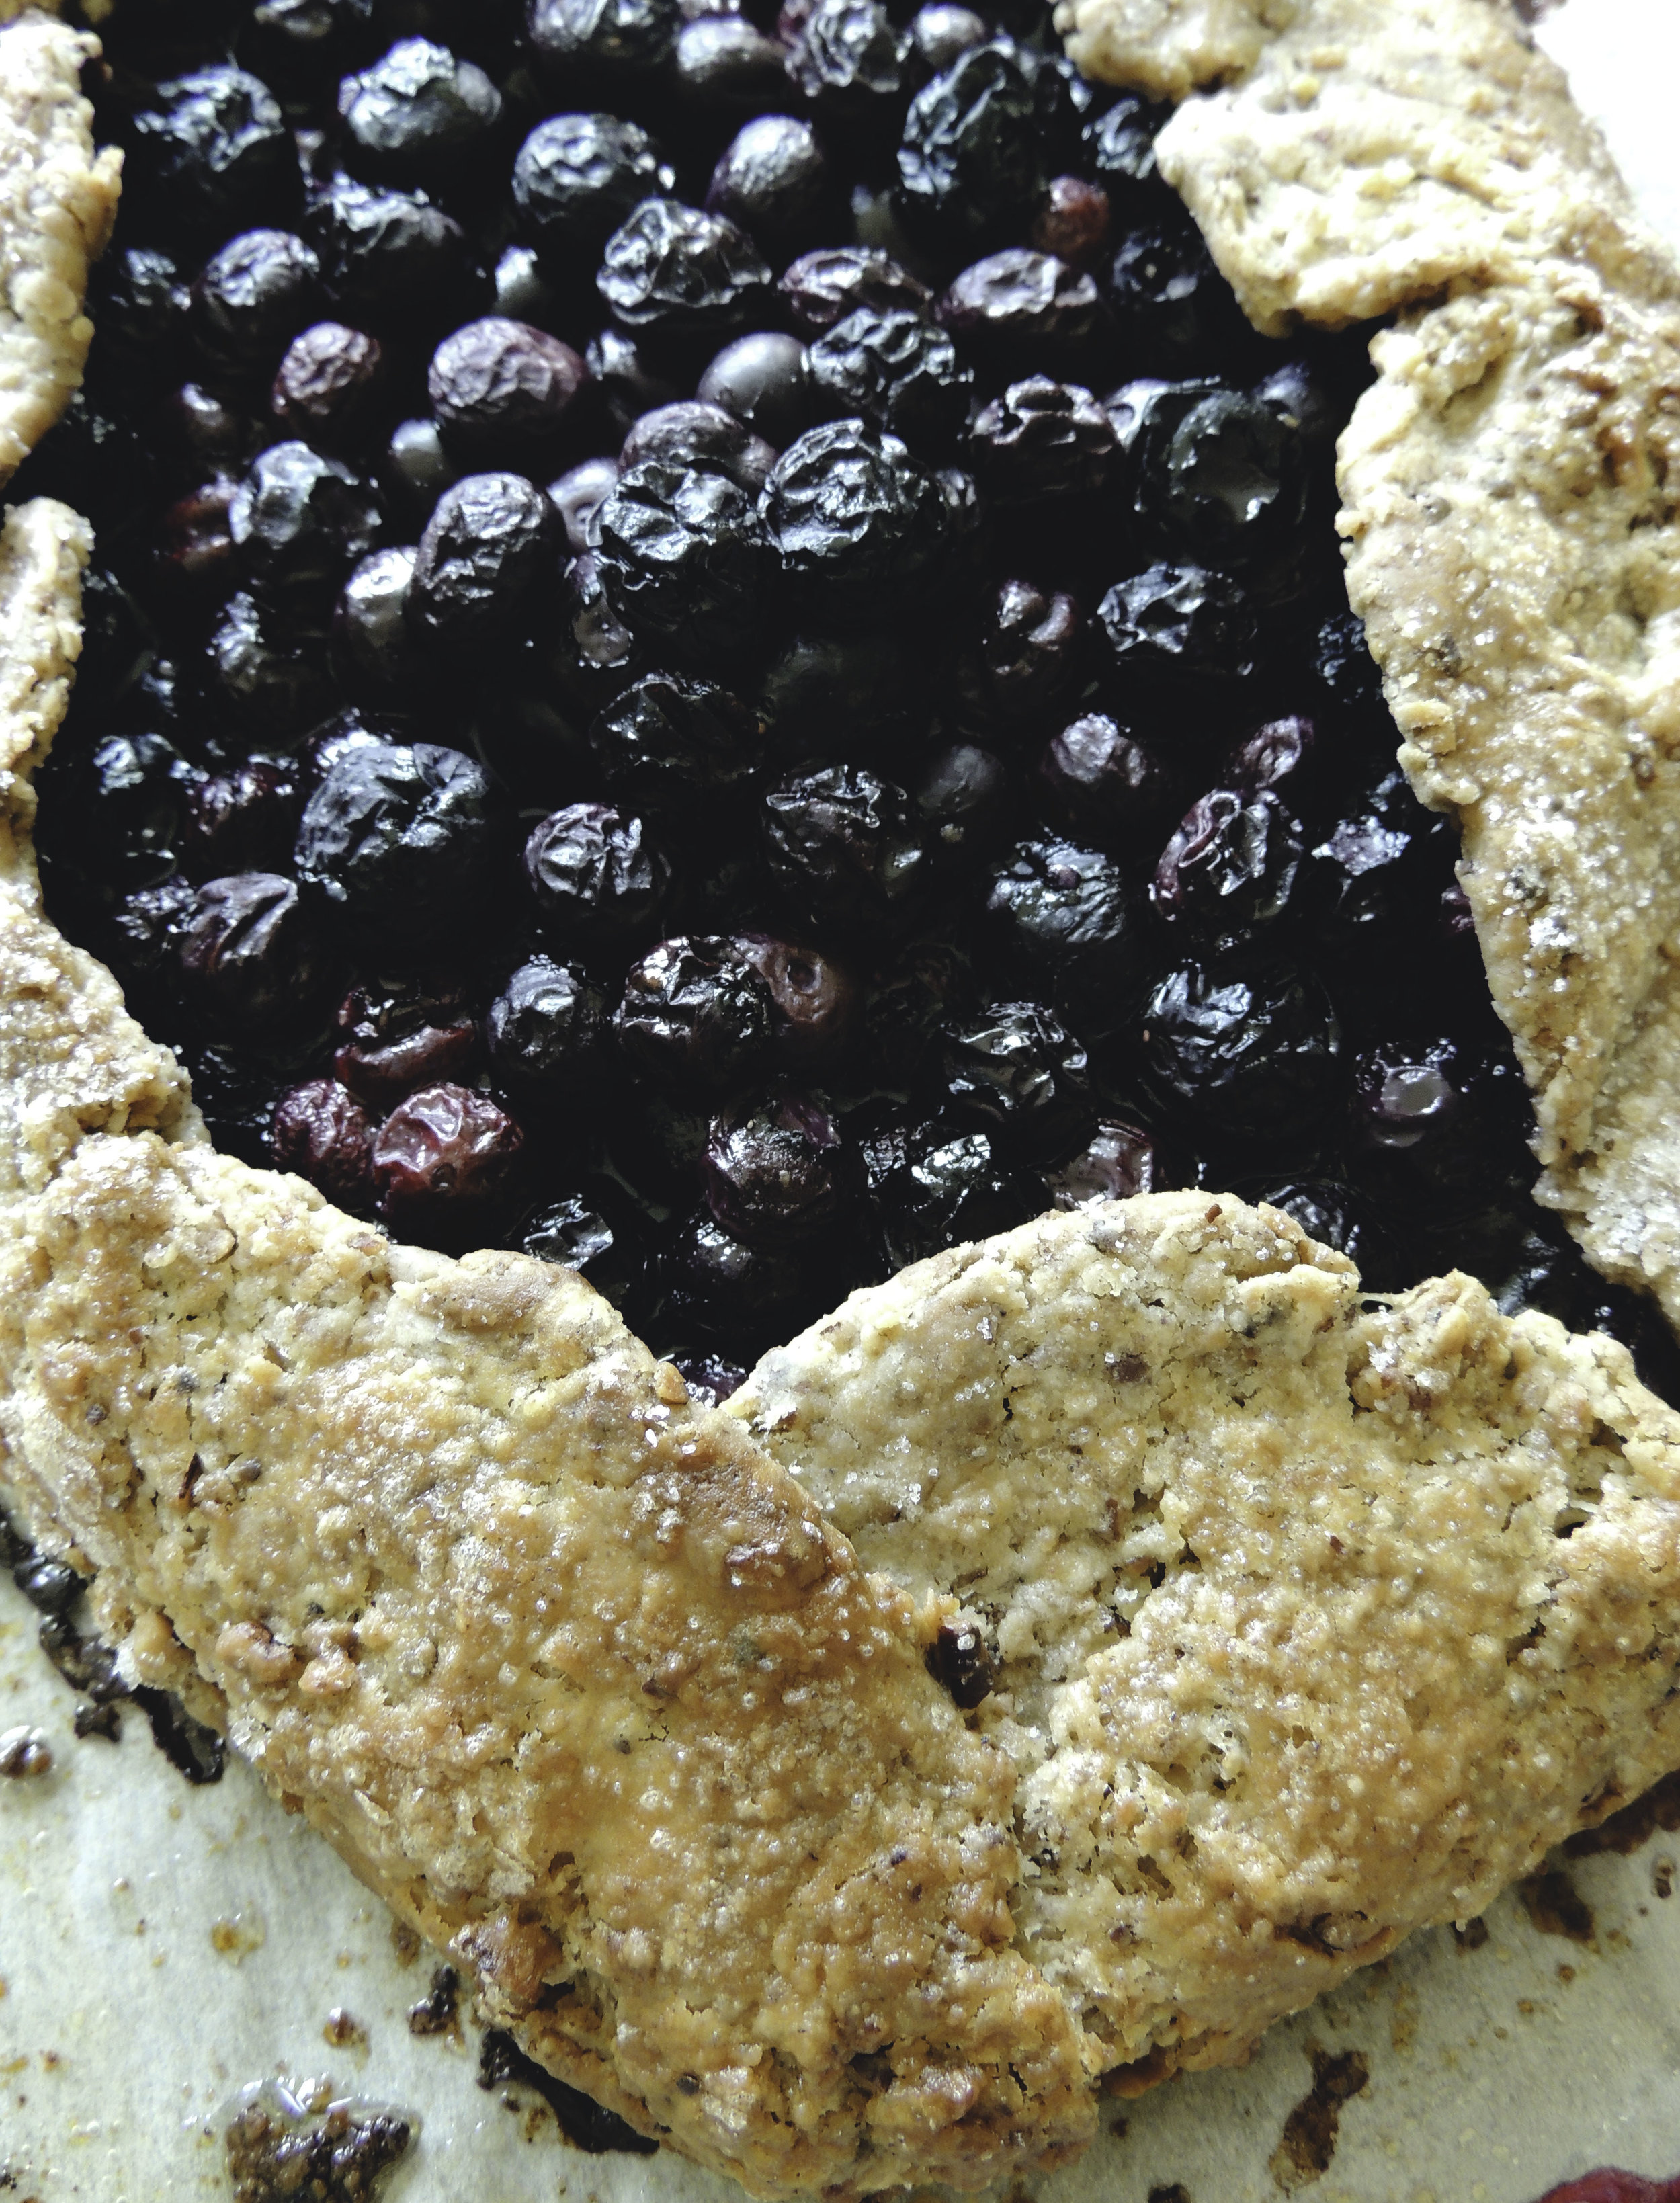
I'd never made cobbler before this, but I've eaten plenty. Most notably was an unbelievable peach cobbler with the most heavenly blend of spices the world has ever seen. I'm STILL trying to figure it out ten years later, and of course the excellent baker who introduced me to the best peach cobbler ever, is nowhere to be found. Inspired by this, and also still on my "variations of pie" kick, I decided to embrace the beautiful blackberries practically screaming at me to take them home, and cook them at high temperatures. So into the basket they went.

blackberry cobbler2

My favorite thing about cobblers is how unbelievably easy they are to make. Honestly, so easy. Your filling gets mixed with a few ingredients, and then you let it rest covered for 15 minutes. Then, you make a biscuit mixture using just a few ingredients. Once everything is done, and you've buttered your pan, you spoon in your filling, then  your mixture on top, pour (CAREFULLY! It spills!) a couple tablespoons of melted butter on top to give it that beautiful brown color, and you pop it in the oven. Perhaps the only complicated part of the recipe, and I mean comparatively speaking, is that you must keep up with the baking time because your cobbler will bake at two different temperatures before it's finished. The hardest part? This is pretty important: you must, and I mean you MUST let your cobbler cool completely. I know, I know, it'll be hard, but you've just got to. Your filling needs time to set, and really solidify its flavors. Letting it cool will be like the caterpillar finally emerging from its cocoon as a beautiful butterfly. The pie is a butterfly. Give it time to look and taste beautiful.

blackberrycobbler3

We must also take a brief moment to not only talk about the topping, but to really appreciate it. It's not crumbly like you may be accustomed to. It's more like a biscuit, and therefore sooo much better. If you've ever enjoyed freshly baked biscuits with a generous smearing of freshly made jam, then this cobbler is for you. It's buttery, it's flaky, it's DELICIOUS. It's soft, and SO GOOD with that sweet-but-not-too-sweet blackberry filling. It all just works. And honestly, if you ask me, this cobbler show-stopper is even better the next day.

Hey, don't you have a cobbler to make?


BLACKBERRY COBBLER

What You'll Need:

FILLING:

  • 4 1/2 half-pints of blackberries (6 ounces each)
  • 1 cup granulated sugar
  • 1/4 cup cornstarch
  • 2 tablespoons all-purpose flour
  • 1 teaspoon ground cinnamon

TOPPING

  • 1 cup all-purpose flour
  • 1 teaspoon baking powder
  • 1/4 teaspoon baking soda
  • 1/4 teaspoon fine sea salt
  • 3 tablespoons unsalted butter, cubed
  • 3/4 cup buttermilk
  • 3 tablespoons unsalted butter, melted

DIRECTIONS:

First Things First:

-Butter a 9-inch pie pan really well. Set aside

-Preheat the oven to 425 degrees F.

Okay, Now Let's Make the Filling:

-Combine the blackberries, sugar, cornstarch, flour, and ground cinnamon in a medium-sized bowl. Carefully stir together until all the dry ingredients are well-mixed, and the berries are well-coated.

-Cover with cling wrap, and let rest for 15 minutes.

That's Done. Shall We Make the Topping?

-Combine the flour, baking powder, baking soda,  and fine sea salt in a medium-sized bowl.

-Using a pastry cutter, fork, or even your hands ( I've been using my hands a lot more lately!) quickly cut the butter cubes into the mixture until it is crumbly, and you've got pieces that are pea-sixzed or smaller.

-Make a well in the center of your mixture. Slowly pour the buttermilk into the center, and use a large spoon to gently mix it all together until all the dry ingredients are just combined. Your topping will look very wet at this point, but that's just what we want.

-This is a good time to melt the extra 3 tablespoons of unsalted butter.

Now Let's Put it all Together! 

-Spoon your blackberry mixture evenly into the prepared pie pan.

-Using a large spoon, dollop about three tablespoons of the biscuit mixture into mounds all around the surface of your blackberry mixture. This doesn't have to be an exact science (Goodness knows mine did not completely turn out the same size), just make sure your mounds of biscuit topping have been evenly distributed all across the top; we want everyone to get plenty of topping on their plates!

-Carefully pour your melted butter all across the top of your biscuit topping so that you'll get a nice, even brown color when it bakes. Be EXTRA CAREFUL because that melted butter is sneaky and will slide right off of the pie and onto the countertop. It's not fun to clean up.

-Bake your pie at 425 degrees F for 15 minutes, then reduce the heat to 350 degrees F for an additional 30 minutes.

-Cool for at LEAST 1 hour, though I think the longer you let it cool and rest, the better.

Serve with either your favorite vanilla ice cream, or some delicious homemade whipped cream. ENJOY.


SOURCE: A Year of Pies: A Seasonal Tour of Home Baked Pies
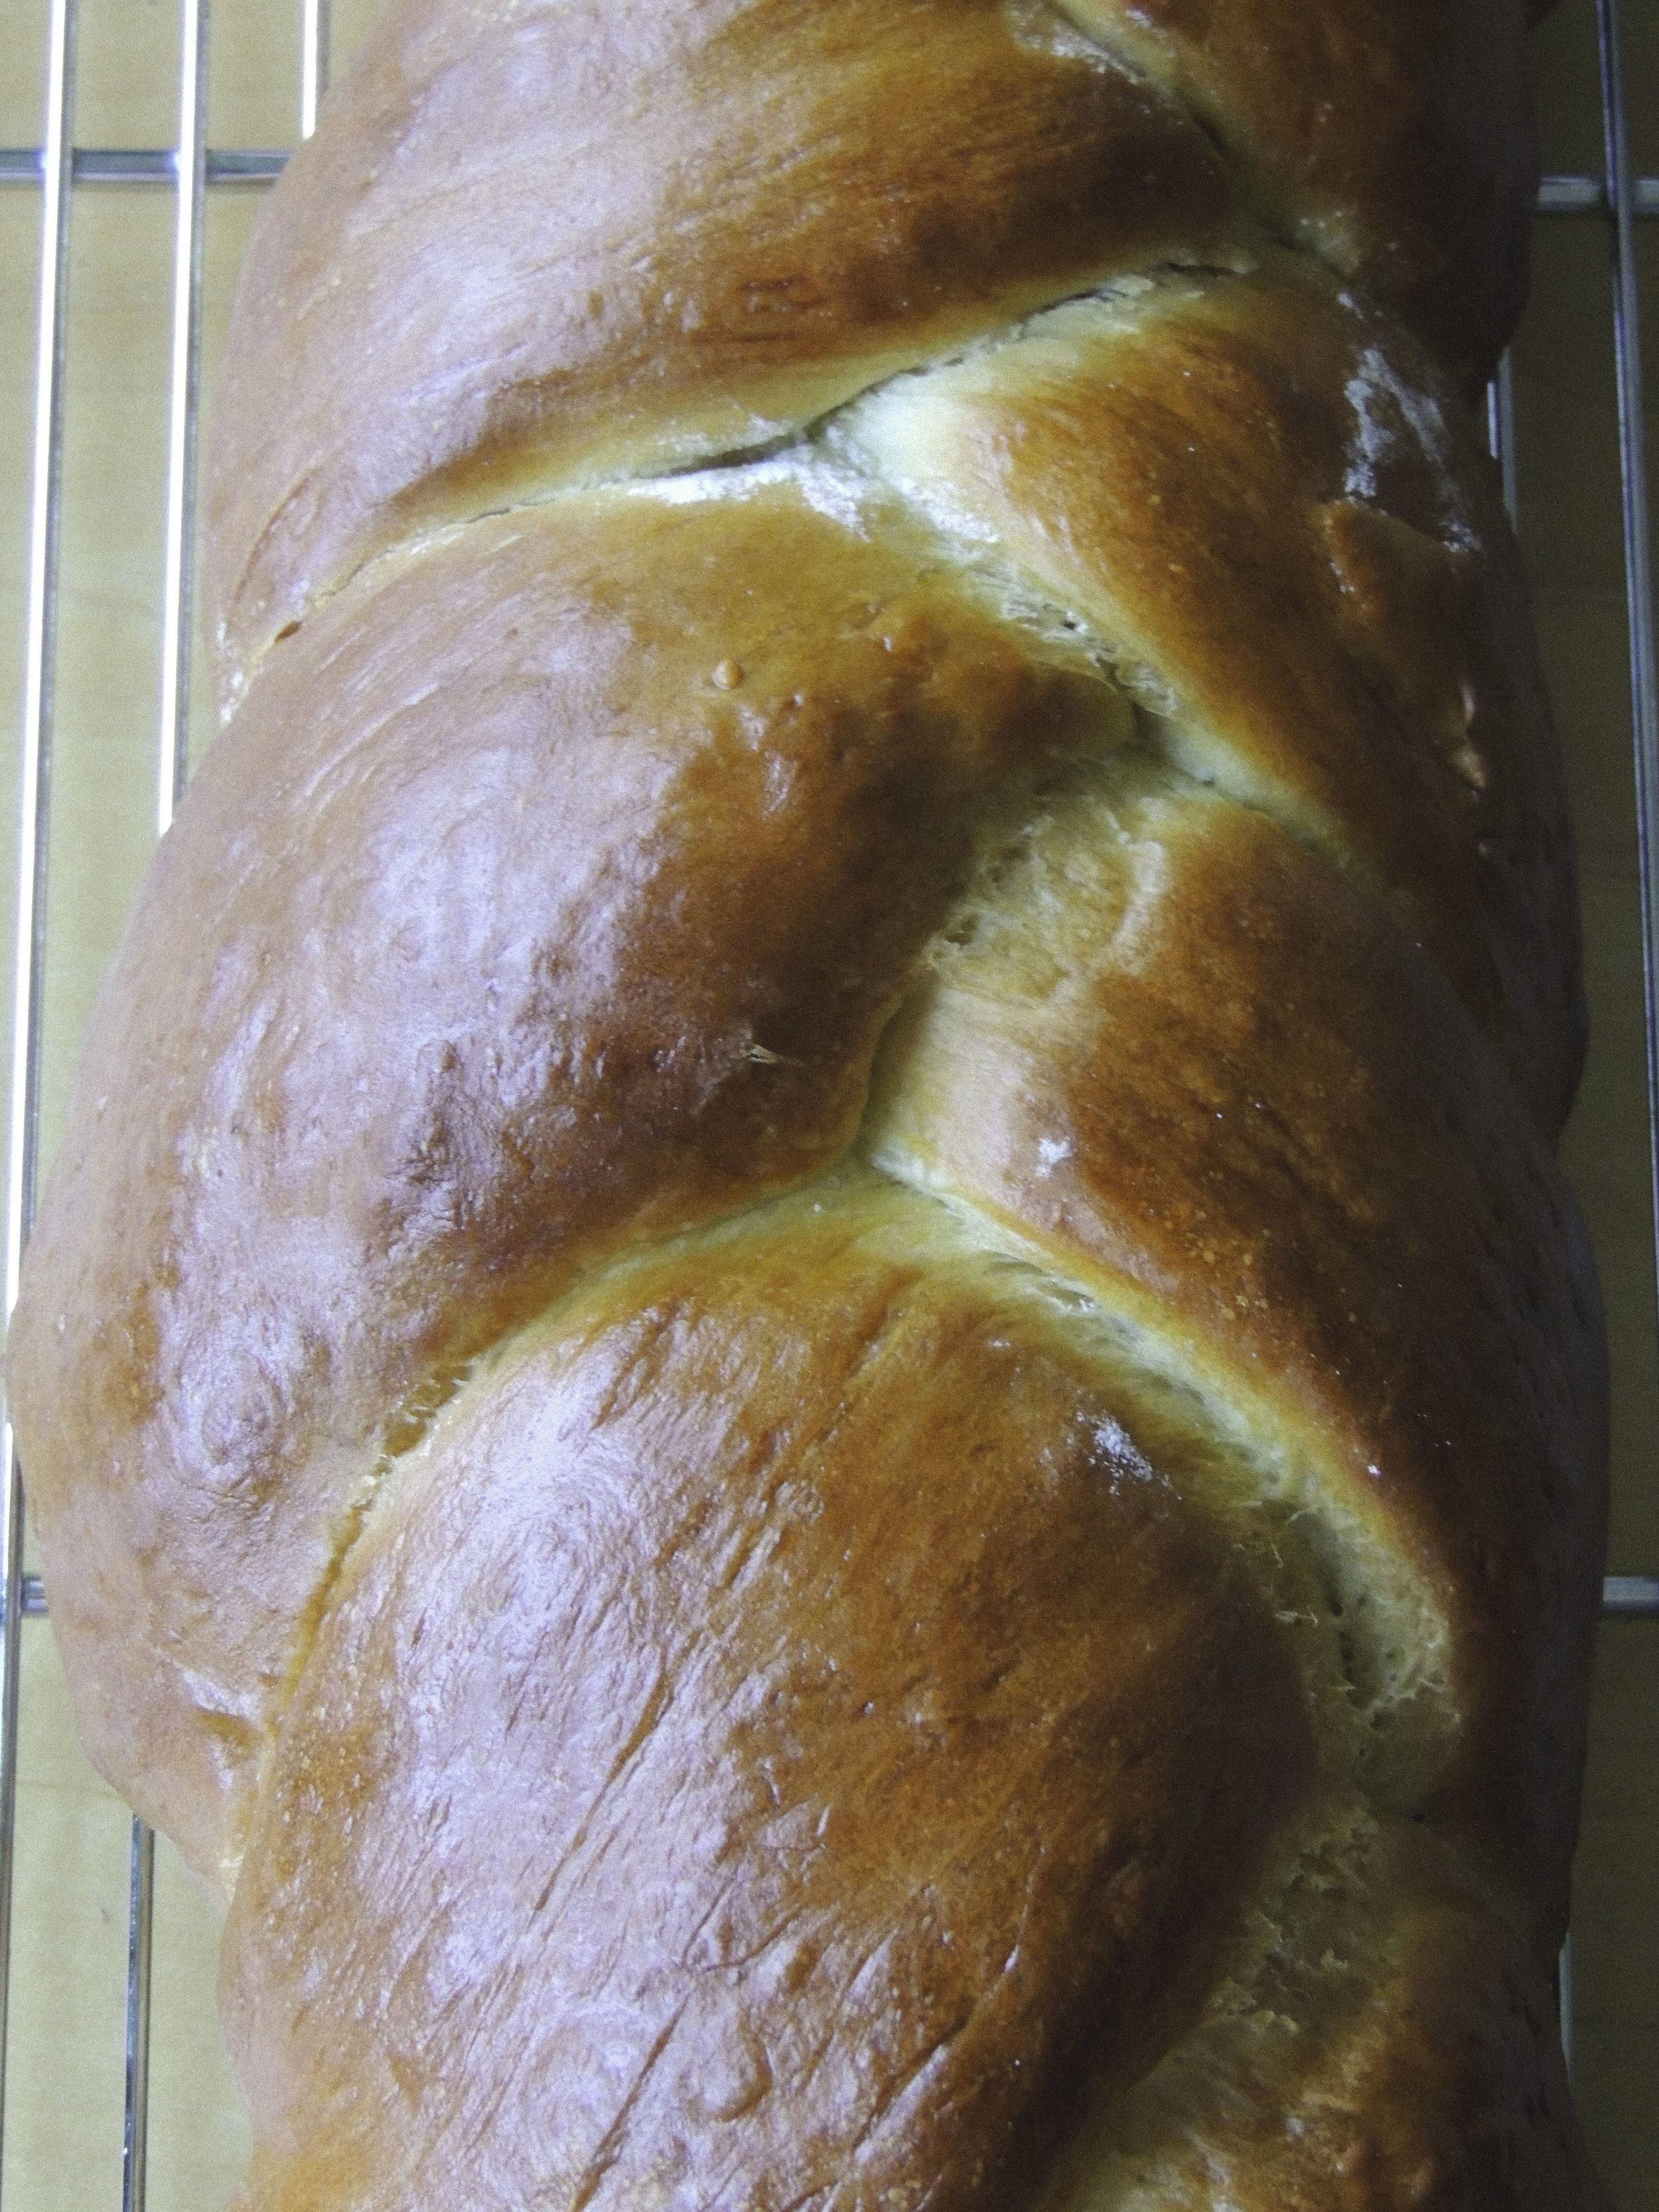
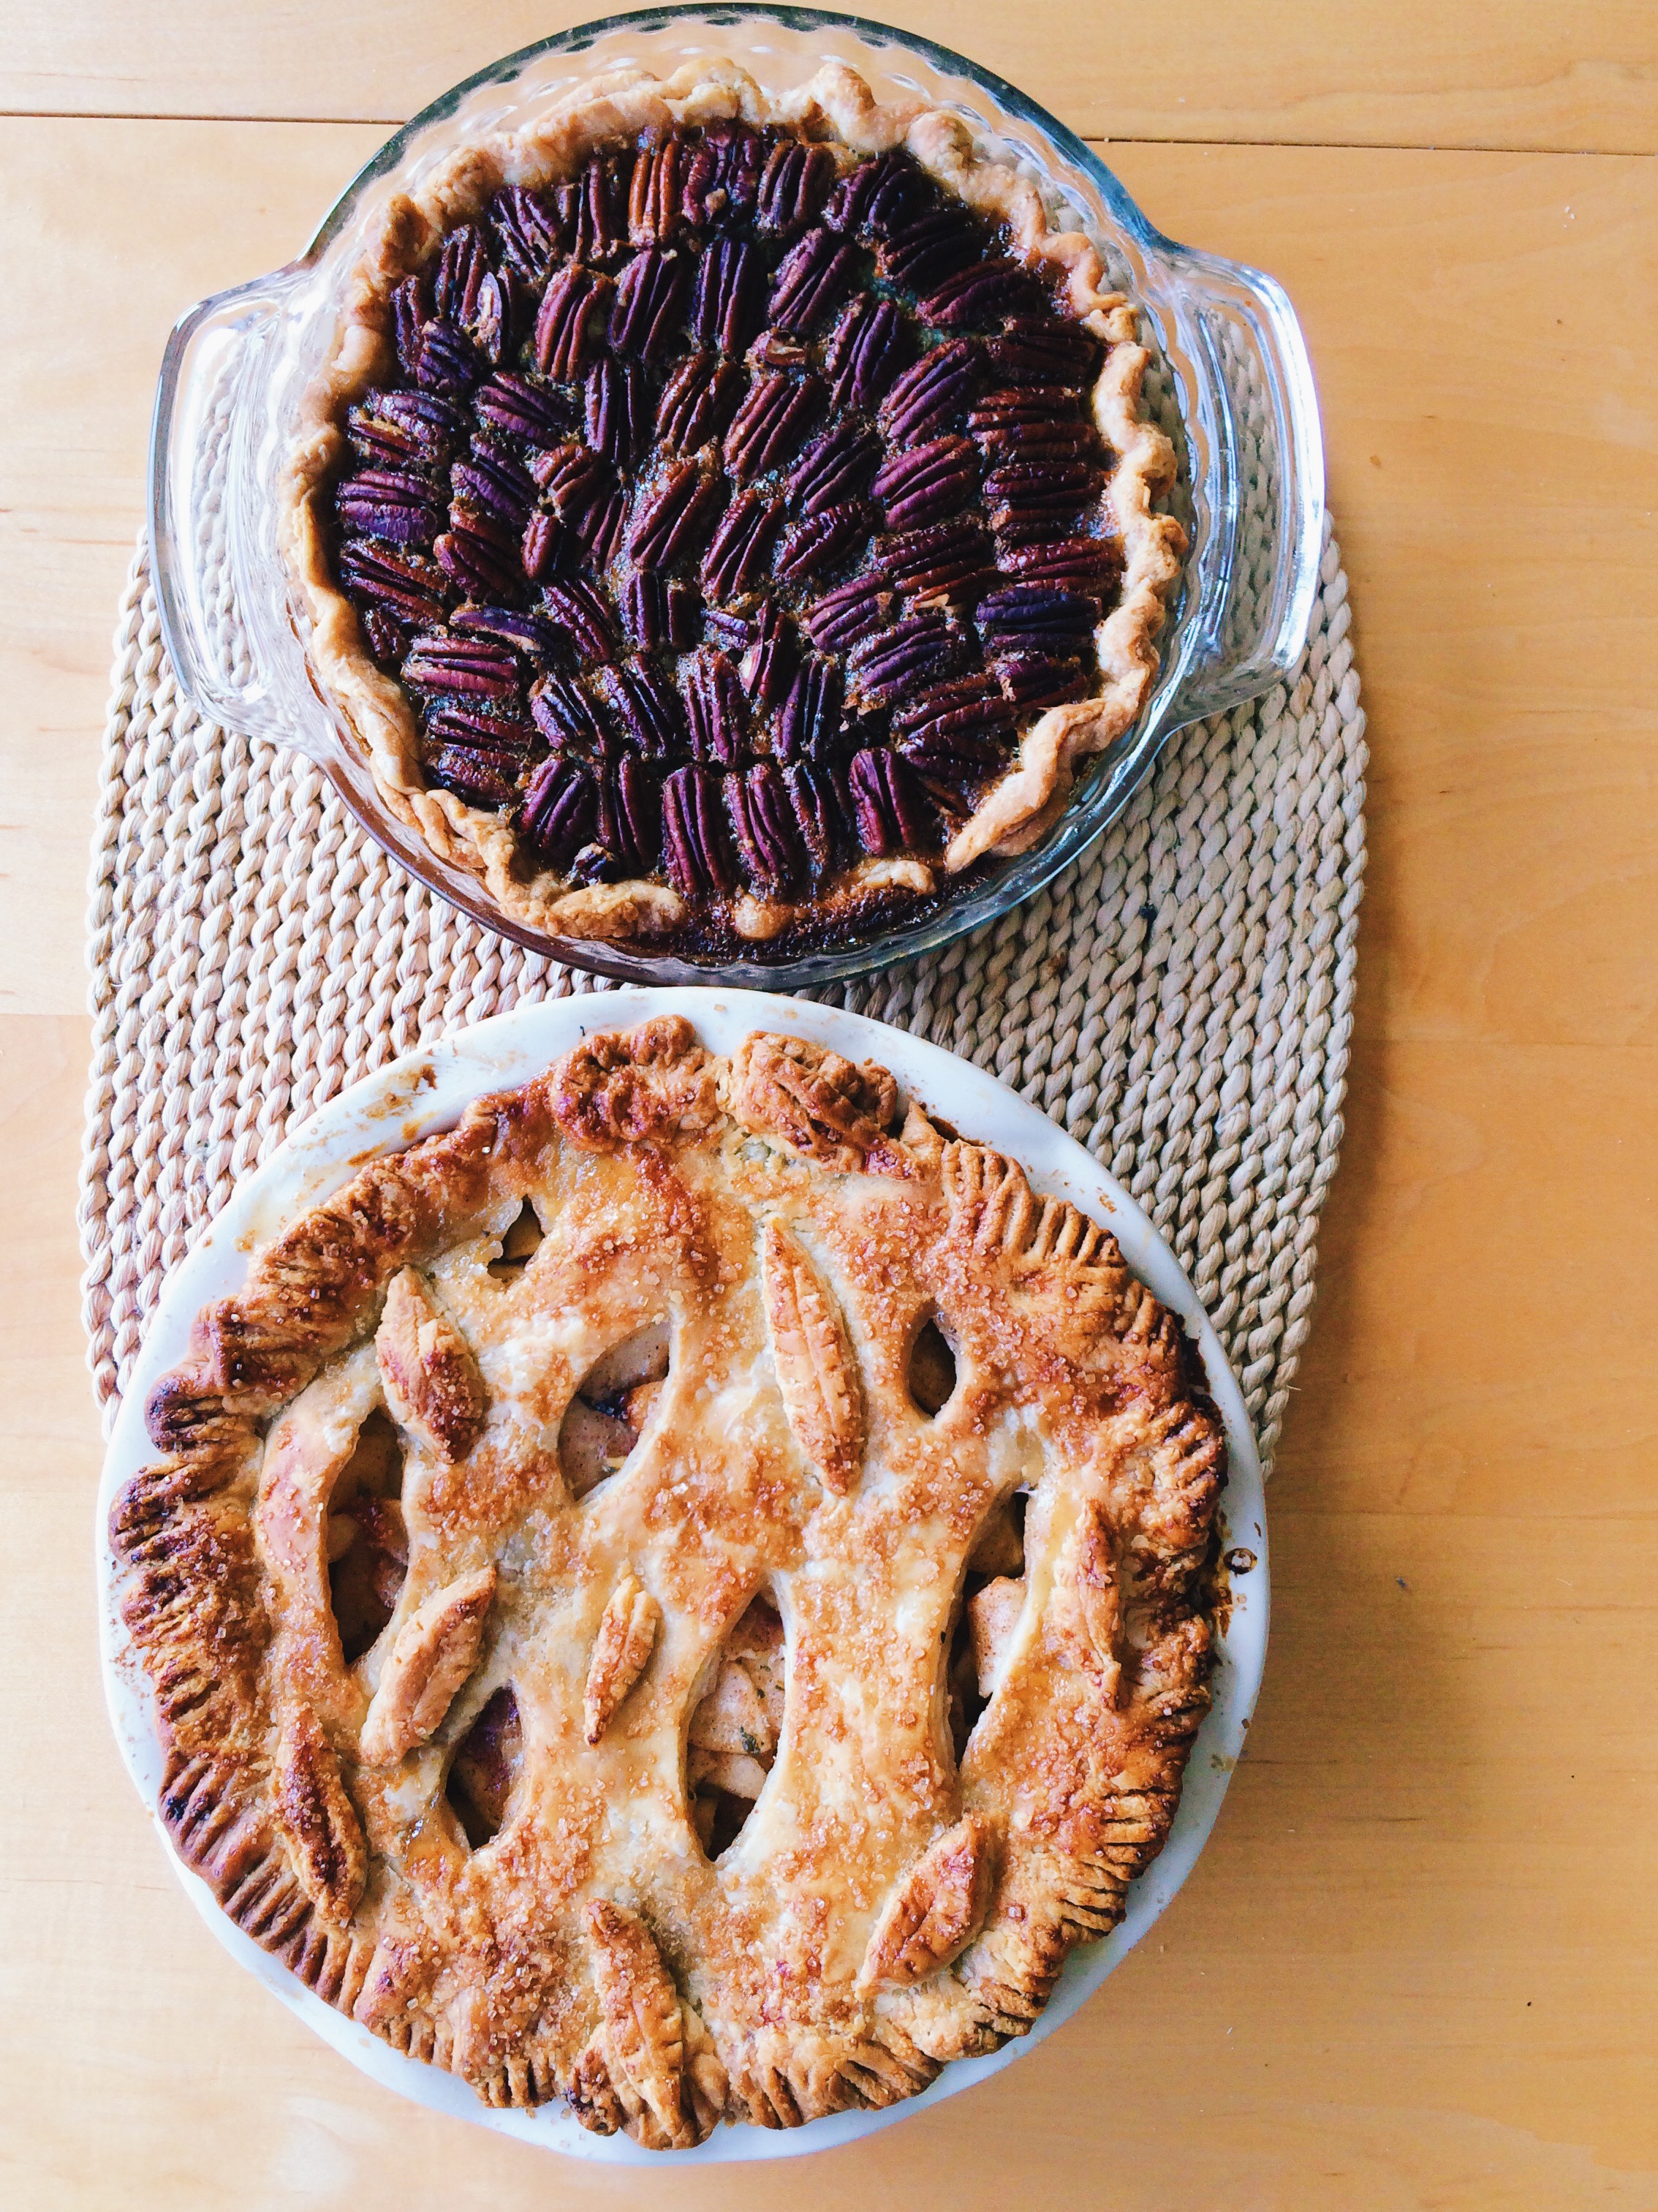
Blueberry-Pecan Galette

blueberry-pecan3 My new obsession? Pies. I am SO into pies right now.  It's not even that I love eating them (though that's obviously always a bonus); it's so much more than that. When making pie dough, you're able to set aside that pastry blender, and just dig in with your hands. It's direct contact with the thing you're creating, and it just doesn't get more personal and literally hand-made than that. A fresh, flaky, all-butter pie crust is a blank canvas, and the possibilities are truly endless. The idea of filling it with ANYTHING is just so exciting to me.

I might love pie, but that, doesn't  mean that I'm particularly good at it...yet. See, that's actually the funny thing about pie: it's not as easy to make as it looks. You've got a lot working against you; butter melting in the dough because you're handling it too much. Adding too much, or even too LITTLE, water to your pie crust. Overworking the dough. UNDERworking the dough. Filling spilling over the sides while it's baking. Honestly, the possibilities of pies to make are endless, and the possibilities of things going wrong when making said pie are also, yes, endless. But you must be brave, little baker. Be brave. Don't apologize. Make your pie with confidence. And, if you're still feeling a little iffy, take a step back, and make a galette.

blueberry-pecan 1

The beauty of the galette is: the more rustic, the better. If you're just so-so at pie decoration, you've got nothing to worry about. All you need is your favorite fruit filling, a little heavy cream, some sugar to sprinkle, and some expert edge-folding abilities. That's it. You just roll out your crust, pop it on your baking sheet, add your filling, brush on your heavy cream to give it that deep, beautiful browned crust, sprinkle a little sugar, and pop it in the oven. It's the perfect anytime almost-pie.

Now, you could go with a classic all-butter crust, but why do that when you can make things a little more interesting with pecan? Toasting whole pecans in the oven for 15 minutes before crushing them brings an extra level of flavor, and gives the crust a little texture that pairs well with the softness of the blueberries when baked. Pair this galette with a scoop of your favorite vanilla bean ice cream, or some homemade whipped cream (I put mine in the freezer!) and totally go to town.

So, we've done sweet. What do you say we try a savory galette next time?

blueberry-pecan4


BLUEBERRY-PECAN GALETTE

What You'll Need:

  • 1/2 cup pecans
  • 1 cup plus 2 tablespoons all-purpose flour
  • 2 teaspoons sugar
  • 1/2 teaspoon kosher salt
  • 1/4 teaspoon ground cinnamon
  • 1/2 cup (1 stick) chilled unsalted butter, cut into cubes
  • 12 ounces blueberries (about 2 cups)
  • 1 tablespoon cornstarch
  • 1 1/2 teaspoons lemon juice
  • 1/4 cup sugar, plus more for sprinkling
  • 2 tablespoons milk or heavy cream

Find the recipe on Bon Appetit!

Challah French Toast

challah bread 1 What to do when you can't find challah bread in literally any of the bakeries in your town? Make your own. You know what they say, "Desperate times call for desperate measures" blah blah blah. The truth of the matter is, I've always wanted to make challah completely on my own, so I didn't mind so much that I couldn't find it anywhere. It meant that it was up to me, and also that I better be extra careful not to mess it up; I had a date with french toast the next morning.

It absolutely must be said that I am a complete novice when it comes to this sweet and super delicious bread, so I'm going to refer you to this stellar tutorial over on The Kitchn. Really easy to follow, and SO USEFUL. I'm totally attempting the six-braid method the next time I make challah. (Hope it goes well.)

challah 2

If making challah bread has taught me anything it's this: make sure you read the recipe three times before you even get your mise en place. I always read a recipe several times, but after making this bread, the point has been driven home. It's not that this is a particularly difficult bread to make per seit's that making challah is very time-consuming. There's a lot of waiting involved. Like, hours of waiting in fact. So when you make this bread, make sure you've got the TIME to do it! This is not something you whip up in an hour. Just be patient, and you'll have a really pleasant reward.

The recipe called for proofing in a warm place with a clean dish towel over the top, but I had no idea where I could put it. I've let dough proof before on the counter, but it didn't rise like I so desperately wanted it to. Not properly proofing challah dough would guarantee disaster, so I decided to ask the internet for help. The advice that I got was SPECTACULAR: place your covered bowl on a higher rack in an oven that is completely OFF. Next, boil some water and pour it into a heatproof bowl. Place the bowl with water in it onto a lower rack, SHUT THE DOOR, and keep it shut! Now you've got your warm place, and you'll end up with a dough that has doubled in size once the time comes to take it out. It's thrilling.

challah 3

RIGHT, so let's get on to the french toast part of this post, shall we? You may be wondering what I did with my challah loaf after it was finished cooling. Well, in order to get the perfect french toast, you need slightly stale bread. In fact, it's imperative.. So, once my challah was finished cooling (and I'd gone through several  episodes of 'Tia Mowry at Home' on Cooking Channel) I simply left it slightly uncovered and went to bed. It worried me a little bit that it might dry out too much, but by the time I was finished in the kitchen that night, there weren't many hours left before it was time to get up and make breakfast. And everything turned out just fine. (Thank goodness.)

In the morning I sliced up eight very healthily-sized slices of challah, mixed up my custard , and set to work.

. So now, let's talk about how obsessed I am with challah french toast. BECAUSE I AM OBSESSED.

challah french toast

French toast is decadent, I mean, there's a reason why its present on every brunch menu that has ever existed. But there is just something so beyond  about whipping up a batch of challah french toast on a quiet weekend morning with a light sprinkling of powdered sugar on top from one of those unnecessary-for-anything-else shakers, and a drizzling of divinely warm maple syrup just waiting to be soaked up. THAT is decadence. Throw in a hot cup of hazelnut roast coffee, and a little bowl of fruit salad (in this case it was strawberry, blueberry, and mango with lemon juice) and we are TALKIN', my friend. That's what weekend mornings are all about. Be warned: this breakfast is incredibly rich, but oh my GOSH is it ever worth it.

And would you like to know the best part? It's made completely form scratch. Who needs a brunch menu?


CHALLAH FRENCH TOAST 

What You'll Need:

  • 3 large eggs
  • 1 cup half-and-half
  • Pinch of salt
  • 1 tablespoon of sugar
  • 8 slices of challah bread 1" thick, cut from a slightly stale loaf
  • 2-3 tablespoons butter
  • Powdered sugar for sprinkling on top, optional
  • Fresh Fruit, optional

Directions:

Place a large skillet (Mine is 12 inches) over medium-low heat.

Whisk the eggs, half-and-half, salt, and sugar in a large baking pan (I used an 11X13 rectangular cake pan) until everything is fully incorporated.

Place four slices of bread into the custard to soak for at least one minute on each side (I ended up doing a little longer, but it's up to you. Make sure it's at least one minute though! )

While the bread is soaking, melt one tablespoon of butter in the skillet. You'll know it's ready when it starts to foam. When it has started to foam, move it around so that it coats the entire bottom of the skillet.

Move your cake pan with the soaking pieces of bread next to the stove so that there will be no dripping.

Lift one piece of bread and very gently shake it to get rid of any excess custard, then gently place it in the skillet. Repeat this process with each piece of bread.

After 1-2 minutes, check under a slice of bread to see if it has turned golden brown. When it has turned golden brown, flip each piece of bread and continue cooking until they're golden brown on the other side. Be sure to keep an eye on the skillet so that your toast doesn't burn.

Place your finished first batch onto a serving plate, and your final four pieces of bread into the custard for soaking on each side. (Should you run out of custard before you've run out of bread, I've found that whisking another egg, some more half-and-half, a little sugar, and a little salt works nicely!) Place another tablespoon of butter into your skillet, wait until it foams, and repeat the process of cooking your french toast. Once all of your pieces of bread have turned deliciously golden brown on both sides, transfer them to your serving plate.

Sprinkle a little powdered sugar on the top if you're into that, heat up some delicious maple syrup, and cut up some fruit to use as a topping if you;d like. Enjoy!!


SOURCE: Adapted SUPER SLIGHTLY from The Kitchn 


Apple Spice Hand Pies

apple hand pies 1 Do you ever wonder, after making something new, how you could have lived without it before? That's how I feel about hand pies. Sure, I've bookmarked dozens of recipes in the never-ending black hole that is my "Recipes" folder, and I've even eaten them, but never had I realized how much I love hand pies, until I had twelve perfectly golden ones cooling on my wire rack. I should say though, that they weren't all for me. Last weekend one of my chums, who's been telling me about Penzey's for months now, decided to surprise me with a cute little jar filled to the brim with a rather hard to find ingredient: apple pie spice! It was a lovely gift, and to repay them, I decided that the best thing to do was make some apple spice hand pies. It was the best idea for all parties involved, really. apple hand pie 2Pies are not my strong suit; let's just throw all the cards on the table now. I once tried to make a savory cheddar and garlic pie with an apple cider vinegar crust, and everything was going pretty well, until I tried pouring the filling into the crust only to discover that I'd rolled the pie crust too thinly, and custardy filling was going everywhere. There was a lot of mopping up of counters and floors, but in the end, what was left was delicious. Will I make it again? Probably not. I dunno, it was pretty good. Never say never. ANYWAY, based on my so-so pie track record, making hand pies for the first time made me a little nervous. I had a limited amount of apples and butter, a pie crust that was a little crumbly when I had made it the night before, and I was missing the necessary 5 1/2 inch cookie cutter that the recipe called for. There was only one shot to get this right, and I was determined to show up the next day with pies in hand. Even if I could just get two, that would be enough. Turns out, I had nothing to worry about! Everything went off without a hitch after I got a little creative with the cookie cutter. Instead of one that is 5 1/2 inches (which is really hard to come by unless you're ready to order it online and wait), I was lucky enough to find an oversized coffee mug that was about 4 1/2 inches. Good enough! I floured the rim, pressed down and carefully wriggled each piece free. Easy. The trick to a good hand pie is finding the perfect balance between filling and pastry. Too little, and you're eating a lot of shell with the occasional bite of filling. Too much, and you're looking at a baking sheet with filling cooking exactly where you don't want it to be: on the outside. Either way, you'll end up with a very empty shell. The key is to put the filling right in the center, leaving room on both sides for folding over and crimping the edges. By adding the filling to the center, you're able to control the amount that goes on with each spoonful. If you feel like you need a little more, you're free to do so. It's much easier to add more than to *attempt* to take some out. And do yourself a favor: use a slotted spoon to scoop out your apple filling from the pan. The last thing you want is extra moisture, TRUST ME. What a mess. If you're wondering which apples to use, I used a mix of Gala and Lady Alice apples. Both worked really nicely. These apple spice hand pies are the buttery and spiced mini pies of your dreams.

What You'll Need:

For the Pie Pastry:

  • 3 cups all-purpose flour
  • 1/4 cup sugar
  • 1-1/2 tsp fine sea salt
  • 2-1/2 sticks (1-1/2 cups) unsalted butter, very cold, cubed
  • 1/3 cup all-vegetable shortening, very cold or frozen, cut into small pieces
  • 6-7 tbsp ice water

For the Apple Filling:

  • 5 cups apples, peeled, cored and diced (about 5 medium apples)
  • 2 tbsp unsalted butter
  • 1/2 cup (packed) brown sugar
  • 1 tsp ground cinnamon
  • 1/4 tsp ground nutmeg
  • 1/4 tsp ground cloves

OR

  • 2 tsp apple pie spice

For Brushing on Top:

  • 1/3-1/2 cup heavy whipping cream
  • Turbinado or Demerara Sugar for sprinkling

TO STORE: Carefully wrap in cling film and keep in a cool place. They taste great when popped back into the oven at a low temperature for 10-20 minutes. Find the recipe on Fork Knife Swoon!

French Silk Pie

photo-10 Happy Valentine's Day! I love love, and I love chocolate, so let's dive right in.

Ever since my visit to Chicago's Bang Bang Pie, I have been obsessed with french silk pie. I've been told it's a classic diner pie , but this girl has been to her fair share of diners, and no french silk in sight! It's just as well; the first time you have french silk pie has to be a straight up experience, not just another dessert.

People are always likening the things they really, really like to Heaven. You know what I mean? "That massage I just got? HEAVEN." "That shoe place is like HEAVEN." "Those dogs kisses on my mouth? HEAVENNN." It's become so overused. But let me tell you something right now: the only thing better than this pie once it's completely chilled and set, is the actual moment of euphoria that is finding extra filling in the mixing bowl once the pie shell has been filled. That unset, chocolate mousse filling is actual Heaven on Earth. It's silky (hence the name!), chocolaty beyond belief, creamy, and lighter than air. It's silky, chocolaty, creamy air on a spoon. I will not tell you how much of it I ate before I could finally snap myself out of it to transfer the pie to the fridge before there was nothing left but crumbs in a disposable tin. If it wasn't already destined to be dessert at a Valentine's Day party, this french silk pie, along with its identical twin pie brother, would've been gone SO FAST with no regrets.

Alas, they were promised for many other tummies besides mine, so I had to let them go.

There better be leftovers.


What You'll Need:

For the Crust: 60 Vanilla wafers, finely crushed 1/4 teaspoon cinnamon 3/4 cup (1 1/2 sticks) unsalted butter, melted and cooled For the Filling: 3/4 cup superfine sugar 2 large eggs, lightly beaten 2 1/2 ounces bittersweet chocolate, melted 1/2 cup (1 stick) unsalted butter, softened 1 1/4 cup heavy whipping cream 2 teaspoons vanilla extract

Preheat the oven to 350 degrees F

To make the crust: Place your freshly crushed vanilla wafers, cinnamon, and melted butter into a medium sized mixing bowl, and stir together until all ingredients are completely combined.

Pour your mixture into a 9 inch pie plate and press the bottom and sides to create an even layer. You may end up with a little extra once you're finished.

Bake your crust for 10-15 minutes until it's golden brown. Once removed from the oven, set it on a cooling rack to cool completely, then place in the refrigerator until you need it.

To make the filling: Place eggs and sugar in a medium saucepan, continuously whisking together on medium-low heat. You'll know that your mixture is ready when it is thick enough to coat the back of a spoon. This should take 5-7 minutes. While your mixture is cooking, melt the chocolate.

Stir your melted chocolate into the mixture, and continue to stir until it's smooth. Remove from heat, and let it completely cool.

In a stand mixer fitted with the paddle attachment (or in a bowl with a hand mixer, or with a wooden spoon), beat your butter until it is light and fluffy. Add your cooled chocolate mixture, and continue to mix until everything is fully combined. Make sure to scrape down the sides of the bowl occasionally.

In a separate bowl, beat together your heavy cream and vanilla extract until stiff peaks form. Fold your newly whipped cream into your chocolate mixture and mix until it's light and fluffy. (I've found that it's sometimes necessary to help the process by mixing it with a rubber spatula for a few seconds to make sure all of the chocolate is incorporated.)

Remove your chilled crust from the refrigerator, and fill with chocolate filling. (You may end up with some extra filling at the end. I find it best to eat with a spoon). Refrigerate for 4-6 hours (or overnight). Once ready to serve, top with some homemade whipped cream, and enjoy!

SOURCE: Spoon Fork Bacon


Forks up! Everybody have some pie.