Homemade Dinner Rolls

recipe: Homemade Dinner Rolls - Seasoned with Sydney blog

Some things about Thanksgiving are going to be different this year. Usually, for the cold-weather holidays, my family heads down south to see our relatives, watch football, play Spades (I don’t personally know how to play, but the temporary drama that ensues between my extended family could rival any Real Housewives franchise), and eat our weight in cornbread and stuffing, But this year, my immediate family is staying home and celebrating everything we’re grateful for by having a micro-Thanksgiving. We’re still planning to eat all the foods we’re used to (in smaller quantities), and a well-coordinated Zoom call is scheduled so that we can pretend to all be at the same table, but I’d be lying if I said I won’t miss fully participating in our traditions.

Yes, some things will certainly be different, but one thing that will never change? The battle between my mother and myself for control of the dinner menu.

Every year since I was in my early twenties, my mother and I have duked it out over who would make what come Thanksgiving Day. The turkey, macaroni and cheese, pies, and stuffing are all up for discussion as we’ve tried every year to lessen the load for my elderly grandmother who plays host. Even though we’re in New England this year, we’ve managed to keep the spirit of that particular tradition alive and well. And in keeping with tradition, I have once again lost. (So long, Thanksgiving turkey. I hope to learn how to cook you by myself one day...) But I didn’t totally concede! While everything else was claimed before I could get my hands on the shopping list, I DID manage to negotiate making one thing for the table. I usually call dibs on dessert since baking is in my wheelhouse, but it was the first item on the menu to be finalized. So, I chose the second most important thing: dinner rolls.

Hear me out for a sec. The turkey, all golden and crispy, is the showstopper for obvious reasons. The greens, macaroni and cheese, and stuffing all have their rightful places on the plate because they’re classics (and, if you cook them like my family does, filled with enough butter to make your heart stop), but the rolls? They’re the silent supporters who keep the meal in check. Good for eating quickly as you wait in line to fill your plate or for mopping up the remnants of leftover food, the dinner roll can do anything. Humble though the roll may be when placed next to perfectly-toasted marshmallows atop sweet potatoes, without it there, you’d notice. And yes, you could buy some already made, but with just a few ingredients you can make your own, and believe me, it’s worth it.

recipe: dinner rolls thanksgiving seasoned with sydney blog homemade

The perfect dinner rolls are pillowy soft, buttery (but not overwhelmingly so - gotta make sure you can add extra butter for yourself), golden brown, and deliciously yeasty. These homemade dinner rolls, based on the world-famous Parker House rolls, check all the boxes. Add a little flaky sea salt on top and you’ve taken a classic and made it extra fancy!

Homemade Dinner Rolls

What You’ll Need:

  • 1 envelope active dry yeast

  • 1/4 cup water, warmed to 110 degrees Fahrenheit

  • 1 cup whole milk

  • 1/2 cup unsalted butter, softened at room temperature and divided into two 1/4 cup halves

  • 3 tablespoons sugar

  • 1 1/2 teaspoons fine kosher salt

  • 1 large egg at room temperature

  • 3 1/2 cups all-purpose flour, plus more for dusting your work surface

  • Vegetable oil

  • 3 tablespoons unsalted butter, melted

Directions:

Whisk yeast and warm water in a small bowl and let stand for 5 minutes until the yeast has dissolved and bubbles have formed on the top.

Heat the milk in a small saucepan over medium-low heat until it has just warmed through, about 2 minutes.

In a large bowl, mix together 1/4 cup butter, sugar, and kosher salt. Next, add the warm milk and whisk until the ingredients are fully blended (the mixture may look curdled at this stage if the butter has not completely melted - that’s okay, just keep going!). Add the flour all at once and stir continuously with a wooden spoon until a dough forms. Lightly flour your hands and a clean work surface. Turn the dough out onto the surface and knead until the dough has become smooth and pliable, about 5-6 minutes (if the dough is too sticky, feel free to add more flour to the surface a little bit at a time until it becomes easier to work with - careful not to add too much!)

Lightly oil a large bowl with the vegetable oil and transfer the dough into it, turning the dough over once to make sure it is covered on both sides. Loosely cover the bowl with plastic wrap and let rest and rise at room temperature until it has doubled in size, about 90 minutes.

Preheat the oven to 350 degrees Fahrenheit and adjust the oven rack to the center of the oven. Melt 1/4 cup butter in a small saucepan then, using a pastry brush, brush some butter into a 9x13 -inch baking dish. Set the remaining butter aside for a moment.

Punch down the dough (it should’ve risen quite a bit at this point!), and transfer it back onto a lightly-floured, clean workspace. With floured hands, carefully shape the dough into a 12-inch log. Using a sharp knife or bench cutter, carefully cut the log into 18 pieces that are roughly the same size. Next, cut each piece in half so that you end up with 36 pieces in total. Roll each piece into the shape of a ball.

Working one at a time, roll each ball out into a 3-inch oval using a floured rolling pin. Brush the interior with a light layer of melted butter, then fold the oval in half lengthwise so that the butter-covered interior is covered. Next, reshape each piece back into a ball and place it in the buttered baking dish with the seam side down. Repeat this step until all the pieces have been buttered on the inside and four rows of dough balls are in the baking dish.

Brush the tops of the rolls with the remaining melted unsalted butter (if it has started to resolidify, just pop it on the stove for a few minutes on low until it has reliquified), then lightly cover the baking dish with plastic wrap and refrigerate for at least 30 minutes or up to 6 hours.

Bake the rolls in the oven until they have puffed up and taken on a golden color on the top, about 25-35 minutes. Brush the tops of the warm rolls with the 3 tablespoons of melted unsalted butter and sprinkle liberally with flaky sea salt. Rolls are best served warm.

TO STORE: Rolls can be kept at room temperature when wrapped tightly with aluminum foil for at least 3 days. When ready to serve, heat the oven to 350 degrees Fahrenheit, wrap the rolls in aluminum foil, and let them warm in the oven for 5-10 minutes.

(Tip: For best results, if you don’t have a scale, spoon the flour into your measuring cup and sweep off the excess with a knife to avoid over-packing.)

SOURCE: Adapted from Bon Appetit

Happy Thanksgiving!

You guys. You guys. I've been up since before the sun came up, hunched over lightly floured services cutting holes out of dough, peeling so many apples that my fingers became prunes, and definitely accidentally licking the bitter white part of a lemon while trying to sneak some of the juice on the sly. But you know what they say: No pain, no pie...

...That's how that saying goes, right?

I'm so tired.

Despite the increase in yawning this afternoon, I'm feeling GREAT. Thanksgiving pies are FINISHED, cooling, and getting ready to be wrapped up tight for maximum Turkey Day freshness. Also, I'm one step closer to achieving my goal of being Pie Queen of the Midwest. I think I've finally, FINALLY mastered pie dough, and everything's coming up Sydney today.


I was really inspired by this video and decided to try out making a few freehand designs for my pie vents. AND I got to use some of my extra dough to make some freehand leaves! They're very easy to make, and I think it adds a little something. If nothing else, the leaves remind you that this pie is a celebration of the Harvest Season.  If you're wondering what kind of pie this is, it's the Double Apple-Pear Pie, with about 1 and 1/2 teaspoons finely chopped thyme. Adding herbs gives it some sophistication, and I'm REALLY excited to taste it. THANKSGIVING NEEDS TO GET HERE FASTER!!

I hope you have the BEST THANKSGIVING that has ever Thanksgiving'd.

It's nap time.

Gluten Free Spiced Pumpkin Pie

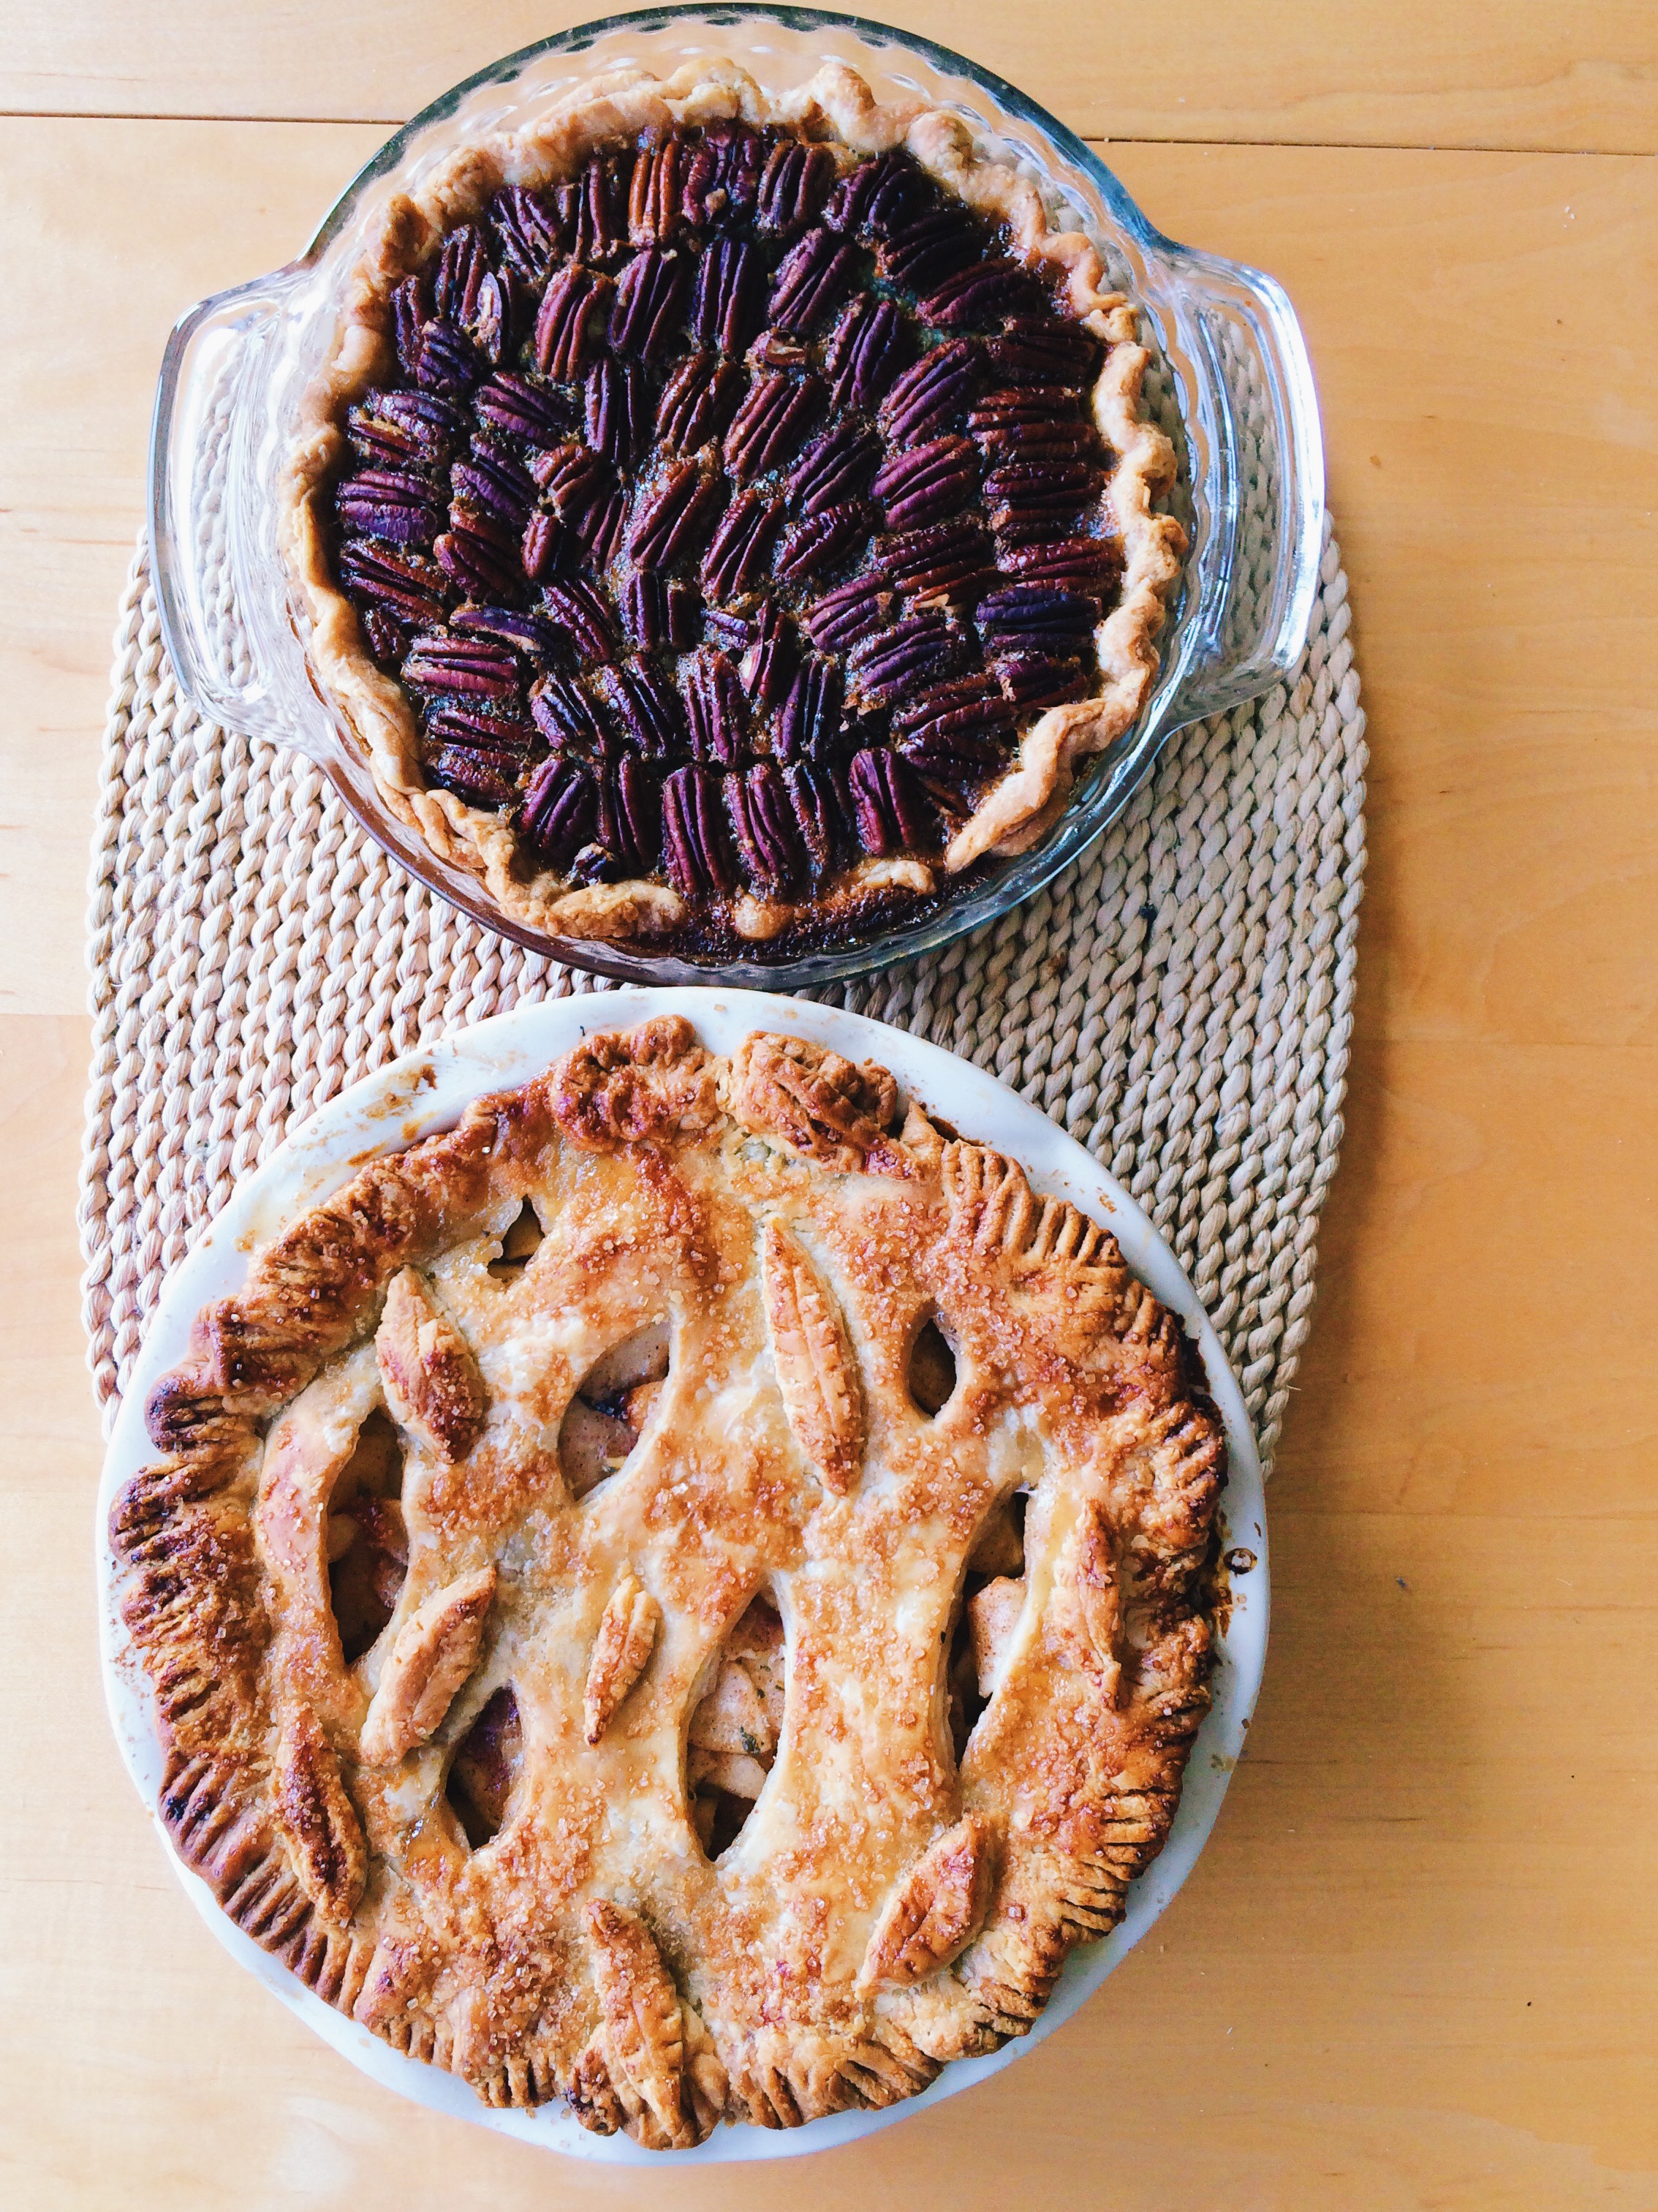
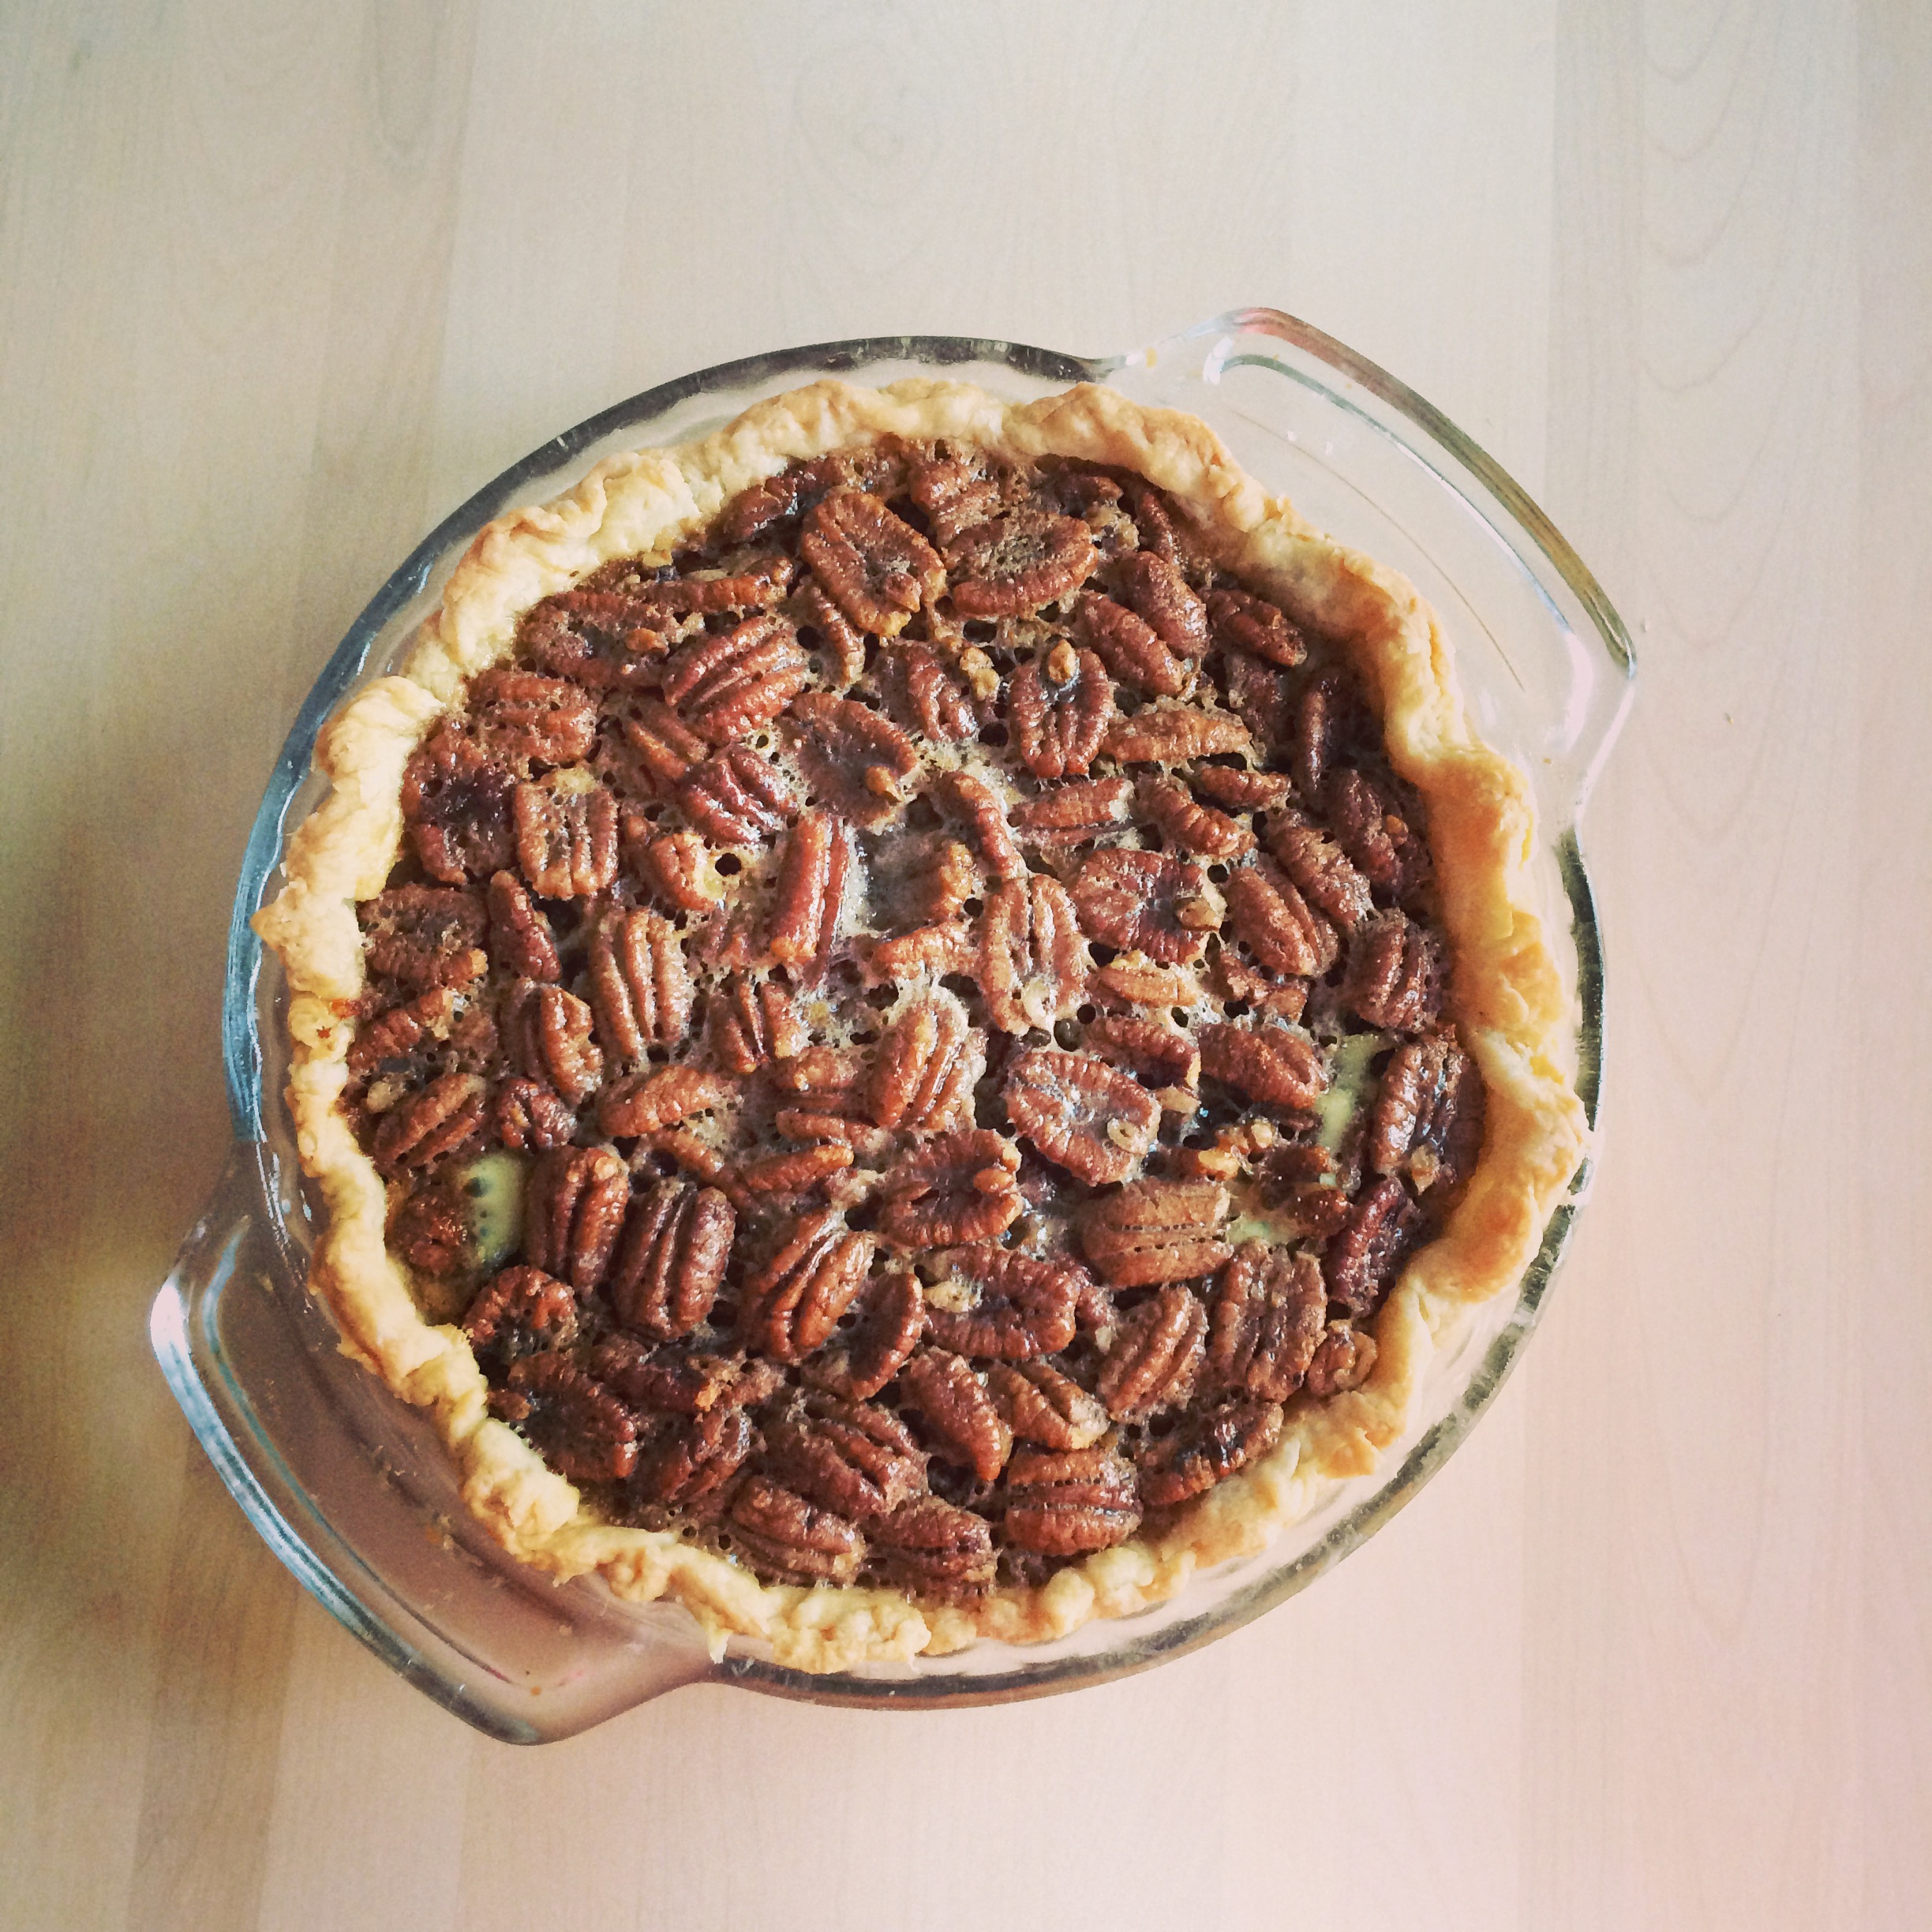
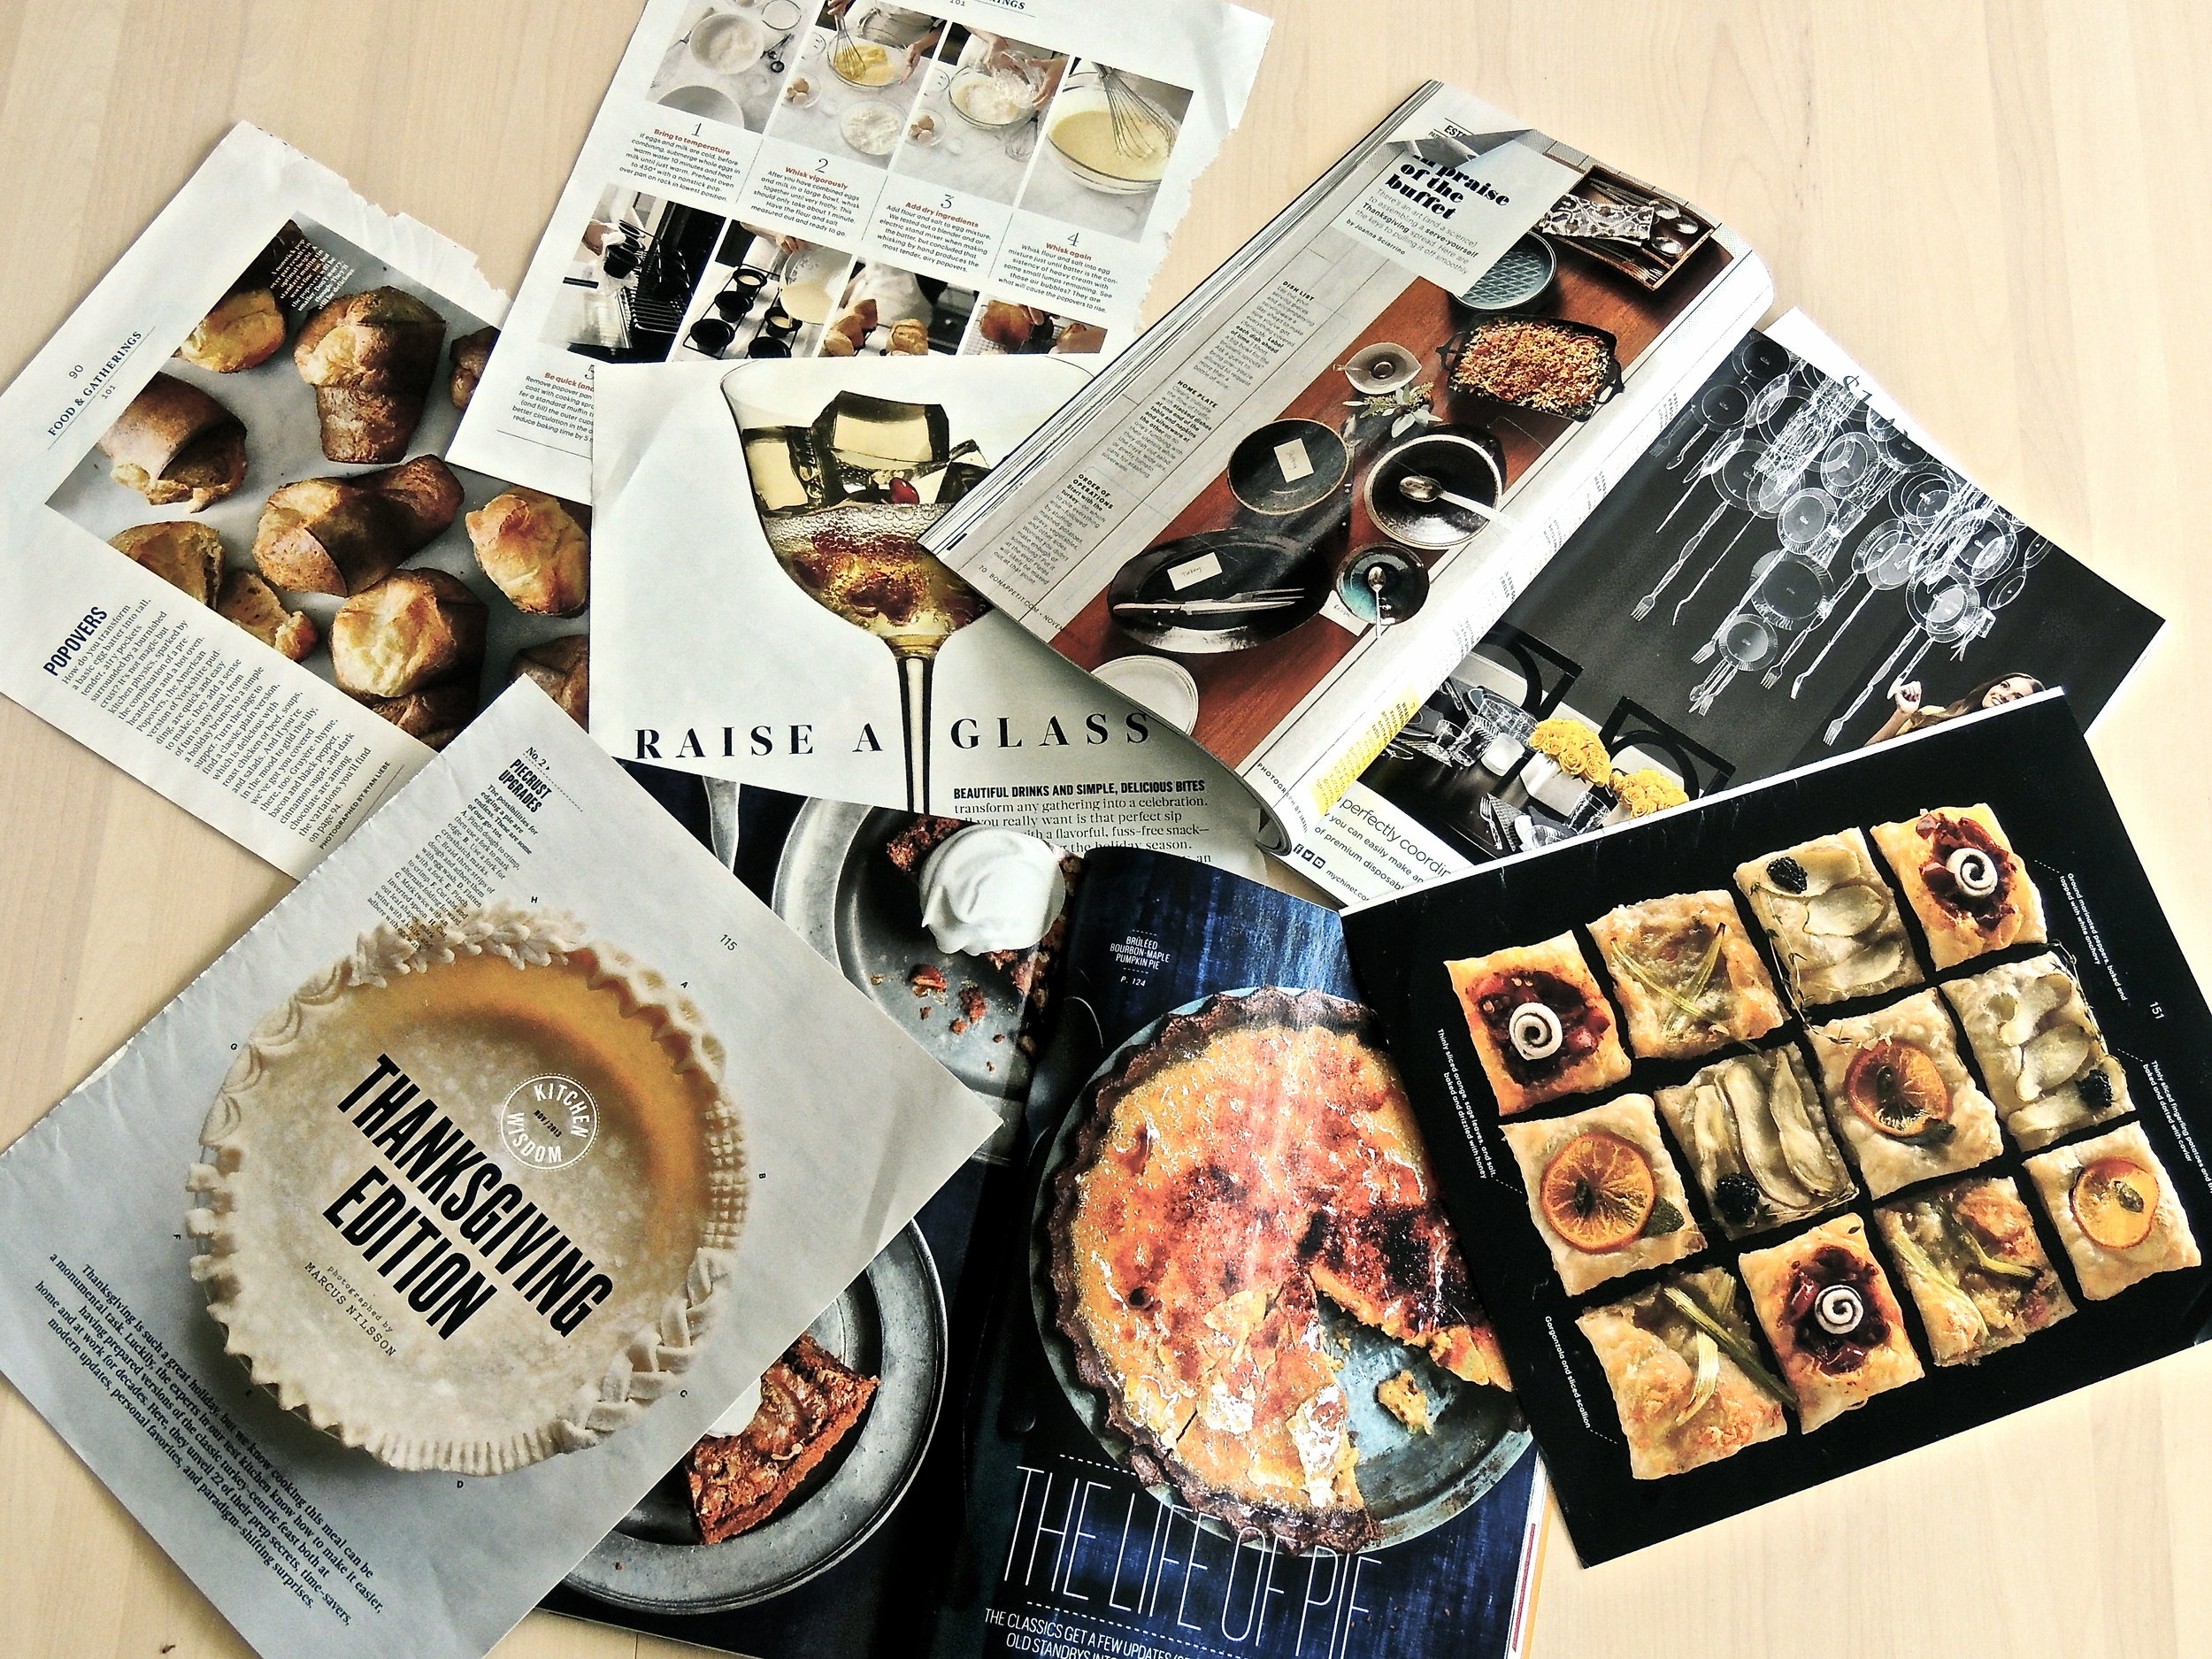
K, we should probably start talking about Thanksgiving now, no? And what's better to talk about when we talk about Thanksgiving, than the true table staple? Pumpkin Pie. My favorite.

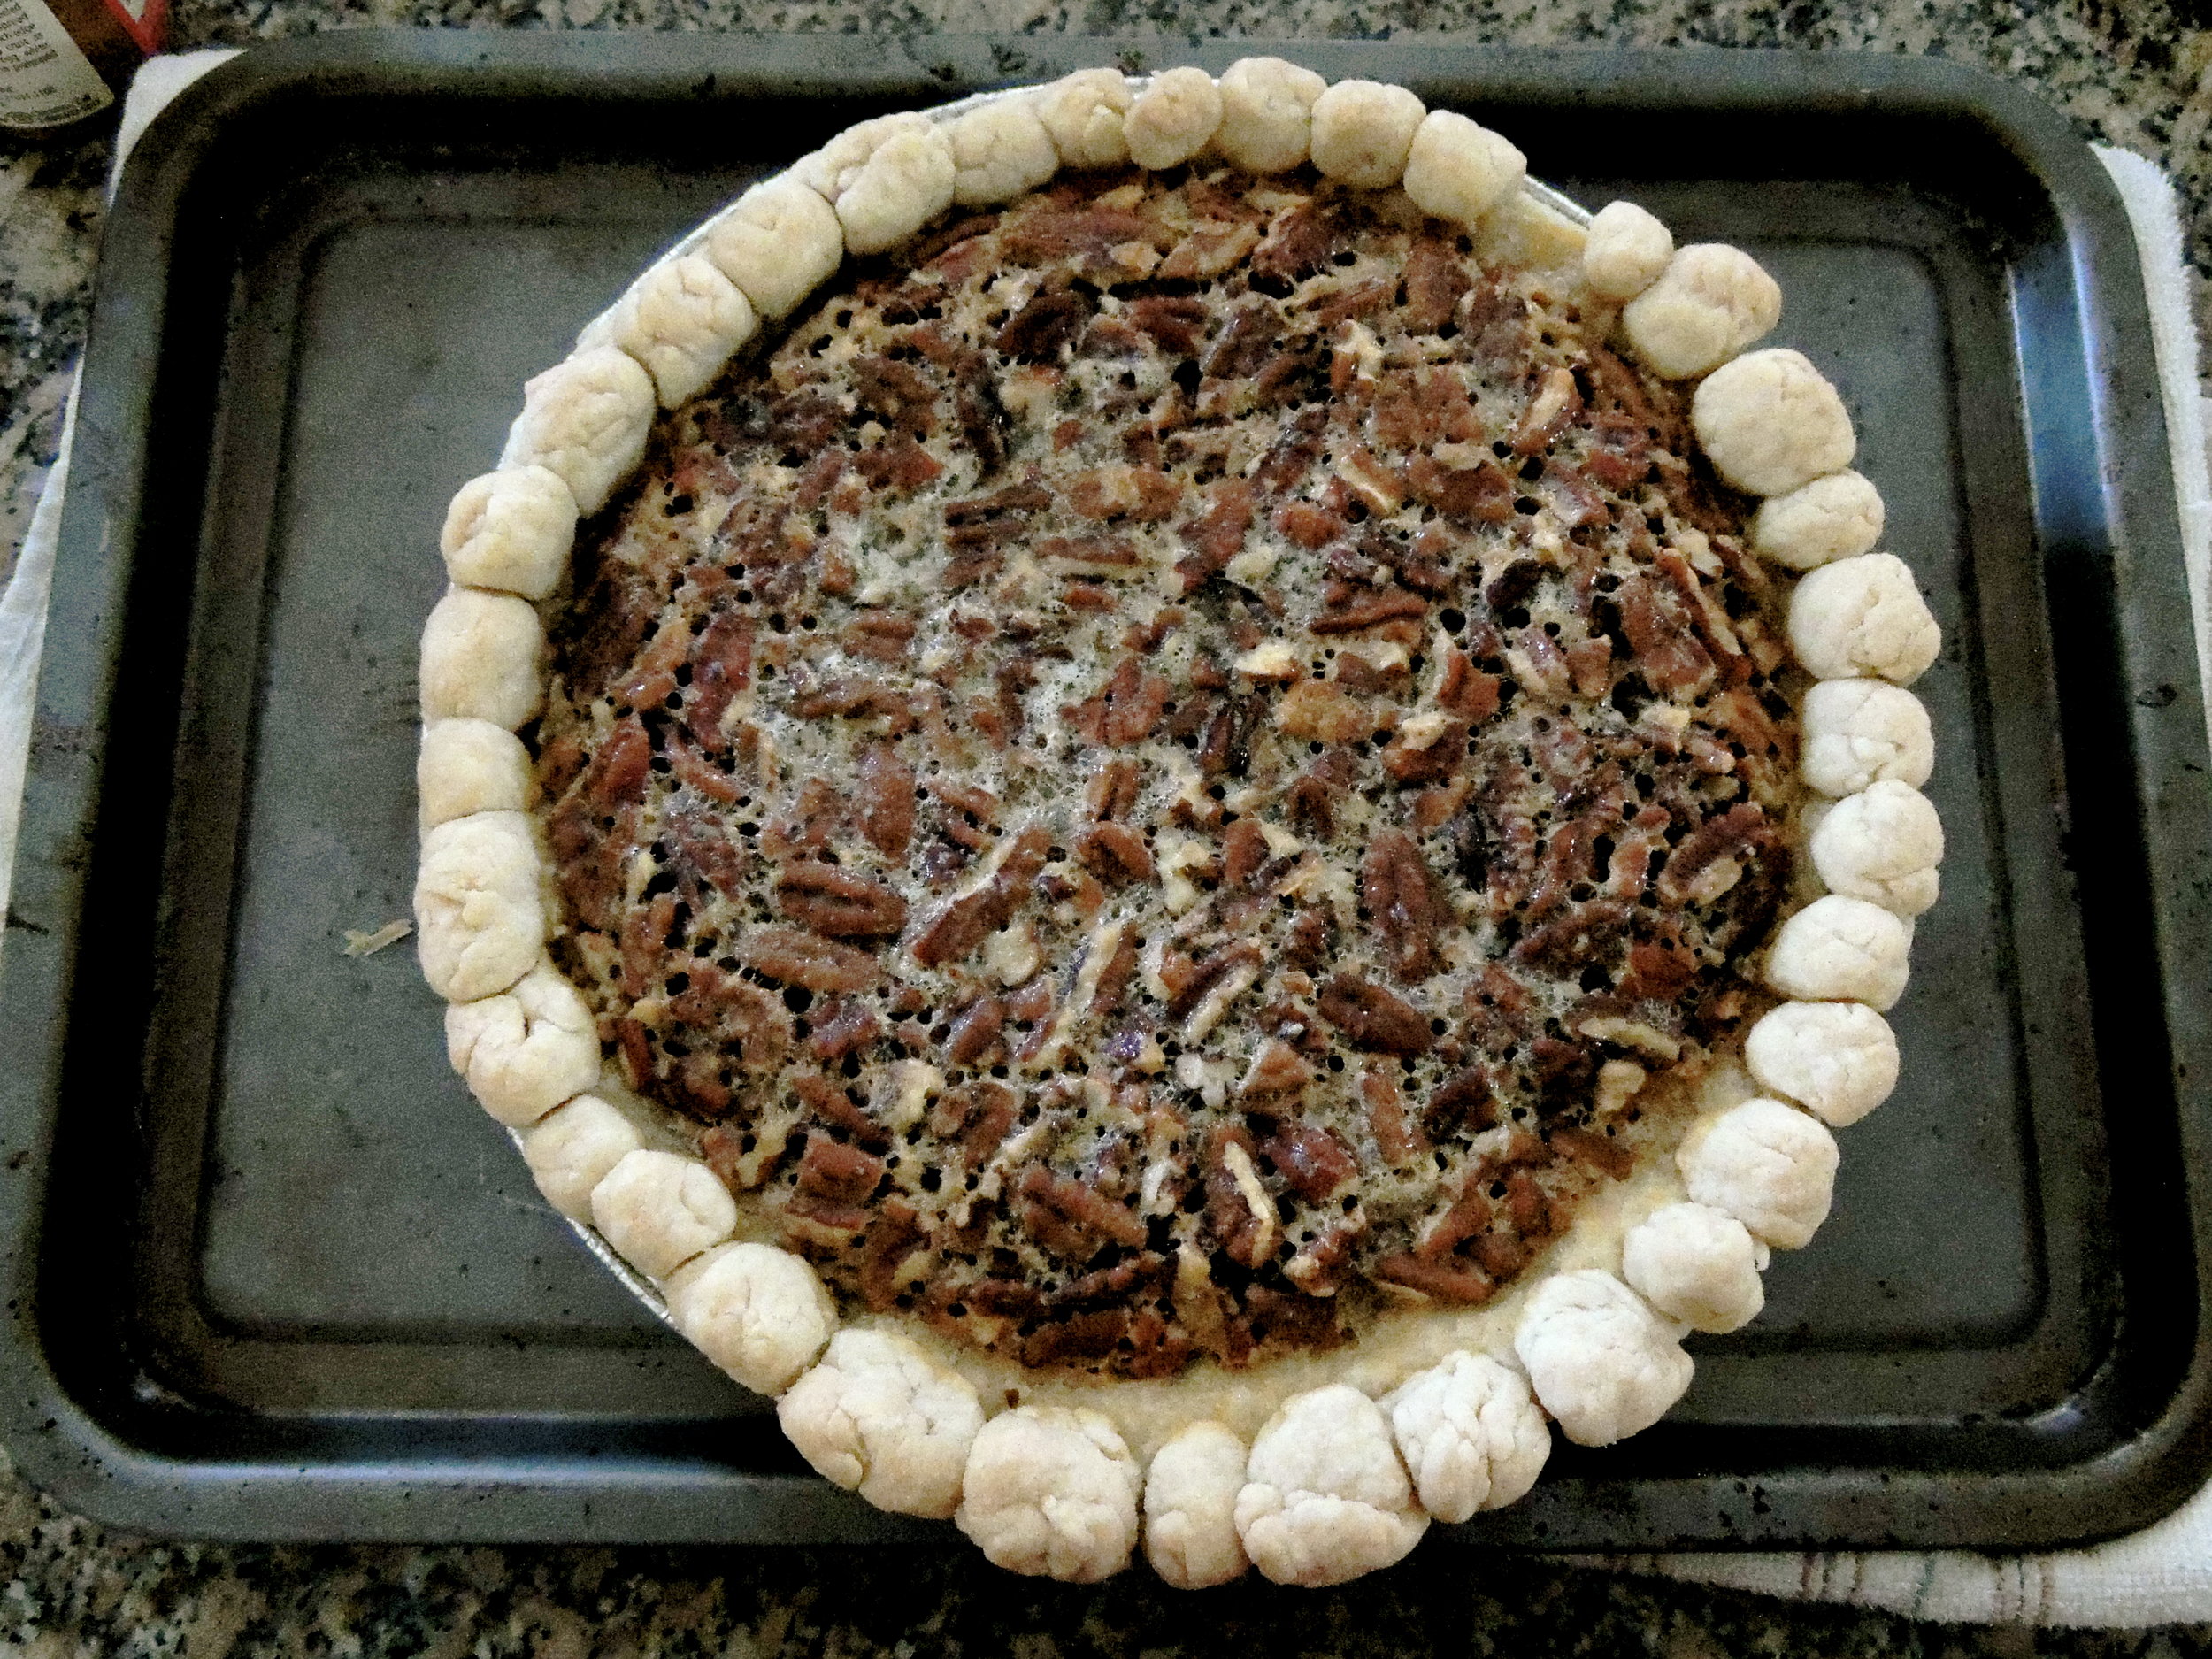
There's a debate every year in which the people in my family argue the importance of double P. Some people love it, some people hate it. Maybe it's the texture? I'm not really sure. All I know is there better be a silky Pumpkin Pie with hand-whipped cream on the table on the last Thursday of every November, or someone's in trouble. And if I have to be the one to make it, then so be it. At least I'll sleep well knowing that I already have my dessert plate mapped out for maximum consumption. But lately I've been thinking about my gluten-intolerant friends: what do they do when a flaky all-butter crust (my go-to for every pie), or a sweet and buttery graham cracker crust is not an option?

Last weekend we attended a Ladies' Day event in Milwaukee which my mother helped plan, and I volunteered to bake. Everything was going great, meal-plan wise until I was informed that there were gluten allergies and thus, the desserts must be completely gluten-free. I quickly assured her that it wouldn't be a problem, but I'll be honest: I was nervous. Despite the fact that I have a best friend who is gluten-intolerant, whenever food is involved, it's usually someone else making it and I don't have to worry about it. I made her flour-less chocolate cake once (it was DIVINE), but that was it.

Would I really have to buy new flours and ingredients that I probably would never use again? Or worse, use BOXED CAKE MIX?

I shudder to think. (Hi, I'm dramatic.)

Luckily, I was flipping through the pages of the November 2015 issue of Martha Stewart Living and came across the answer to all of my problems: Gluten-Free Pumpkin Pie! I was ecstatic of course. One, because you know how much I love pie and use any excuse to make it. And two, because I could use ingredients I have on hand absolutely all the time! I ran it by the committee, was told that I would have to make three, and was sent on my way.

I may have spent seven hours in the kitchen, but there's nothing I love more than making pie.

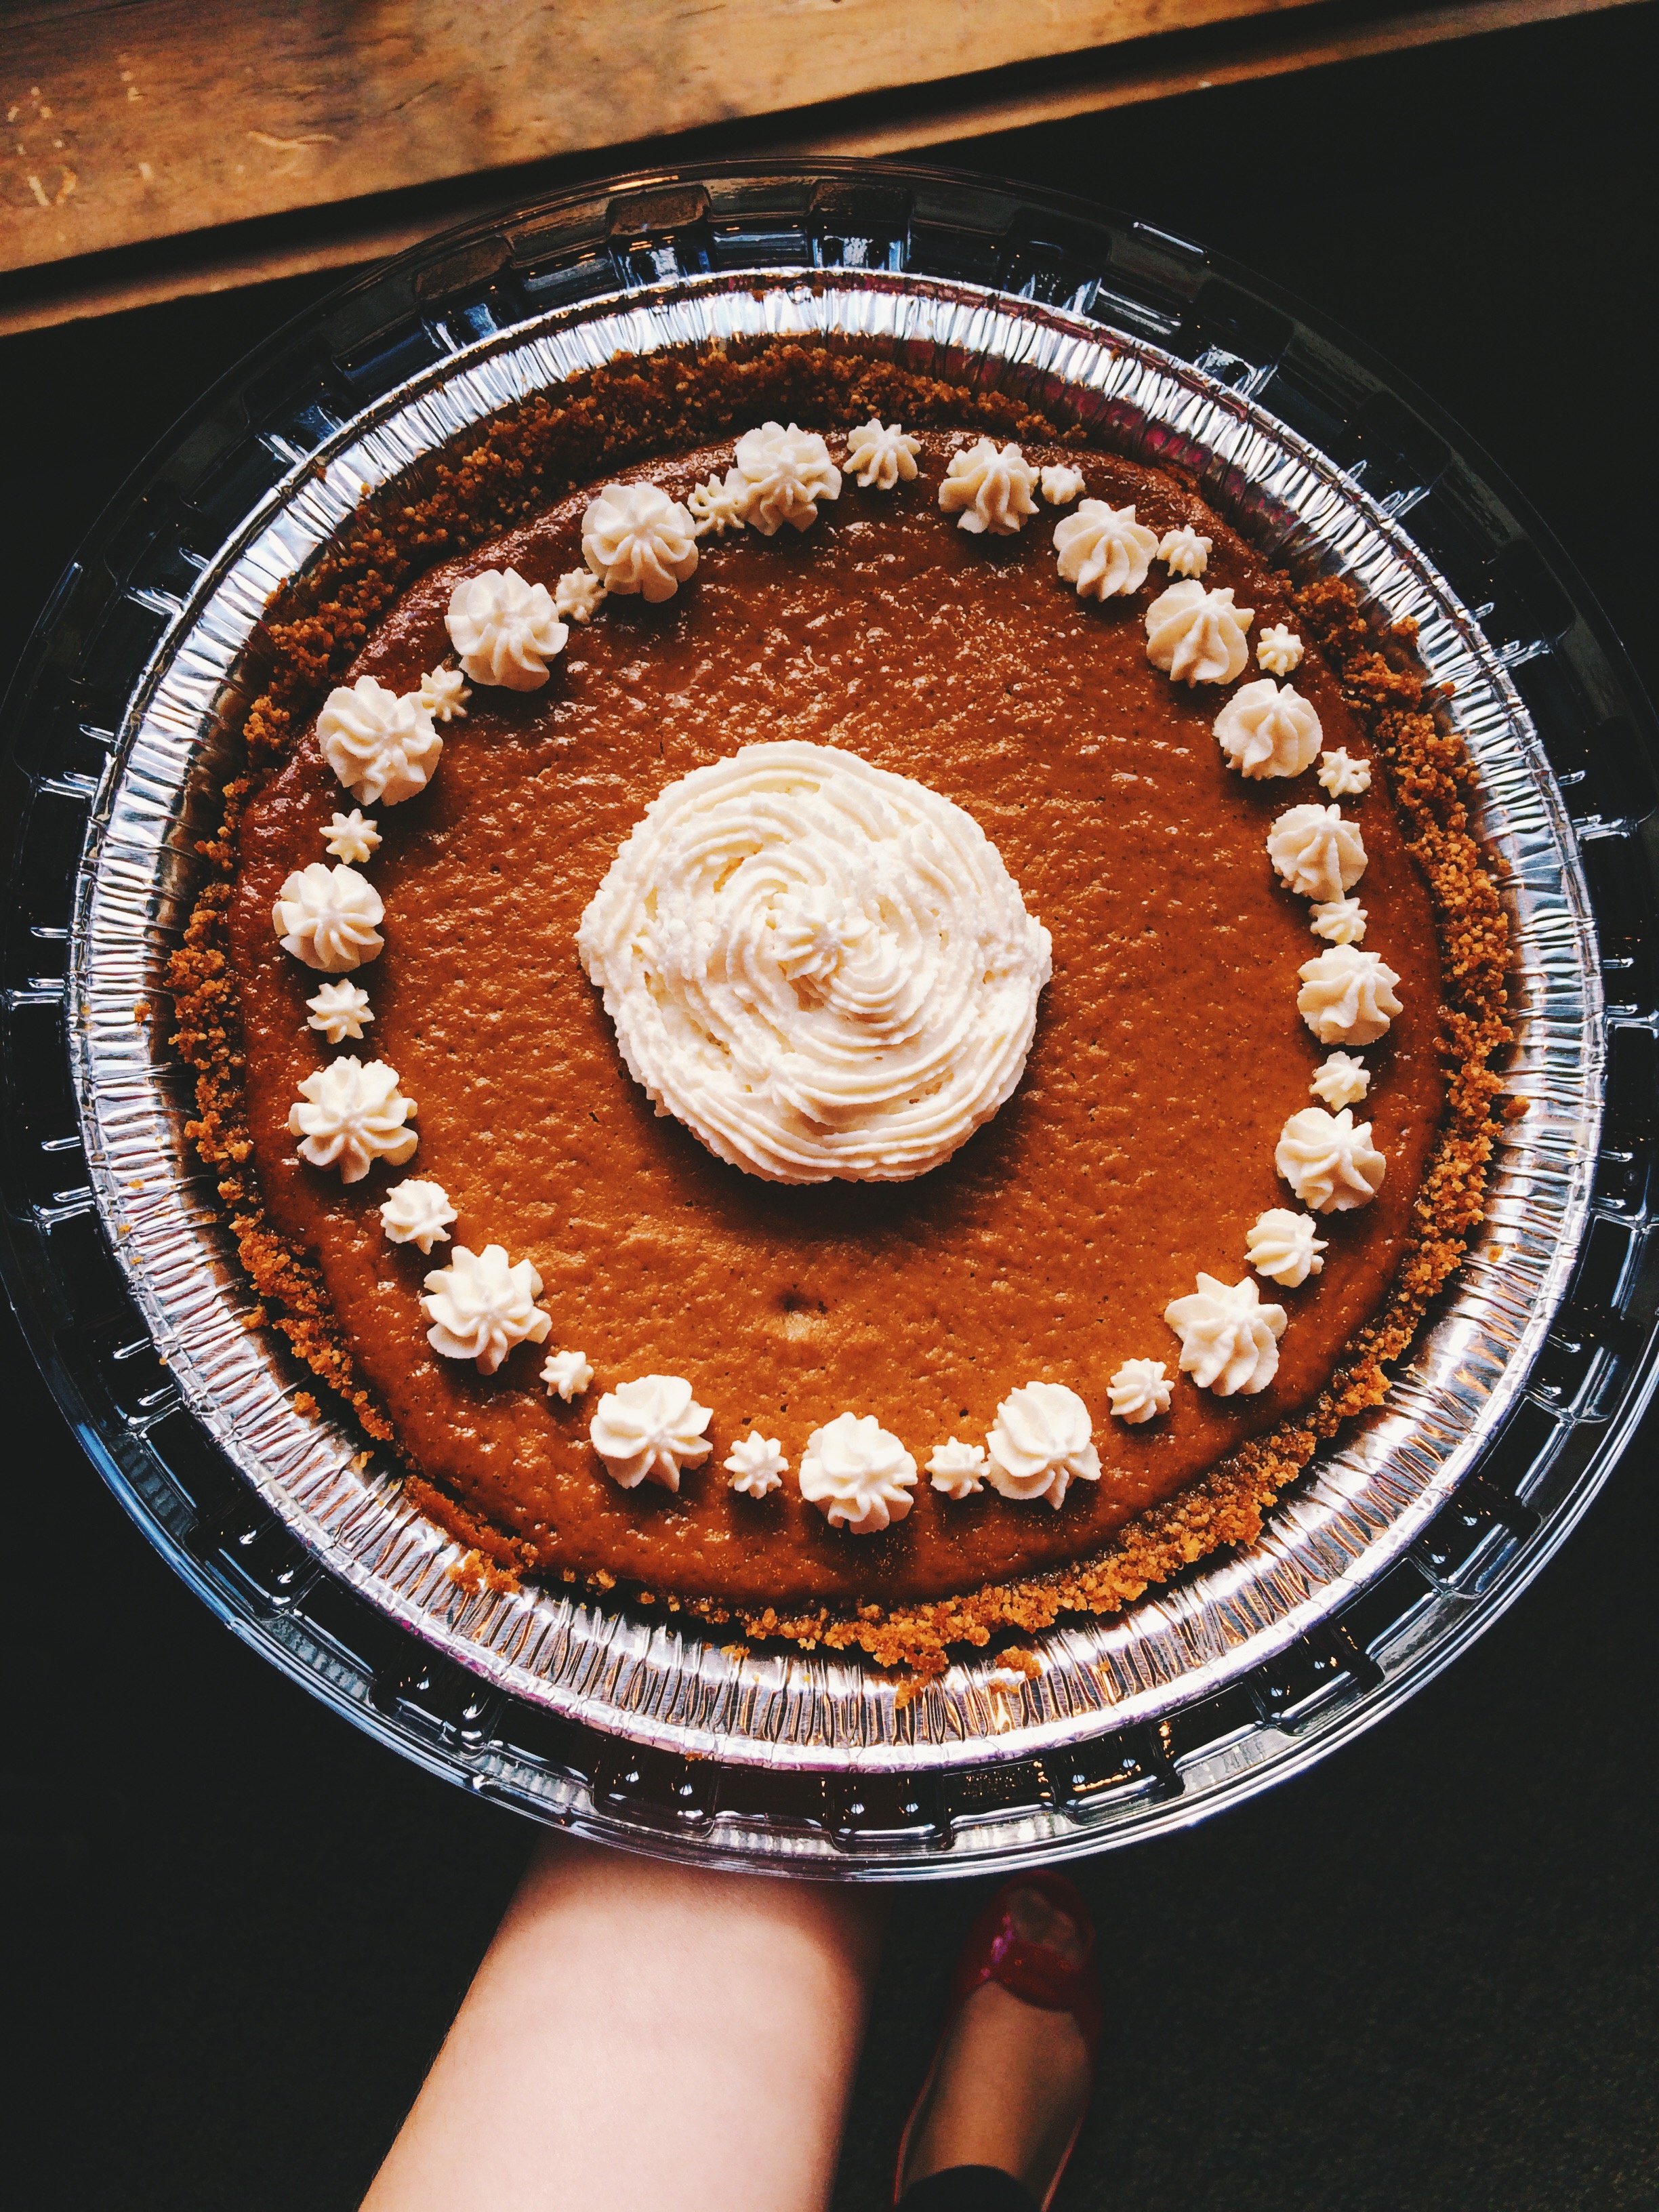
Now, what makes this pie GF you may ask? The CRUST! Three cups of Rice Chex (naturally and wonderfully GF), butter, brown sugar, and a little salt. Pulse those together in a food processor (I have a baby one that holds 4 cups), then spread into a pie plate, and bake it for 12 minutes to set. It's SUPER EASY, and CRAZY DELICIOUS. That brown sugar caramelizes in the oven, making the crust buttery and sweet with a hint of a crunch still. And pair that with the sweet pumpkin-y custard that is the filling, plus  the homemade whipped cream that was carefully piped onto the top, and it's just perfect.

I tell ya, it was a total hit amongst the gluten-lovers and gluten-intolerant alike, for we could all stuff our faces with pie in harmony.

Make it for Thanksgiving, make it forever.


GLUTEN-FREE SPICED PUMPKIN PIE 

What You'll Need:

Pie Crust:

  • 3 cups Rice Chex
  • 5 tablespoons unsalted butter, melted
  • 5 tablespoons packed light-brown sugar
  • 1/4 teaspoon coarse salt (I used coarse kosher salt)

Spiced Pumpkin Pie:

  • 1 1/2 cups unsweetened pumpkin puree
  • 3 large eggs, room temperature
  • 3/4 cup packed light-brown sugar
  • 1 tablespoon cornstarch
  • 1/2 teaspoon coarse salt (I used coarse kosher salt)
  • 1 teaspoon ground cinnamon
  • 1/4 teaspoon grated nutmeg
  • 1 cup whole milk

DIRECTIONS

First, let's make the pie crust:

Preheat the oven to 375 degrees

Pulse together the cereal in a food processor until finely ground. Then add the melted butter, brown sugar, and salt. Pulse until well combined.

Press the crust mixture evenly into the bottom and up the sides of a 9-inch pie pan. Bake until golden brown about 12 minutes. Set on a wire rack to cool completely.

OKAY, PIE TIME!

Reduce the oven temperature to 325 degrees F.

In a large bowl, whisk together the pumpkin puree and eggs.

In a smaller bowl, stir together the sugar, cornstarch, salt, cinnamon, and nutmeg. Transfer the dry ingredients into the bowl with the pumpkin-egg mixture, and mix until well combined. Then, whisk in the milk.

Place your cooled pie pan on a rimmed baking sheet to reduce the chance of your filling spilling out on the way to the oven. CAREFULLY pour filling into the center of the crust for more even spreading. DO NOT OVERFILL. You may have some filling leftover, and that's okay! You do not want an overflow in the oven, trust me.

Transfer your pie on the baking sheet to the oven and bake until filling is just set, ABOUT 50-55 minutes, but KEEP AN EYE ON IT. If a custard-based pie (like this one) is over-baked, it will crack, and no one wants that. (But if it does crack, you can always cover it with whipped cream, so don't fret.)

Set on a wire rack to cool completely.

Once cooled, pipe or spread on some homemade whipped cream if you're into it, and transfer pie to the fridge to chill before serving.

(MAKE AHEAD: This pie can be made up to 2 days ahead of time. KEEP REFRIGERATED.)

SOURCE: Slightly adapted from Martha Stewart Living

Happy Thanksgiving!

PECAN PIE This Thanksgiving I'm thankful for:

  • My family
  • My friends
  • Netflix
  • AWD in the snow
  • Good health
  • Good food
  • My Entertainment Weekly magazines that brighten up every Thursday and...
  • You.

Thank you for reading.

Have a happy and safe Thanksgiving, and don't forget your eatin' pants!

(P.S. Here's the recipe for that sweet looking pecan pie!)


singature gray

Making Madeleines

DSCN0668 I'm not usually one to spend money on baking pans that are only designed for one thing (save for the time I bought that donut pan...But that was different because there are hundreds of donut combinations!), but I just couldn't resist those adorable Madeleine pans any longer! How can I have a proper tea party without shell-shaped cookies? How can I pretend that I'm French without cake-y cookies with tons of powdered sugar sprinkled on the top? The Madeleine pan was an investment really, I mean, if you think about it. Kind of. Maybe?

Anyway, there is now a Madeleine pan siting in my pantry, and lots of tiny, delicious, half cake/half cookies on the table waiting for me to devour them. So, it's been a good day.

DSCN0664Besides the fact that these sophisticated little ladies (Because they're obviously girls. All that's missing, really. are mini strands of pearls.) are totally delicious, they are also surprisingly easy to make. I know that I say that so often, but it's for real this time!

DSCN0666

These special cookies are perfect for several occasions, which makes them so fun to have around. I've currently enjoyed them at breakfast time, tea time, after dinner, and a quick snack on-the-go. They're so beautifully light that they can be eaten any time with very little guilt. (Although, you should never feel guilty about dessert. It's sweet for a reason!)


Get yourself a Madeleine pan and try these!


What You'll Need:

  • 1/2 cup (1 stick) unsalted butter, melted and cooled 
  • 4 large eggs, room temperature
  • 1/4 teaspoon salt
  • 1/2 cup sugar
  • 1 teaspoon pure vanilla extract
  • 1 cup sifted all-purpose flour
  • 1/2 teaspoon baking powder

1. Preheat oven to 375 degrees. Butter and flour your Madeleine pan. Set aside.

2. In a bowl, whisk eggs, sugar, and salt together until thick (about 7 or 8 minutes). Add vanilla.

3. Using a rubber spatula, gently, but with a little speed, fold in flour. Next, quickly but gently fold in the melted butter, making sure that it fully incorporates and does not sink to the bottom.

4. Spoon mixture into the Madeleine pan quickly. Make sure that you don't fill the molds more than 3/4 full to avoid overflow. Bake until just golden; About 8-10 minutes. Gently remove from pan and transfer to a wire rack to cool. Repeat this process with the remaining batter.

5. Sprinkle powdered sugar on top to your heart's content!

SOURCE: Martha Stewart 


HAPPY THANKSGIVING WEEK!!!


singature gray

Thanksgiving Decisions (Decisions, Decisions)

DSCN0651Am I the only one who's a little stressed out about what to make for Thanksgiving? Surely, not. One of my favorite holidays is fast approaching, and I'm simply stuck in my research phase, trying to find the perfect dessert to serve. I've spent at least a week poring over dozens and dozens of recipes and food magazines and cookbooks, but there's still no clear winner. Should I make a pie? Cranberry tartlets? Keep it simple with cookies? Create an assortment? Those are just a few of the many burning Thanksgiving questions. I have a total eager-to-please, eager-to-impress personality, and despite the fact that I'm only making this dessert for my family (who will eat it anyway because it's family law to love and support everyone) I just can't seem to switch off the part of my brain that wants to go bigger, better, and completely 100% over-the-top.

And with just a little amount of time remaining before the big show (Thanksgiving Dinner, of course), I've got to start planning.

So, I ask you, all of you out there: What's on your Thanksgiving menu?

singature gray

Making My Dad's Favorite: Pecan Pie

DSCN0415 Thanksgiving is all about tradition, whether it be old or new. And while I was planning on starting a new tradition at my house (one that included delicious pumpkin pie because there is literally nothing better in this entire world), I was overruled by a standing pie tradition: Southern-style Pecan Pie.

Apparently it's been a staple at our table since I was born, but I never noticed because my grandmothers have been making stellar sweet potato pies, and caramel pies with homemade icings for as long as I can remember. But this year, I spent Thanksgiving with just my immediate family in Wisconsin, and there could only be room for one dessert. And while I was hoping that dessert would be delicious, fall-appropriate pumpkin pie, a dad that only periodically ventured into the kitchen (probably to stay out of the crossfire of my mother and I both being in the kitchen), had other plans. But it's fine, because  when you love to bake, it doesn't always really matter what it is.

DSCN0424And anyway, I was just happy that I:

1) Finally got to contribute to the Thanksgiving Meal

2) Got to practice my pie-making skills!

Fact: a homemade pie crust always tastes better. It just does. Store-bought pie crusts are okay, but there is just no comparison when you taste the love (and butter!!!) that goes into a crust made especially for that pie, completely from scratch. And I have to say: for this being only the third time that I've made the pie crust, things went pretty smoothly.

Joy the Baker first taught me how to make a pie crust (and my first pie). Instead of rolling out the dough, she uses a "press-in" technique where she presses the dough into the pie plate. It's incredibly easy, and eliminates a few steps. But in the rest of my pie cookbooks, it's essential that you roll out the dough, then use the rolling pin as a tool to get it into the pie plate. And you know, the people on Food Network always make it look so insanely easy. Like, the dough always perfectly rolls up onto the rolling pin, and they simply and gracefully place the delicate crust into the plate. Well, I'm here to tell you that it's not that easy, I dropped the pie crust into the plate very ungracefully, and I actually had to flip a section of it that refused to stay on its side of the plate. But I made it without having to take it out and re-roll it, and all was well in the kitchen.

DSCN0427This time around, I even got to take a stab at decorating the crust, something I hadn't tried before. And I loved it! Sure, the balls were all different sizes, and I left fingerprints in the dough, but isn't that what makes homemade crusts charming? Store-bought crusts lack a certain something, and I think that something is charm and character. Maybe even a little personality. That pie crust is totally unique, and I never, ever, will buy a store-bought crust again.

Okay, apparently this post has turned into a love letter for homemade pie crusts...sorry, I'm not sorry.DSCN0430

Pecan Pie is actually really easy to make. You just mix the butter and the sugar together, then literally throw the rest of the ingredients in the mixing bowl, and you're done.

And this pie was a big hit, if I do say so myself.

PECAN PIE:

What You'll Need:

  • 1/2 cup sugar
  • 2 tablespoons butter
  • 3 eggs, beaten
  • 1/4 teaspoon salt
  • 1 teaspoon vanilla
  • 1 cup light corn syrup
  • 1 tablespoon  flour
  • 1 cup pecans
  • 1 unbaked 9 inch pie crust (Preferably homemade!)

-Preheat oven to 350 degrees F

-Cream sugar and butter

-Add remaining ingredients

-Bake for 40 minutes

Each recipe serves 6-8 people

SOURCE: Recipes from Miss Daisy's

I hope you all had a fantastic holiday, and that you're recovering from your food comas well!!

singature gray