
French Silk Pie
 Happy Valentine's Day! I love love, and I love chocolate, so let's dive right in.
Ever since my visit to Chicago's Bang Bang Pie, I have been obsessed with french silk pie. I've been told it's a classic diner pie , but this girl has been to her fair share of diners, and no french silk in sight! It's just as well; the first time you have french silk pie has to be a straight up experience, not just another dessert.
People are always likening the things they really, really like to Heaven. You know what I mean? "That massage I just got? HEAVEN." "That shoe place is like HEAVEN." "Those dogs kisses on my mouth? HEAVENNN." It's become so overused. But let me tell you something right now: the only thing better than this pie once it's completely chilled and set, is the actual moment of euphoria that is finding extra filling in the mixing bowl once the pie shell has been filled. That unset, chocolate mousse filling is actual Heaven on Earth. It's silky (hence the name!), chocolaty beyond belief, creamy, and lighter than air. It's silky, chocolaty, creamy air on a spoon. I will not tell you how much of it I ate before I could finally snap myself out of it to transfer the pie to the fridge before there was nothing left but crumbs in a disposable tin. If it wasn't already destined to be dessert at a Valentine's Day party, this french silk pie, along with its identical twin pie brother, would've been gone SO FAST with no regrets.
Alas, they were promised for many other tummies besides mine, so I had to let them go.
There better be leftovers.
What You'll Need:
For the Crust: 60 Vanilla wafers, finely crushed 1/4 teaspoon cinnamon 3/4 cup (1 1/2 sticks) unsalted butter, melted and cooled For the Filling: 3/4 cup superfine sugar 2 large eggs, lightly beaten 2 1/2 ounces bittersweet chocolate, melted 1/2 cup (1 stick) unsalted butter, softened 1 1/4 cup heavy whipping cream 2 teaspoons vanilla extract
Preheat the oven to 350 degrees F
To make the crust: Place your freshly crushed vanilla wafers, cinnamon, and melted butter into a medium sized mixing bowl, and stir together until all ingredients are completely combined.
Pour your mixture into a 9 inch pie plate and press the bottom and sides to create an even layer. You may end up with a little extra once you're finished.
Bake your crust for 10-15 minutes until it's golden brown. Once removed from the oven, set it on a cooling rack to cool completely, then place in the refrigerator until you need it.
To make the filling: Place eggs and sugar in a medium saucepan, continuously whisking together on medium-low heat. You'll know that your mixture is ready when it is thick enough to coat the back of a spoon. This should take 5-7 minutes. While your mixture is cooking, melt the chocolate.
Stir your melted chocolate into the mixture, and continue to stir until it's smooth. Remove from heat, and let it completely cool.
In a stand mixer fitted with the paddle attachment (or in a bowl with a hand mixer, or with a wooden spoon), beat your butter until it is light and fluffy. Add your cooled chocolate mixture, and continue to mix until everything is fully combined. Make sure to scrape down the sides of the bowl occasionally.
In a separate bowl, beat together your heavy cream and vanilla extract until stiff peaks form. Fold your newly whipped cream into your chocolate mixture and mix until it's light and fluffy. (I've found that it's sometimes necessary to help the process by mixing it with a rubber spatula for a few seconds to make sure all of the chocolate is incorporated.)
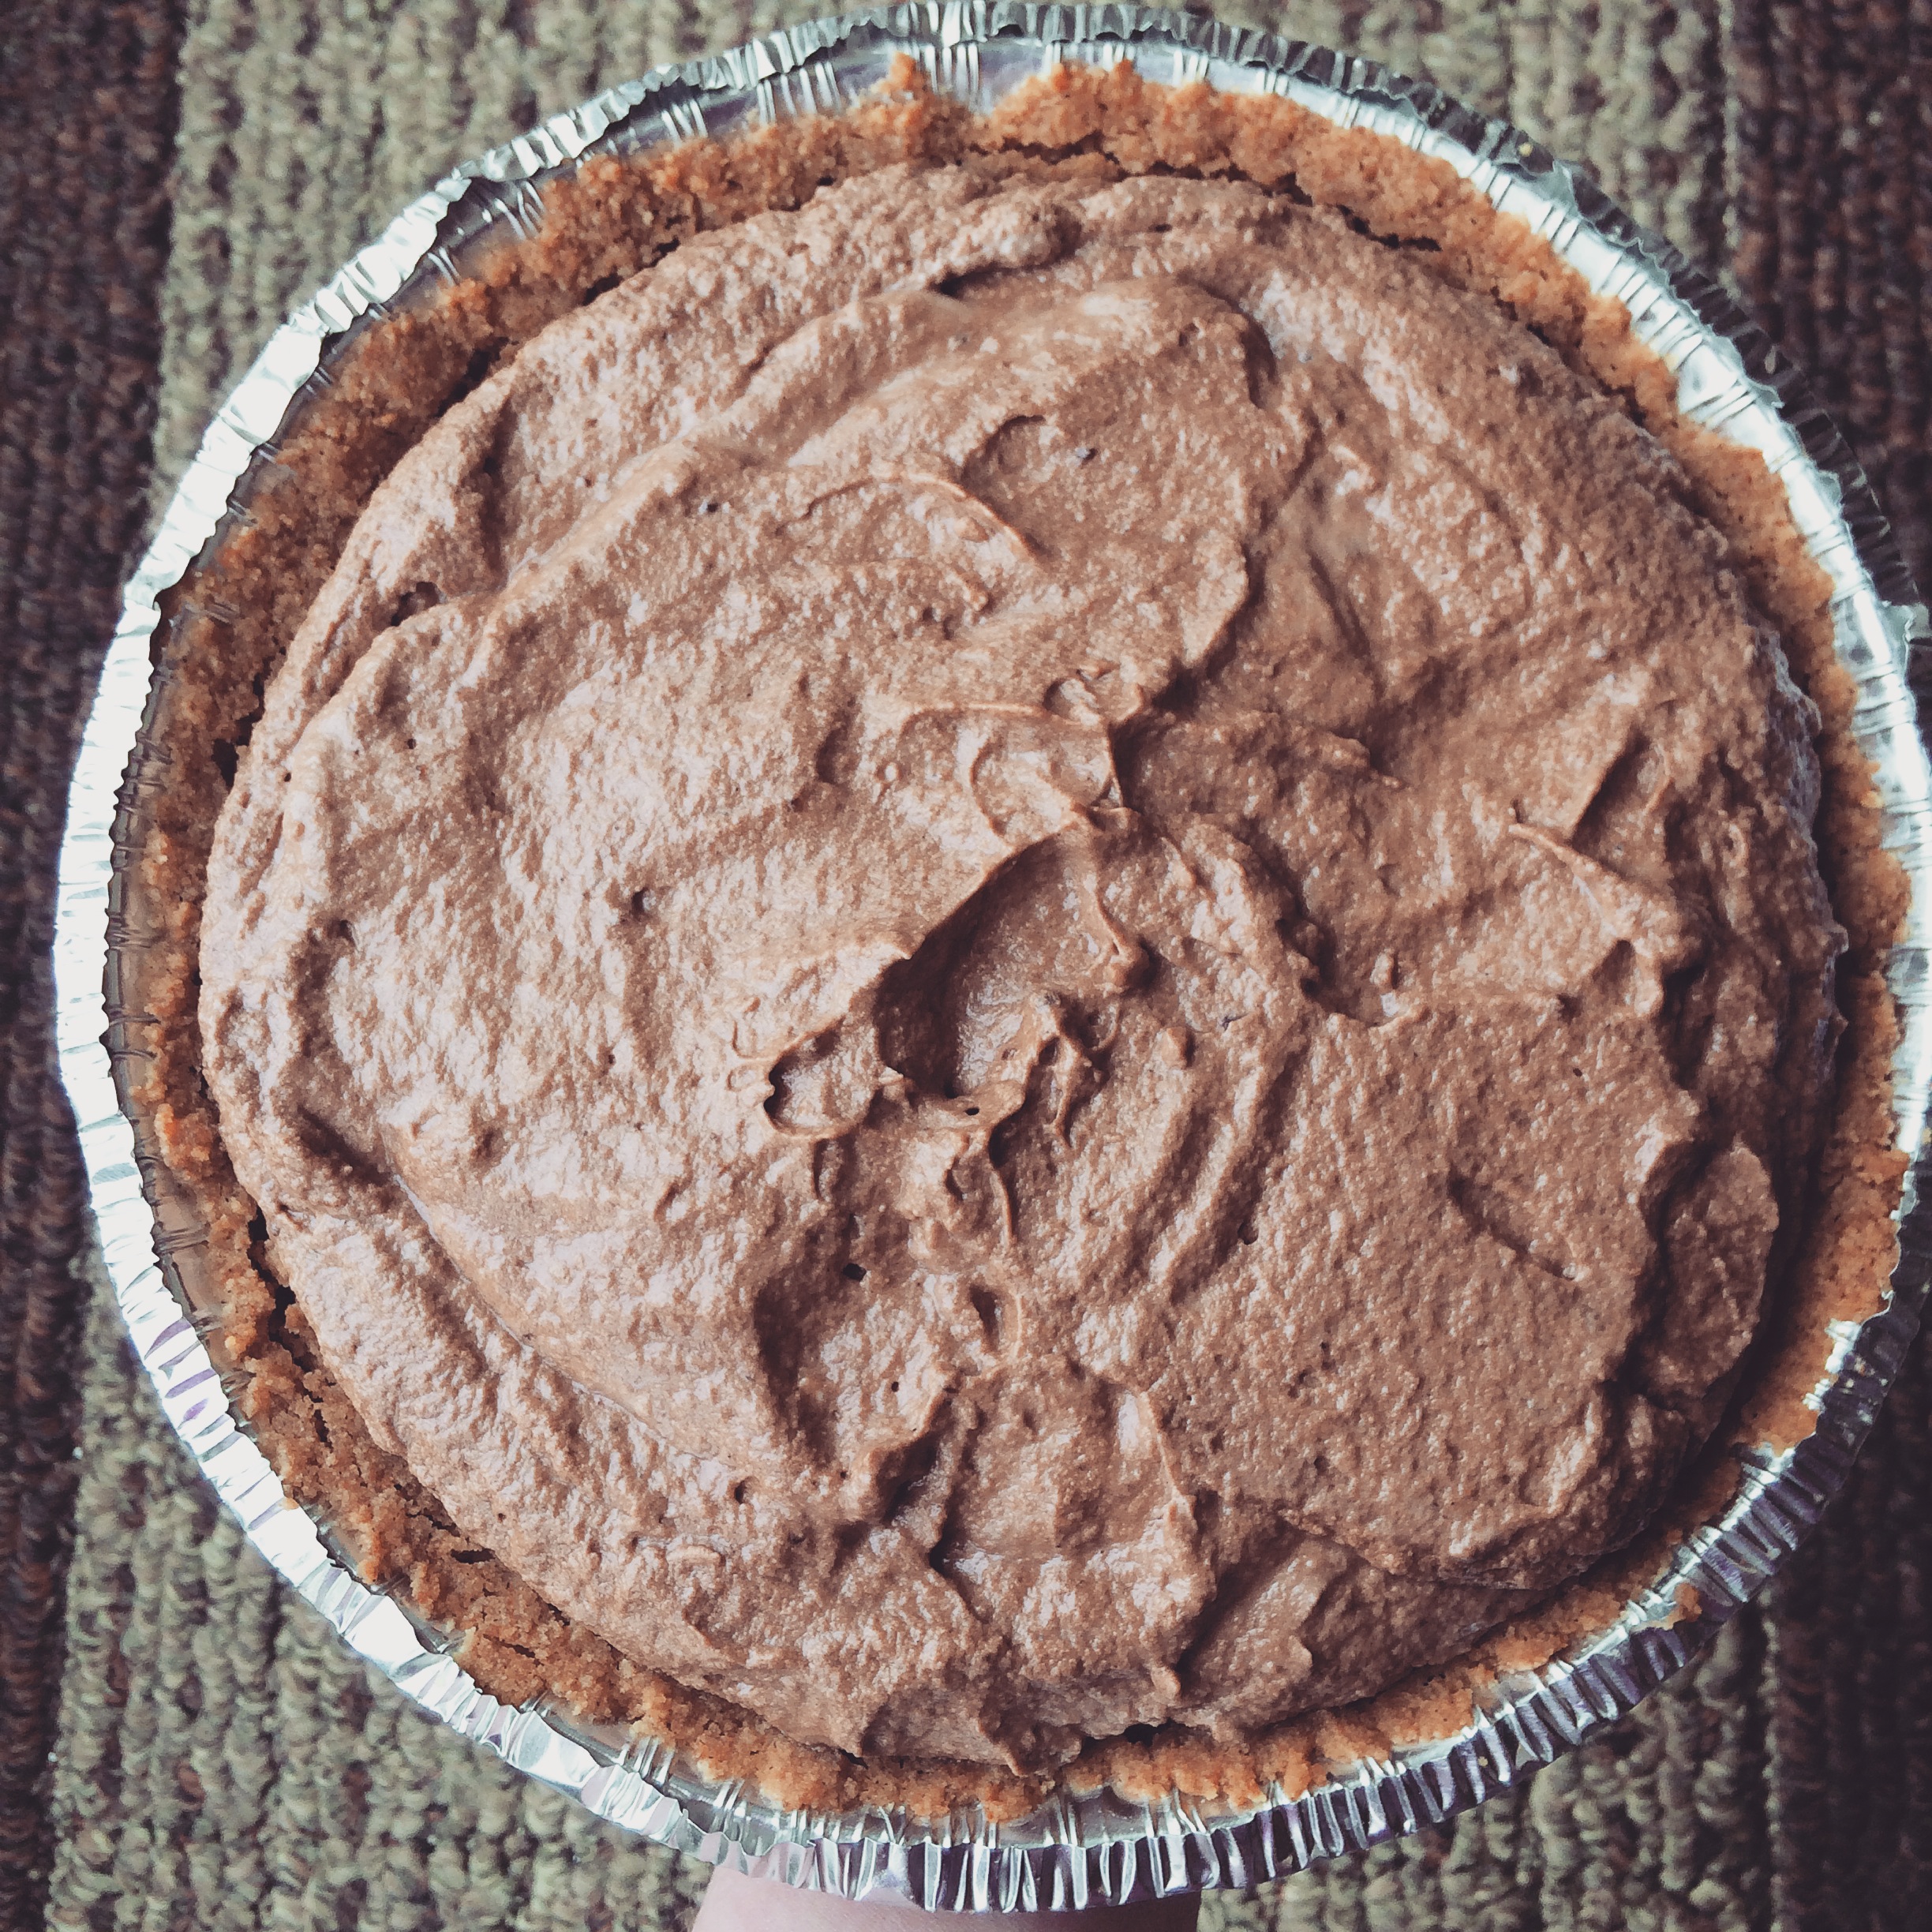
Remove your chilled crust from the refrigerator, and fill with chocolate filling. (You may end up with some extra filling at the end. I find it best to eat with a spoon). Refrigerate for 4-6 hours (or overnight). Once ready to serve, top with some homemade whipped cream, and enjoy!
SOURCE: Spoon Fork Bacon
Forks up! Everybody have some pie.