Cookbook Review: Dessert Person

Cookbook Review: Dessert Person by Claire Saffitz - Seasoned with Sydney

Claire Saffitz rose to fame in 2017 as the host of the hit Youtube series, Gourmet Makes, where the audience watched in awe as she took beloved junk foods like Oreos, Cheez-Its, and Twinkies and attempted to recreate them from scratch by the end of the video. Fans may have come for the weekly challenge (always more complicated than the last) but stayed for Saffitz’s thoughtful, creative energy and regular banter with fellow BA Test Kitchen personality, Brad Leone. Three years later, Saffitz is ready to cement her status as a household name in the food world, but this time, it’s with her debut book, Dessert Person, in stores now.

I’ve been following Claire Saffitz since 2013 when I first got a subscription to Bon Appetit Magazine. Her recipes were always sophisticated, unique, and, most importantly, approachable which made me, a new baker hungry for the next challenge, eager to take on any recipe that she developed. When I caught a glimpse on her personal Instagram feed a few months ago of the types of recipes to be expected in her upcoming book, I knew that this one, above all the other phenomenal books that have made their way into the world this season, would be one that I 100% wanted on my shelf.

What I’ve noticed about cookbooks written by recipe developers, especially those who work for magazines or other food media outlets, is that there is always more mindfulness when it comes to the abilities and resources of the average home chef. Time, budget, and experience are taken into account more, and no details, even the minor ones, are left unprinted. Saffitz’s Dessert Person is no exception to this observation. In fact, she makes it a point to ensure every aspect of the recipe is accounted for, from the way the final product should look and feel, to the time, special equipment, and skill level strongly suggested for each project. Dessert Person, with its in-depth, step-by-step visual guides, beautiful photography (shot by former BA staff photographer, Alex Lau), and breath-of-fresh-air approach to confectionery classics both new and old, is by far one of the best books of 2020.

The Good: In true Saffitz style, Dessert Person is a book full of recipes that will introduce you to, but not overwhelm you with, new ingredients and flavor combinations. All of the recipes feature ingredients and equipment lists that can be easily fulfilled locally and are fancy without breaking the bank. I also love that at the top of every recipe, in addition to the total time it will take, Saffitz has included a rating system from 1-5 indicating the recipe’s difficulty level, often with an explanation as to why a certain recipe was rated the way it was. That’s a helpful feature not often seen in cookbooks.

The Bad: So far, the only thing I don’t like about Dessert Person is the amount of page-flipping the reader has to do to make sure they have all the ingredients needed to even begin the recipe they want to try. For example, the Meyer Lemon Tart on page 104 calls for only four ingredients, but two out of the four ingredients, the Meyer Lemon Curd and Sweet Tart Dough, are located on different pages and have their own ingredient lists and directions. It makes sense to outline the recipes in the book this way since the Sweet Tart Dough is featured multiple times and needs to be centrally-located so that recipes aren’t long and repetitive, but it’s still a pain to have to flip all over the book just to get everything I need to make one pie.

Bottom Line: Longtime readers of Bon Appetit might be greeted with some familiar faces like Babkallah, but Saffitz has done an amazing job of crafting a book full of new and exciting recipes with attention-grabbing photographs to match. There is no doubt in my mind that this book will be an instant bestseller, and a sweet reference guide for bakers worldwide.

Recipes of note (so far):

  • Kabocha Turmeric Tea Cake

  • Spiced Persimmon Cake

  • Cinnamon Sugar Palmiers

  • Gateau Basque

  • Cranberry-Pomegranate Mousse Pie

  • Pistachio Pinwheels

Buy Dessert Person by Claire Saffitz HERE!

*I’ve received a free copy from Clarkson Potter in exchange for a free and unbiased review.

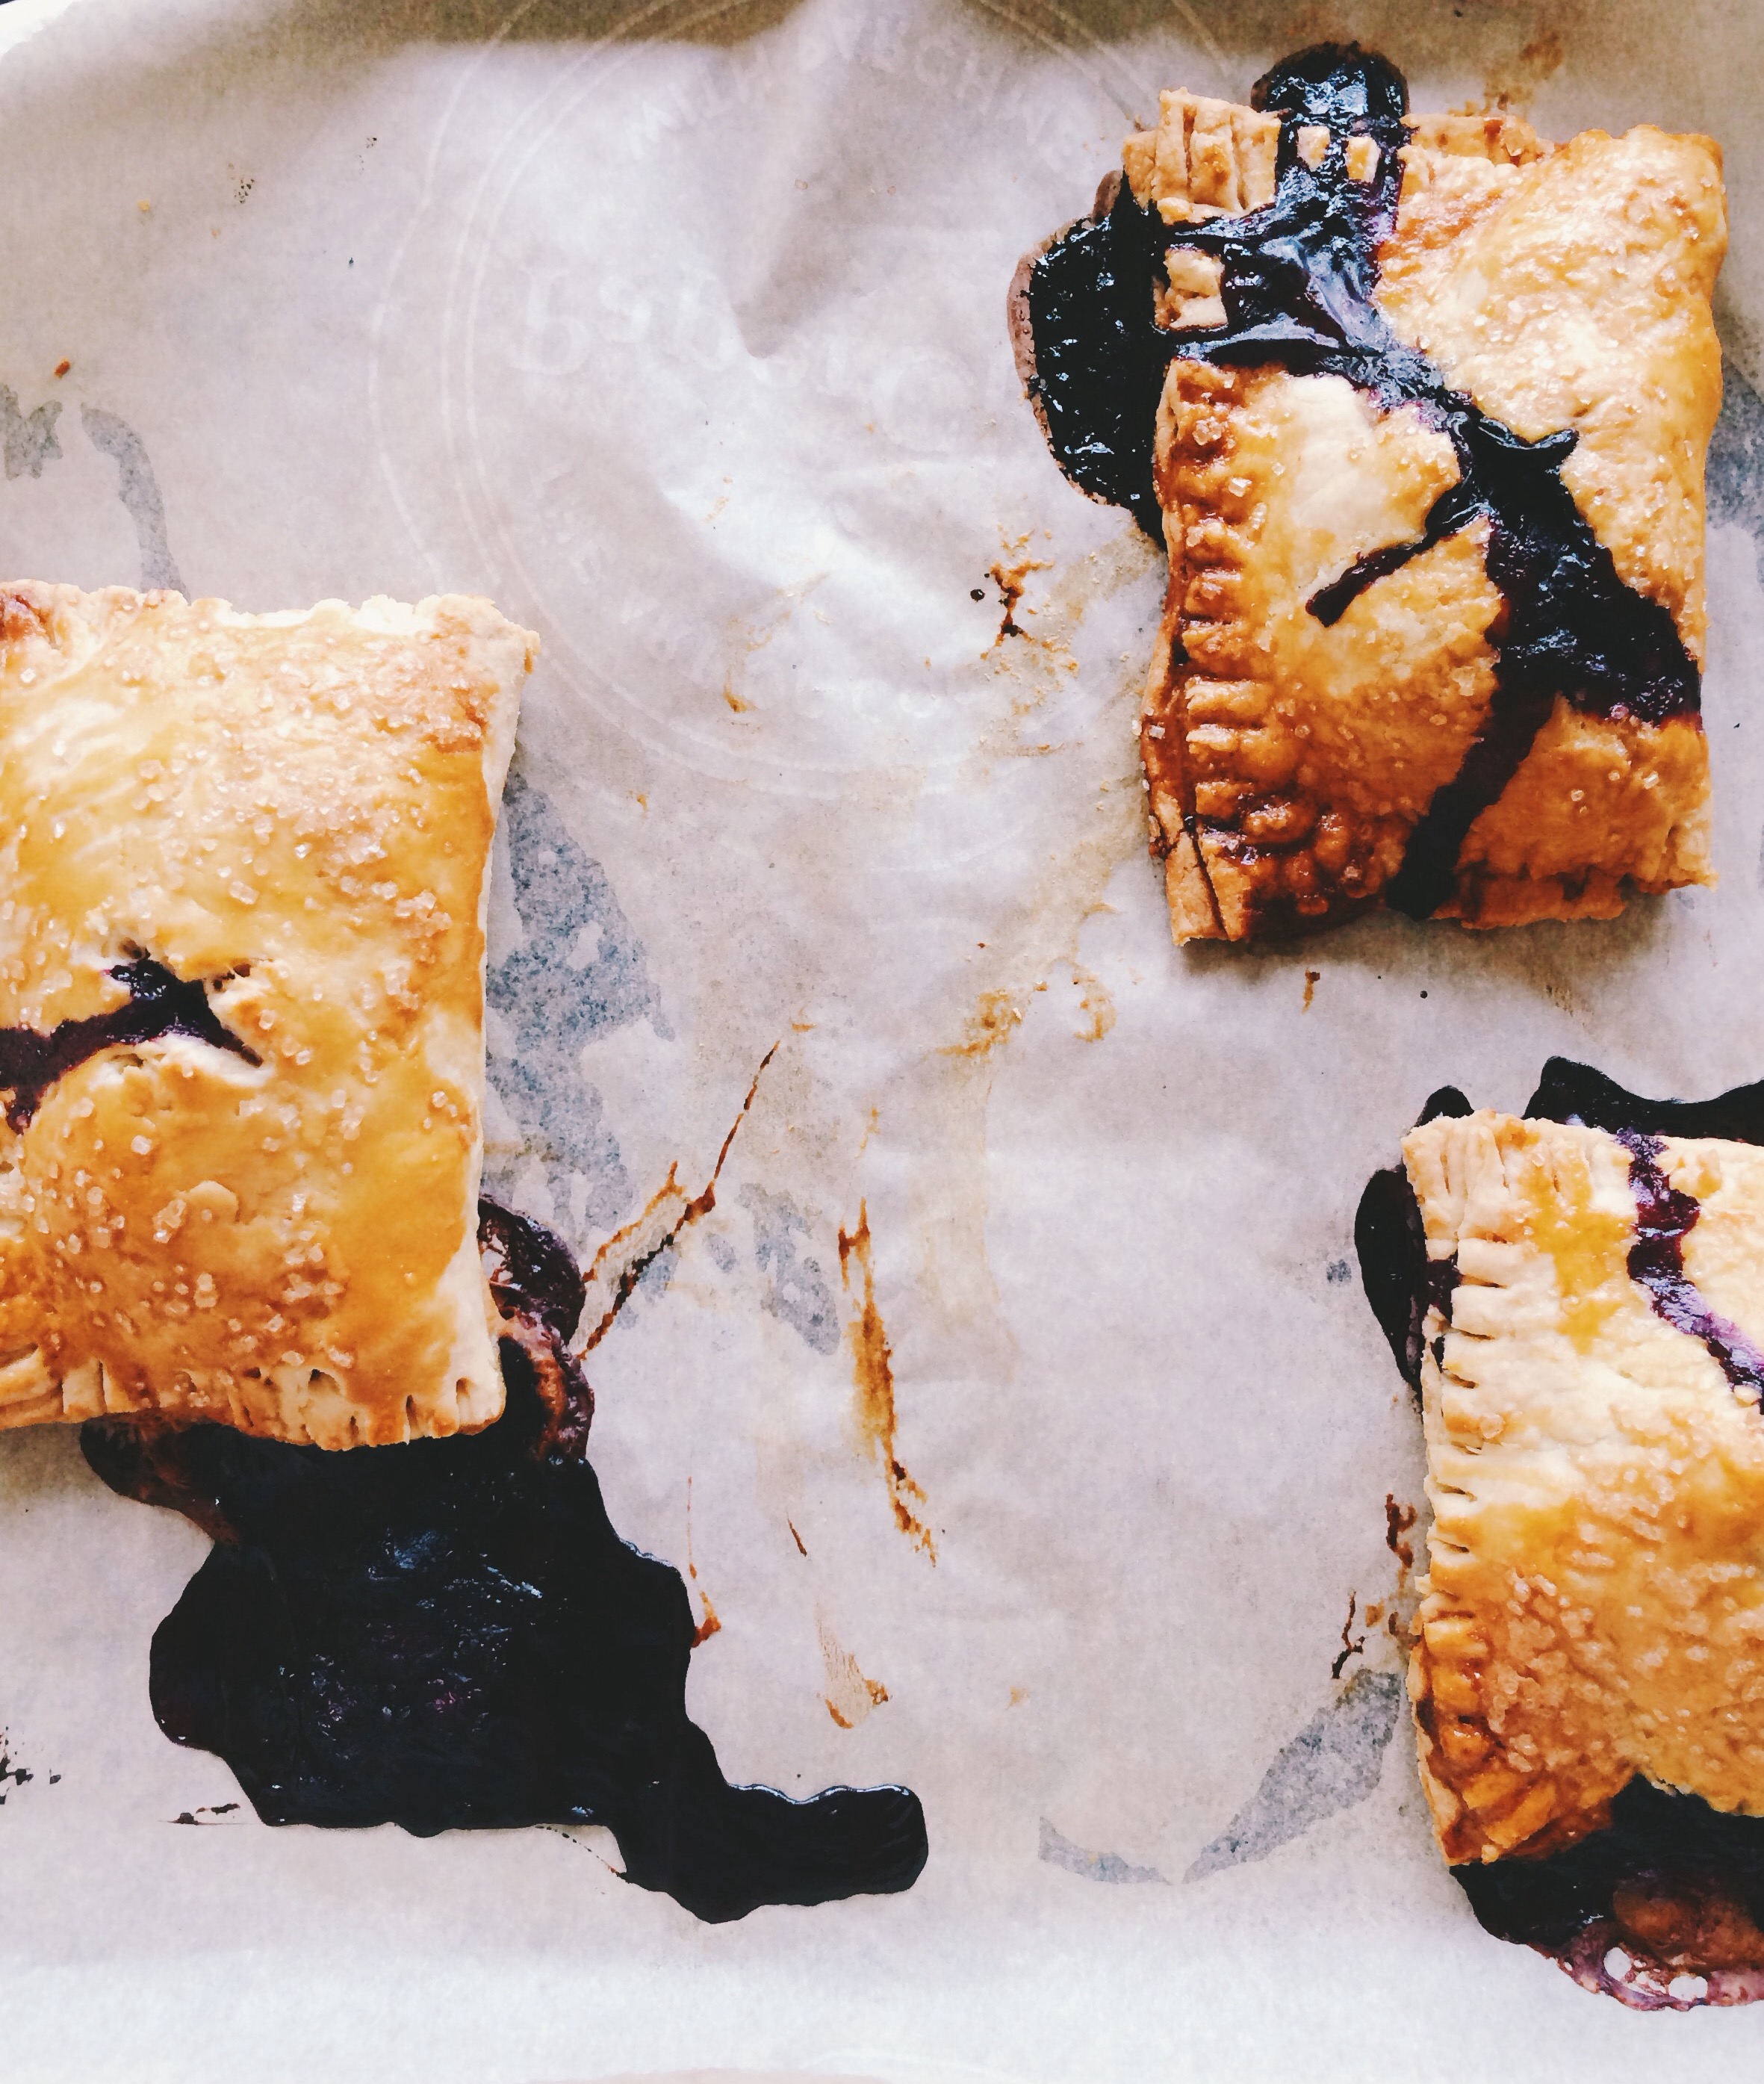
Meyer Lemon-Blueberry Hand Pies


Finally, FINALLY our local grocer has stepped up their produce game and brought me something I've been wanting for months: Meyer lemons. And, while we're at it, the best blueberries I've seen all summer. Without hesitation, I plopped two of each into the cart with no immediate plan, but complete intent to make something spectacular with my purchases. I've learned my lesson too many times before; if you see it, get it, because you may never see it again. And that rings pretty true since I stopped by the store again, and those New Zealand Meyer lemons were nowhere to be seen. Maybe I didn't look around enough. Or maybe they just disappeared as quickly as they'd appeared.

At any rate, it occurred to be that the possibilities were pretty endless for my blueberry-lemon pairing, but if I really wanted to get good at making pies then I ought to make one. For once though, I just wasn't interested in a regular 9-inch pie. Instead, I wanted something with a lot more mobility, and something that could be picnic-ready if/when the occasion arose. So, I went with hand pies. I'm a gal on-the-go, and expect my pies to accommodate that!

If you're wondering how my pie skills are coming along, the quick answer is: slowly, but surely. As simple as it seems to make a pie, no matter the form, it takes a lot of practice. I still struggle with gathering dough to form the disks, which should be so simple, but it gives me so much trouble. And sometimes I handle the dough wayyyy too much, but I'm working on it. I sense a lot of practice pies in my future, and what on earth could be better than that?

Meyer Lemons are a special fruit indeed. To me they're sort of like, if a mandarin orange and the brightest lemon ever, had a baby. They're slightly sweeter than your average lemon, and bring a very unique type of citrus note to any dish you make. And since citrus and blueberries go hand-in-hand. they make these flaky, buttery hand pies a wonderful treat for any time of the day. And the most beautiful part of it all is that you can serve them warm, or pack them up in a basket and serve at room temperature.

It's always nice to have an any-time dessert literally in the palm of your hand.

You can find the recipe here at BonAppetit.com! <------ This recipe calls for a regular lemon, but a Meyer lemon works so beautifully!

CAN YOU BELIEVE IT'S AUGUST ALREADY??


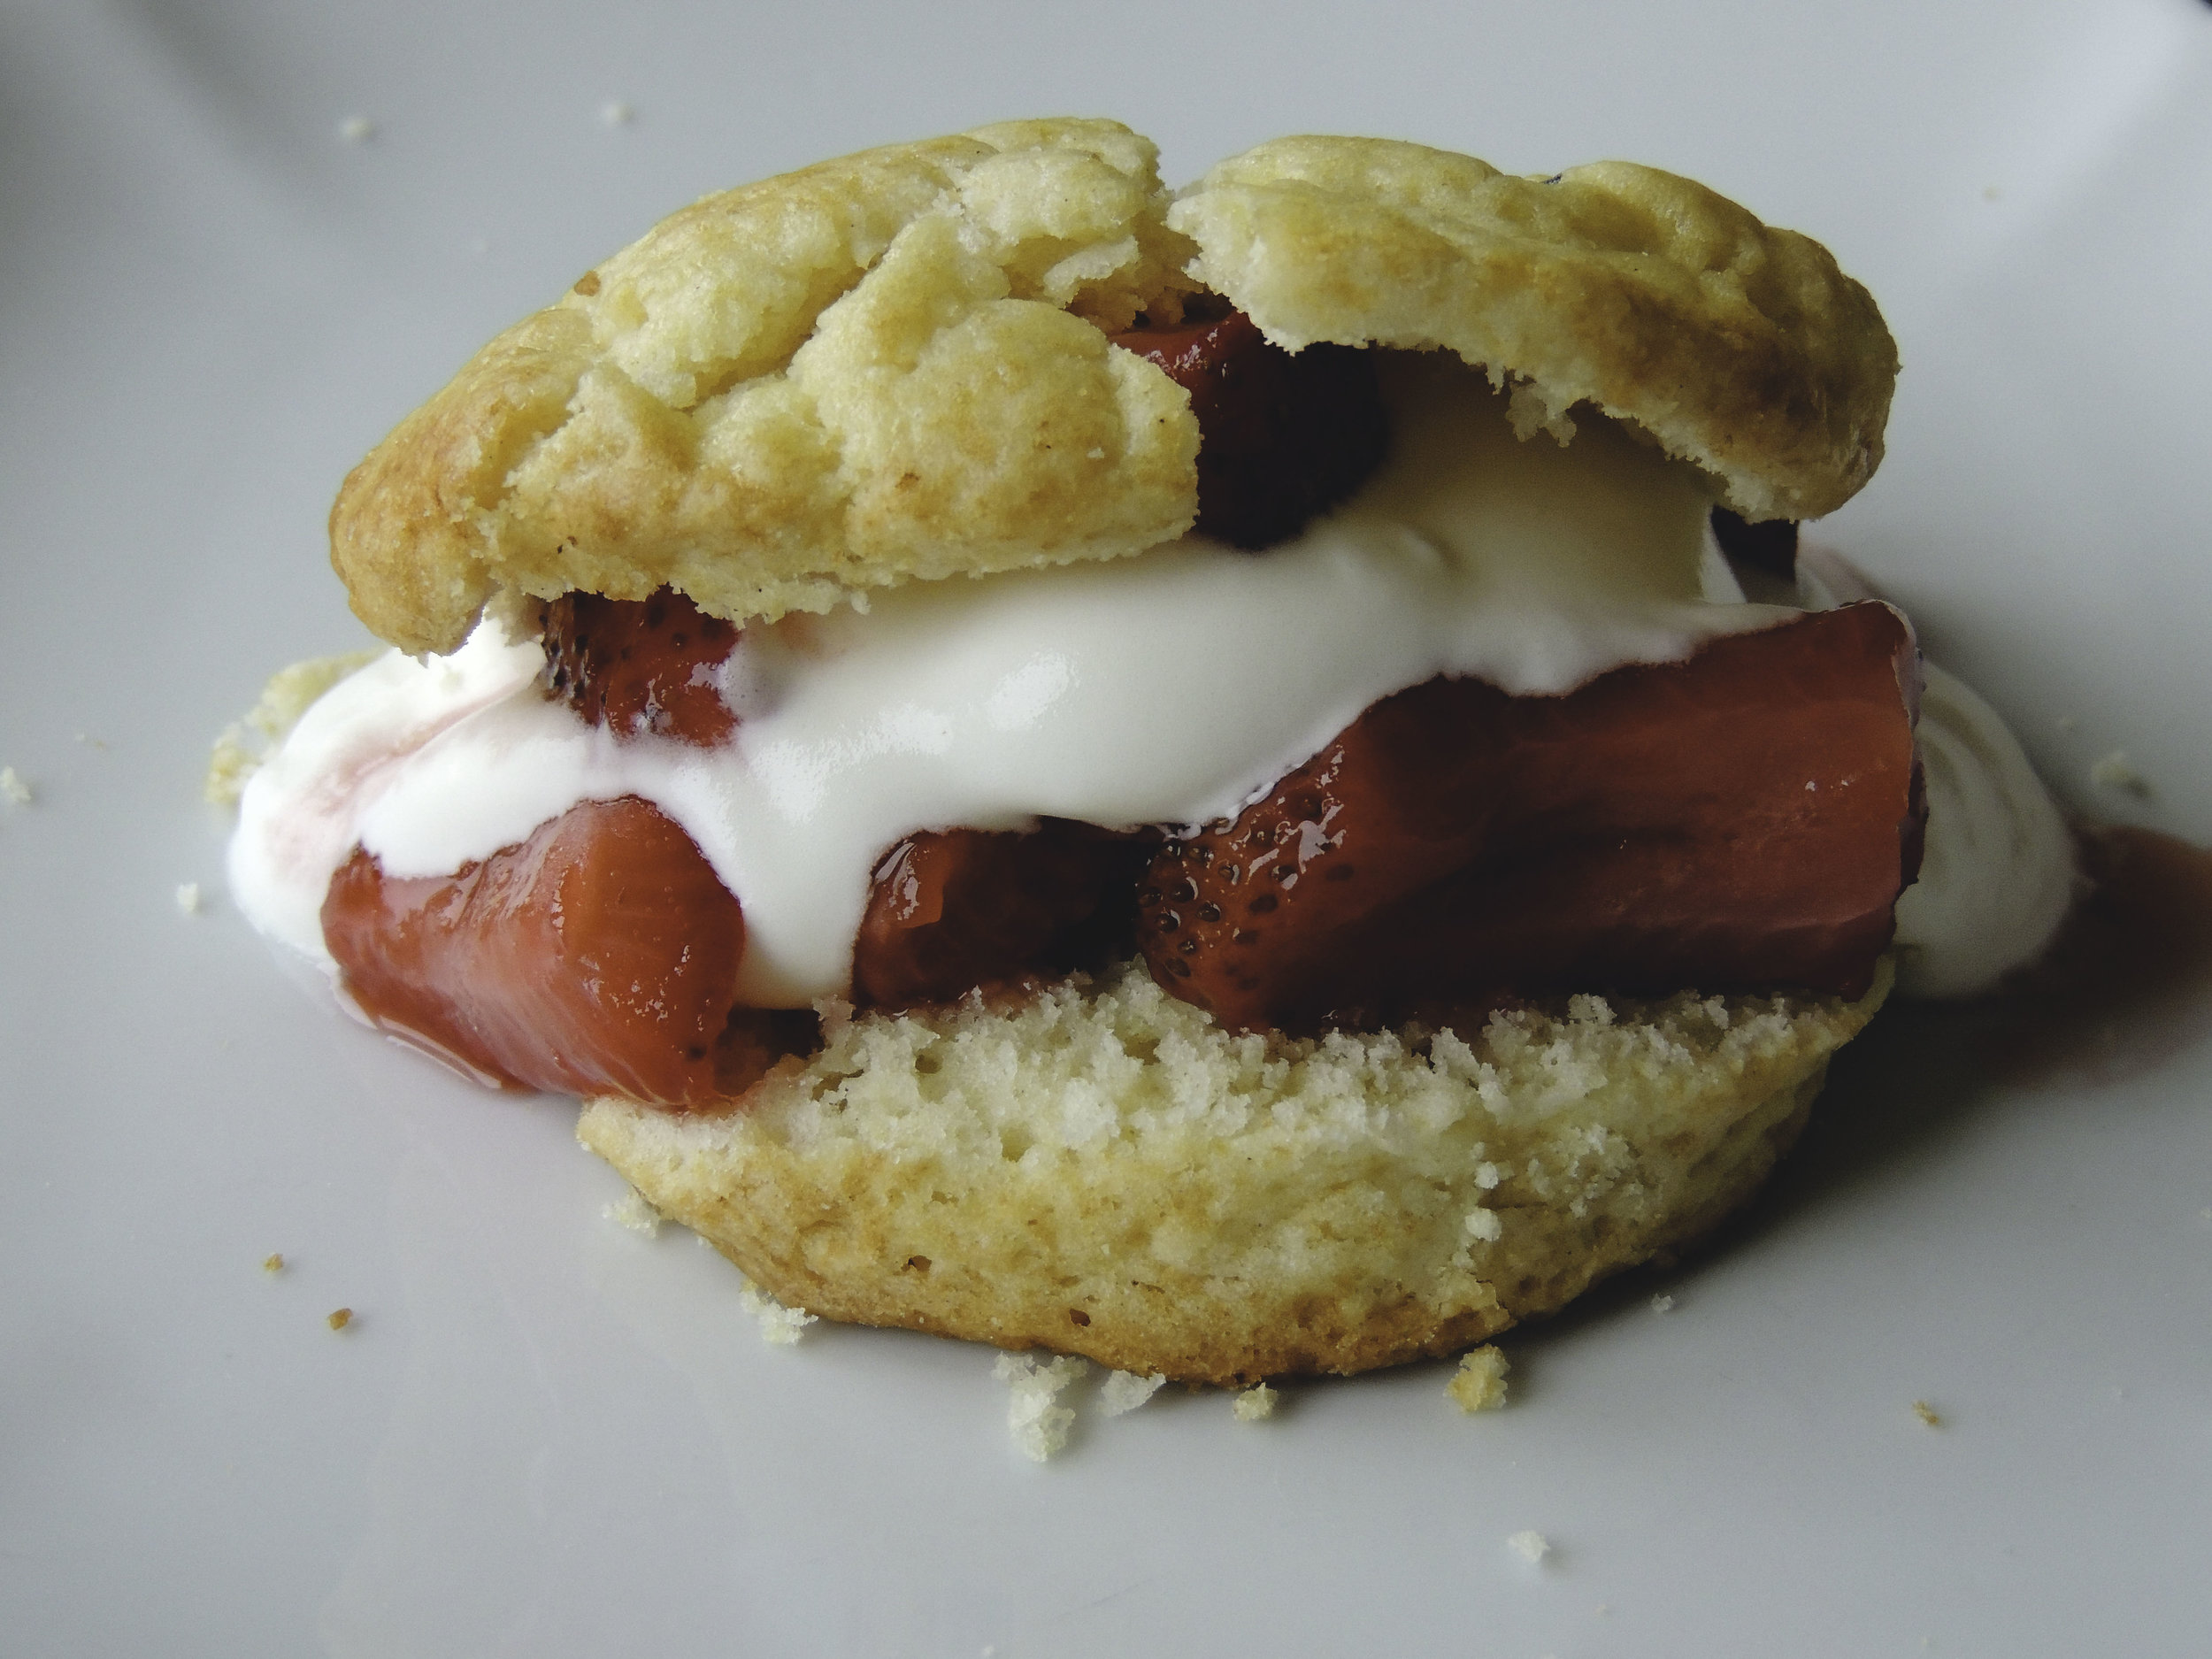
Strawberry-Basil Shortcakes

Shortcakes1 Guys, we totally did it. We're officially in  summer-mode...sort of. It's a bit chilly around these parts, but it's JUNE for crying out loud, and if isn't  summer by now, it'll never be! So let's just call it what we all want it to be, and move on.

In celebration of our new season of warmth and green grass, and also in celebration of strawberries being $1/lb  this week at the market, let's spoil ourselves and have some strawberry-basil shortcake, shall we? It's the perfect weekend dessert because it's really at its finest within 2-3 days, and you can totally get up on Sunday morning, pop one of these babies on a plate, and call it breakfast. No one's going to judge you; it's the WEEKEND.

shortcakes2

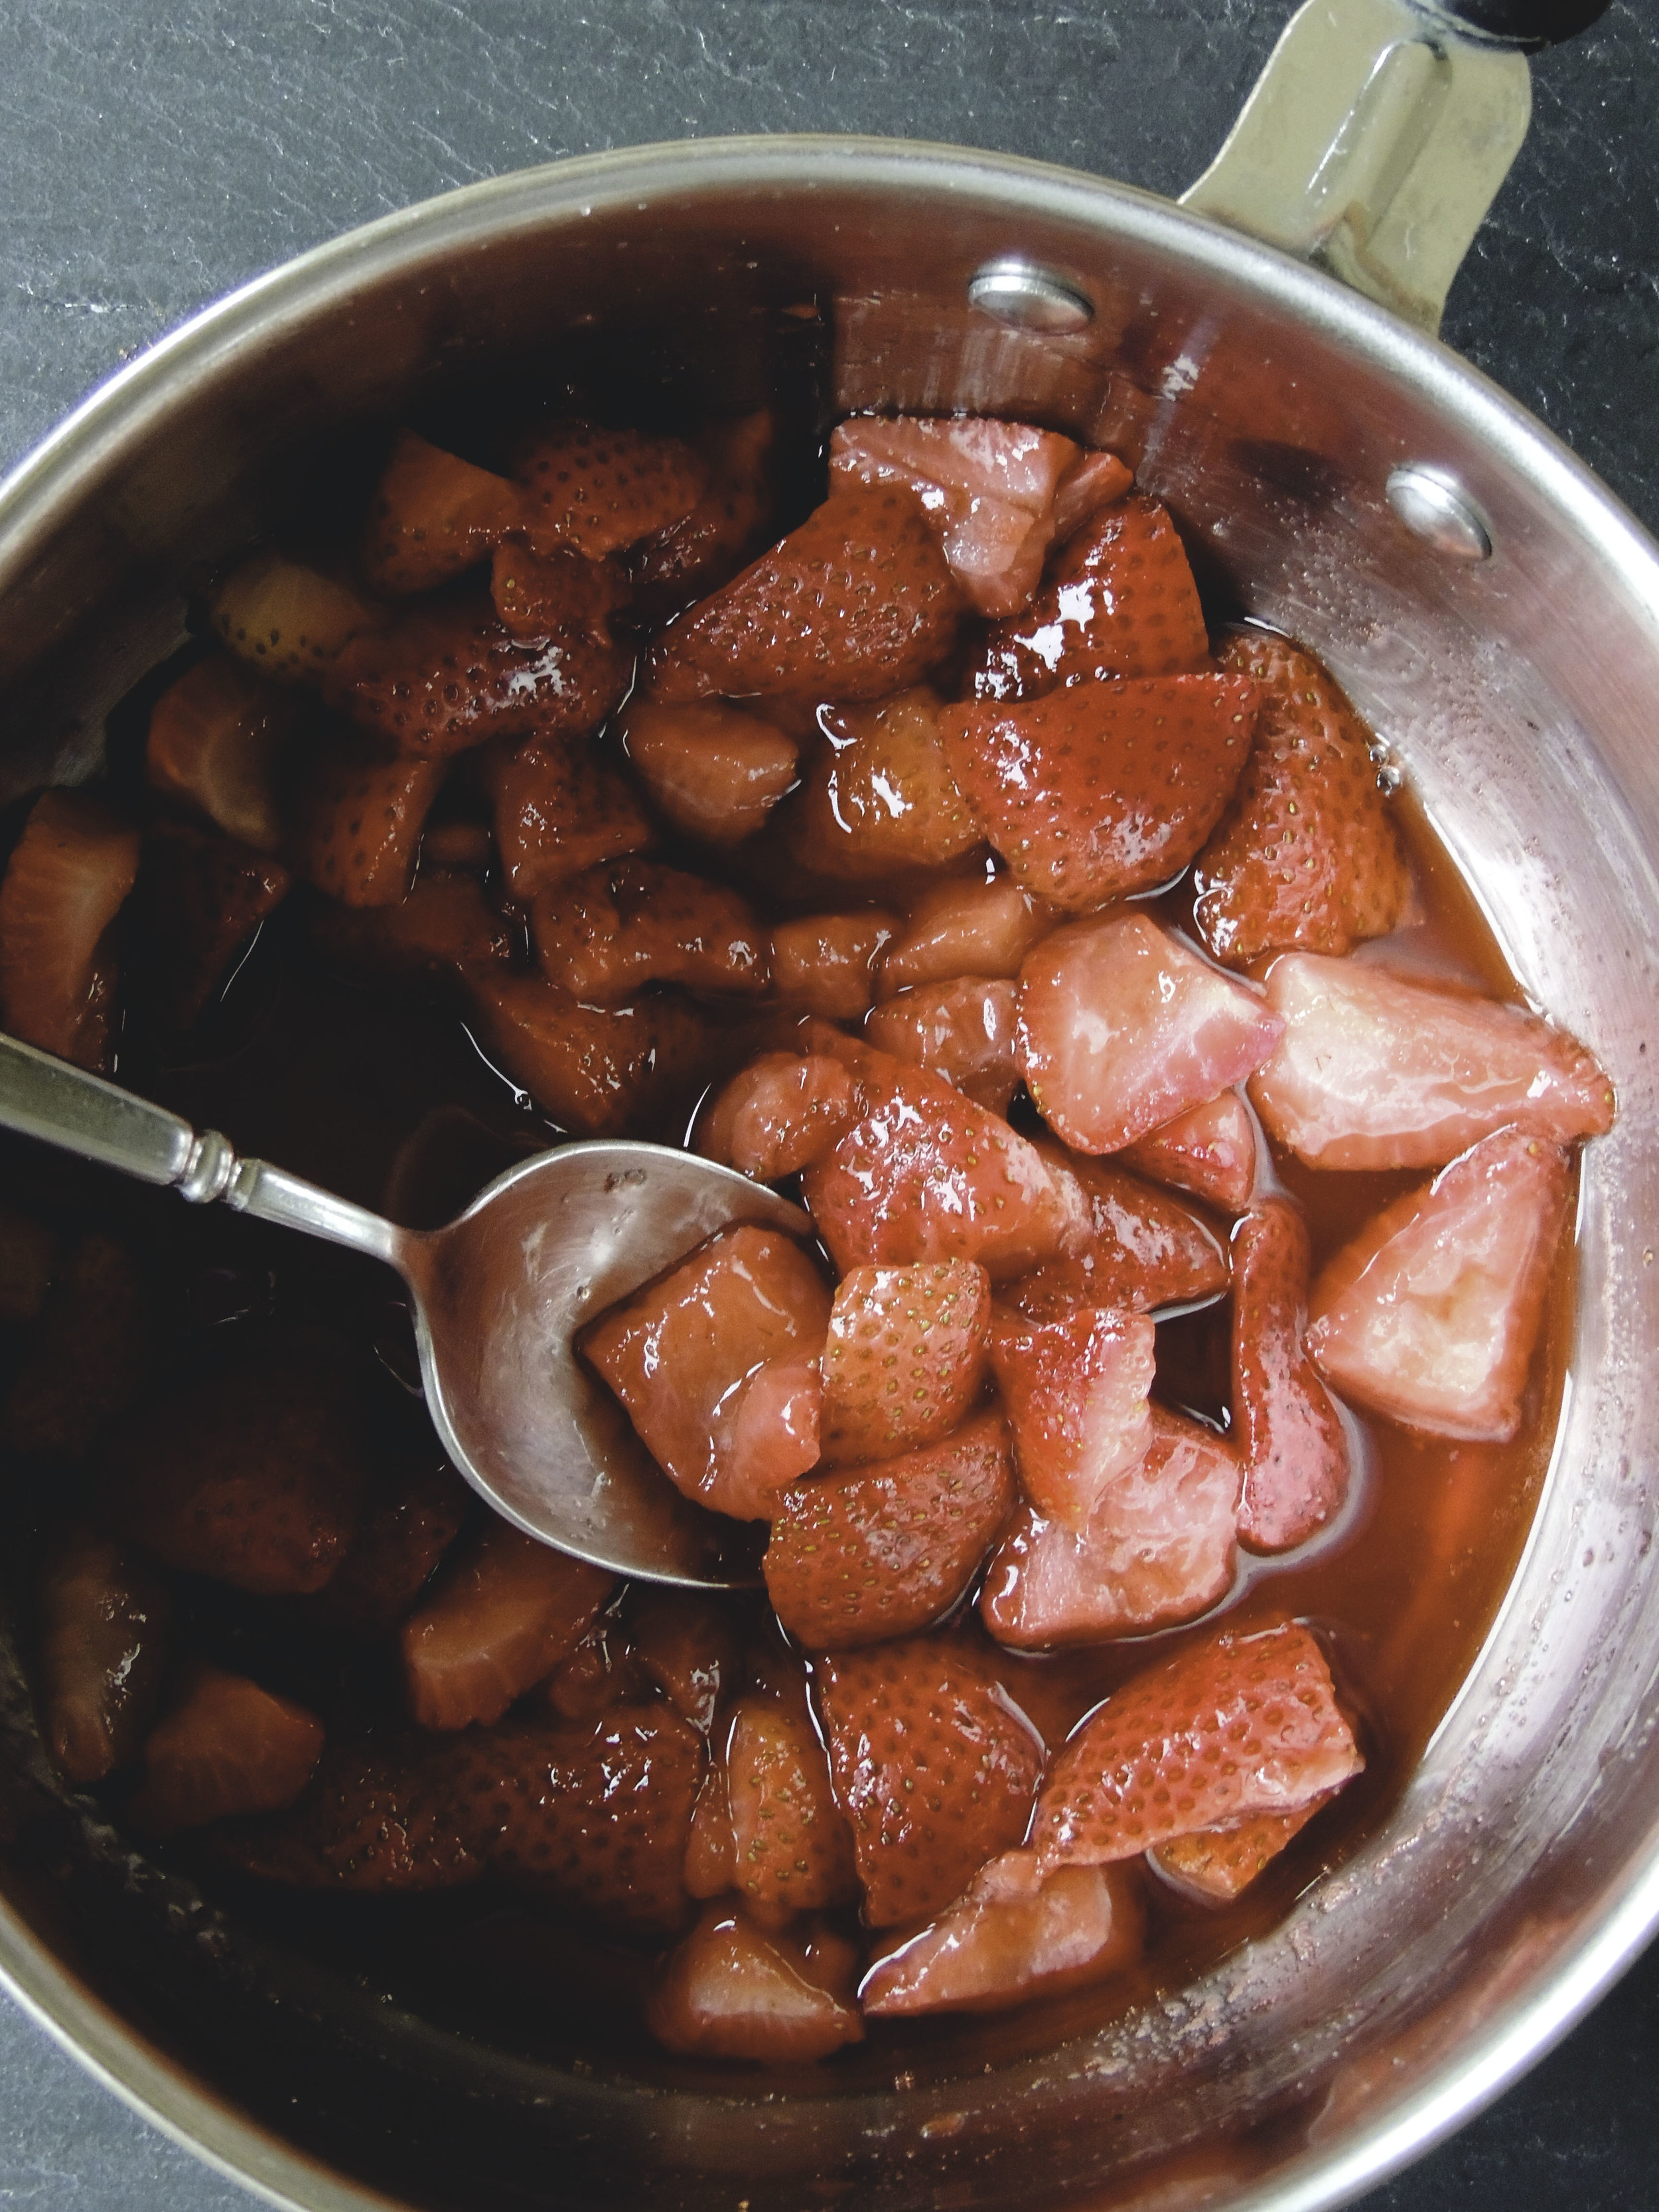
This was my first time making a compote, and now I want to compote everything. I've had tomato compote in the past that was tucked into the greatest BLT there ever was, and I'd wanted to replicate it at home, but time went by, other recipes demanded my attention, and I eventually forgot all about it. I'm so glad that my first time attempting the art of the compote was: 1. successful (let's be real.) and 2. the most important part of a seriously good dessert.

And for those of you out there feeling a little taken aback by the utilization of basil in a dessert let me tell you this: it'll blow all those other strawberry shortcakes you have had in the past RIGHT out of the water. Basil leaves often give strawberry desserts that extra UMPH that they need to journey to the next level. The flavor is subtle, but its role is vital in bringing the whole shortcake operation together. I'm telling you, you'll love it.

Go ahead, have some strawberry-basil shortcake this weekend.


STRAWBERRY-BASIL SHORTCAKES

What you'll need:

  • 1/4 cup sugar
  • 1 tablespoon baking powder
  • 1/2 teaspoon kosher salt
  • 2 cups all-purpose flour, plus more for dusting
  • 6 tablespoons chilled, unsalted butter, cut into pieces
  • 1 cup heavy cream
  • 1 large egg, beaten
  • 1 1/2-2 pounds fresh strawberries, hulled, then quartered (about 3 cups or so), then divided
  • 5 tablespoons sugar, divided
  • 2-4 sprigs basil
  • 2 cups heavy cream (this one's for the whipped cream)
  • 1 teaspoon vanilla extract

DIRECTIONS:

To make the shortcakes:

Preheat the oven to 400 degrees F.

Whisk the sugar, baking powder, salt, and two cups of flour in a large bowl. Using a pastry cutter (or your fingers), mix in the butter until the mixture becomes coarse, and there are a few pea-sized pieces of butter remaining. Add the cream and mix until the dough comes together (Be careful not to over-mix. And don't worry, it's supposed to be sticky).

Turn out the dough onto a lightly-floured surface (I always use a clean cutting board), and pat into a rectangle with about 3/4 inch thickness. Using a biscuit cutter, cut out 2 1/2 inch rounds, re-rolling when you need to. You should have eight rounds by the end.

Whisk the egg with one tablespoon of water in a small bowl. That'll be your egg wash.

Transfer your rounds to a lined baking sheet and brush the tops with the egg wash.

Bake until the tops are golden brown, and the shortcakes are fully-cooked, about 15-20 minutes. Make sure to keep a close eye on them!

To make the strawberry-basil filling:

Roughly chop 2 cups strawberries and cook with two tablespoons sugar in a medium saucepan over medium heat, stirring occasionally, for about five minutes. Once the berries have softened, released their juices, and the mixture is thickened, your compote is done. Let it cool completely.

In a medium bowl, toss basil, one tablespoon of sugar, and one cup of strawberries, and let sit until the fruit begins to release its juices. This should take about 10-15 minutes, but I tend to let it sit for longer. The longer the better in my opinion. Once you're ready to assemble your shortcakes,, discard the basil.

To make the whipped cream topping:

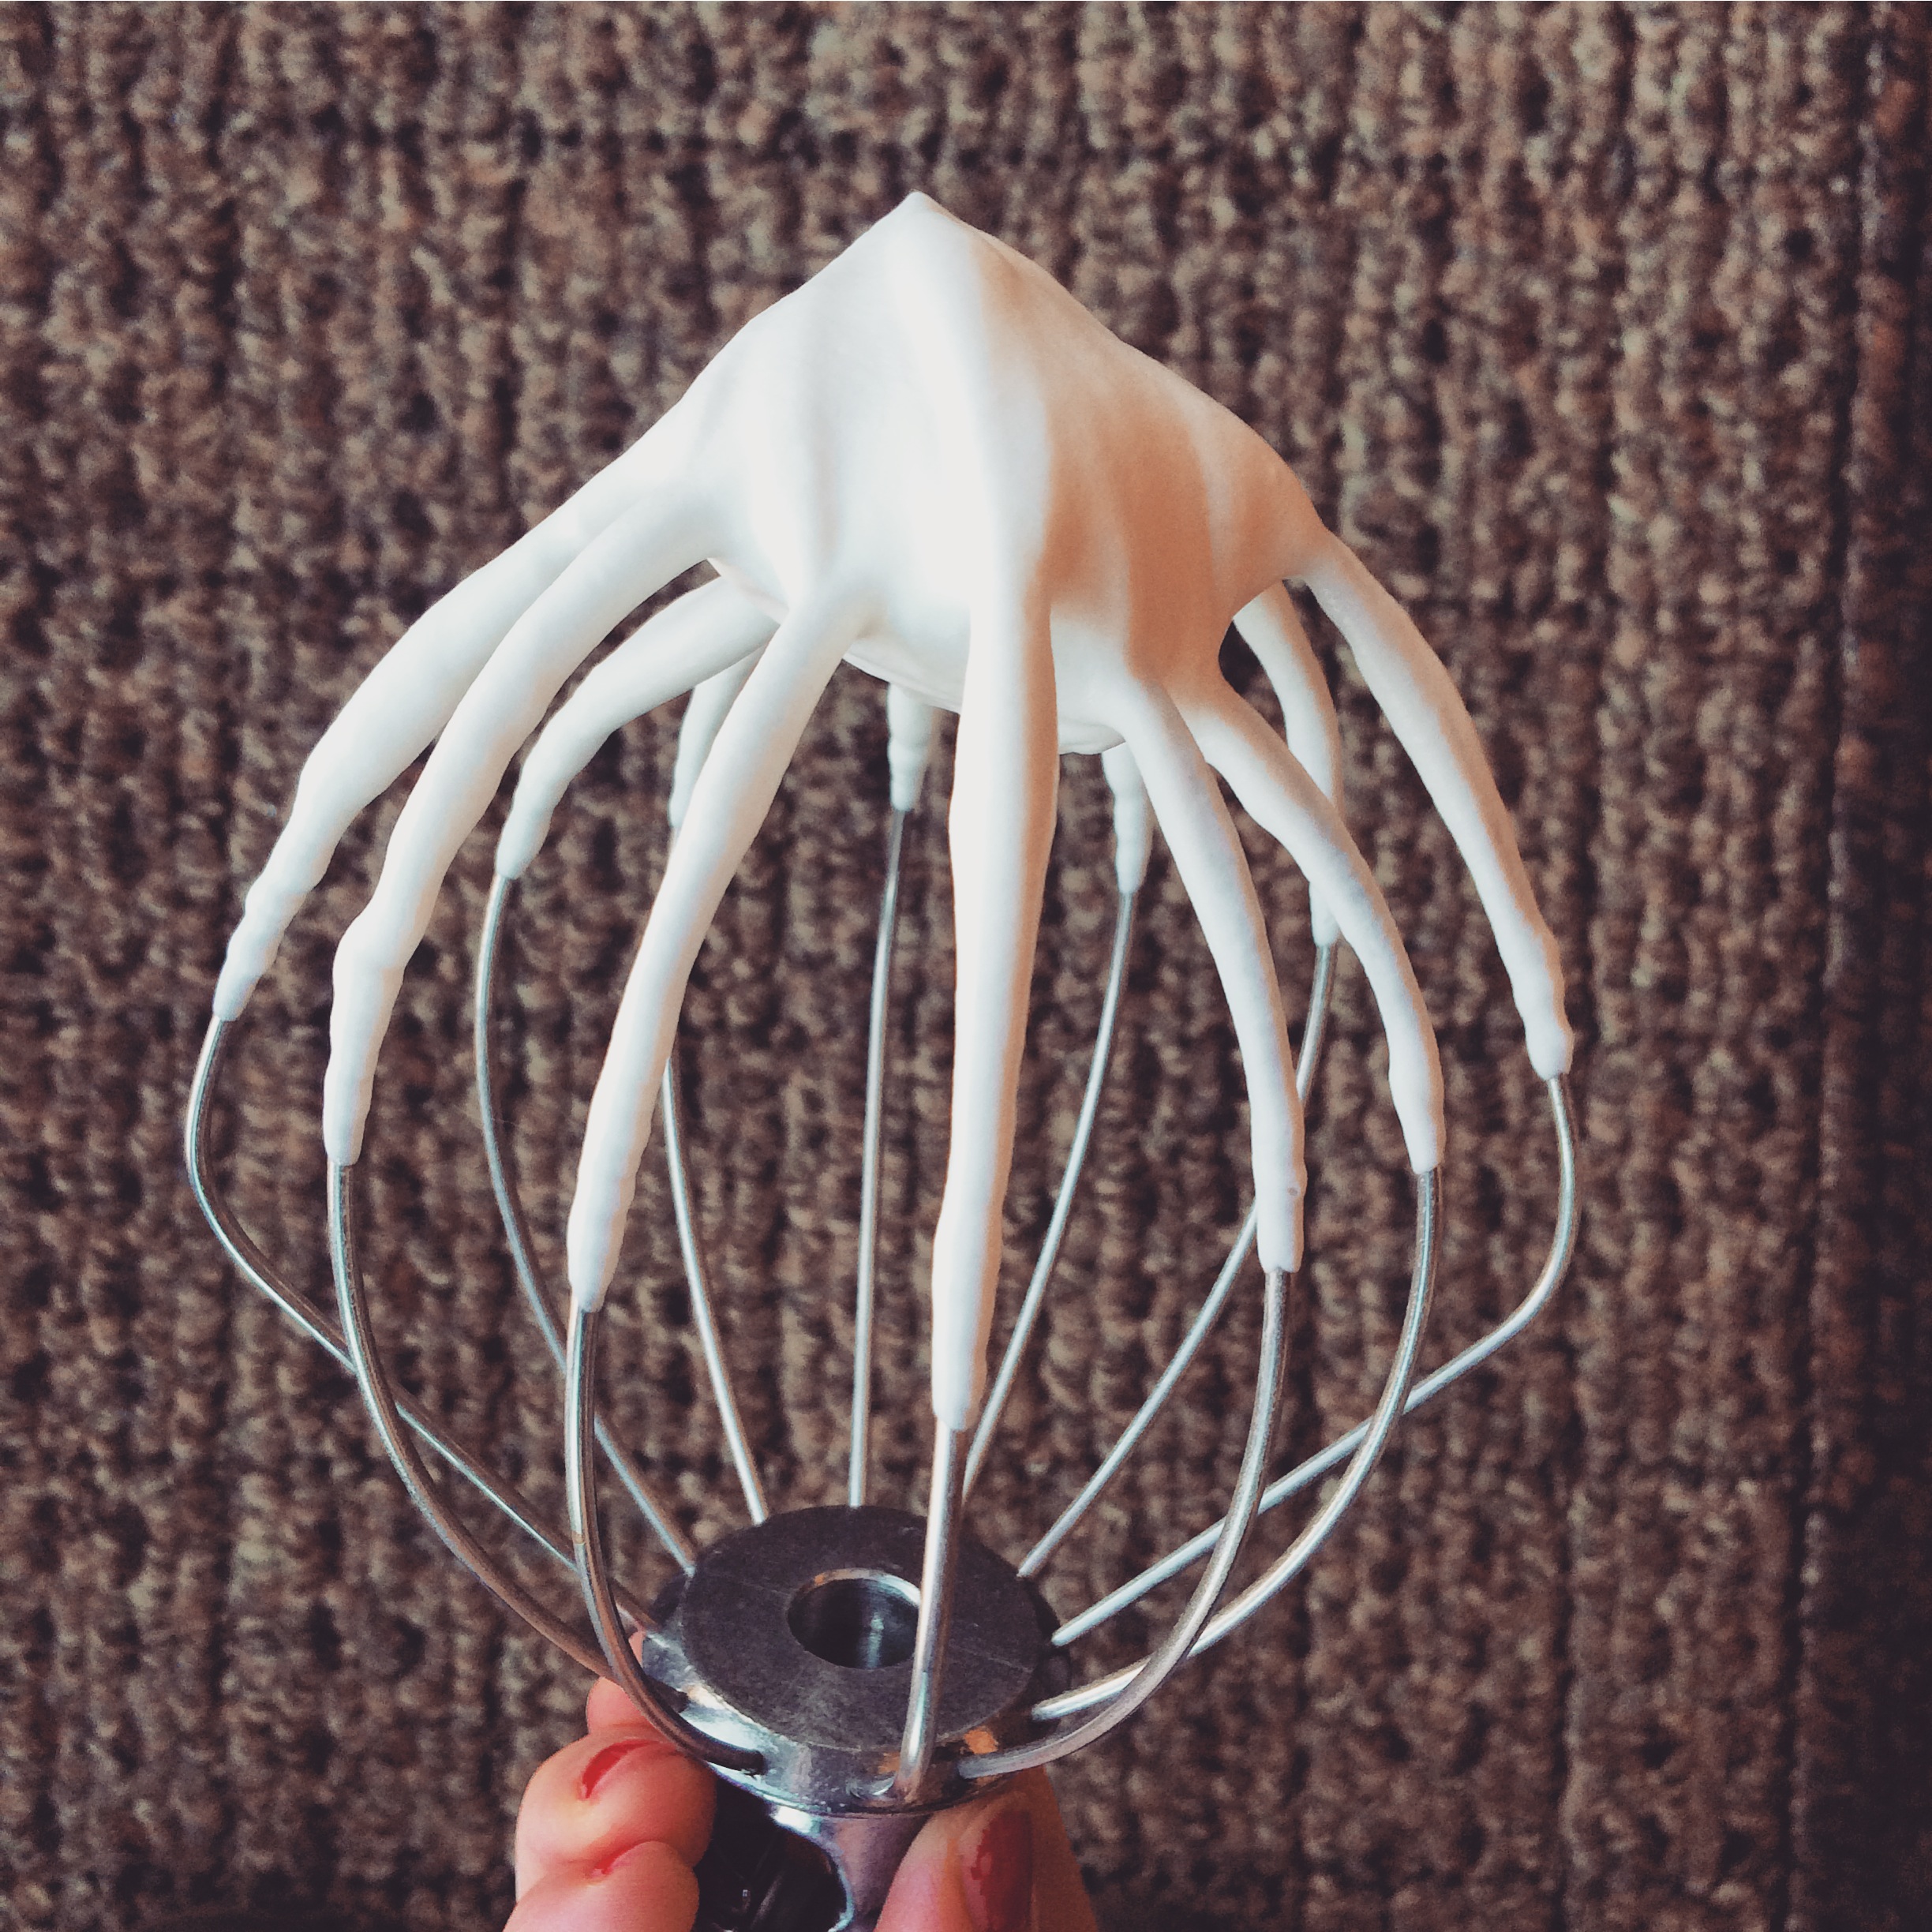
Using an electric mixer (or whisk if you want a really good workout) whisk together the heavy cream, two tablespoons of sugar, and vanilla extract until soft peaks form.

Assembly:

Cut each shortcake in half so that there is a top and a bottom.

Place the bottom on a plate. Spoon on some of the compote mixture.

Spoon on some whipped cream.

Over the whipped cream, spoon on some of the basil-infused strawberries.

Add the top part of your shortcake.

Enjoy!

SOURCE: Adapted from Bon Appetit


Let's Make: Homemade Whipped Cream

photo-12 There are some people who will tell you that making your own basics is a waste of money because you can just as easily pick up anything at your local supermarket in no time flat. Those people, I can assure you, have never been dazzled by the home-made.

Sure, it's easy to pick up a tub of Cool-Whip (with all those delicious chemicals added in!), but you know what? It's also just as easy to bypass the frozen section entirely and grab yourself a pint of heavy whipping cream. Now go get some vanilla extract and some sugar...good. Now go to checkout and get outta there!

Just three simple ingredients are all you need to have the best whipped cream you've ever tasted in your life. I guarantee it. Oh, and did I mention that it's crazy easy and takes 2 minutes? But keep a watchful eye; whip too much and you're on your way to butter. If you don't whip enough, you've got soup. It's sweet-tasting soup, but not what we're going for.

Basically, this kitchen basic is best homemade.


Crazy Easy Whipped Cream

What You'll Need:

-1 pint cold heavy whipping cream

-4 tablespoons sugar

-1 teaspoon vanilla extract


Directions:

1. Combine all ingredients in the bowl of a stand mixer, or a medium-sized bowl.

2. With the mixer set to high speed, beat until stiff peaks form (should take about a minute if you're using a stand mixer; may take a tad longer with a hand mixer). Try not to over beat.

3. Go forth with the knowledge that life-changing whipped cream can be made in the comforts of your own home. In other words: enjoy!

This will keep for about three days well-covered and refrigerated.

French Silk Pie

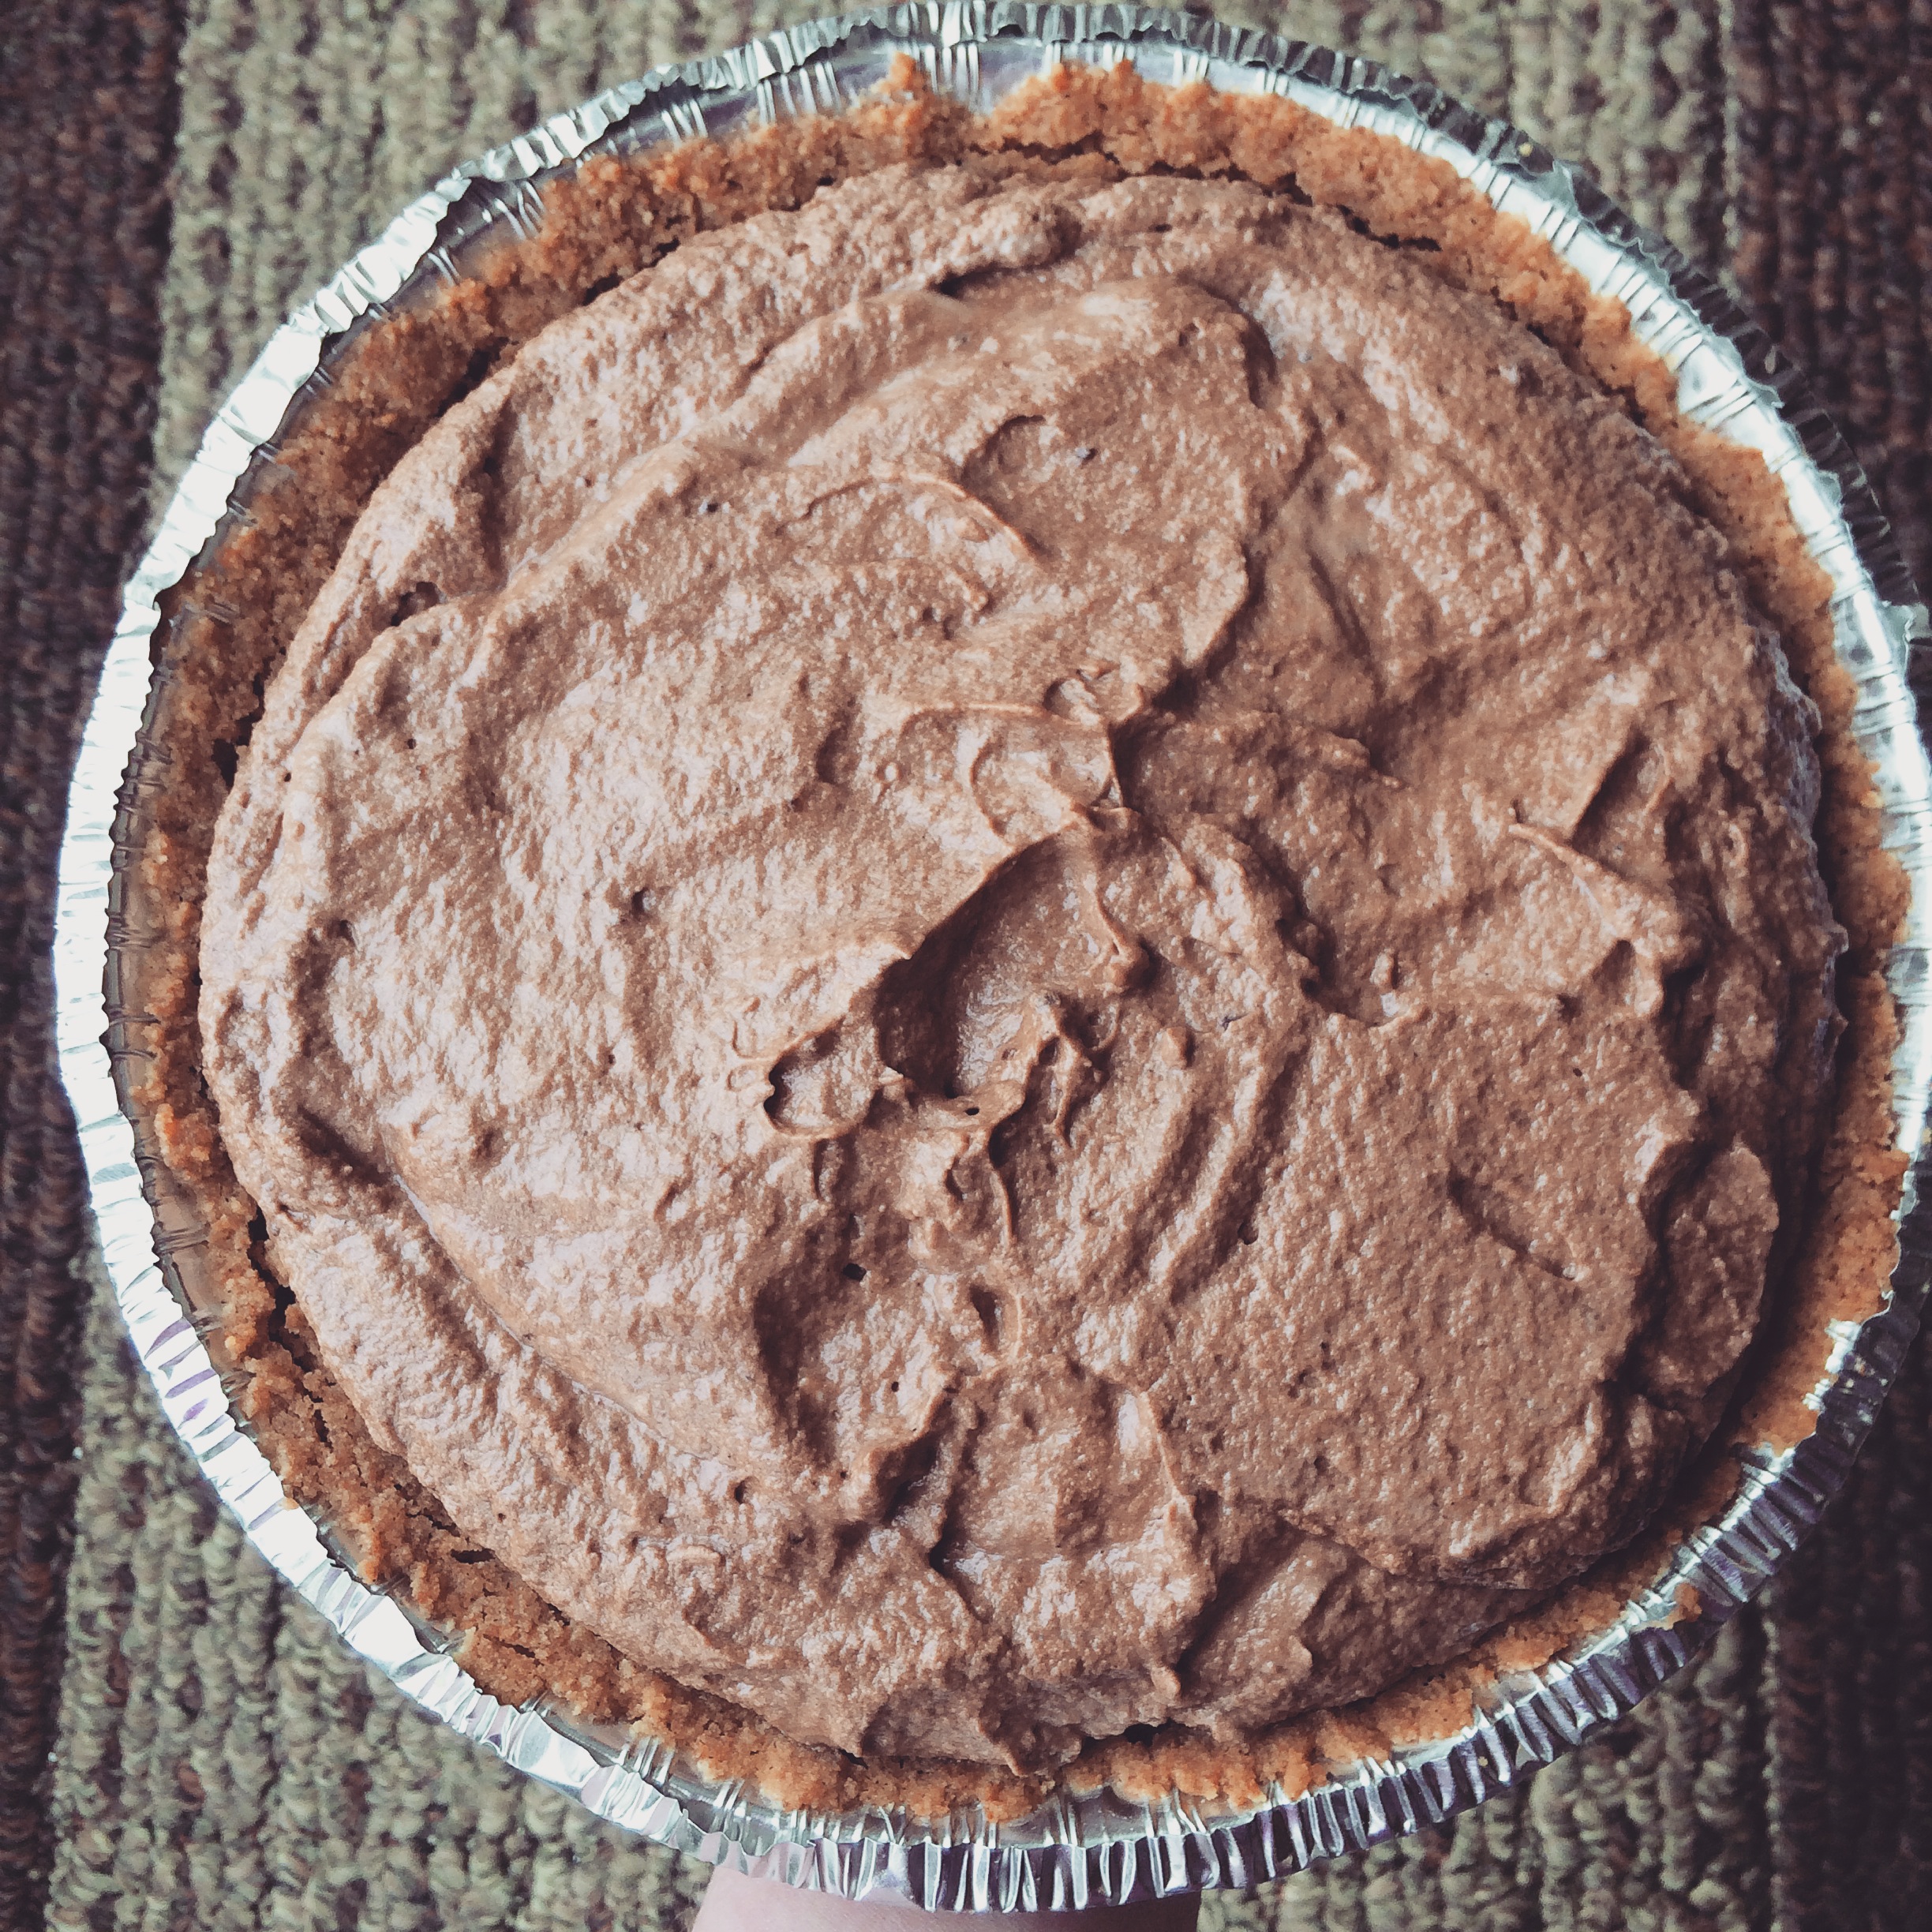
photo-10 Happy Valentine's Day! I love love, and I love chocolate, so let's dive right in.

Ever since my visit to Chicago's Bang Bang Pie, I have been obsessed with french silk pie. I've been told it's a classic diner pie , but this girl has been to her fair share of diners, and no french silk in sight! It's just as well; the first time you have french silk pie has to be a straight up experience, not just another dessert.

People are always likening the things they really, really like to Heaven. You know what I mean? "That massage I just got? HEAVEN." "That shoe place is like HEAVEN." "Those dogs kisses on my mouth? HEAVENNN." It's become so overused. But let me tell you something right now: the only thing better than this pie once it's completely chilled and set, is the actual moment of euphoria that is finding extra filling in the mixing bowl once the pie shell has been filled. That unset, chocolate mousse filling is actual Heaven on Earth. It's silky (hence the name!), chocolaty beyond belief, creamy, and lighter than air. It's silky, chocolaty, creamy air on a spoon. I will not tell you how much of it I ate before I could finally snap myself out of it to transfer the pie to the fridge before there was nothing left but crumbs in a disposable tin. If it wasn't already destined to be dessert at a Valentine's Day party, this french silk pie, along with its identical twin pie brother, would've been gone SO FAST with no regrets.

Alas, they were promised for many other tummies besides mine, so I had to let them go.

There better be leftovers.


What You'll Need:

For the Crust: 60 Vanilla wafers, finely crushed 1/4 teaspoon cinnamon 3/4 cup (1 1/2 sticks) unsalted butter, melted and cooled For the Filling: 3/4 cup superfine sugar 2 large eggs, lightly beaten 2 1/2 ounces bittersweet chocolate, melted 1/2 cup (1 stick) unsalted butter, softened 1 1/4 cup heavy whipping cream 2 teaspoons vanilla extract

Preheat the oven to 350 degrees F

To make the crust: Place your freshly crushed vanilla wafers, cinnamon, and melted butter into a medium sized mixing bowl, and stir together until all ingredients are completely combined.

Pour your mixture into a 9 inch pie plate and press the bottom and sides to create an even layer. You may end up with a little extra once you're finished.

Bake your crust for 10-15 minutes until it's golden brown. Once removed from the oven, set it on a cooling rack to cool completely, then place in the refrigerator until you need it.

To make the filling: Place eggs and sugar in a medium saucepan, continuously whisking together on medium-low heat. You'll know that your mixture is ready when it is thick enough to coat the back of a spoon. This should take 5-7 minutes. While your mixture is cooking, melt the chocolate.

Stir your melted chocolate into the mixture, and continue to stir until it's smooth. Remove from heat, and let it completely cool.

In a stand mixer fitted with the paddle attachment (or in a bowl with a hand mixer, or with a wooden spoon), beat your butter until it is light and fluffy. Add your cooled chocolate mixture, and continue to mix until everything is fully combined. Make sure to scrape down the sides of the bowl occasionally.

In a separate bowl, beat together your heavy cream and vanilla extract until stiff peaks form. Fold your newly whipped cream into your chocolate mixture and mix until it's light and fluffy. (I've found that it's sometimes necessary to help the process by mixing it with a rubber spatula for a few seconds to make sure all of the chocolate is incorporated.)

Remove your chilled crust from the refrigerator, and fill with chocolate filling. (You may end up with some extra filling at the end. I find it best to eat with a spoon). Refrigerate for 4-6 hours (or overnight). Once ready to serve, top with some homemade whipped cream, and enjoy!

SOURCE: Spoon Fork Bacon


Forks up! Everybody have some pie.