
Challah French Toast
 What to do when you can't find challah bread in literally any of the bakeries in your town? Make your own. You know what they say, "Desperate times call for desperate measures" blah blah blah. The truth of the matter is, I've always wanted to make challah completely on my own, so I didn't mind so much that I couldn't find it anywhere. It meant that it was up to me, and also that I better be extra careful not to mess it up; I had a date with french toast the next morning.
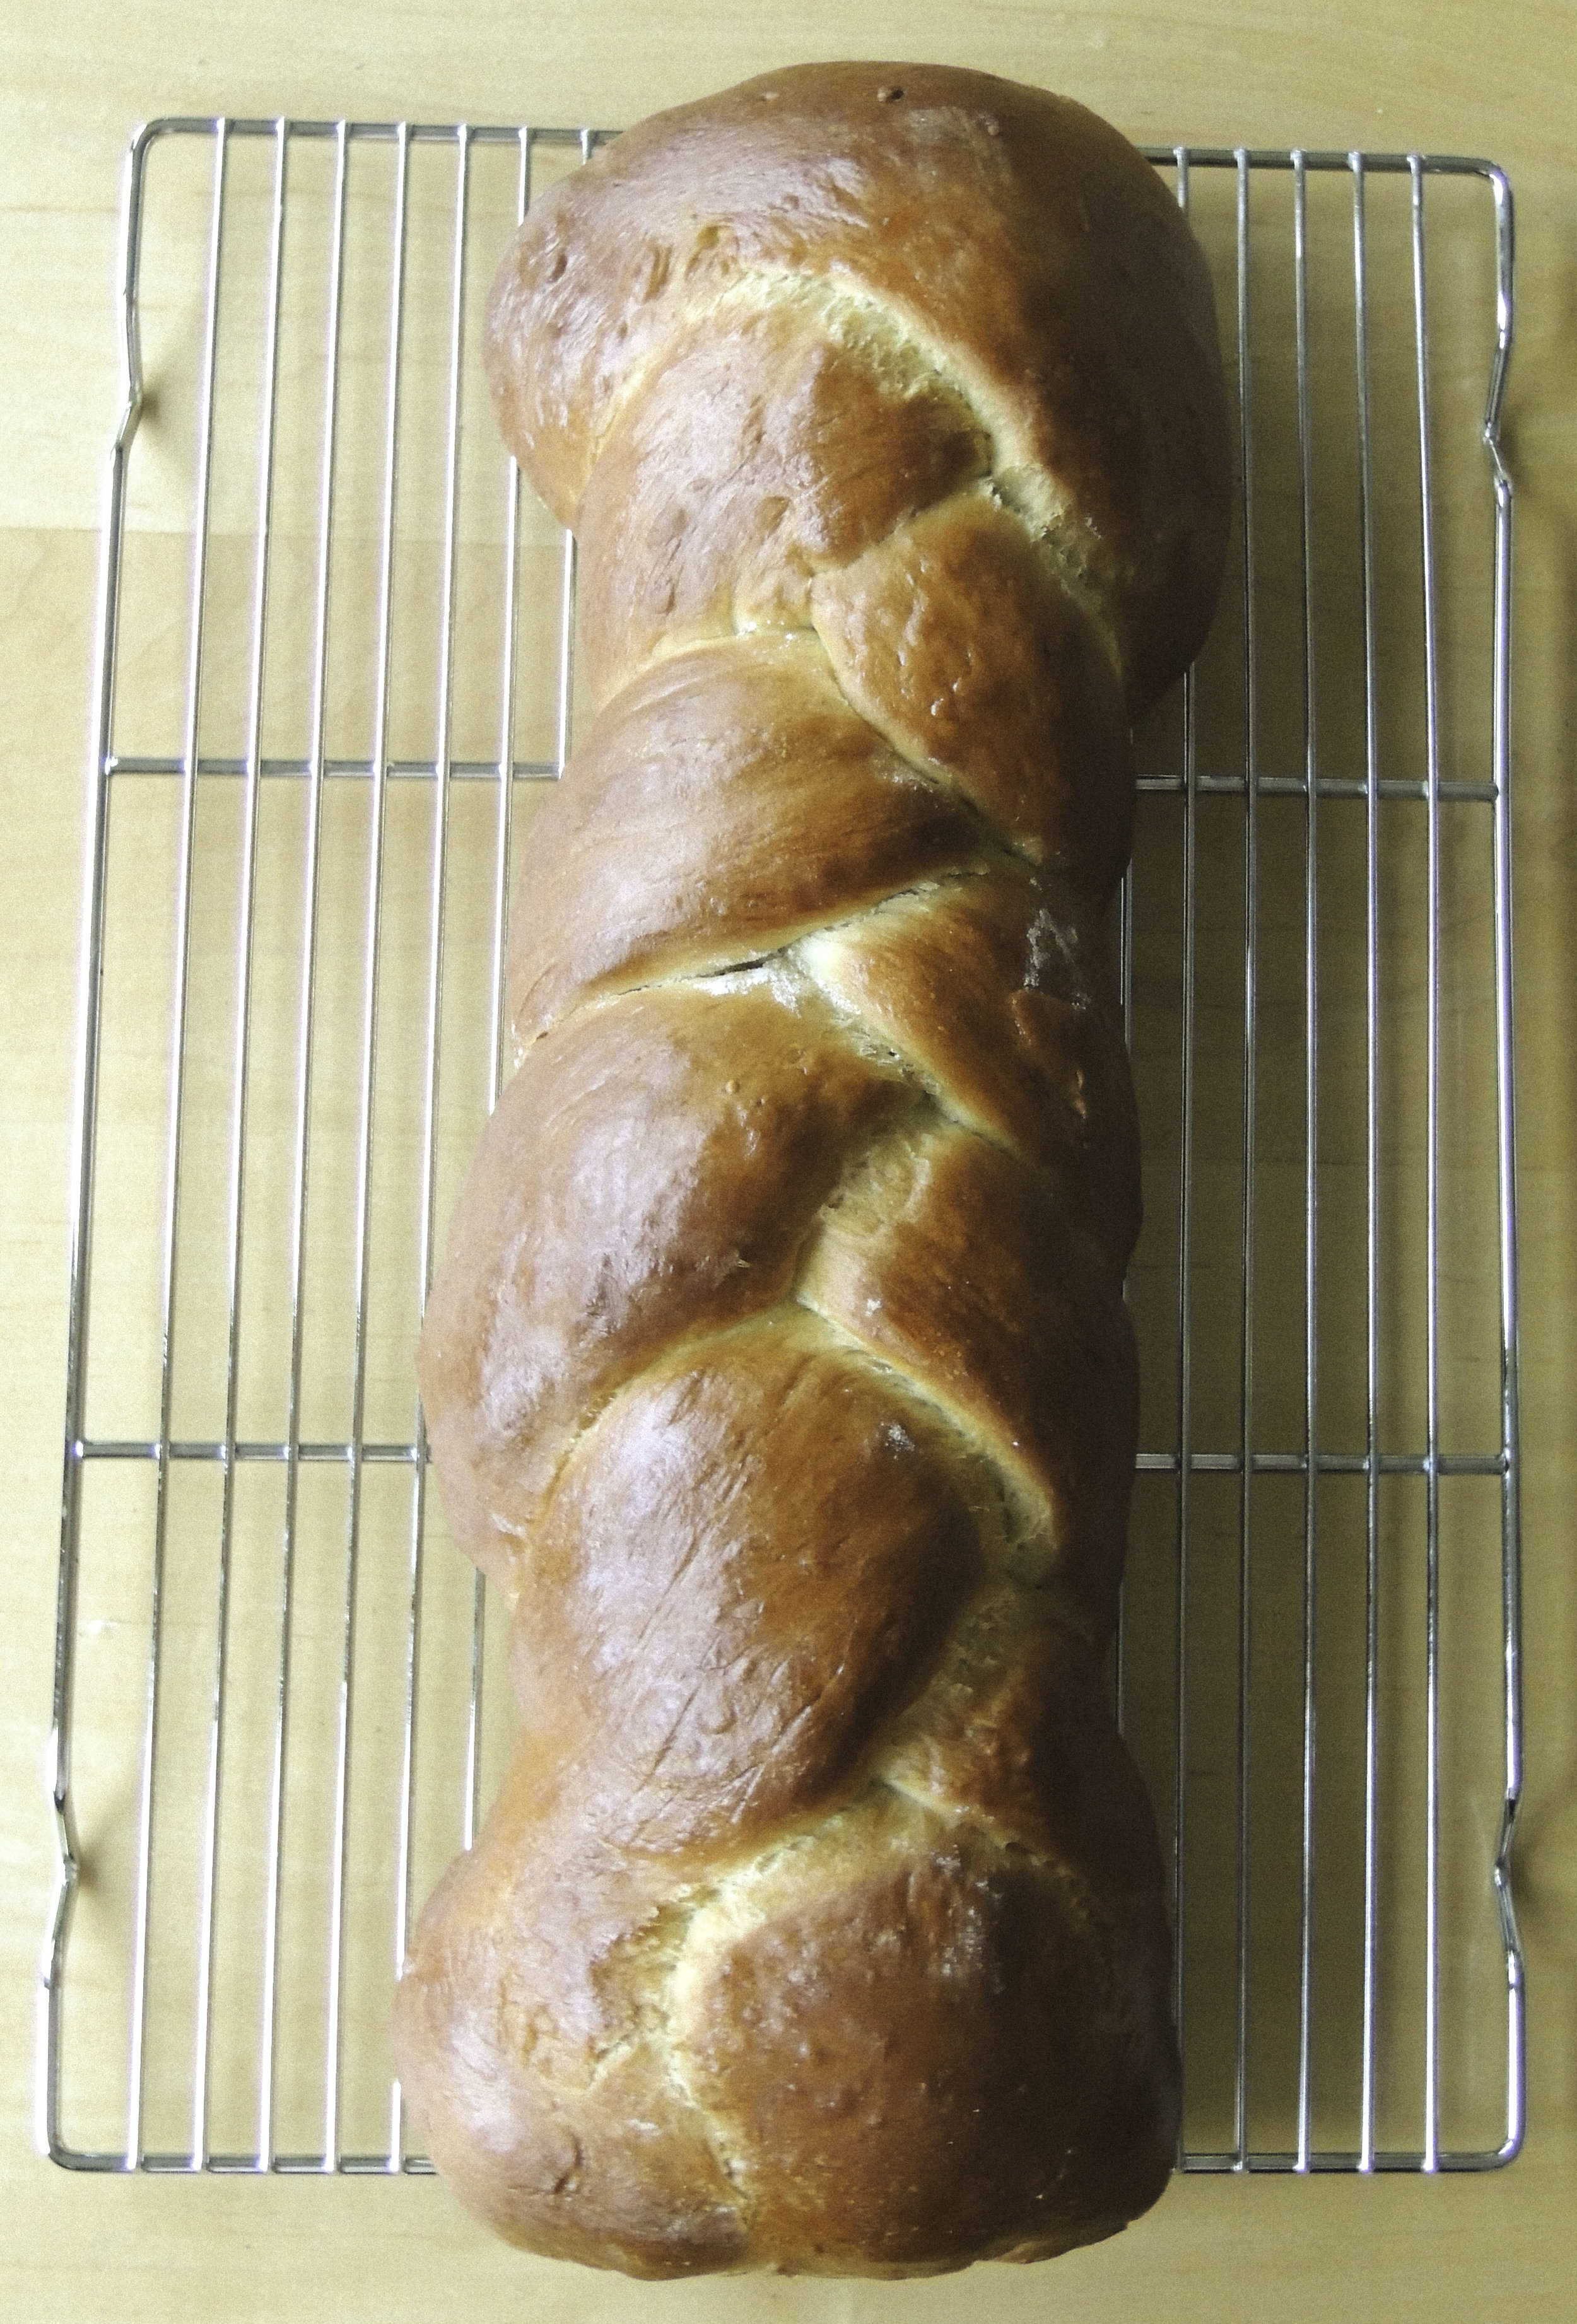
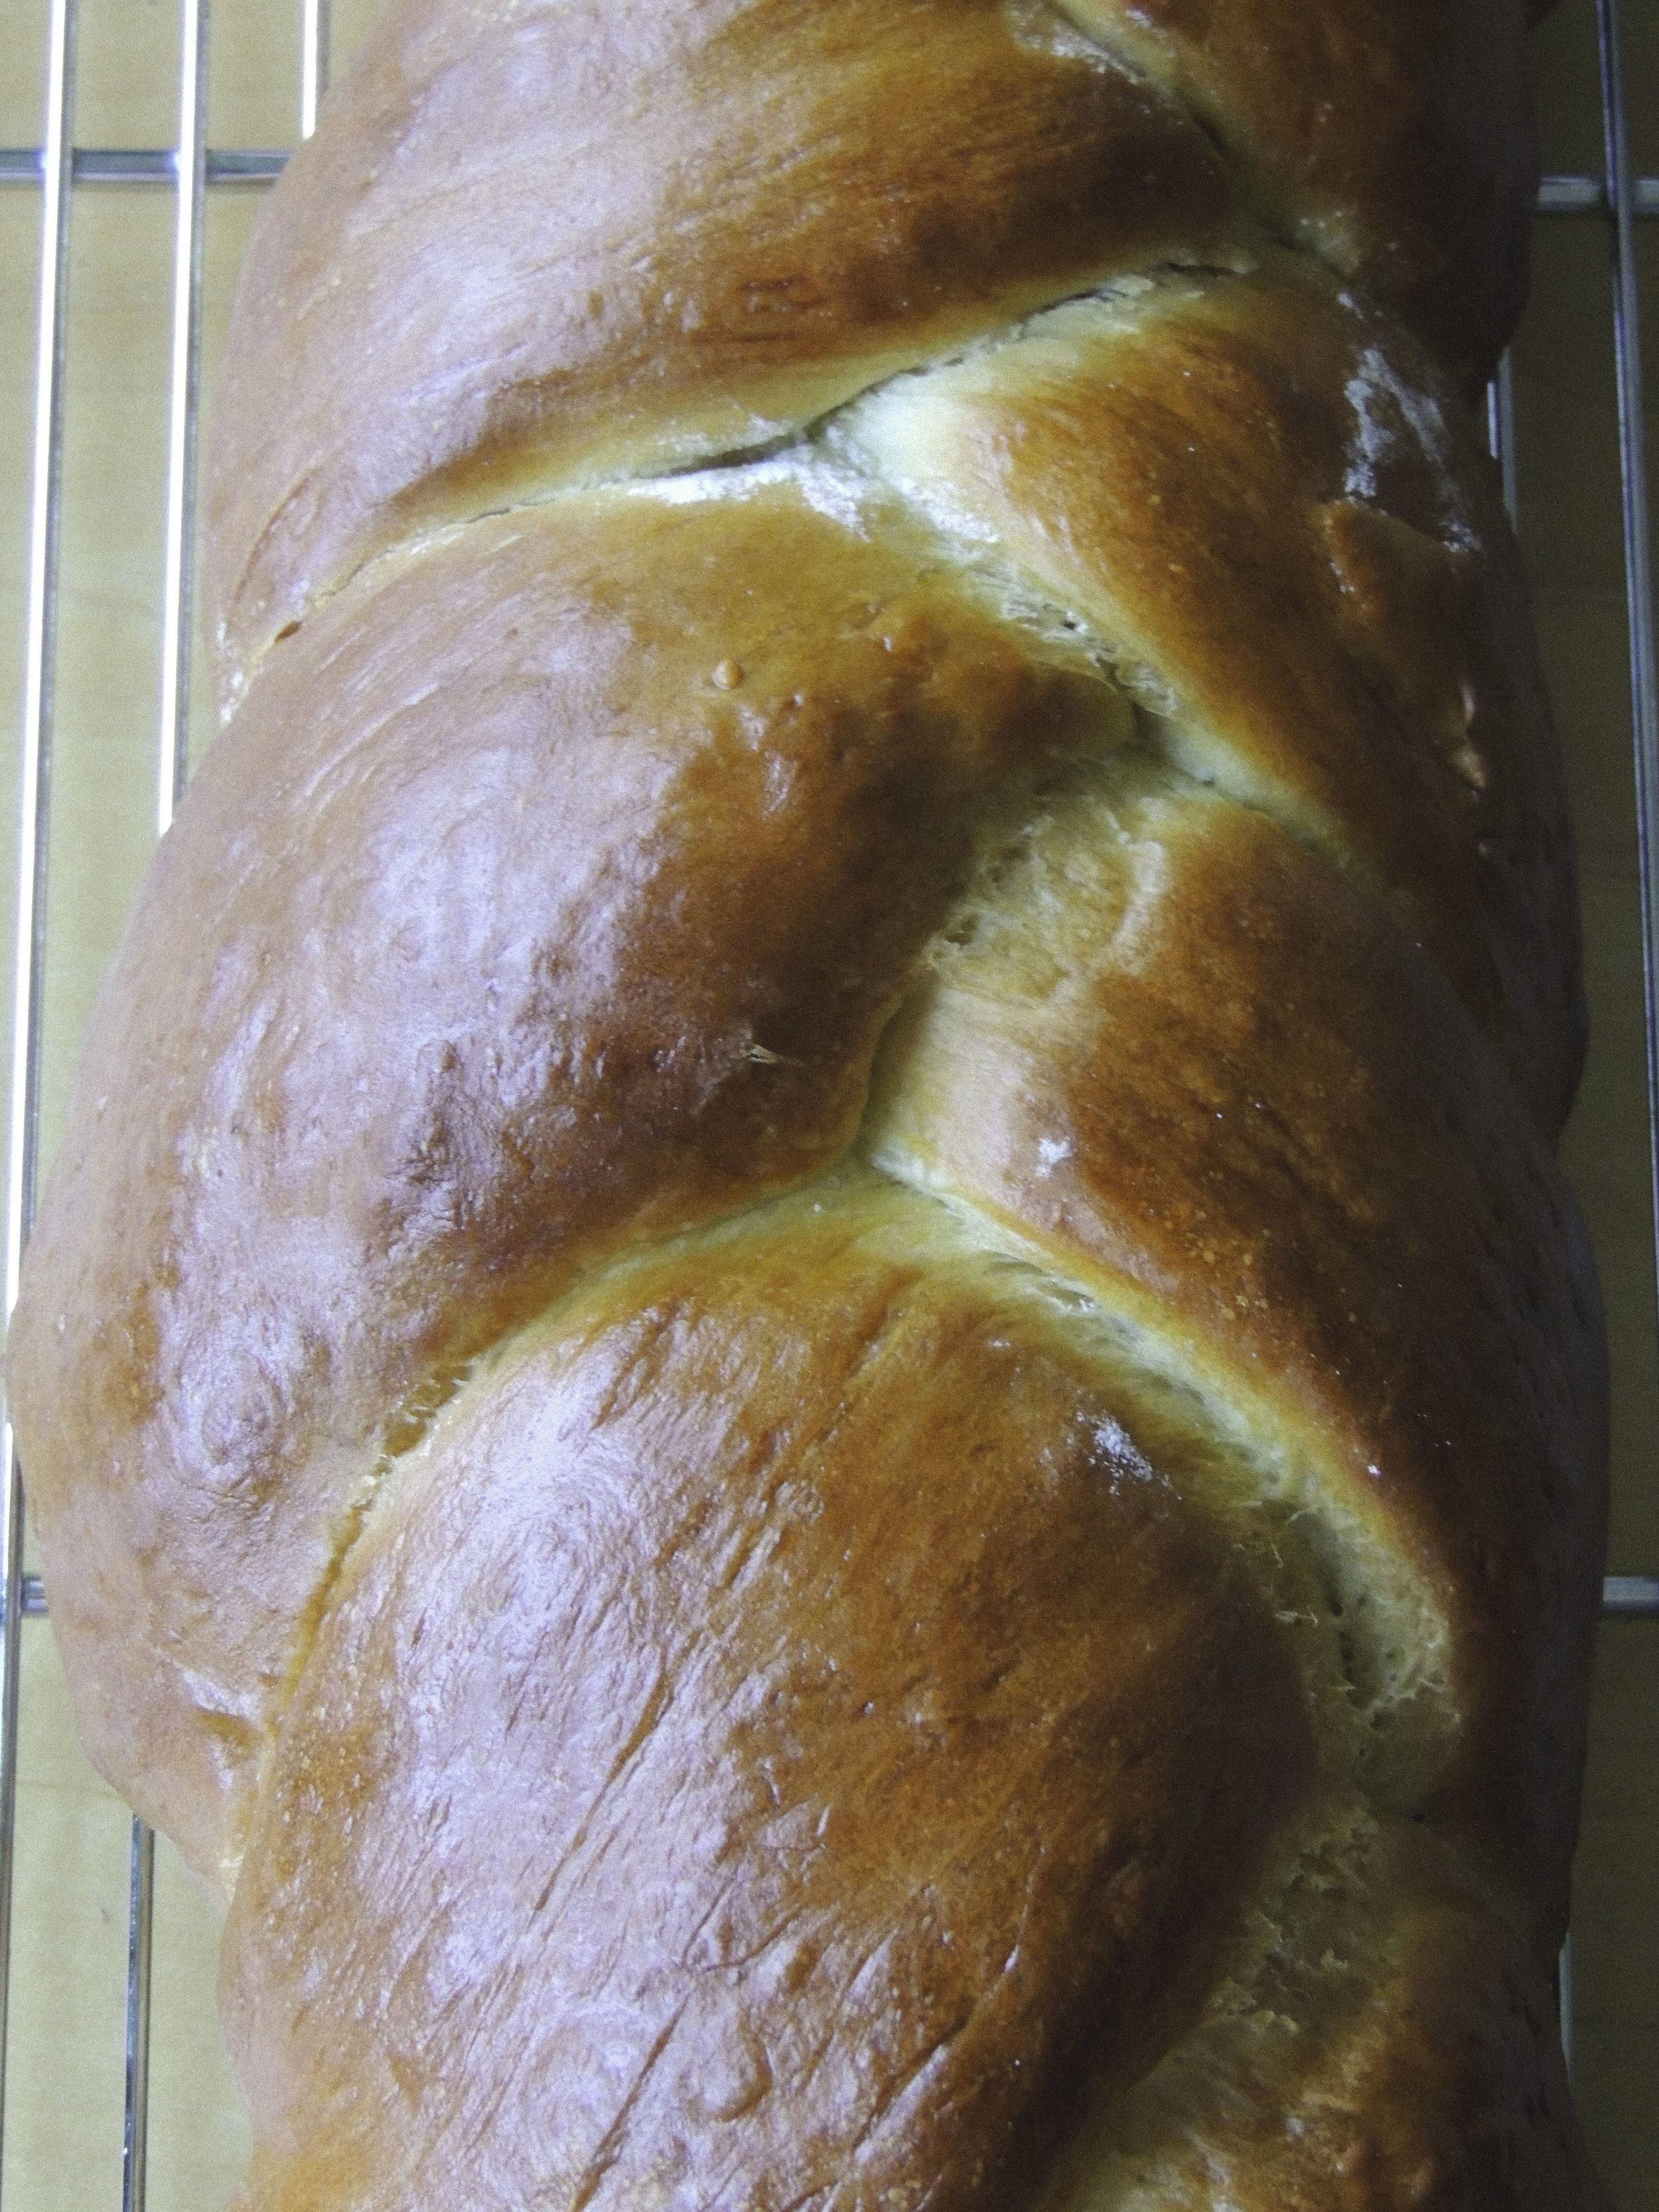
It absolutely must be said that I am a complete novice when it comes to this sweet and super delicious bread, so I'm going to refer you to this stellar tutorial over on The Kitchn. Really easy to follow, and SO USEFUL. I'm totally attempting the six-braid method the next time I make challah. (Hope it goes well.)
If making challah bread has taught me anything it's this: make sure you read the recipe three times before you even get your mise en place. I always read a recipe several times, but after making this bread, the point has been driven home. It's not that this is a particularly difficult bread to make per se, it's that making challah is very time-consuming. There's a lot of waiting involved. Like, hours of waiting in fact. So when you make this bread, make sure you've got the TIME to do it! This is not something you whip up in an hour. Just be patient, and you'll have a really pleasant reward.
The recipe called for proofing in a warm place with a clean dish towel over the top, but I had no idea where I could put it. I've let dough proof before on the counter, but it didn't rise like I so desperately wanted it to. Not properly proofing challah dough would guarantee disaster, so I decided to ask the internet for help. The advice that I got was SPECTACULAR: place your covered bowl on a higher rack in an oven that is completely OFF. Next, boil some water and pour it into a heatproof bowl. Place the bowl with water in it onto a lower rack, SHUT THE DOOR, and keep it shut! Now you've got your warm place, and you'll end up with a dough that has doubled in size once the time comes to take it out. It's thrilling.

RIGHT, so let's get on to the french toast part of this post, shall we? You may be wondering what I did with my challah loaf after it was finished cooling. Well, in order to get the perfect french toast, you need slightly stale bread. In fact, it's imperative.. So, once my challah was finished cooling (and I'd gone through several episodes of 'Tia Mowry at Home' on Cooking Channel) I simply left it slightly uncovered and went to bed. It worried me a little bit that it might dry out too much, but by the time I was finished in the kitchen that night, there weren't many hours left before it was time to get up and make breakfast. And everything turned out just fine. (Thank goodness.)
In the morning I sliced up eight very healthily-sized slices of challah, mixed up my custard , and set to work.
. So now, let's talk about how obsessed I am with challah french toast. BECAUSE I AM OBSESSED.

French toast is decadent, I mean, there's a reason why its present on every brunch menu that has ever existed. But there is just something so beyond about whipping up a batch of challah french toast on a quiet weekend morning with a light sprinkling of powdered sugar on top from one of those unnecessary-for-anything-else shakers, and a drizzling of divinely warm maple syrup just waiting to be soaked up. THAT is decadence. Throw in a hot cup of hazelnut roast coffee, and a little bowl of fruit salad (in this case it was strawberry, blueberry, and mango with lemon juice) and we are TALKIN', my friend. That's what weekend mornings are all about. Be warned: this breakfast is incredibly rich, but oh my GOSH is it ever worth it.
And would you like to know the best part? It's made completely form scratch. Who needs a brunch menu?
CHALLAH FRENCH TOAST
What You'll Need:
- 3 large eggs
- 1 cup half-and-half
- Pinch of salt
- 1 tablespoon of sugar
- 8 slices of challah bread 1" thick, cut from a slightly stale loaf
- 2-3 tablespoons butter
- Powdered sugar for sprinkling on top, optional
- Fresh Fruit, optional
Directions:
Place a large skillet (Mine is 12 inches) over medium-low heat.
Whisk the eggs, half-and-half, salt, and sugar in a large baking pan (I used an 11X13 rectangular cake pan) until everything is fully incorporated.
Place four slices of bread into the custard to soak for at least one minute on each side (I ended up doing a little longer, but it's up to you. Make sure it's at least one minute though! )
While the bread is soaking, melt one tablespoon of butter in the skillet. You'll know it's ready when it starts to foam. When it has started to foam, move it around so that it coats the entire bottom of the skillet.
Move your cake pan with the soaking pieces of bread next to the stove so that there will be no dripping.
Lift one piece of bread and very gently shake it to get rid of any excess custard, then gently place it in the skillet. Repeat this process with each piece of bread.
After 1-2 minutes, check under a slice of bread to see if it has turned golden brown. When it has turned golden brown, flip each piece of bread and continue cooking until they're golden brown on the other side. Be sure to keep an eye on the skillet so that your toast doesn't burn.
Place your finished first batch onto a serving plate, and your final four pieces of bread into the custard for soaking on each side. (Should you run out of custard before you've run out of bread, I've found that whisking another egg, some more half-and-half, a little sugar, and a little salt works nicely!) Place another tablespoon of butter into your skillet, wait until it foams, and repeat the process of cooking your french toast. Once all of your pieces of bread have turned deliciously golden brown on both sides, transfer them to your serving plate.
Sprinkle a little powdered sugar on the top if you're into that, heat up some delicious maple syrup, and cut up some fruit to use as a topping if you;d like. Enjoy!!
SOURCE: Adapted SUPER SLIGHTLY from The Kitchn