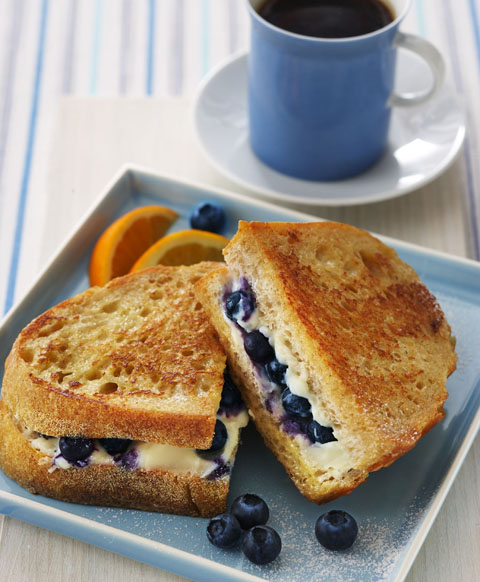
Baked Lemon Brioche French Toast with Raspberries
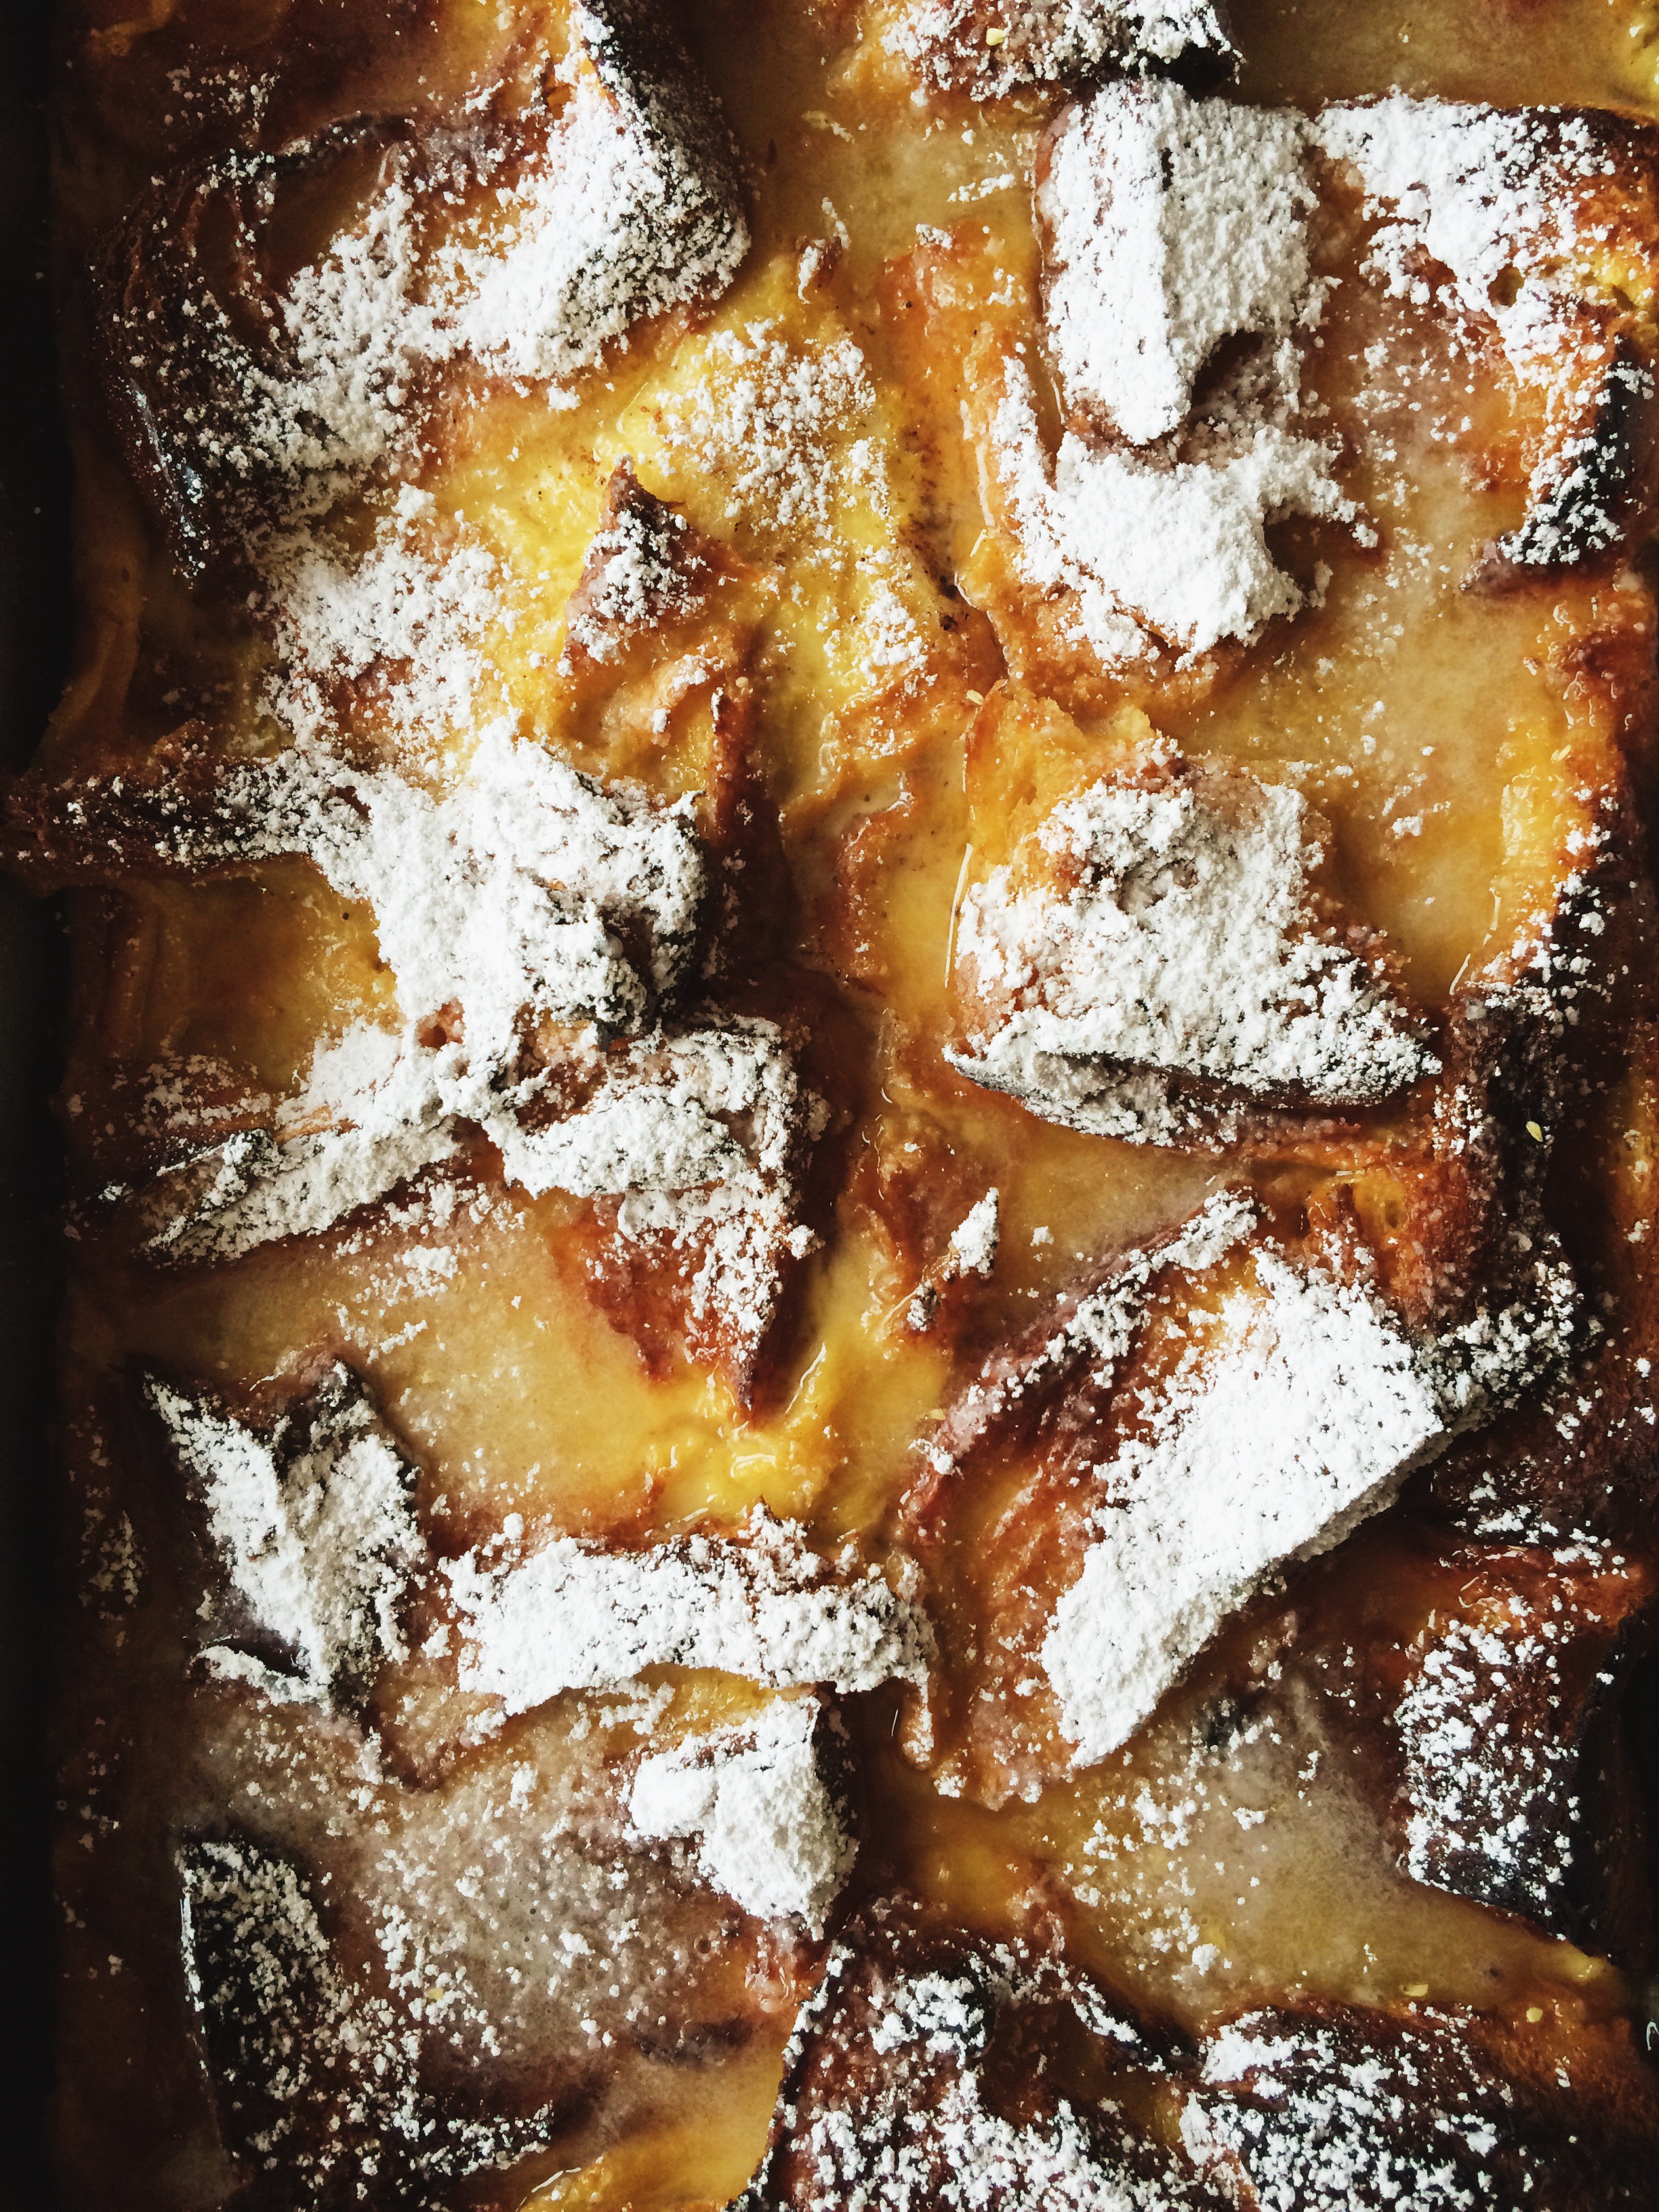
  Processed with VSCO with s3 preset

Lately I've had a hankering for french toast, but not a ton of time (or patience) in the morning to make it happen.  You have to soak the eggy bread in custard, you have to fry it on the stove, you have to fix the other side dishes that balance out the meal, you have to heat the syrup, etc. etc. etc. Who has time for that when every day you spend a an hour negotiating with your alarm clock for just five more minutes? So what does one do when they need a bright spot in a week of monotony, but very little time in the morning to make that happen? They fall in love with a make-ahead recipe like this one for Lemon Brioche French Toast with a fresh helping of minty-fresh raspberries on the side. Hello, bright spot.

This recipe is a citrus lover's dreaaaam. There's lemon zest in the custard mixture, then another hit in the freshly-squeezed lemon juice glaze.

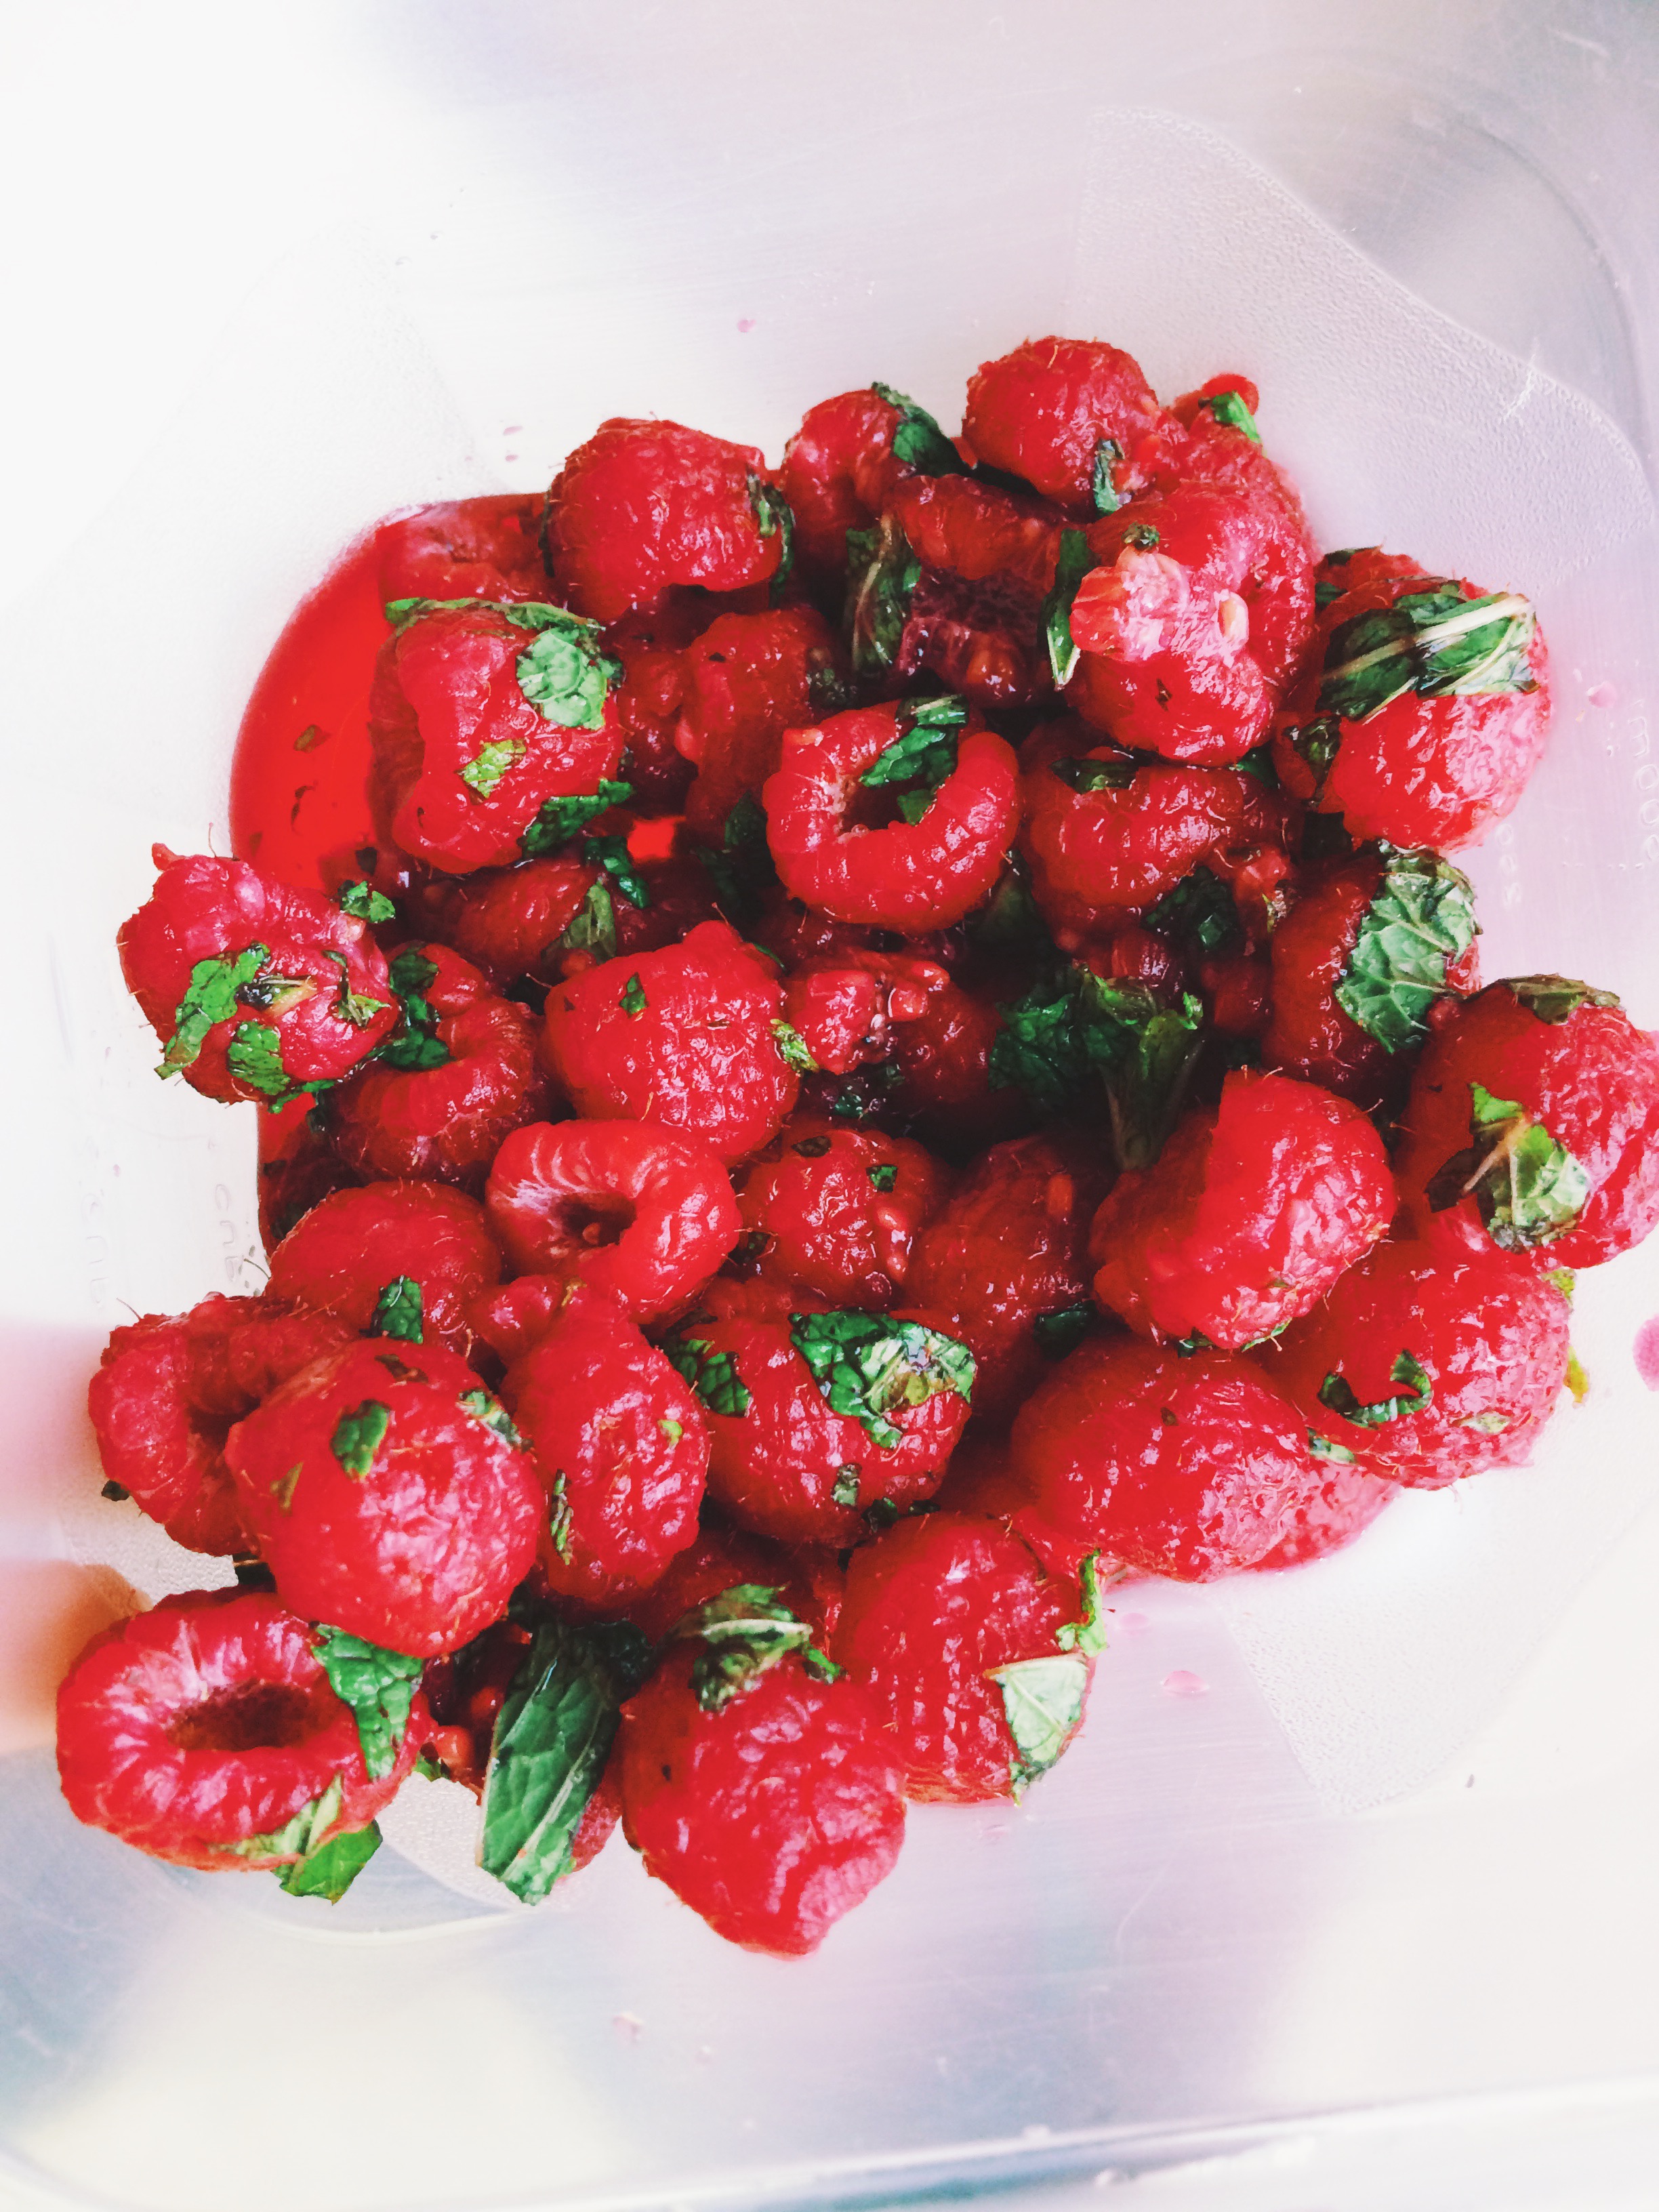
What's lovely about this baked version of french toast is the pillowy-soft consistency (almost like bread pudding) of the inner filling, mixed with a little bit of crispiness from the crusty top layer. And what better complement to the sweetness of the lemon brioche than the fresh, slightly tart macerated raspberries with mint? It's tasty, and your breath will never smell better in your whole life.

This is a breakfast recipe for those bakers out there that love to plan ahead, like myself. Anything that can cut my overall time even the slightest bit, I'm willing to do. The make-ahead factor of this recipe is what makes it a total keeper: this dish can be made 24 whole hours in advance, and, if you ask me, the longer it sits in the fridge, the better it actually becomes! Overall prep time the night before is probably around 20-30 minutes, then cook time the next morning is around 20-30 minutes, making total time an hour MAXIMUM. Fab, right? Imagine what you can get done while your french toast is baking in the oven? We're talkin' bacon, we're talkin' eggs, we're talkin' the works, people. I seriously can't say enough great things about it. Oh wait, there's one more: leftovers reheat PERFECTLY. So don't feel guilty if it's just you enjoying a special breakfast for yourself; there's no need to waste a thing. If you play your cards right, you could have a special breakfast almost every day of the week. And breakfast is the most important meal of the day, you know.

Have it for brunch, or have it on a regular old Monday. Either way, you're on your way to a baked breakfast of champions.


LEMON-BRIOCHE FRENCH TOAST W/ MINTY RASPBERRIES

What You'll Need:

(For the French Toast)

  • 2 lemons, zested and juiced
  • 3 large eggs
  • 1/4 cup light brown sugar, packed
  • 3 cups whole milk
  • 1 teaspoon vanilla extract
  • 1/4 teaspoon salt
  • 1/2 teaspoon ground nutmeg
  • 1 1/2 cups confectioners' sugar, plus more for dusting

(For the Minty-Raspberries)

  • 12 ounces raspberries, lightly washed and inspected
  • 3 tablespoons sugar, plus more if adjustment is needed
  • 1/4 cup loosely-packed mint leaves


DIRECTIONS 

*If you're making it ahead*

Grease well a 9 x 13 pan with butter, then set aside.

Slice the bread into 1/2 inch thick slices, then cut each slice in half. Next, take half of the bread slices and lay them in the baking sheet, making sure that there are overlapping layers. Sprinkle the bread slices with half of the lemon zest.

In a large bowl, whisk the eggs, then whisk in the brown sugar. Whisk until the ingredients are well combined. Next, whisk in the milk, vanilla, salt, nutmeg, and the rest of the lemon zest. Pour half of the custard mixture over the bread in the prepared baking dish, then layer the rest of the bread on top. Evenly pour the rest of the custard mixture over the bread to coat it.

Cover and refrigerate overnight. In the morning, take the casserole out of the fridge and let it sit at room temperature for at least 10 minutes before baking.


*If you're making it the same day*

Preheat the oven to 425 degrees F.

Do all of the instructions above.

When ready, bake the lemon brioche french toast for 20-30 minutes (make sure to check on it every so often because the crust of the bread tends to darken quite quickly), or until golden brown on top and puffy.

While the french toast is baking, whisk the lemon juice with the confectioners' sugar. Once you have taken the french toast out of the oven, immediately drizzle the glaze evenly over the top. Next, add a few extra teaspoons of confectioners' sugar to a fine strainer or shaker and add a light dusting over the top of the casserole.

Let the dish cool for at least 15 minutes before serving,

*While the dish is cooling*

Add the raspberries to a medium-sized bowl, then add the sugar and fresh chopped mint. Gently mix together, then let sit for 5 minutes so that the raspberries have a chance to release their juices. Add more sugar if the raspberries are still a little tart.

Serve the french toast in large slices, with raspberries on the side.


To store: Cover the dish in plastic wrap and store in the fridge. Let it come to room temperature for 10 minutes before reheating in the oven.


SOURCE: Slightly adapted from The Kitchn

Hot Cross Buns

Hiiiiiiiiiiiii, how was your Easter??  Mine was epic and uplifting, and full of food. Simply the best.

Have you ever had hot cross buns? This was my first year. Before that, my only knowledge of them began and ended with the song of the same name that I was forced to learn on the recorder in 7th grade. That was it. (Fun fact: I haven't picked up the recorder since.) But when you're young, it's almost a necessity that you start your own traditions and/or jump on holiday-specific bandwagons, so here we are. And I have to tell you: I can't believe I've lived my life up until now without hot cross buns. I mean, it's crazy. I can honestly say, in the four years that I have been baking, hot cross buns are the best things to ever come out of my oven. BY. FAR. Easter Sunday's breakfast was just EXCELLENT, you guys.

Best served warm, these buns are yeasty, squishy, icing-topped perfection. Traditionally, hot cross buns are filled with dried fruit like raisins, currants, cherries, or dates, but my grocery store was serisouly lacking in the traditional dried mixed fruit bags. What I found instead was a mix of dried strawberries, blueberries, cherries, and cranberries, and I LOVED that combination when paired with the warmed apricot jam and blend of cardamom and cinnamon spices. And while I enjoyed the little bursts of strawberries I got, next time 'round, I'll try to make my own fruit mix because the cardamom-cinnamon was practically begging for raisins. Either way, fruit in yeast rolls just WORKS.

You may see these most often on Easter, but something tells me these would work extremely well around Christmas time...or just all-year-round in general.


It's never too late for Hot Cross Buns.


Find the recipe HERE from Bon Appetit! 


Pumpkin Spice Scones

What to do when you have a ton of pumpkin puree leftover from making pumpkin pie? Make pumpkin spice scones, and have a happy breakfast-time for the rest of the week! Sounds like a plan.

We're getting snow, guys. The first snowfall of the year is upon us, and I don't actually think I'm ready for it. I mean, I'm a cold weather person for SURE, but you actually have to ease me into it! You can't just spring potentially six inches of snow on me like it's no big deal. First, a beautiful dusting. Then, an inch or two. Then, a beautiful blanket just in time for Christmas. THAT'S how it's supposed to go. Ah,well. We'll get it right next year.

At any rate, one of the nicer things about terrible weather is the comforting heat of the oven, and obviously the baked reward that emerges from it. And these scones? Great reward.

First of all, anything with pumpkin in it gets a big ol' stamp of approval from me no matter what. But to have it in a wedge, drizzled with deliciously-sweet spiced glaze, is extra special. Perfect for your coffee. Perfect for your life.

For those of us that love pumpkin bread, these scones will be right up your alley. Generally, scones are more on the biscuit side, but the moisture from the pumpkin puree actually shakes things up...in a good way. What you get with these is a crispy-on-the-edge, moist-in-the-middle combination that is totally divine. Just make sure to keep a close watch on these little guys--- too long in the oven and they'll dry out a little too much, losing what I think makes them so great.

If you're looking for a quick and DELICIOUS way to 1) make breakfast 2) use up precious pumpkin, these are totally the way to go.

Now, go. Go make them.

PUMPKIN SPICE SCONES

What You'll Need:

For the scones:

  • 1 3/4 cups all-purpose flour
  • 1/3 cup sugar
  • 2 teaspoons baking powder
  • 1/2 teaspoon baking soda
  • 1/4 teaspoon salt
  • 1 teaspoon cinnamon
  • 1/8 teaspoon ground cloves
  • 1/8 teaspoon ground ginger
  • 1/8 teaspoon nutmeg
  • 1/4 cup very cold unsalted butter, cut into 1/2 inch cubes
  • 1/2 cup pumpkin puree
  • 2 tablespoons buttermilk
  • 1 large egg, room temperature
  • 1 teaspoon vanilla extract

For the glaze:

  • 1 cup powdered sugar, sifted
  • 1/4 teaspoon cinnamon
  • 1 1/2 tablespoons milk
  • 1 tablespoon unsalted butter, melted
  • 1 tablespoon vanilla extract

DIRECTIONS

Preheat the oven to 400 degrees F. Line a baking sheet with parchment paper. Set aside.

Whisk together the flour, sugar, baking powder, baking soda, salt, and all the spices in a large bowl. Add your cubed butter into the bowl and, using either your fingers or a pastry cutter, cut in the butter until the mixture resembles a coarse meal. Set aside.

In a smaller bowl, whisk together the pumpkin, buttermilk, egg, and vanilla extract until well combined. Fold your wet ingredients into the bowl with your dry ingredients until just incorporated.

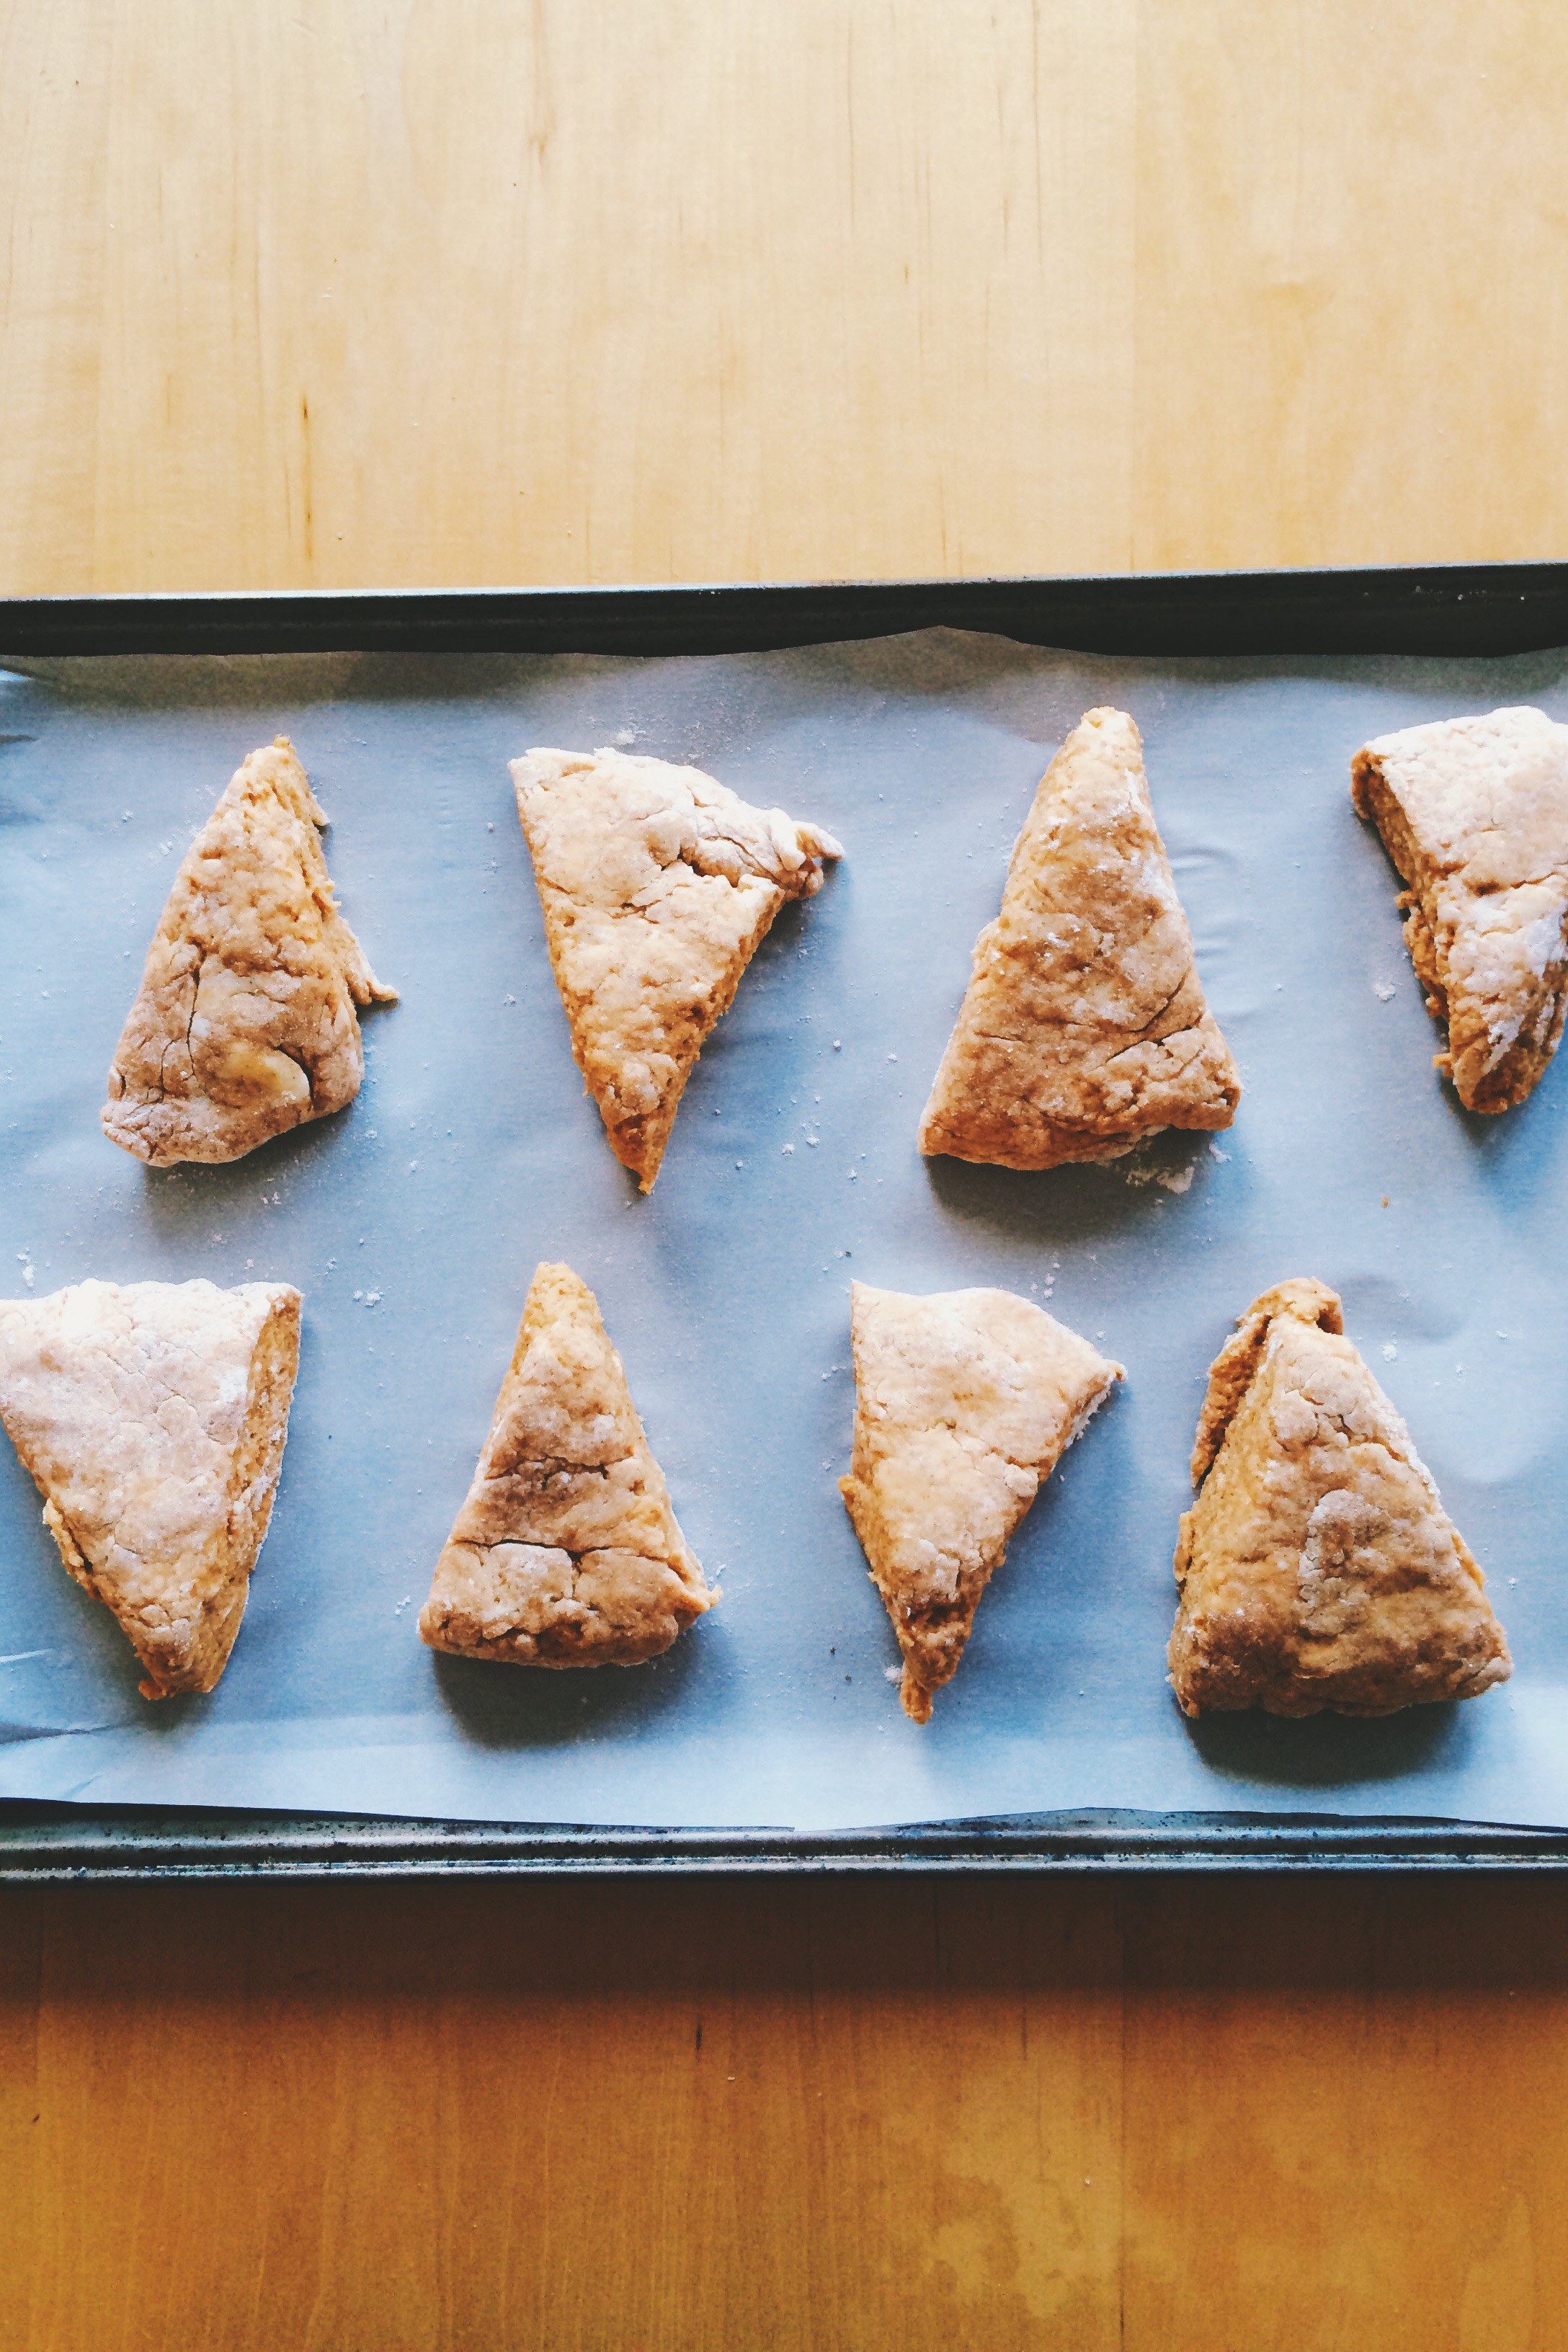
Using a floured wooden spoon, or a floured bench scraper, scrape the mixture out onto a a lightly floured surface. Using floured fingers, carefully pat the dough into a roughly-8 inch circle. Then, using either a floured knife, or floured bench scraper, cut the circle into eight equal wedges. Once your wedges are formed, transfer each to your prepared baking sheet. If you'd like, use a dry pastry brush to brush off any excess dough.

Bake until golden, about 15-17 minutes. Keep a close eye on them so they don't burn. Once out of the oven, let cool for two minutes on the baking sheet before transferring to a wire rack to cool.

While They're Cooling, Let's Make the Glaze!

Combine the sugar, cinnamon, milk, butter, and vanilla extract in a small bowl.

Final Step! Glaze Those Scones!

Place a baking sheet lined with wax paper under your wire cooling rack to catch any drippings. Add glaze to your scones in any design you'd like. Dip them in, or drizzle glaze over each top using a spoon. It's totally up to you! Once glazed, let set for at least 20 minutes.

To store: If you're not eating the scones the day you make them, store them unglazed in an airtight container for up to 2 days ahead of time, and  glaze just before you're ready to serve.


SOURCE: Adapted slightly from Tutti Dolci 

Brown Butter Raspberry-Ricotta Breakfast Cake

Rasp ricotta cake 2Listen, there comes a time in every young woman's (or man's) life where s/he just has to throw every single thing down, and have cake for breakfast. Okay? You just have to have cake for breakfast sometimes. Cereal is my breakfast meal of choice. There are occasions where I or a loved one will have the energy to whip up pretty impressive omelets, but those times are pretty rare on the weekdays. And as much as I do actually genuinely enjoy a crunchy spoonful of cornflakes, sometimes all I want need first thing is a beyond-moist, tender, fruity-flavor-packed slice of cake. And I want to eat it with my hands. Forks are great, but we don't need 'em!

rasp ricotta cake 5

The selection of fruit at the grocery store is very hit-or-miss, which can be very frustrating as all anyone ever talks about in the food world is "embracing seasonality." It's hard to do that when you're looking at crates full of fuzzy raspberries. The great news is, not only is frozen fruit totally welcome in this cake, it's actually a requirement. Thank goodness for the Frozen Foods section.

rasp ricotta cake 4

rasp ricotta cake 3

So, what makes this cake so moist? FULL FAT RICOTTA CHEESE. Don't you dare get that skim nonsense! We're having cake for breakfast, so let's not torture ourselves by trying to make it healthy, alright? And anyway, you want the cake to be as thick and rich as possible, so whole milk ricotta it is!

And let''s just talk about the brown butter for a second. Ohmygosh I love brown butter. It adds a certain depth to any and everything, and I don't even know what I did with my life before I knew how to do it.

rasp ricotta cake 1

It's just been a really good breakfast (and also dessert) week in this house.

And P.S. This is a GREAT choice for your 4th of July Weekend red-white-and-blue-food-eating festivities!! Fourth of July Breakfast Cake is a thing, right?


BROWN BUTTER RASPBERRY-RICOTTA CAKE 

What You'll Need:

  • Nonstick cooking oil spray
  • 1 stick plus 3 tablespoons unsalted butter
  • 1 1/2 cups all-purpose flour
  • 1 cup sugar
  • 2 teaspoon baking powder
  • 3/4 teaspoon kosher salt
  • 3 large eggs, room temperature
  • 1 1/2 cups ricotta cheese, preferably whole milk
  • 1/2 teaspoon vanilla extract
  • 1 cup frozen raspberries, divided
  • 1 teaspoon lemon juice
  • 1 teaspoon of sugar

DIRECTIONS:

Preheat the oven to 350 degrees F.

Line a 9-inch round cake pan with parchment paper, and lightly spray with nonstick cooking oil spray.

To brown the butter:

In a medium saucepan, melt your butter over medium-low heat. After a few minutes, your melted butter will start to crackle and bubble vigorously; those are the milk solids and water evaporating. After 2-3 minutes of the butter crackling, you should start to smell a nutty aroma coming from the pan, and your butter will start to darken in color. DO NOT leave while the butter is browning as it can go from brown to burnt fairly quickly.  The bubbling and crackling will eventually subside, and your darkened butter should have little brown bits floating around on the bottom. Take the butter off the heat, and let it cool slightly.

Let's make the cake:

In a large bowl, whisk the flour, sugar, baking powder, and kosher salt. Set aside.

In a medium bowl, whisk the eggs, ricotta, and vanilla extract until combined, then fold them into the dry ingredients until they are just combined.

Fold in the melted butter, then VERY GENTLY fold in 3/4 cup of the raspberries, being very careful not to crush any berries.

In a small bowl, gently toss the remaining 1/4 cup of raspberries with the lemon juice and sugar. If the raspberries seem a little too tart, you can sprinkle in a little more sugar to fit your tastes. 

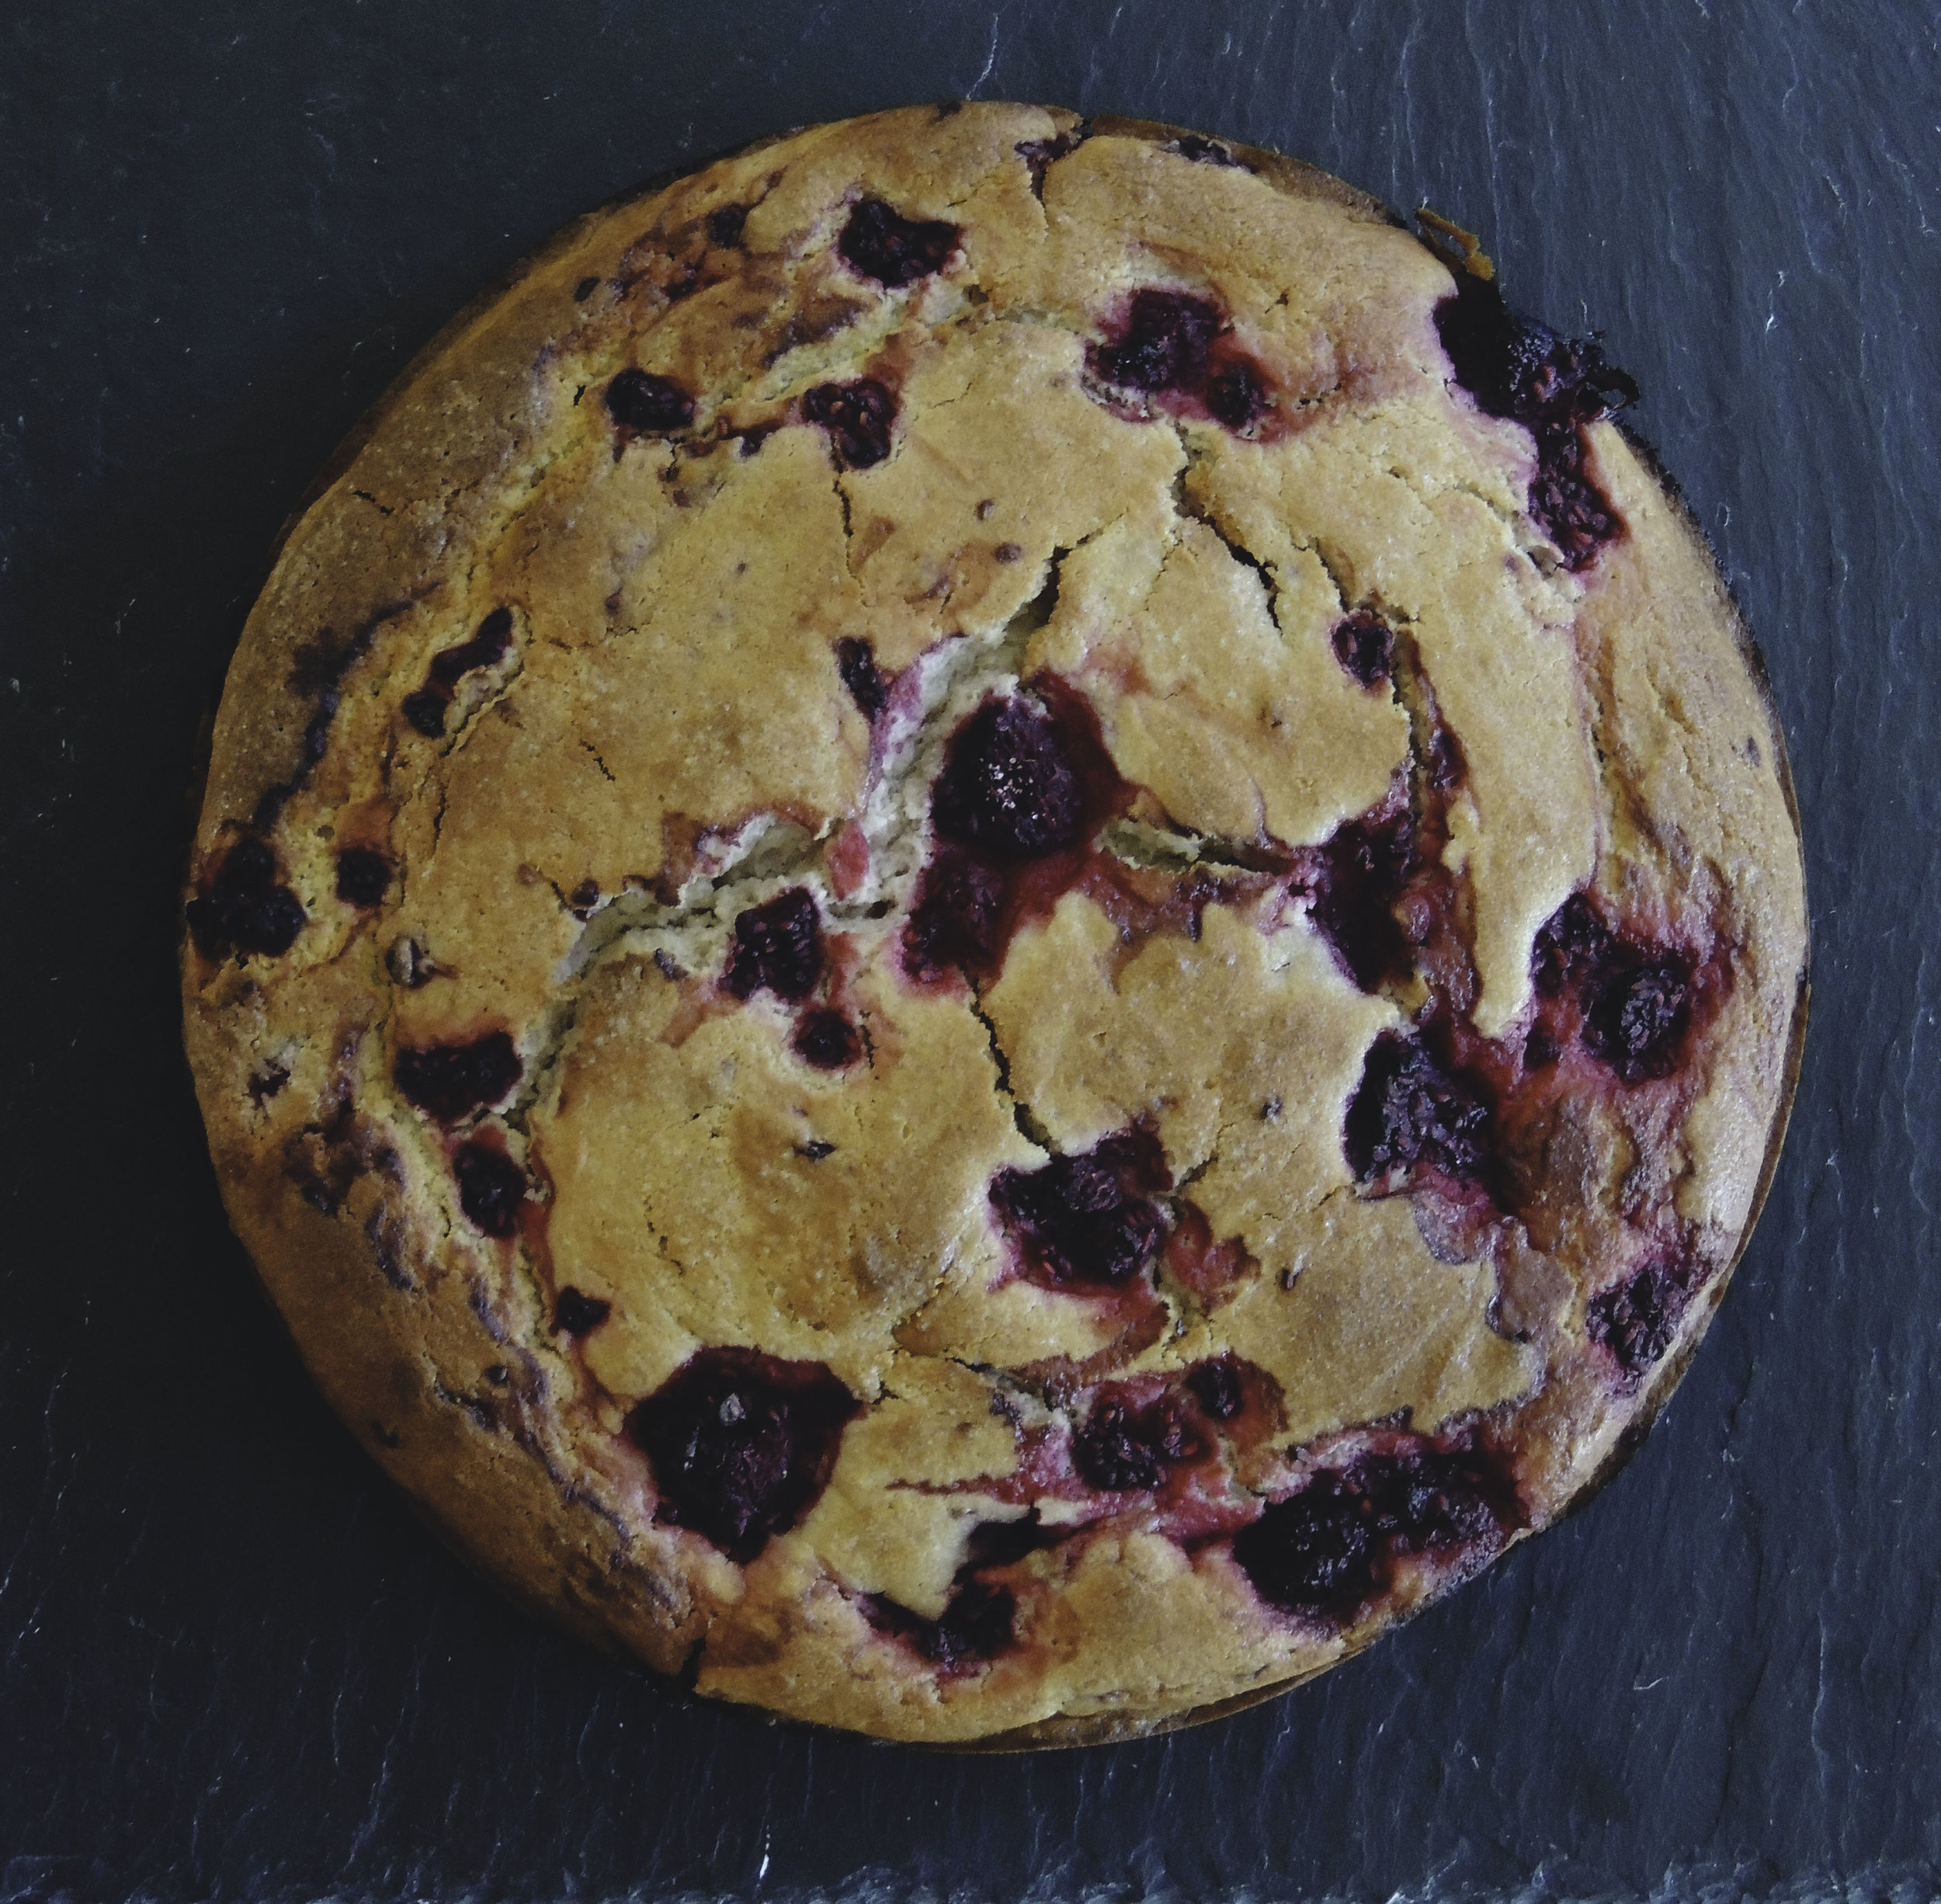
Scrape your cake batter into your prepared pan and scatter the raspberries that you have just tossed with lemon and sugar, over the top. (Get creative with your design!)

Bake your cake until it is golden brown and a toothpick that has been inserted into the center, comes out clean; about 50-60 minutes. (Depending on your oven, your cake may need a little less time, so keep an eye on it when the time gets closer to 50 minutes.)

Let your cake cool for at least 20-30 minutes in the pan, on a wire rack, before unmolding and serving.

To Store:

Wrap the cake TIGHTLY in cling wrap and store at room temperature.


SOURCE: Adapted froBon Appetit 

Challah French Toast

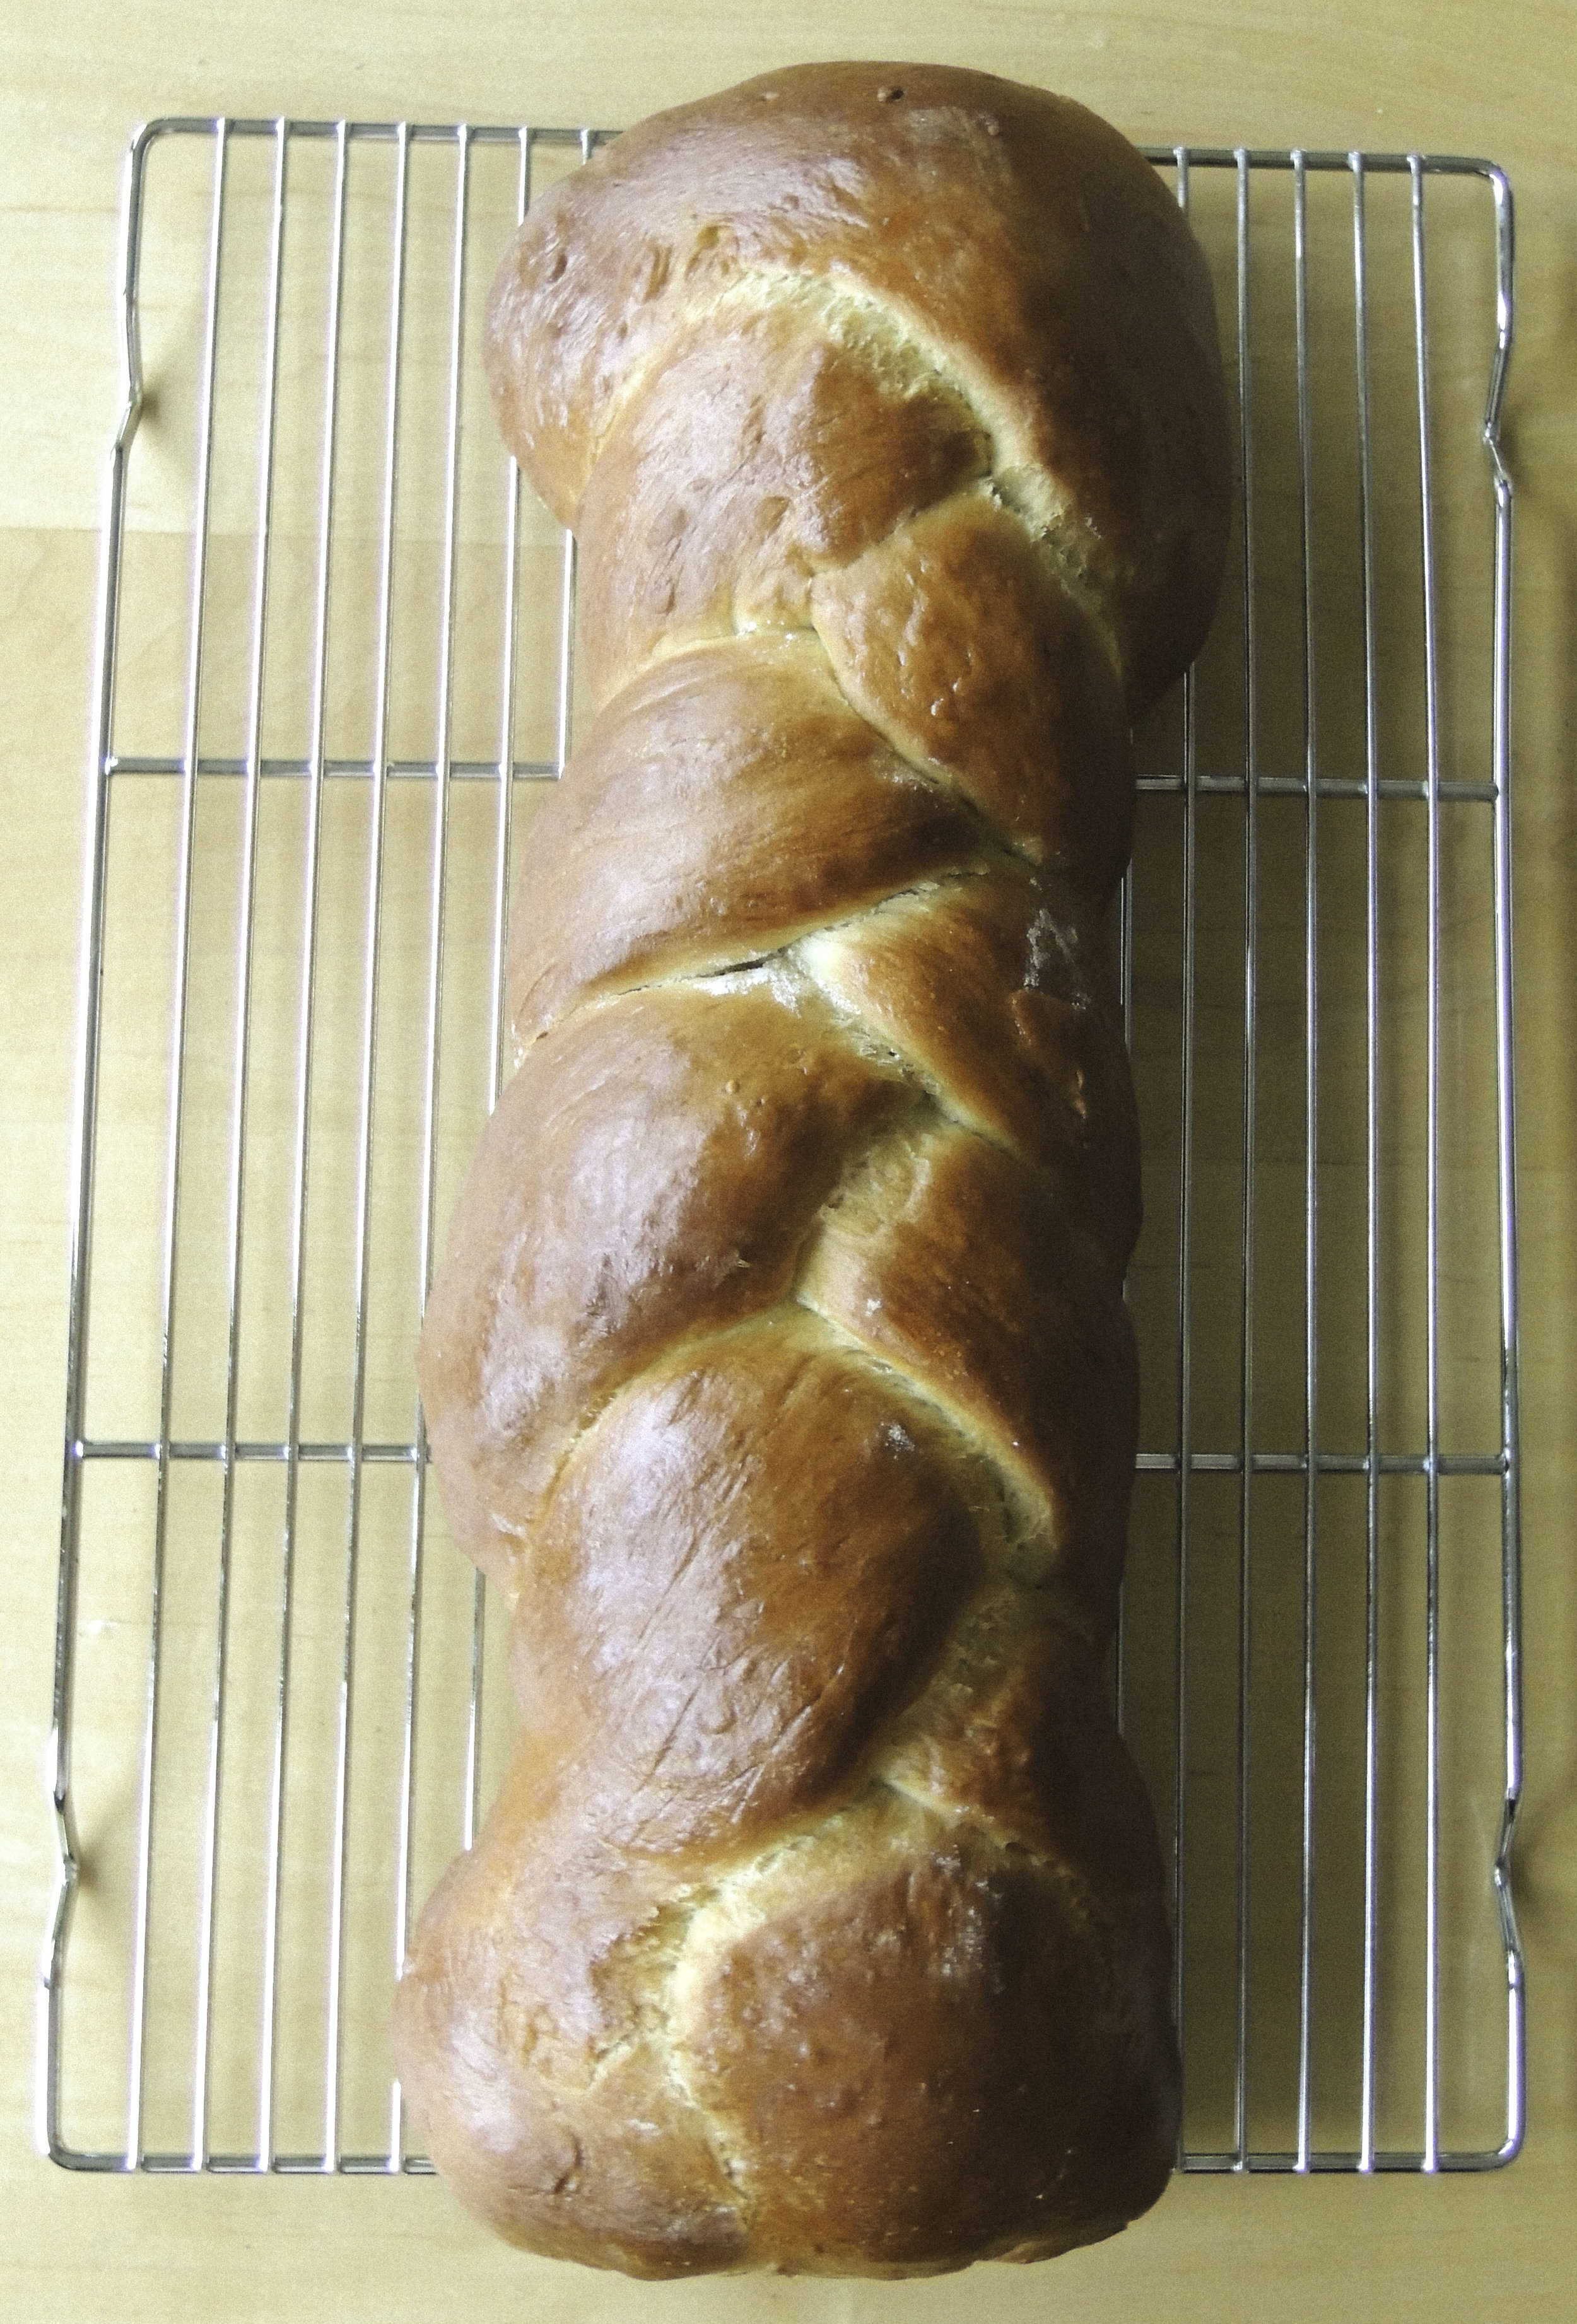
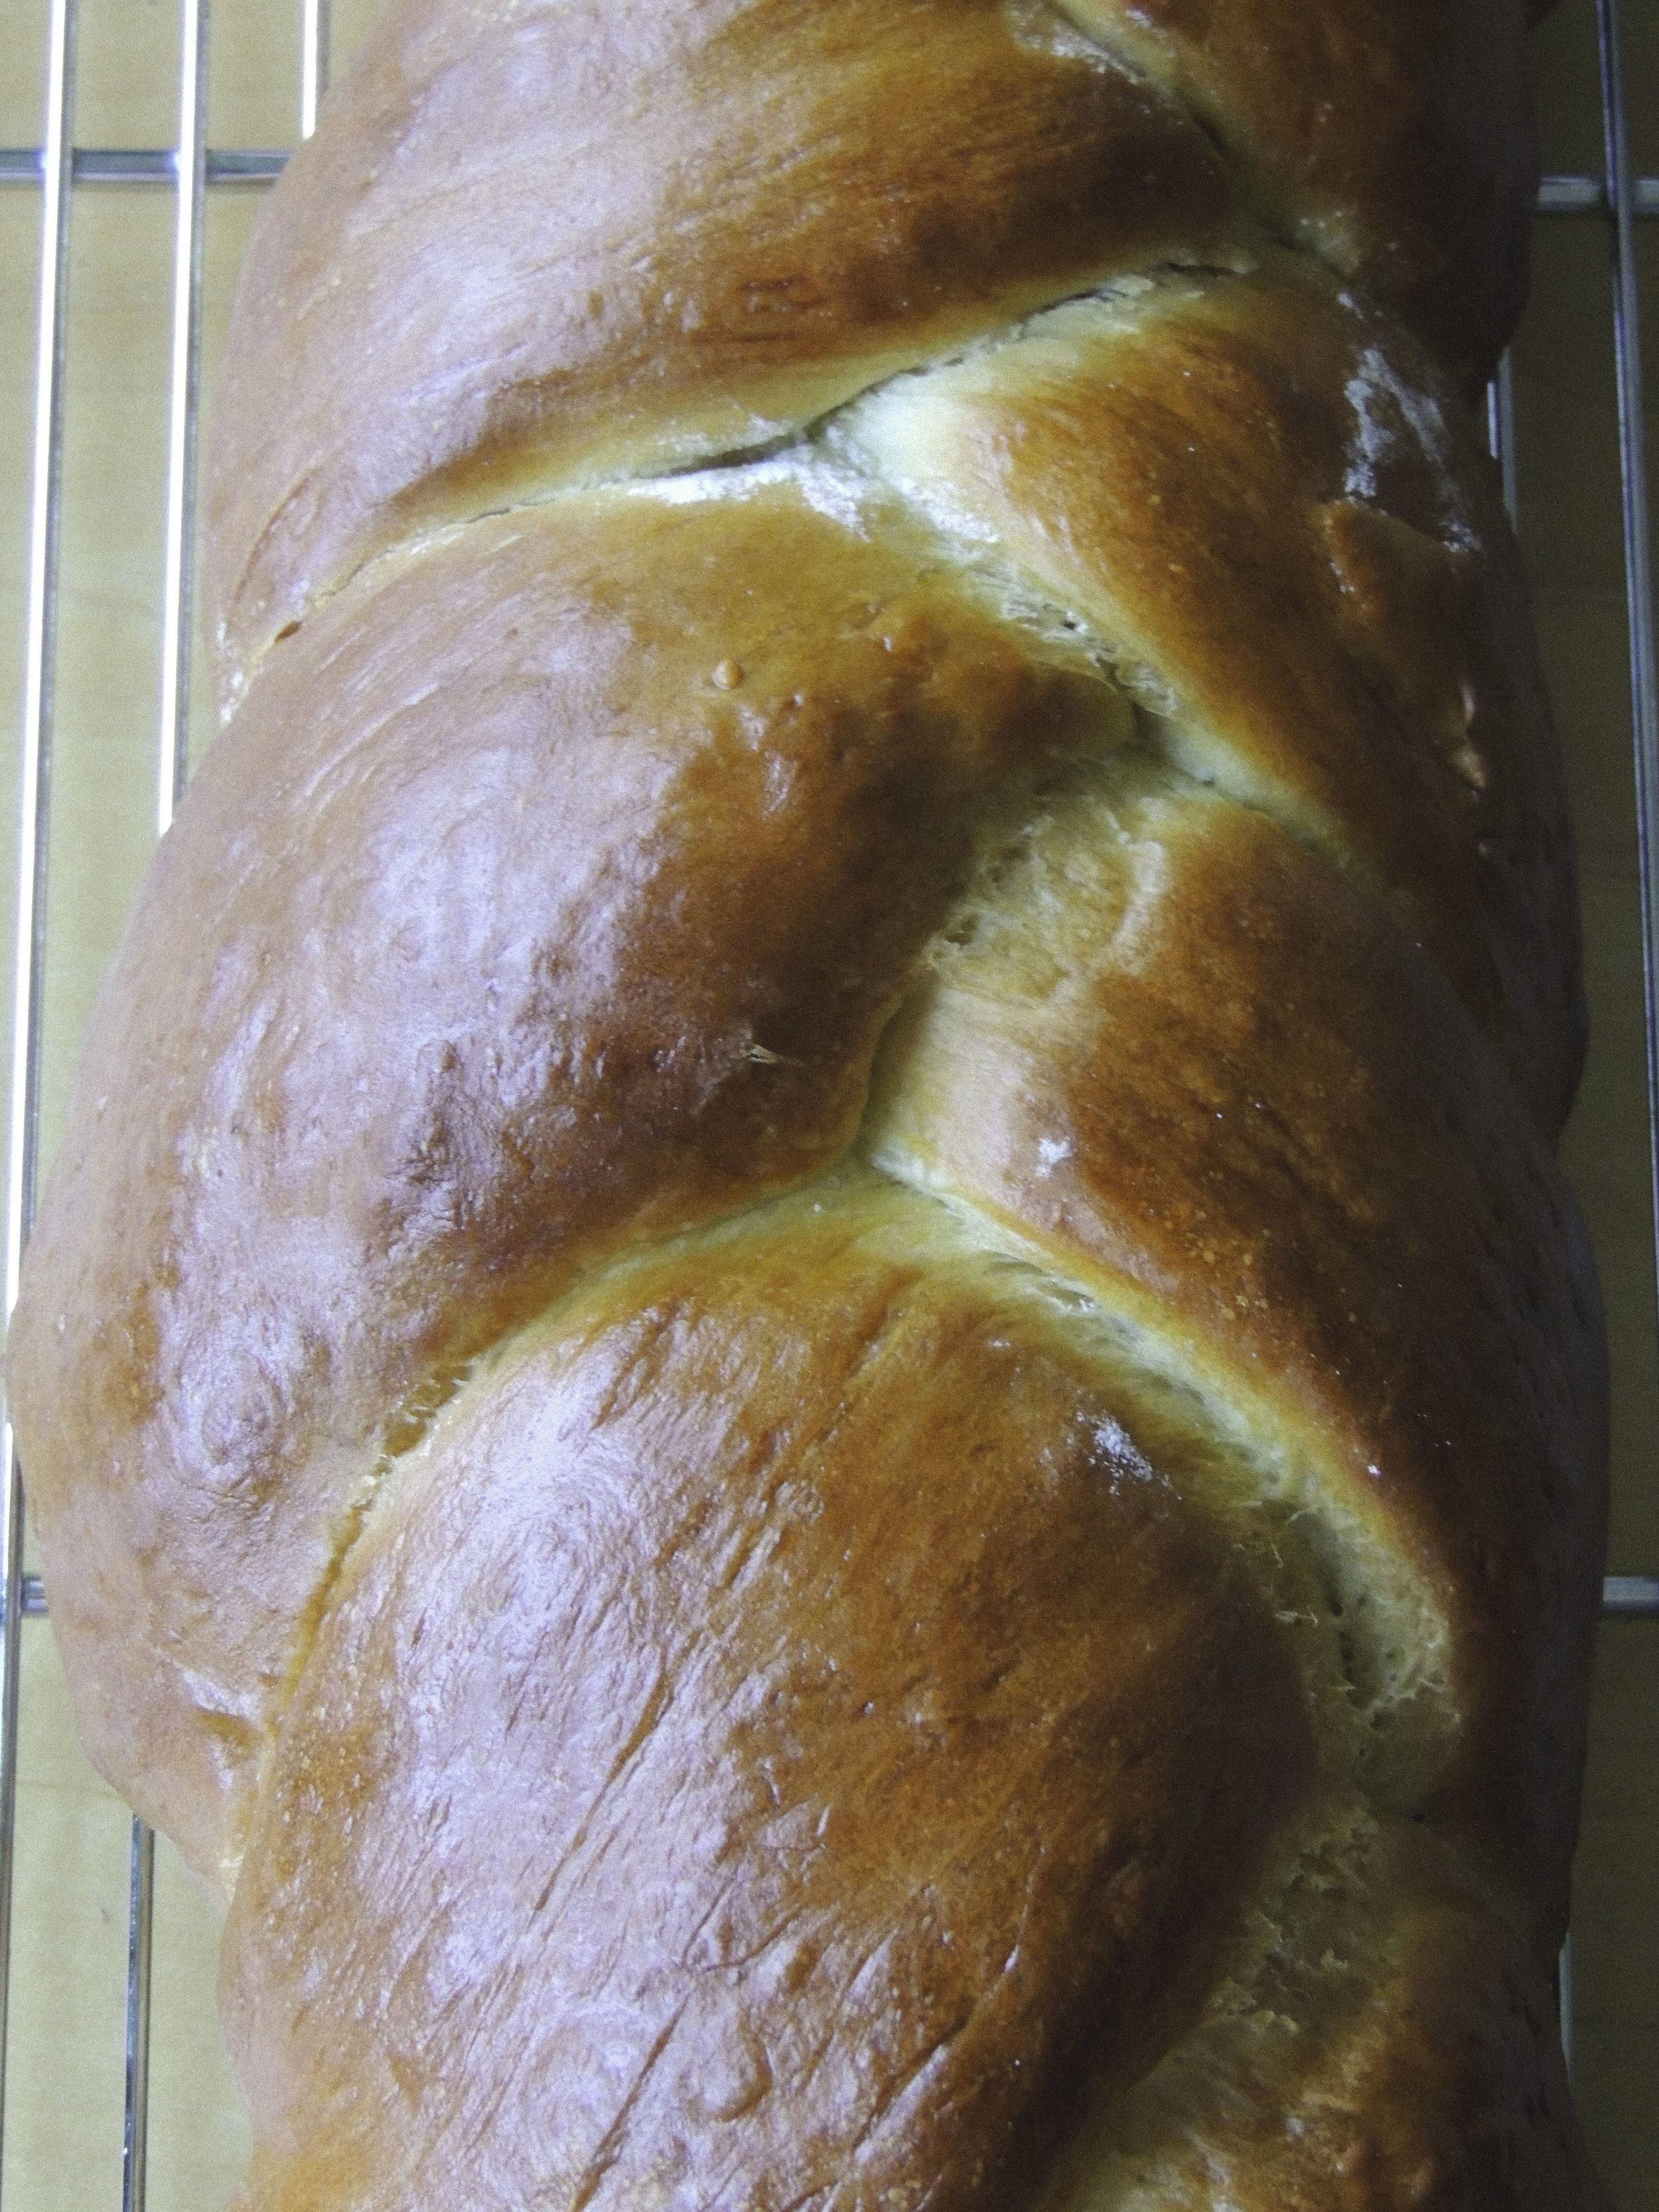
challah bread 1 What to do when you can't find challah bread in literally any of the bakeries in your town? Make your own. You know what they say, "Desperate times call for desperate measures" blah blah blah. The truth of the matter is, I've always wanted to make challah completely on my own, so I didn't mind so much that I couldn't find it anywhere. It meant that it was up to me, and also that I better be extra careful not to mess it up; I had a date with french toast the next morning.

It absolutely must be said that I am a complete novice when it comes to this sweet and super delicious bread, so I'm going to refer you to this stellar tutorial over on The Kitchn. Really easy to follow, and SO USEFUL. I'm totally attempting the six-braid method the next time I make challah. (Hope it goes well.)

challah 2

If making challah bread has taught me anything it's this: make sure you read the recipe three times before you even get your mise en place. I always read a recipe several times, but after making this bread, the point has been driven home. It's not that this is a particularly difficult bread to make per seit's that making challah is very time-consuming. There's a lot of waiting involved. Like, hours of waiting in fact. So when you make this bread, make sure you've got the TIME to do it! This is not something you whip up in an hour. Just be patient, and you'll have a really pleasant reward.

The recipe called for proofing in a warm place with a clean dish towel over the top, but I had no idea where I could put it. I've let dough proof before on the counter, but it didn't rise like I so desperately wanted it to. Not properly proofing challah dough would guarantee disaster, so I decided to ask the internet for help. The advice that I got was SPECTACULAR: place your covered bowl on a higher rack in an oven that is completely OFF. Next, boil some water and pour it into a heatproof bowl. Place the bowl with water in it onto a lower rack, SHUT THE DOOR, and keep it shut! Now you've got your warm place, and you'll end up with a dough that has doubled in size once the time comes to take it out. It's thrilling.

challah 3

RIGHT, so let's get on to the french toast part of this post, shall we? You may be wondering what I did with my challah loaf after it was finished cooling. Well, in order to get the perfect french toast, you need slightly stale bread. In fact, it's imperative.. So, once my challah was finished cooling (and I'd gone through several  episodes of 'Tia Mowry at Home' on Cooking Channel) I simply left it slightly uncovered and went to bed. It worried me a little bit that it might dry out too much, but by the time I was finished in the kitchen that night, there weren't many hours left before it was time to get up and make breakfast. And everything turned out just fine. (Thank goodness.)

In the morning I sliced up eight very healthily-sized slices of challah, mixed up my custard , and set to work.

. So now, let's talk about how obsessed I am with challah french toast. BECAUSE I AM OBSESSED.

challah french toast

French toast is decadent, I mean, there's a reason why its present on every brunch menu that has ever existed. But there is just something so beyond  about whipping up a batch of challah french toast on a quiet weekend morning with a light sprinkling of powdered sugar on top from one of those unnecessary-for-anything-else shakers, and a drizzling of divinely warm maple syrup just waiting to be soaked up. THAT is decadence. Throw in a hot cup of hazelnut roast coffee, and a little bowl of fruit salad (in this case it was strawberry, blueberry, and mango with lemon juice) and we are TALKIN', my friend. That's what weekend mornings are all about. Be warned: this breakfast is incredibly rich, but oh my GOSH is it ever worth it.

And would you like to know the best part? It's made completely form scratch. Who needs a brunch menu?


CHALLAH FRENCH TOAST 

What You'll Need:

  • 3 large eggs
  • 1 cup half-and-half
  • Pinch of salt
  • 1 tablespoon of sugar
  • 8 slices of challah bread 1" thick, cut from a slightly stale loaf
  • 2-3 tablespoons butter
  • Powdered sugar for sprinkling on top, optional
  • Fresh Fruit, optional

Directions:

Place a large skillet (Mine is 12 inches) over medium-low heat.

Whisk the eggs, half-and-half, salt, and sugar in a large baking pan (I used an 11X13 rectangular cake pan) until everything is fully incorporated.

Place four slices of bread into the custard to soak for at least one minute on each side (I ended up doing a little longer, but it's up to you. Make sure it's at least one minute though! )

While the bread is soaking, melt one tablespoon of butter in the skillet. You'll know it's ready when it starts to foam. When it has started to foam, move it around so that it coats the entire bottom of the skillet.

Move your cake pan with the soaking pieces of bread next to the stove so that there will be no dripping.

Lift one piece of bread and very gently shake it to get rid of any excess custard, then gently place it in the skillet. Repeat this process with each piece of bread.

After 1-2 minutes, check under a slice of bread to see if it has turned golden brown. When it has turned golden brown, flip each piece of bread and continue cooking until they're golden brown on the other side. Be sure to keep an eye on the skillet so that your toast doesn't burn.

Place your finished first batch onto a serving plate, and your final four pieces of bread into the custard for soaking on each side. (Should you run out of custard before you've run out of bread, I've found that whisking another egg, some more half-and-half, a little sugar, and a little salt works nicely!) Place another tablespoon of butter into your skillet, wait until it foams, and repeat the process of cooking your french toast. Once all of your pieces of bread have turned deliciously golden brown on both sides, transfer them to your serving plate.

Sprinkle a little powdered sugar on the top if you're into that, heat up some delicious maple syrup, and cut up some fruit to use as a topping if you;d like. Enjoy!!


SOURCE: Adapted SUPER SLIGHTLY from The Kitchn 


Food 52's Quick Blueberry Jam

Jam1 I think I spoke too soon about Spring. My bad. Historically, when I've made decorations of Spring, and thrown my winter coat into the closet abyss until the next season, that was usually that. I may shiver a bit, but there's usually no turning back. This year, not so much. No sooner had I stopped wearing stockings with my sneakers again that it snowed. Mind you it was a just dusting, but there was snow on the ground again, and a frost in the air that was totally and completely unwanted. Usually I relish in the sound of freshly fallen snow under my boots, but not when those boots were meant to be tucked away in exchange for attractive flats and sandals. Thankfully, it's already melting. Melt faster!

At any rate, despite the fact that I've had to put up with the winter coat for the time being, I've decided to ignore these winter-like conditions where it counts: in my heart. And to that effect, I've continued on in my quest to re-introduce warm weather fruits back into the kitchen any way I can. And I'm still on a blueberry kick. So, this week I've made Food 52's Quick Blueberry Jam. And it was, by all accounts, a real JAM to make....I LIKE PUNS, SUE ME.

Jam2

Jam has been on my extended To-Make List for several years now, but I hadn't gotten around to doing it, nor did I have all the proper accouterments it takes to effectively get the job done. While I still have long-term plans to fill my life and the lives of my loved ones with all the jams you could possibly imagine, until I have all the tools of the trade, this wonderful and easy quick jam is going to do very nicely in the meantime.

Quick Blueberry Jam Goes Well: on toast, rolls, biscuits, crackers, spoons, fingers, straight out of the pan, etc.etc. etc.

What You'll Need:

  • 1 cup fresh or frozen blueberries (if using frozen, make sure that they have completely thawed and come to room temperature)
  • 1/3 cup granulated sugar
  • 1/16 teaspoon kosher salt
  • 1/2 teaspoon lemon zest
  • 1 teaspoon lemon juice (I used upwards of 2 tablespoons, but I like a little bit more lemon with blueberries)
  • 2 tablespoons water

Directions:

Add all ingredients to a medium-sized pan.

Turn the heat to medium, and bring the mixture to a boil, stirring occasionally. As soon as it has come to a boil, turn the heat down to a simmer. The fruit will start to release its juices, and soften.

Cook up to 30 minutes (though I did a few minutes longer). The longer it simmers, the smoother the result at the end.

Store in fridge, and eat within a week.

Note: Because I upped the lemon juice, I also had to adjust the sugar by a few tablespoons, and add a dash more salt. Make sure to alter this to your taste preferences. ABT= Always be tasting. Think it needs a pinch more salt? Go for it! Want a little more acidity? Squeeze it in. It's your jam after all!

SOURCE: Food 52 via Phyllis Grant 

Egg-in-a-Hole

DSCN0660 Boy, was I in need of some quick, easy, quality cold-weather comfort food.

This is a cute little dish that I just discovered as I continue my foray into the egg world beyond scrambled. Growing up, we had scrambled eggs with a little salt,, a little pepper, and shredded cheese if you played your cards right. But now, as an adult, I've come to realize that there's a whole world beyond scrambled eggs, and I intend to find it. The fantastic news is: It takes five minutes to make.  Make it for breakfast, make it for a light lunch, or make it for a quick afternoon pick-me-up. It'll pick you up reallll good.

DSCN0655

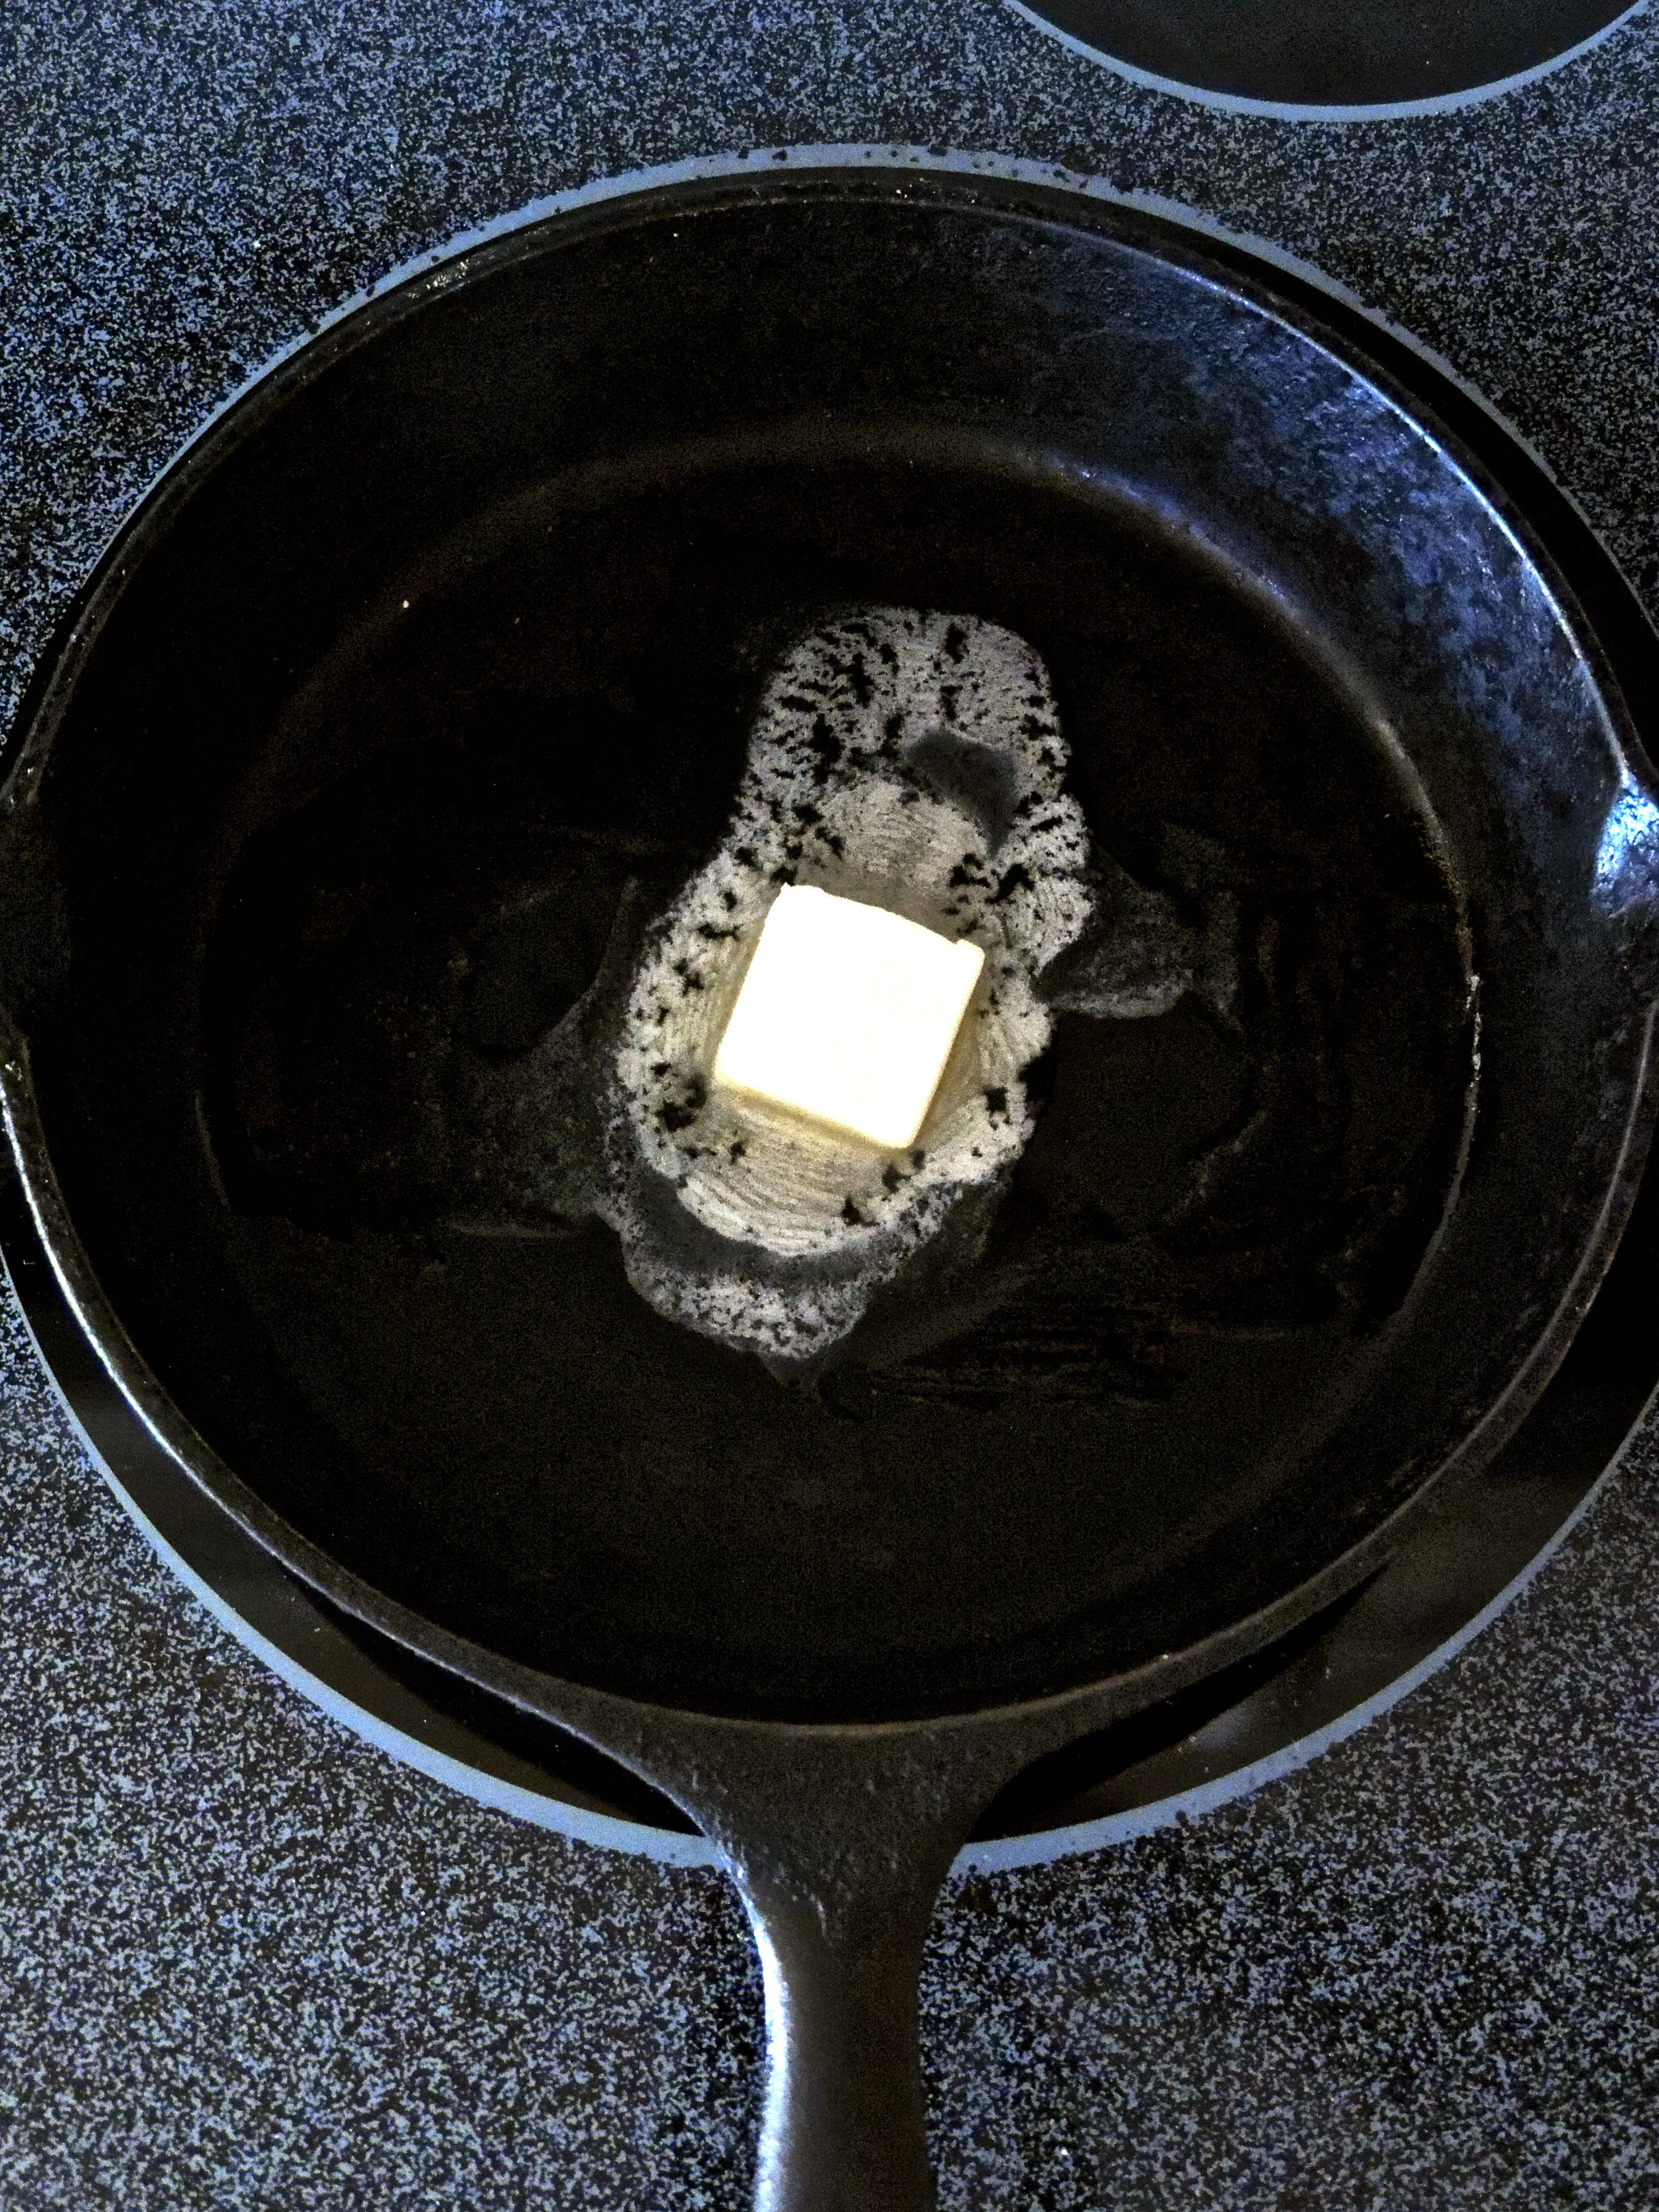
Melt about a tablespoon of butter in a skillet or frying pan. Make sure it's melted all the way and spread out before placing your bread in the pan.

DSCN0656

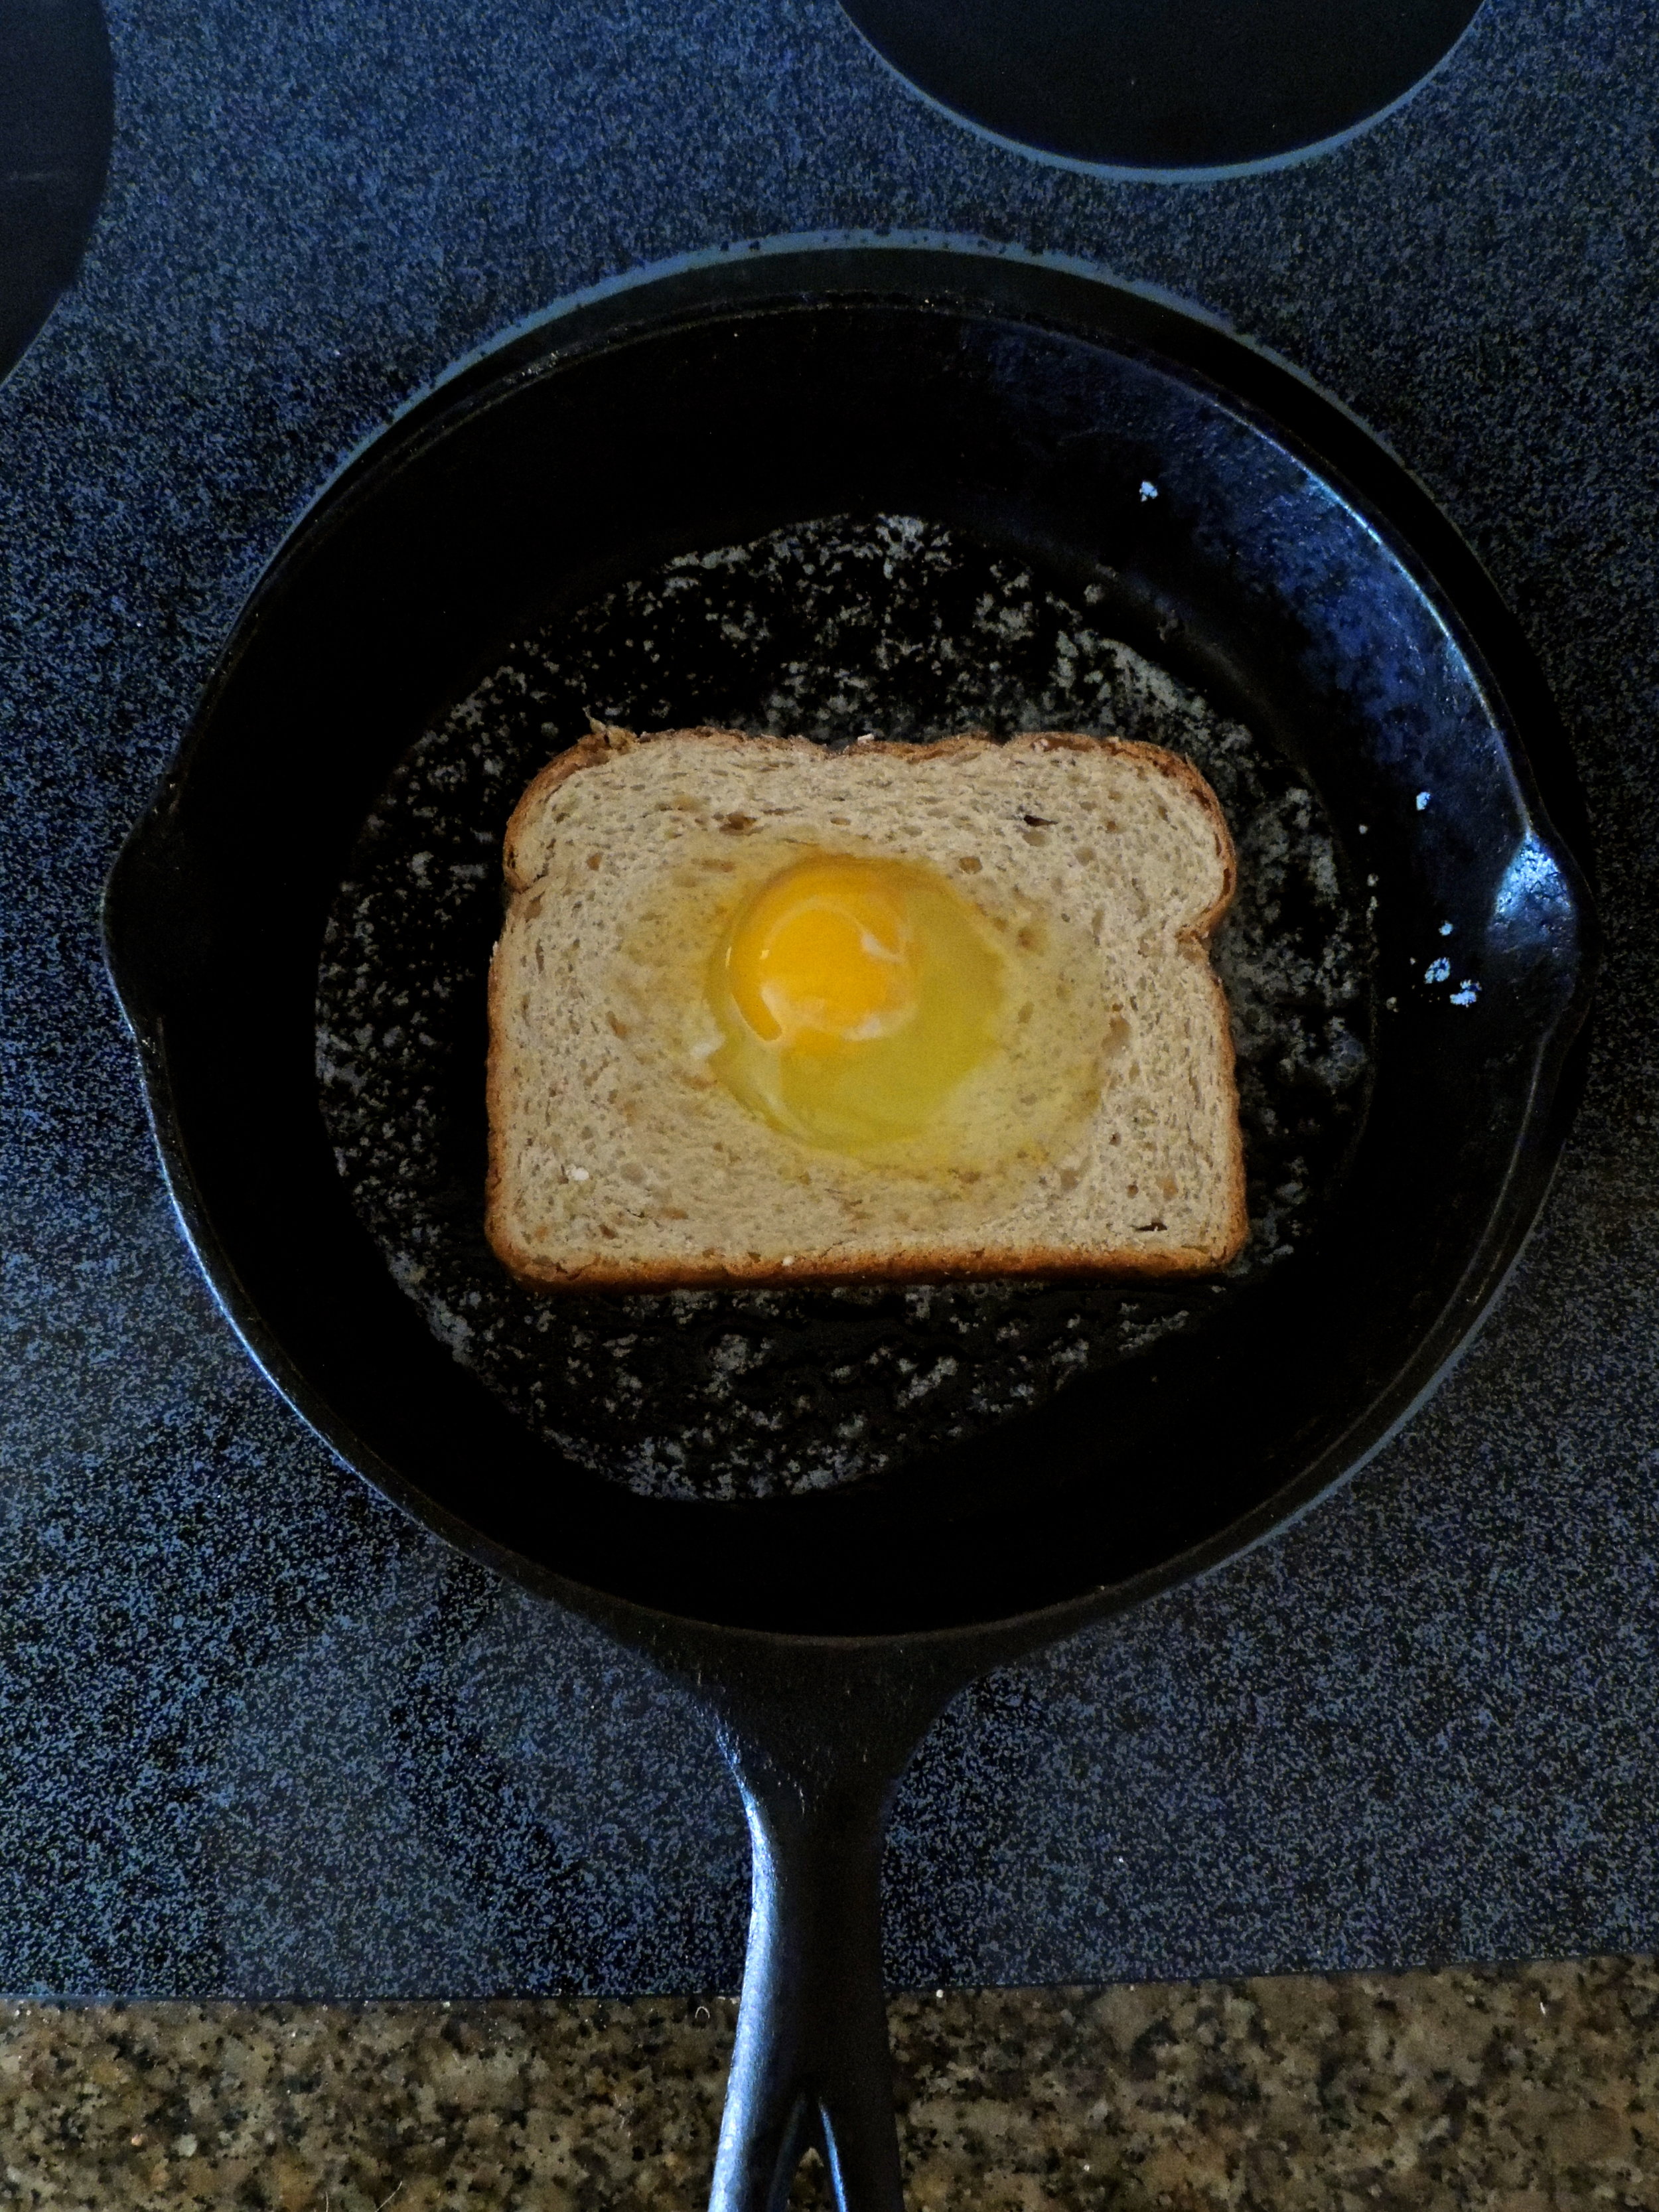
Crack one whole egg into the hole you've made in your bread using a small biscuit cutter (or a small glass). Wait 30-45 seconds before trying to move your bread. Sprinkle salt and pepper to taste.

DSCN0657

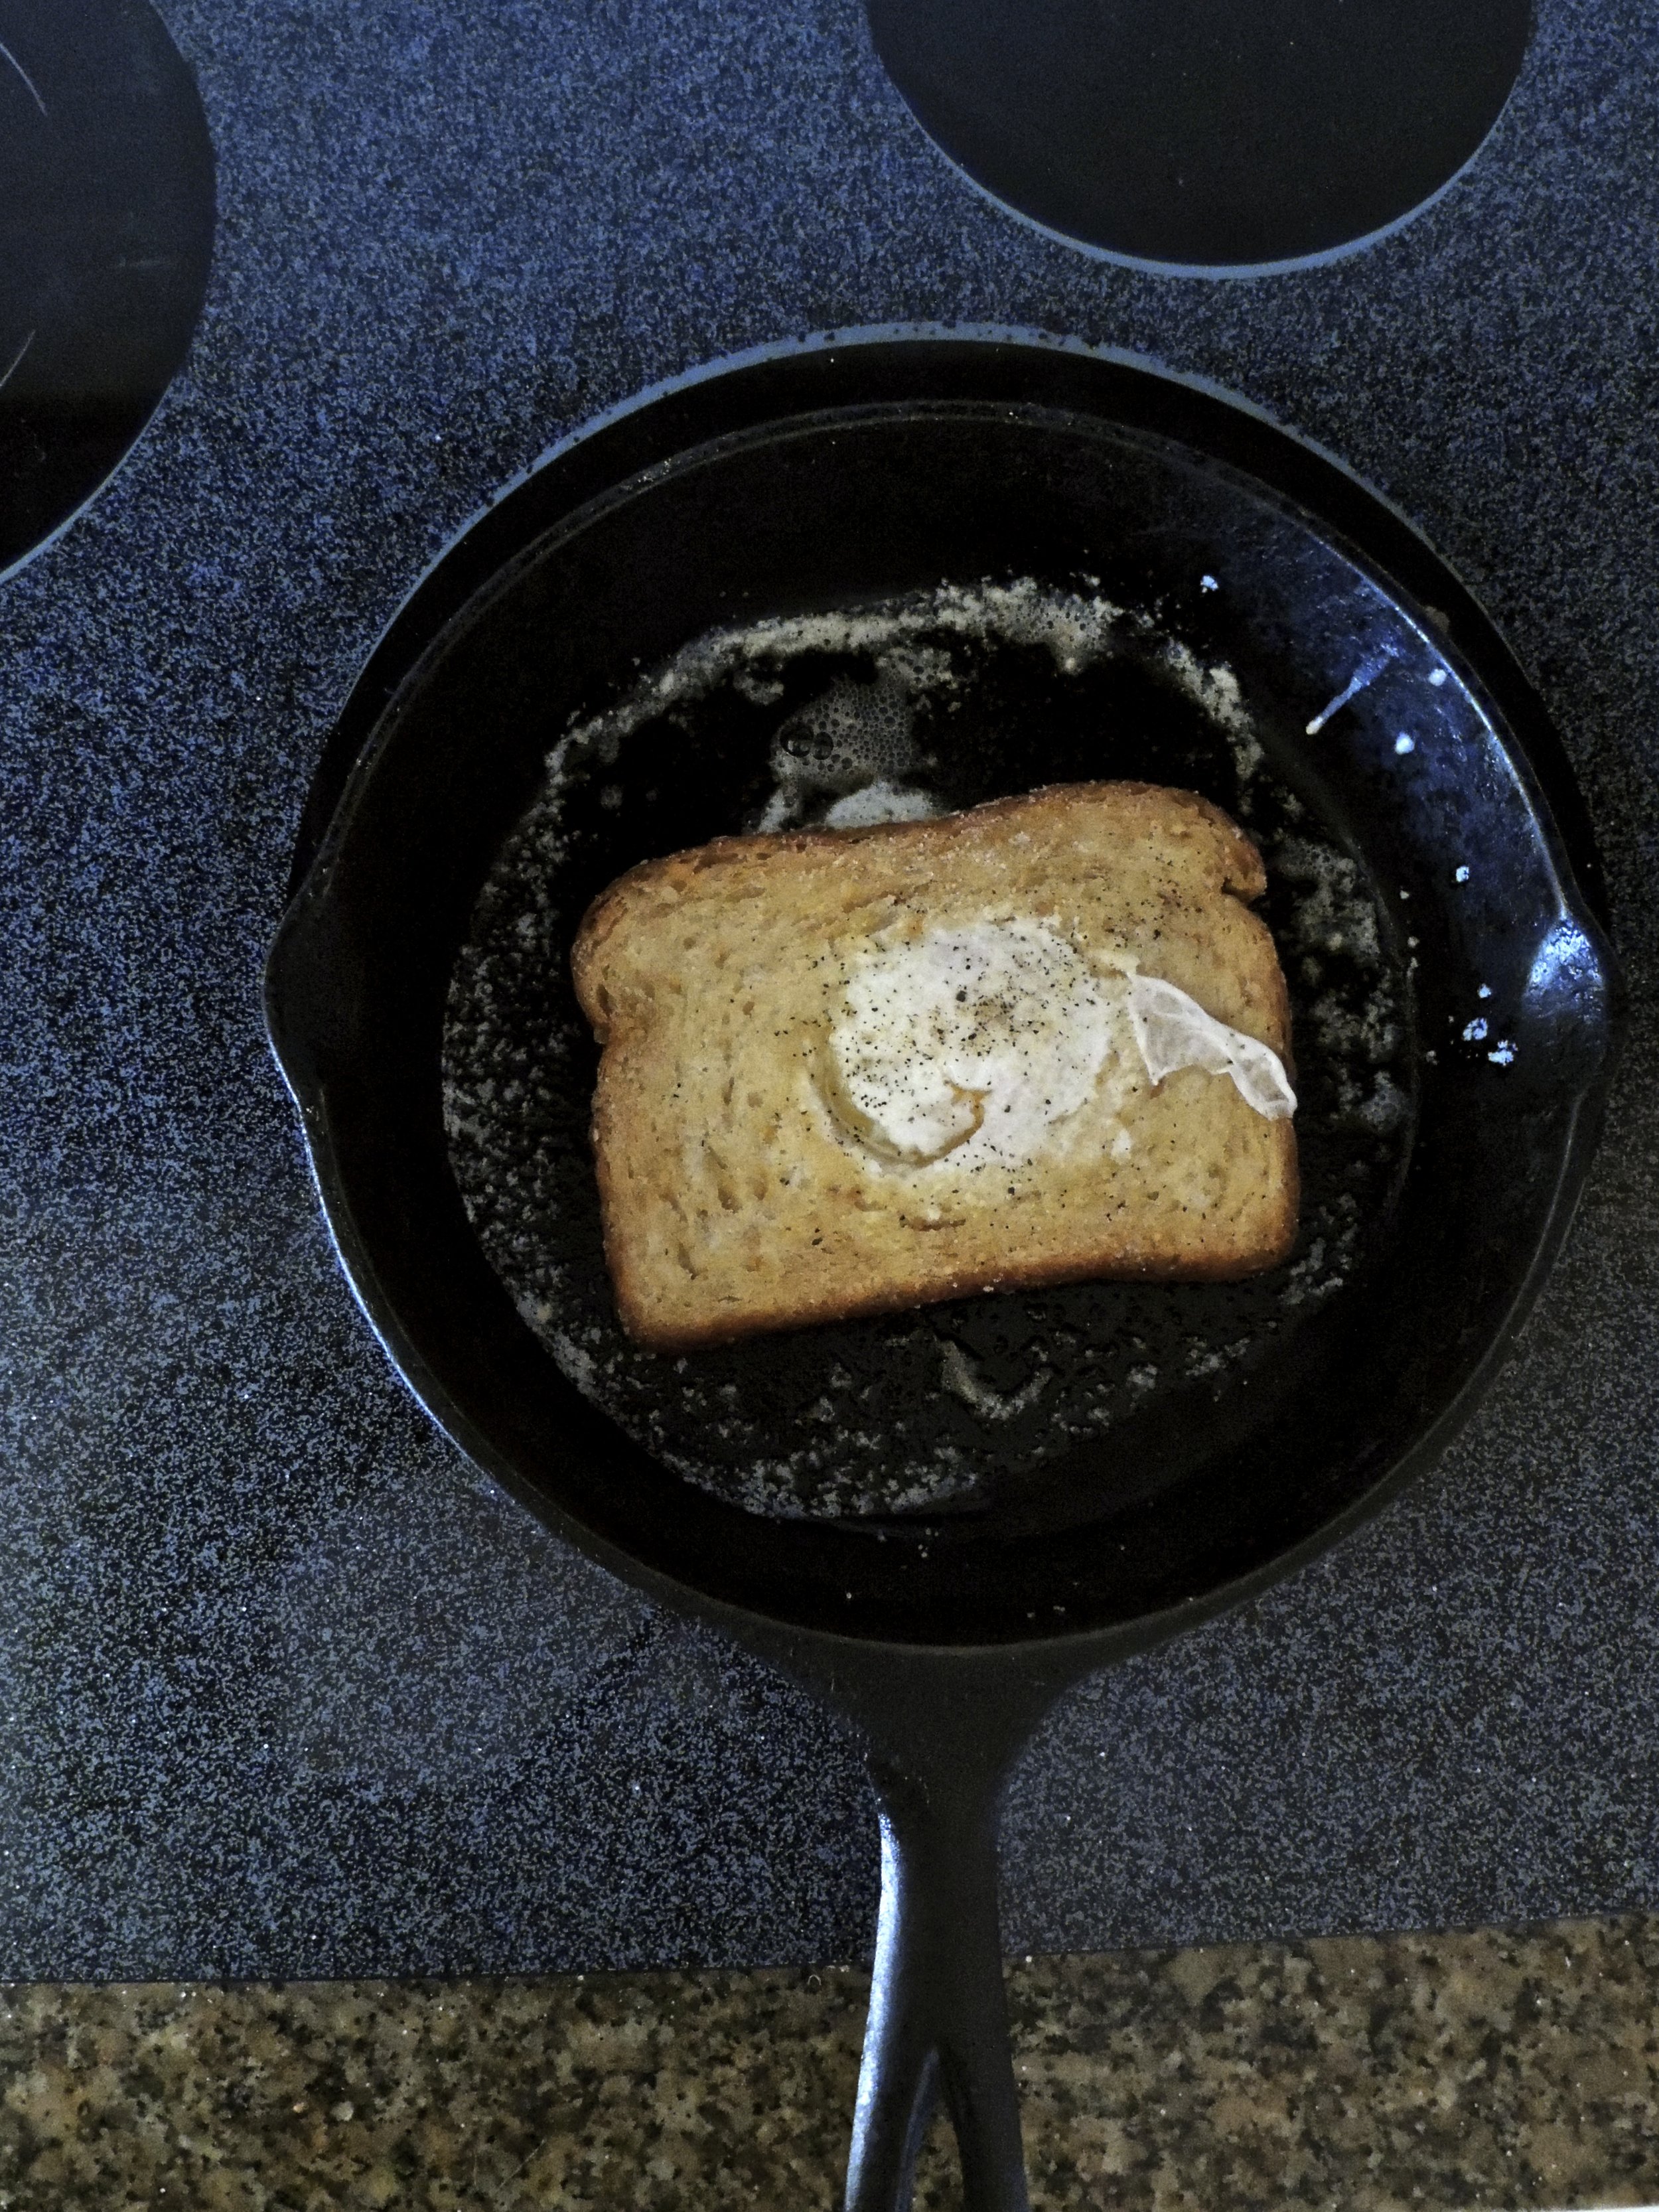
Flip that baby over, and salt and pepper again. Give it another minute. Make sure that bread is soaking up every last bit of the butter in the pan. This bread is crispy, buttery, and what many of my dreams are made of. Make sure your egg yolk jiggles to the touch, but remains intact.

DSCN0659

Eat It up!

It sure is cold up here in the Midwest (and around the country, I've heard!). Sometimes you need a good piece of bread and egg with tons of butter to make you feel just right. Right?

What You'll Need:

  • 1 Slice of Bread (Your choice)
  • 1 Tablespoon of Butter
  • 1 Large Egg
  • Salt to Taste
  • Pepper to Taste

1. Press hole in the center of the bread using a small biscuit cutter or small glass.

2. Heat skillet or frying pan on medium-low heat, and melt your butter.

3. When the butter has melted completely and has spread out, place your bread in the skillet. Crack your egg straight into the center of the hole of your bread. Sprinkle the egg with salt and pepper to taste. Be sure to wait 30-45 seconds before attempting to move your bread.

4. After a minute, flip your bread over with a spatula, then sprinkle salt and pepper again to taste.

5. Make sure your bread is soaking up all of butter in the pan by moving it around the skillet if you can. Let your bread and egg cook until the yoke feels soft to the touch, but remains intact.

SOURCE: The Pioneer Woman 


Why didn't I know about this sooner?

singature gray

Ladies' Brunch!

  photo

I'd been itching to have a party for a while, so when my friend Grace mentioned an article she'd seen solely devoted to french toast recipes, I knew that a Ladies' Brunch was definitely in order.

As much as I love cooking and baking, I almost never do it for myself. Cooking for one can be a little depressing, so when given the chance to cook for others, I dive head first. All the bases were covered: a cheese plate, (a chalkboard plate I got on sale at Crate and Barrel!) a Florentine Fritata (I got the recipe from Breakfast for Dinner),  delicious and crispy brioche french toast with baked berries and maple syrup (curtesy of Grace!), and last but certainly not least, fresh and giggle-inducing grapefruit mimosas! At my house, you go big with brunch, or you go home.

photo

A good brunch always needs fresh flowers. It brightens up any room, and reminds you that Spring has sprung, and you must embrace it.

photo


Trader Joe's actually has a great selection of cheeses from all over the place, for excellent prices. My local grocery store was trying to charge me almost double, for less product. I don't think so!

photoIt took me 20 minutes to make the mimosas, and I had the best time doing it. Cutting up those grapefruits made the house smell so wonderfully citrusy.


photo

I thank my lucky stars everyday that I decided to keep the champagne glasses I impulse bought at Goodwill last year. I hardly ever use them, but when the time comes, these beauties come in absolute handy.

photo

I've caught the entertaining bug, and I'm thinking a nice, classic dinner party is next!


Grapefruit Mimosas

What You'll Need:

1 750 ml bottle of Prosecco, chilled

4 large grapefruits (should make 3-3.5 cups of grapefruit juice)

Optional Sweetener or Simple Syrup


1. Fill a large pitcher with your freshly squeezed and chilled grapefruit juice, then add the prosecco. (Make sure your pitcher is big enough to handle both the juice, and the contents of the bottle, plus the foam. The foam is what ties it all together!)

2. Add sweetener to taste. (I added a couple spoonfuls of granulated sugar)


Yields about six servings

Source: Jason and Shawnda


If loving brunch is wrong, then I just don't want to be right.

singature gray


Learning the Language of Latkes

For three weeks I've had one dish on my mind: latkes. So what is a latke you ask? For those who don't know, here's an official definition:

Noun
(in Jewish cooking) A pancake, esp. one made with grated potato.

Now here's my (unofficial) definition:

Noun

Circular potato pancake of deliciousness. 

I am officially on break for a month, thus: the perfect time to start cookin'! And boy, was this dish an easy blast!

Here we go!

DSCF0471

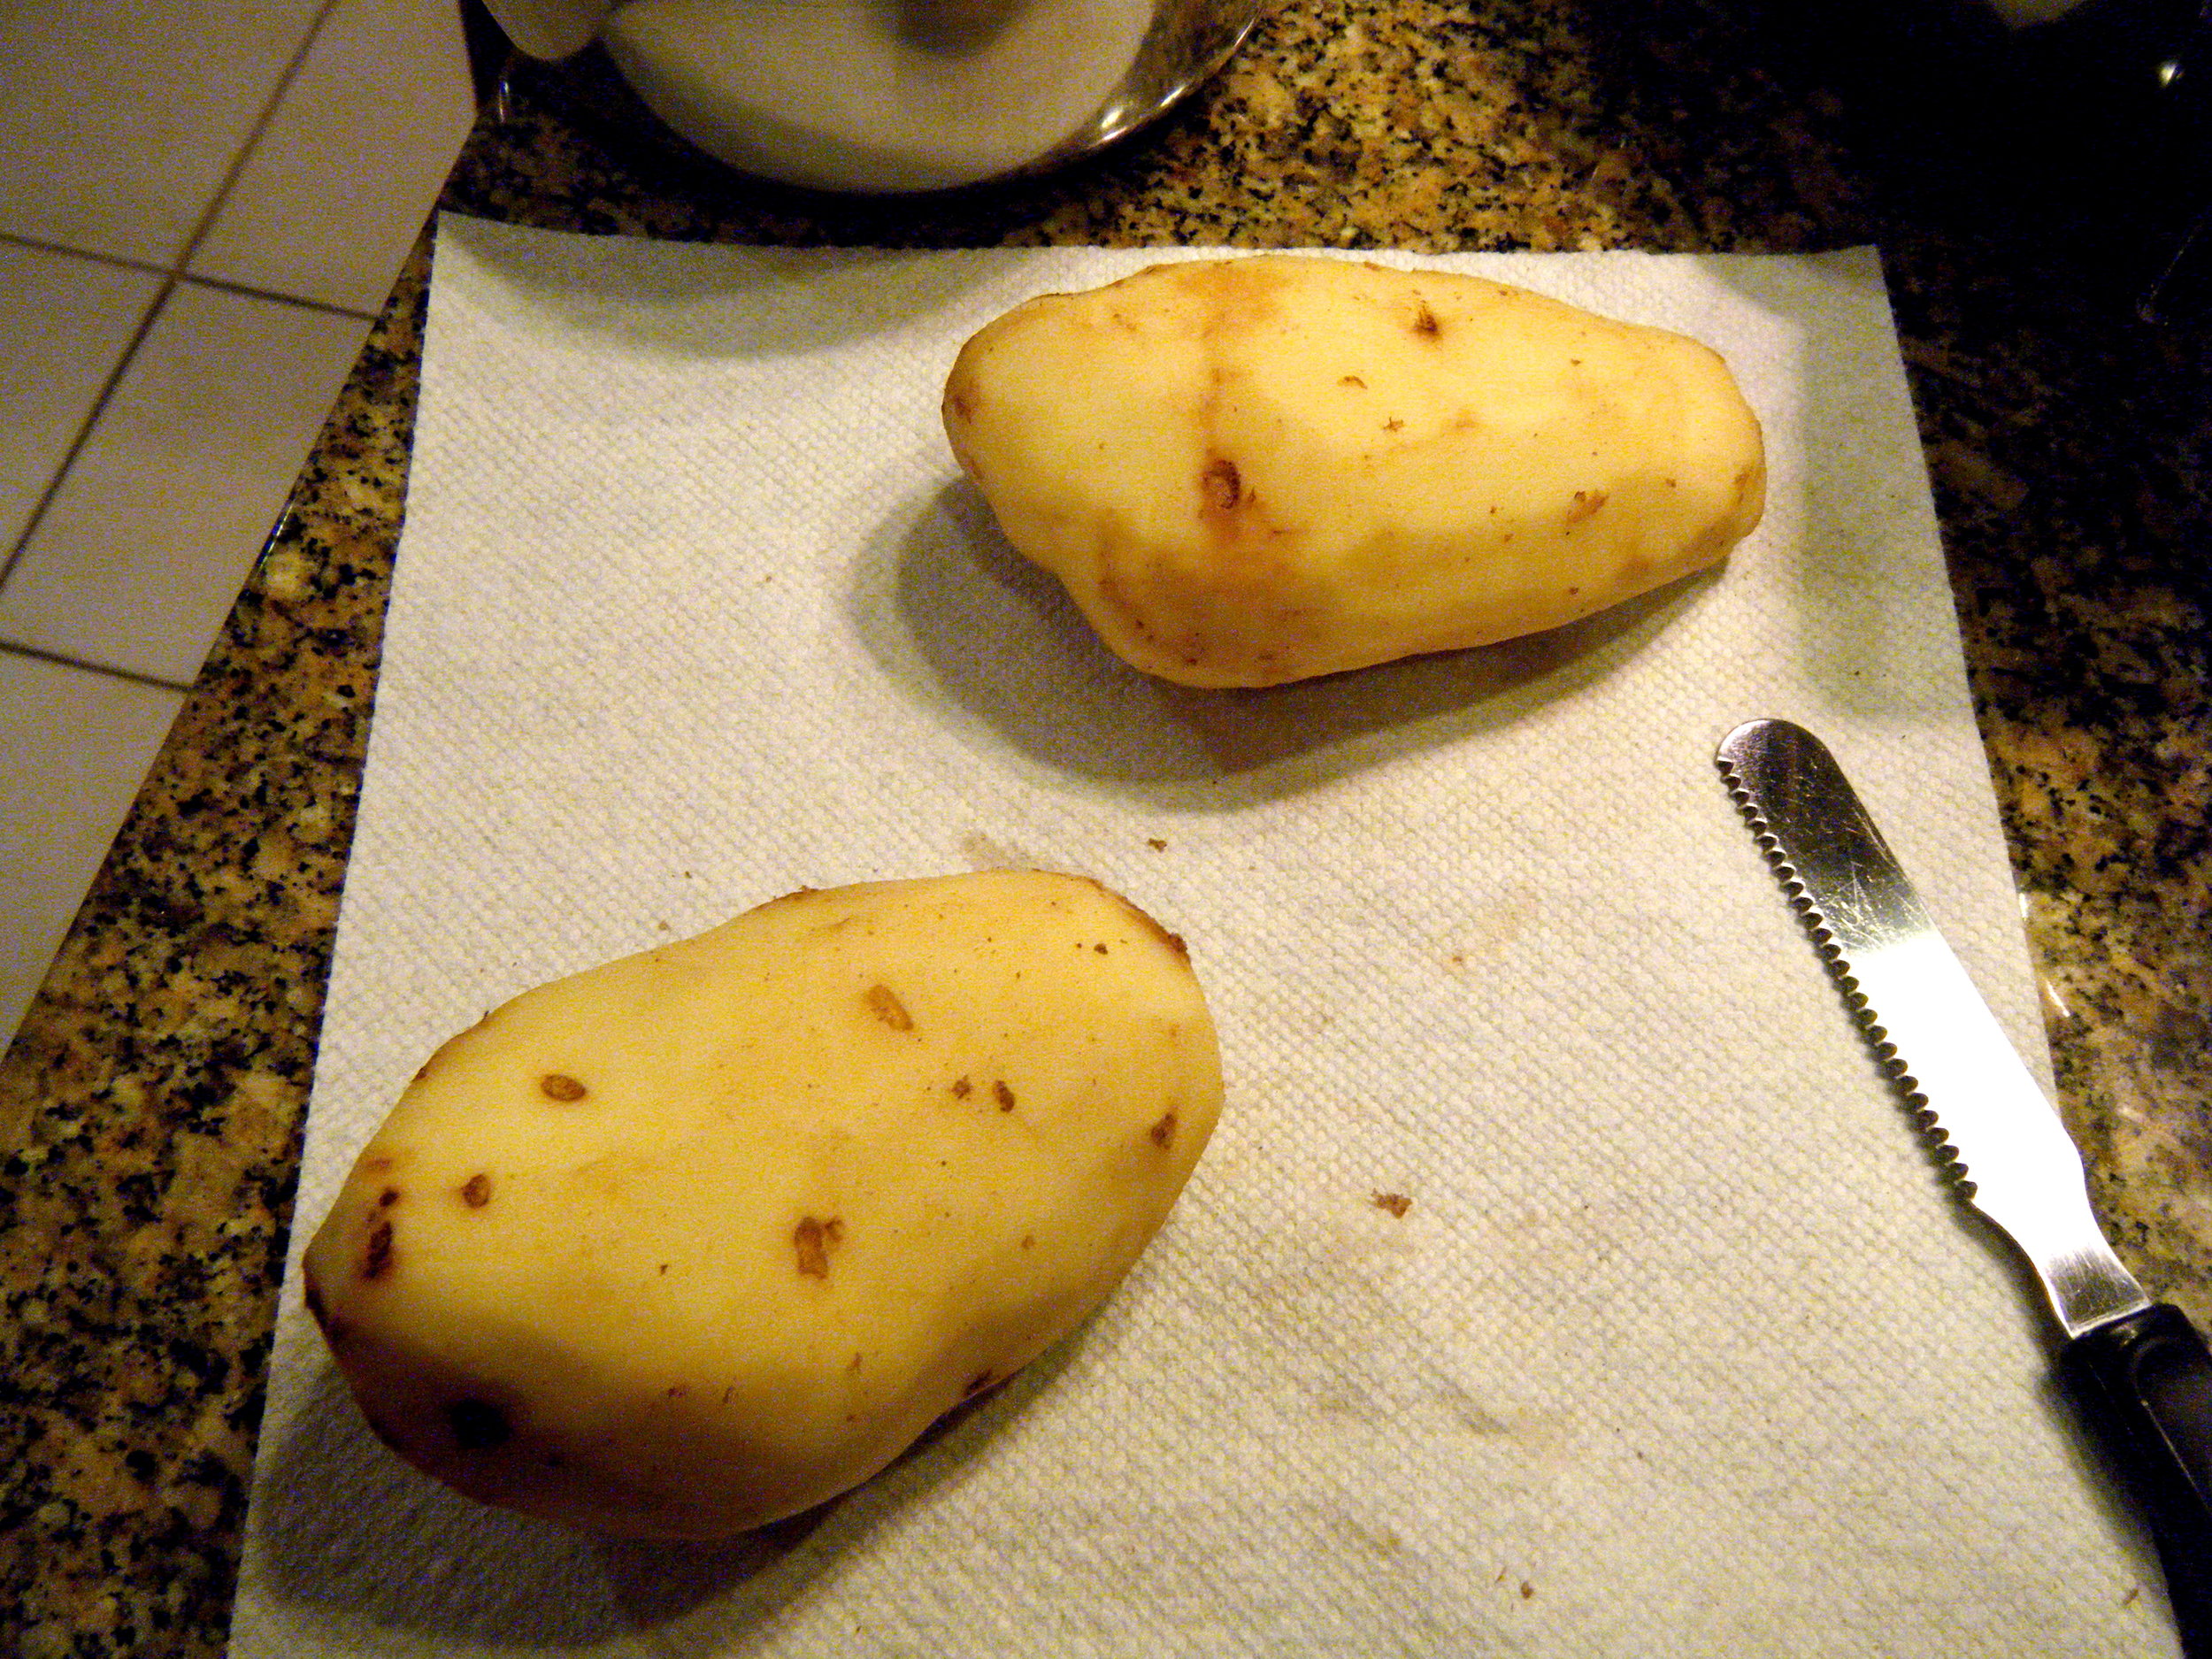
It took me absolute ages to peel these potatoes, but I made it happen! A good vegetable peeler is an essential tool for the kitchen. Without it, I would have used that knife, and I'd probably still be peeling. (Okay, honestly, the peeler probably just saved me 10-15 minutes tops.  Still!)

DSCF0472

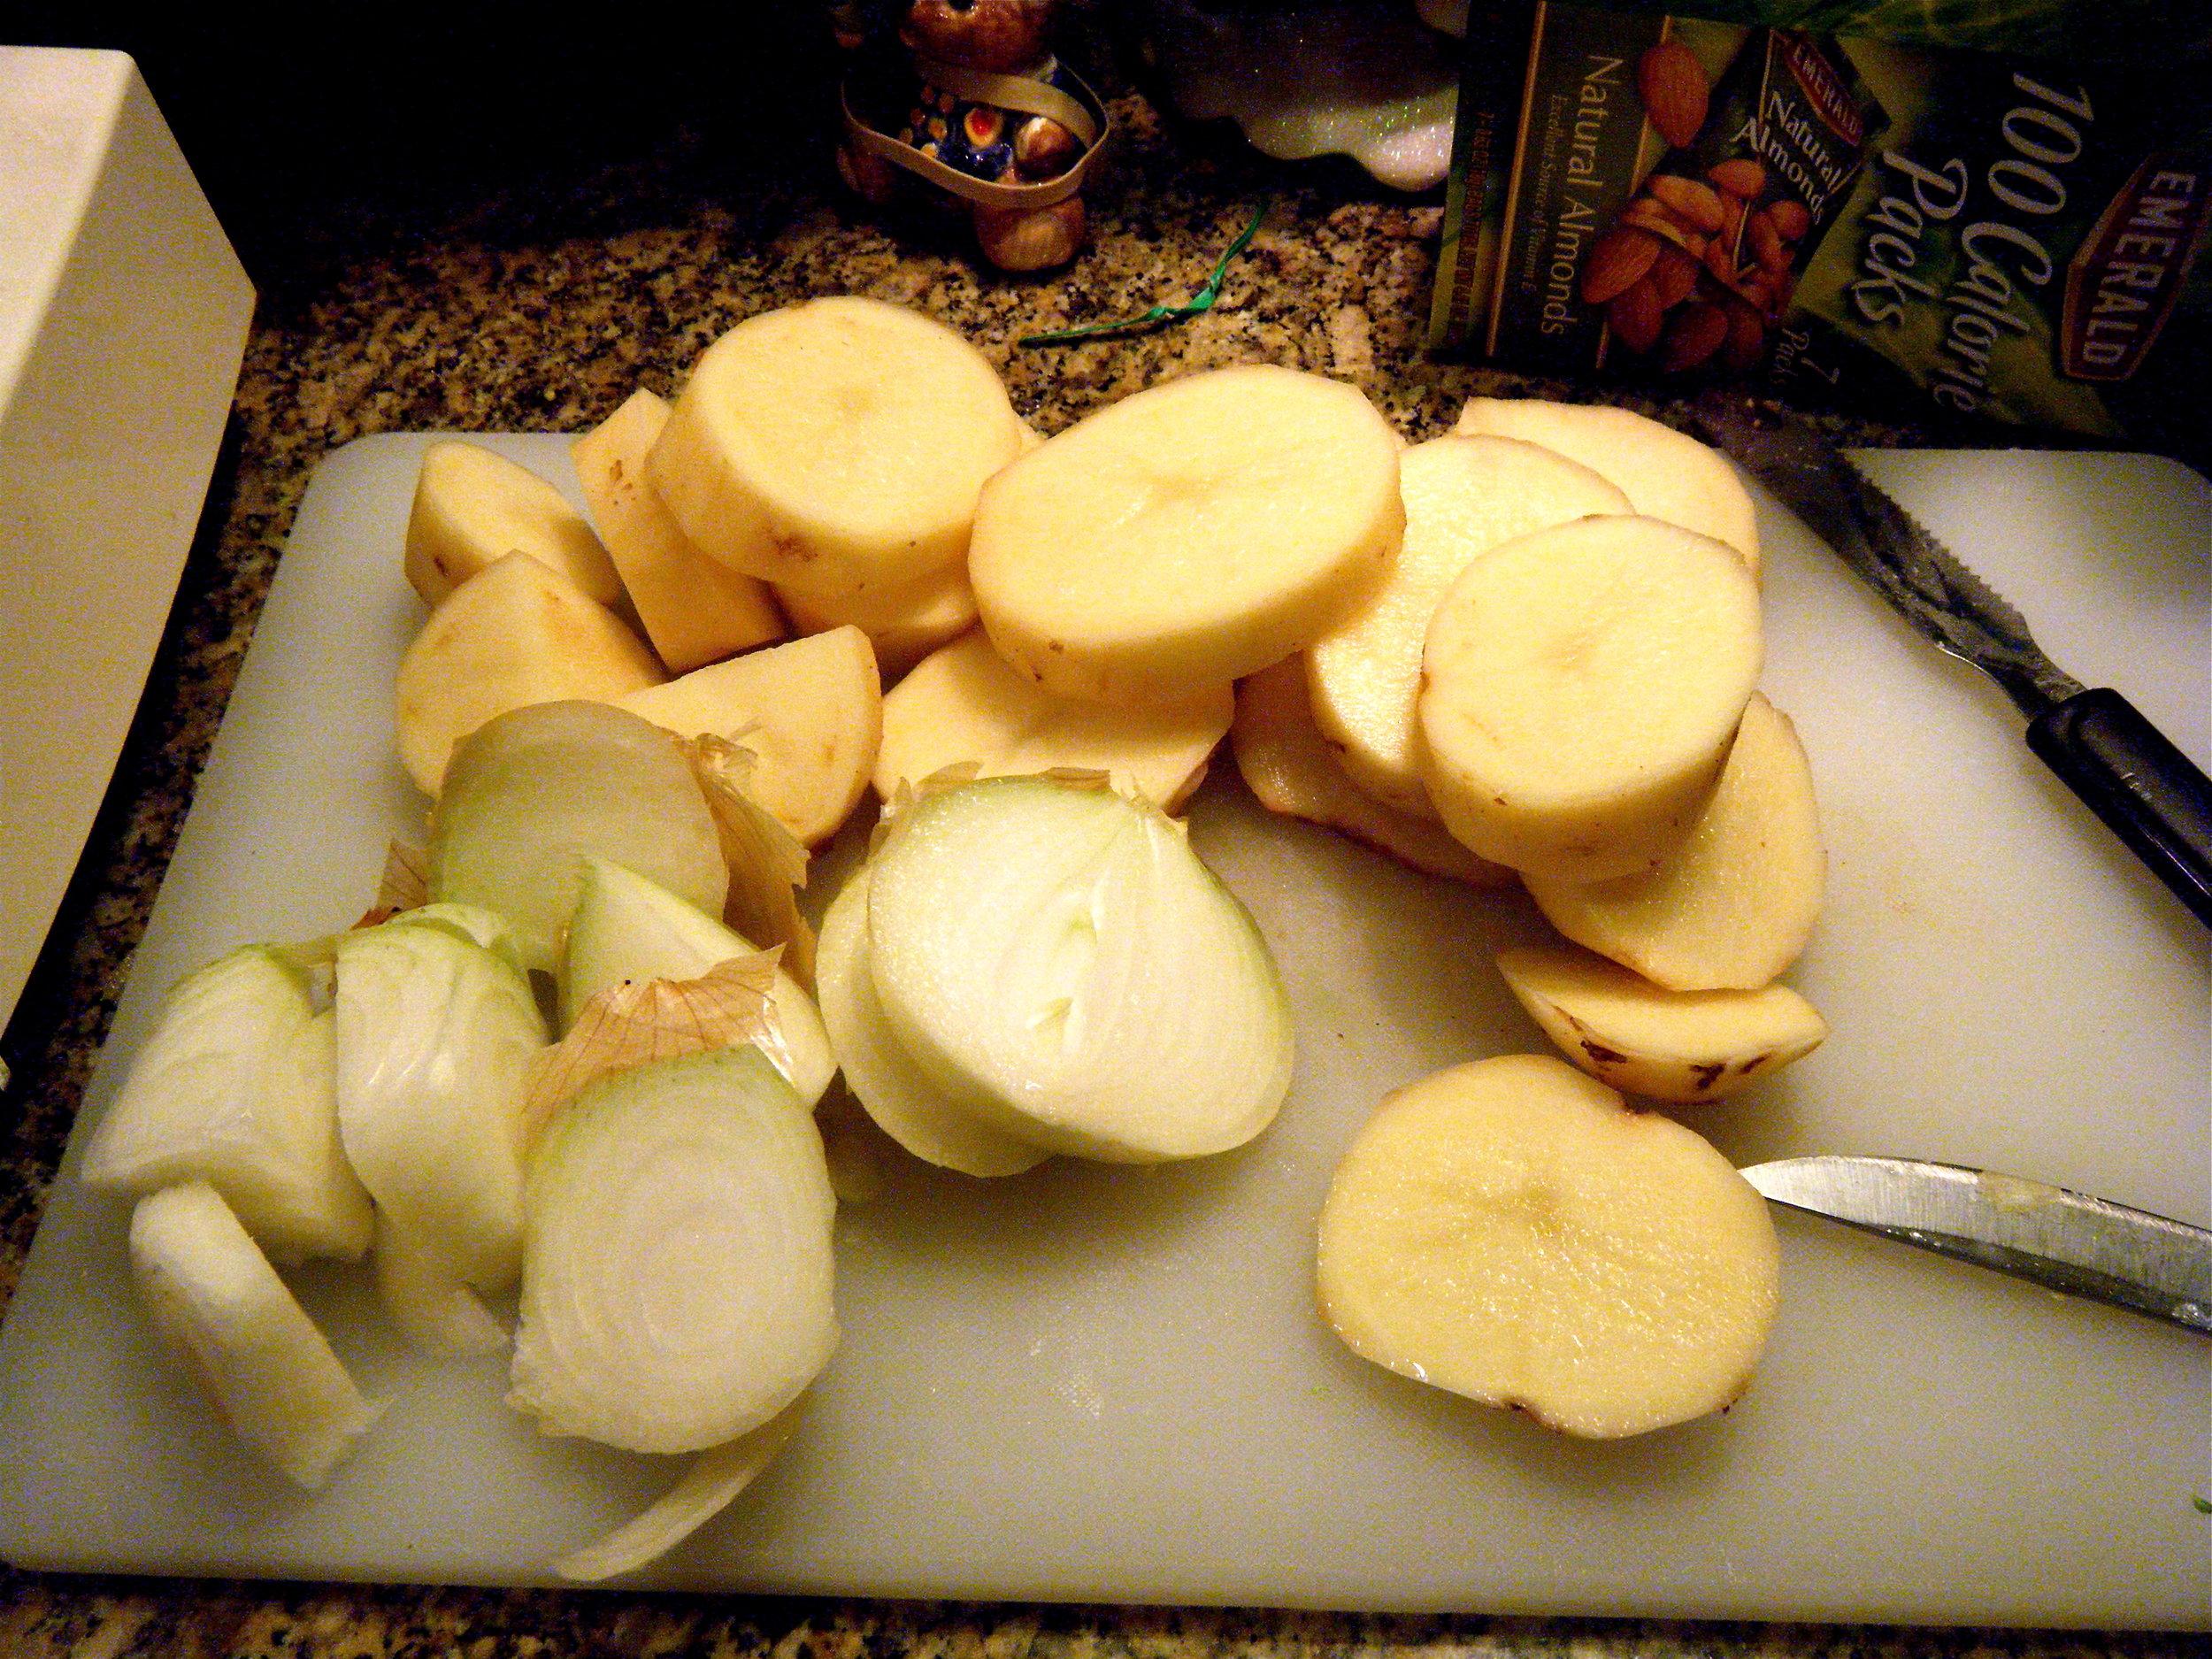
Next, in order to fit the onions and potatoes into the food processor for shredding, I had to cut them up into little pieces. I'm happy to announce that the onions did not sting my eyes, as they usually do. I don't normally have access to food processors at my apartment, so using one definitely saved me some time. If you've got one, use it. Some recipes call for graters, which I'm sure work fine, but if you're planning on making latkes for a dinner party, or planning on having leftovers, a food processor is the way to go.

DSCF0477

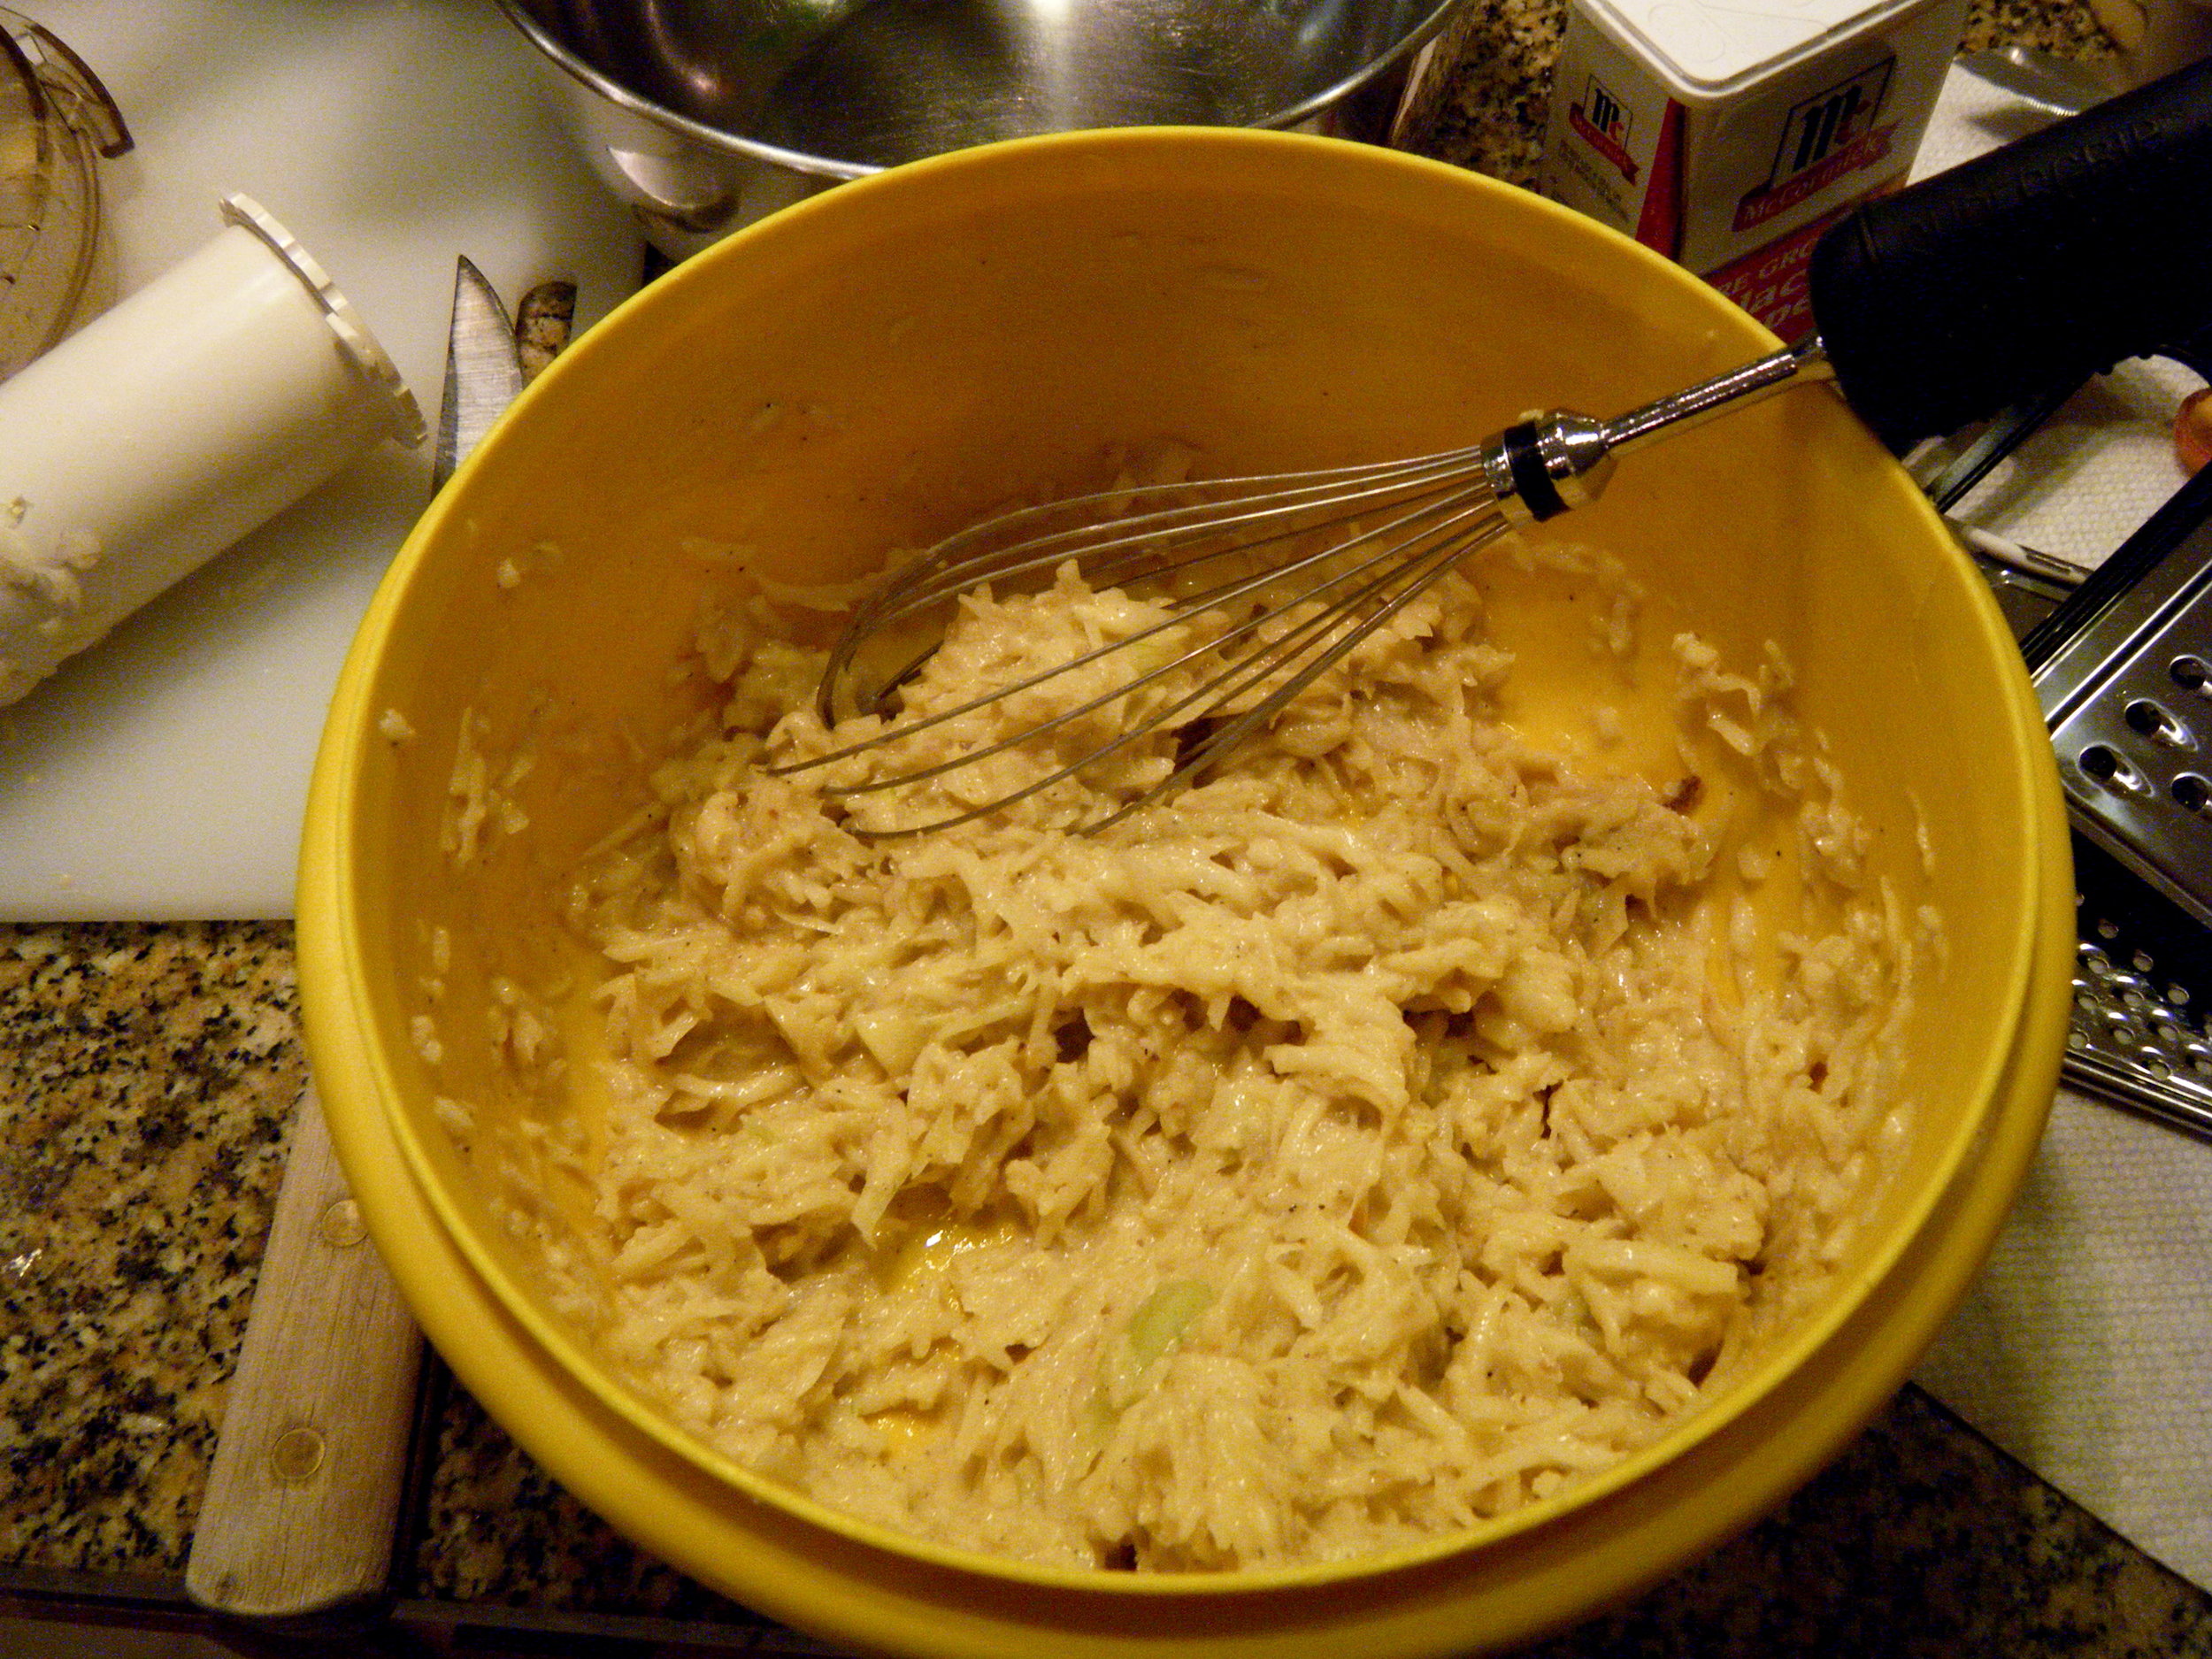
The recipe calls for 1/4 cup flour, 1 teaspoon salt, 1/4 teaspoon pepper, and one large egg, but since I used two potatoes, I ended up doubling the recipe. Adding the freshly shredded and drained potato/onion mixture to the...well, mix, I whisked it all together until everything was coated.

DSCF0478

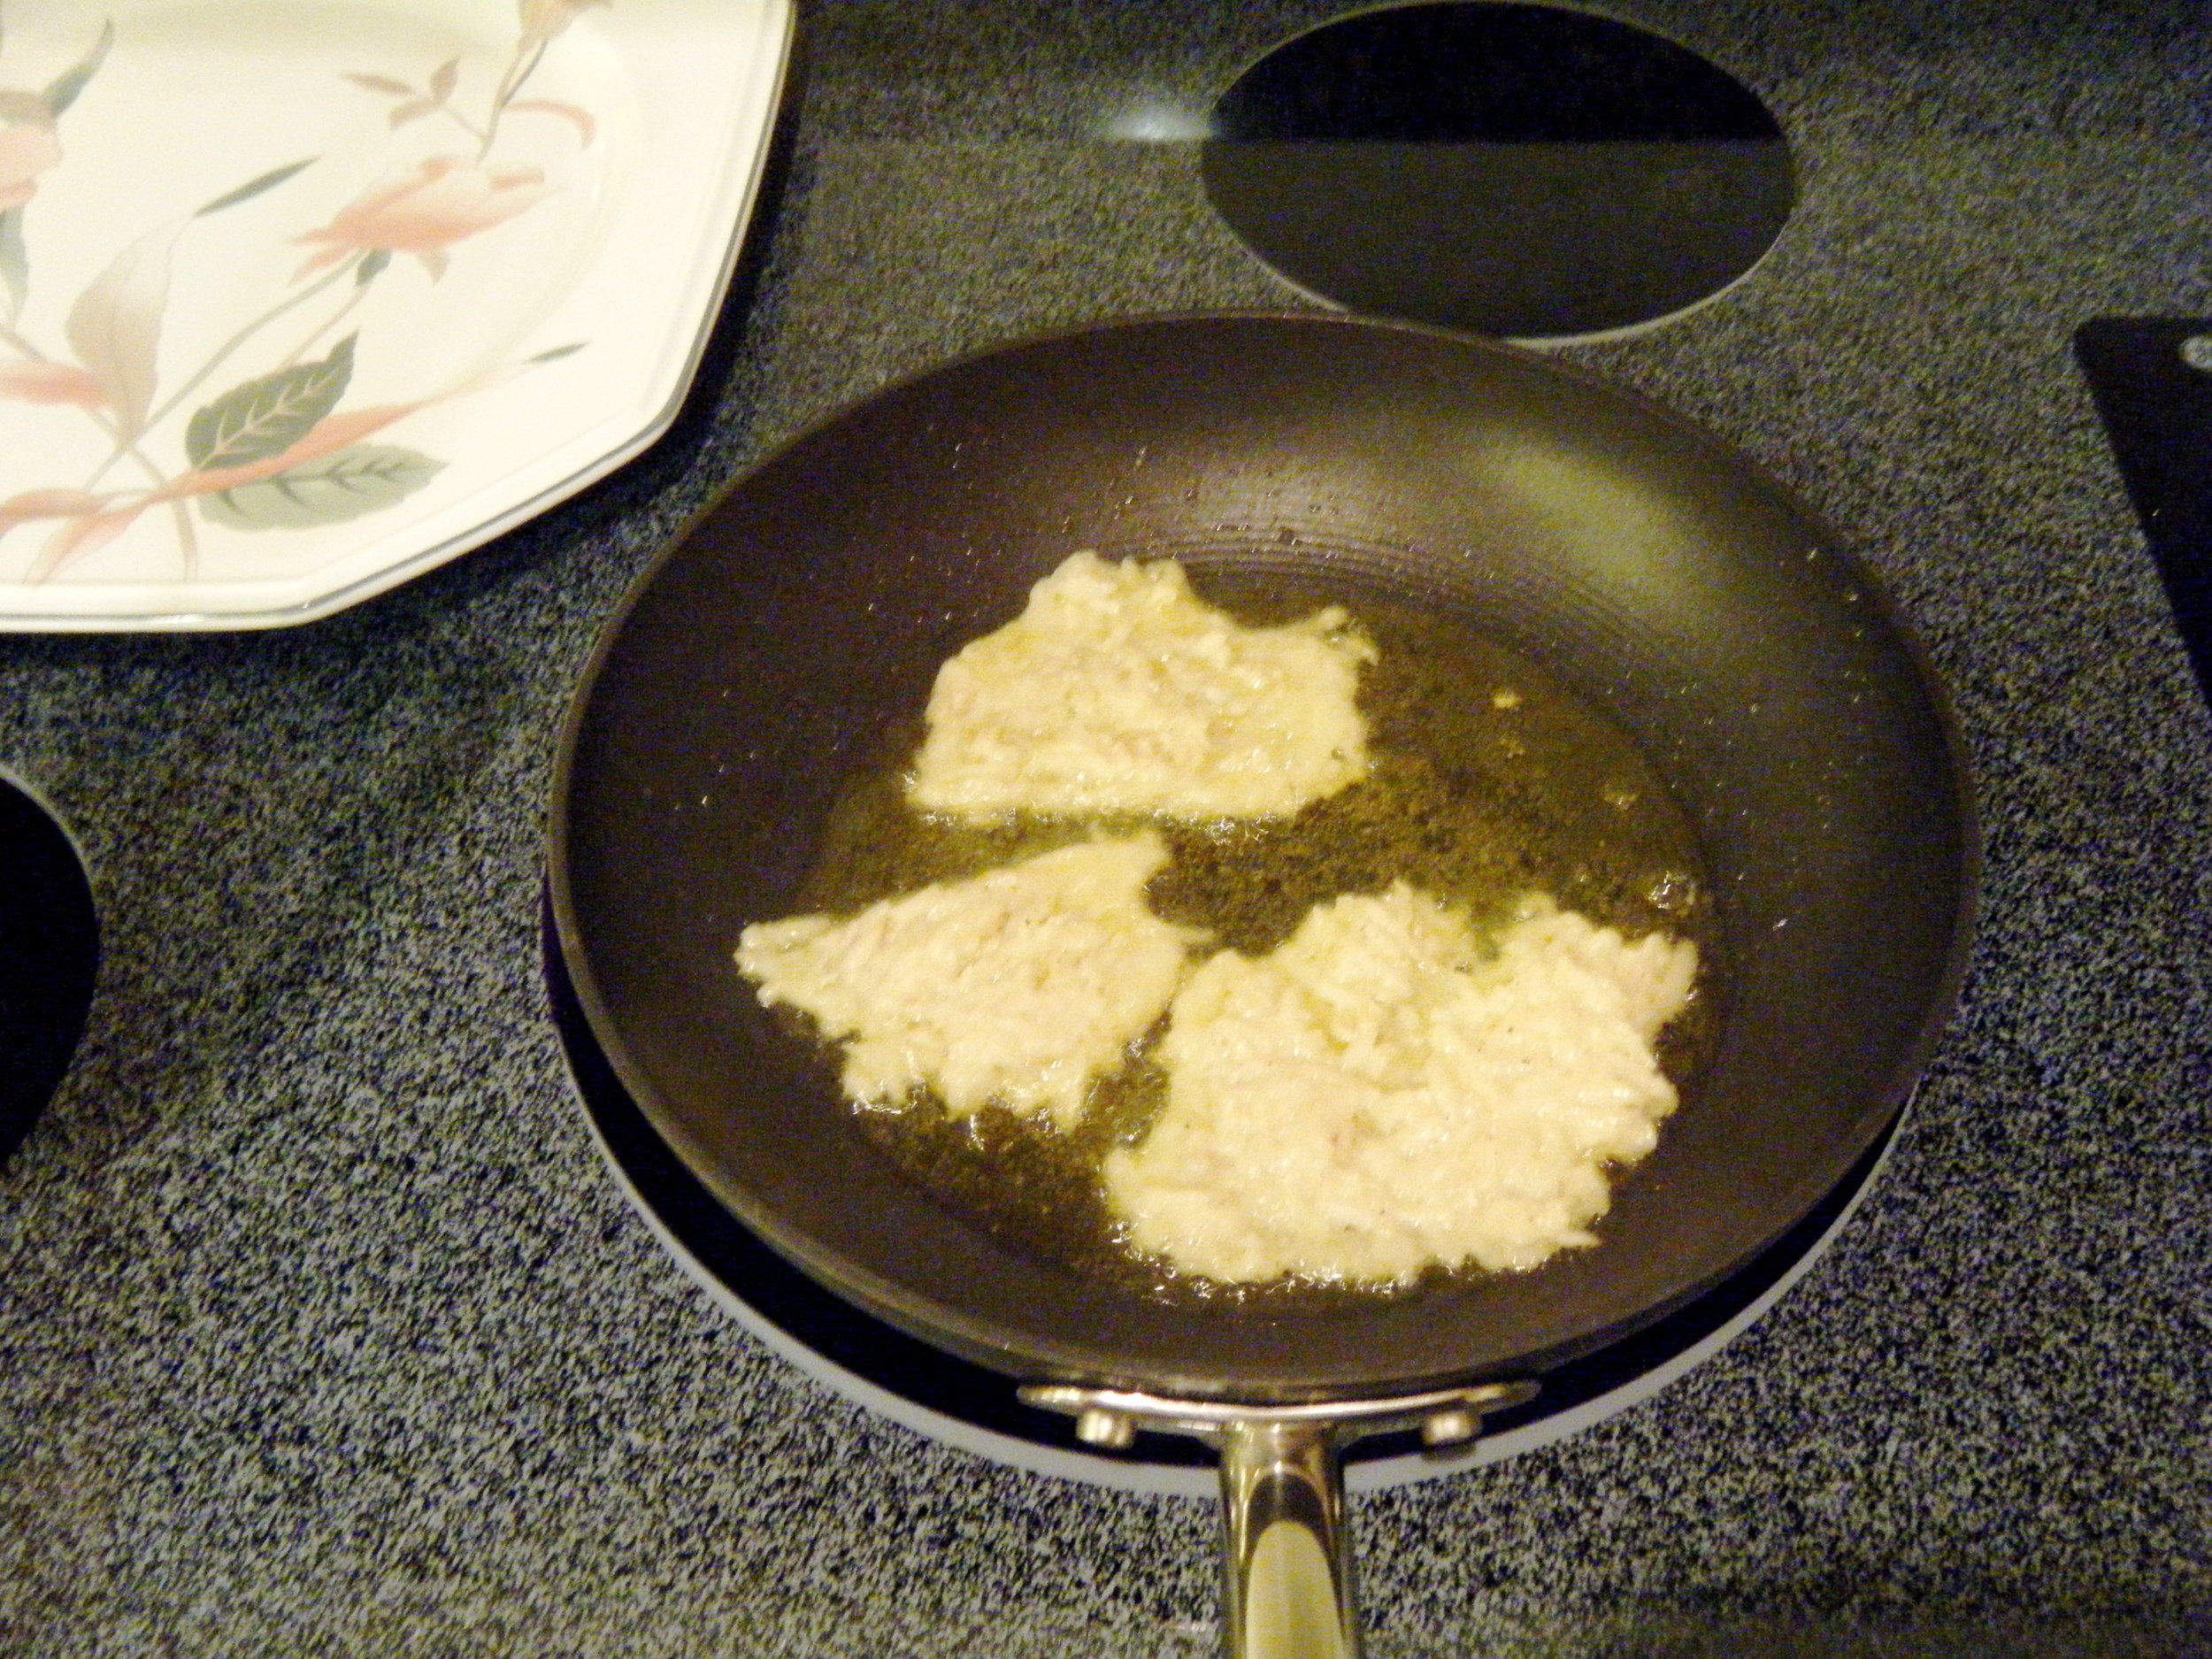
Latke time! Here's what I learned:

1. When the recipe tells you to scoop a mere teaspoon of latke mix into a pan, do it. I decided to take spoonfuls because I wanted bigger cakes, but that was a MISTAKE. They cooked slower than I wanted, and I just didn't feel in control at all.

2. Although the recipe called for peanut oil, I found that extra virgin olive oil does the trick nicely as well.

3. You'll have to use more oil than what the recipe suggests.

DSCF0479

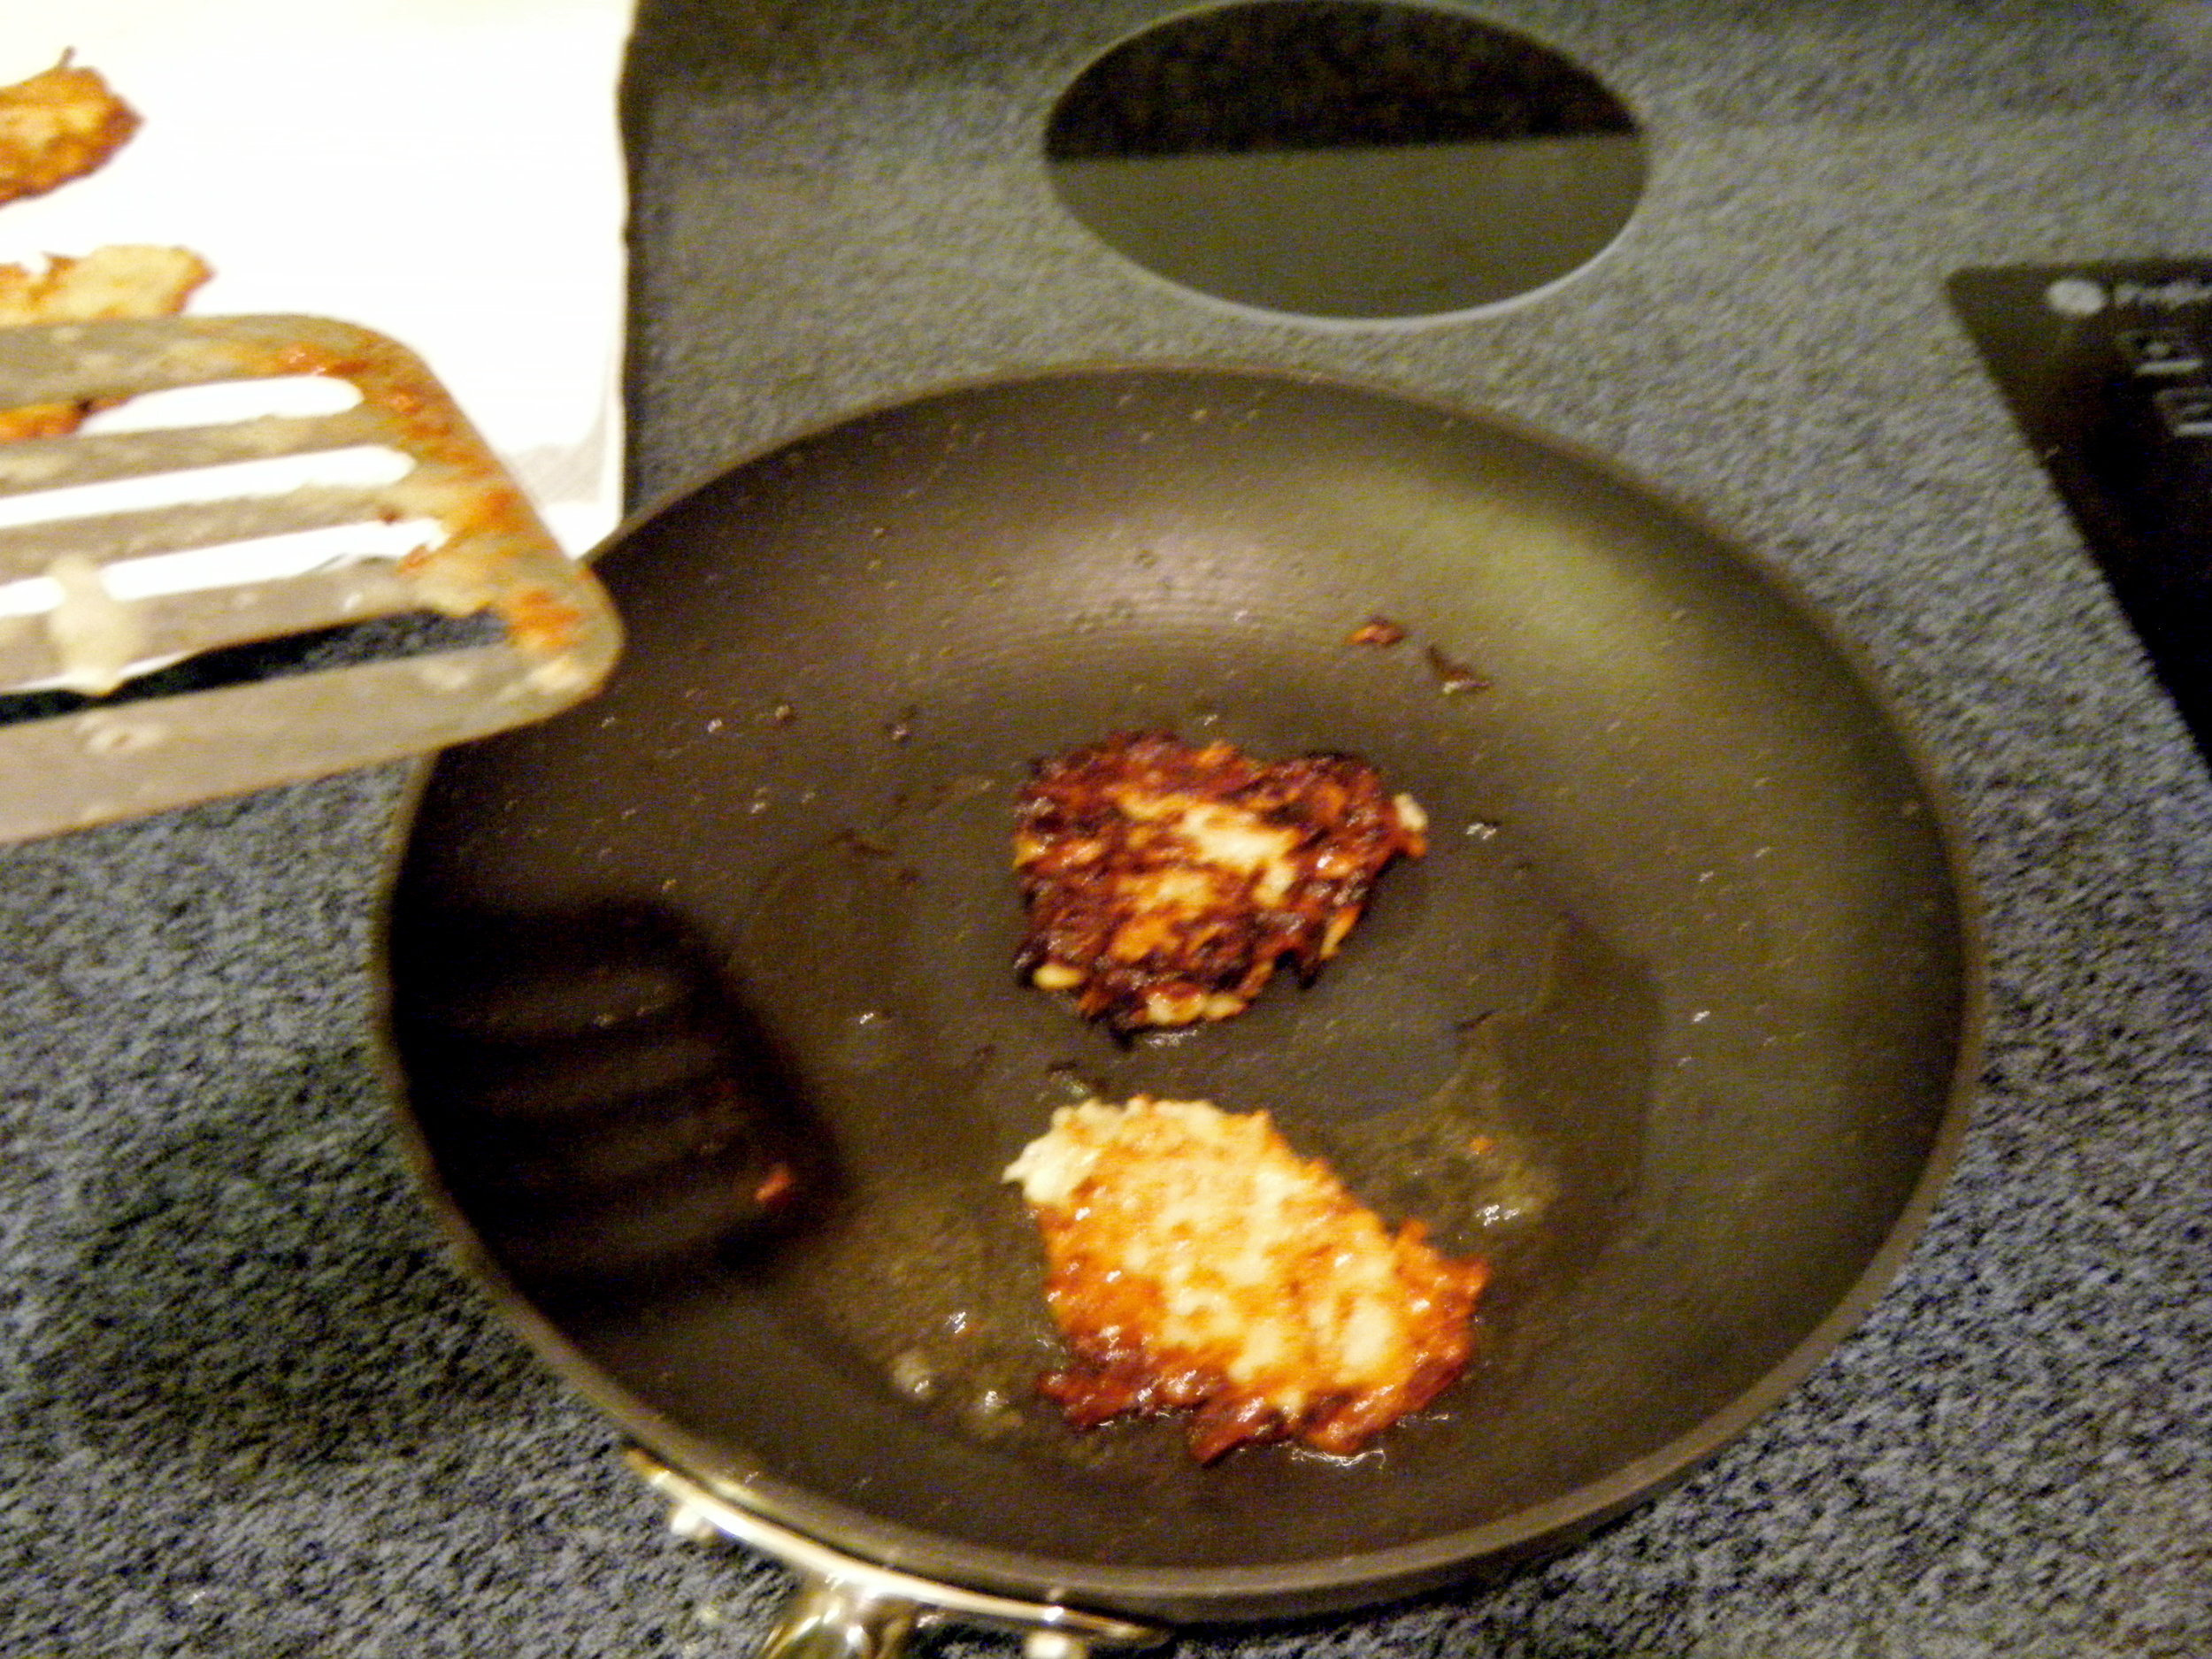
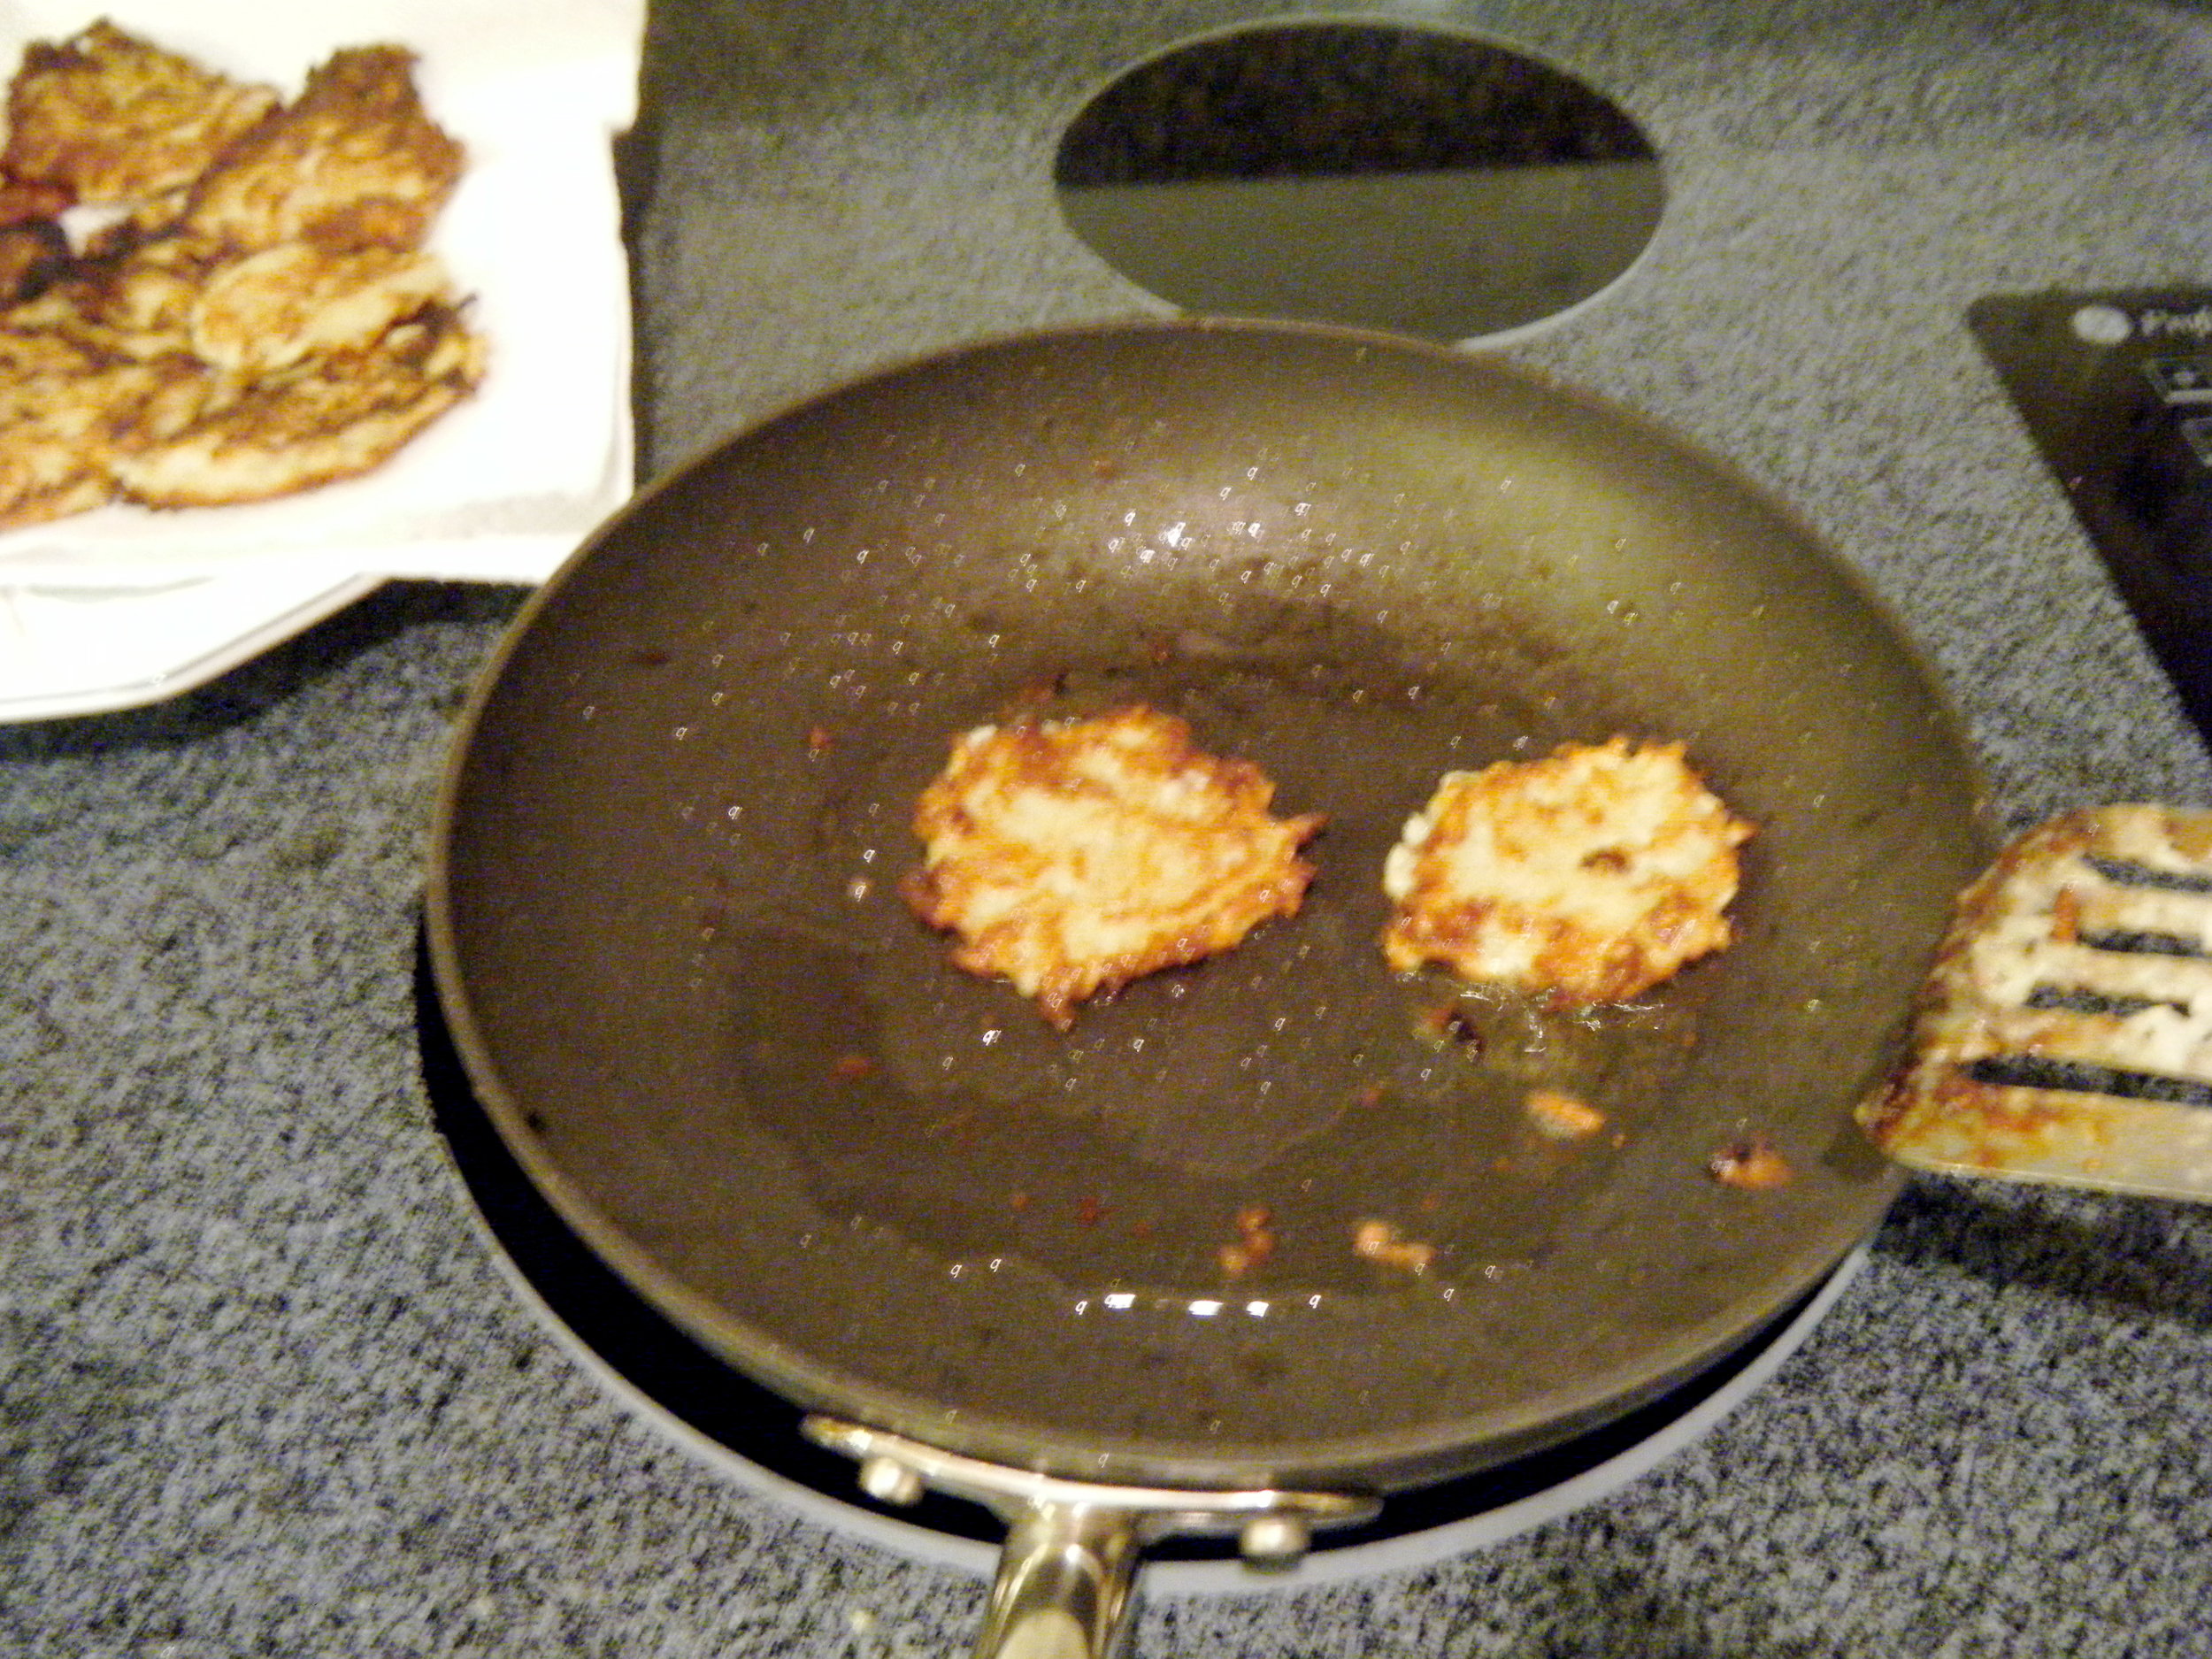
Here, I finally started to get the hang of it. (Notice that I heeded the recipe's advice and lessened my spooning size. )

DSCF0480

FINALLY, FINALLY I got it! Perfect size, good crispness. What I learned:

1. YOU MUST WATCH THESE CAREFULLY. These cakes are much smaller, and significantly thinner, so they crisp before you know it. One minute is a pretty solid amount of time, but every cake crisps differently.

2. If you've got an electric stove like I've got at home, the heat should be at about 6. If you've got a gas stove like I've got at my apartment, 5 or 6 is probably a good, safe place to remain.

DSCF0481

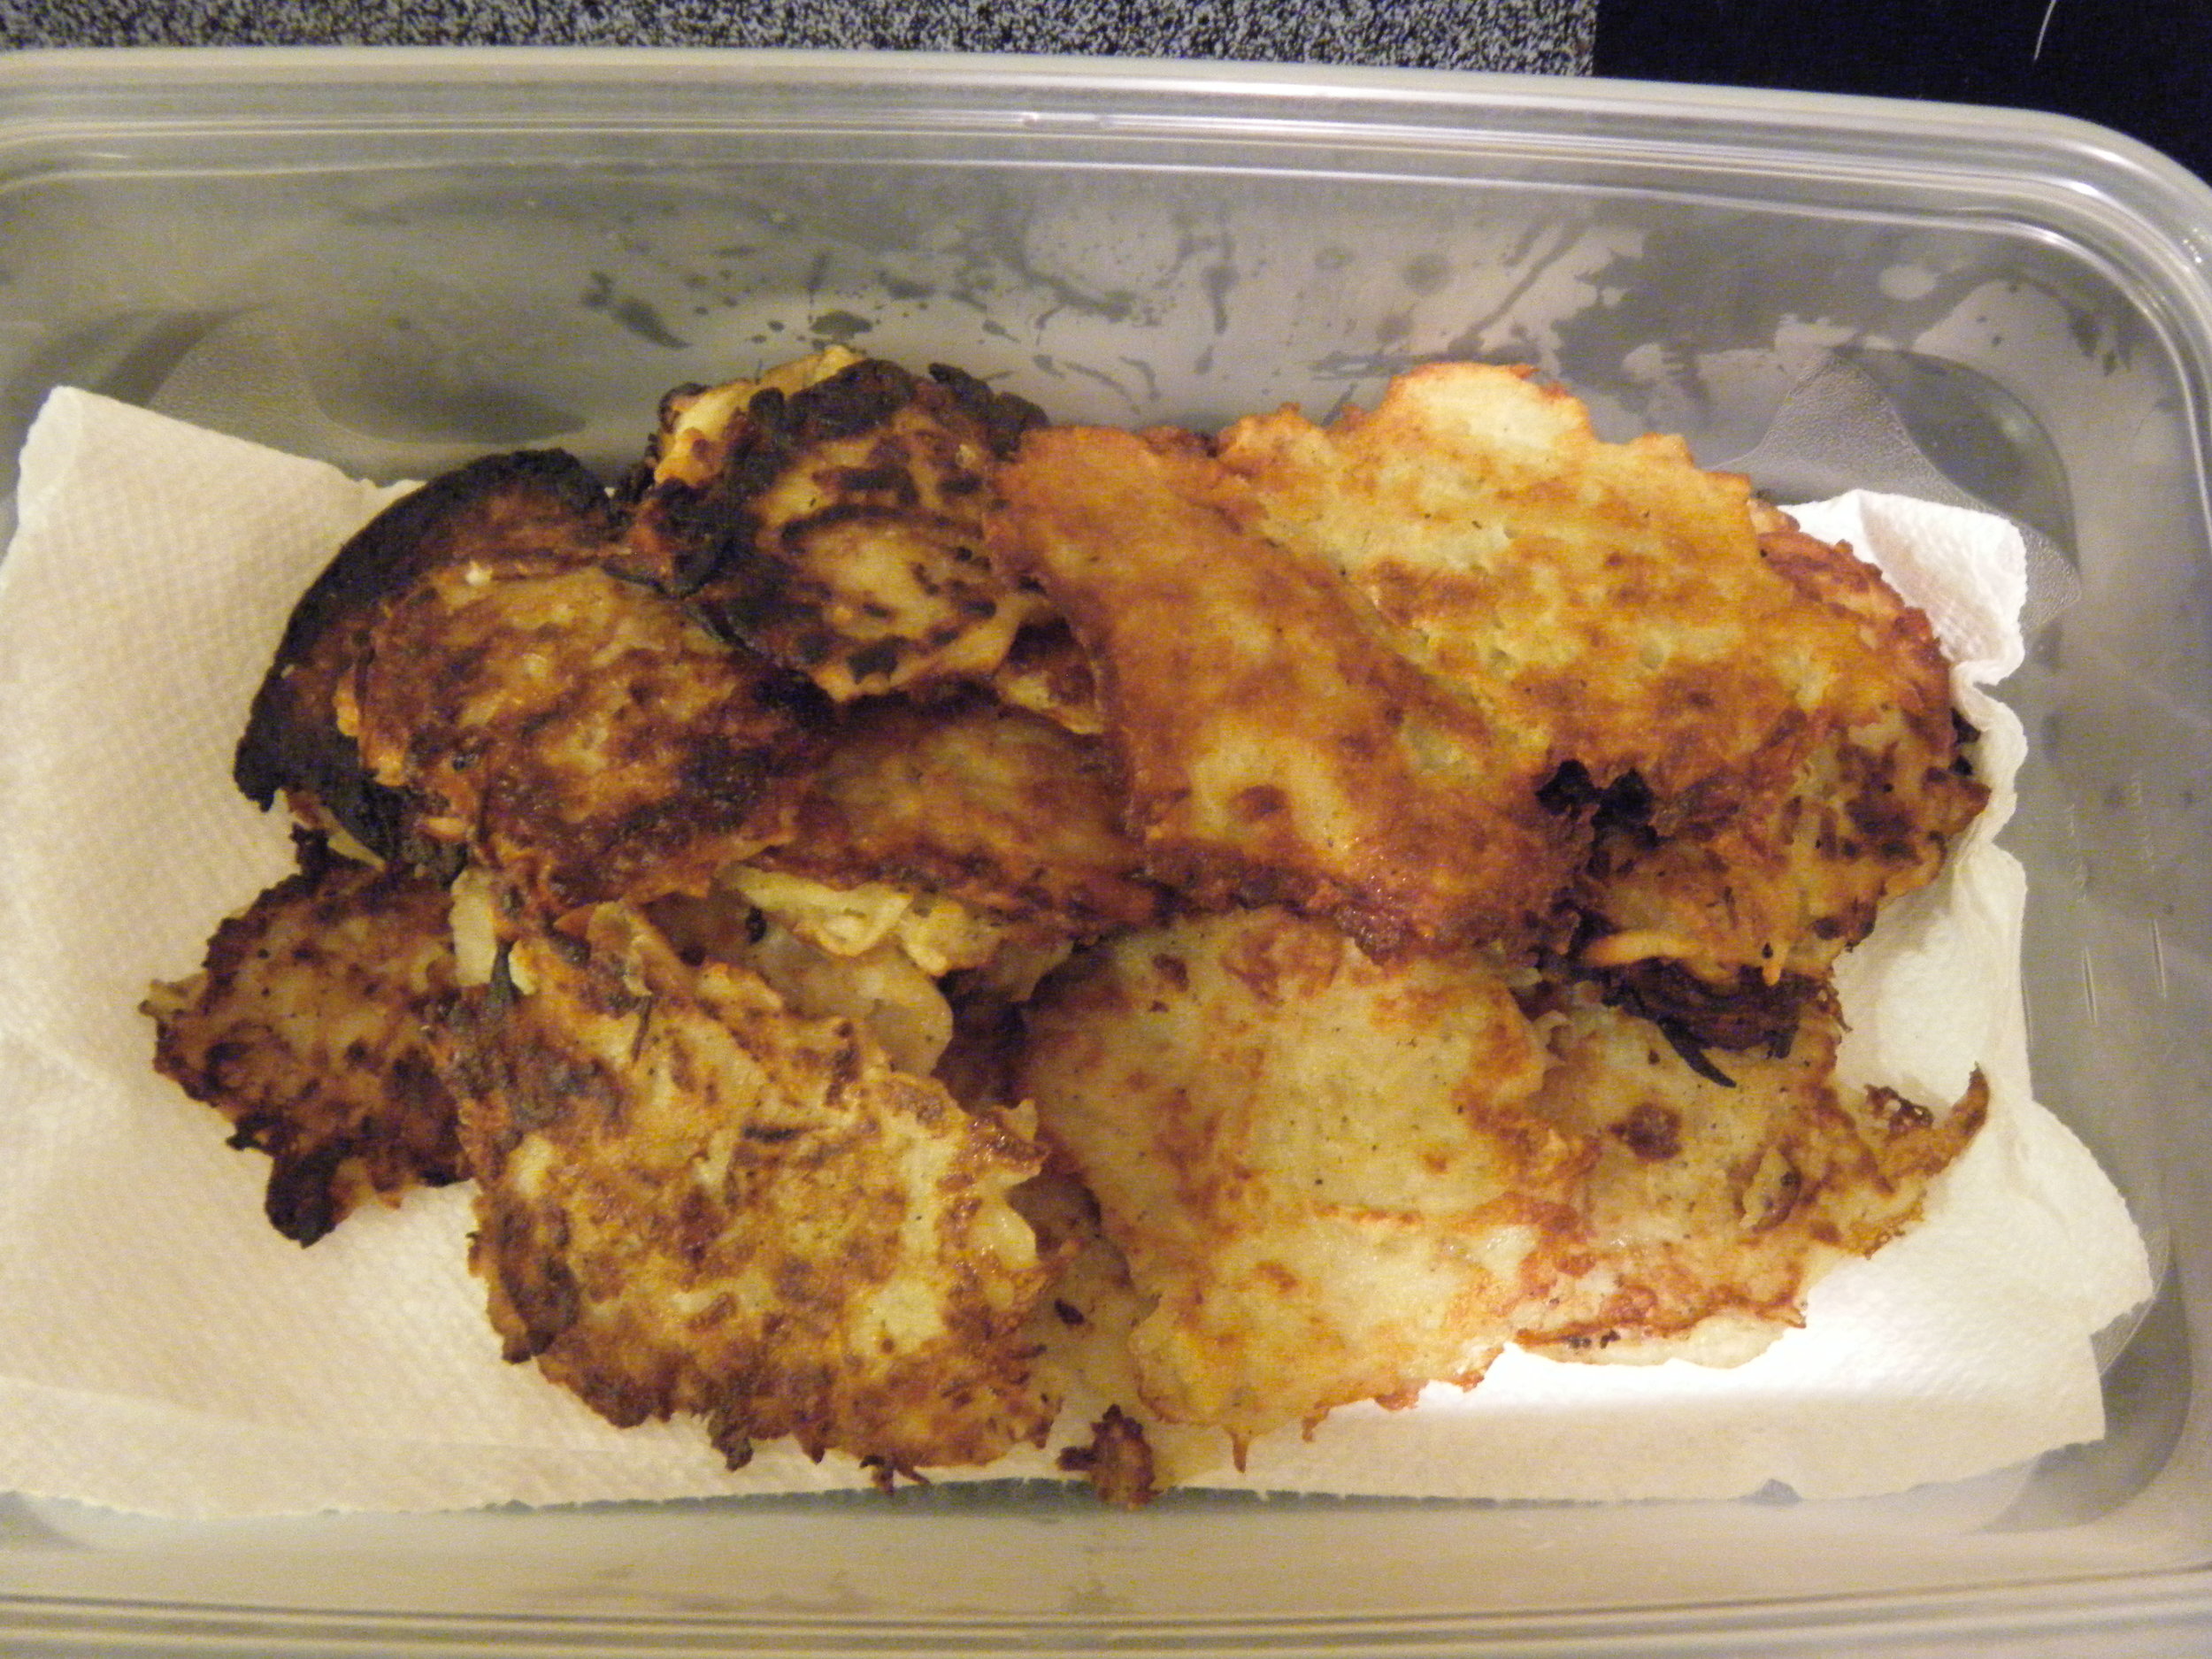
Into the tupperware they go, ready to be eaten tomorrow for dinner!!

Doubling the recipe made a TON, and this is a great food item to make in advance, and they're great re-heated. What's also great is that these aren't just for dinner parties! Potato pancakes can be enjoyed at breakfast, or as hor d'oeuvres with some yummy topping combinations!

Oh! And here's the recipe from Smitten Kitchen!

1 large baking potato (1 pound), peeled 1 small onion (4 ounces), peeled 1/4 cup all-purpose flour 1 large egg, lightly beaten 1 teaspoon salt 1/4 teaspoon freshly ground pepper Peanut oil, for frying

In a food processor or on a box grater, coarsely shred the potato and onion. For longer strands, lay the potato sideways in the chute of your food processor. Transfer to a colander or wrap in a cheesecloth sling, and squeeze as dry as possible. Let stand for 2 minutes, then squeeze dry again.

In a large bowl, whisk the flour, egg, salt and pepper together. Stir in the potato onion mixture until all pieces are evenly coated.

In a medium skillet, heat 2 tablespoons of vegetable oil until shimmering. Drop packed teaspoons of the potato mixture into the skillet and flatten them with the back of a spoon. Cook the latkes over moderately high heat until the edges are golden, about 1 1/2 minutes; flip and cook until golden on the bottom, about 1 minute. Drain on paper towels. Repeat with the remaining potato mixture, adding more oil to the skillet as needed.

Happy Cooking!!

singature gray