Challah French Toast
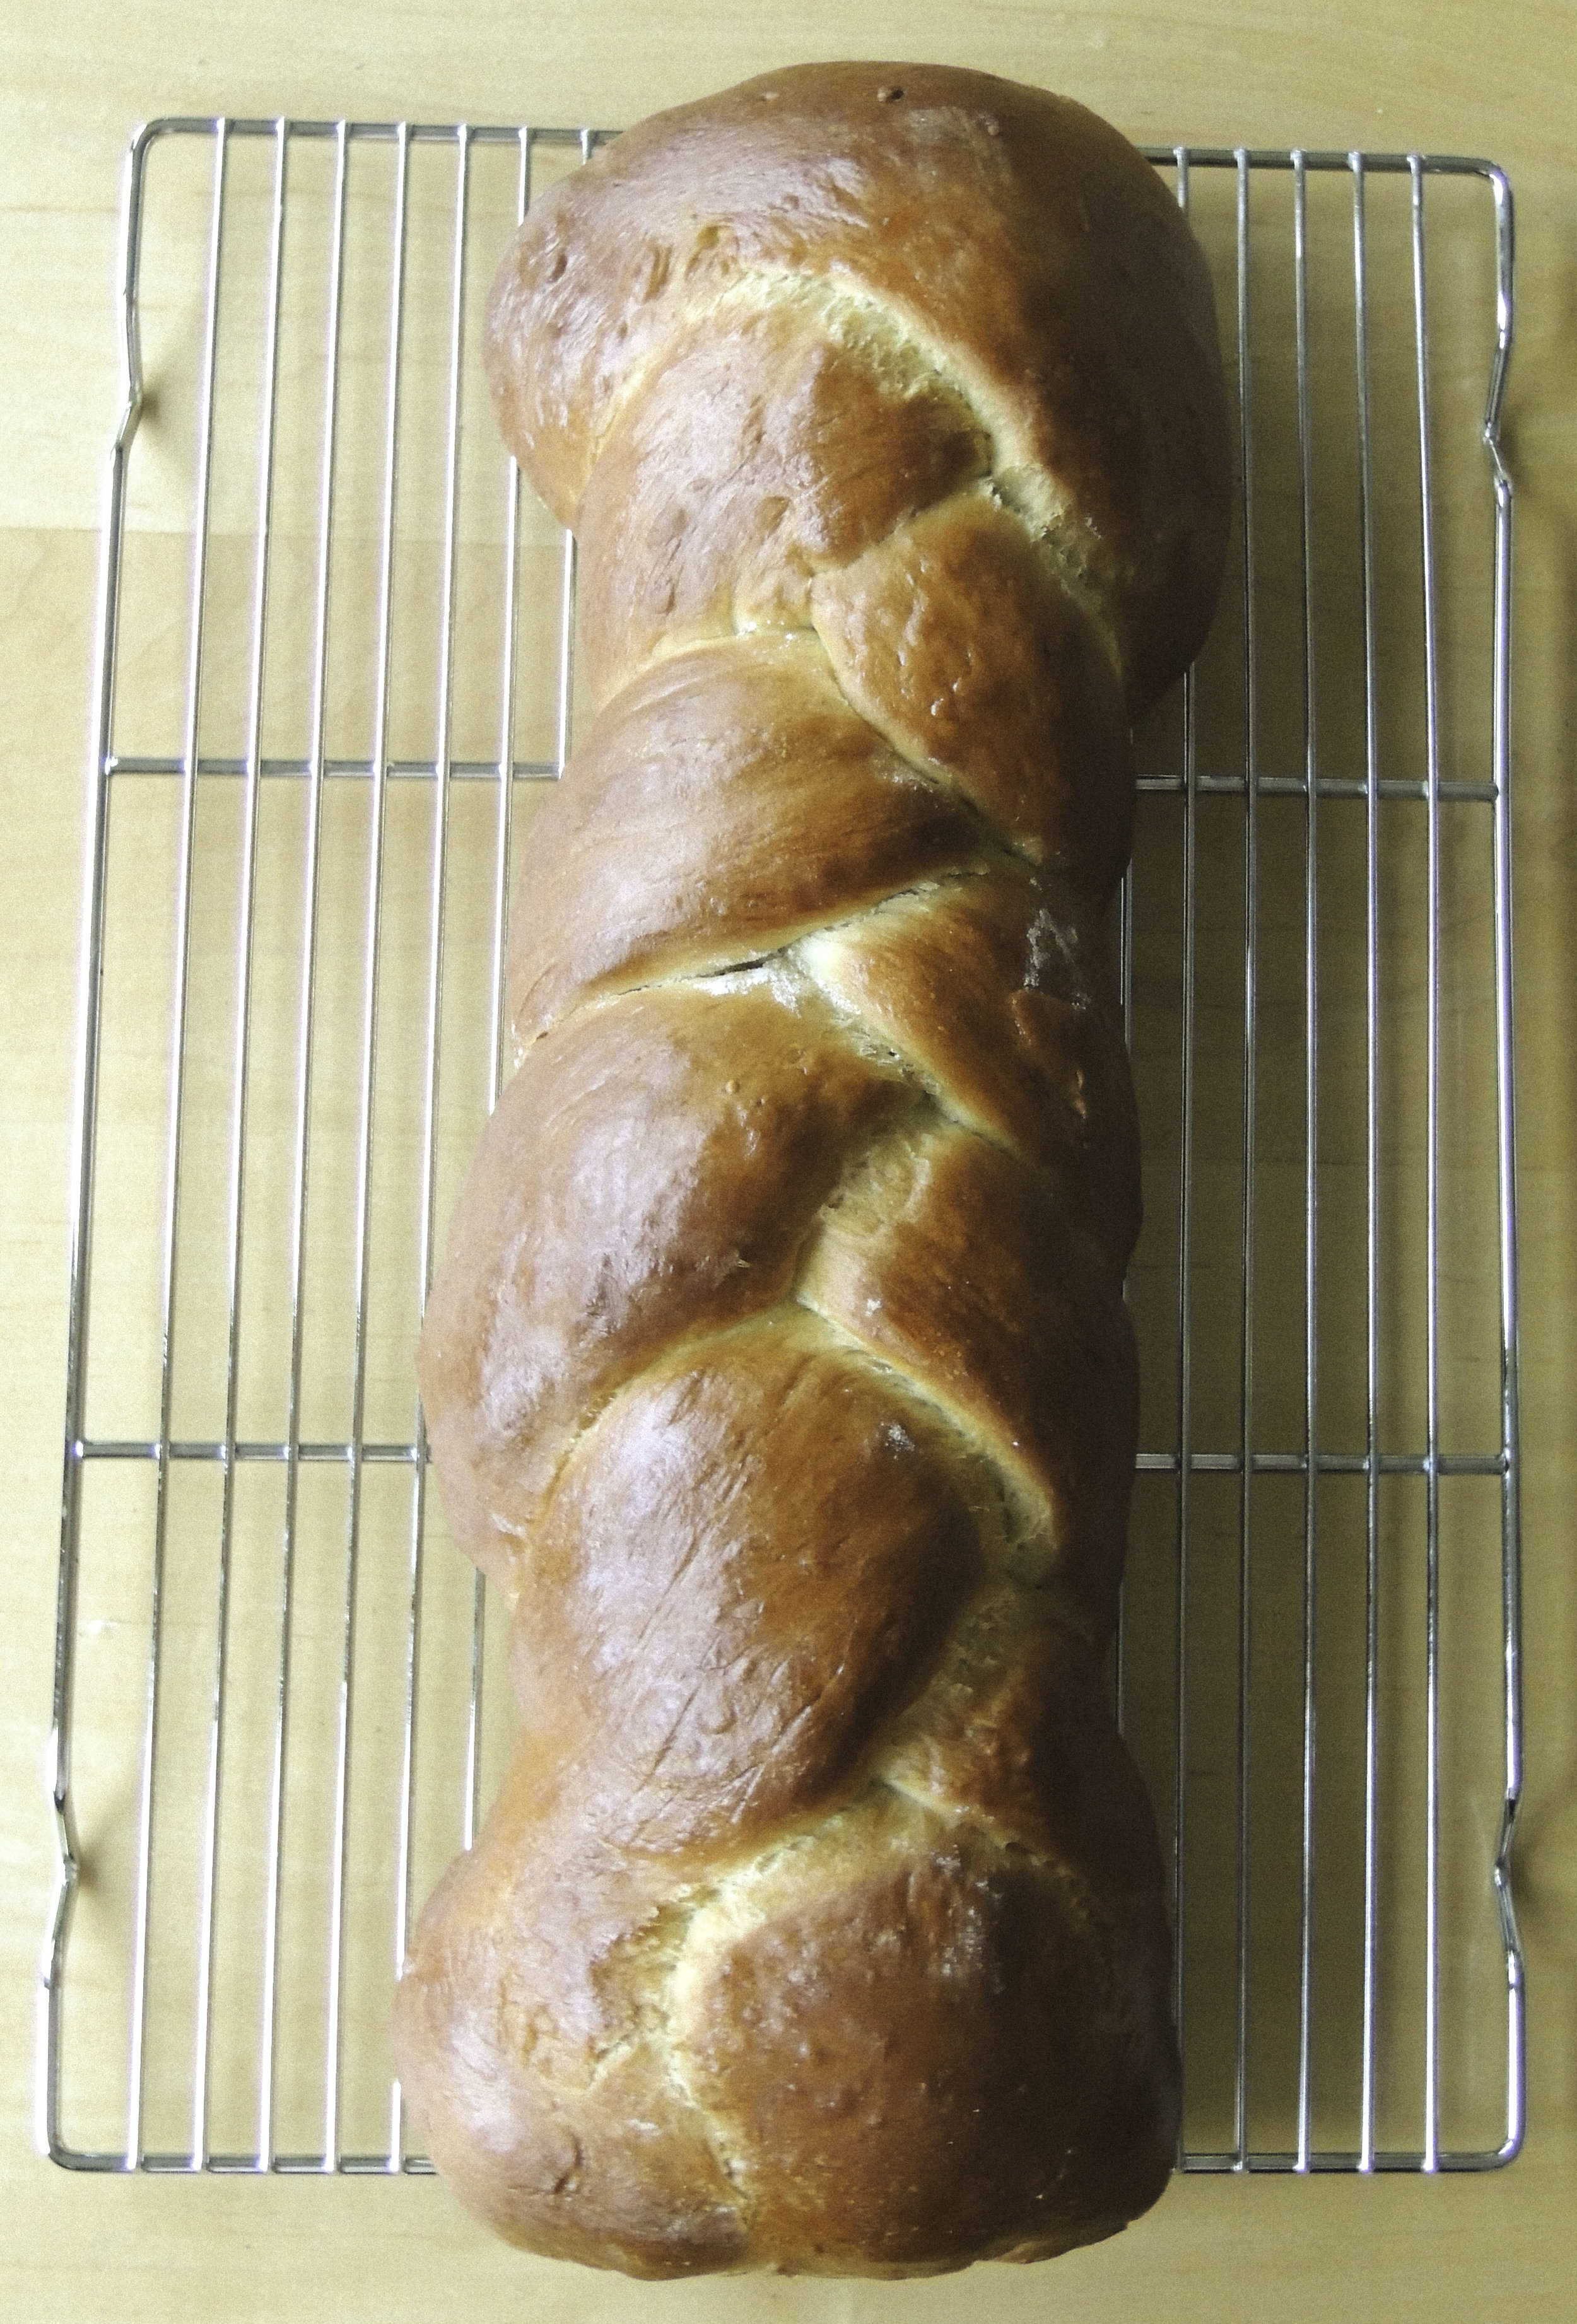
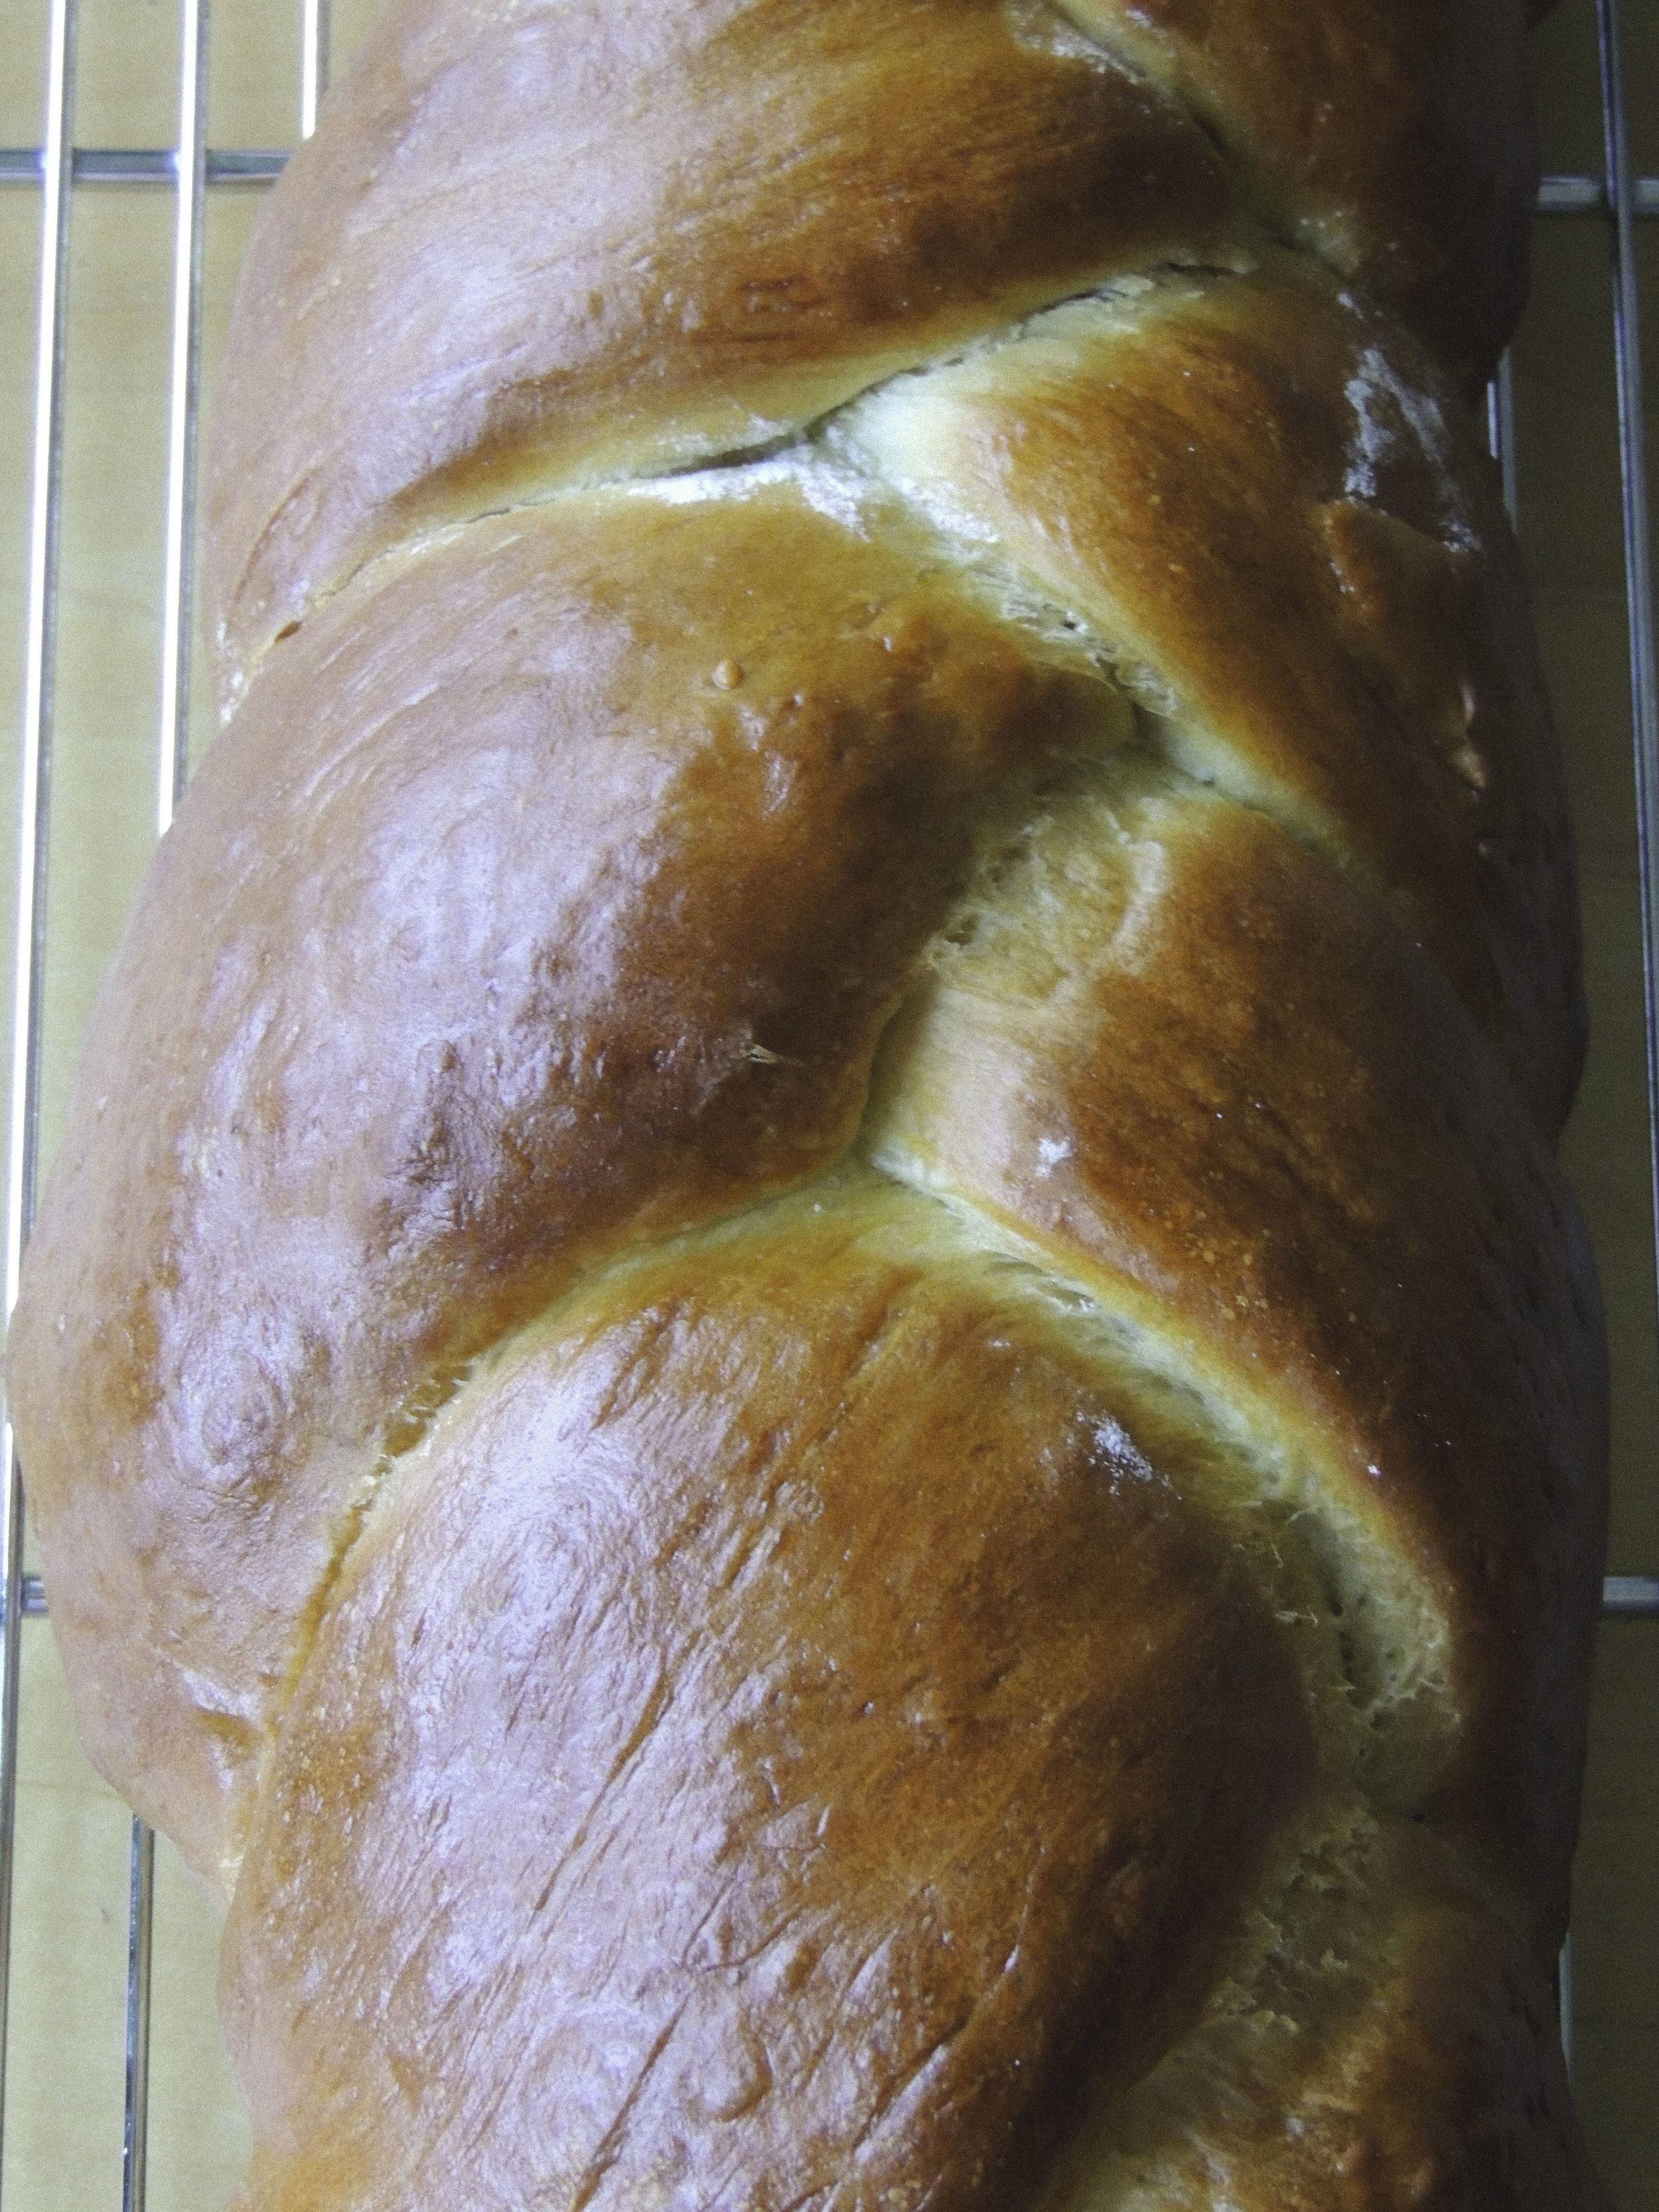
challah bread 1 What to do when you can't find challah bread in literally any of the bakeries in your town? Make your own. You know what they say, "Desperate times call for desperate measures" blah blah blah. The truth of the matter is, I've always wanted to make challah completely on my own, so I didn't mind so much that I couldn't find it anywhere. It meant that it was up to me, and also that I better be extra careful not to mess it up; I had a date with french toast the next morning.

It absolutely must be said that I am a complete novice when it comes to this sweet and super delicious bread, so I'm going to refer you to this stellar tutorial over on The Kitchn. Really easy to follow, and SO USEFUL. I'm totally attempting the six-braid method the next time I make challah. (Hope it goes well.)

challah 2

If making challah bread has taught me anything it's this: make sure you read the recipe three times before you even get your mise en place. I always read a recipe several times, but after making this bread, the point has been driven home. It's not that this is a particularly difficult bread to make per seit's that making challah is very time-consuming. There's a lot of waiting involved. Like, hours of waiting in fact. So when you make this bread, make sure you've got the TIME to do it! This is not something you whip up in an hour. Just be patient, and you'll have a really pleasant reward.

The recipe called for proofing in a warm place with a clean dish towel over the top, but I had no idea where I could put it. I've let dough proof before on the counter, but it didn't rise like I so desperately wanted it to. Not properly proofing challah dough would guarantee disaster, so I decided to ask the internet for help. The advice that I got was SPECTACULAR: place your covered bowl on a higher rack in an oven that is completely OFF. Next, boil some water and pour it into a heatproof bowl. Place the bowl with water in it onto a lower rack, SHUT THE DOOR, and keep it shut! Now you've got your warm place, and you'll end up with a dough that has doubled in size once the time comes to take it out. It's thrilling.

challah 3

RIGHT, so let's get on to the french toast part of this post, shall we? You may be wondering what I did with my challah loaf after it was finished cooling. Well, in order to get the perfect french toast, you need slightly stale bread. In fact, it's imperative.. So, once my challah was finished cooling (and I'd gone through several  episodes of 'Tia Mowry at Home' on Cooking Channel) I simply left it slightly uncovered and went to bed. It worried me a little bit that it might dry out too much, but by the time I was finished in the kitchen that night, there weren't many hours left before it was time to get up and make breakfast. And everything turned out just fine. (Thank goodness.)

In the morning I sliced up eight very healthily-sized slices of challah, mixed up my custard , and set to work.

. So now, let's talk about how obsessed I am with challah french toast. BECAUSE I AM OBSESSED.

challah french toast

French toast is decadent, I mean, there's a reason why its present on every brunch menu that has ever existed. But there is just something so beyond  about whipping up a batch of challah french toast on a quiet weekend morning with a light sprinkling of powdered sugar on top from one of those unnecessary-for-anything-else shakers, and a drizzling of divinely warm maple syrup just waiting to be soaked up. THAT is decadence. Throw in a hot cup of hazelnut roast coffee, and a little bowl of fruit salad (in this case it was strawberry, blueberry, and mango with lemon juice) and we are TALKIN', my friend. That's what weekend mornings are all about. Be warned: this breakfast is incredibly rich, but oh my GOSH is it ever worth it.

And would you like to know the best part? It's made completely form scratch. Who needs a brunch menu?


CHALLAH FRENCH TOAST 

What You'll Need:

  • 3 large eggs
  • 1 cup half-and-half
  • Pinch of salt
  • 1 tablespoon of sugar
  • 8 slices of challah bread 1" thick, cut from a slightly stale loaf
  • 2-3 tablespoons butter
  • Powdered sugar for sprinkling on top, optional
  • Fresh Fruit, optional

Directions:

Place a large skillet (Mine is 12 inches) over medium-low heat.

Whisk the eggs, half-and-half, salt, and sugar in a large baking pan (I used an 11X13 rectangular cake pan) until everything is fully incorporated.

Place four slices of bread into the custard to soak for at least one minute on each side (I ended up doing a little longer, but it's up to you. Make sure it's at least one minute though! )

While the bread is soaking, melt one tablespoon of butter in the skillet. You'll know it's ready when it starts to foam. When it has started to foam, move it around so that it coats the entire bottom of the skillet.

Move your cake pan with the soaking pieces of bread next to the stove so that there will be no dripping.

Lift one piece of bread and very gently shake it to get rid of any excess custard, then gently place it in the skillet. Repeat this process with each piece of bread.

After 1-2 minutes, check under a slice of bread to see if it has turned golden brown. When it has turned golden brown, flip each piece of bread and continue cooking until they're golden brown on the other side. Be sure to keep an eye on the skillet so that your toast doesn't burn.

Place your finished first batch onto a serving plate, and your final four pieces of bread into the custard for soaking on each side. (Should you run out of custard before you've run out of bread, I've found that whisking another egg, some more half-and-half, a little sugar, and a little salt works nicely!) Place another tablespoon of butter into your skillet, wait until it foams, and repeat the process of cooking your french toast. Once all of your pieces of bread have turned deliciously golden brown on both sides, transfer them to your serving plate.

Sprinkle a little powdered sugar on the top if you're into that, heat up some delicious maple syrup, and cut up some fruit to use as a topping if you;d like. Enjoy!!


SOURCE: Adapted SUPER SLIGHTLY from The Kitchn 


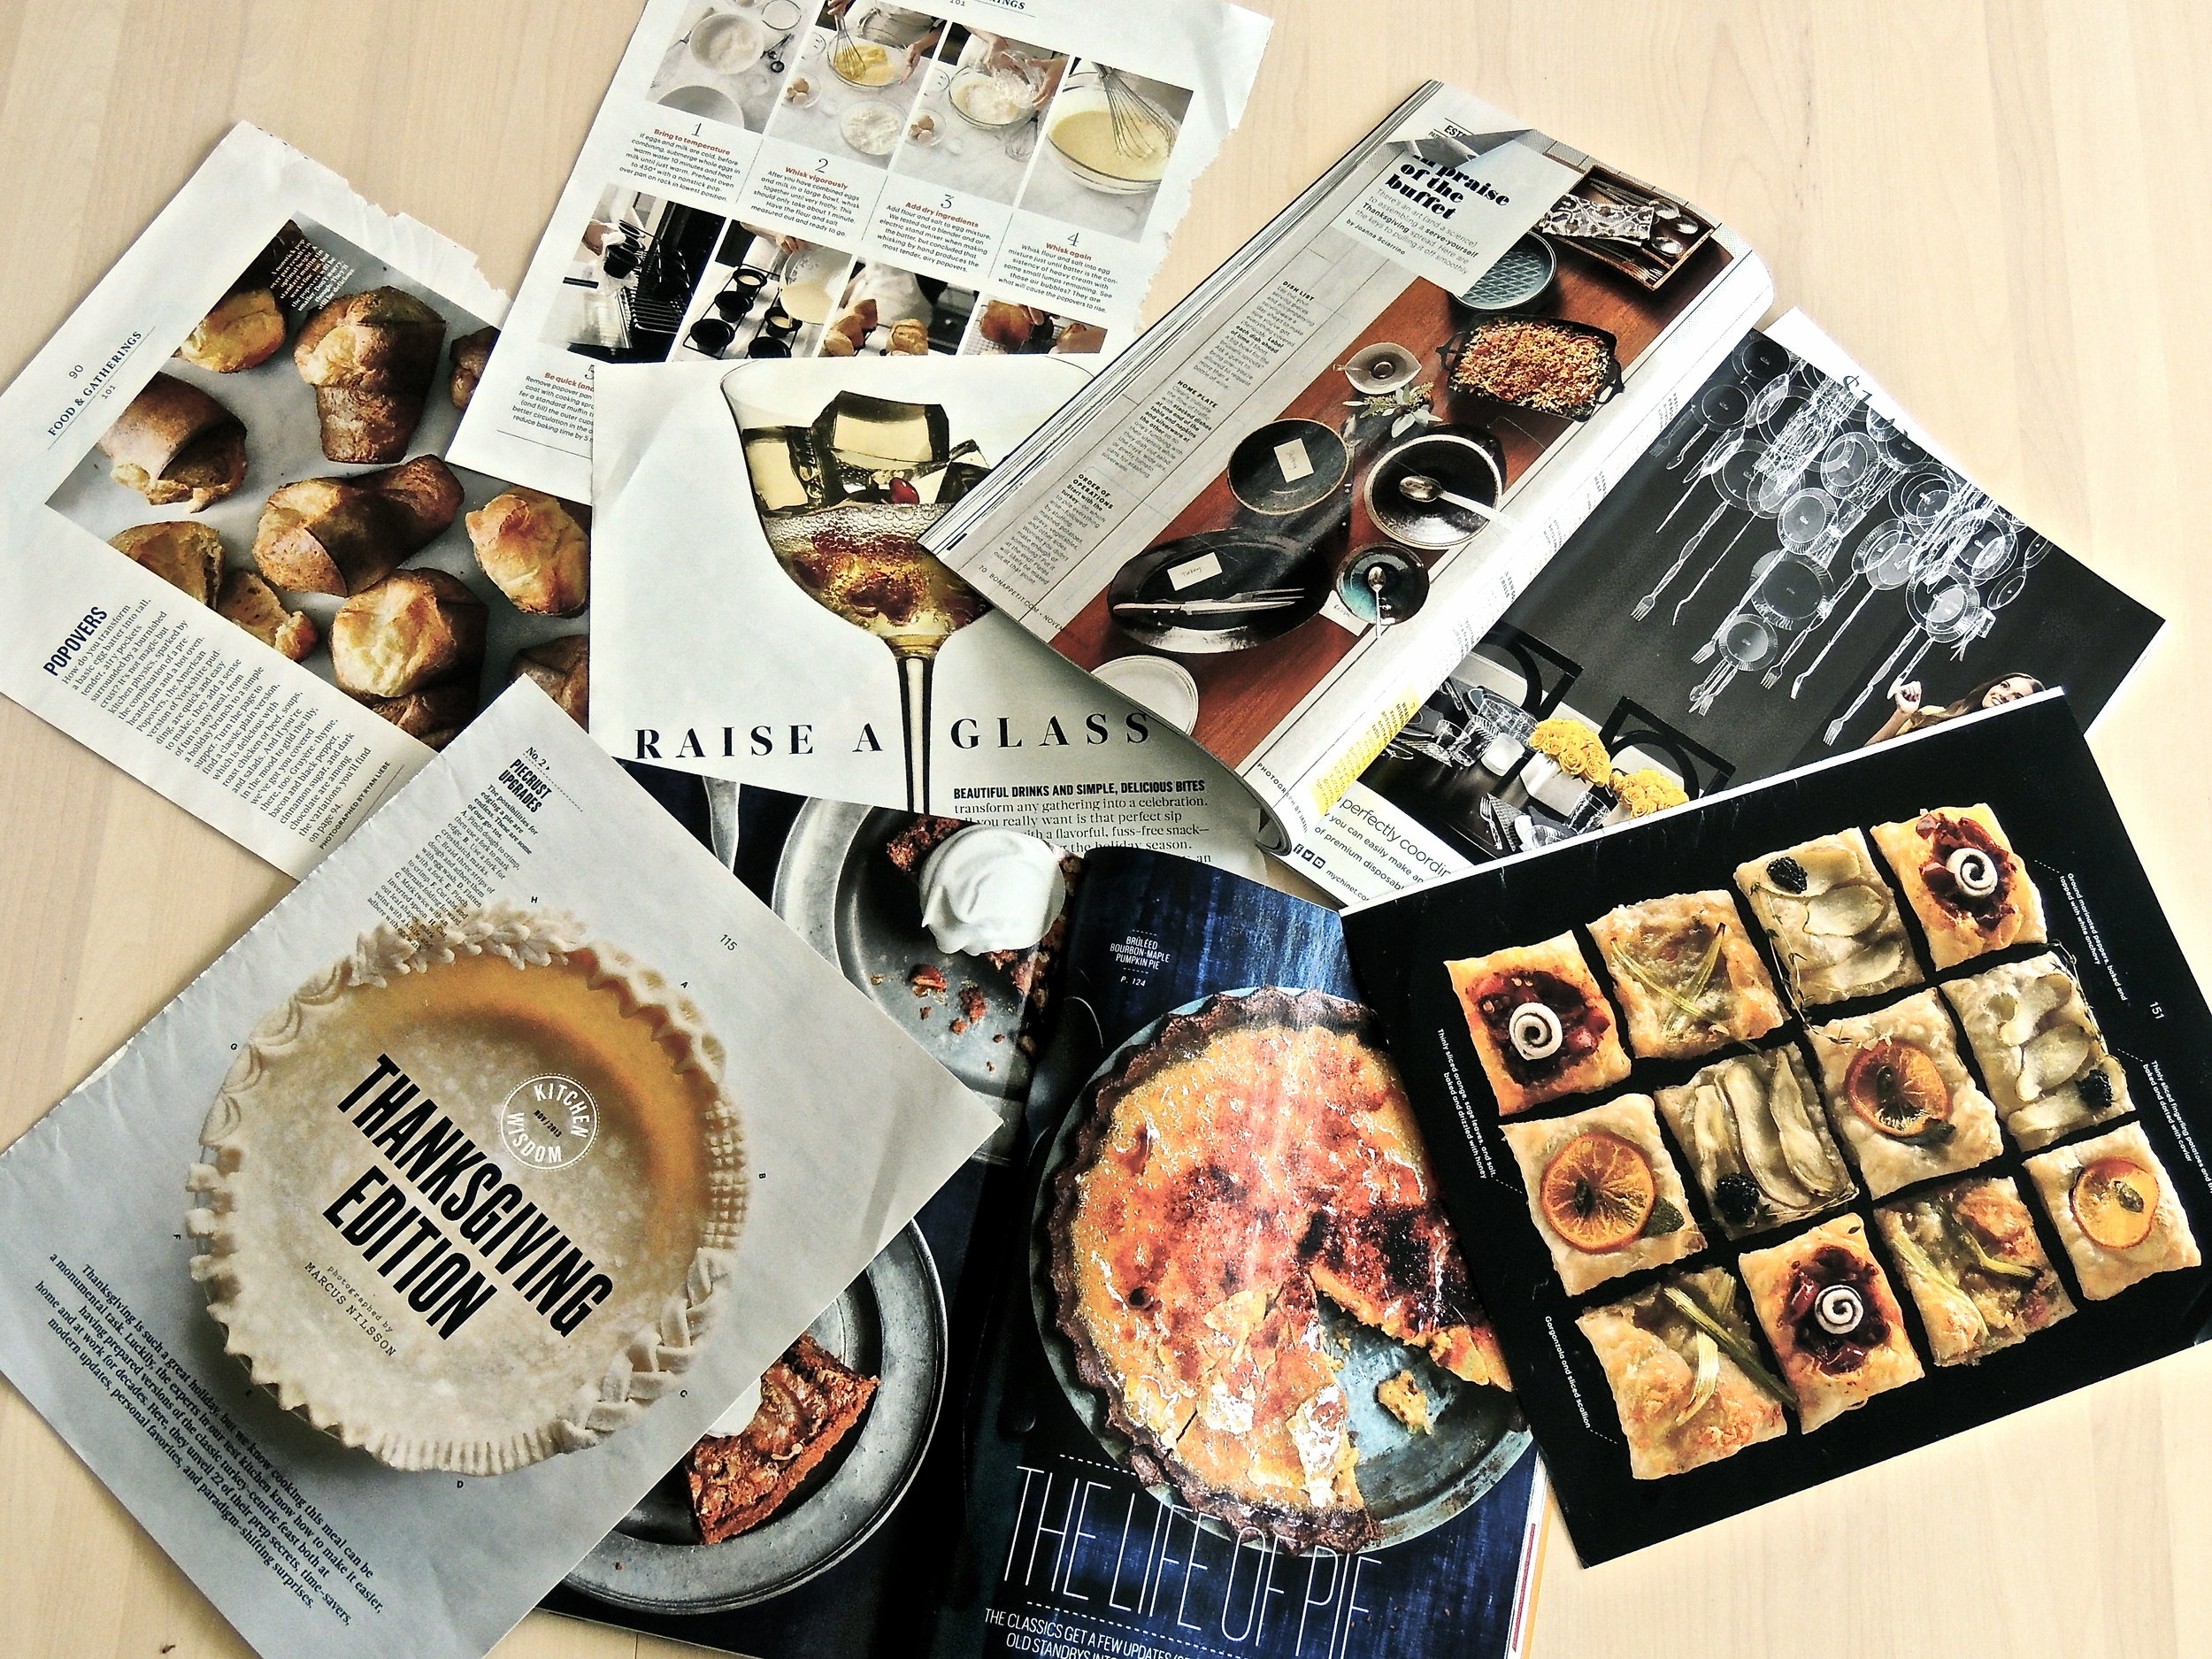
Thanksgiving Decisions (Decisions, Decisions)

DSCN0651Am I the only one who's a little stressed out about what to make for Thanksgiving? Surely, not. One of my favorite holidays is fast approaching, and I'm simply stuck in my research phase, trying to find the perfect dessert to serve. I've spent at least a week poring over dozens and dozens of recipes and food magazines and cookbooks, but there's still no clear winner. Should I make a pie? Cranberry tartlets? Keep it simple with cookies? Create an assortment? Those are just a few of the many burning Thanksgiving questions. I have a total eager-to-please, eager-to-impress personality, and despite the fact that I'm only making this dessert for my family (who will eat it anyway because it's family law to love and support everyone) I just can't seem to switch off the part of my brain that wants to go bigger, better, and completely 100% over-the-top.

And with just a little amount of time remaining before the big show (Thanksgiving Dinner, of course), I've got to start planning.

So, I ask you, all of you out there: What's on your Thanksgiving menu?

singature gray

Grown-Up Mac and Cheese

DSCN0519People of Earth: I am here to tell you that there is life beyond Kraft Macaroni and Cheese. That being said, sometimes it's just more comforting (and less time consuming) to throw a pot of classic Kraft on the stove with whole milk and a little extra cheddar, but for the sake of this post, we're going to go to the next level.

DSCN0506

What sets this mac and cheese apart in one thing: Béchamel Sauce. Just four ingredients: flour, butter, milk, and salt. And it absolutely makes all the difference in the world. What it does, is add a bit of depth to the cheesiness. It's smooth, creamy, and, mixed with the cheese, the shining light in this classic dish. But keep in mind: you have to do a bit of multi-tasking to make this sauce. While the butter is melting, you have to watch the milk which should bubble, but not boil. And the very second that the butter is melted, you have to add the flour and whisk with all your might. Pay attention while you make it, and the reward will be huge.

DSCN0507Look how rich and creamy that is! The only thing keeping me from diving face first into this pot was my fear of severe burns. That's the only thing.

DSCN0510The wonderful thing about having a recipe for basic mac and cheese is that you can add in your favorite ingredients. For this, I decided on tons of spinach and turkey bacon. The only way you'll get me to eat my vegetables is with cheese (Is that the Midwesterner in me? I'm not sure.), so bring on the spinach...so long as there's a cup of cheddar chasing it into the pot.

To me, an essential part of your basic mac and cheese is that satisfying crunch. Toasted panko is perfect for this. About 1/2 sprinkled on top is just enough to add a little extra texture. Try it. You'll like it.

DSCN0513

Last but not least, don't forget to pop this perfection in the oven for ten minutes. I'm getting hungry just thinking about it. Is it time for dinner yet?

Grown-Up Mac and Cheese with Spinach and Turkey Bacon

Ingredients:

Béchamel Sauce:

  •  3 cups whole milk
  • 1/2 cup unsalted butter
  • 1/2 cup all purpose flour
  • 2 teaspoons kosher salt or 1 teaspoon table salt

Bread Crumb Topping:

  • 1/2 cup panko (Japanese Bread Crumbs)

Mac and Cheese:

  • 1/2 pound dried elbow pasta
  • 2 cups Mac Sauce
  • 1 1/2 cups grated aged white cheddar cheese
  • 1/2 cup grated parmesan cheese
  • 4 strips of turkey bacon, chopped
  • 3 cups baby spinach (But the amount of greens is really up to you!)

Béchamel Sauce Directions:

Heat the milk in a pot over medium heat until it just starts to bubble, but is not boiling, 3 to 4 minutes. Remove from heat.  (Tip: while the milk is heating, get your flour ready!)

Heat the butter over medium heat in a separate, heavy-bottomed pot. When the butter has just melted, add the flour and whisk constantly until the mixture turns light brown, about 3 minutes. Remove from heat.

Slowly pour the warm milk, about 1 cup at a time, into the butter-flour mixture, whisking constantly. It will get very thick when you first add the milk, and thinner as you slowly pour in the entire 3 cups.

Once all the milk has been added, set the pot back over medium-high heat, and continue to whisk constantly. In the next 2 to 3 minutes the sauce should come together and become silky and thick. Use the spoon test to make sure it’s ready. To do this, dip a metal spoon into the sauce-if the sauce coats the spoon and doesn’t slide off like milk, you’ll know it’s ready. You should be able to run your finger along the spoon and have the impression remain. Add the salt.

The Mac Sauce is ready to use immediately and does not need to cool.

Toasting the Bread Crumbs

Preheat the oven to 400 degrees F

Place the bread crumbs on a baking sheet and set in the oven for 5 minutes, or until the crumbs have turned a golden brown. Set aside.

 Preparing the Macaroni and Cheese:

Preheat the oven to 400 degrees F

Cook the pasta according to box instructions. Drain, rinse the pasta with cold water, then drain again.

While your pasta is cooking, now’s a good time to cook your bacon and spinach. What I like to do is: start cooking the bacon first. Once almost cooked through, I add the spinach to the pan. Tip: wring out your spinach as best as you can after rinsing, and before adding to the pan of bacon. It’ll sizzle.

Add the sauce and both cheeses to a large, heavy-bottomed pot and cook over medium heat. Stir until the cheese is barely melted, about 3 minutes. Slowly add the cooked pasta, stir, and continue cooking while stirring continuously until the pasta is hot and steaming, another 5 minutes. Add in the bacon and spinach, and stir. After fully incorporated, remove from heat.

Spoon the mac and cheese into an oven-safe dish, making sure it’s evenly spread. Sprinkle the panko crumbs on top.

Bake in the oven for 10-15 minutes until it starts bubbling on the edges.

Remove from oven, and dig in. You earned it!

Dish serves 4.

SOURCE: Very loosely adapted from the Mac + Cheese Cookbook: 50 Simple Recipes from Homeroom, America's Favorite Mac and Cheese Restaurant 


Is there such a thing as too much cheese? Answer: No, absolutely not.

singature gray

Guacamole: A Game Day Essential

DSCN0459 College Bowls and the Playoffs are in full swing, and I'm PUMPED. The Wisconsin Badgers play in the Capitol One Bowl tomorrow, and THE PACKERS MADE THE PLAYOFFS. It's been a fantastic week so far.

There are two things that you need when watching football: Hope (and lots of it sometimes!), and good food. And what is more essential for a fun game--watching experience than a bowl of fresh, homemade guacamole? It is an absolute staple in my household, and I think it should be a staple in yours! I've been working on the perfect guacamole recipe for a while and, according my father, mouth full of guac, "Oh yeah, this is it. Don't change a THING," I may have found a winner!

DSCN0462

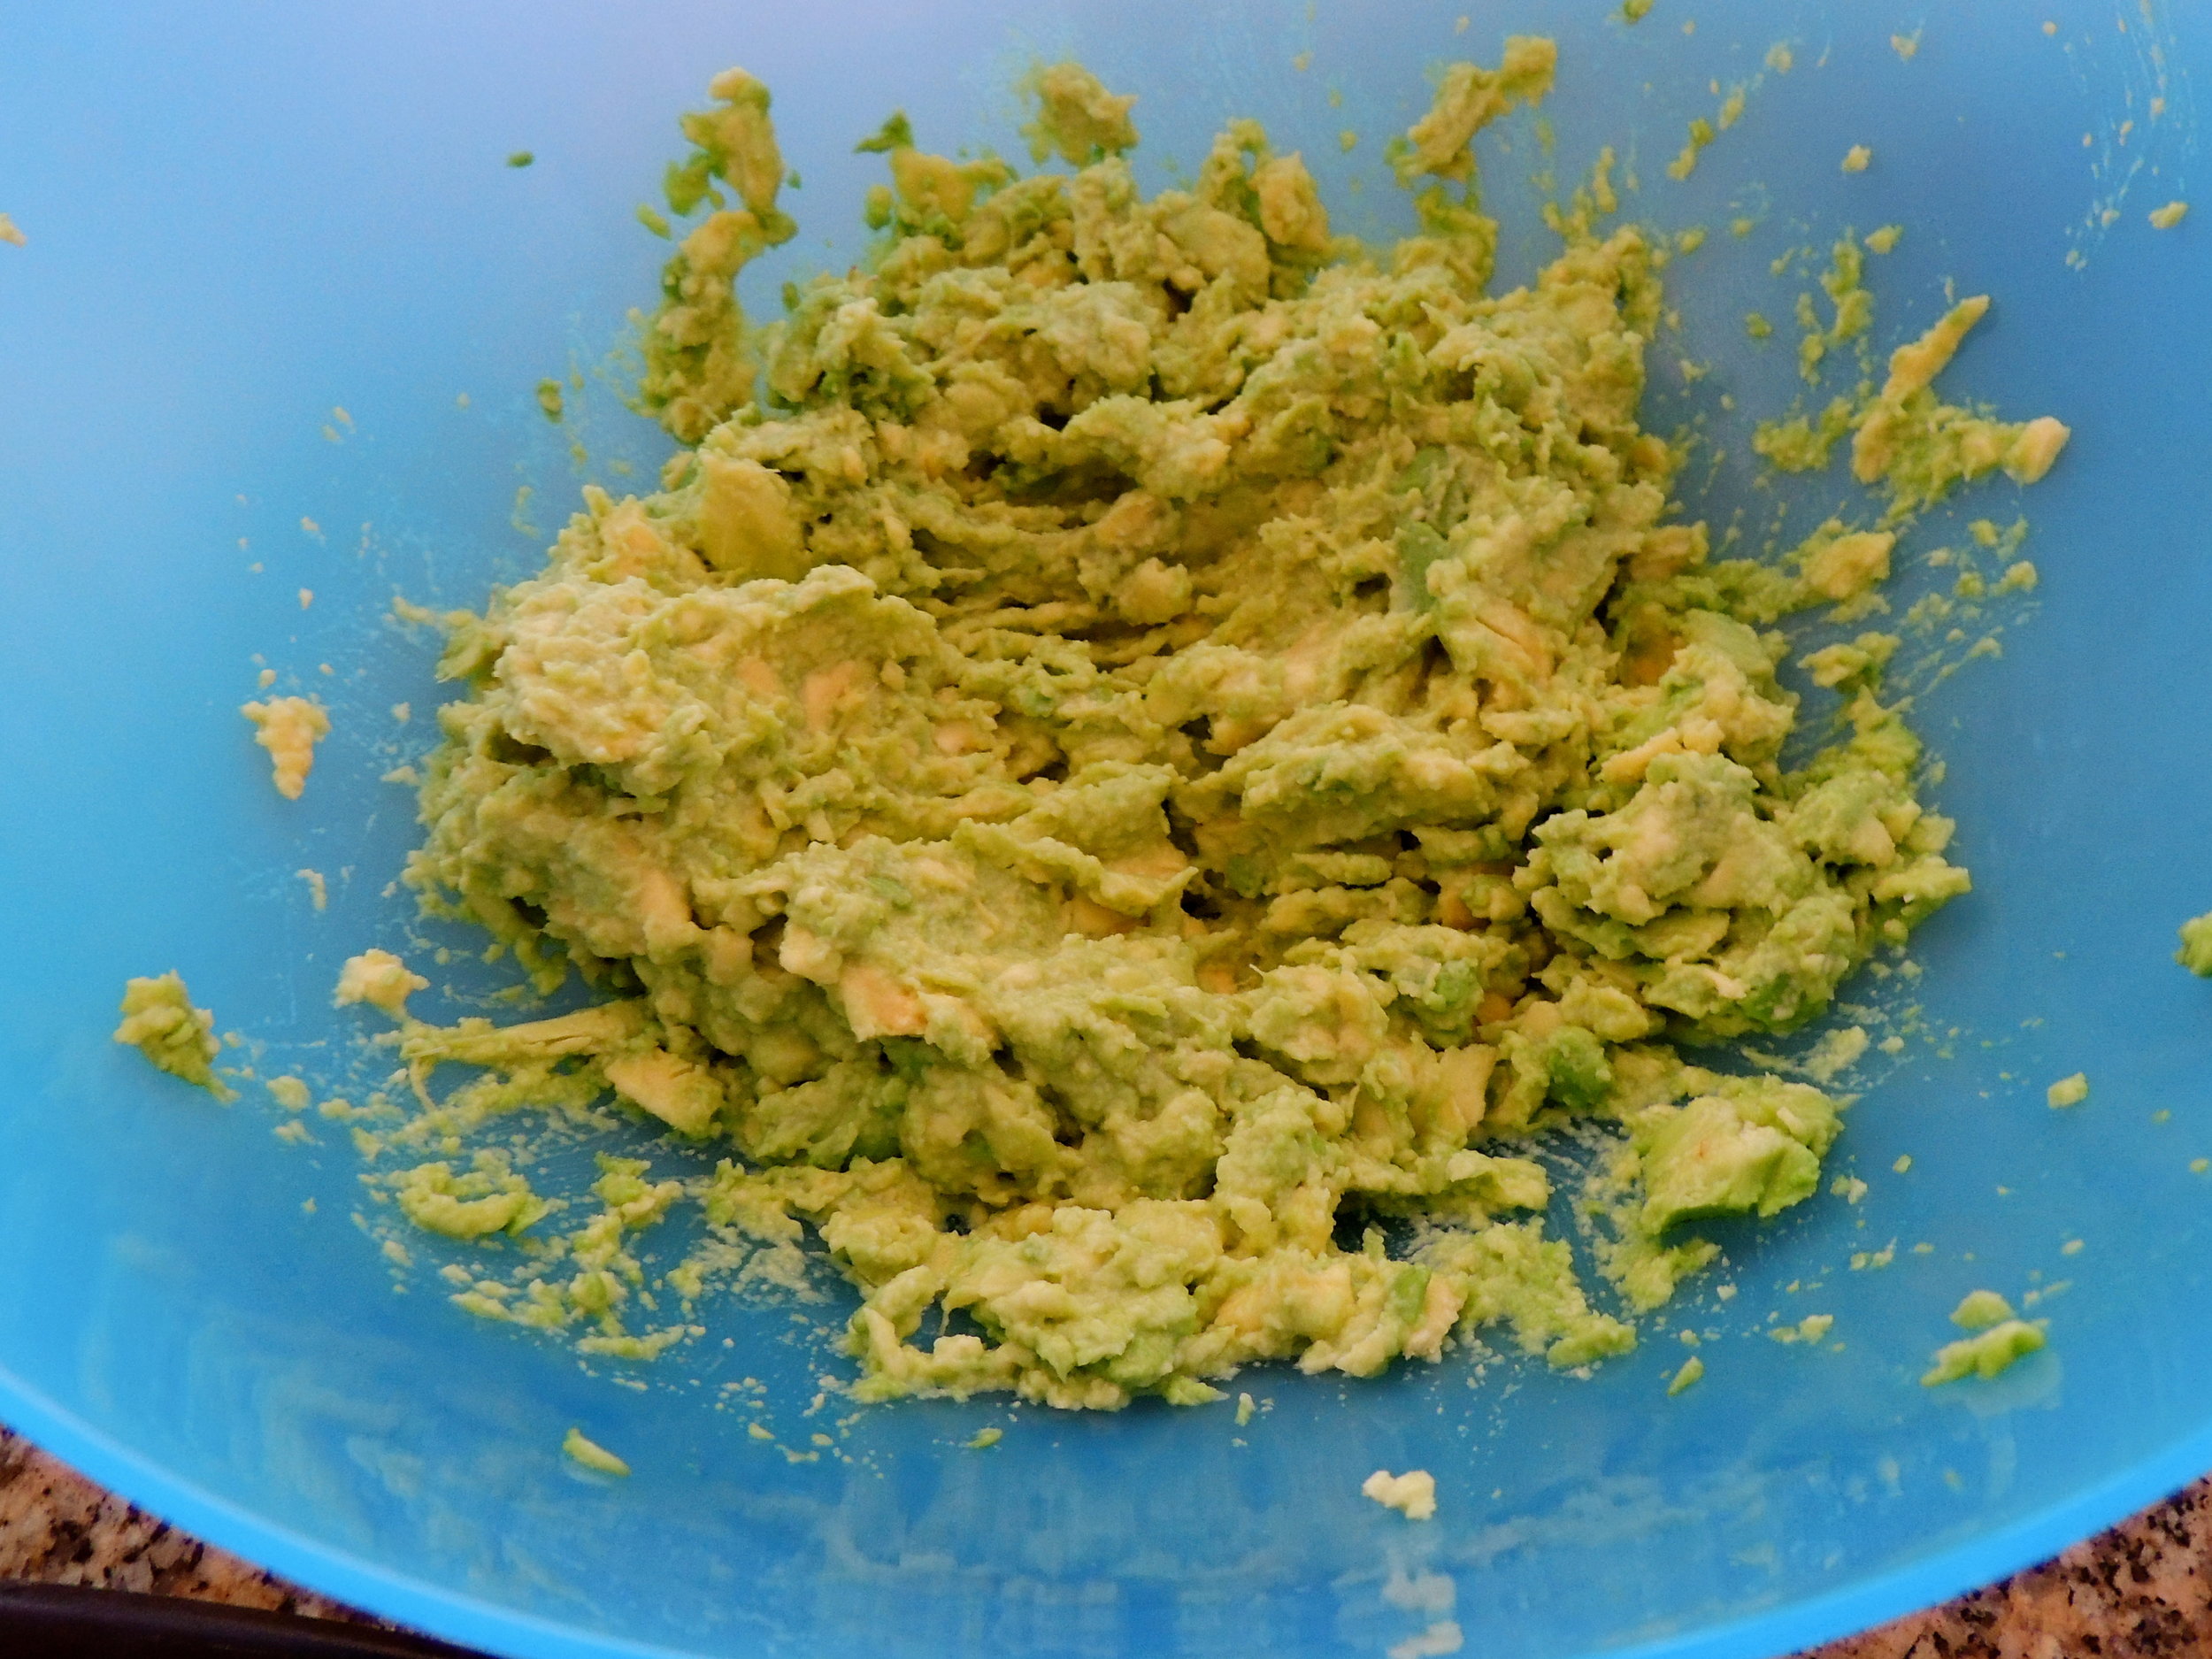
Now, if you're fancy and have a pestle to grind up your ingredients, more power to you! But for me, it's all about the forks, baby. (Until I get a pestle. Then I'm jumping ship.) It takes time to properly mash up guacamole to the consistency that you'd like, but once you've got your rhythm, it's smooth sailing. 

There is one very important thing to remember when making guacamole:

There is never a wrong way to make it.

Some people make it a little spicier, some people use red onions, some use yellow, some add carrots, some think that's a crazy idea. But there's never a wrong way. With avocado as your anchor, many things taste amazing together. Add a little cilantro, a squirt of lime juice, and you're on your way.

DSCN0465

So...LADIES AND GENTLEMAN, I GIVE YOU: Sydney's very first original recipe!

May your bowl overfloweth with guacamole for all eternity.

Sydney's GAMEDAY GUACAMOLE

What You'll Need:

  • 2 Avocados (I used jumbo)
  • 2 cloves garlic, minced
  • About 1/4 cup red onions, diced
  • 1 tomato (your choice of tomato!)
  • The juice and zest of one lime
  • Cilantro (I used about a teaspoon of Cilantro, chopped)
  • Coarse Sea Salt to taste

DIRECTIONS 

Split, then remove contents of two avocados. Mash to desired consistency in a large bowl, using forks.

Mince two cloves of garlic, add to the mixture.

Cut one red onion in half, then in thirds. Dice until you've got just about 1/4 cup. Do the same to your tomato. Add to mixture.

Split one lime in half, then squeeze the juice out of each half into the mixture. Once each half has been firmly squeezed, zest them, and add to the mixture.

Chop up the leaves of your cilantro. I used about a teaspoon, but do what you feel! A little cilantro can go a long way. Add to the mixture.

Sprinkle coarse sea salt into the mixture. Once again, do what you feel! Sea salt helps to bring out the other flavors, so add as little, or as much as you want!

HAPPY NEW YEAR!!

GO BADGERS.

singature gray


Cookie Party!

First, I have to apologize for my brief absence. The second I was seated next to a coughing, sneezing, sniffling gentleman on my plane ride back to Boston from Wisconsin, I knew that I was a goner. It took maybe an hour or two for the sickness to sink in, and I was out of commission for a full week. I'm just now starting to feel like myself, and if I ever see my row-mate again, I'm going to cough all over him.

Being sick for ages and ages limited my activity, and the one thing that I wanted the most while I was sick, was the one thing I was too exhausted to make: a cookie. I have a sweet tooth that cannot be denied, and because I refuse to buy anything from bakeries that I can't make myself, I was fresh out of luck. But now, now that I'm feeling better, I set out to complete my mission. And just in time as well, because my co-worker and I decided to throw an impromptu cookie party for the office! Fair, it'll just be us bringing cookies, but there will be cookies, and that's really all that matters.

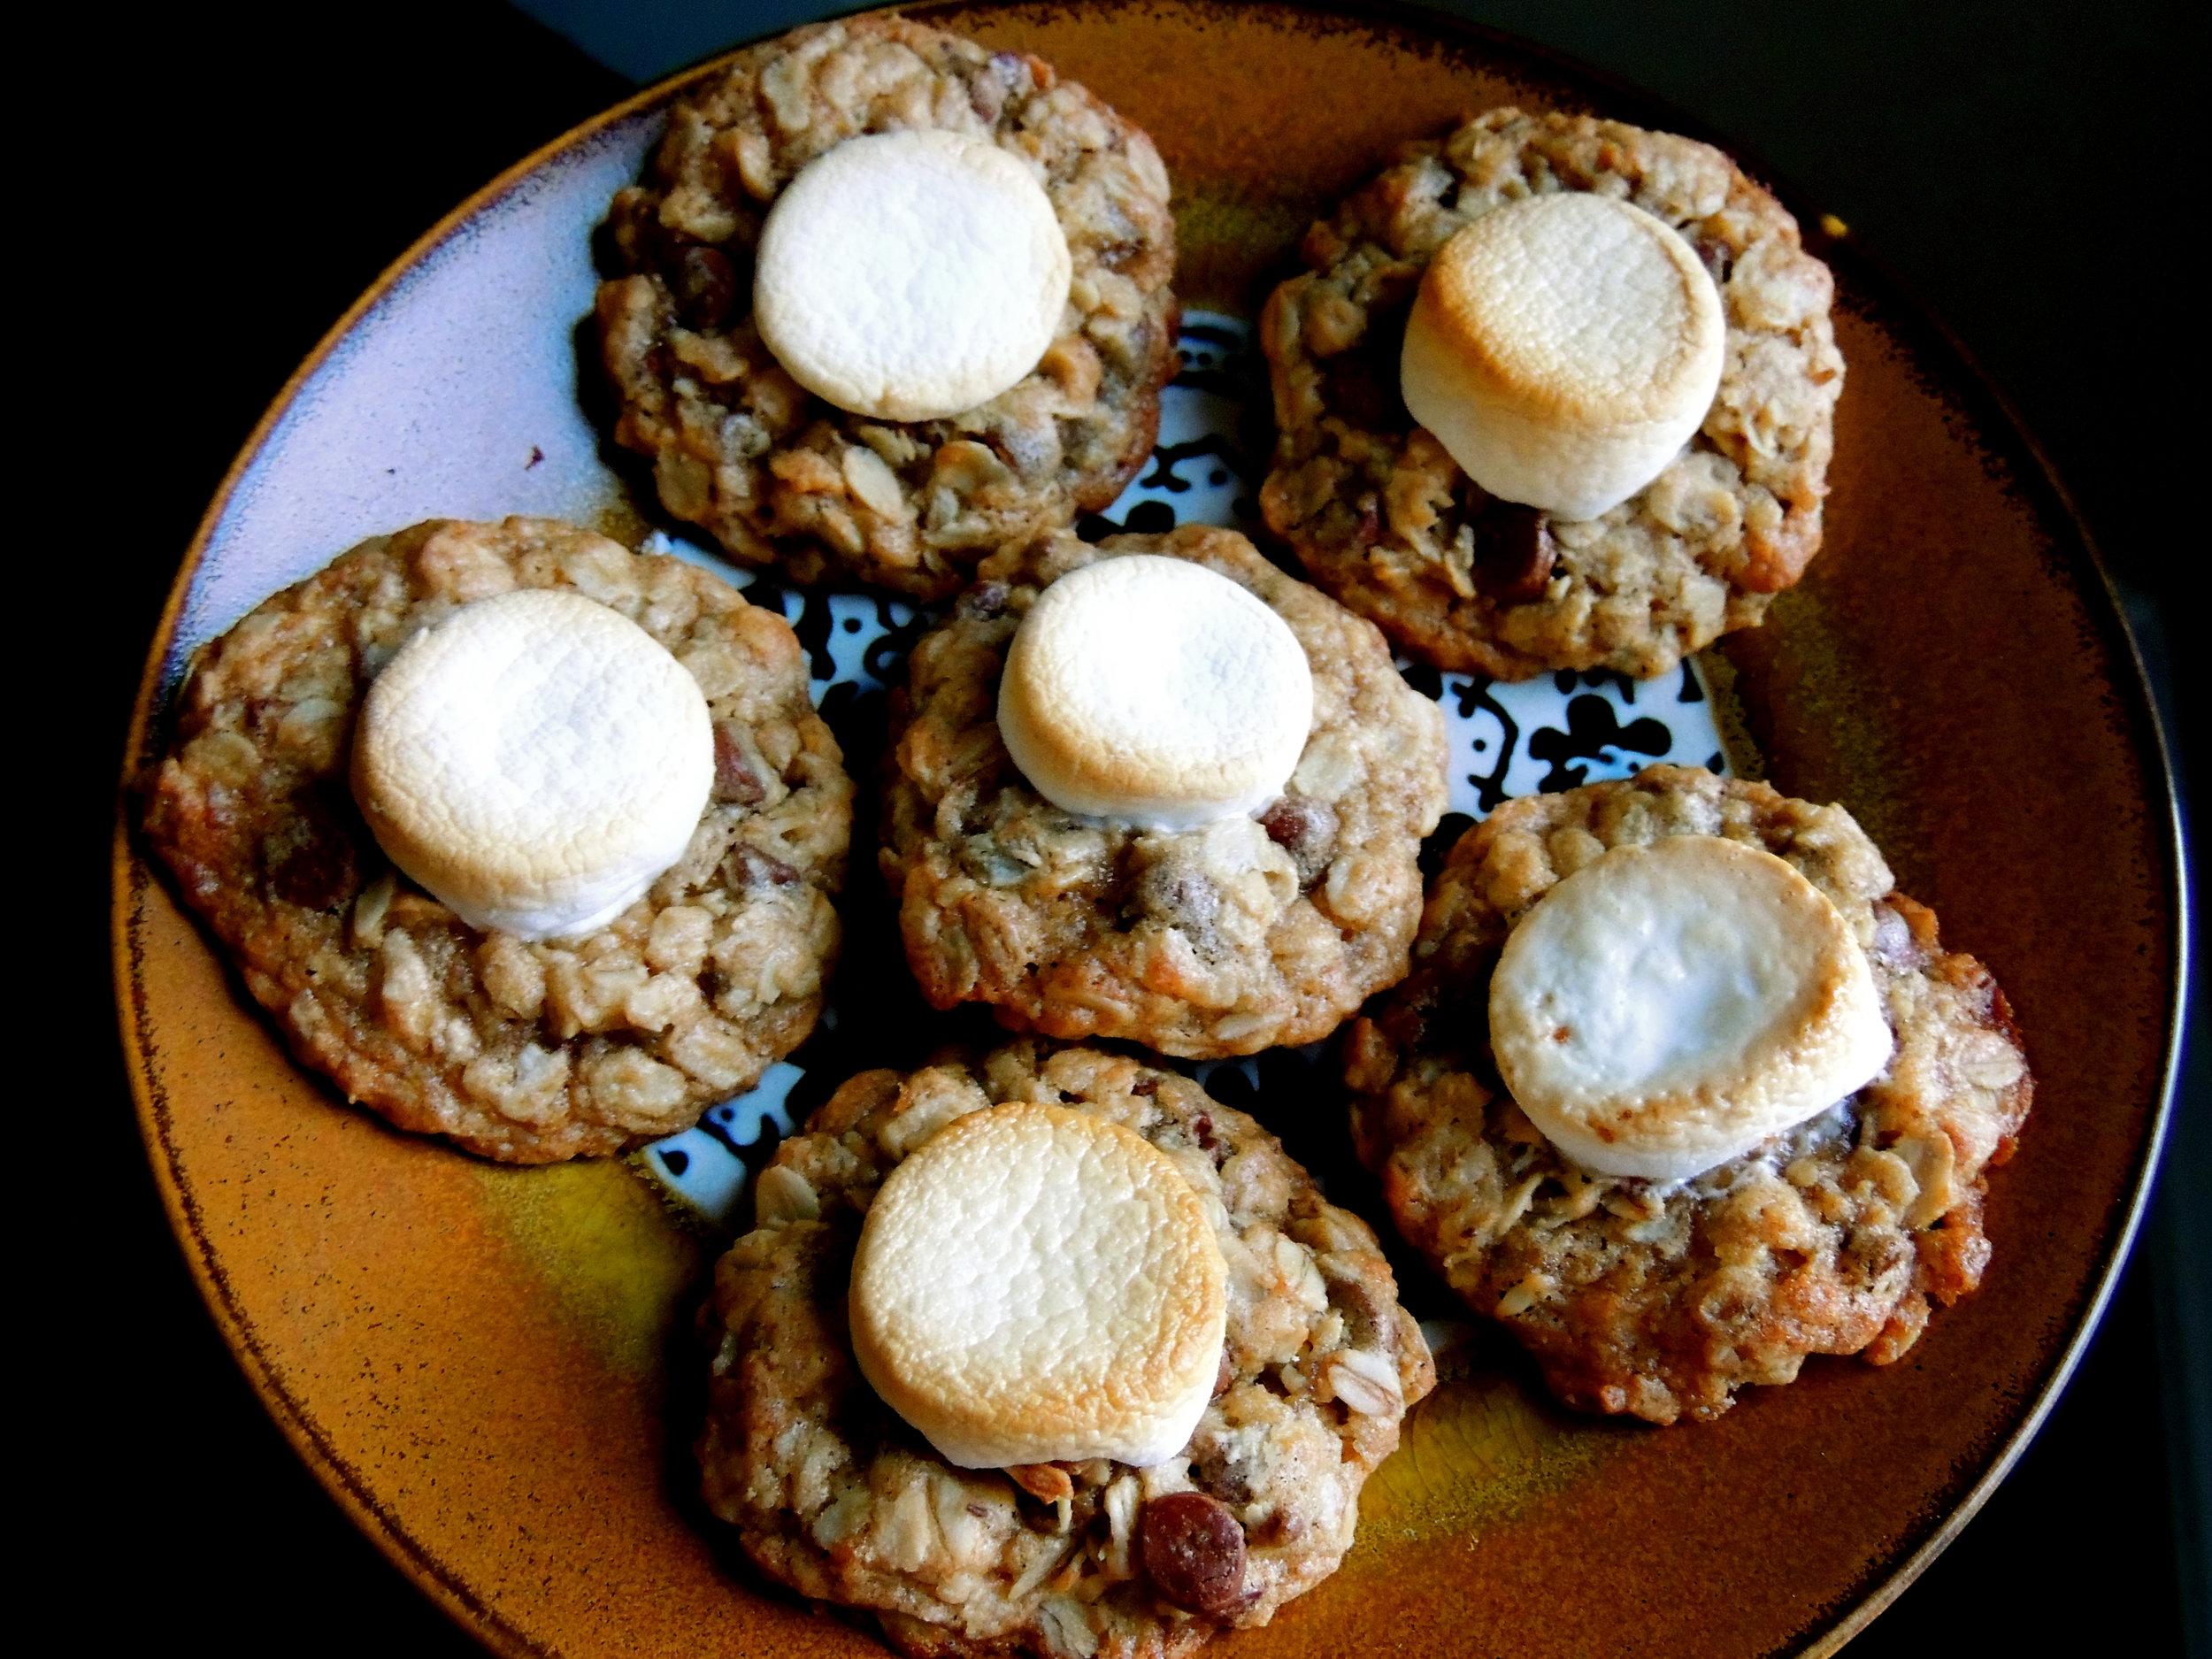
If there's anything you know about me thus far, it's that I collect a lot of recipes, but I hardly ever do anything with them but stick them in my "Recipes" folder. I've got so many that my fingers start to get tired after a while from scrolling through. But today, as I searched and searched for a recipe that was simple enough to make, but still totally impressive, there was one special cookie that screamed out to me: Oatmeal Chocolate Chip S'Mores Cookies. YEAH, S'MORE. I've tasted a s'mores cupcake, but never a s'mores cookie. And today was the day.

Image

And for real, I can't believe how simple these cookies were to make, but also how INSANE THEY TASTED. There are few things better in this world than a toasted marshmallow, and I did it using the broiler on my oven. I tell you, my mind was blown. And I'm going to blow the minds of all my work chums tomorrow, mark my words.

Oatmeal Chocolate Chip S'Mores Cookies: totally into it.

What You'll Need:

  • 1 cup softened salted butter
  • ¾ cup dark brown sugar
  • ¾ cup white sugar
  • 2 eggs
  • 2 teaspoons vanilla extract
  • 1¼ cups all-purpose flour
  • ½ teaspoon baking soda
  • ½ teaspoon salt
  • ¼ cup graham cracker crumbs
  • 2½ cups quick oats
  • 2 cups mini semisweet chocolate chips
  • 12 giant marshmallows, sliced into thirds

Preheat the oven to 325°F. Prepare a baking sheet with parchment paper; set aside.

Using a stand mixer fi tted with the beater attachment, cream the butter and sugars at medium-low speed until well combined.  Add in the eggs, one at a time, beating well after each addition.  Add in the vanilla; combine well.

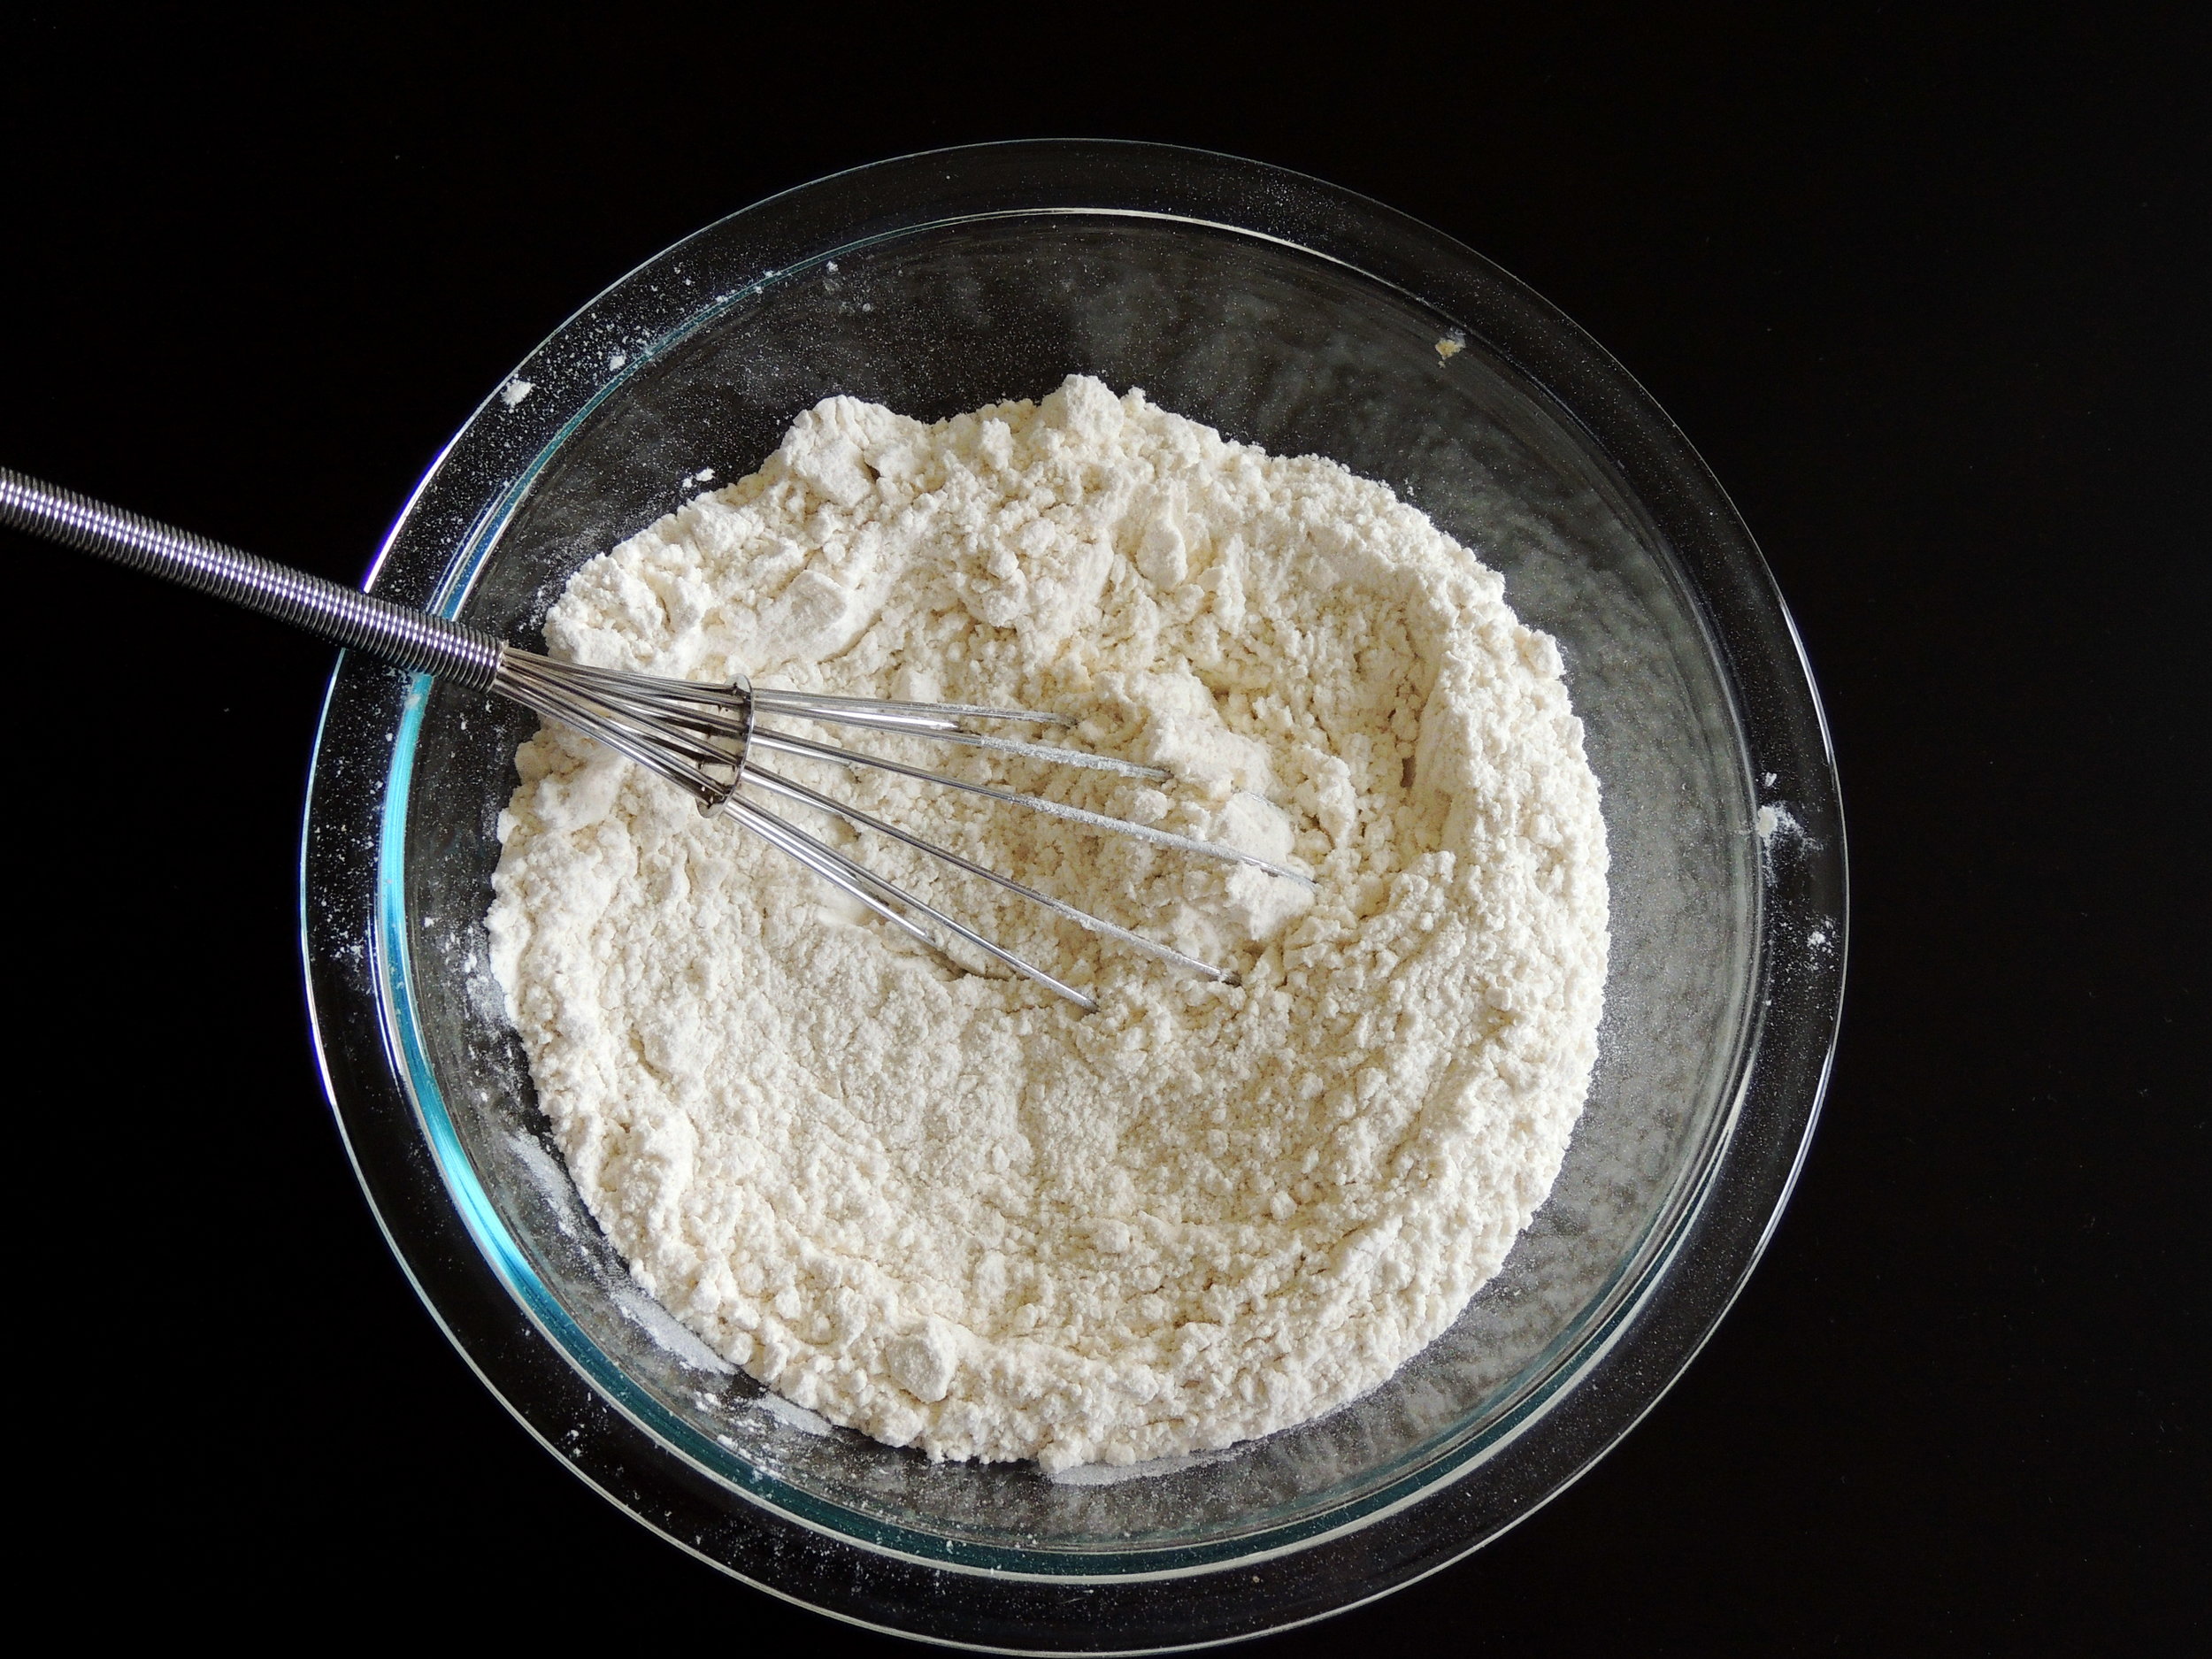
In a separate bowl, combine the fl our, baking soda, salt, and graham cracker crumbs.

Add the dry ingredients to the wet batter. Mix on low until just combined. Stir in the oats and chocolate chips.

Scoop rounded balls of batter onto the prepared sheets. The batter will spread, so be sure to leave ample space between.  Bake for 13–15 minutes, or until the edges are very lightly browned.

Remove from the oven, and immediately top with a slice of marshmallow.  Allow to cool on baking sheets.  Before serving, place the pan under the oven broiler or use a kitchen torch to toast the marshmallows.

SOURCE: The Cake Blog

The cookies are safely tucked in their tin foil, and ready for a trip to the office tomorrow, and I'm snuggled in my blankets becaause it is positively freezing. And I'm totally slacking on my holiday movie-viewing, so if you'll excuse me, I've got a date with The Santa Clause before bed.

HAPPY BAKING!!

singature gray

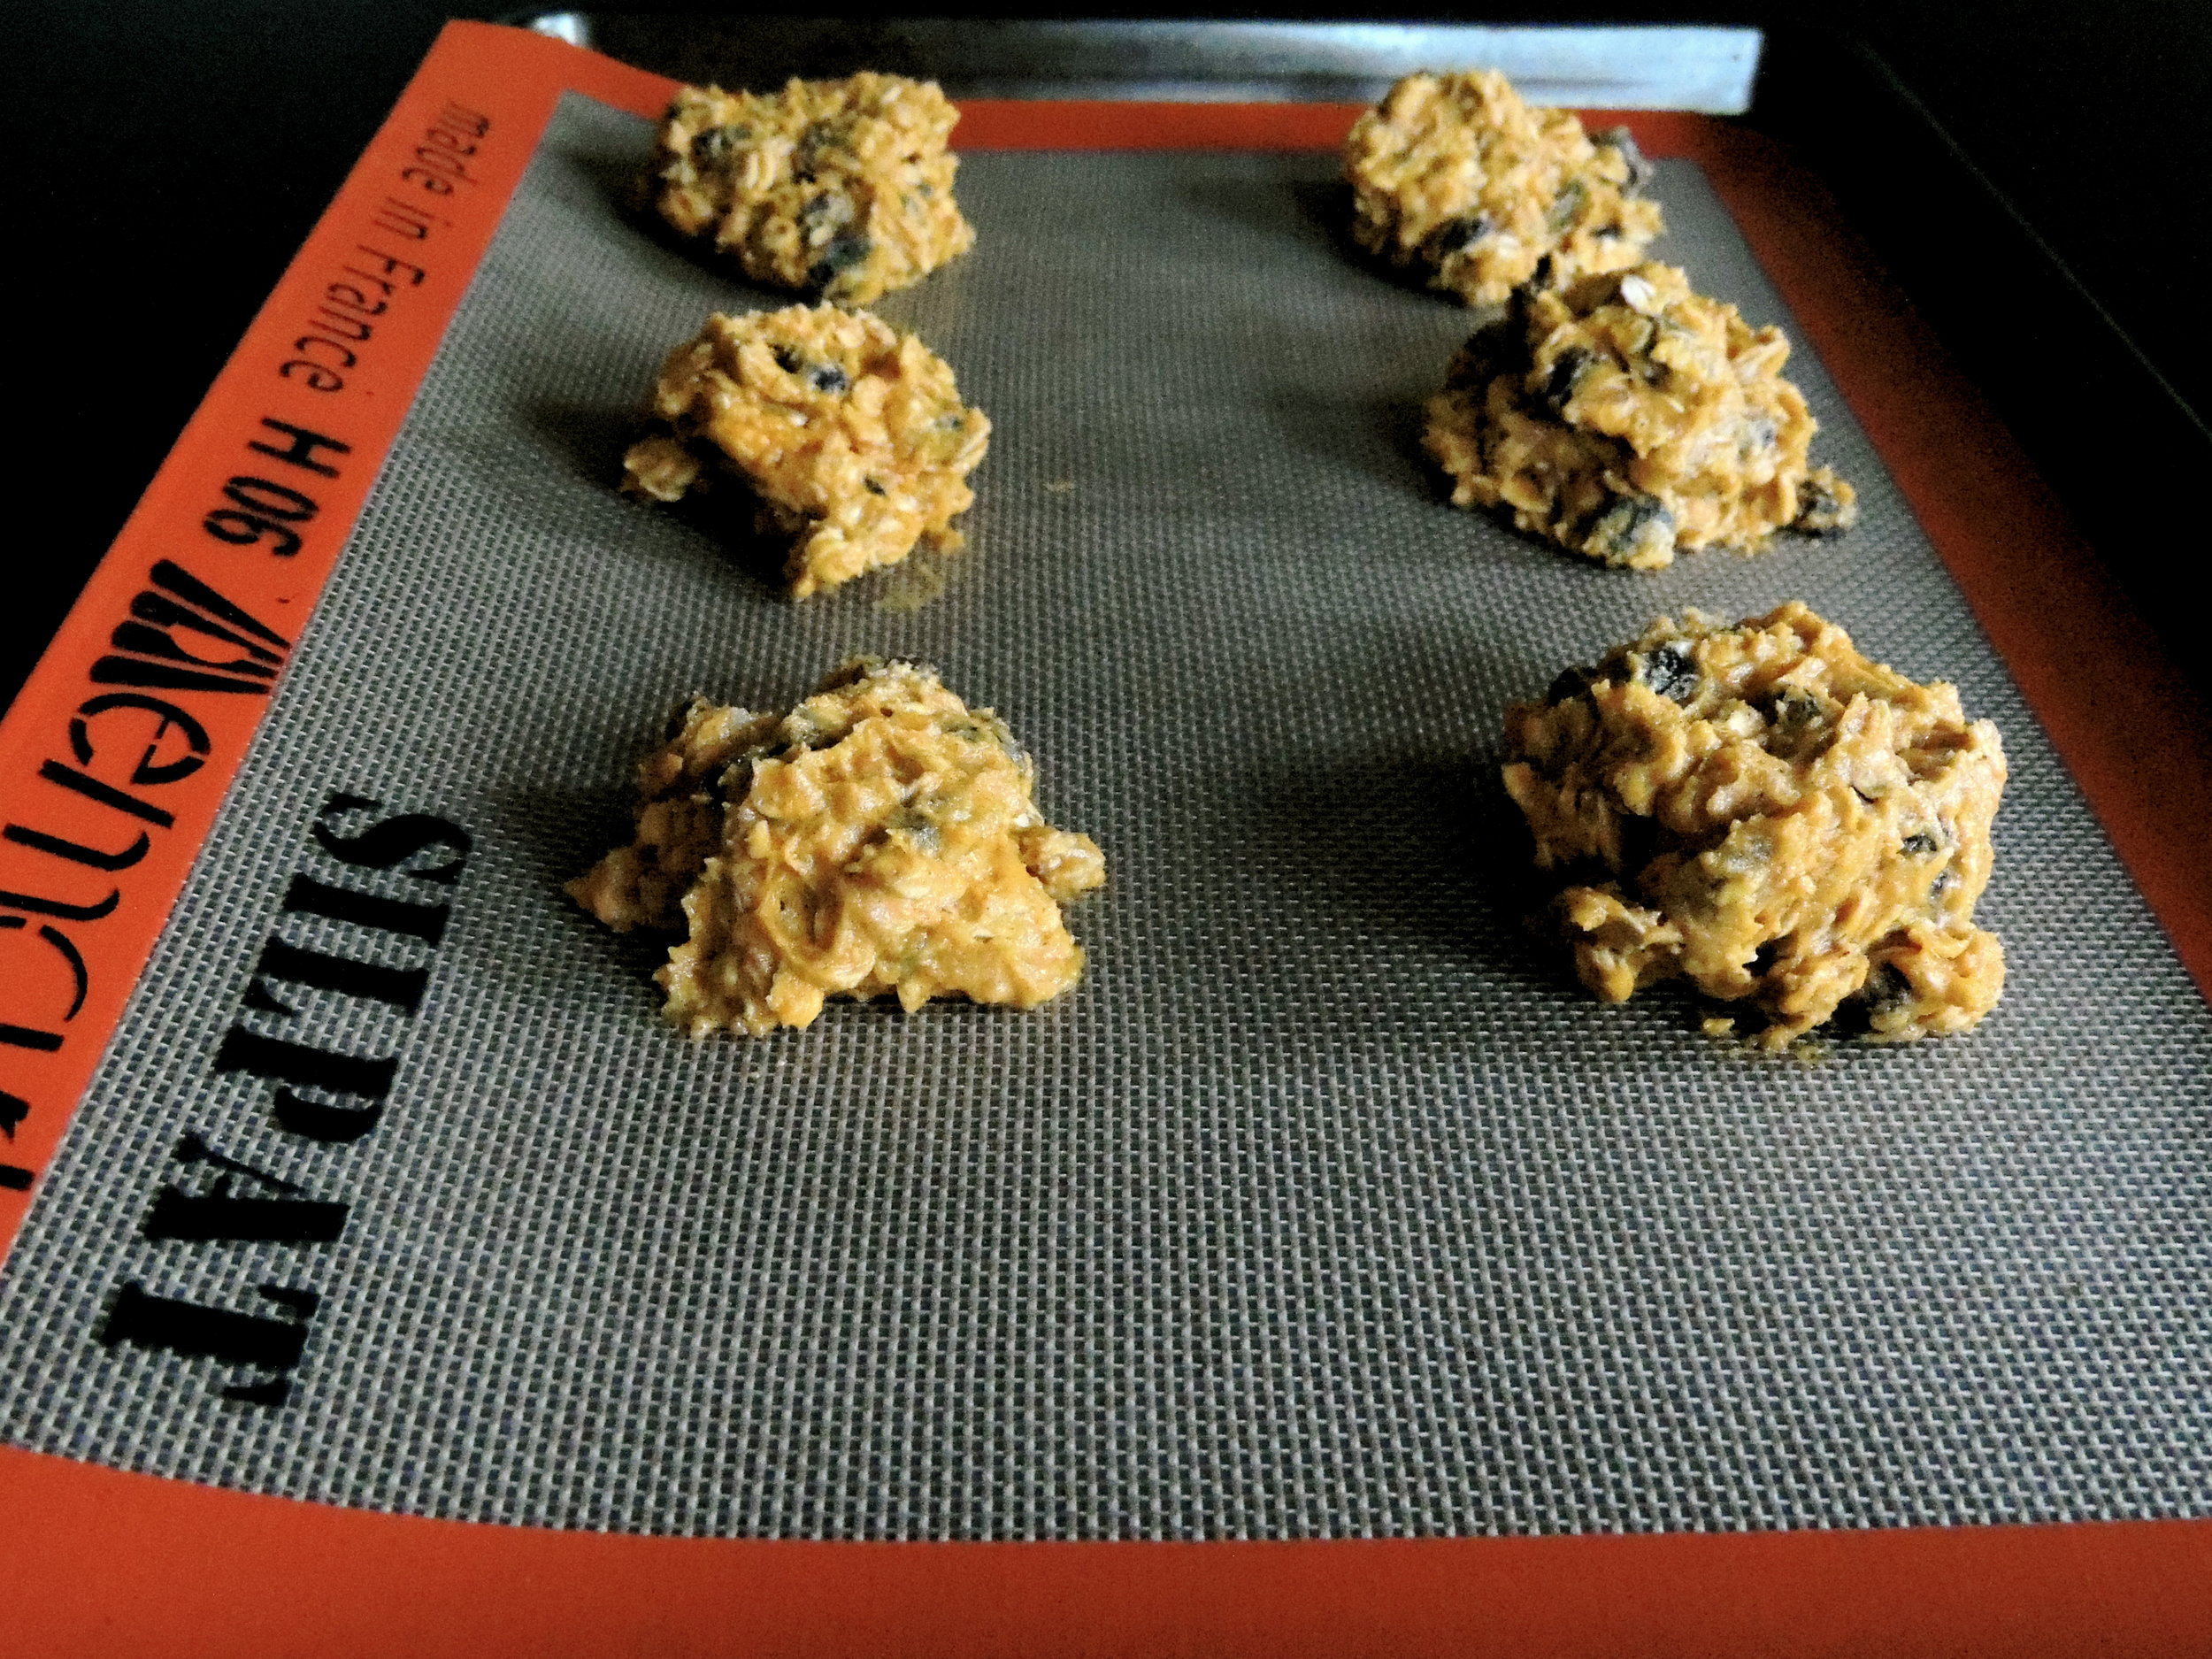
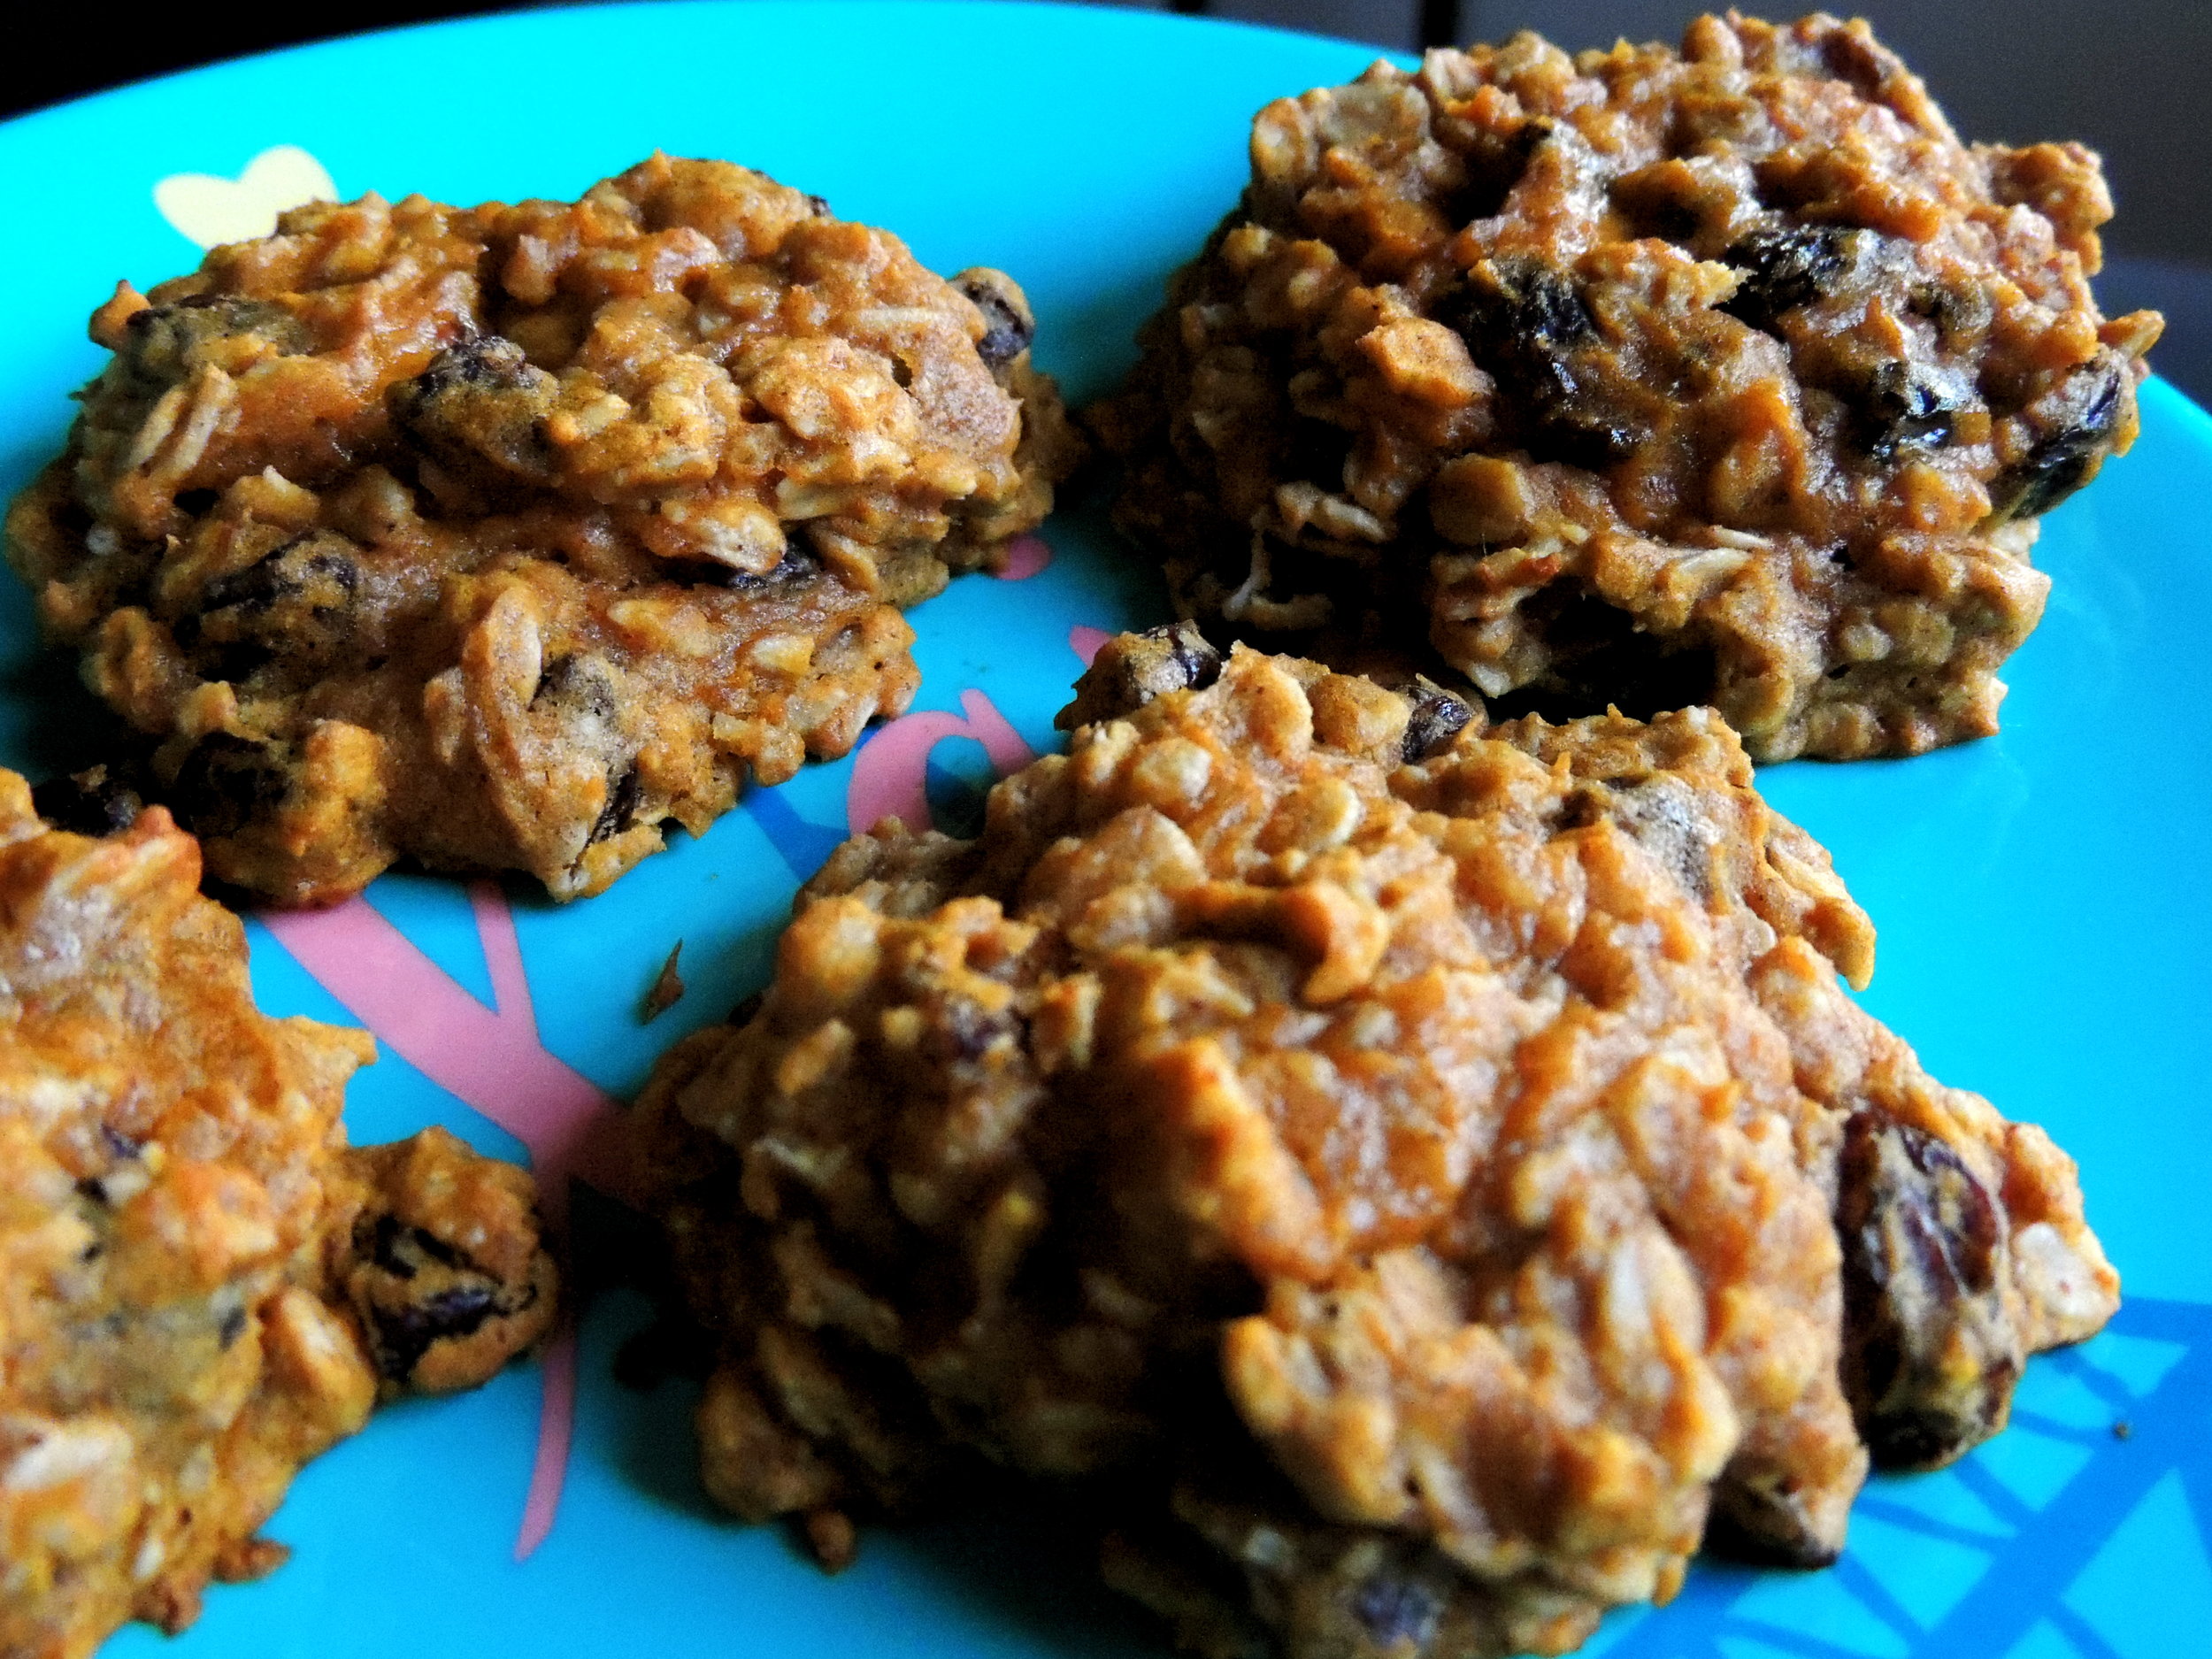
Making it My Own: Pumpkin Oatmeal Raisin Cookies

DSCN0308 The story really began on Sunday, when my friend Grace and I decided to hit up the neighborhood bakery, after completely stuffing ourselves at brunch. No regrets, the weekends are the days that I feast. My neighborhood has the CUTEST bakery with tons of handwritten signs everywhere, and a really great pastry selection. What I had in mind for a post-brunch treat was a cannoli because hey, if you're going to have dessert after essentially having dessert, you have to go all out. But these days, I leave cannolis to the experts in the North End, and no where else. Instead, I locked eyes on (well, eye to baked good) a pumpkin raisin cookie. It just so happens that a few days before, I'd heard talk of a pumpkin aatmeal raisin cookie, and I'd been dying to try one ever since. But when I asked the salesperson if the cookie had oats, she shook her head "no," and sort of looked at me quizzically. Well, whatever, there was nothing else in the bakery I wanted more than that cookie, so I paid, and we left. And, I have to say it: I was super disappointed. I mean, I ate the whole thing obviously, but every bite was a reminder that I may have chosen the wrong thing at the bakery. It was missing one very important element: oats.

Honestly, think about it: had there been no pumpkin, it would have just been a raisin cookie. WHO EATS PLAIN RAISIN COOKIES? It's oatmeal raisin, or nothing. So as I took my last bite, I looked over at Grace and said, "I think I'm going to remake this cookie."

So I did.

DSCN0307

I started my baking adventure like I always do: running furiously to the store in search of ingredients that I definetly should have collected before I decided to start baking. And I often embarrass myself once I get there. This particular time, after going up and down two aisles twice looking for raisins, I finally found someone that worked there, who told me to go to Produce. And after looking in Produce for .2 seconds, I decided to ask for help. Now, let me just preface this by saying that my trip to the store yesterday was the first time I'd been out all day, so I was still adjusting to being around other people, and also speaking out loud. Here was my interaction with the (pretty cute, by the way) salesperson in Produce:

Me: Excuse me, could you tell me where the grapes are?

SP: Grapes? Sure they're just------

Me:  OH NOPE. SORRY, I meant raisins! Ha, y'know like OLD GRAPES? HAHA

SP: ...Um. Okay, yeah, they're over here. Follow me...

Me: Yep. okay then...

So yeah, THAT happened. Nevertheless, I got my raisins. And I set to work!

DSCN0316A few hours later, I had warm, chewy, Pumpkin Oatmeal Raisin cookies. And better than the bakery's cookies by a mile, if I do say so myself.

DSCN0329

DSCN0340I'm taking these little pieces of Fall goodness to work with me so that my Official Recipe Tasters (aka my co-workers and roommates) can give me the final word. I'm going to share this recipe, I promise!

HAPPY THURSDAY, GUYS! The weekend's almost here!

singature gray

OFFICIALLY BAKING SEASON

Finally that time of year where it's getting a little too cold to be outside for long stretches of time, but not too cold to play in the leaves...and eventually snow. Did I hear correctly that Vermont is getting their first snowfall of the year this weekend? If so, good luck, Vermont! We've got a little warmth left here in Boston.  

But as the cold starts to unpack it's belongings for the 4+ months ahead, now is a good time to start making a list of every single thing that I want to bake. You would not believe the amount of recipes I save to my "Bookmarks" everyday, and that's where most of them stay. I save so many that I forget they exist! Well, that's all about to change. And I need your help!


Are there any recipes that you just can't live without?? I'd love to know! Then, we can make it together and giggle a bunch while we pretend that we're not going to have another piece, cookie, bite, etc, but we totally do!


NEW RECIPES. ANNNNDDDDDD....GO!

Took a Cookie Break From Howling at the Moon (It's Almost Halloween!)

DSCN0225 Last night I was scouring the hundreds of recipes that I have saved in the "bookmarks" section of my internet browser. It seems like the idea to bake  is always a prominent fixture in my mind, but the looming question is always, "Now WHAT am I going to make?" I also wanted to make something to take to work tomorrow. (I have this plan that I'm going to make friends with everyone in my office...one baked good at a time. So far, so good. )

Cookies are instant friend-makers.  Make no mistake about it, my friends.

I wanted to keep things relatively simple today. I didn't want to use a ton of dishes and utensils, I didn't want to have to go to the store in a desperate search for an obscure ingredient, and I DEFINITELY wasn't in the mood for a super complicated recipe. But just because I wanted to take it easy, doesn't mean that I wanted to make some run-of-the-mill cookie that you can just as easily make from a box. I wanted sugar cookies, but it just wouldn't be a product of my kitchen if there wasn't  a little something extra. Thus, I decided on the classic, simple, yet eye-catching Black and White Cookie.

And for the record, I used a ton of dishes and utensils. Eh, we can't win 'em all.

DSCN0232Baking is so relaxing, don't you think?

DSCN0235DSCN0239I am thoroughly enjoying owning a Silpat. What is parchment paper? I've forgotten. (Just kidding. My Silpat is a little bigger than my baking sheet, so I still keep a roll of parchment paper around just in case.)

I used my trusty ice cream scoop to evenly measure out my cookies. It's funny, I use that ice cream scoop for everything from cookie batter, to cupcakes, to pancakes, but never, ever for ice cream. Weird, right?

DSCN0245

An hour later, I had thirteen of these babies. They're HUGE.

So, as I started making the glazes for these monster-sized cookies, I couldn't help feeling like I wasn't taking these cookies as far as they could go. And of course, I was also feeling a little festive. SO, to celebrate All Hallow's Eve (CAN YOU BELIEVE IT'S TOMORROW? I mean SERIOUSLY, where did October go??) I decided to dye the white glaze orange with food coloring!! I think I got a little too excited, but I just can't help it when that happens.

DSCN0250 DSCN0253

Making vanilla glaze is insanely simple, and it was my first time using corn syrup. Such a huge bottle, and all I needed was a tablespoon for the glaze. How will I ever use that entire bottle of light corn syrup? OH WELL, GUESS I HAVE TO MAKE A TON OF STUFF NOW WITH GLAZES AND THEN EAT THEM ALMOST IMMEDIATELY AFTER. Life is so hard!

Isn't that the prettiest orange color you've ever seen? I love dying food! I can't believe I don't do it on a daily basis. What do you guys think of purple spaghetti? Okay, sorry. Too far.

DSCN0254

I'm so incredibly proud of these cookies. AND I'm TOO EXCITED to bring them to work tomorrow. Despite my best efforts to get everyone in the office to dress up like Bumble Bees (Or an equally embarrassing group costume), I couldn't get anyone on board to celebrate Halloween with me. At least now we can acknowledge that tomorrow is one of the coolest holidays ever,

Next time, I'm using brown butter for these cookies. I can't wait.

What You'll Need:

For the Cookies

  • 2 1/2 cups all-purpose flour
  • 1 teaspoon baking soda
  • 1 teaspoon salt
  • 2/3 cup well-shaken buttermilk
  • 1 teaspoon vanilla
  • 2/3 cup unsalted butter, softened
  • 1 cup granulated sugar
  • 2 large egg

For the Vanilla Glaze

  • 2 cups powdered sugar
  • 1 Teaspoon light corn syrup
  • 1/2 teaspoon vanilla extract

For the Chocolate Glaze

  • 4 ounces semi-sweet chocolate
  • 3 Tablespoons butter
  • 1 Tablespoon light corn syrup

Check out the full recipe here!

HAPPY HALLOWEEN, BOYS AND GHOULS!

singature gray

Cakeland Adventures Continued

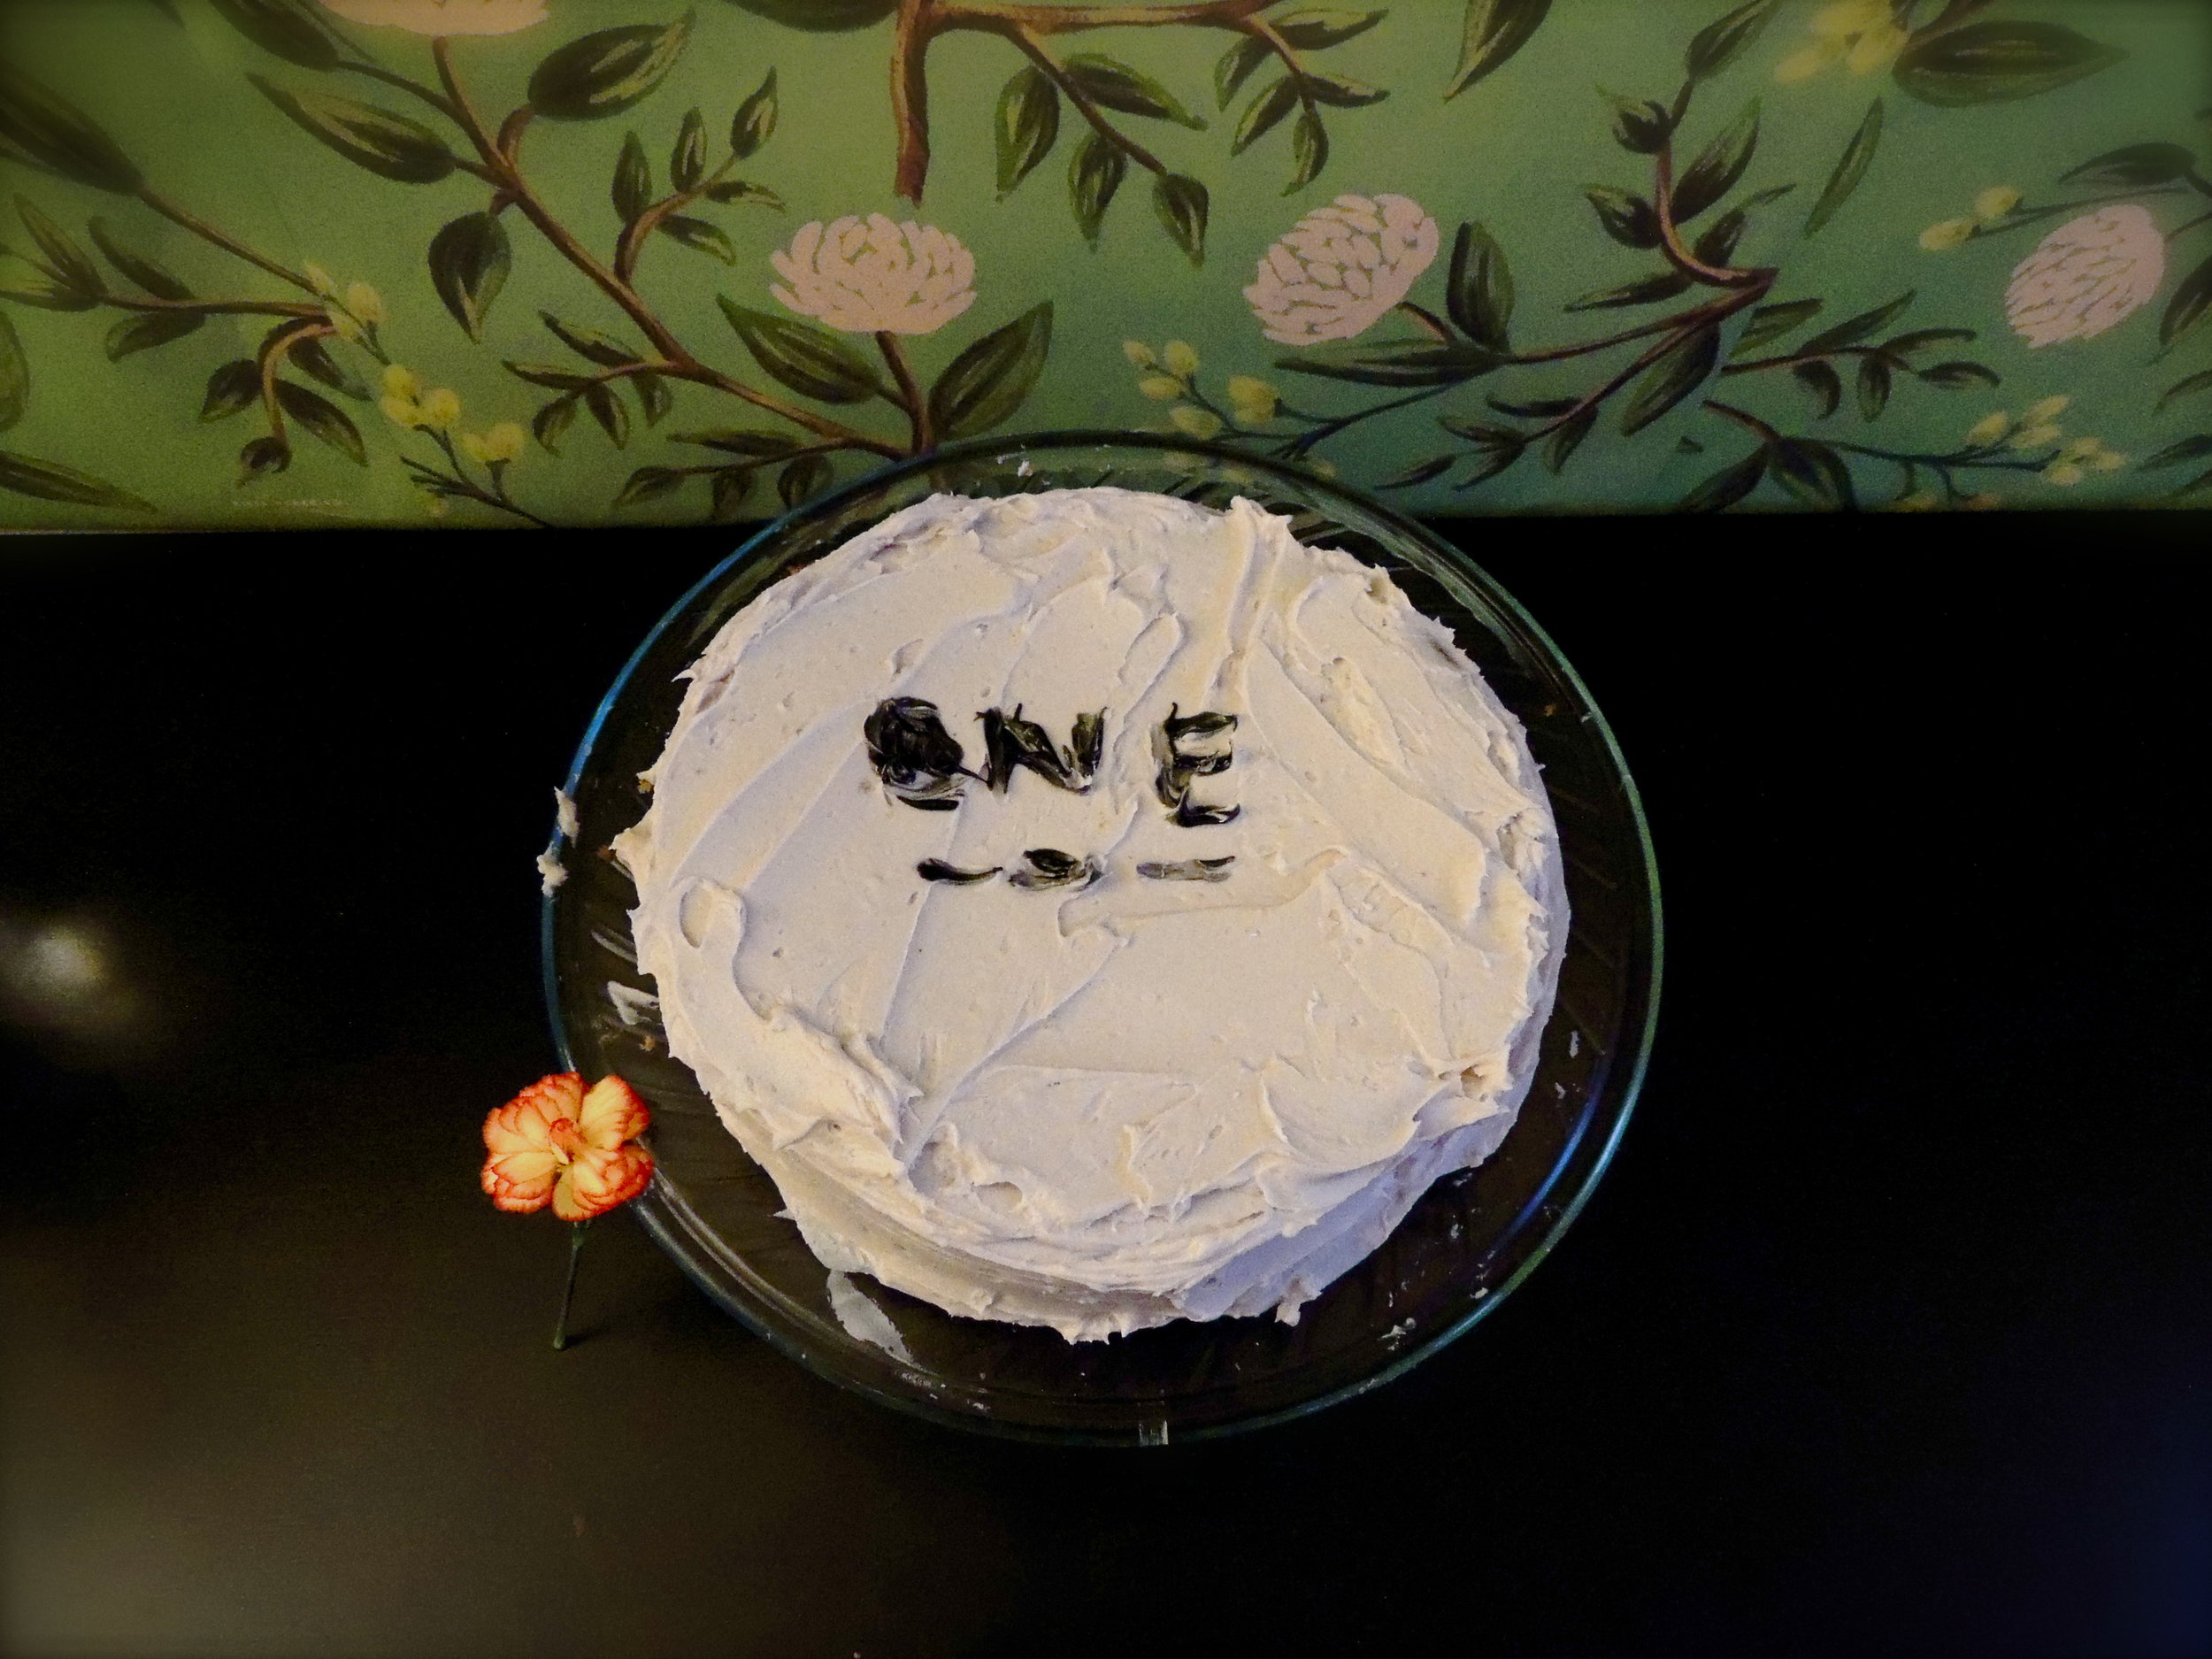
DSCN0196 This weekend I decided that I wanted to make a cake.

In my life, I've only made two cakes, whether it be alone, or with a little help. And I have to say it: this is no easy feat, is it? Making a cake is a lot of work, but it's incredibly rewarding (And obviously delicious) in the end, and that makes it all worth it.

Let me first start off by saying that I went all over Boston (Okay, just to Macy's) to find the proper tools for this cake. While I've got buttercream frosting on lock, I didn't have an icing spatula. And while I have plates to serve the cake on, I had no cake stand. These are both very essential to proper cake making. In two years, I want people to come to me asking for me to make them a cake. I HAVE A LONG WAY TO GO, but practice makes perfect, no?

So with my nine-inch cake pans in place, my favorite apron on, and about a million ingredients littering the counters, I set to work on a two-layer, vanilla with buttercream frosting cake. Four hours later (There was a lot of checking, then double-checking, then triple-checking the recipe to make sure I was doing it right. Then I had to wait for the unusually hard unsalted butter to soften)  I had my two-layer cake, and a countertop, and arm, covered in buttercream frosting. But HEY, I made myself a cake, and I'm proud.

DSCN0197

Ahem. Couple things: this isn't the prettiest cake in the world. I know this, I said this several times to my roommate after I set in on the table. BUT IT WAS DELICIOUS.  This was my first time using cake flour instead of all purpose, and I must say, the consistency is interesting! it's a bit lighter, and I like it. I still prefer AP flour, but I like it enough for this cake.

In case you can't tell (icing gel from Betty Crocker is THE. WORST. I had these neat designs in mind for the cake, but couldn't snip the top off the tube like it suggested. After probably a good five minutes of snipping that top, I got a little frustrated and cut off the entire bottom, then filled a squeeze bottle we have for icing. There wasn't enough gel from the tube to fill the squeeze bottle, so I had to change up everything. Bottom line: be careful buying Icing gel from Betty Crocker) I wrote "One" on my cake. This is try number one. And there will be many more tries in the future, and they'll all be documented here.

At the end of the day, I'm still learning. Baking makes me happy. It's something that I love to do, and it's gotten me a few friends along the way. But I'm still learning, and I'll continue to learn until I can't anymore. And that's what DaintyDwellings is about for me. It's about always learning, always trying to better a craft, always trying to learn more about the things I'm passionate about, always trying to build a community with bloggers trying to do the same thing. I want to be the best, so I have to learn from the best.

And I've still got a lot to learn, so keep those challenges coming.

Night, Dwellers!

singature gray


Baby, We're Rollin' (in Dough)

Doughnut circle

I made doughnuts.

That's it. My life is forever changed.

And these weren't just ANY doughnuts, my friends. Oh no. These were...are you ready for this?

You sure?

ARE YOU SURE YOU'RE READY FOR THIS?

Okay, okay, sorry. I get a little too dramatic in the mornings.

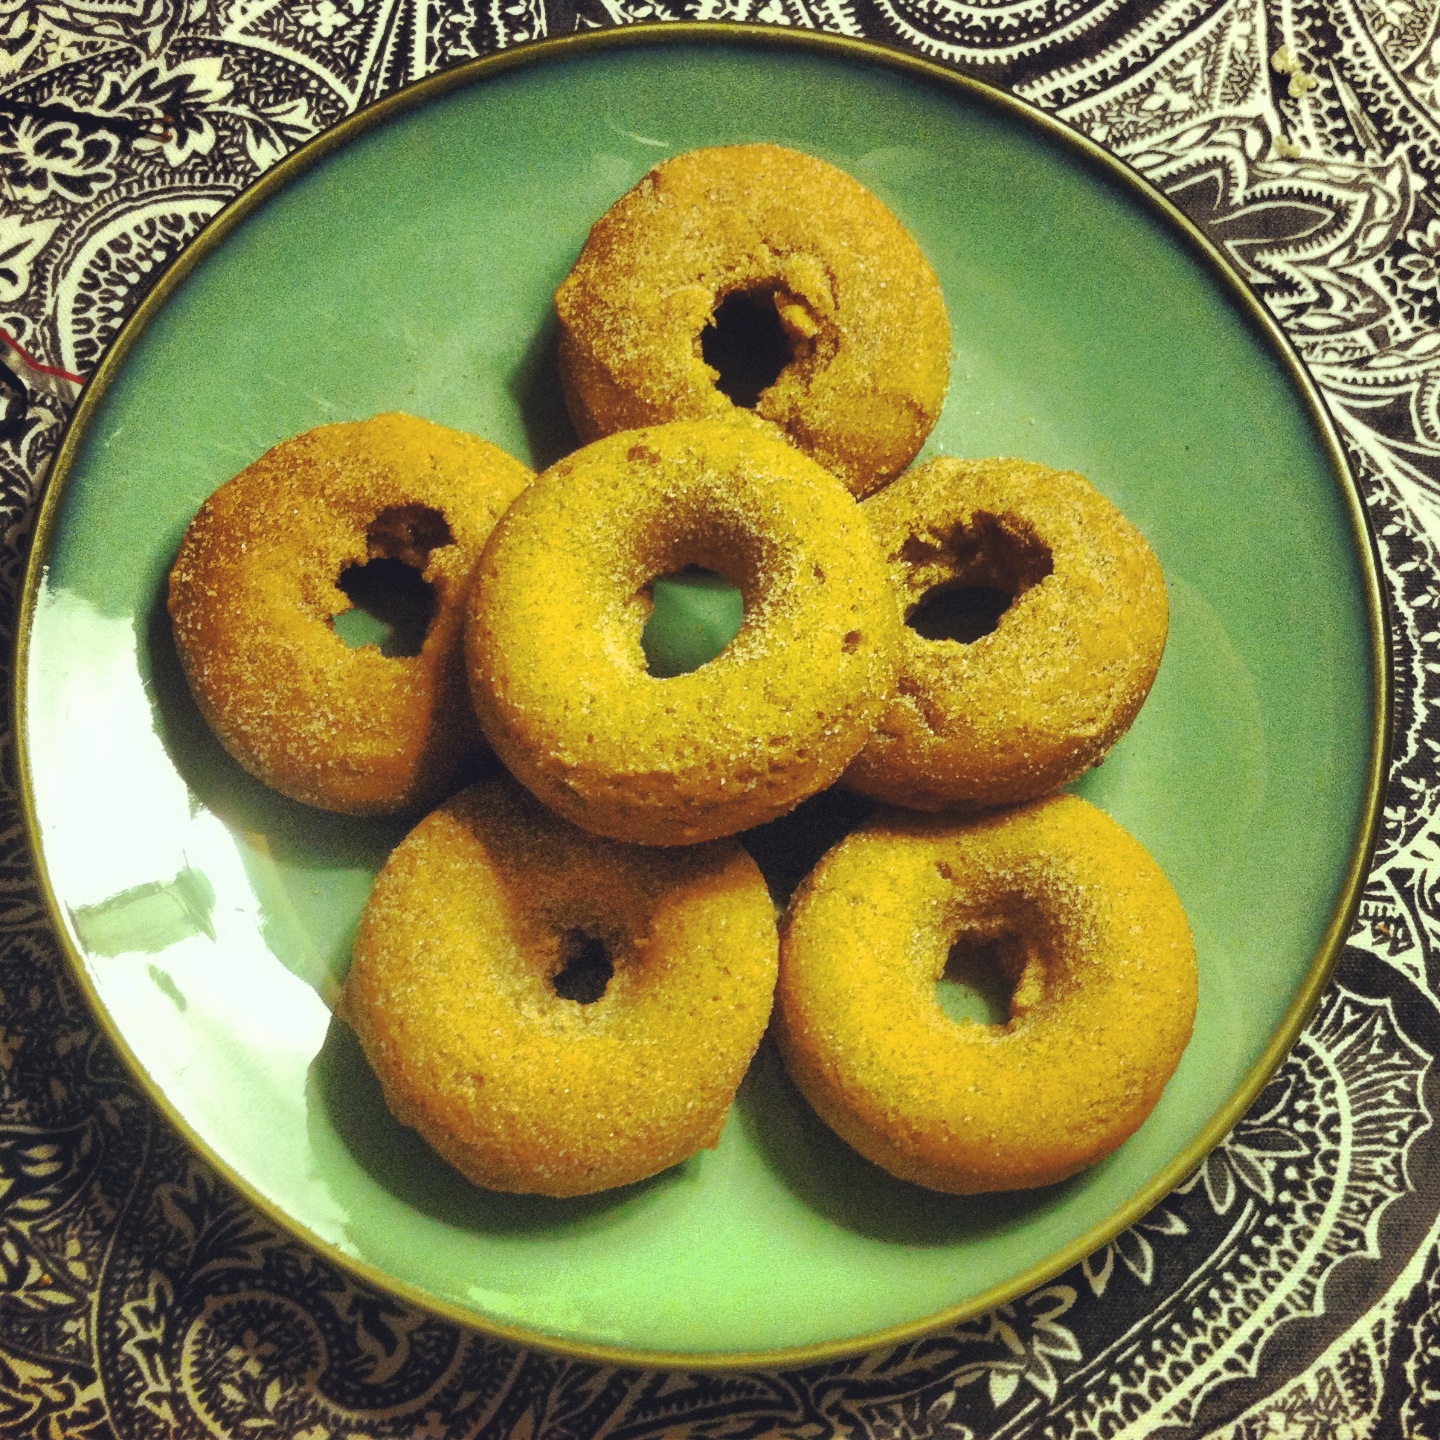
 BAKED. PUMPKIN. CAKE. DOUGHNUTS.

Yes.

I took a  trip to Target about a month ago, and was perusing the home section when I came across a Nordic Non-Stick Doughnut Pan for a low, low price. Being one to never pass up a good deal, I threw it in the cart without even the slightest bit of hesitation.

Also, can we just take a moment to talk about the magic that is Target itself? Has anyone honestly ever gone in there thinking, "I'm just going in to get ______, then I'm out of there!"? No. Never. It's impossible. At Target, you have the semi-freedom to shop with abandon...You always learn your lesson when you get to the register of course, but by then it's too late, and you've already figured out a place for your new items in respective rooms in your home. I love it there, and Boston's about to get one a LOT closer to home! And you know where I'll be opening day.

Let's move on!

on the road to doughnuts

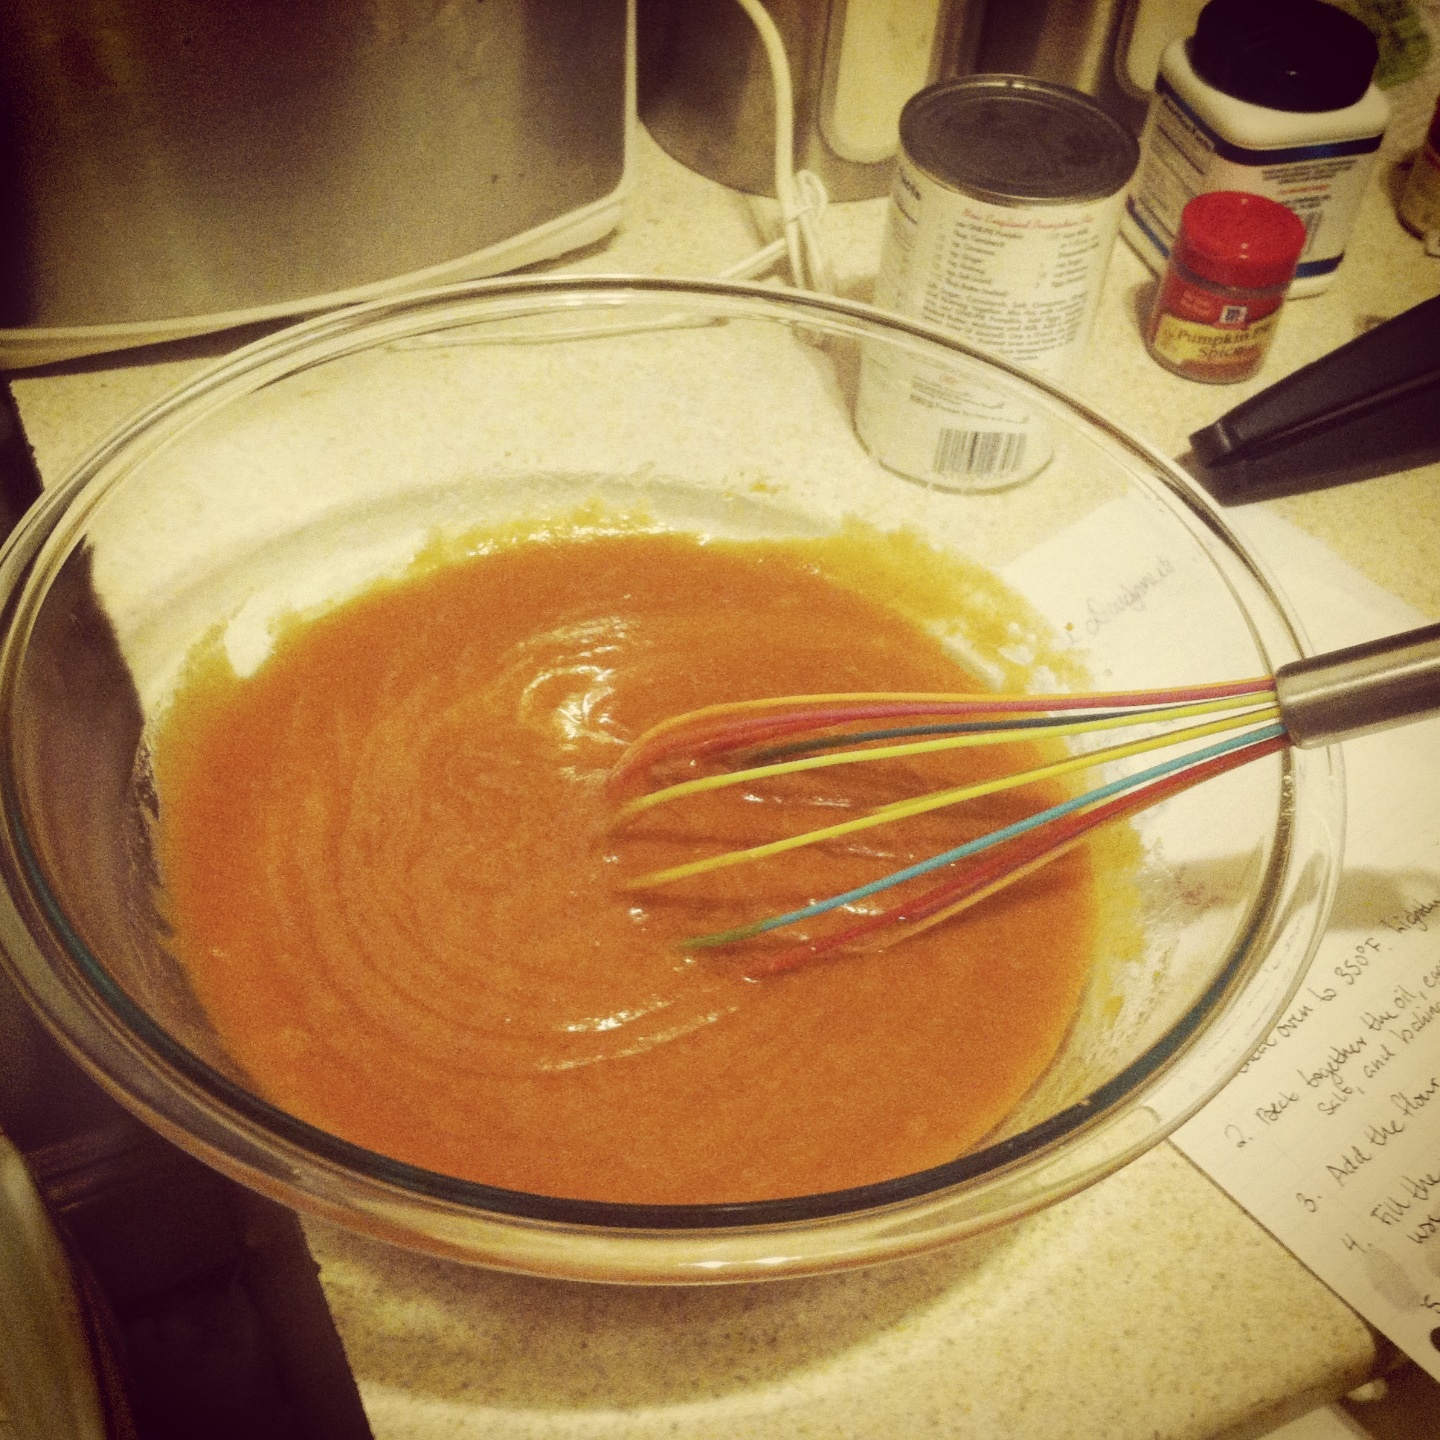
The recipe itself was amazingly simple. Honestly, all I did was throw a few things in the bowl. And for tools? Bowl, spoon, whisk, measuring cups, doughnut pan. That's it. I'm sure all you bakers out there can agree that sometimes the simpler the recipe, the less cleanup, the happier EVERYONE IS. We all like to dabble in complicated masterpieces, but on occasion, it's just nicer to take it easy in the kitchen. Especially in the summer, especially after all this heat.

I think I spent a total of 30 minutes preparing the mixture, then scooped it into the pan using my handy dandy 1/4 cup ice cream scoop, set the oven to about 17 minutes, and it was done!

doughnuts on display

Dunkin' Donuts, you eat your heart out. Then, you can come over for doughnuts.

What You'll Need:

Doughnuts:

  • 1/2 cup vegetable oil
  • 3 large eggs
  • 1 1/2 cups granulated sugar
  • 1 1/2 cups pumpkin purée (canned pumpkin)
  • 1 1/2 teaspoons pumpkin pie spice, or 3/4 teaspoon ground cinnamon plus heaping 1/4 teaspoon each ground nutmeg and ground ginger
  • 1 1/2 teaspoons salt
  • 1 1/2 teaspoons baking powder
  • 1 3/4 cups + 2 tablespoons  Unbleached Flour

Coating:

  • 3 tablespoons cinnamon-sugar mixture

Get the recipe here!

Happy baking!

singature gray