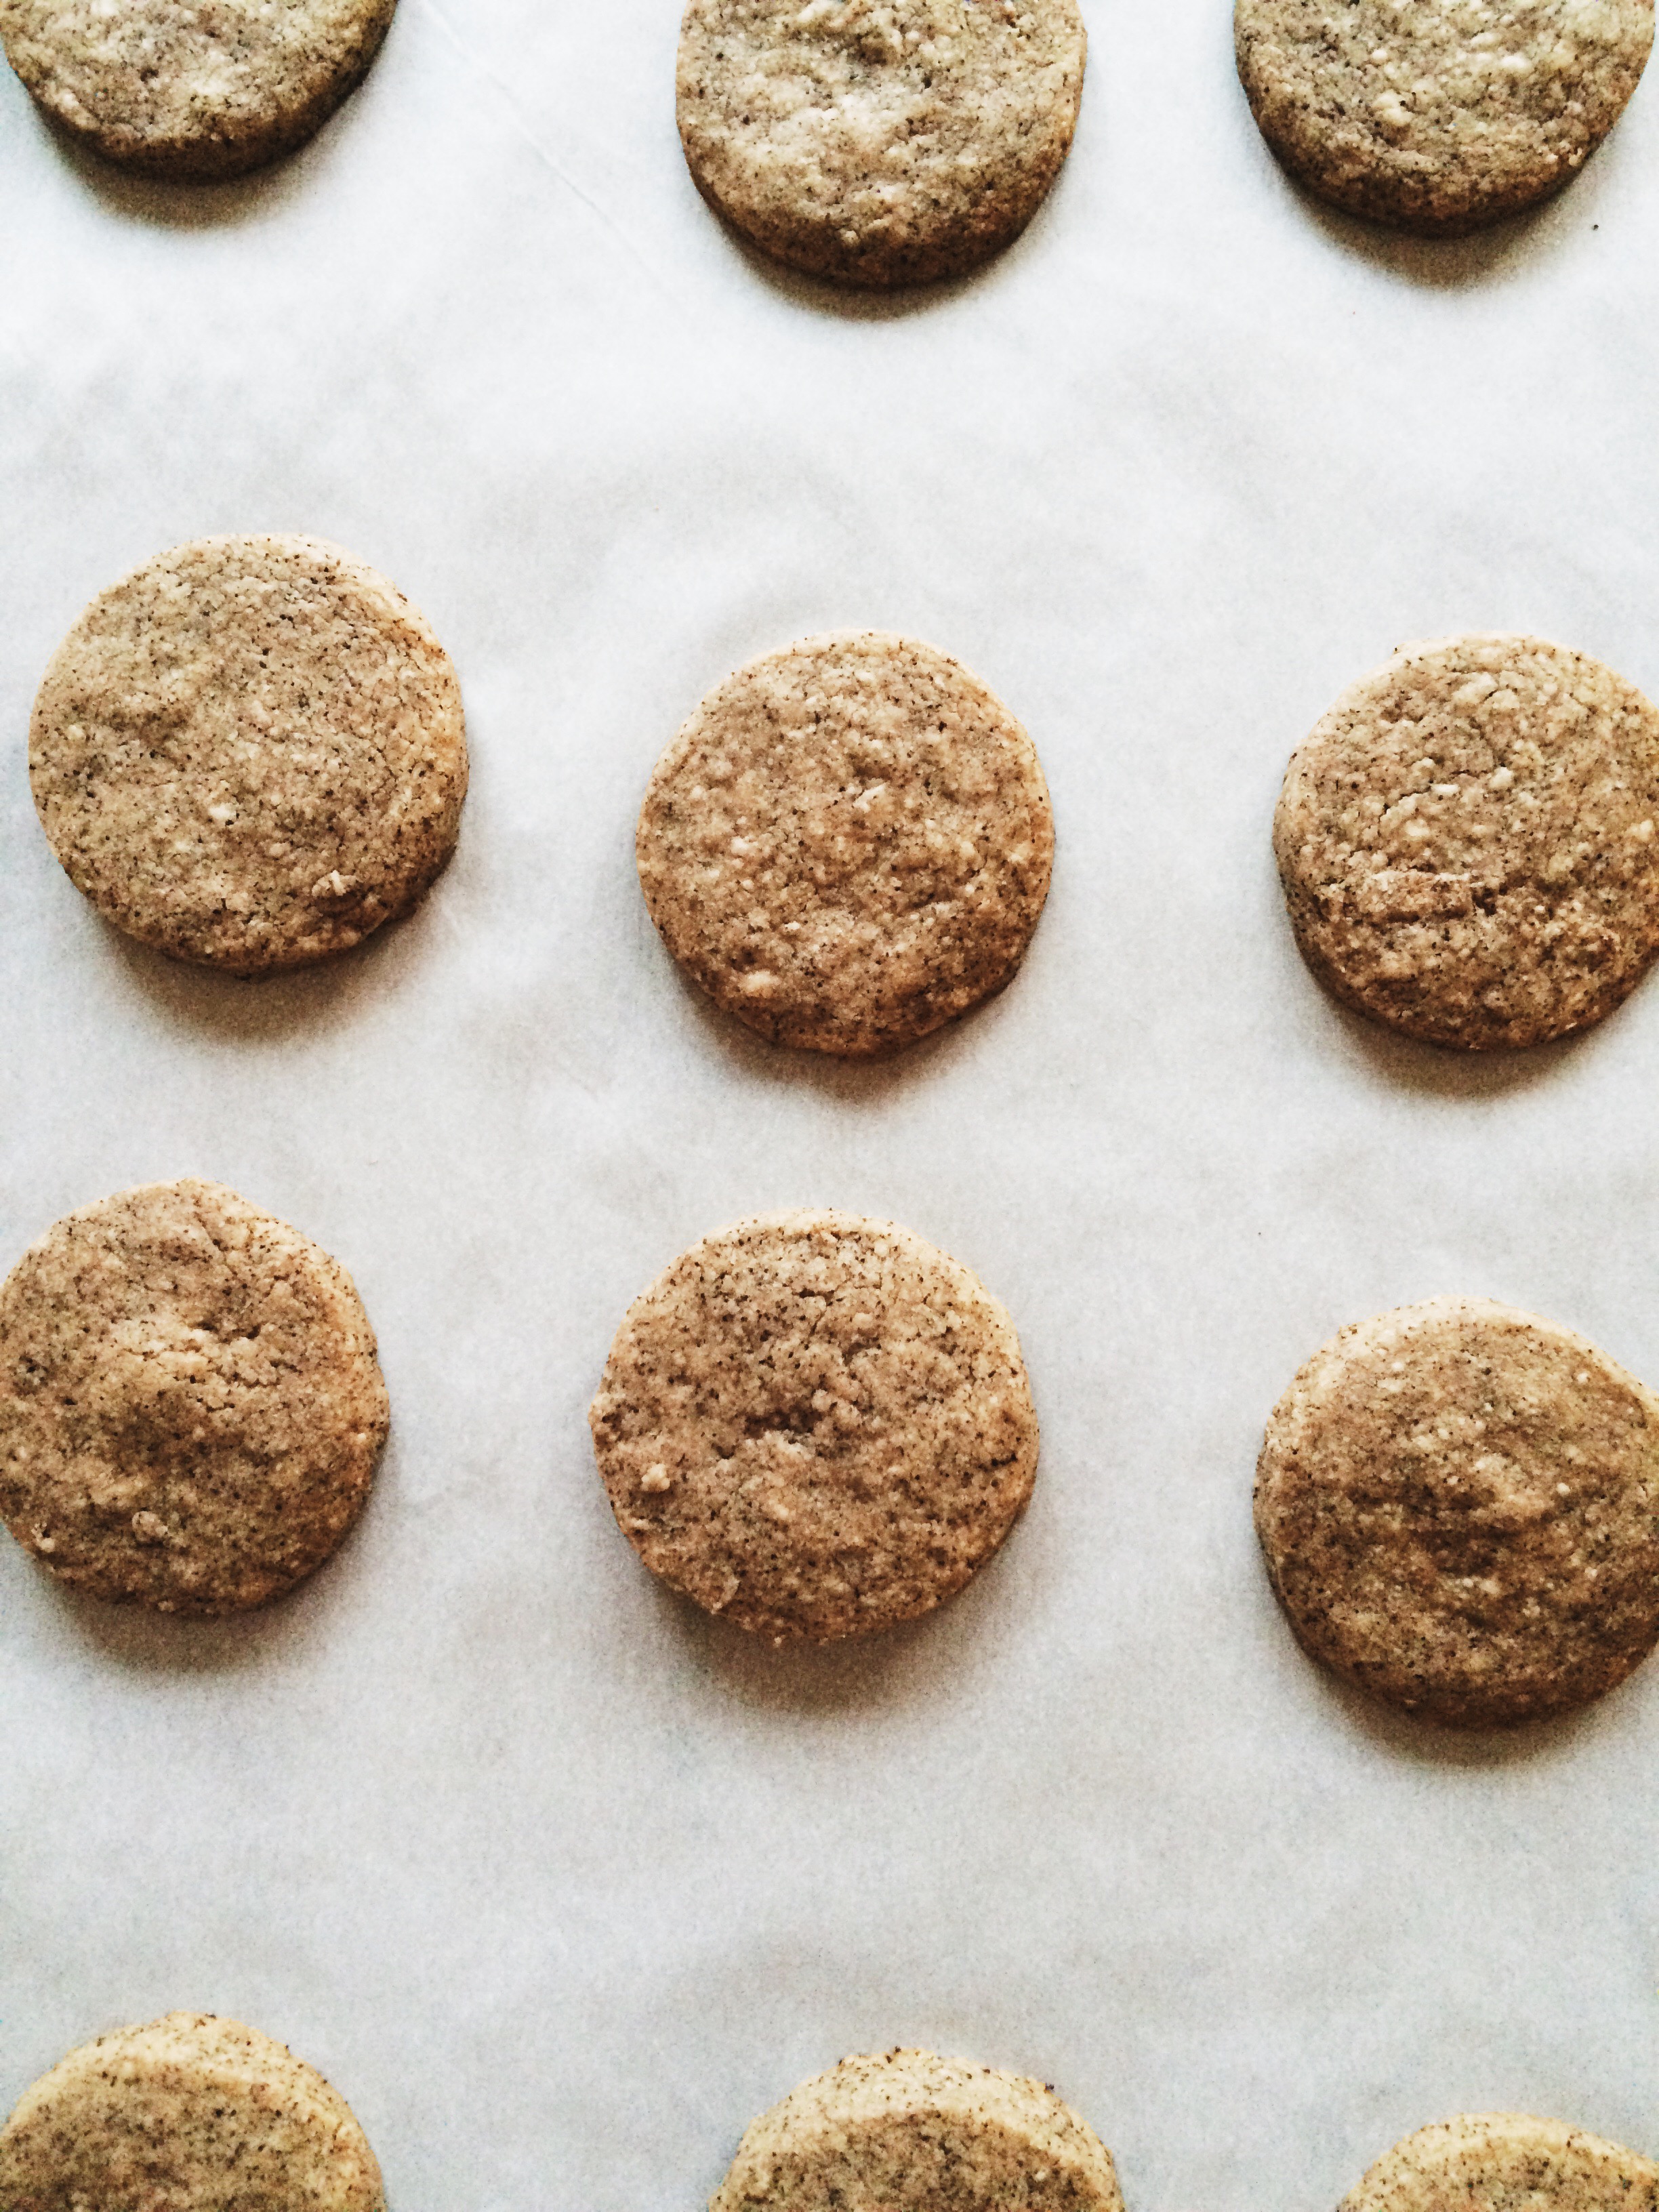
Cappuccino-Chocolate Sandwich Cookies

I have a question for all the Martha Stewart fans out there: Are you watching Martha Bakes?? If not, go. GO RIGHT NOW. GO SET YOUR DVR! I'll wait here.

OK, did you do it? Good. You won't regret it.

You know what's so rare? Baking shows without all the bells and whistles. Shows these days so are heavily edited for "drama," and condensed so much that you don't really feel like you could belong in that world. When I tune into a baking/cooking show, I want to feel like I'm actually in your kitchen as you TEACH ME SOMETHING! I don't want to be dazzled if it means that whatever has dazzled me is so unattainable that I shouldn't even bother to try. That's why I love Martha Bakes. Martha gets down to the nitty gritty. Whatever she makes, she makes in full. And yeah, there is a bit of "TV Magic"; sometimes what she's just made is already baked, but for the most part, the step--by-step, no matter how long it takes, is there. It's perfect. It's attainable.

This week, while going through the collection of MBs on my DVR, I discovered that Martha had done an episode entirely dedicated to coffee. Yes and yes. I was completely on board. She made cakes, she made ice cream, she made pie. It was all quite divine. But what really caught my eye (and I'll be honest: for all the thousands of hours spent watching cooking and baking shows, I hardly ever make anything from the episodes I've watched), was the cappuccino-chocolate sandwich cookies. They were cute and little, so deliciously chocolatey-looking, and a seemingly easy project to take on on a whim. I have an entire mason jar full of ground espresso beans, and I've been looking for ways to lighten the load a little bit. These sandwich cookies did very nicely indeed.

Processed with VSCOcam with s2 preset

You know, it's funny, I feel like a person who can really take or leave coffee. I have friends who have to have it first thing in the morning, and truly treat it like gold. To me, it's nice, but it holds very little significance in my life. (That significance is reserved for Mexican Coca-Cola I think.) But there are times when I positively NEED the taste of coffee as soon as possible. Usually that comes in the form of an emergency trip to a local coffeehouse, but I think it's good to broaden one's horizons to solid forms of coffee as well. And BOY are these cookies  the jolt of caffeine you need to brighten up your day.

Having one of these cookies is like having a quick cup of espresso with a dash of cream. But instead of those sweet little cups, you have a sweet and chocolately three-bite cookie. The dough alone had me breathing deeply, so when it came time to taste-test, OBVIOUSLY I was on cloud nine. I couldn't stop nibbling for ages, so you KNOW the final result was going to be delicious.

The taste of coffee is very present, but not overwhelming. The balance of the two chocolates just enhances the overall pleasure of the ground espresso. And the chocolate cream? OHHHHHHHH so good. Buttery and choclately, and addictive. And since there are two whopping tablespoons of straight-up ground espresso beans in the cookie part, plus a little more  in the chocolate drizzle, I think you can safely swap out that third cup of coffee for one or two of these lil guys.

If you couldn't tell by now, Sydney is allllllll about these cookies. I bounced off the walls and I loved it.

I think you'll love these, too.


CAPPUCCINO-CHOCOLATE SANDWICH COOKIES

What You'll Need:

  • 1 1/3 cups heavy cream
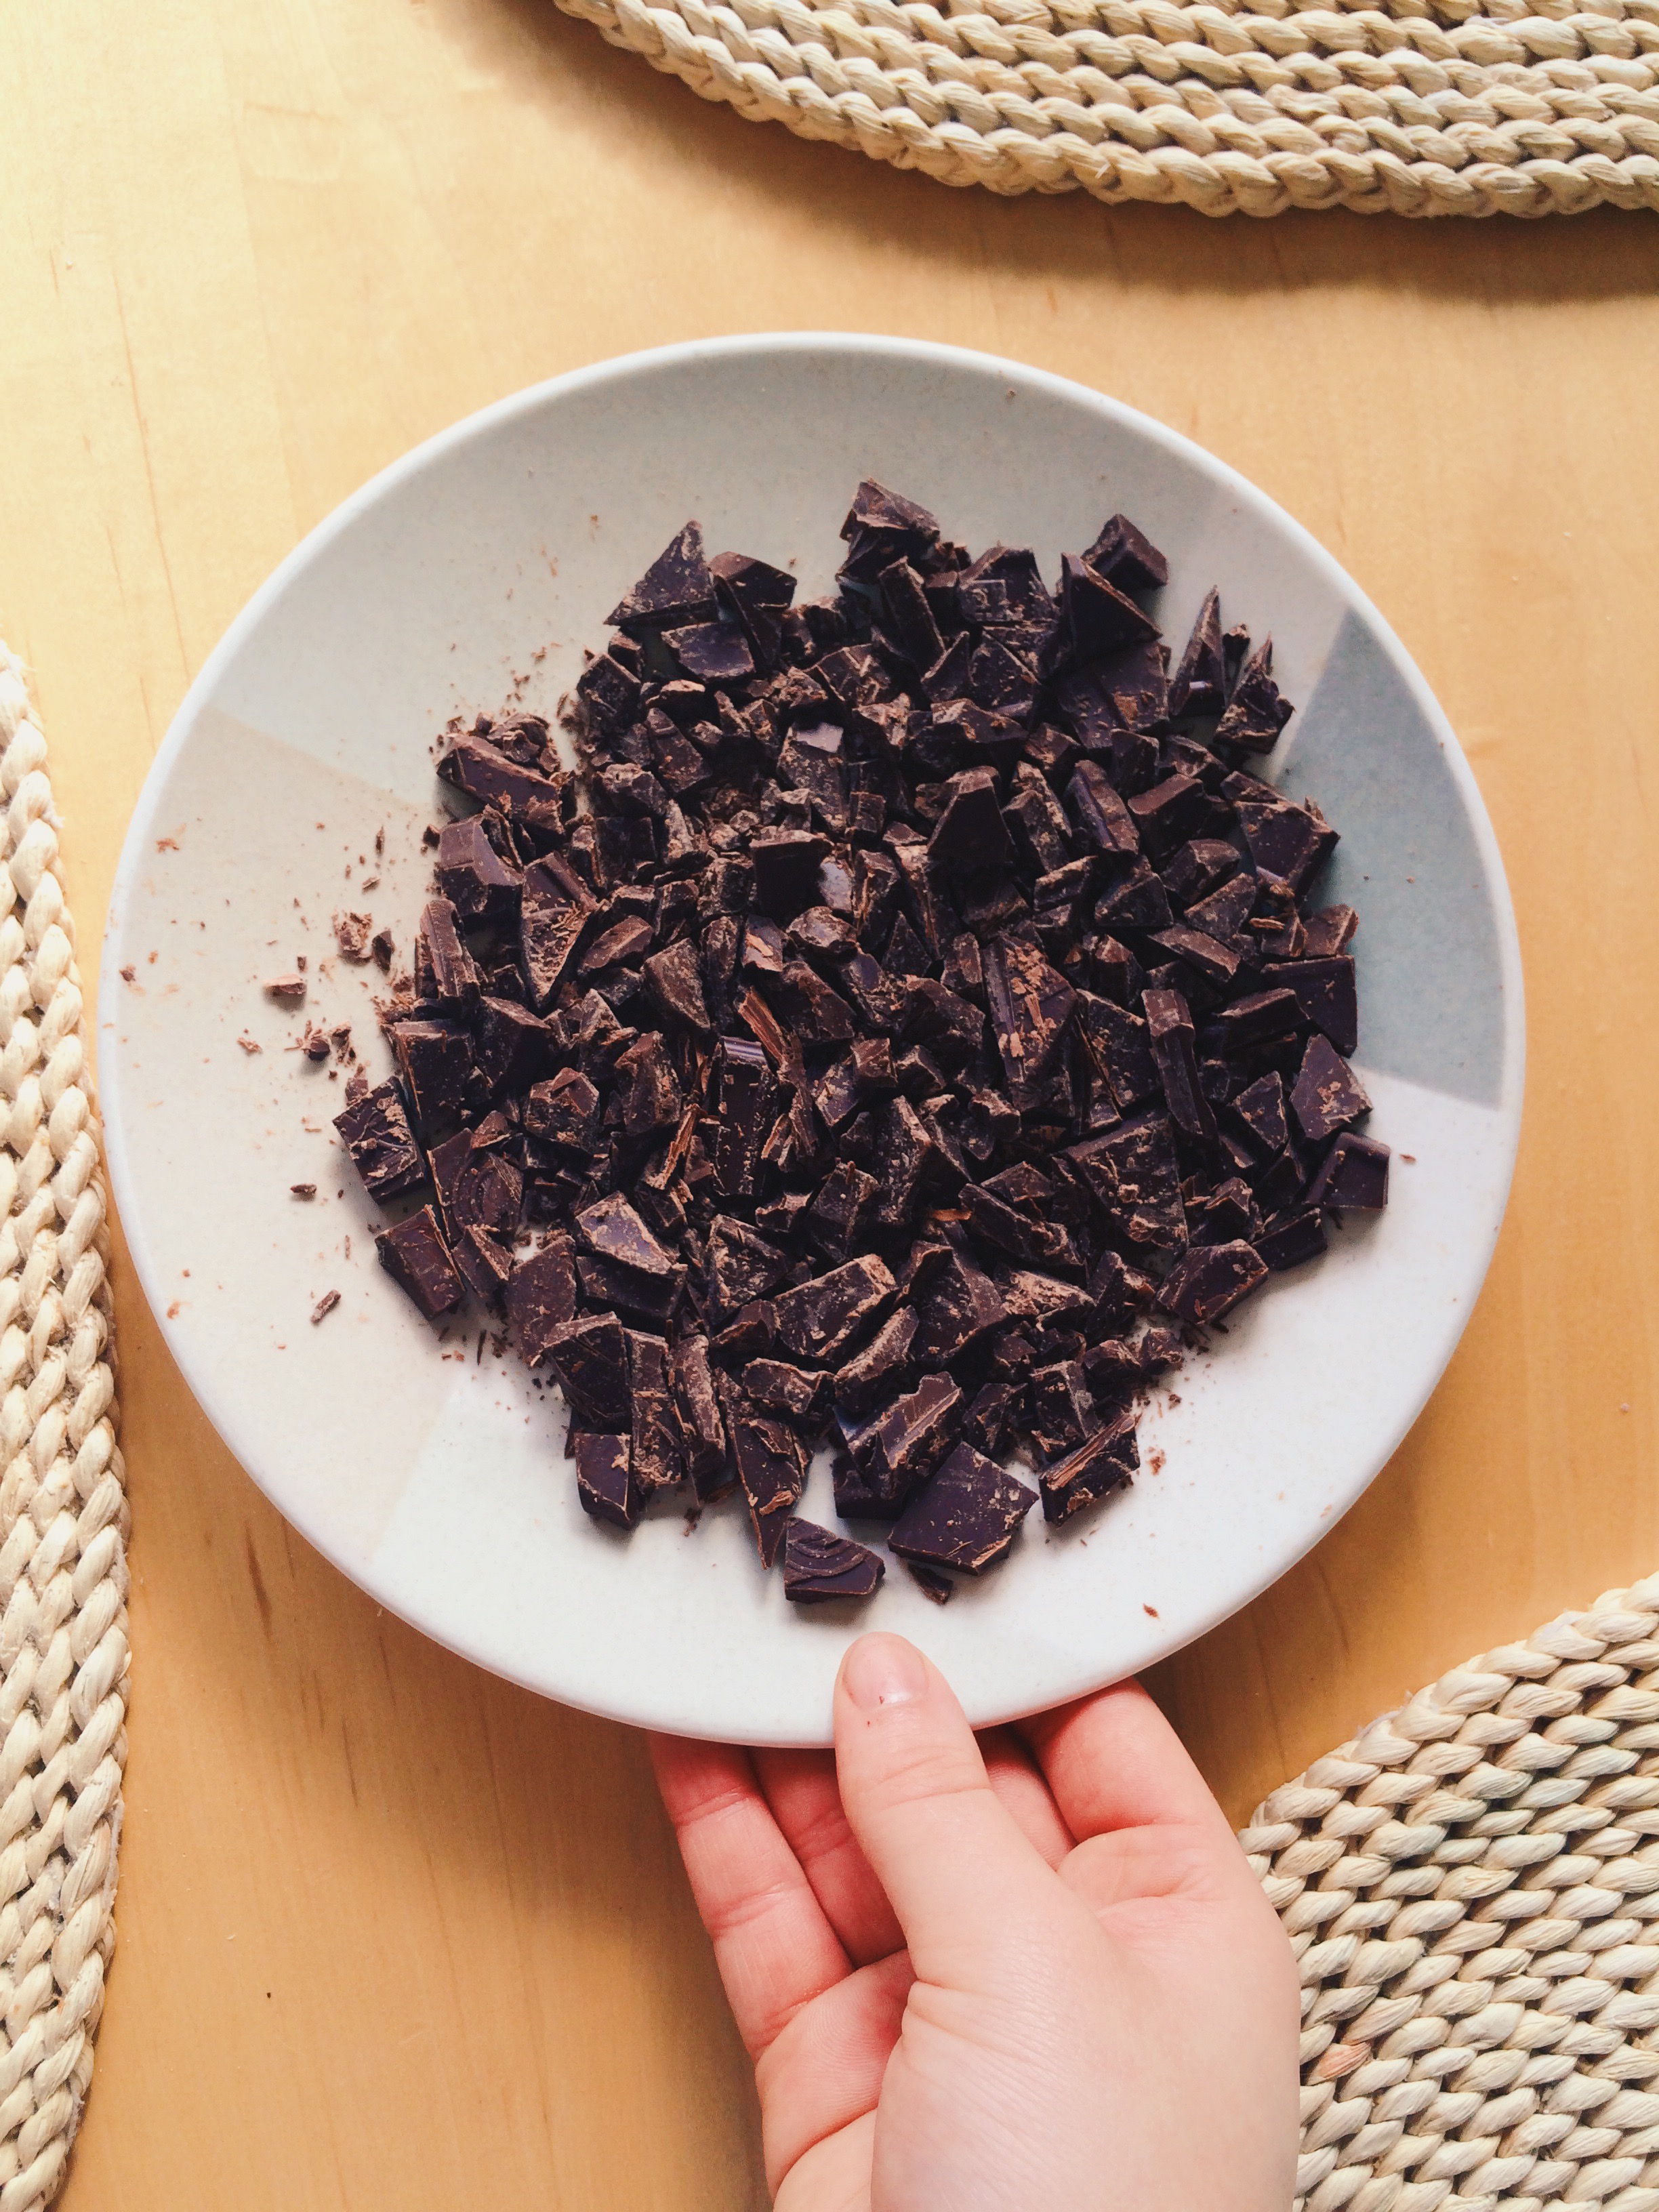
  • 10 oz milk chocolate, finely chopped (I only had chocolate chips, so if that's what you have, use it!)
  • 1 1/3 cups all-purpose flour
  • 2 tablespoons finely ground espresso beans
  • 1/4 teaspoon coarse kosher salt
  • 12 tablespoons (1 1/2 sticks) unsalted butter, softened at room temperature
  • 1/2 cup confectioner's sugar
  • 1 teaspoon vanilla extract
  • 2 oz bittersweet chocolate, for drizzling + 1/8 teaspoon finely ground espresso beans

DIRECTIONS

First, let's make the chocolate ganache filling

Bring heavy cream to a simmer in a small saucepan, then pour over milk chocolate in a bowl. Stir until smooth and there are no lumps left. Place a sheet of plastic wrap directly onto the surface (placing the plastic wrap directly on top prevents it from developing a skin), then let it set in the refrigerator for 4 hours, or overnight.

While the ganache is setting, let's make the cookie dough

In a medium bowl, whisk together the flour, espresso, and salt. Set aside.

In the bowl of a mixer with the paddle attached, beat together butter and sugar on medium-high speed until pale and fluffy, about 5 minutes. Make sure to scrape down the sides of the bowl, Next, add the vanilla.

Add flour mixture to the mixer in two additions, and mix on medium-high speed until the dough JUST comes tougher. Do not over mix. Turn out dough onto a sheet of plastic wrap, and form a disc. Once the disc is formed, tightly wrap it in plastic. Place in the refrigerator for at least 30 minutes. Alternatively, you can freeze the dough for 15-20 minutes if you're running a little short on time.

OK, everything's set, so we should bake the cookies!

Preheat the oven to 350 degrees F, and line two baking sheets with parchment paper.

Take the dough out of the refrigerator, and let come to room temperature for about 10 minutes. Once the dough has softened a bit at room temperature, place it between two sheets of parchment paper, and roll out to about 1/8 inch thickness. Using a floured 2-inch cookie cutter, cut out rounds, then transfer them to the lined cookie sheets, placing them about 1/2 inch apart. Re-roll the scraps, and repeat the process. (Note: If the dough gets too soft, wrap it in plastic wrap, then throw it back in the fridge for 5-10 minutes or so.)

Freeze your cookies for 10 minutes to make sure they keep their shape in the oven.

Bake until your cookies are set, but not browned, about 7-9 minutes depending on your oven. Once out of the oven, let cool for 5 minutes on the baking sheets, then transfer the cookies to a wire rack to cool completely.

While your cookies are cooling, it's time to whip some ganache! 

Whisk the chilled ganache filling by hand until soft peaks have formed, about 20 minutes. It might be hard to do at first, but with a little elbow grease, you can whip this heavy cream mixture by hand! YOU CAN DO IT! (Or, you can totally use a mixer if you want.)

Alright, time to put it all together

Transfer the mixture to a pipping bag fitted with a 1/4 inch round piping tip (OR, transfer to a plastic bag with the end snipped off). Turn half of the cookies over so that the bottoms of the cookies are facing you, then pipe about 2 teaspoons  of mixture on top of each. Place the other half of the cookies on top to create sandwiches.

Melt the drizzle chocolate!

Melt the 2 ox of bittersweet chocolate, then mix in the 1/8 teaspoon of espresso. Using a spoon (or another small plastic bag) drizzle chocolate over each cookie sandwich in any pattern you'd like! Let chocolate drizzle set for about 10 minutes. Enjoy!

To store: Place cookies in a single layer in an airtight container for up to 5 days.

SOURCE: Adapted from Martha Stewart via Martha Bakes 

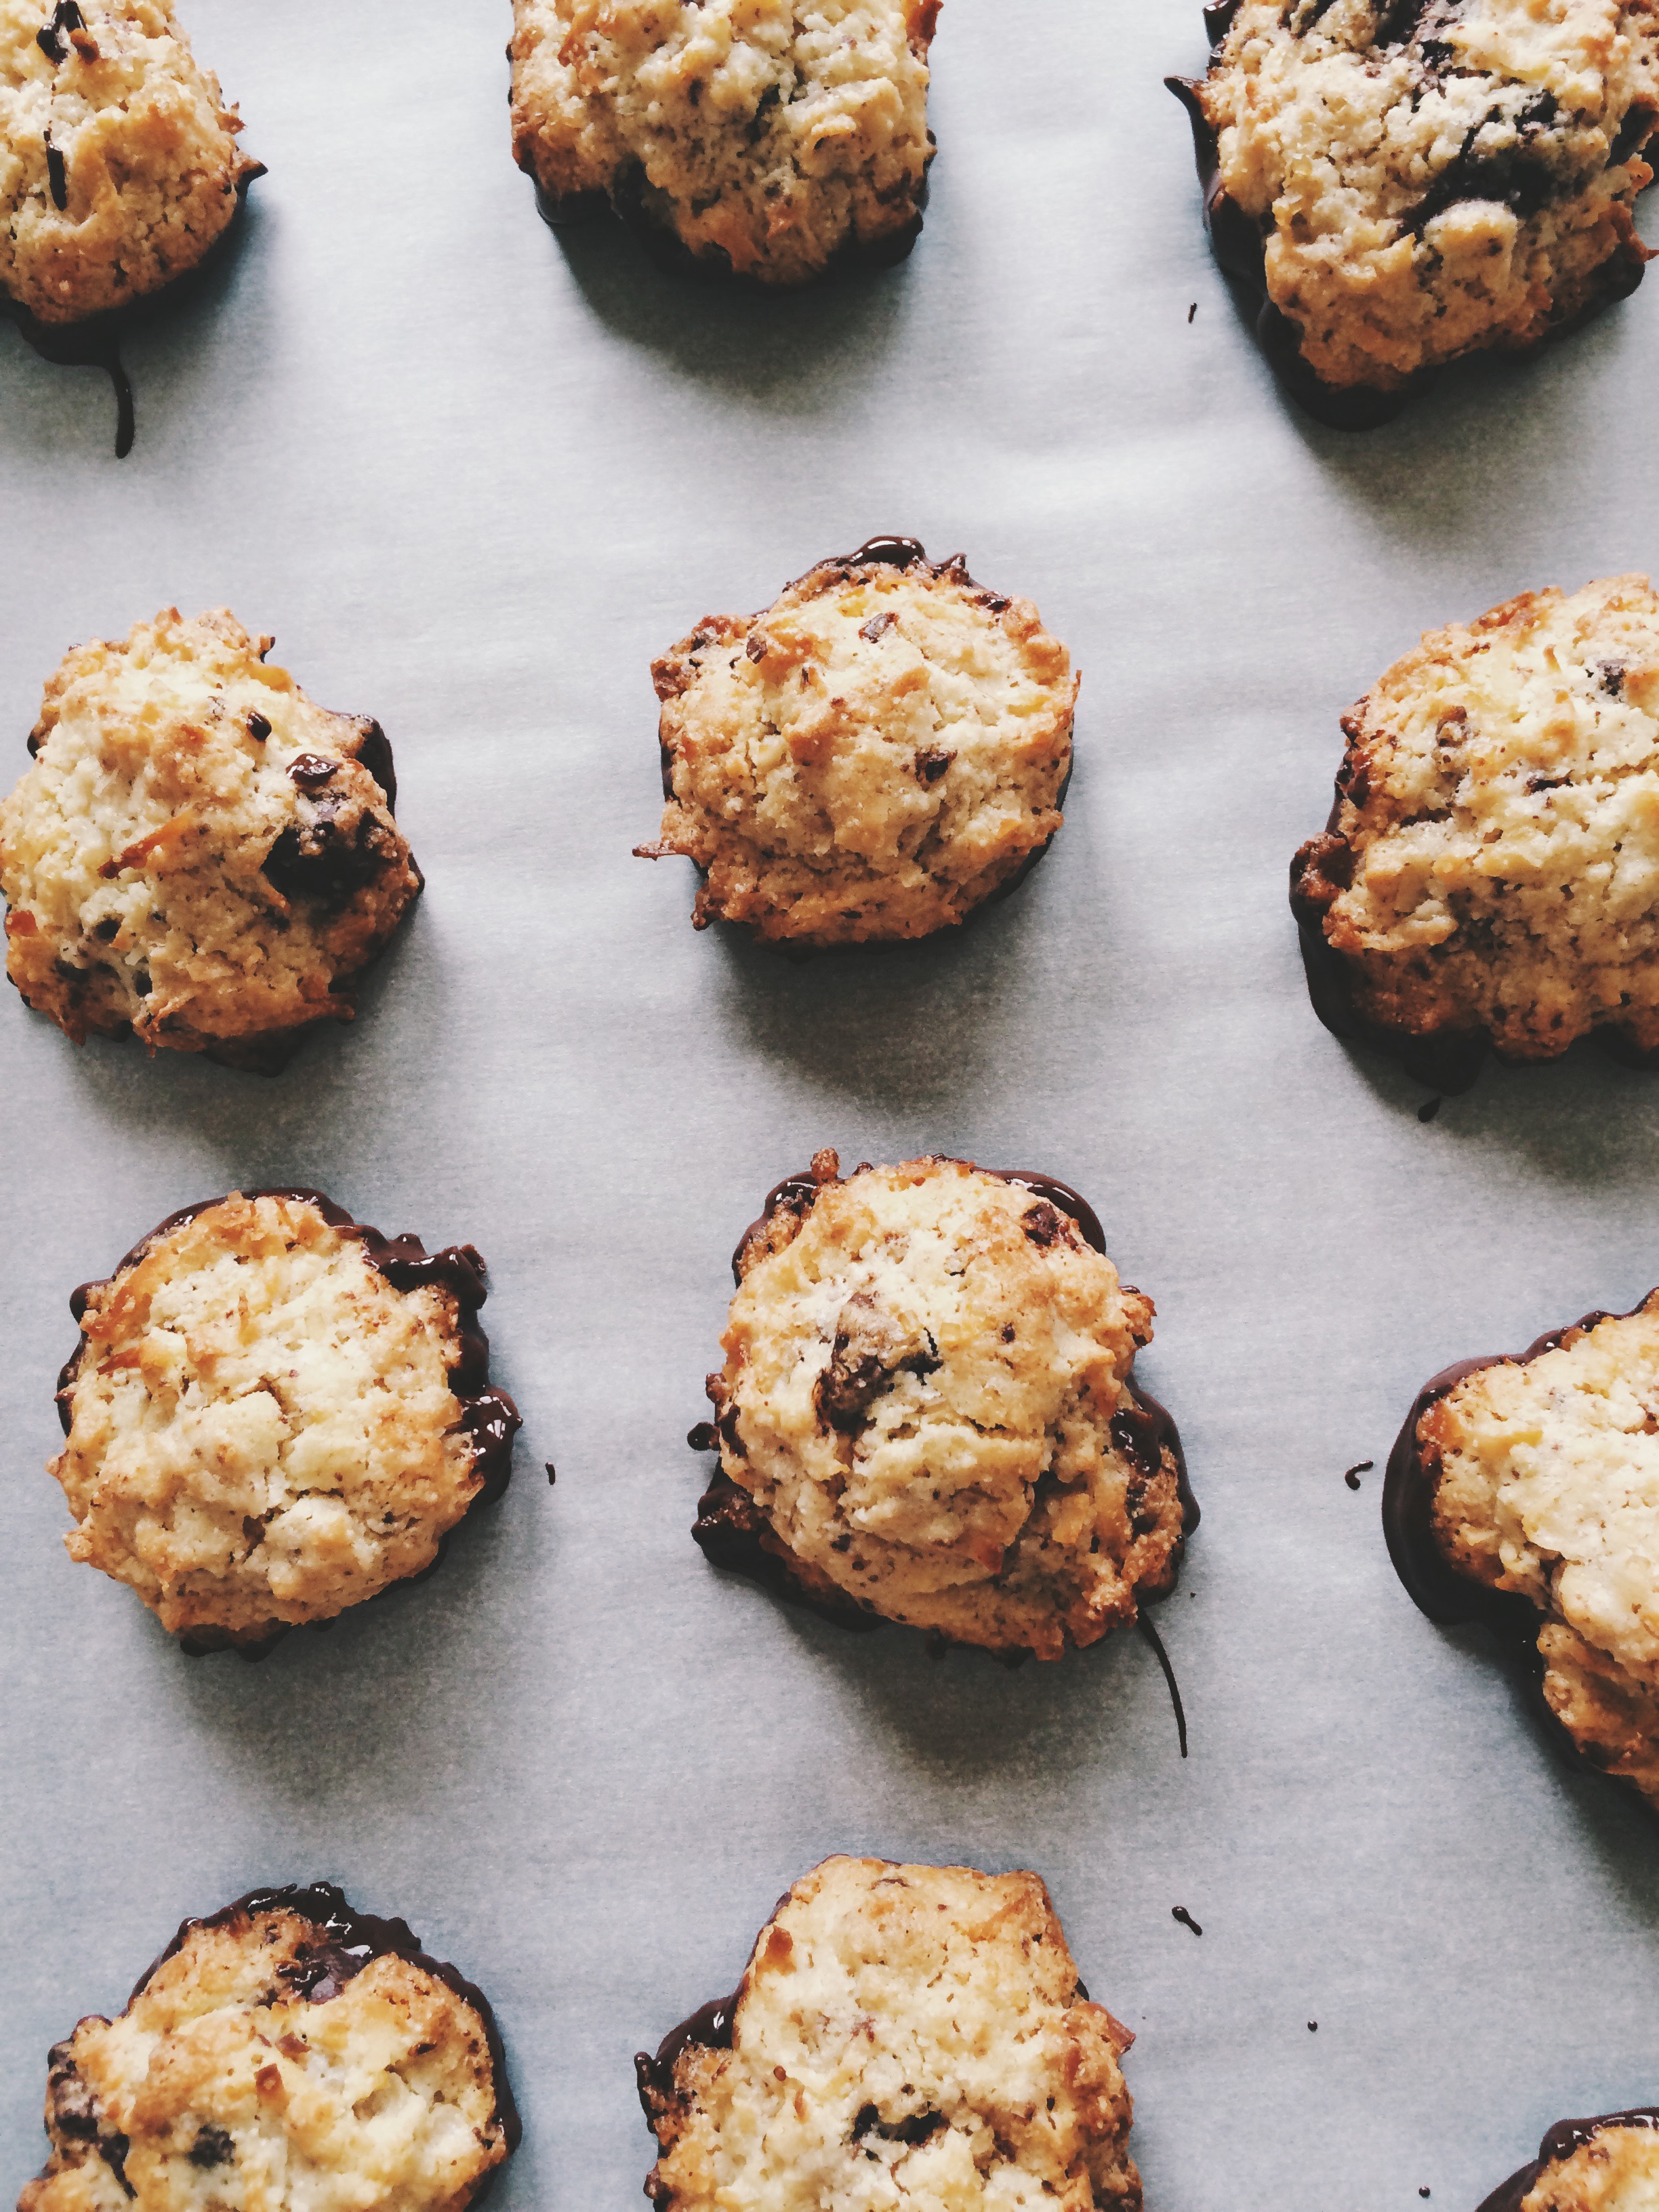
Bite-Size Biscotti

I really, really like my beautician. Partially because she's one of the only people in this world who I would trust to dye my hair just-so, and partially because I've known her for a big chunk of my life. She likes me, and I like her, and she likes my baking, so I like her even more. When true-blue baking season starts up, the kitchen is always filled with more treats than my family could ever possibly eat, and I always pick out the best of the best to bring to her. Lately she's really been dropping hints that I've been slacking in the baked-good-delivery department, so I'm stepping up my game.

I love biscotti. It's crunchy and delicious, and there are so many flavor combinations out there that I'll never become bored with it. It's the perfect companion to cold-weather beverages, and since my tea kettle has seen a lot more action lately, I thought I would give these a shot.

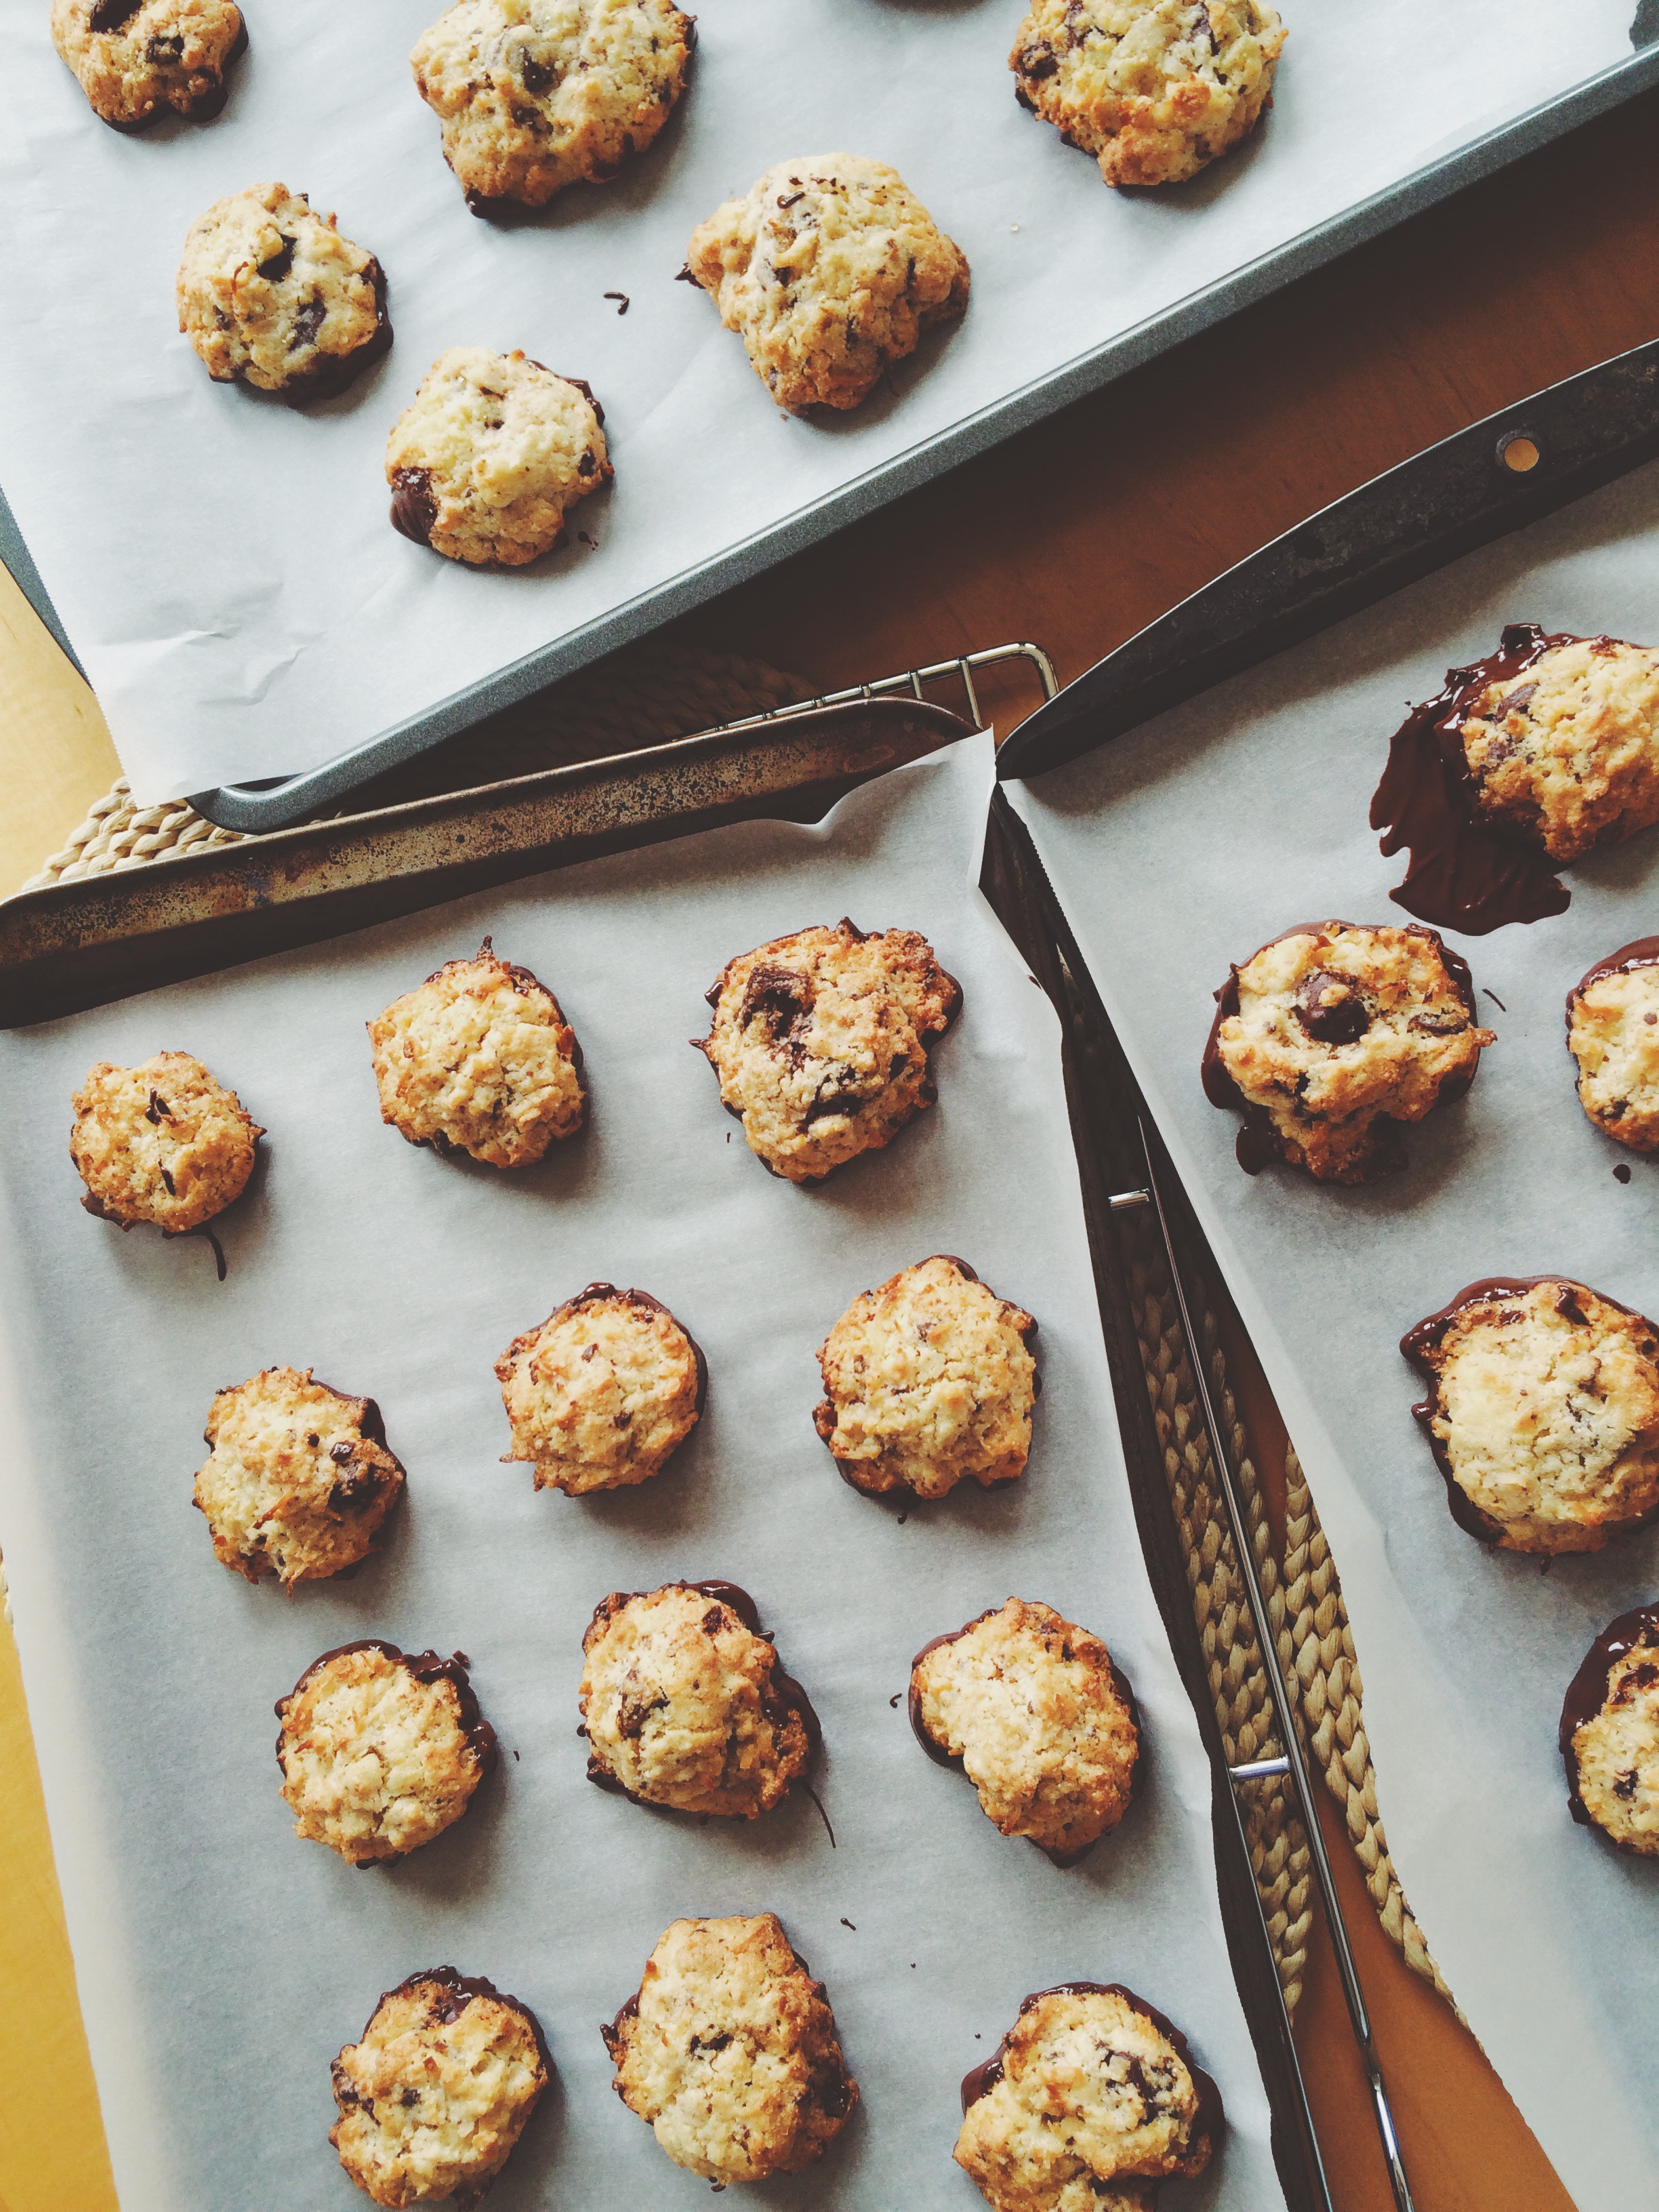
Traditional biscotti can be time consuming, and nerve-wracking. If you don't get the first bake right, it can throw off the entire process. After all, you don't eat soft biscotti, you're looking for that satisfying crunch. If you still want the crunch, but don't have all day, try the mini version. These are just as satisfying, but it'll only take you a few hours, and most of that time is spent impatiently checking to see if the chocolate has set so you can dig in. Patience is your friend when baking, now and forever.

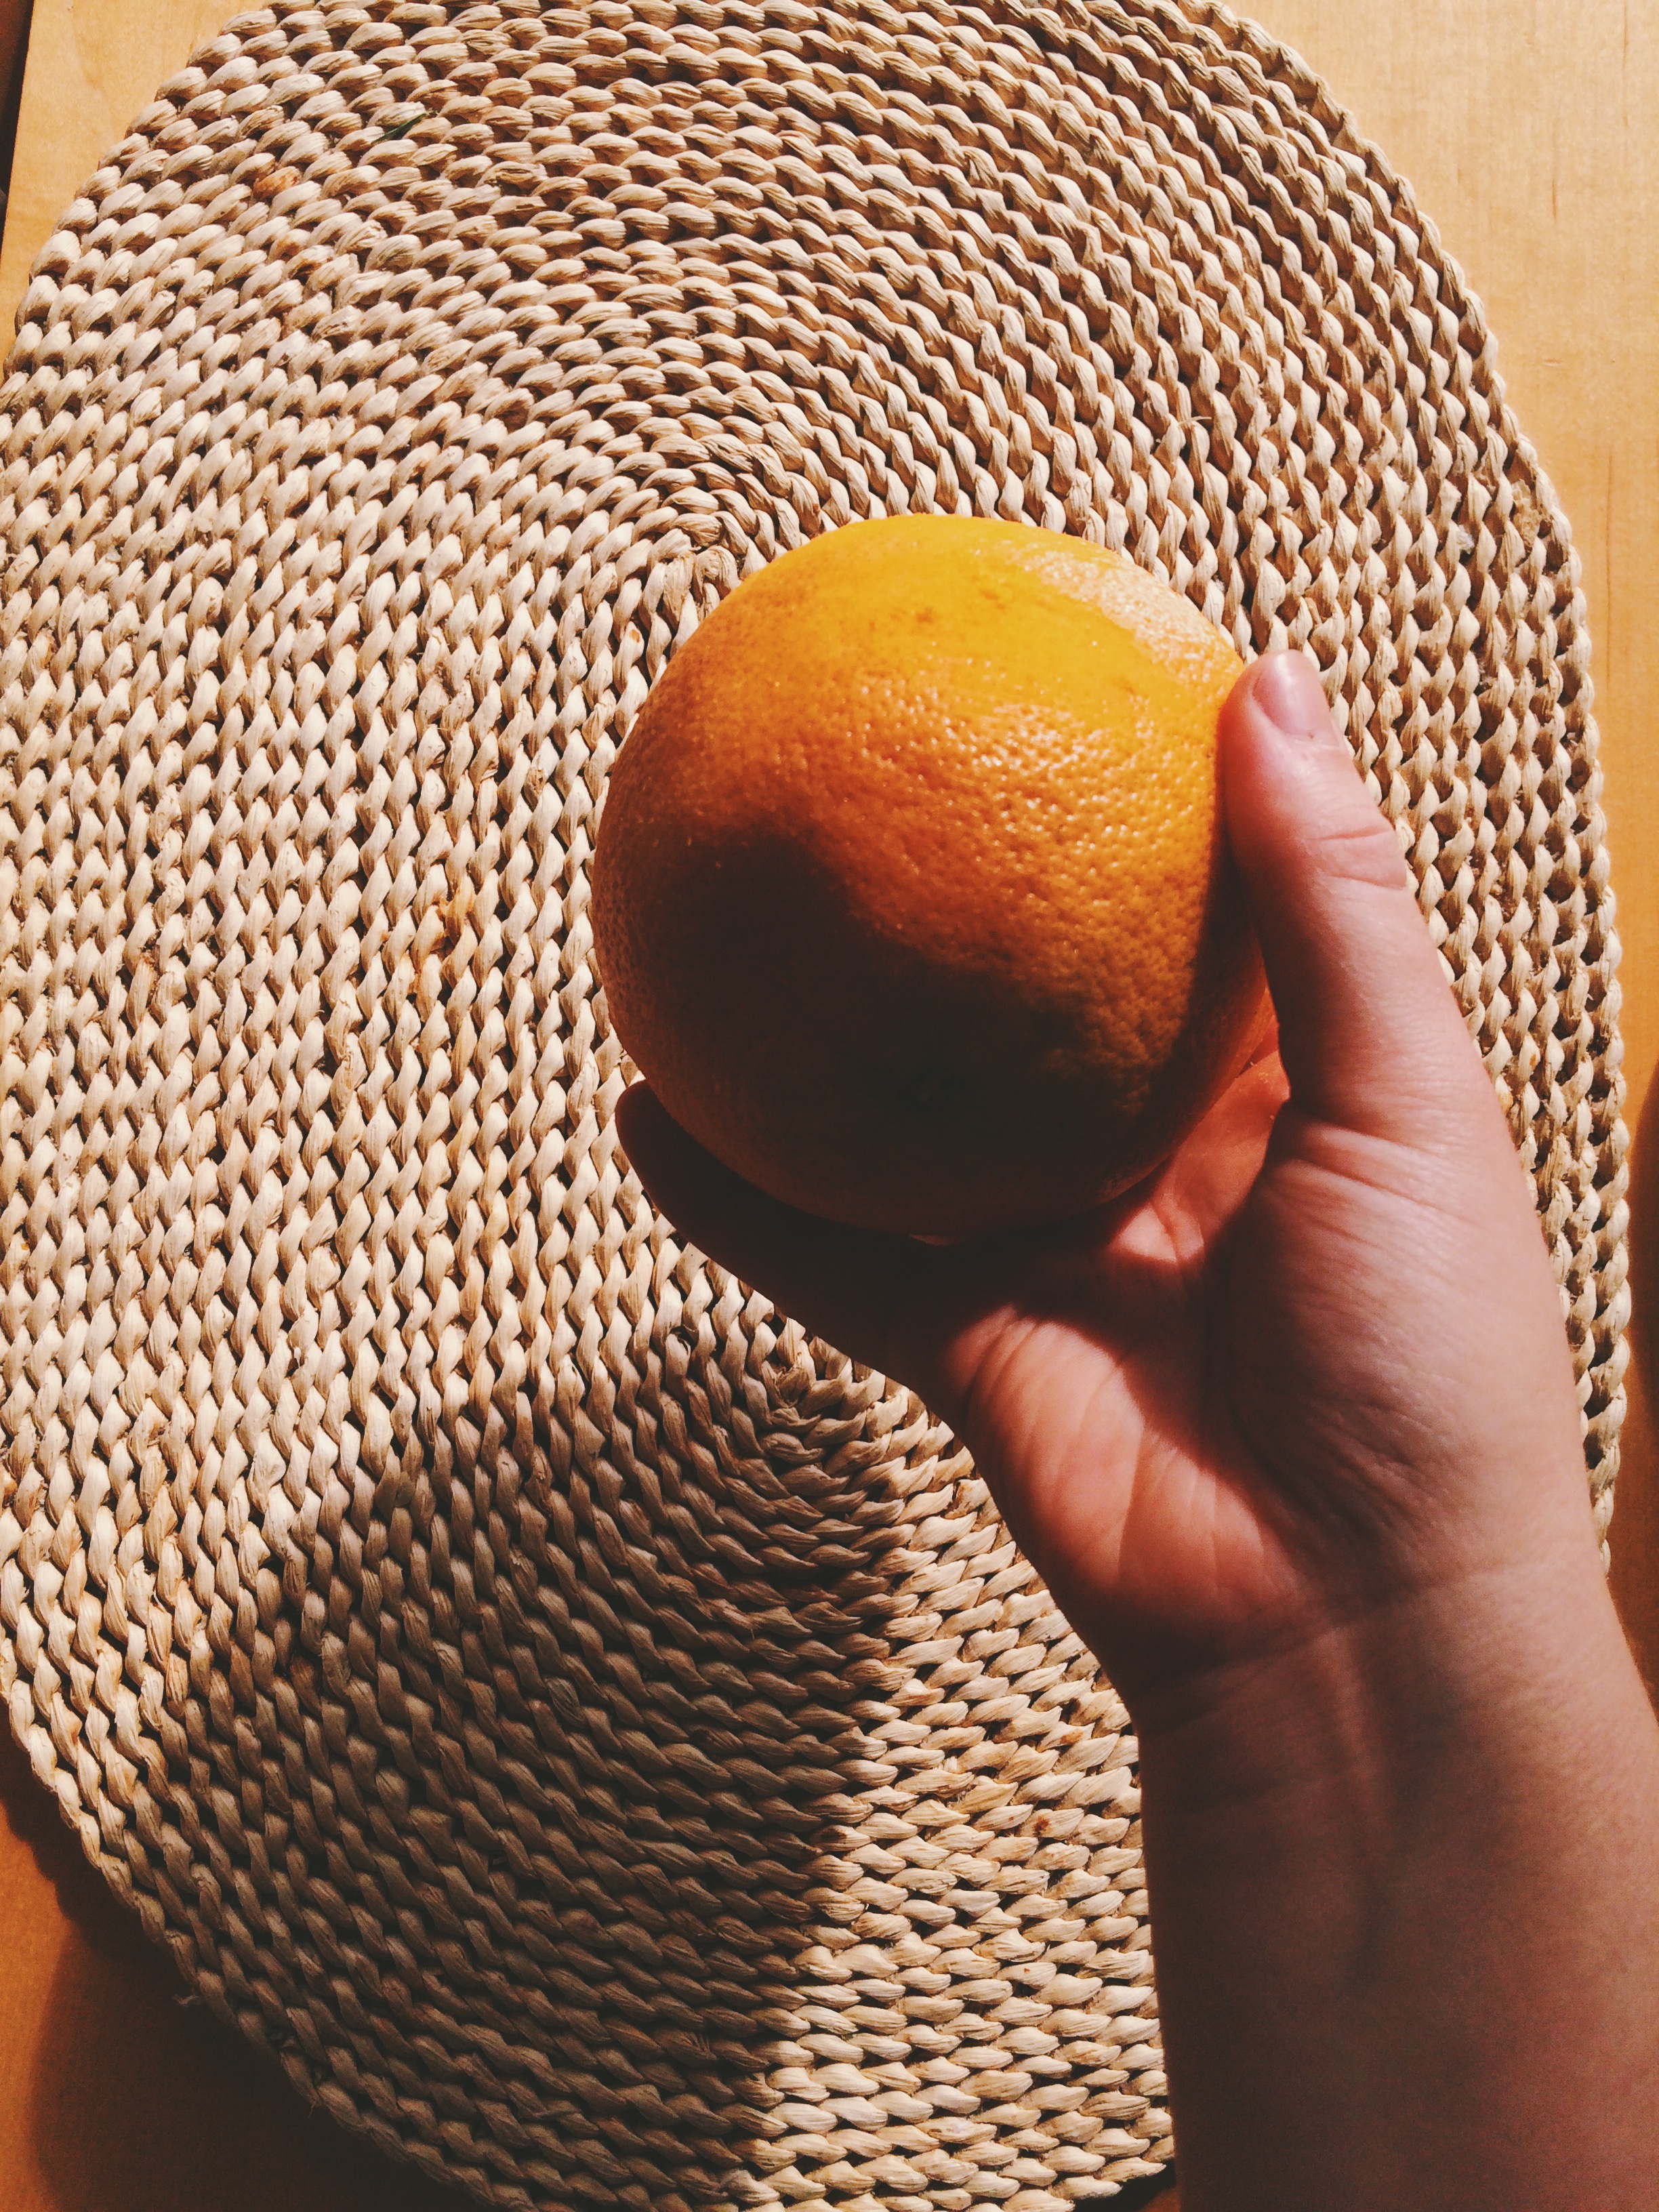
It should be noted that in this recipe, it calls for the zest of grapefruit, but  I think any citrus you've got laying around will do. It's not so much about the grapefruit as it is the presence of citrus that makes these biscotti bites stand out. I zested that grapefruit until I could zest no more because it was $1.25 and I was going to get my money's worth or die trying. (Dramatic, sorry.)

These bite-sized biscotti are for all fans of the salt-chocolate-cocunut-citrus-more chocolate flavor combination. May your teaspoons be heaping, your cookies crunchy,  your chocolate smoothly-tempered, and your tummies full of the quintessential coffeehouse treat. There are going to be some happy faces at the beauty shop tomorrow.

BITE-SIZED BISCOTTI

What You'll Need:

  • 1 1/4 cups all-purpose flour
  • 1 1/4 cups fine cornmeal (I used white cornmeal)
  • 1/2 teaspoon baking powder
  • 1/2 teaspoon coarse salt
  • 3/4 stick (12 tablespoons) unsalted butter, at room temperature
  • 1 cup granulated sugar
  • 2 large eggs, at room temperature
  • 1 1/2 cups sweetened shredded coconut
  • 2 tablespoons grapefuit zest (or two tablespoons of zest of your choice. Could be orange!)
  • 11 ounces bittersweet chocolate, finely chopped
  • Sanding sugar (I used Demerara because that's what I had in my pantry!), for sprinkling

DIRECTIONS 

Preheat oven to 350 degrees F.

In a medium bowl, whisk together flour, cornmeal, baking powder, and coarse salt. Set aside.

In the bowl of a standing mixer with the paddle attachment, beat the butter on medium speed until pale and fluffy, about 3 minutes. Add eggs, one at a time, until well combined. Next add the flour mixture and beat on low until just combined. Beat in the coconut, grapefruit zest, and about 5 ounces of the bittersweet chocolate. Mix until everything is evenly distributed.

Drop generous heaping teaspoonfuls of biscotti dough on parchment-lined baking sheets. Set each dough ball about 1 inch apart. Sprinkle the tops of each with a generous sprinkling of sanding sugar. Refrigerate for 30 minutes. (Note: I don't have an industrial-size refrigerator, so my fridge only holds so many baking sheets. My solution: scoop the remainder of your dough into a bowl and refrigerate. It'll still be cold enough to form dough balls that keep their shape in the oven.)

Bake, rotating sheets halfway through, until golden brown. This should take about 18-20 minutes depending on your oven.

Let cool completely on wire racks.

Once your biscotti bites have completely cooled, temper the remaining amount of bittersweet chocolate, stirring until smooth. Remove from heat. Dip the bottoms of the cookies in the melted chocolate, scraping off any excess chocolate with a spoon, or using the edge of the bowl. Set each on clean parchment-lined baking sheets. Refrigerate until chocolate is set, about 30 minutes. (Note: I didn't refrigerate again. Instead, I let them to set in a cool place in the house. It took a little longer, but I didn't have to take all of my food out of the fridge again.)

To Store: These can be be stored in a single layer for up to one week.

SOURCE: Martha Stewart

Double Apple + Pear Pie

So, I've given this a lot of thought and, in ten years time, I want to be referred to as The Pie Queen.  I know it's a lofty goal, but we all need dreams, right? I've had visions lately of winning state fairs, and a beyond giant wedding pie. Or a cake disguised as a pie. I'm still working out the details.

There's just something about pie that puts me in the best mood. More than anything else I bake, pie really makes me feel like I've actually put tangible love into something to give to others. Do you ever feel like that? And apple pie is just so classic. If we try hard enough, maybe making one will speed up Fall a little bit, for what is Fall without apple pie? Just a season when everything dies, that's what.

Now, let's talk about adding a pear to your apple pie. Never in a million trillion years would I have thought of doing it, and now I can't believe that it isn't the norm. It's genius. Not only does adding a pear bring more complexity to an already pretty complex pie (due to the use of two different kinds of apples), but in the words of Pie School's author, Kate Lebo, "Your guests won't be able to tell where the flavor is coming from." You get to have a secret, and isn't that always fun? (Unless it's peanuts. Nut allergies aren't so fun. Best to let the cat out of the bag when it comes to peanuts.)

My suggestion with this pie is that you make it a hundred times before Fall and Winter are over. And if that seems like too many times, I don't know why we're friends in the first place.

Double Apple-Pear pie is at its best when served warm, and preferably with your favorite hot drink.    Throw in a scoop of freshly-made vanilla bean ice cream for good measure. Mmmm. Be right back, gonna go make one.


DOUBLE APPLE + PEAR PIE

What You'll Need:

  • Super Flaky Pie Crust
  • 3 Granny Smith apples, peeled, cored, and thinly sliced
  • 2 Golden Delicious apples, peeled, cored, and thinly sliced
  • 1 Bartlett pear, peeled,cored, and thinly sliced
  • Juice of 1/2 lemon (1 to 2 tablespoons)
  • 3/4 cup granulated sugar
  • 1/2 teaspoon ground cinnamon
  • 1/4 teaspoon ground nutmeg
  • Generous pinch of salt
  • 3 tablespoons AP flour
  • 2 tablespoons chilled unsalted butter, cut into small pieces
  • Egg white wash (1 egg white, beaten, mixed with one teaspoon water)
  • Demerara sugar for sprinkling

Directions

Make your pie crust. Chill overnight.

Roll out the bottom crust and place it in a 9 inch pie dish. Trim the edges, then refrigerate while you make the filling.

Preheat the oven to 425 degrees F.

Put your apple and pear slices in a bowl, and squeeze the lemon juice evenly on top to prevent browning. Stir in the granulated sugar, cinnamon, nutmeg, and salt. This would be a good time to taste and adjust your flavors as needed. Once you've got your filling just right, add the flour and set the filling aside.

Take your bottom crust out of the refrigerator, and set aside. Roll out your top crust.

Using a slotted spoon, place the apple-pear filling in the bottom crust, gently pressing down to make sure there's enough room for all the filling. It may not look like it will all fit, but trust me it will. Pour the liquid from the filling evenly over the apples, then dot the filling with the cut up pieces of unsalted butter.

Carefully drape the top crust over your bottom crust, then trim and crimp the edges. Make sure to cut generous slits over the top crust so that there is plenty of space for steam to escape. Brush the crust with the egg white wash, then sprinkle generously with Demerara sugar.

Bake the pie in the middle of the oven for 15-20 minutes, until the crust is blond and blistered. Rotate the pie front to back, then reduce the oven temperature to 375 degrees F. Bake for an additional 35-45 minutes, until the crust is deeply golden brown and the juices are bubbling.

Cool on a wire rack for at least two hours. Serve warm.

To store: Keep the pie loosely wrapped on the counter for up to 3 days.


SOURCE: Pie School: Lessons in Fruit, Flour, and Butter

Blackberry Cobbler

blackberry cobbler 1 Hi, we're embracing seasonality now. It was a GREAT week at the market for produce, and to celebrate, I decided to put a bunch of sugar and fruit into a bowl together, then throw it in a pan. Maybe it's a pie. Most definitely, it's a cobbler.

I'd never made cobbler before this, but I've eaten plenty. Most notably was an unbelievable peach cobbler with the most heavenly blend of spices the world has ever seen. I'm STILL trying to figure it out ten years later, and of course the excellent baker who introduced me to the best peach cobbler ever, is nowhere to be found. Inspired by this, and also still on my "variations of pie" kick, I decided to embrace the beautiful blackberries practically screaming at me to take them home, and cook them at high temperatures. So into the basket they went.

blackberry cobbler2

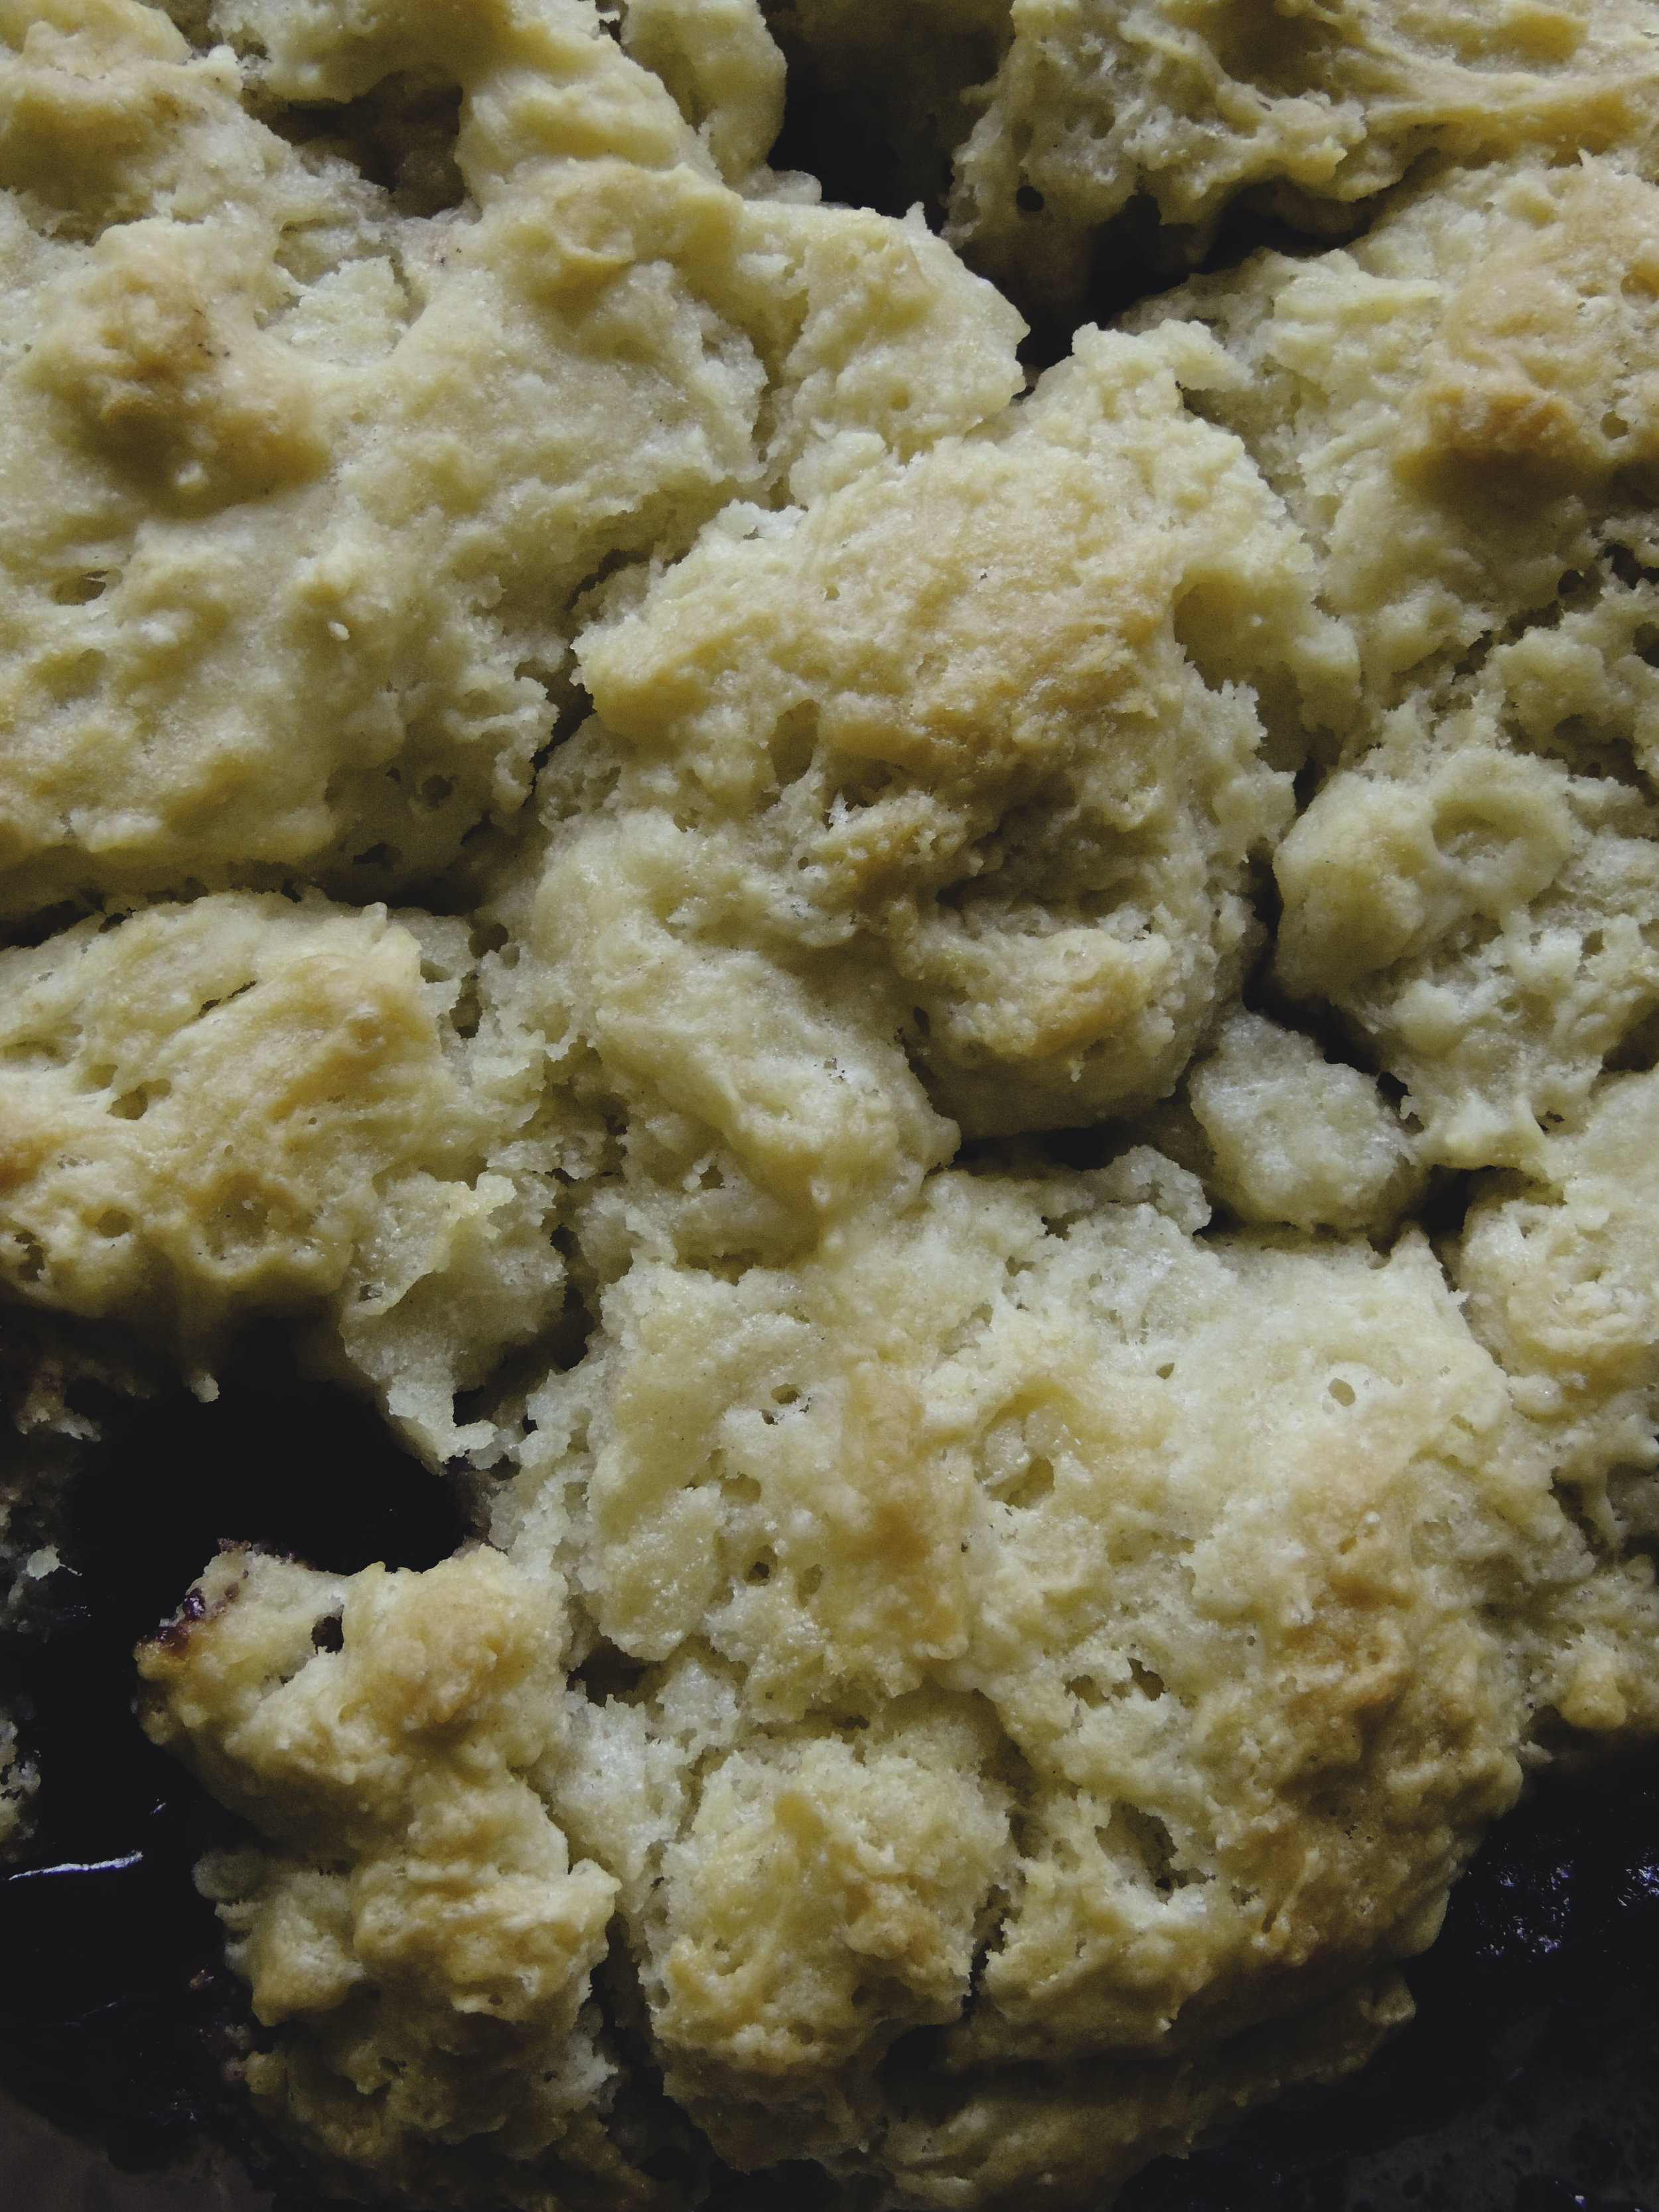
My favorite thing about cobblers is how unbelievably easy they are to make. Honestly, so easy. Your filling gets mixed with a few ingredients, and then you let it rest covered for 15 minutes. Then, you make a biscuit mixture using just a few ingredients. Once everything is done, and you've buttered your pan, you spoon in your filling, then  your mixture on top, pour (CAREFULLY! It spills!) a couple tablespoons of melted butter on top to give it that beautiful brown color, and you pop it in the oven. Perhaps the only complicated part of the recipe, and I mean comparatively speaking, is that you must keep up with the baking time because your cobbler will bake at two different temperatures before it's finished. The hardest part? This is pretty important: you must, and I mean you MUST let your cobbler cool completely. I know, I know, it'll be hard, but you've just got to. Your filling needs time to set, and really solidify its flavors. Letting it cool will be like the caterpillar finally emerging from its cocoon as a beautiful butterfly. The pie is a butterfly. Give it time to look and taste beautiful.

blackberrycobbler3

We must also take a brief moment to not only talk about the topping, but to really appreciate it. It's not crumbly like you may be accustomed to. It's more like a biscuit, and therefore sooo much better. If you've ever enjoyed freshly baked biscuits with a generous smearing of freshly made jam, then this cobbler is for you. It's buttery, it's flaky, it's DELICIOUS. It's soft, and SO GOOD with that sweet-but-not-too-sweet blackberry filling. It all just works. And honestly, if you ask me, this cobbler show-stopper is even better the next day.

Hey, don't you have a cobbler to make?


BLACKBERRY COBBLER

What You'll Need:

FILLING:

  • 4 1/2 half-pints of blackberries (6 ounces each)
  • 1 cup granulated sugar
  • 1/4 cup cornstarch
  • 2 tablespoons all-purpose flour
  • 1 teaspoon ground cinnamon

TOPPING

  • 1 cup all-purpose flour
  • 1 teaspoon baking powder
  • 1/4 teaspoon baking soda
  • 1/4 teaspoon fine sea salt
  • 3 tablespoons unsalted butter, cubed
  • 3/4 cup buttermilk
  • 3 tablespoons unsalted butter, melted

DIRECTIONS:

First Things First:

-Butter a 9-inch pie pan really well. Set aside

-Preheat the oven to 425 degrees F.

Okay, Now Let's Make the Filling:

-Combine the blackberries, sugar, cornstarch, flour, and ground cinnamon in a medium-sized bowl. Carefully stir together until all the dry ingredients are well-mixed, and the berries are well-coated.

-Cover with cling wrap, and let rest for 15 minutes.

That's Done. Shall We Make the Topping?

-Combine the flour, baking powder, baking soda,  and fine sea salt in a medium-sized bowl.

-Using a pastry cutter, fork, or even your hands ( I've been using my hands a lot more lately!) quickly cut the butter cubes into the mixture until it is crumbly, and you've got pieces that are pea-sixzed or smaller.

-Make a well in the center of your mixture. Slowly pour the buttermilk into the center, and use a large spoon to gently mix it all together until all the dry ingredients are just combined. Your topping will look very wet at this point, but that's just what we want.

-This is a good time to melt the extra 3 tablespoons of unsalted butter.

Now Let's Put it all Together! 

-Spoon your blackberry mixture evenly into the prepared pie pan.

-Using a large spoon, dollop about three tablespoons of the biscuit mixture into mounds all around the surface of your blackberry mixture. This doesn't have to be an exact science (Goodness knows mine did not completely turn out the same size), just make sure your mounds of biscuit topping have been evenly distributed all across the top; we want everyone to get plenty of topping on their plates!

-Carefully pour your melted butter all across the top of your biscuit topping so that you'll get a nice, even brown color when it bakes. Be EXTRA CAREFUL because that melted butter is sneaky and will slide right off of the pie and onto the countertop. It's not fun to clean up.

-Bake your pie at 425 degrees F for 15 minutes, then reduce the heat to 350 degrees F for an additional 30 minutes.

-Cool for at LEAST 1 hour, though I think the longer you let it cool and rest, the better.

Serve with either your favorite vanilla ice cream, or some delicious homemade whipped cream. ENJOY.


SOURCE: A Year of Pies: A Seasonal Tour of Home Baked Pies

Maple-Bourbon Pecan Pie

pecan pie 2 My dad's birthday was Sunday, and birthday cakes just don't fly with him. He'll eat them, but he never request them. Instead, you better be pulling out that pecan pie recipe. (Side note: how do you pronounce "pecan"?  In the Midwest, it's pronounced "pe-cahn." In the South, it's "pee-can" or else. I generally go with the latter, despite my upbringing.)

But ugh, pecan pies can be so boring if you're not careful, and making the same things over and over again can drive a girl crazy. But, it was his birthday, and on his birthday, things have to stay the same...with a few amped up modifications, of course!

pecan pie 1

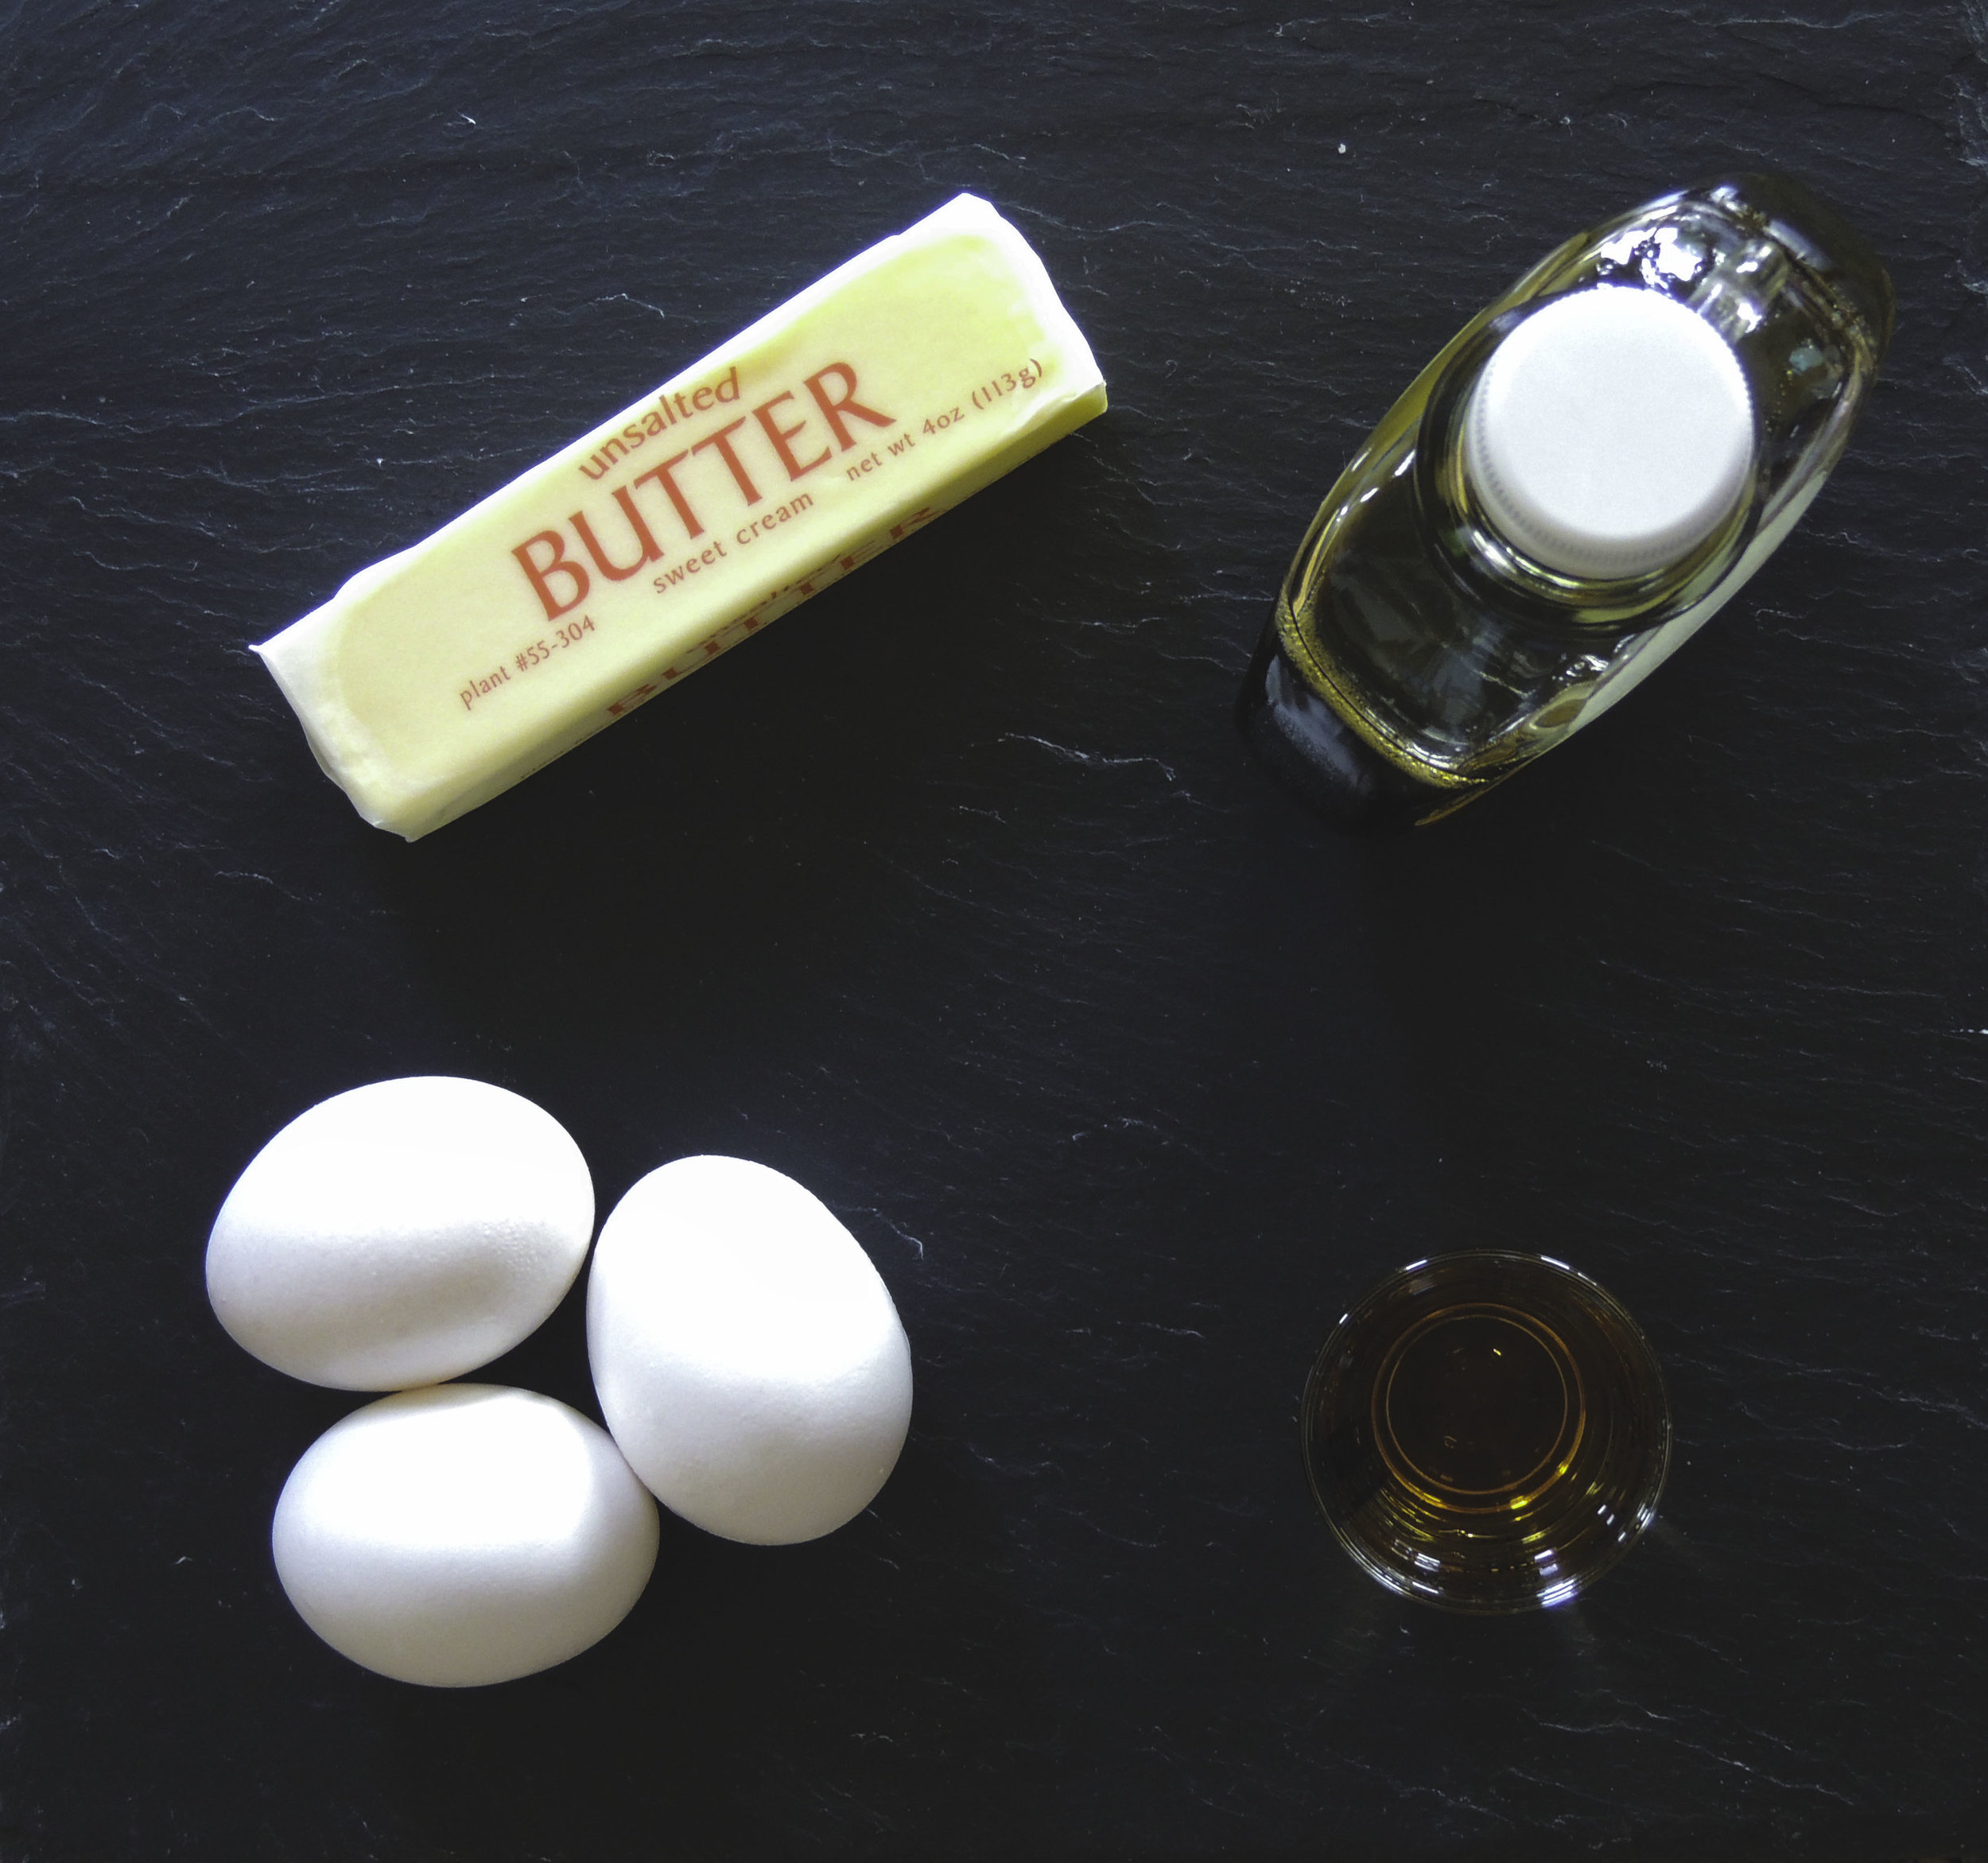
Enter: bourbon. I love baking with bourbon. I don't like drinking it, but I LOVE the taste of it. It adds a richness, and a bit of sweet vanilla-smokiness that always takes things to the next level. Have you ever tried making vanilla extract with bourbon? Or how about bourbon caramels? I have to tell you, I can never make either any other way again.

pecan pie 3

Not only is bourbon a key component to this new pie, but there's also the addition of a little maple syrup. It's not a large amount, and it definitely doesn't stand out quite as boldly as the bourbon, but it has a very special place: it helps add more depth, and more complexity. Maple syrup is quite subtly-smoky, and so rich. When you add that subtle hint of smokiness, and mix it with the vanilla and oak notes that the bourbon brings, you've got a very flavorful partnership.

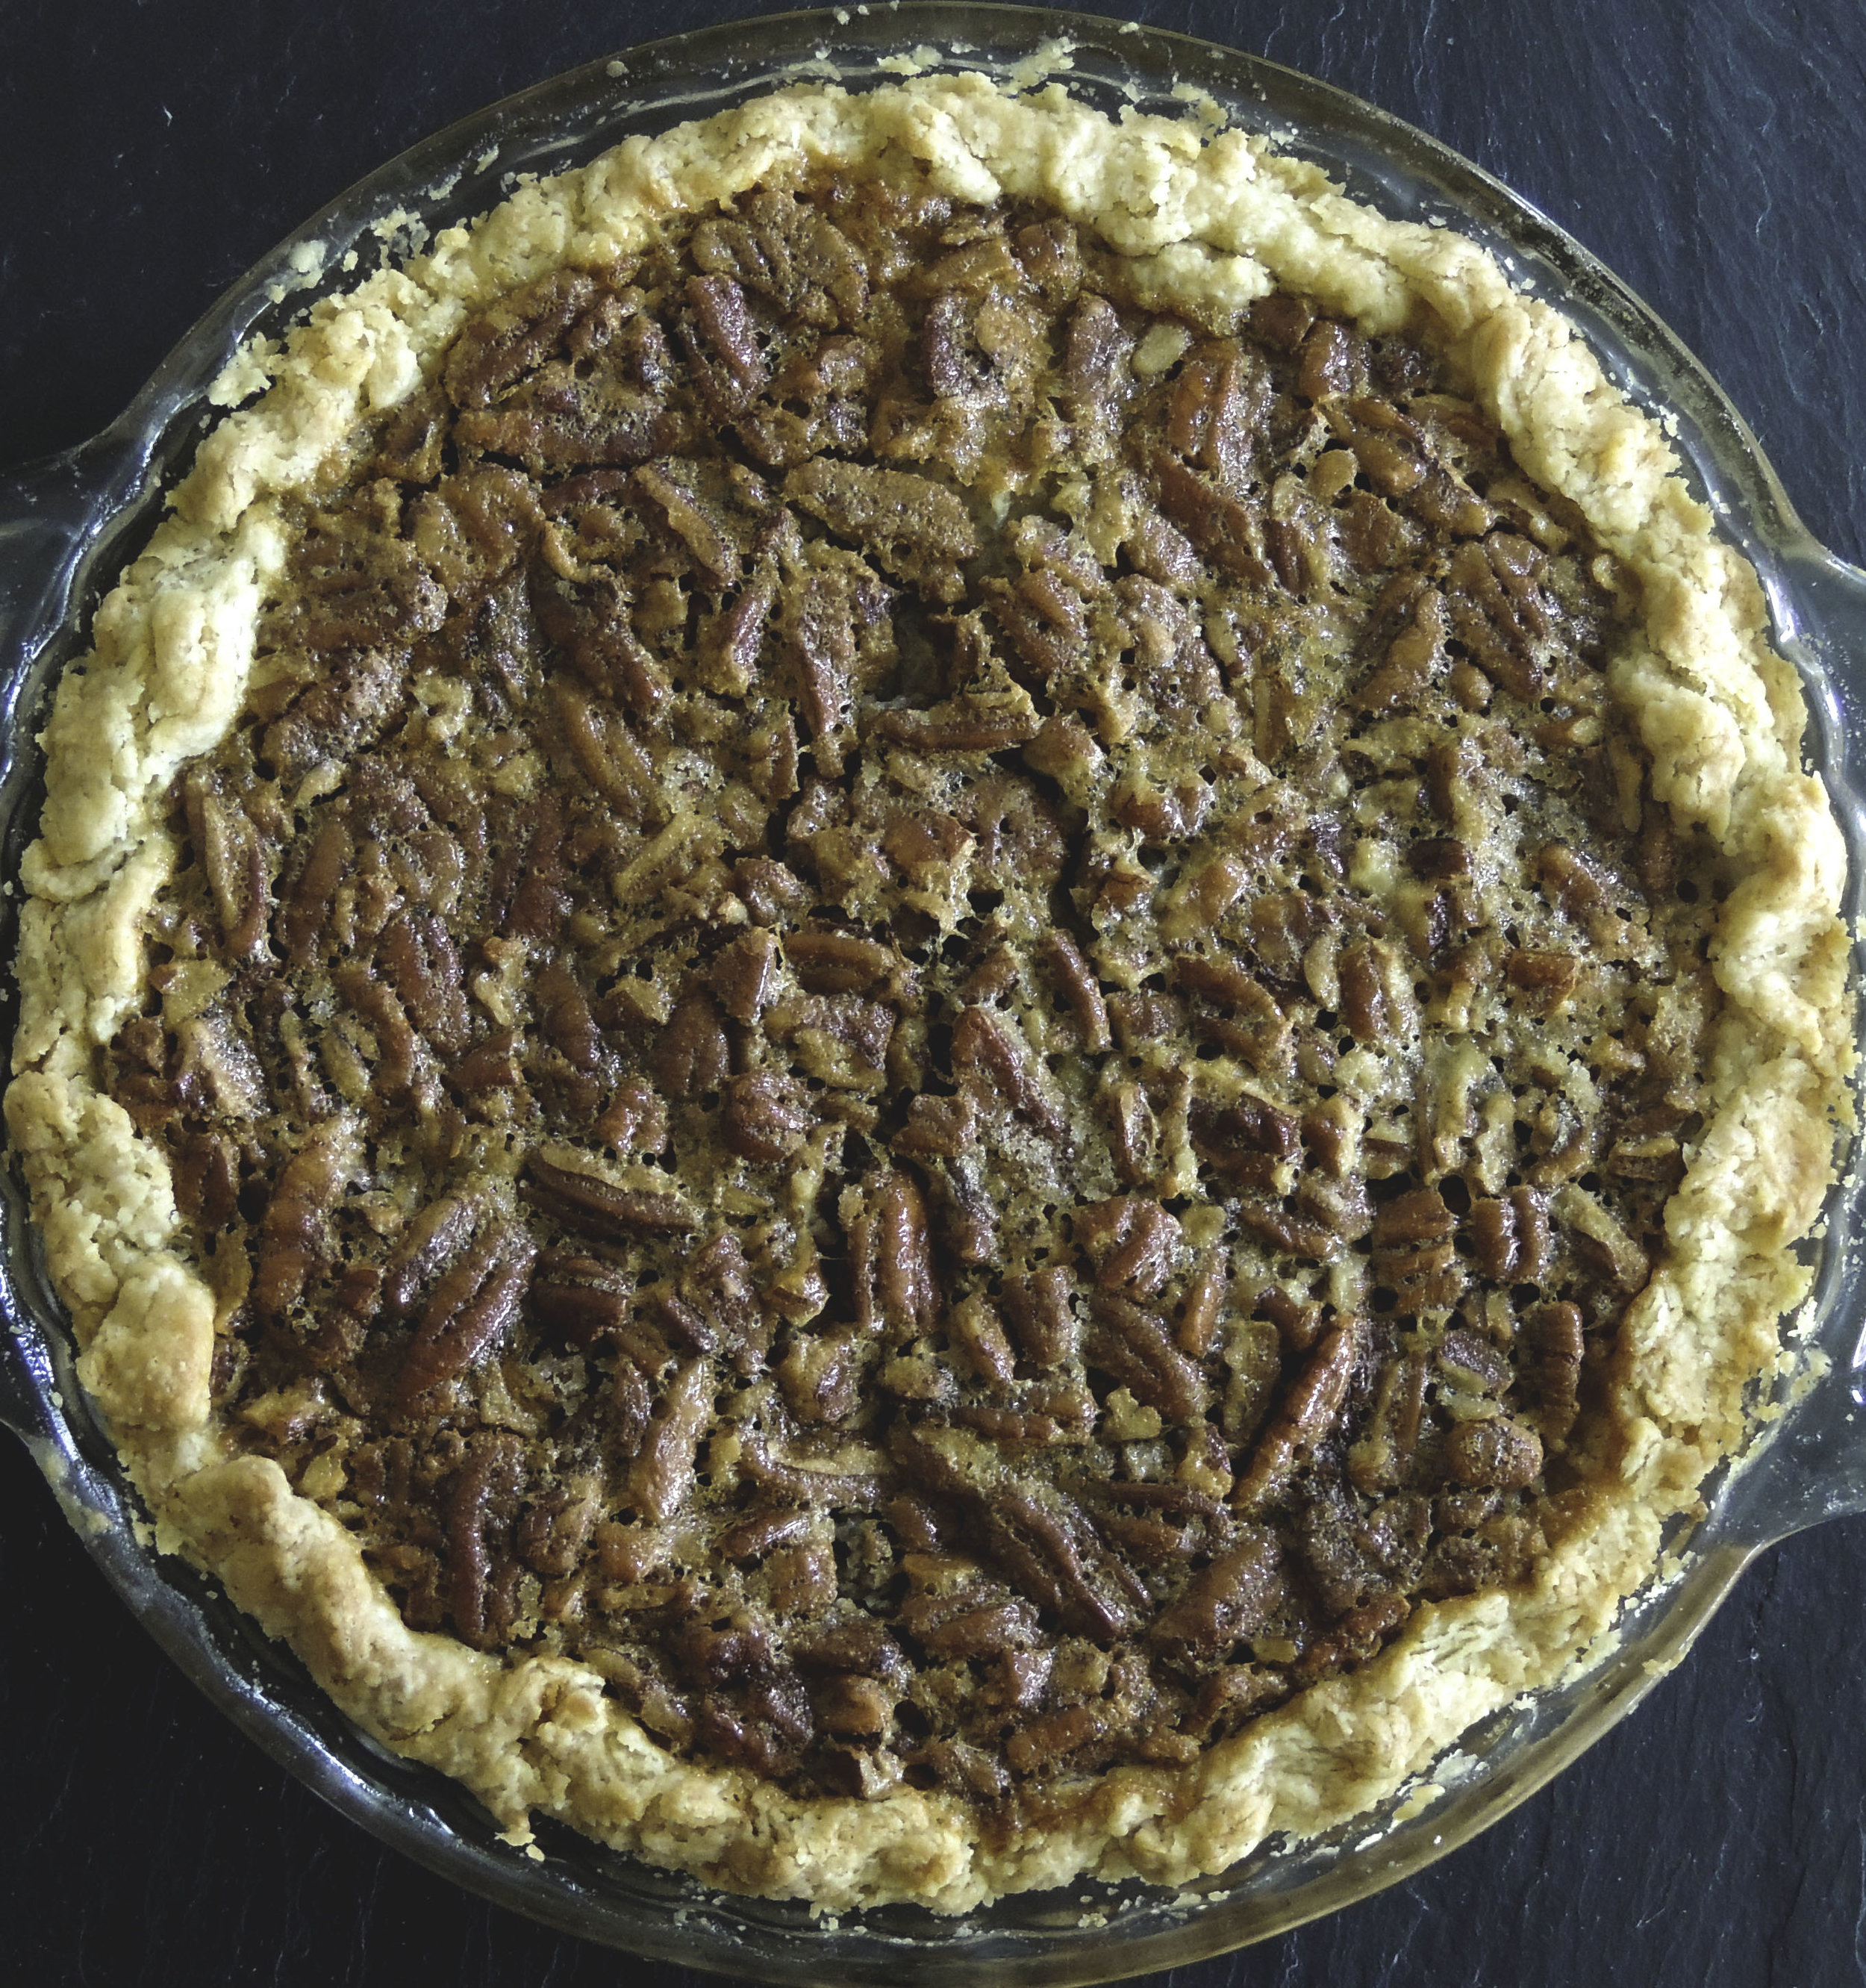
This whole pie works. IT JUST WORKS. The pie crust is flaky and soooo buttery, the pecans are crisp, and add that satisfying crunch, and that maple-bourbon combination? Just out of this world. Dad loved it (perhaps more than the traditional?), and was throughly sad to see an empty pie plate once again, a mere three days later. We were all sad to see it go, really.

pecan pie 4


So, OK, it's time to come clean: this pie was an experiment. I knew maple and bourbon would get along famously with the rest of the ingredients, but I was a bit nervous about the measurement modifications. When the expectation after dinner is to be served a slice of something you've grown to love just the way it is, deviations can be tricky. Perhaps this recipe was the real deal, or perhaps I got real  lucky. Either way, it'll take a few more test drives in the ol' test kitchen before it finds itself on DD. 

BUT, I'd never leave you hanging.. Here are some excellent recipes to try in the meantime:

Martha Stewart's Maple Bourbon Pecan Pie 

This simple Bourbon Pecan Pie (with an option to add a teaspoon or two of maple syrup) from Garden and Gun Magazine

OR how about this one from Epicurious?


Whichever you choose, know that I'll be right there next to you in spirit, with a fork in my hand ready to dig in.


Challah French Toast

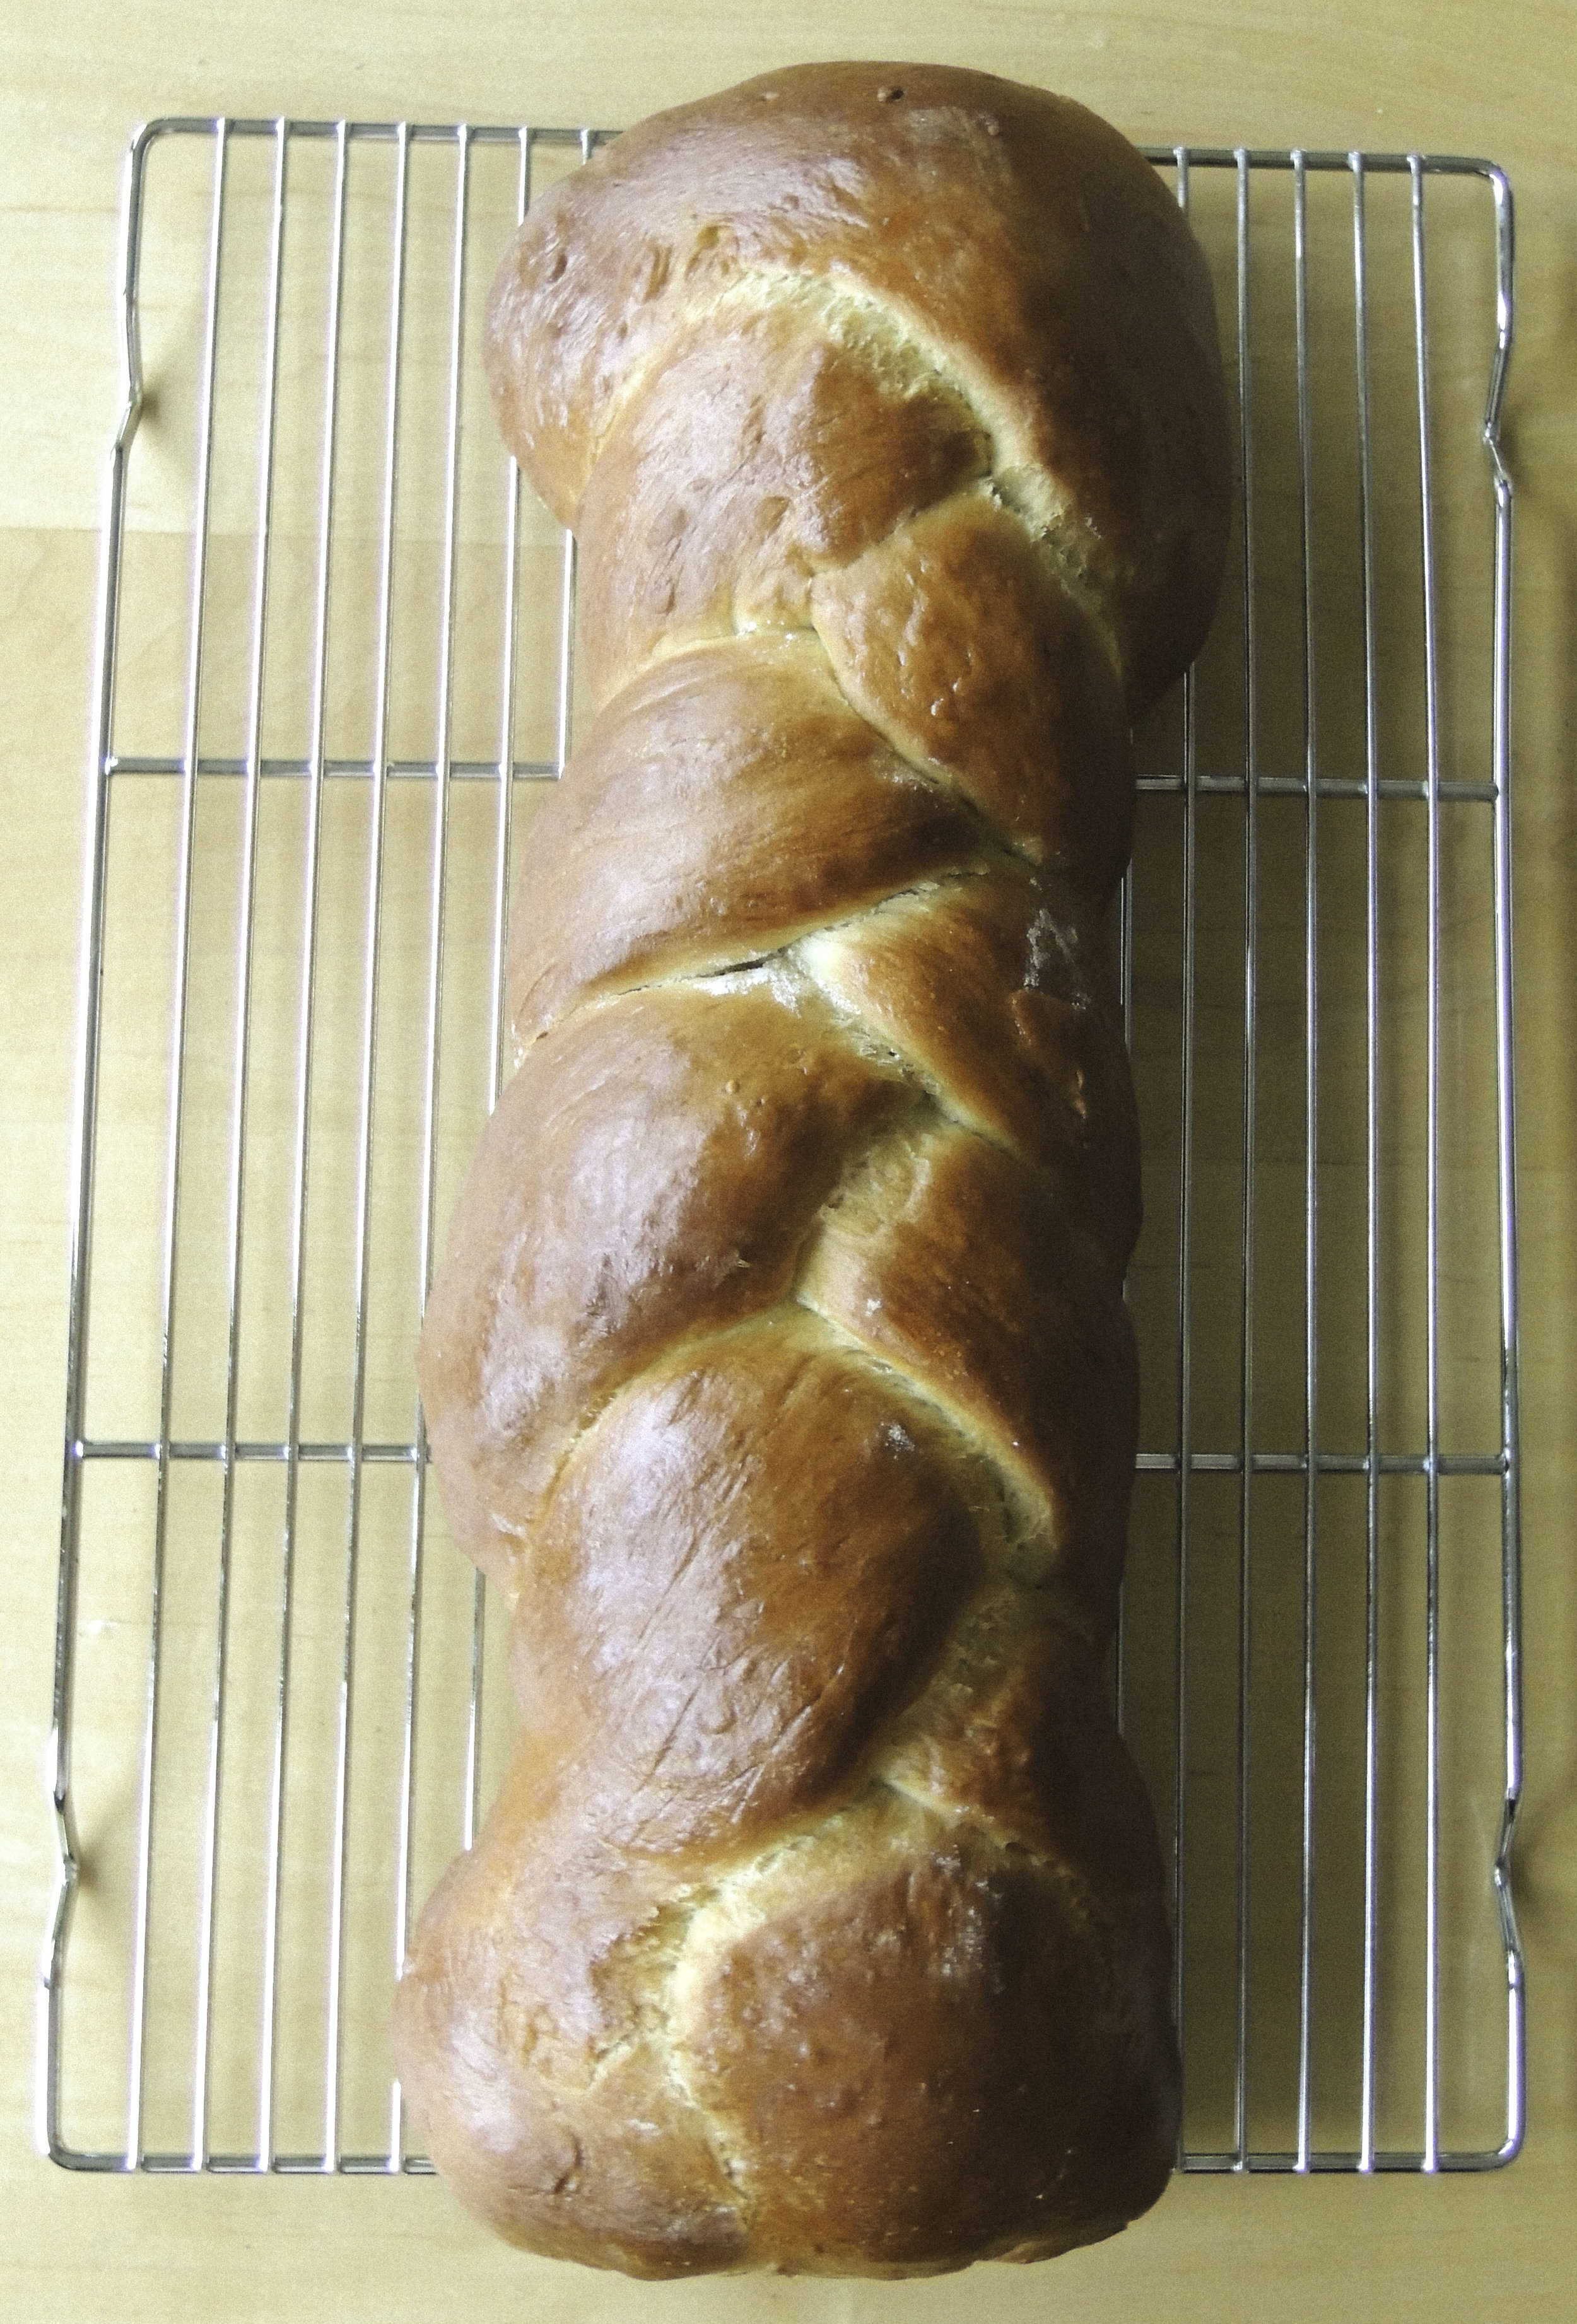
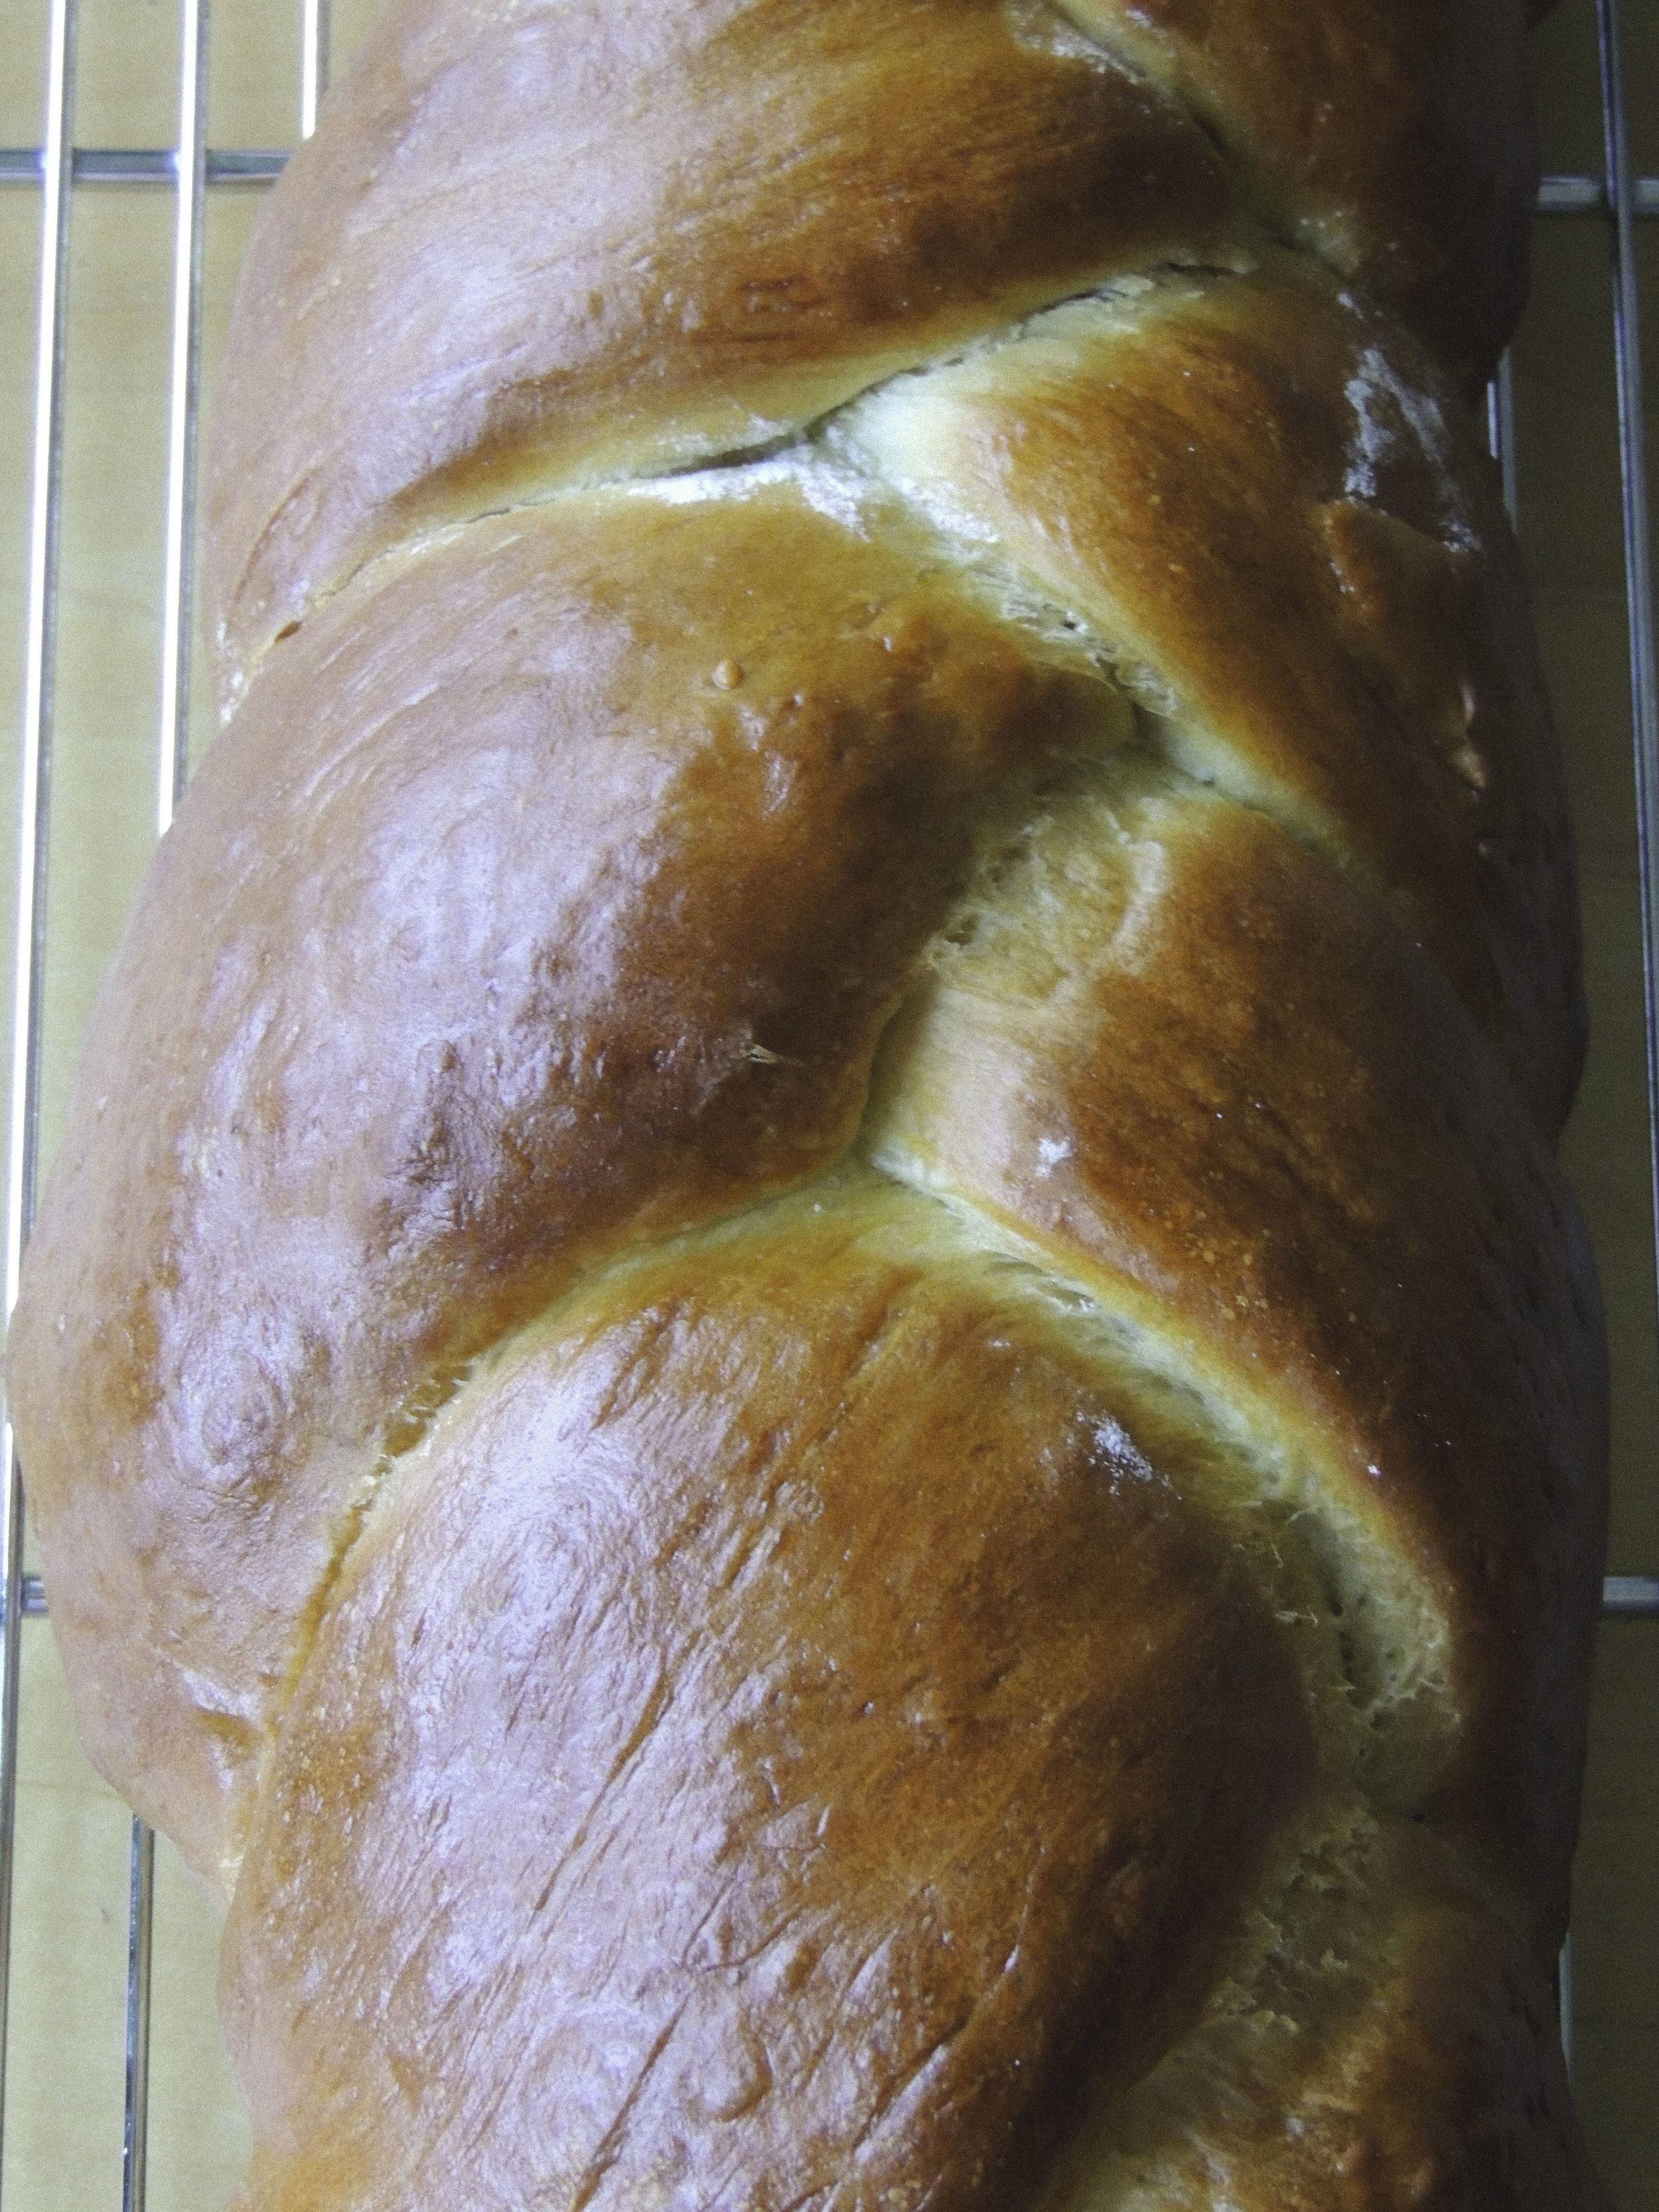
challah bread 1 What to do when you can't find challah bread in literally any of the bakeries in your town? Make your own. You know what they say, "Desperate times call for desperate measures" blah blah blah. The truth of the matter is, I've always wanted to make challah completely on my own, so I didn't mind so much that I couldn't find it anywhere. It meant that it was up to me, and also that I better be extra careful not to mess it up; I had a date with french toast the next morning.

It absolutely must be said that I am a complete novice when it comes to this sweet and super delicious bread, so I'm going to refer you to this stellar tutorial over on The Kitchn. Really easy to follow, and SO USEFUL. I'm totally attempting the six-braid method the next time I make challah. (Hope it goes well.)

challah 2

If making challah bread has taught me anything it's this: make sure you read the recipe three times before you even get your mise en place. I always read a recipe several times, but after making this bread, the point has been driven home. It's not that this is a particularly difficult bread to make per seit's that making challah is very time-consuming. There's a lot of waiting involved. Like, hours of waiting in fact. So when you make this bread, make sure you've got the TIME to do it! This is not something you whip up in an hour. Just be patient, and you'll have a really pleasant reward.

The recipe called for proofing in a warm place with a clean dish towel over the top, but I had no idea where I could put it. I've let dough proof before on the counter, but it didn't rise like I so desperately wanted it to. Not properly proofing challah dough would guarantee disaster, so I decided to ask the internet for help. The advice that I got was SPECTACULAR: place your covered bowl on a higher rack in an oven that is completely OFF. Next, boil some water and pour it into a heatproof bowl. Place the bowl with water in it onto a lower rack, SHUT THE DOOR, and keep it shut! Now you've got your warm place, and you'll end up with a dough that has doubled in size once the time comes to take it out. It's thrilling.

challah 3

RIGHT, so let's get on to the french toast part of this post, shall we? You may be wondering what I did with my challah loaf after it was finished cooling. Well, in order to get the perfect french toast, you need slightly stale bread. In fact, it's imperative.. So, once my challah was finished cooling (and I'd gone through several  episodes of 'Tia Mowry at Home' on Cooking Channel) I simply left it slightly uncovered and went to bed. It worried me a little bit that it might dry out too much, but by the time I was finished in the kitchen that night, there weren't many hours left before it was time to get up and make breakfast. And everything turned out just fine. (Thank goodness.)

In the morning I sliced up eight very healthily-sized slices of challah, mixed up my custard , and set to work.

. So now, let's talk about how obsessed I am with challah french toast. BECAUSE I AM OBSESSED.

challah french toast

French toast is decadent, I mean, there's a reason why its present on every brunch menu that has ever existed. But there is just something so beyond  about whipping up a batch of challah french toast on a quiet weekend morning with a light sprinkling of powdered sugar on top from one of those unnecessary-for-anything-else shakers, and a drizzling of divinely warm maple syrup just waiting to be soaked up. THAT is decadence. Throw in a hot cup of hazelnut roast coffee, and a little bowl of fruit salad (in this case it was strawberry, blueberry, and mango with lemon juice) and we are TALKIN', my friend. That's what weekend mornings are all about. Be warned: this breakfast is incredibly rich, but oh my GOSH is it ever worth it.

And would you like to know the best part? It's made completely form scratch. Who needs a brunch menu?


CHALLAH FRENCH TOAST 

What You'll Need:

  • 3 large eggs
  • 1 cup half-and-half
  • Pinch of salt
  • 1 tablespoon of sugar
  • 8 slices of challah bread 1" thick, cut from a slightly stale loaf
  • 2-3 tablespoons butter
  • Powdered sugar for sprinkling on top, optional
  • Fresh Fruit, optional

Directions:

Place a large skillet (Mine is 12 inches) over medium-low heat.

Whisk the eggs, half-and-half, salt, and sugar in a large baking pan (I used an 11X13 rectangular cake pan) until everything is fully incorporated.

Place four slices of bread into the custard to soak for at least one minute on each side (I ended up doing a little longer, but it's up to you. Make sure it's at least one minute though! )

While the bread is soaking, melt one tablespoon of butter in the skillet. You'll know it's ready when it starts to foam. When it has started to foam, move it around so that it coats the entire bottom of the skillet.

Move your cake pan with the soaking pieces of bread next to the stove so that there will be no dripping.

Lift one piece of bread and very gently shake it to get rid of any excess custard, then gently place it in the skillet. Repeat this process with each piece of bread.

After 1-2 minutes, check under a slice of bread to see if it has turned golden brown. When it has turned golden brown, flip each piece of bread and continue cooking until they're golden brown on the other side. Be sure to keep an eye on the skillet so that your toast doesn't burn.

Place your finished first batch onto a serving plate, and your final four pieces of bread into the custard for soaking on each side. (Should you run out of custard before you've run out of bread, I've found that whisking another egg, some more half-and-half, a little sugar, and a little salt works nicely!) Place another tablespoon of butter into your skillet, wait until it foams, and repeat the process of cooking your french toast. Once all of your pieces of bread have turned deliciously golden brown on both sides, transfer them to your serving plate.

Sprinkle a little powdered sugar on the top if you're into that, heat up some delicious maple syrup, and cut up some fruit to use as a topping if you;d like. Enjoy!!


SOURCE: Adapted SUPER SLIGHTLY from The Kitchn 


Strawberry-Basil Shortcakes

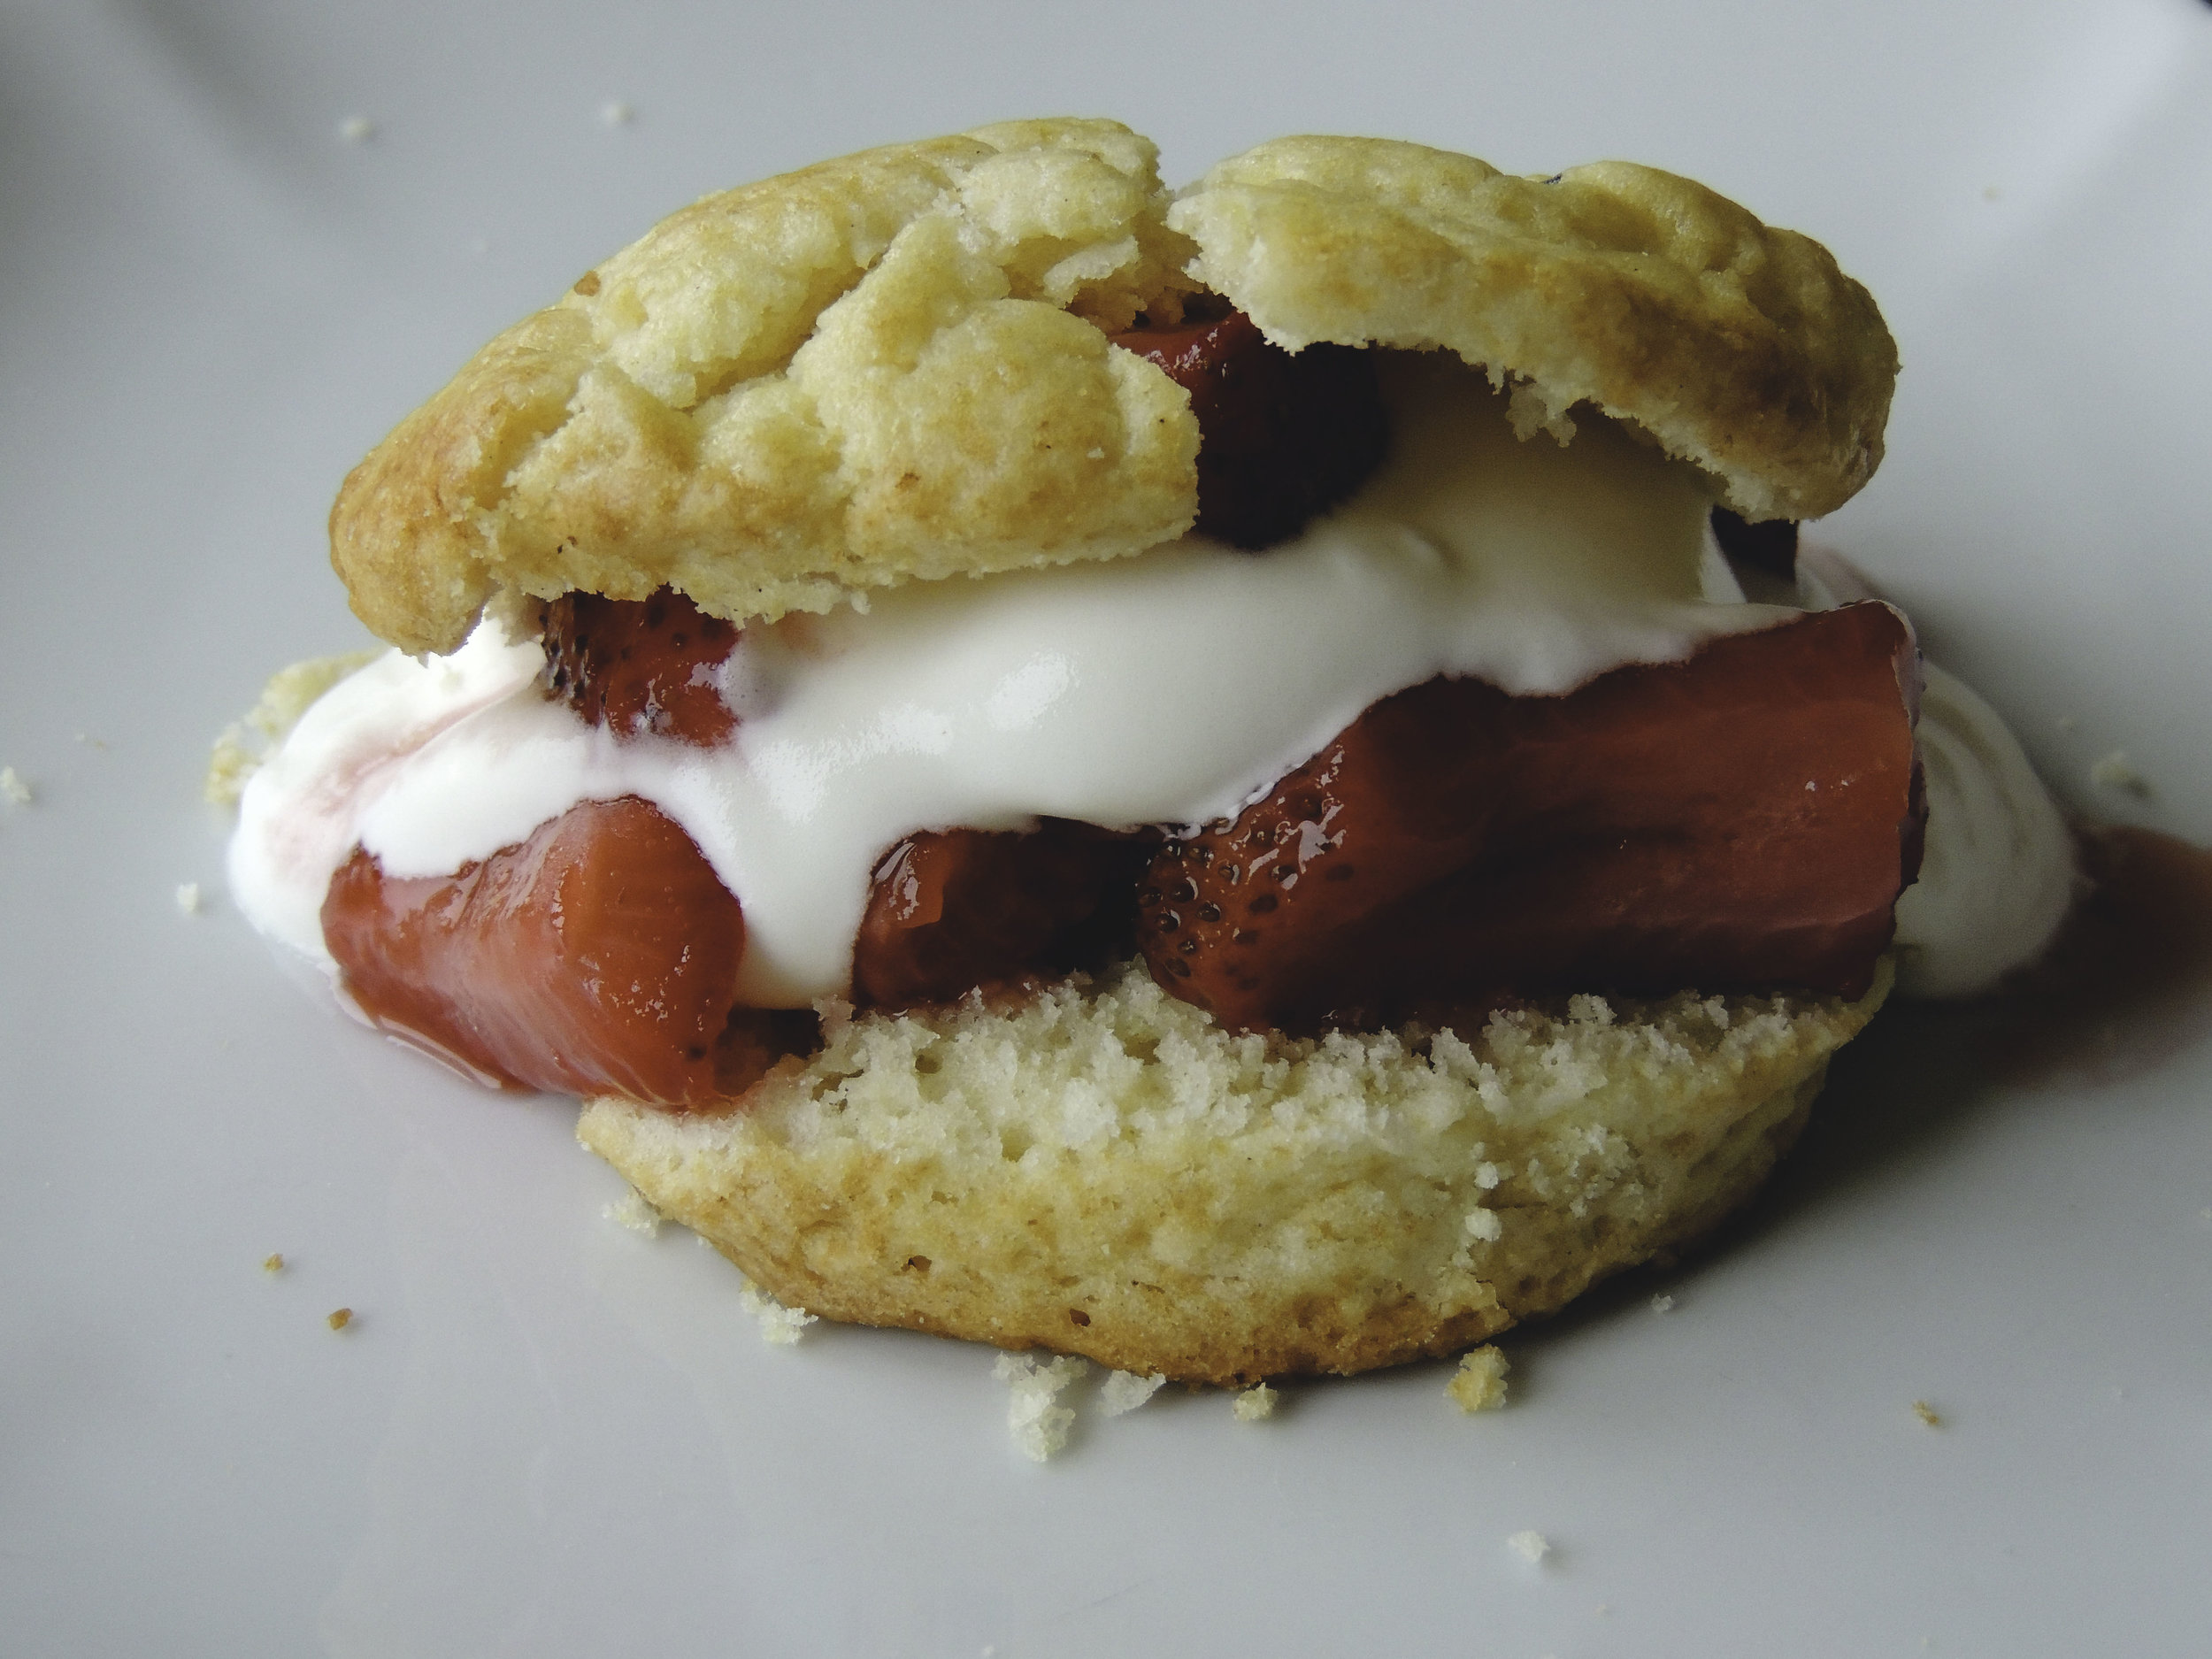
Shortcakes1 Guys, we totally did it. We're officially in  summer-mode...sort of. It's a bit chilly around these parts, but it's JUNE for crying out loud, and if isn't  summer by now, it'll never be! So let's just call it what we all want it to be, and move on.

In celebration of our new season of warmth and green grass, and also in celebration of strawberries being $1/lb  this week at the market, let's spoil ourselves and have some strawberry-basil shortcake, shall we? It's the perfect weekend dessert because it's really at its finest within 2-3 days, and you can totally get up on Sunday morning, pop one of these babies on a plate, and call it breakfast. No one's going to judge you; it's the WEEKEND.

shortcakes2

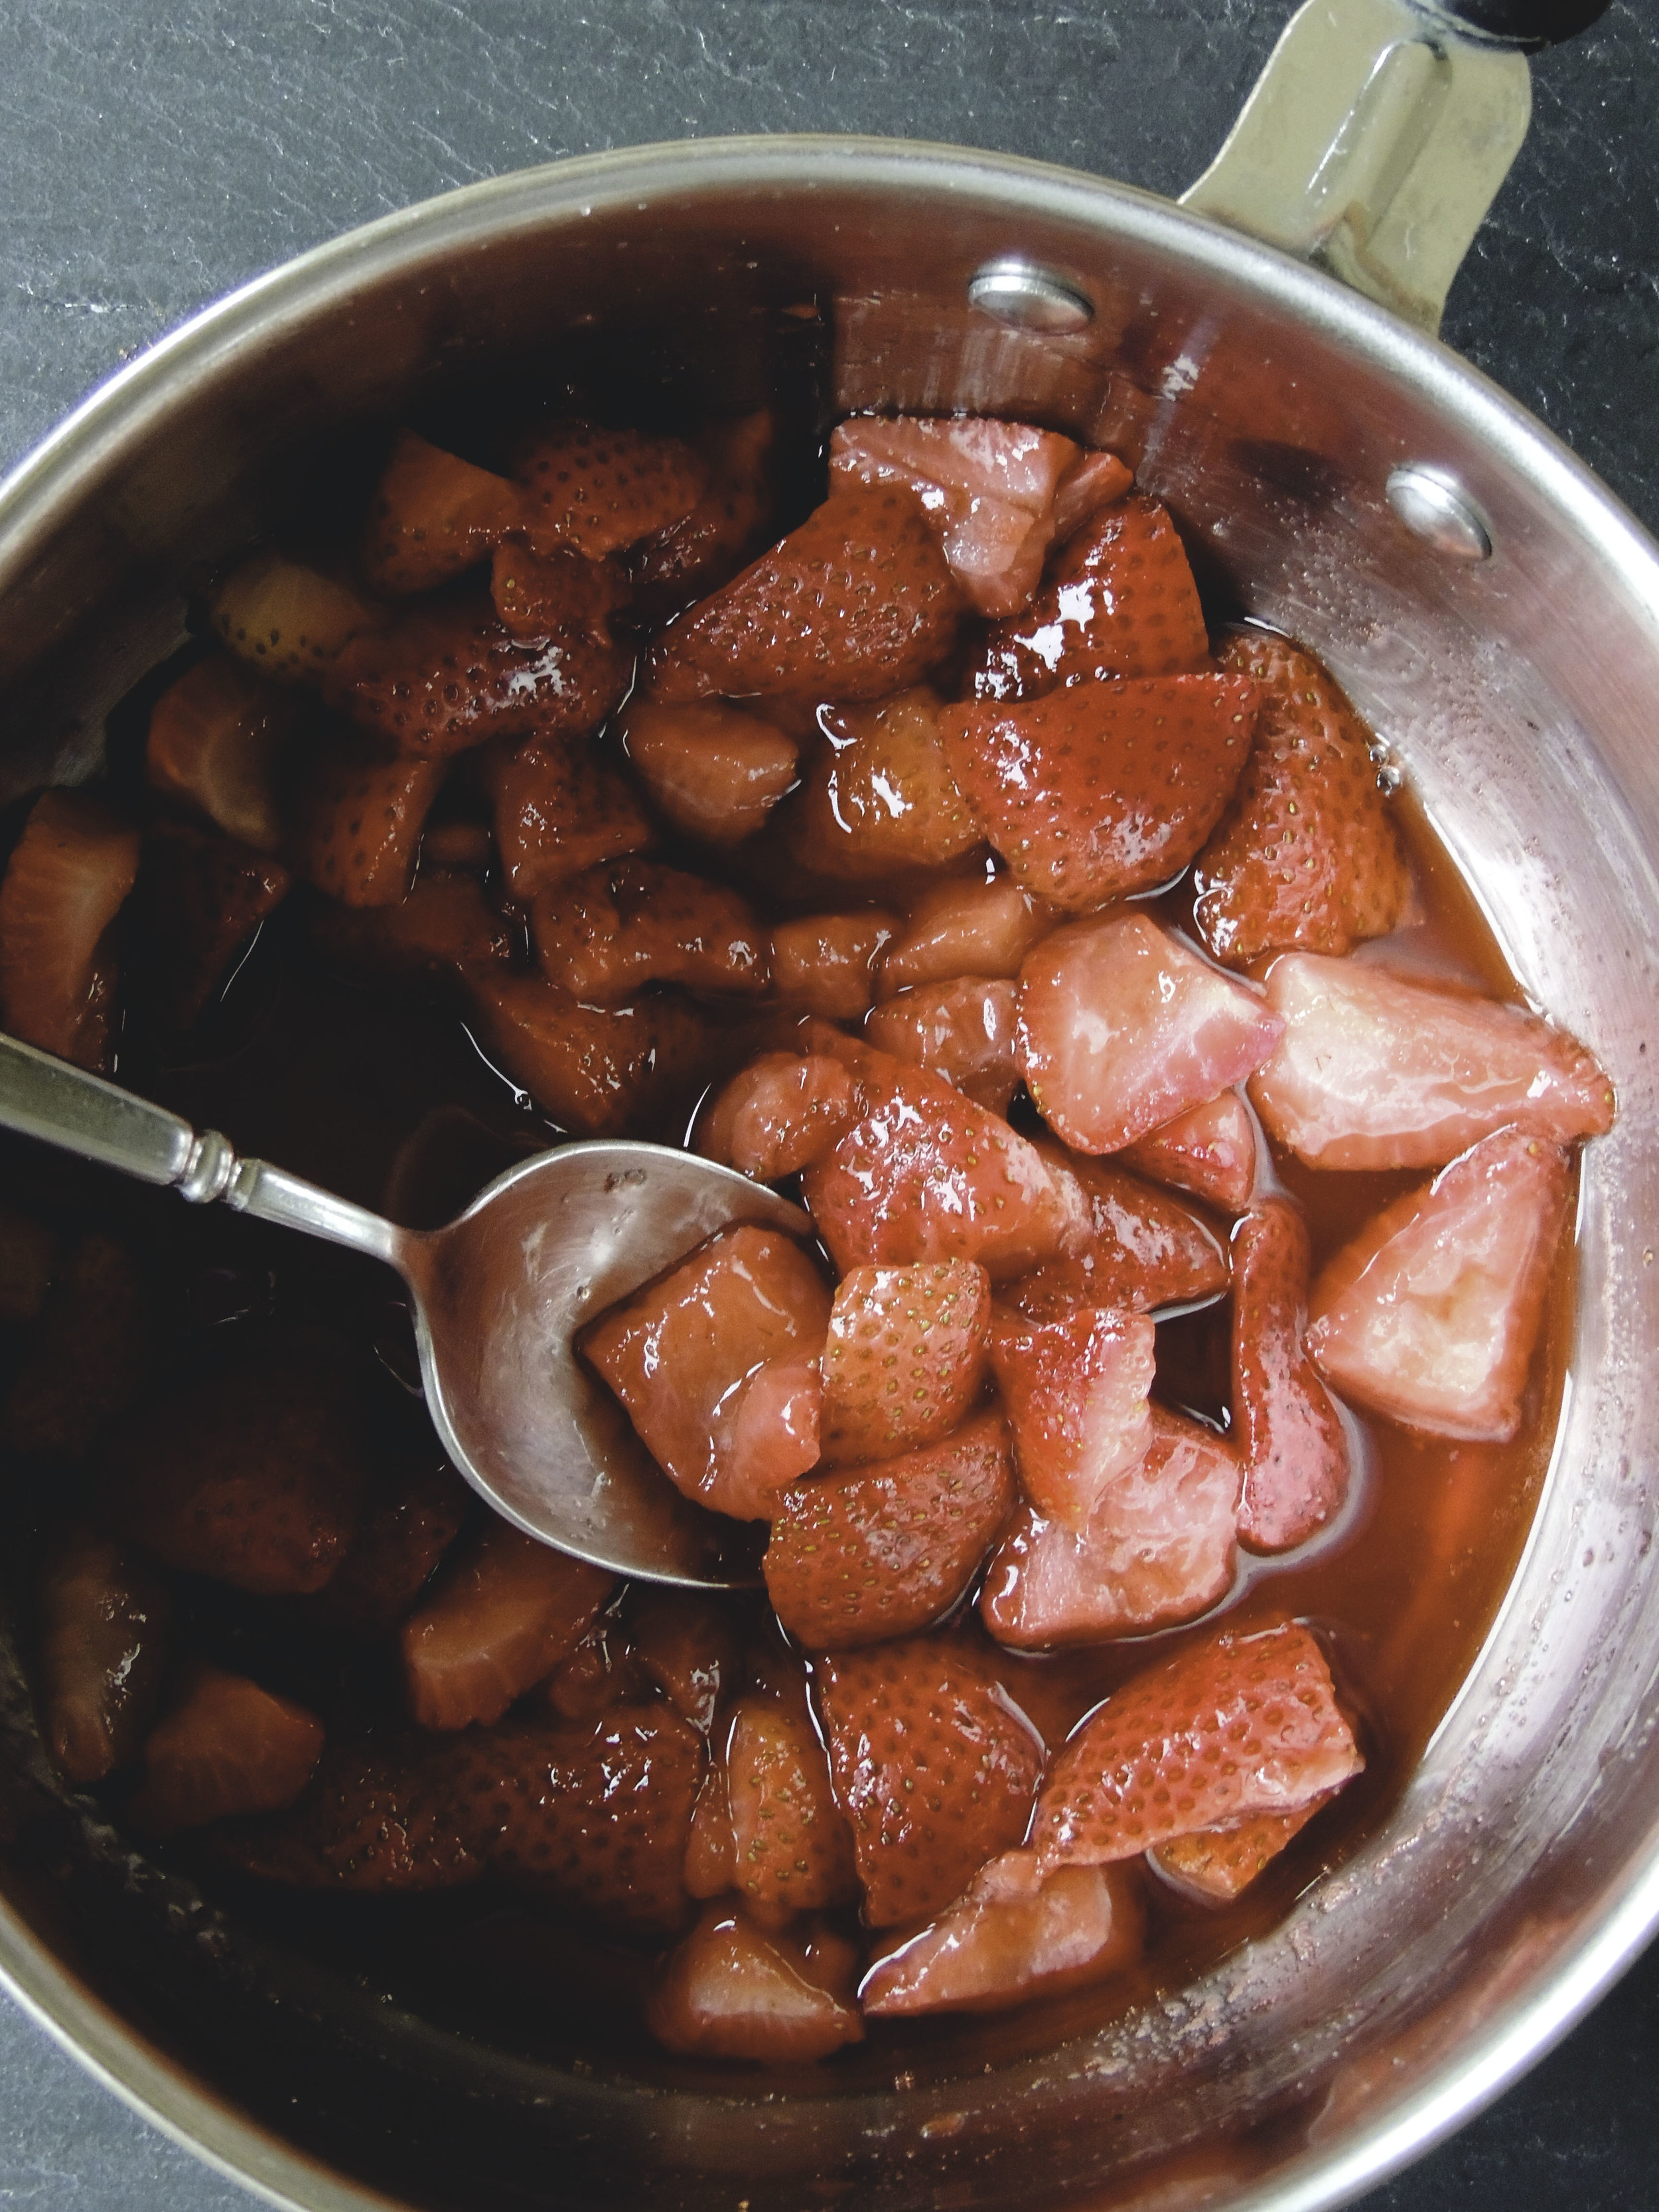
This was my first time making a compote, and now I want to compote everything. I've had tomato compote in the past that was tucked into the greatest BLT there ever was, and I'd wanted to replicate it at home, but time went by, other recipes demanded my attention, and I eventually forgot all about it. I'm so glad that my first time attempting the art of the compote was: 1. successful (let's be real.) and 2. the most important part of a seriously good dessert.

And for those of you out there feeling a little taken aback by the utilization of basil in a dessert let me tell you this: it'll blow all those other strawberry shortcakes you have had in the past RIGHT out of the water. Basil leaves often give strawberry desserts that extra UMPH that they need to journey to the next level. The flavor is subtle, but its role is vital in bringing the whole shortcake operation together. I'm telling you, you'll love it.

Go ahead, have some strawberry-basil shortcake this weekend.


STRAWBERRY-BASIL SHORTCAKES

What you'll need:

  • 1/4 cup sugar
  • 1 tablespoon baking powder
  • 1/2 teaspoon kosher salt
  • 2 cups all-purpose flour, plus more for dusting
  • 6 tablespoons chilled, unsalted butter, cut into pieces
  • 1 cup heavy cream
  • 1 large egg, beaten
  • 1 1/2-2 pounds fresh strawberries, hulled, then quartered (about 3 cups or so), then divided
  • 5 tablespoons sugar, divided
  • 2-4 sprigs basil
  • 2 cups heavy cream (this one's for the whipped cream)
  • 1 teaspoon vanilla extract

DIRECTIONS:

To make the shortcakes:

Preheat the oven to 400 degrees F.

Whisk the sugar, baking powder, salt, and two cups of flour in a large bowl. Using a pastry cutter (or your fingers), mix in the butter until the mixture becomes coarse, and there are a few pea-sized pieces of butter remaining. Add the cream and mix until the dough comes together (Be careful not to over-mix. And don't worry, it's supposed to be sticky).

Turn out the dough onto a lightly-floured surface (I always use a clean cutting board), and pat into a rectangle with about 3/4 inch thickness. Using a biscuit cutter, cut out 2 1/2 inch rounds, re-rolling when you need to. You should have eight rounds by the end.

Whisk the egg with one tablespoon of water in a small bowl. That'll be your egg wash.

Transfer your rounds to a lined baking sheet and brush the tops with the egg wash.

Bake until the tops are golden brown, and the shortcakes are fully-cooked, about 15-20 minutes. Make sure to keep a close eye on them!

To make the strawberry-basil filling:

Roughly chop 2 cups strawberries and cook with two tablespoons sugar in a medium saucepan over medium heat, stirring occasionally, for about five minutes. Once the berries have softened, released their juices, and the mixture is thickened, your compote is done. Let it cool completely.

In a medium bowl, toss basil, one tablespoon of sugar, and one cup of strawberries, and let sit until the fruit begins to release its juices. This should take about 10-15 minutes, but I tend to let it sit for longer. The longer the better in my opinion. Once you're ready to assemble your shortcakes,, discard the basil.

To make the whipped cream topping:

Using an electric mixer (or whisk if you want a really good workout) whisk together the heavy cream, two tablespoons of sugar, and vanilla extract until soft peaks form.

Assembly:

Cut each shortcake in half so that there is a top and a bottom.

Place the bottom on a plate. Spoon on some of the compote mixture.

Spoon on some whipped cream.

Over the whipped cream, spoon on some of the basil-infused strawberries.

Add the top part of your shortcake.

Enjoy!

SOURCE: Adapted from Bon Appetit


Food 52's Quick Blueberry Jam

Jam1 I think I spoke too soon about Spring. My bad. Historically, when I've made decorations of Spring, and thrown my winter coat into the closet abyss until the next season, that was usually that. I may shiver a bit, but there's usually no turning back. This year, not so much. No sooner had I stopped wearing stockings with my sneakers again that it snowed. Mind you it was a just dusting, but there was snow on the ground again, and a frost in the air that was totally and completely unwanted. Usually I relish in the sound of freshly fallen snow under my boots, but not when those boots were meant to be tucked away in exchange for attractive flats and sandals. Thankfully, it's already melting. Melt faster!

At any rate, despite the fact that I've had to put up with the winter coat for the time being, I've decided to ignore these winter-like conditions where it counts: in my heart. And to that effect, I've continued on in my quest to re-introduce warm weather fruits back into the kitchen any way I can. And I'm still on a blueberry kick. So, this week I've made Food 52's Quick Blueberry Jam. And it was, by all accounts, a real JAM to make....I LIKE PUNS, SUE ME.

Jam2

Jam has been on my extended To-Make List for several years now, but I hadn't gotten around to doing it, nor did I have all the proper accouterments it takes to effectively get the job done. While I still have long-term plans to fill my life and the lives of my loved ones with all the jams you could possibly imagine, until I have all the tools of the trade, this wonderful and easy quick jam is going to do very nicely in the meantime.

Quick Blueberry Jam Goes Well: on toast, rolls, biscuits, crackers, spoons, fingers, straight out of the pan, etc.etc. etc.

What You'll Need:

  • 1 cup fresh or frozen blueberries (if using frozen, make sure that they have completely thawed and come to room temperature)
  • 1/3 cup granulated sugar
  • 1/16 teaspoon kosher salt
  • 1/2 teaspoon lemon zest
  • 1 teaspoon lemon juice (I used upwards of 2 tablespoons, but I like a little bit more lemon with blueberries)
  • 2 tablespoons water

Directions:

Add all ingredients to a medium-sized pan.

Turn the heat to medium, and bring the mixture to a boil, stirring occasionally. As soon as it has come to a boil, turn the heat down to a simmer. The fruit will start to release its juices, and soften.

Cook up to 30 minutes (though I did a few minutes longer). The longer it simmers, the smoother the result at the end.

Store in fridge, and eat within a week.

Note: Because I upped the lemon juice, I also had to adjust the sugar by a few tablespoons, and add a dash more salt. Make sure to alter this to your taste preferences. ABT= Always be tasting. Think it needs a pinch more salt? Go for it! Want a little more acidity? Squeeze it in. It's your jam after all!

SOURCE: Food 52 via Phyllis Grant 

Rustic Blueberry-Lemon Ricotta Scones

SCONES- 1 It went past 50 degrees last week and I could hardly believe it. For the first time in months I didn't have to prepare myself for the familiar sting of winter wind hitting every piece of exposed skin. And I even spotted neighbors that I haven't seen in months. The windbreaker is out, the winter coat is buried deep within the wardrobe, and despite what the weather people keep trying to tell me (back to the 40s, sometimes 30s) Spring is here to stay. Why? Because I said so.

The sun is shining so brightly and it's making me think of Summer. And, it should be noted, I don't even like Summer that much. It's just too hot. While most people around these parts relish the feeling of a hot sun on their skin, all I can do is slap on the sunscreen; even while just looking out the window. I'll take 70 degrees and breezy, please. None of that 90 degree business. Anyway, since the sun is shining and it's actually remotely warm, it had me missing the fresh fruit that I practically live on all summer: blueberries. And what goes exceptionally well with blueberries? Lemons, m'dear!

Photo 1--SCONES

I've been trying to think of ways to spice up breakfast lately. The Cheerios just aren't cutting it anymore; not by themselves anyway. Toast is a splendid breakfast companion, but I've just been looking for a little more oomph. That's where these scones come in. Such a simple little thing on its own, the scone. So much potential, just begging to be taken to the next level. And so we shall, little scone. So we shall.

Plus, we had some extra ricotta burning a hole in the fridge. Ricotta cheese shall never, ever be wasted. Not on my watch. SCONES 2

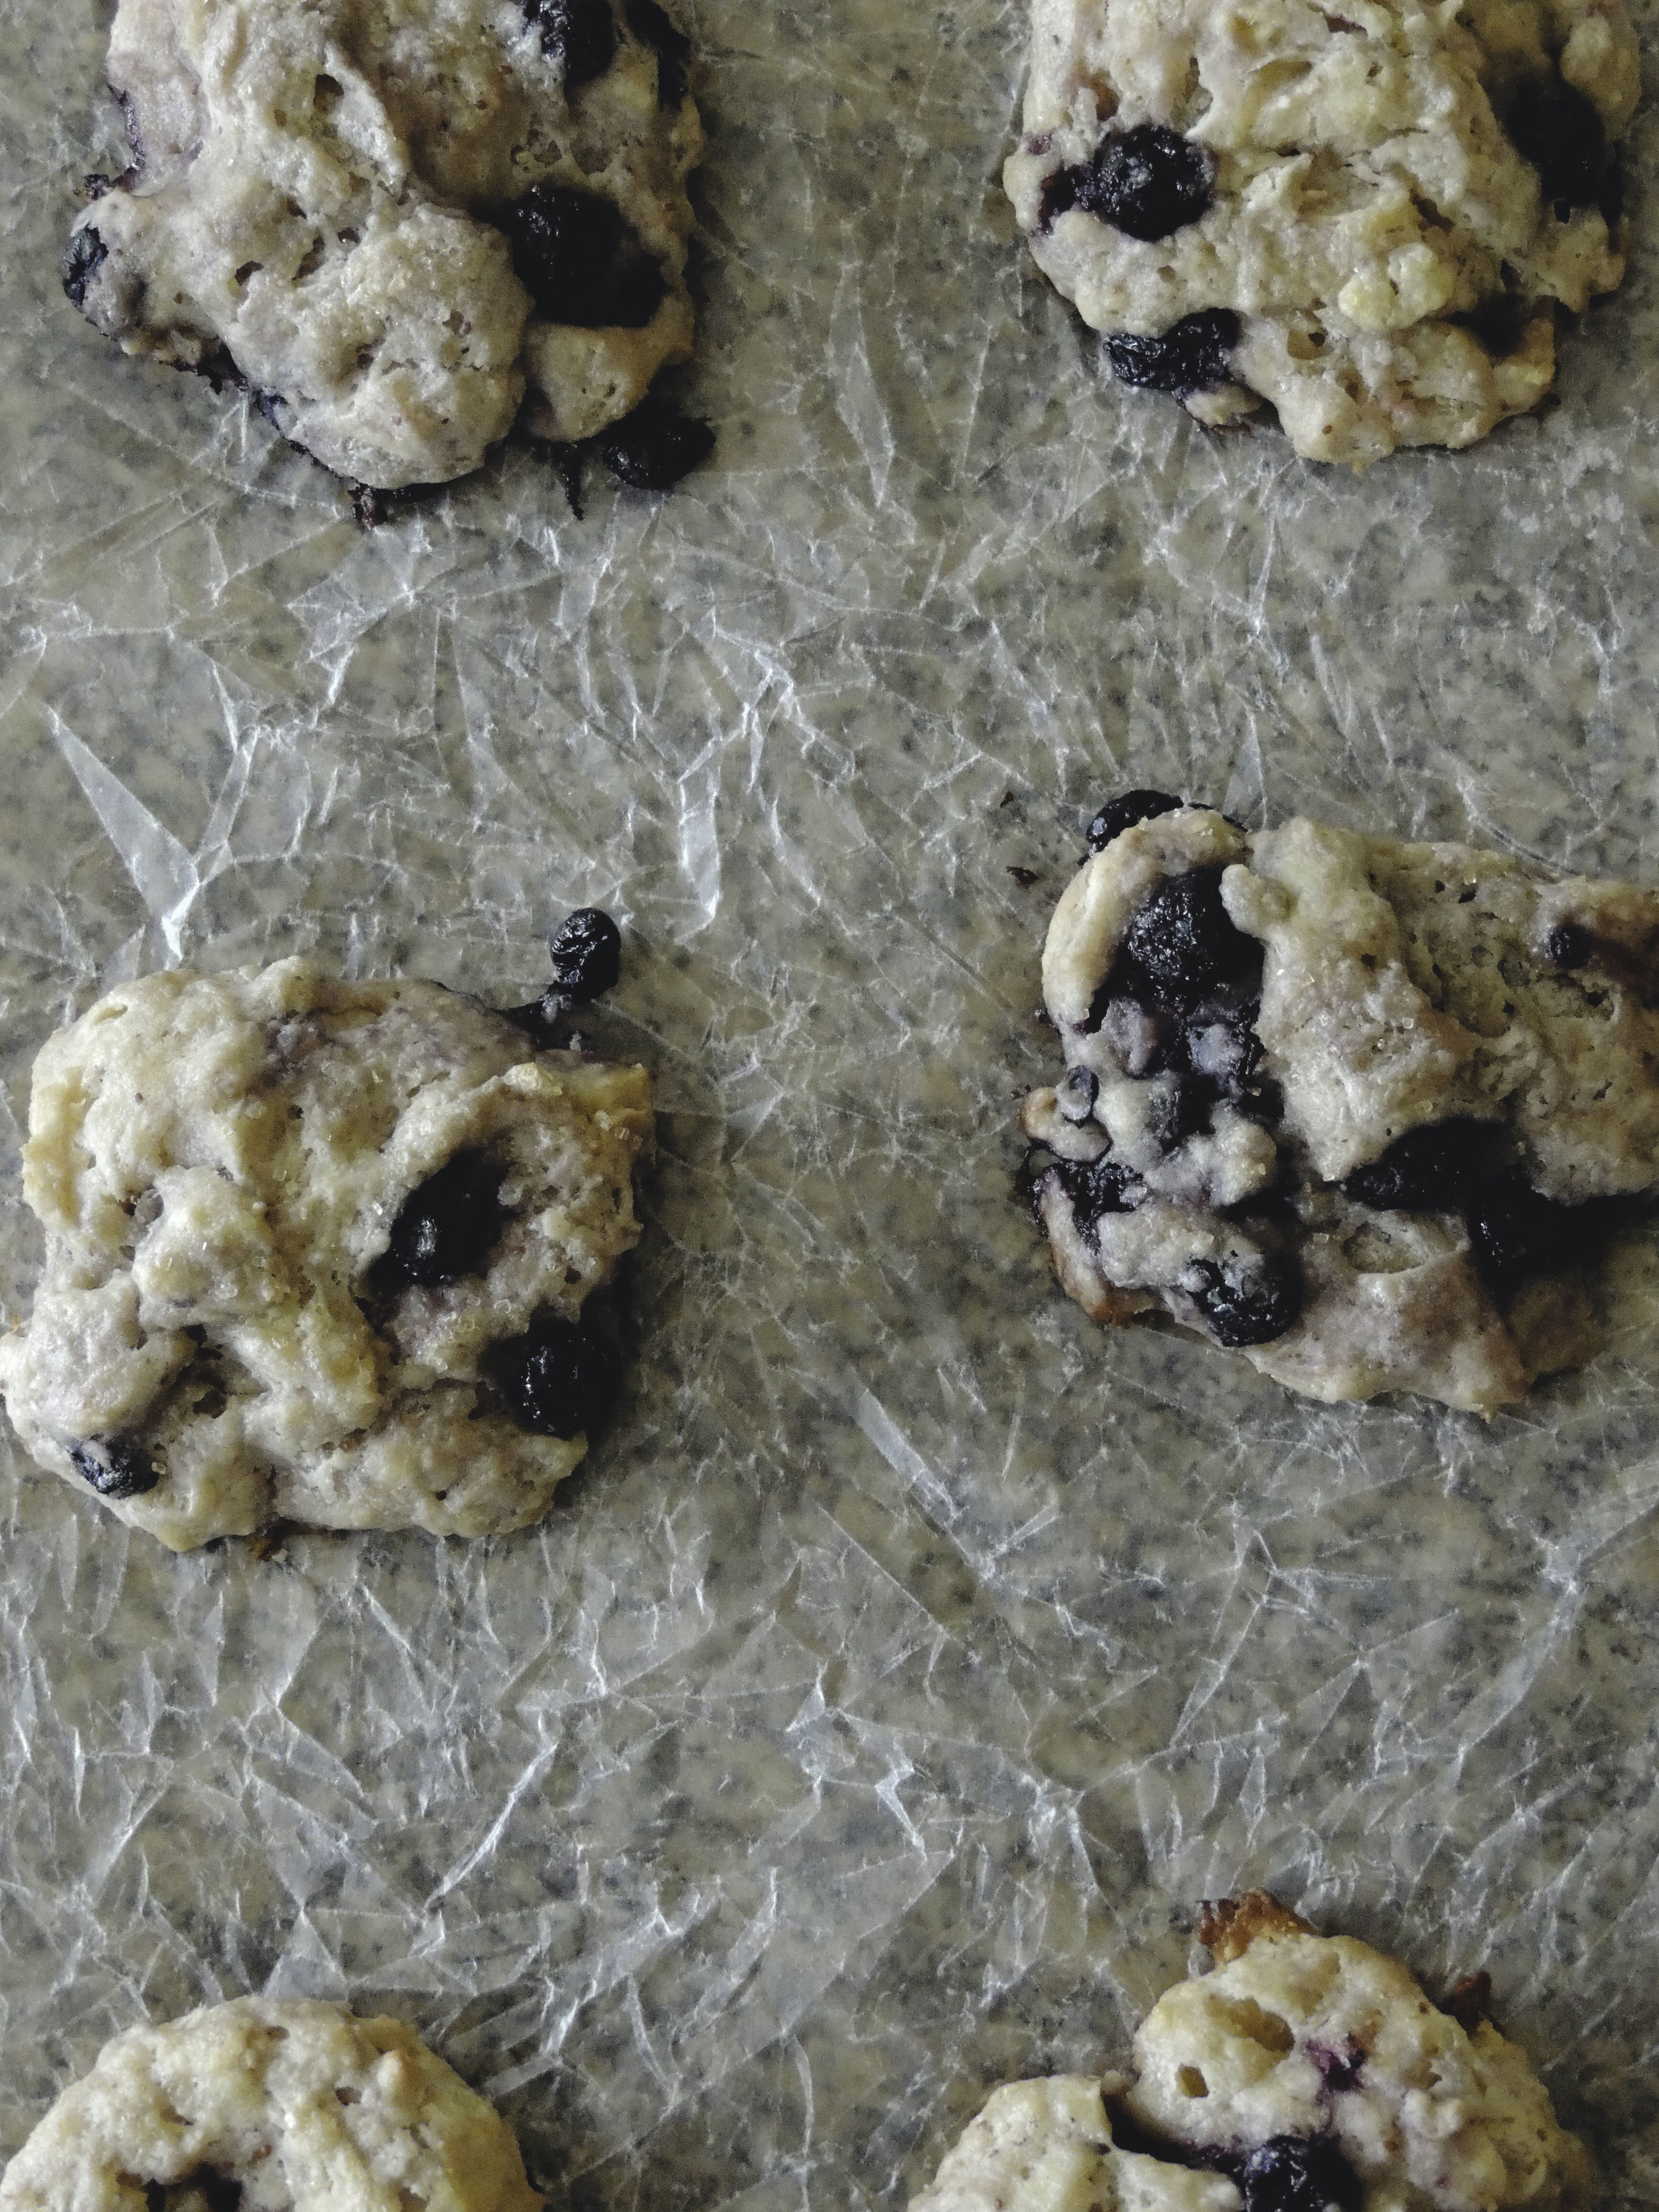
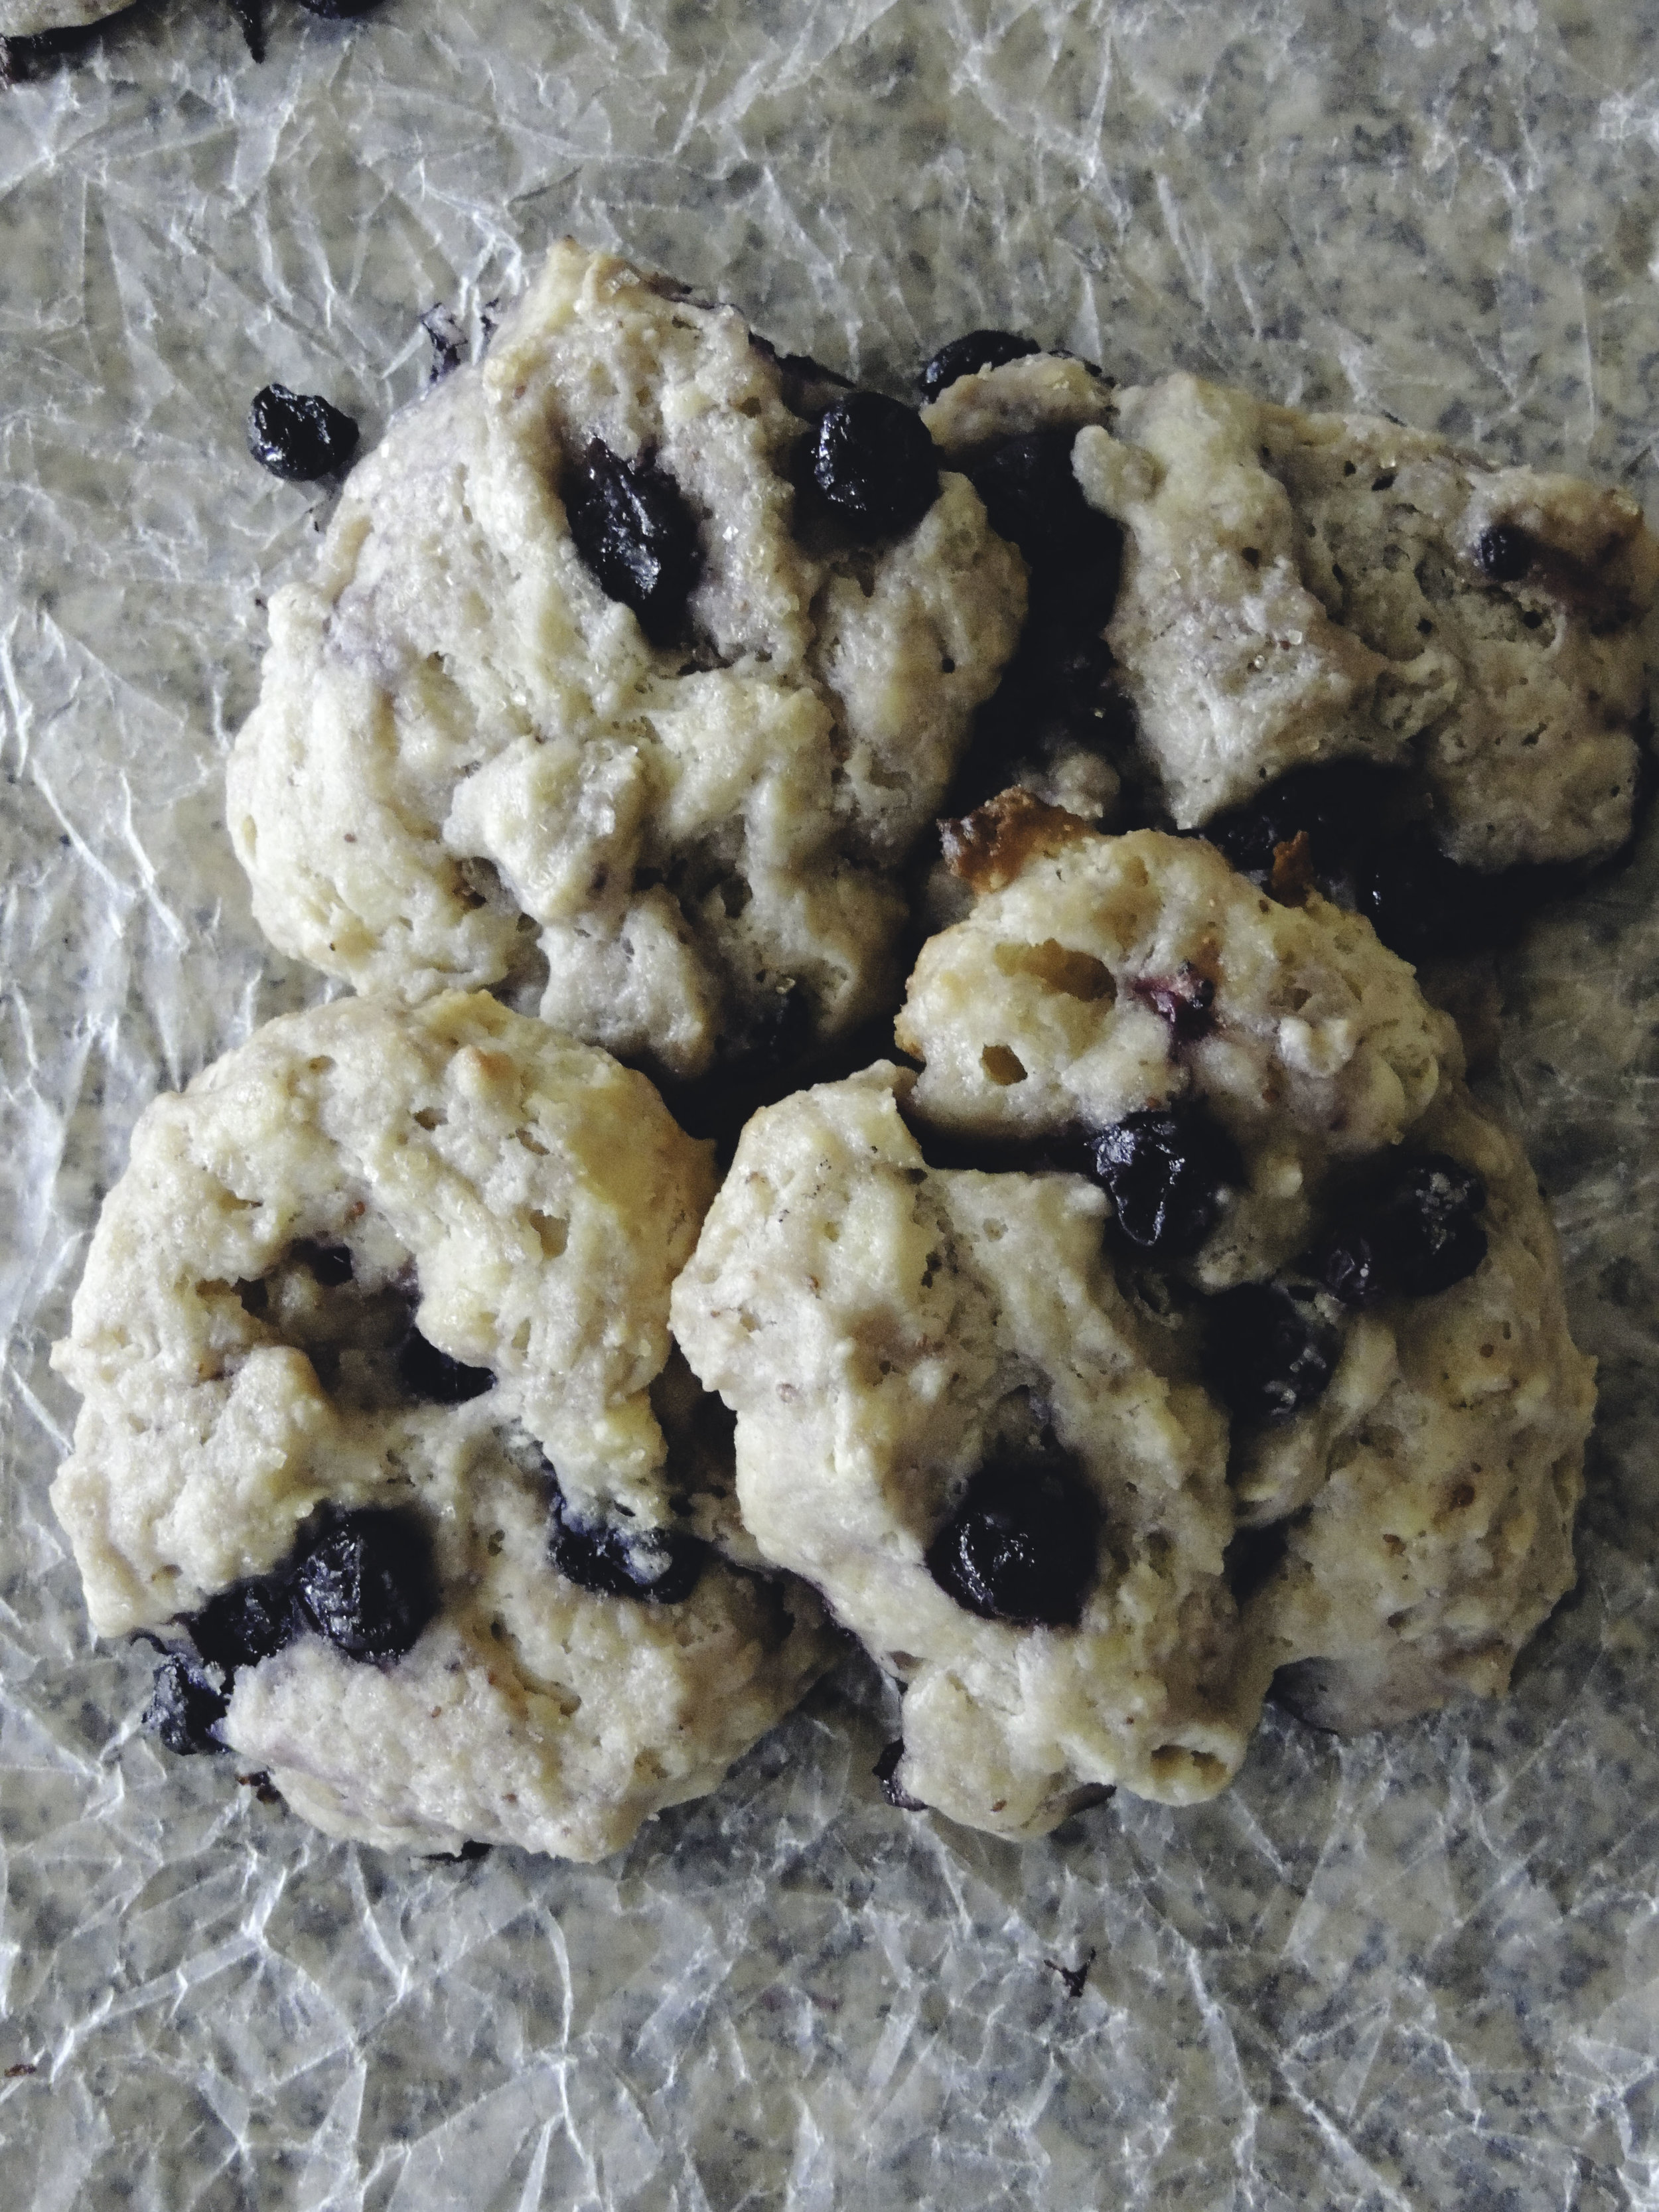
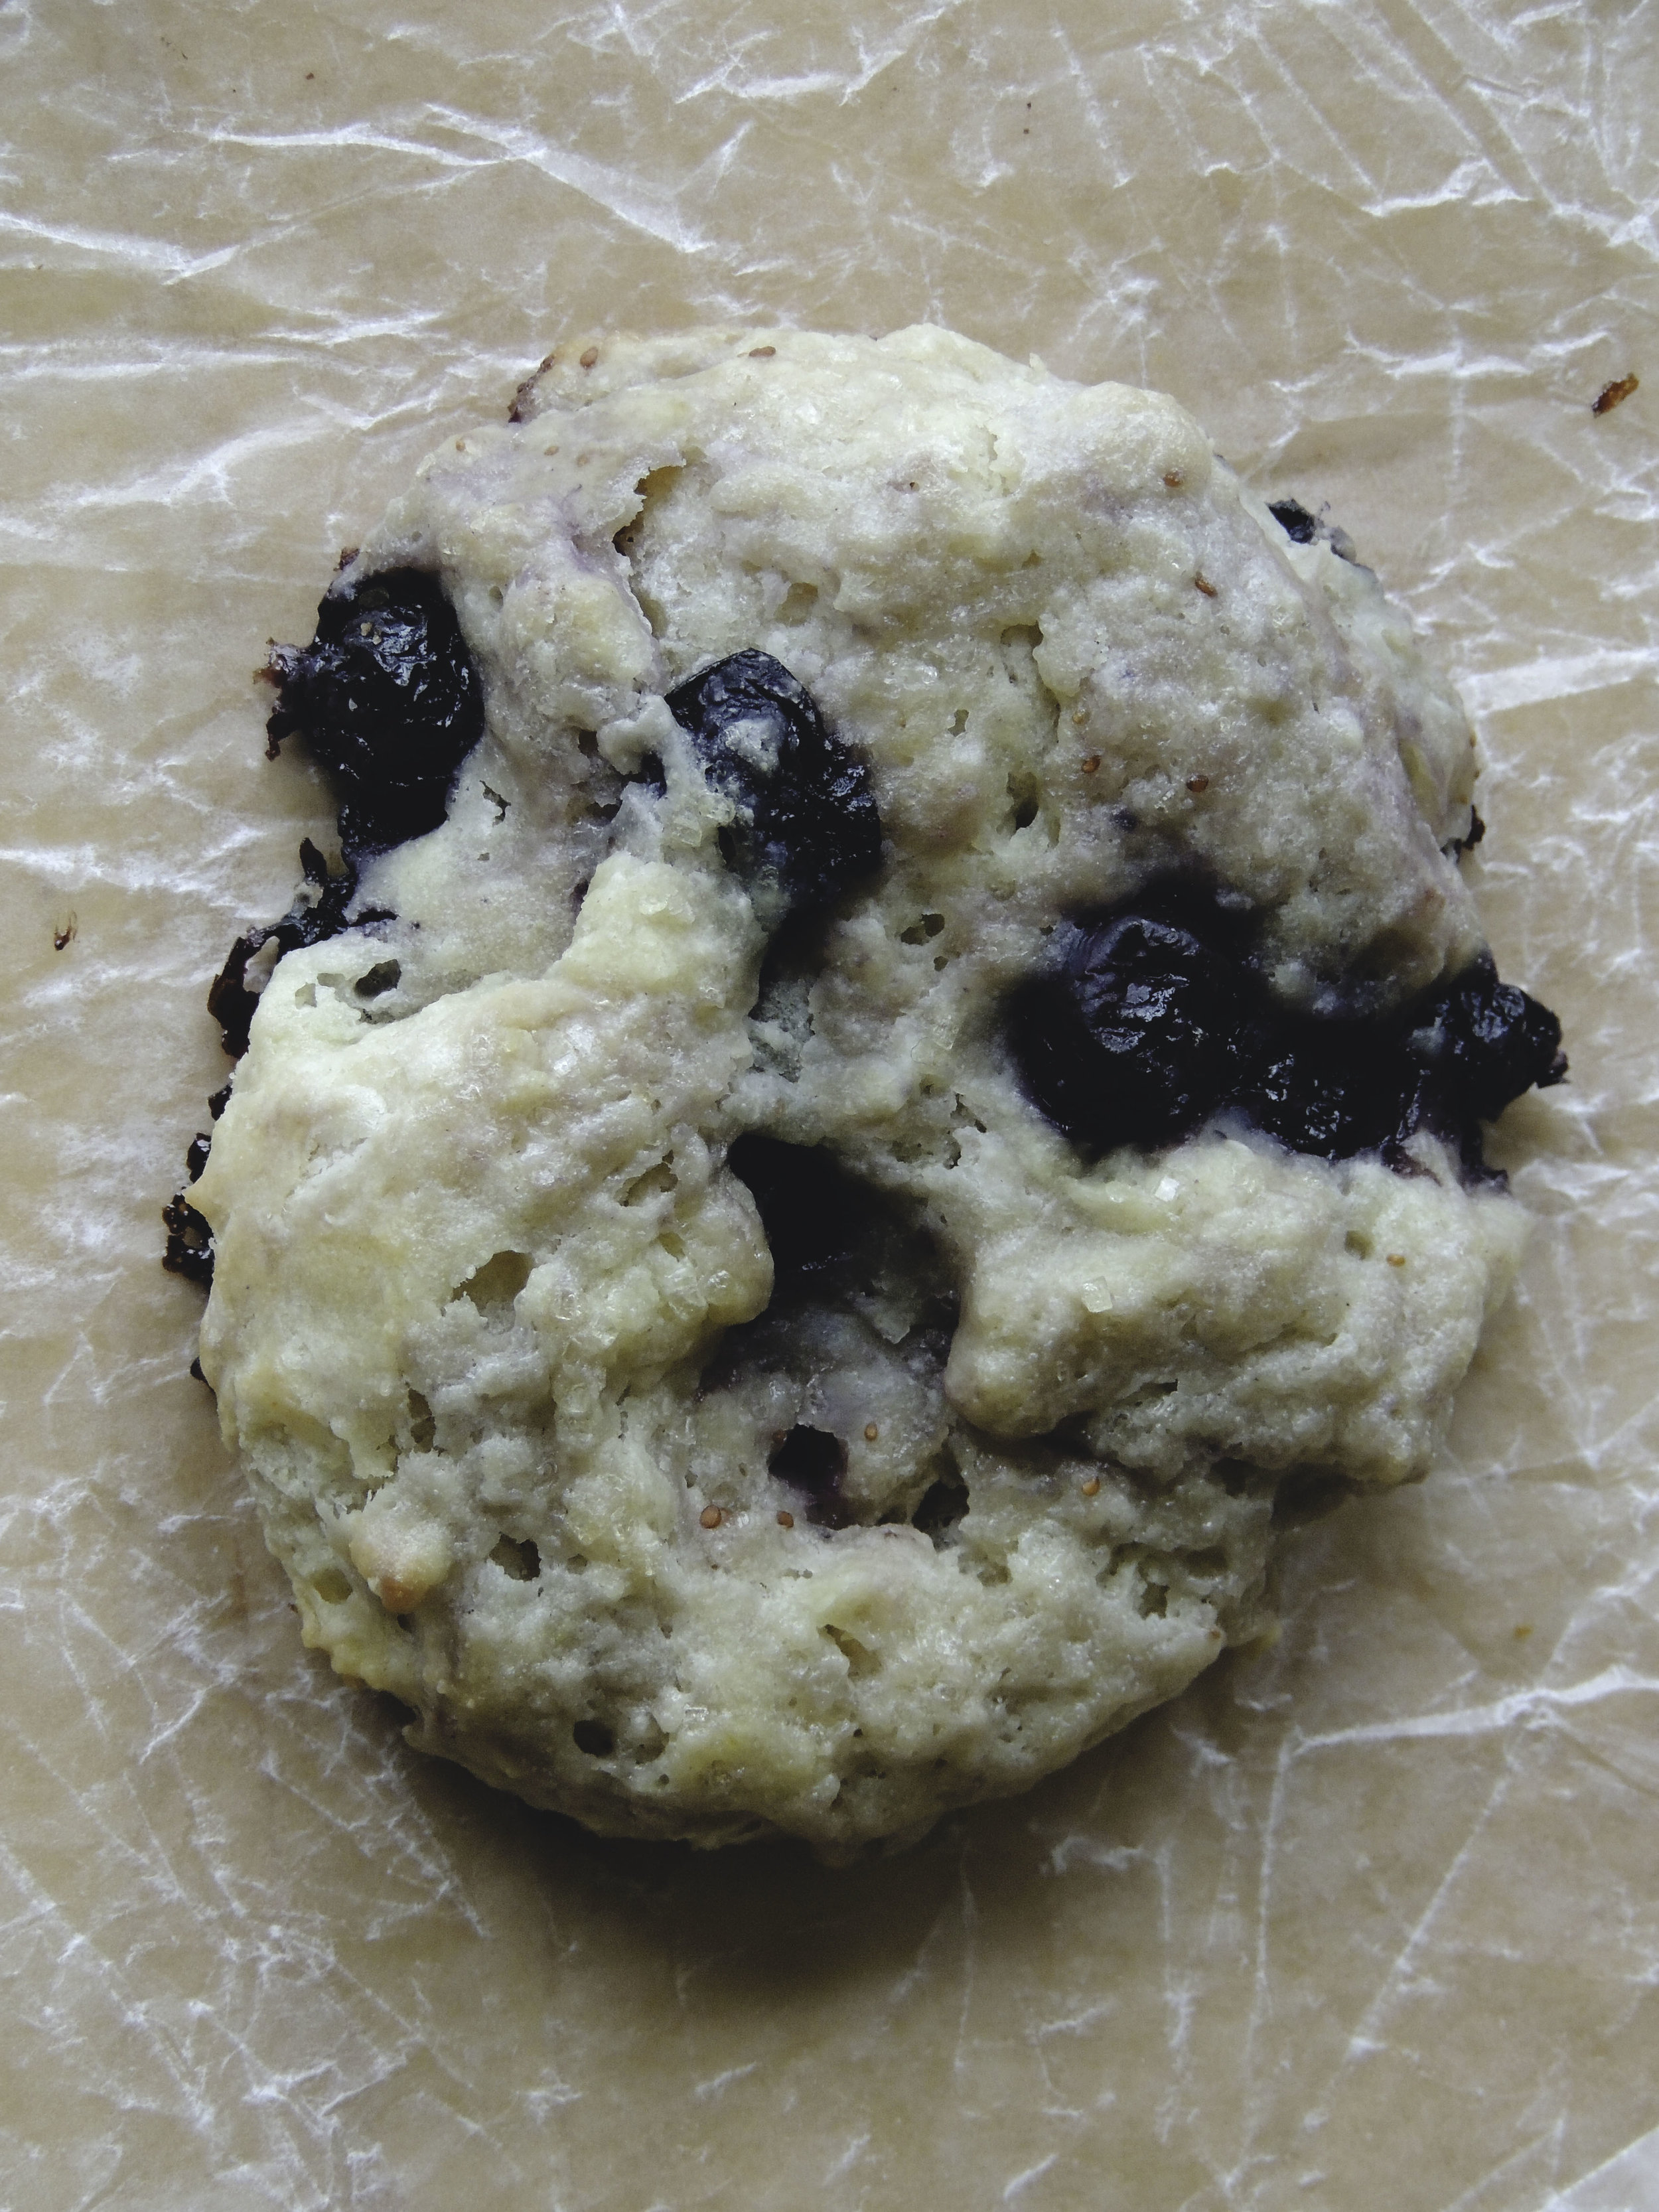
And I know that scones are traditionally wedge-shaped, but we're not going for tradition here. The beauty of a scone (besides the lovely taste) is that it can be wedge-shaped, biscuit shaped, or maybe somewhere in between like I've attempted. Mine sort of resemble drop biscuits with fruit, and you know what? That's what I'm going for. They're rustic. And also incredibly delicious.

These scones are crispy like a good southern biscuit, but still super moist thanks to both the ricotta and blueberries. And just as you start to get into the sweetness of the blueberry, you're greeted by the hint of lemony goodness. Breakfast is going to be really good this weekend.

Scones 3And don't let anyone speak badly about whichever shape you choose. You do you.

What You'll Need:

1 large egg

1/2 cup buttermilk

3 tablespoons fresh lemon juice

1 teaspoon vanilla extract

1/2 cup ricotta cheese

3 tablespoons granulated sugar

zest of one lemon

2 cups all-purpose flour

2 1/4 teaspoons baking powder

1/4 teaspoon baking soda

1/2 teaspoon salt

1/2 cup (1 stick) unsalted butter, cold and cut into small cubes

1 cup fresh or frozen blueberries (thawed if frozen)

Heavy cream for brushing

Turbinado sugar for sprinkling

Directions:

Preheat the oven to 400 degrees F. Line a large baking sheet with parchment paper and set aside

In a medium bowl, whisk together the egg, buttermilk, lemon juice, and vanilla. Once fully combined, add the ricotta. (It's okay if there are still little lumps once you're finished combining.)

Combine the lemon zest and granulated sugar in a small bowl, rubbing the two together with your fingers until it gives off a lovely fragrant smell. Set aside.

In a large bowl,  use a whisk to combine the flour, baking powder, baking soda, salt, and lemon-sugar mix. Add the cut up pieces of butter and gently toss with a fork, making sure each piece of butter is coated with the flour mixture. Using a pastry cutter or fork, incorporate the butter into the flour until you get a mixture of little lumps of butter and flour.

Pour the wet ingredients over the dry ingredients and mix together using a rubber spatula until just combined. Careful not to over-mix. Next, gently fold in the blueberries. Turn out the dough onto a very well-floured surface and gently knead the dough. Add a little flour as you knead if the dough is too sticky. Pat the dough into a 1/2 inch thick disk. Cut into a wedges, or a circles using a biscuit cutter, or for a more rustic look, gently cut a section and carefully shape it yourself. Transfer the pieces onto your prepared baking sheet.

Brush each piece with heavy cream (to help it brown nicely in the oven), and sprinkle scones with Turbinado sugar.

Bake for 15-20 minutes, or until golden brown. Let cool for about 5 minutes, then transfer to a wire rack to cool. Enjoy!

Two things to note:

1. This dough is VERY sticky because of the ricotta cheese. If you need to, add a little flour when kneading, but make sure to be gentle and not over-knead the dough.

2. Depending on your oven, it may take more than 20 minutes for your scones to turn golden. Be patient. They'll get there. But do keep a close eye on them: scones can go from lovely brown to too dark in no time flat.

SOURCE: Adapted from Two Peas and Their Pod

Let's Make: Homemade Whipped Cream

photo-12 There are some people who will tell you that making your own basics is a waste of money because you can just as easily pick up anything at your local supermarket in no time flat. Those people, I can assure you, have never been dazzled by the home-made.

Sure, it's easy to pick up a tub of Cool-Whip (with all those delicious chemicals added in!), but you know what? It's also just as easy to bypass the frozen section entirely and grab yourself a pint of heavy whipping cream. Now go get some vanilla extract and some sugar...good. Now go to checkout and get outta there!

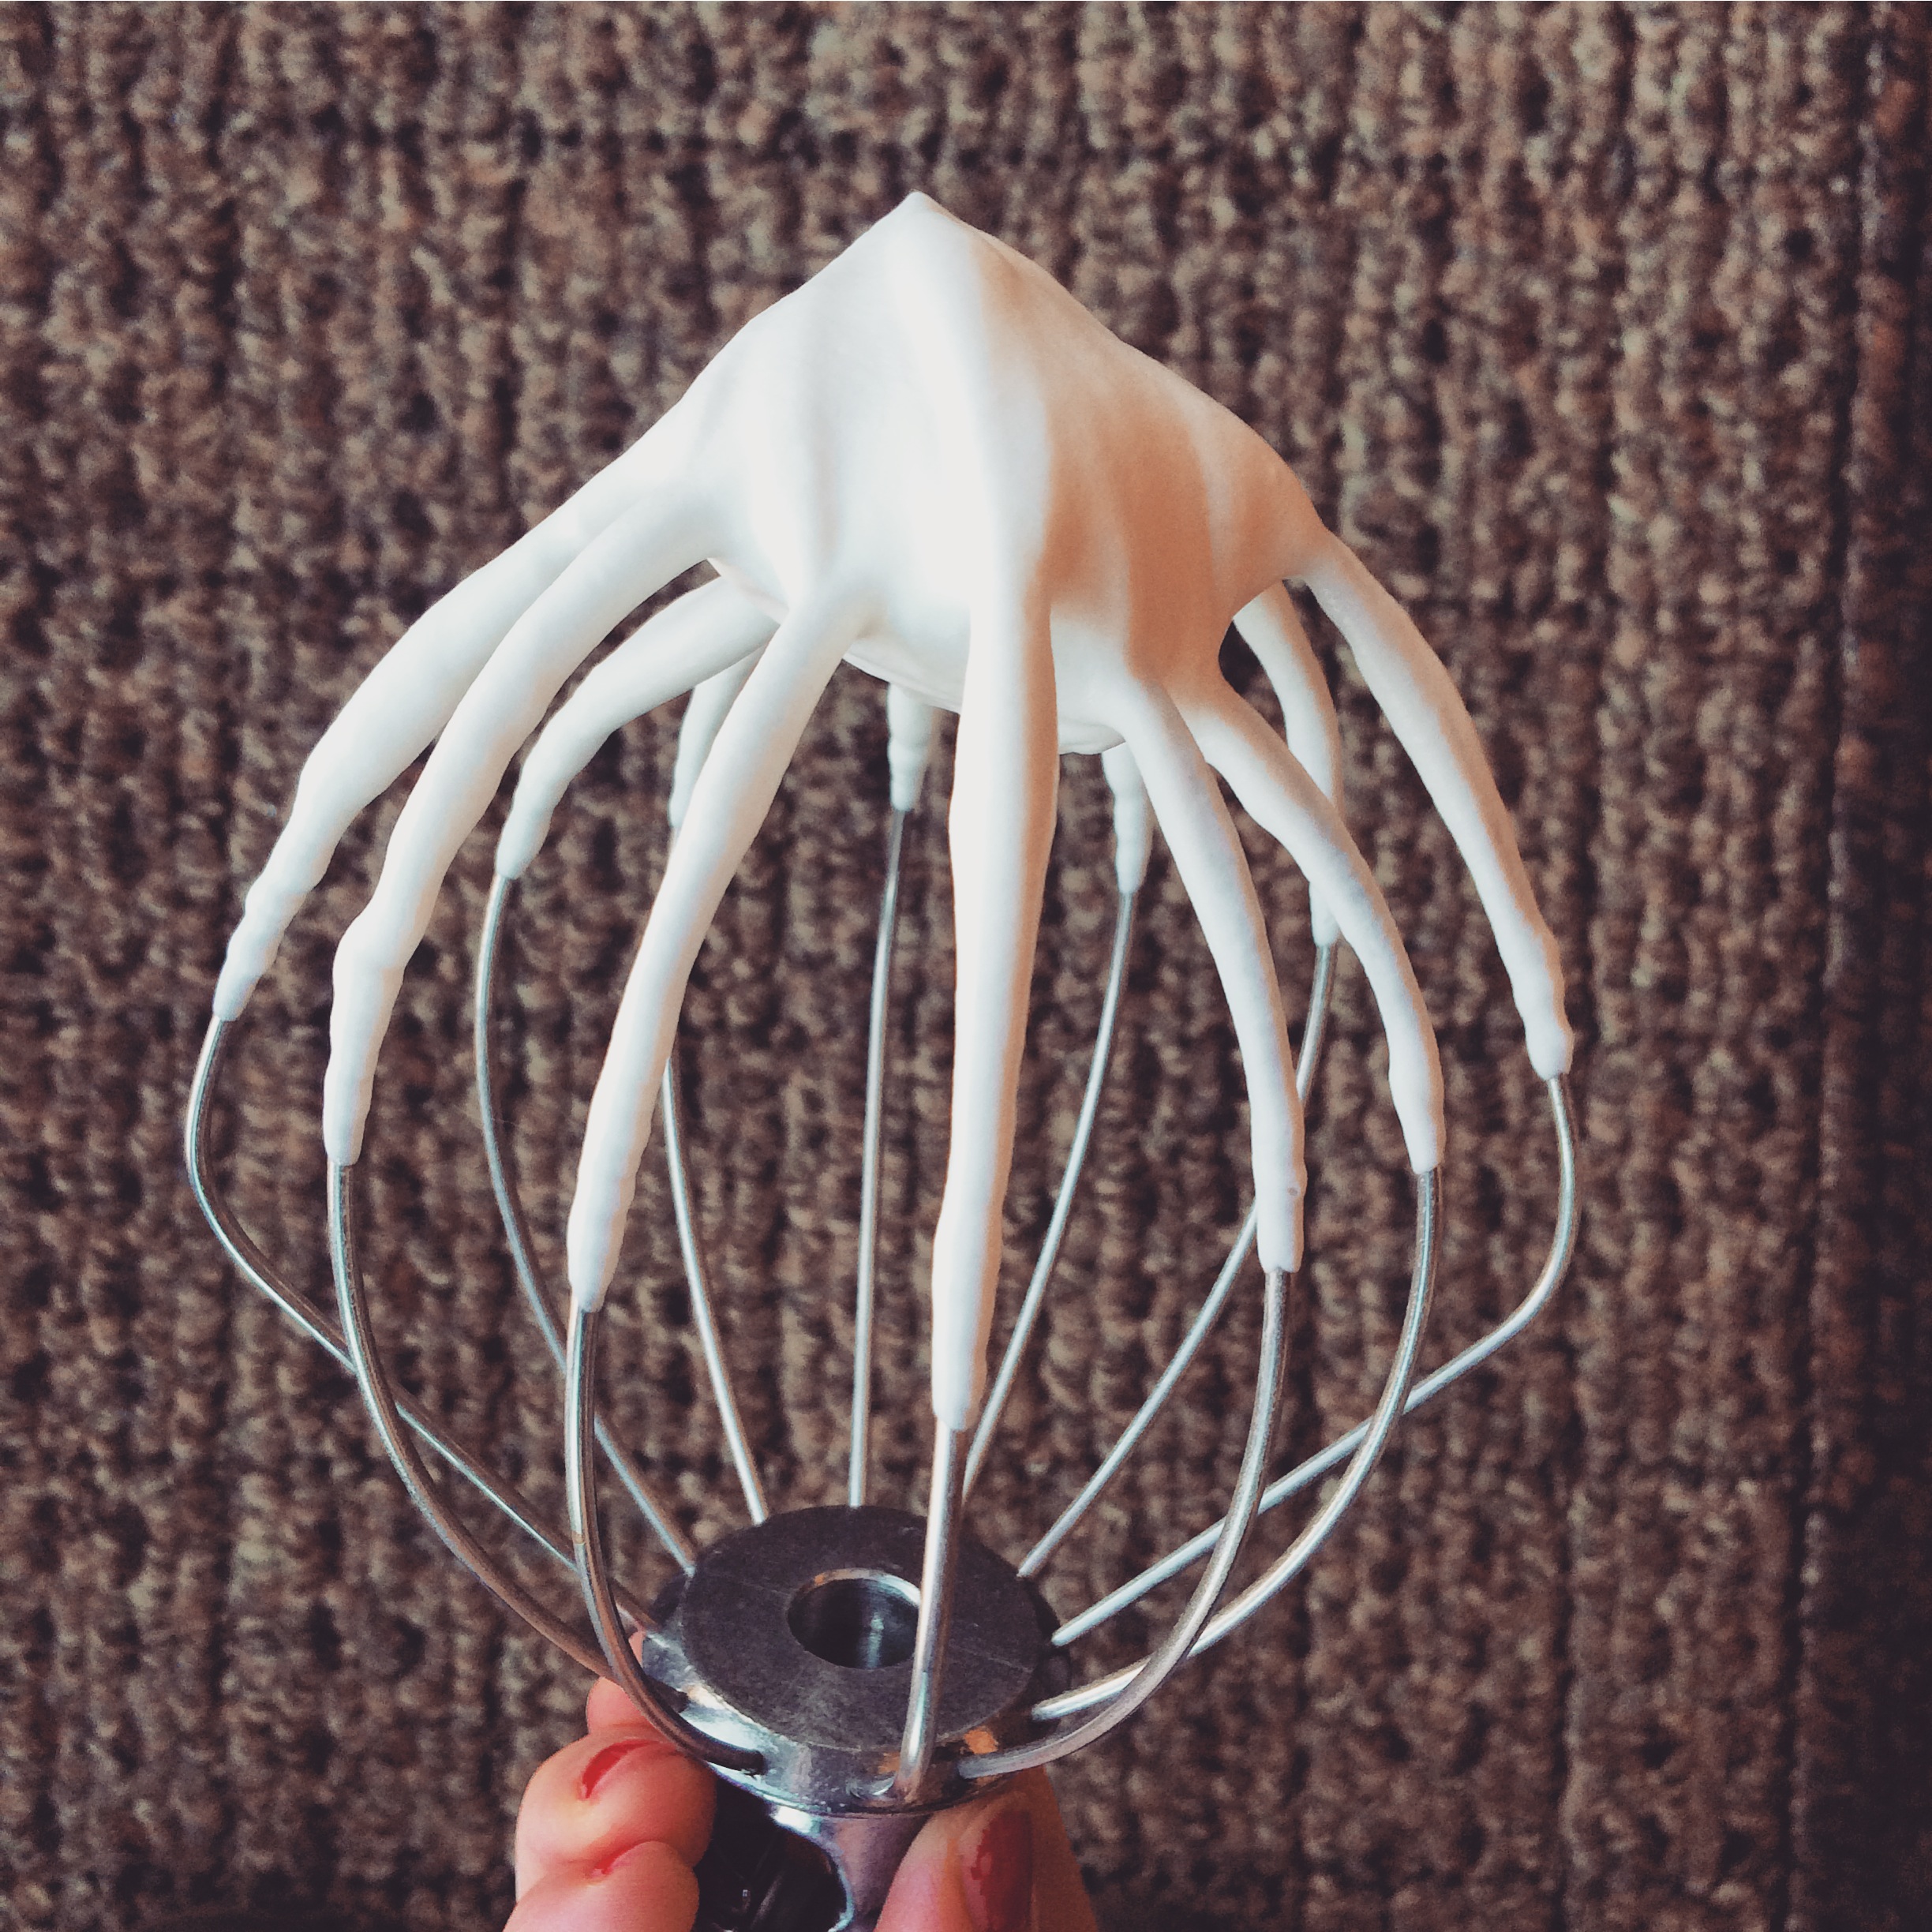
Just three simple ingredients are all you need to have the best whipped cream you've ever tasted in your life. I guarantee it. Oh, and did I mention that it's crazy easy and takes 2 minutes? But keep a watchful eye; whip too much and you're on your way to butter. If you don't whip enough, you've got soup. It's sweet-tasting soup, but not what we're going for.

Basically, this kitchen basic is best homemade.


Crazy Easy Whipped Cream

What You'll Need:

-1 pint cold heavy whipping cream

-4 tablespoons sugar

-1 teaspoon vanilla extract


Directions:

1. Combine all ingredients in the bowl of a stand mixer, or a medium-sized bowl.

2. With the mixer set to high speed, beat until stiff peaks form (should take about a minute if you're using a stand mixer; may take a tad longer with a hand mixer). Try not to over beat.

3. Go forth with the knowledge that life-changing whipped cream can be made in the comforts of your own home. In other words: enjoy!

This will keep for about three days well-covered and refrigerated.