Vanilla Bean Cake Doughnuts

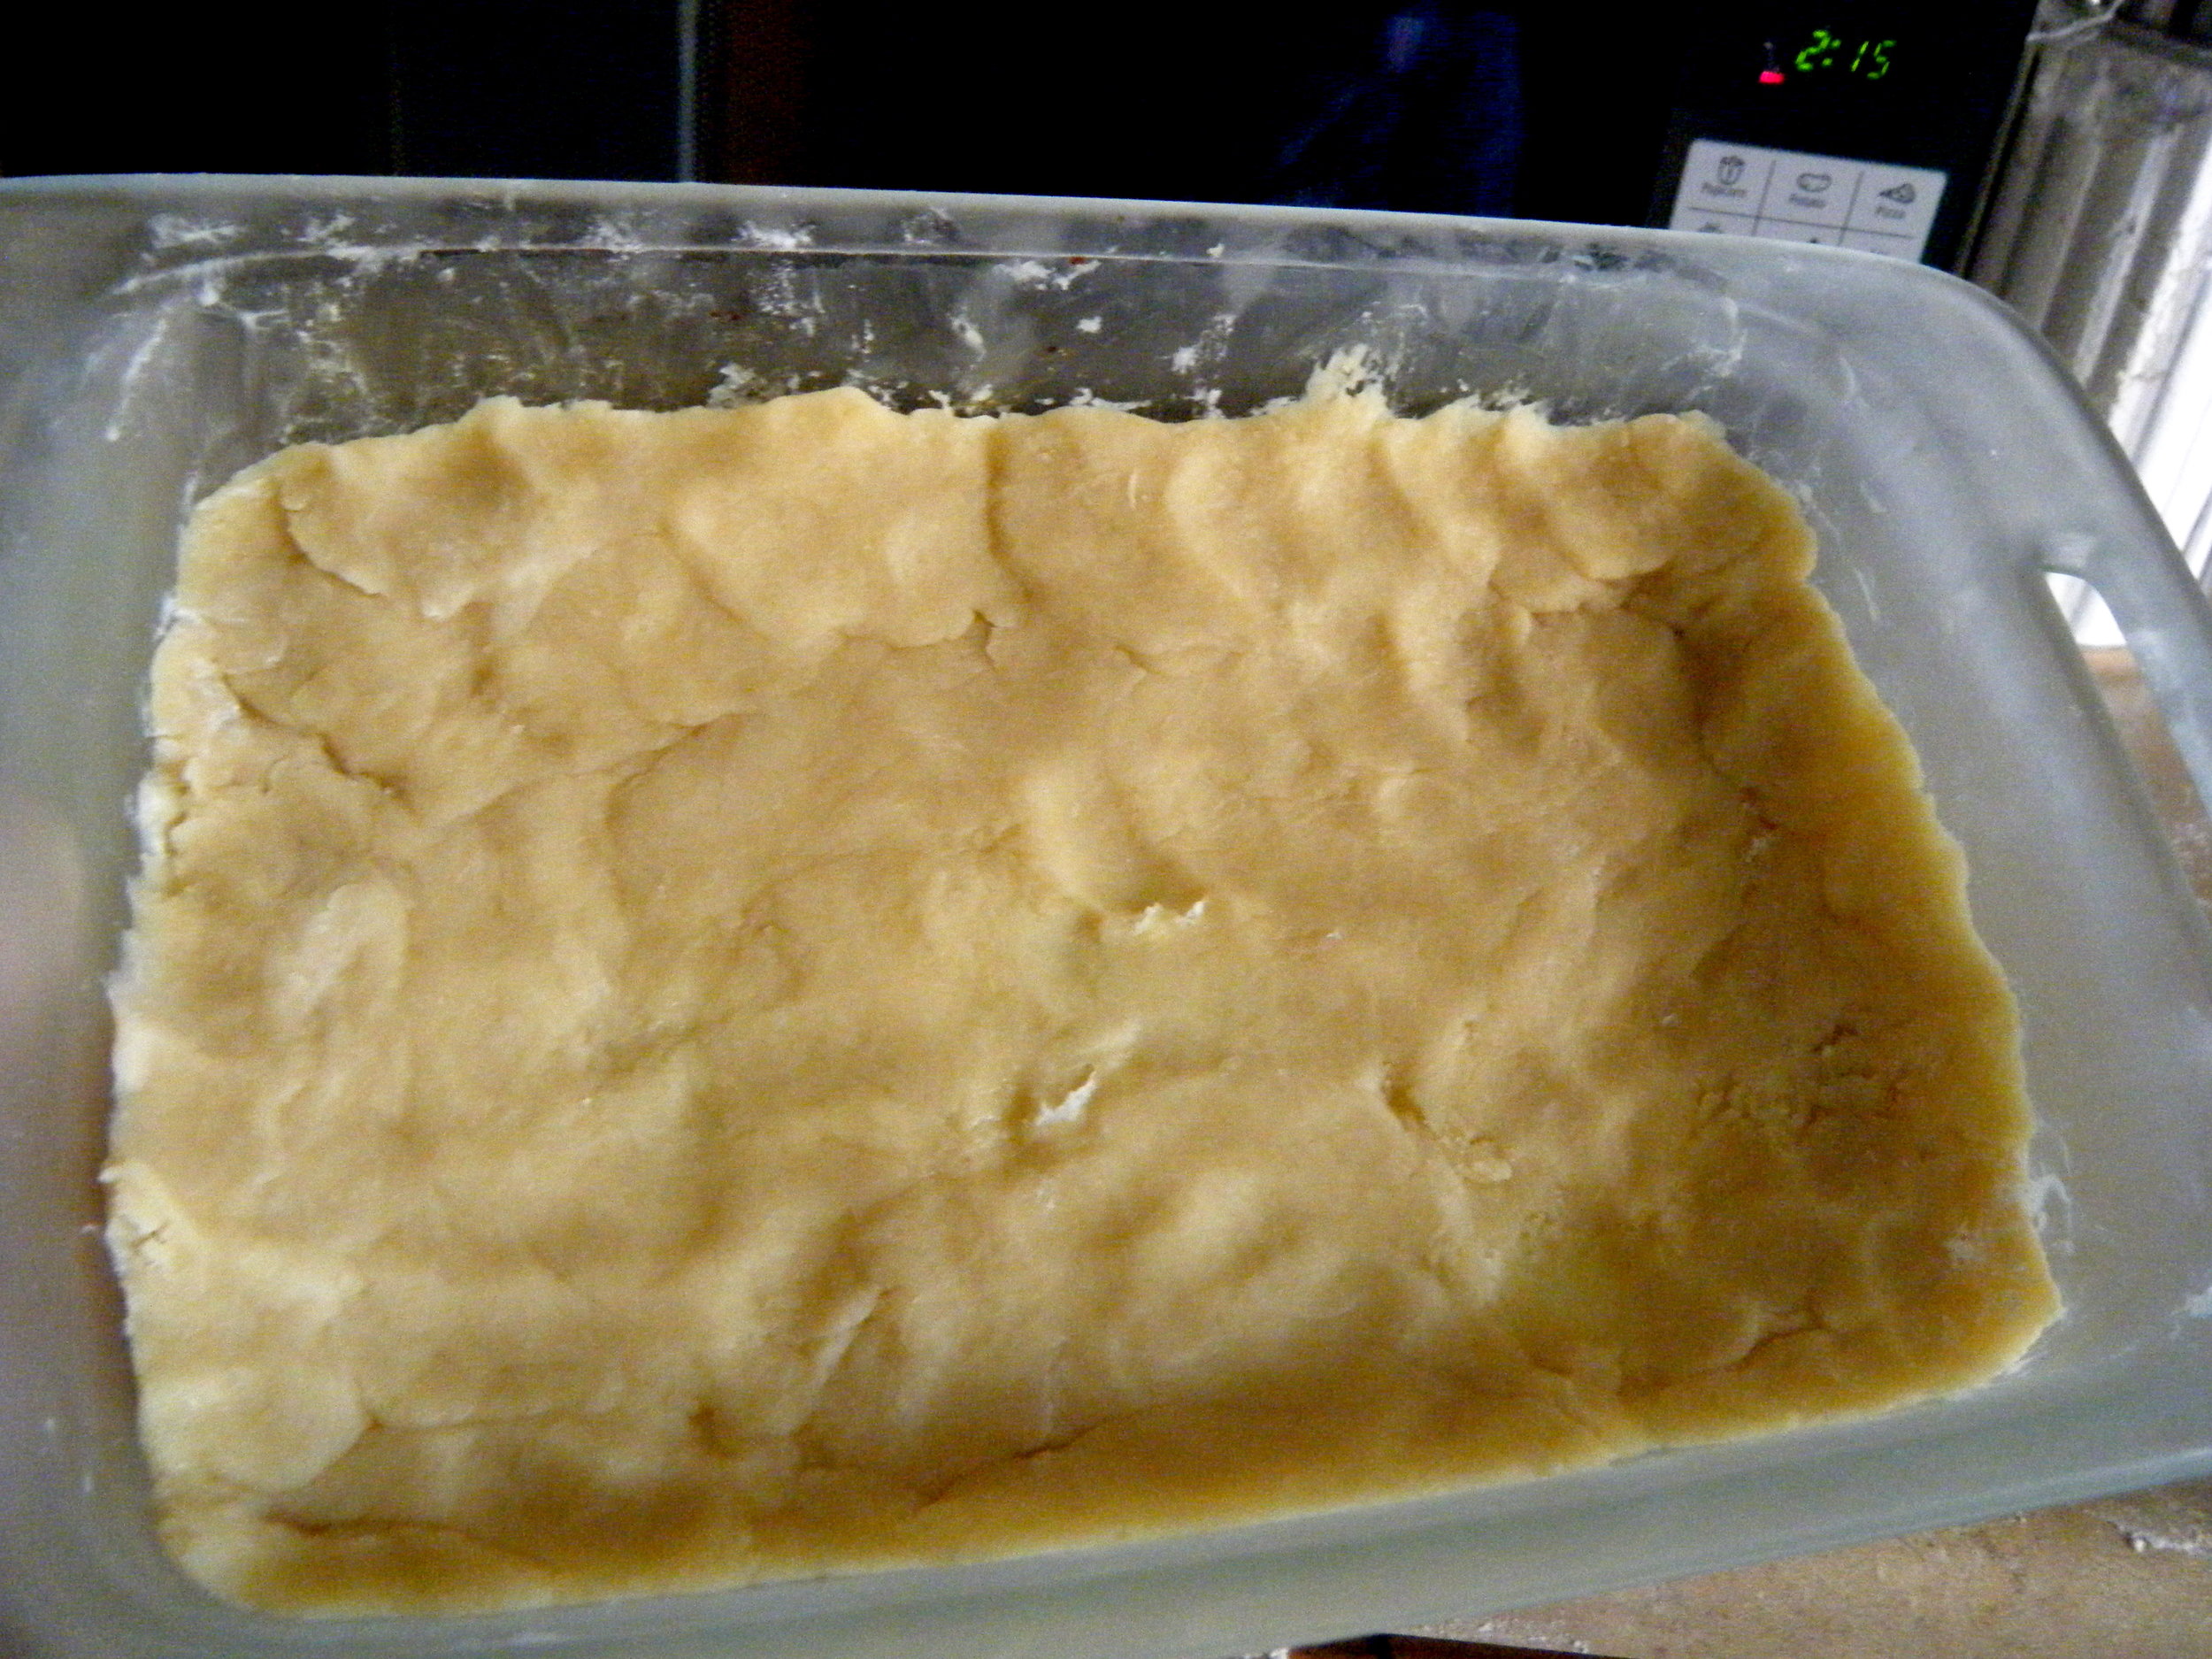
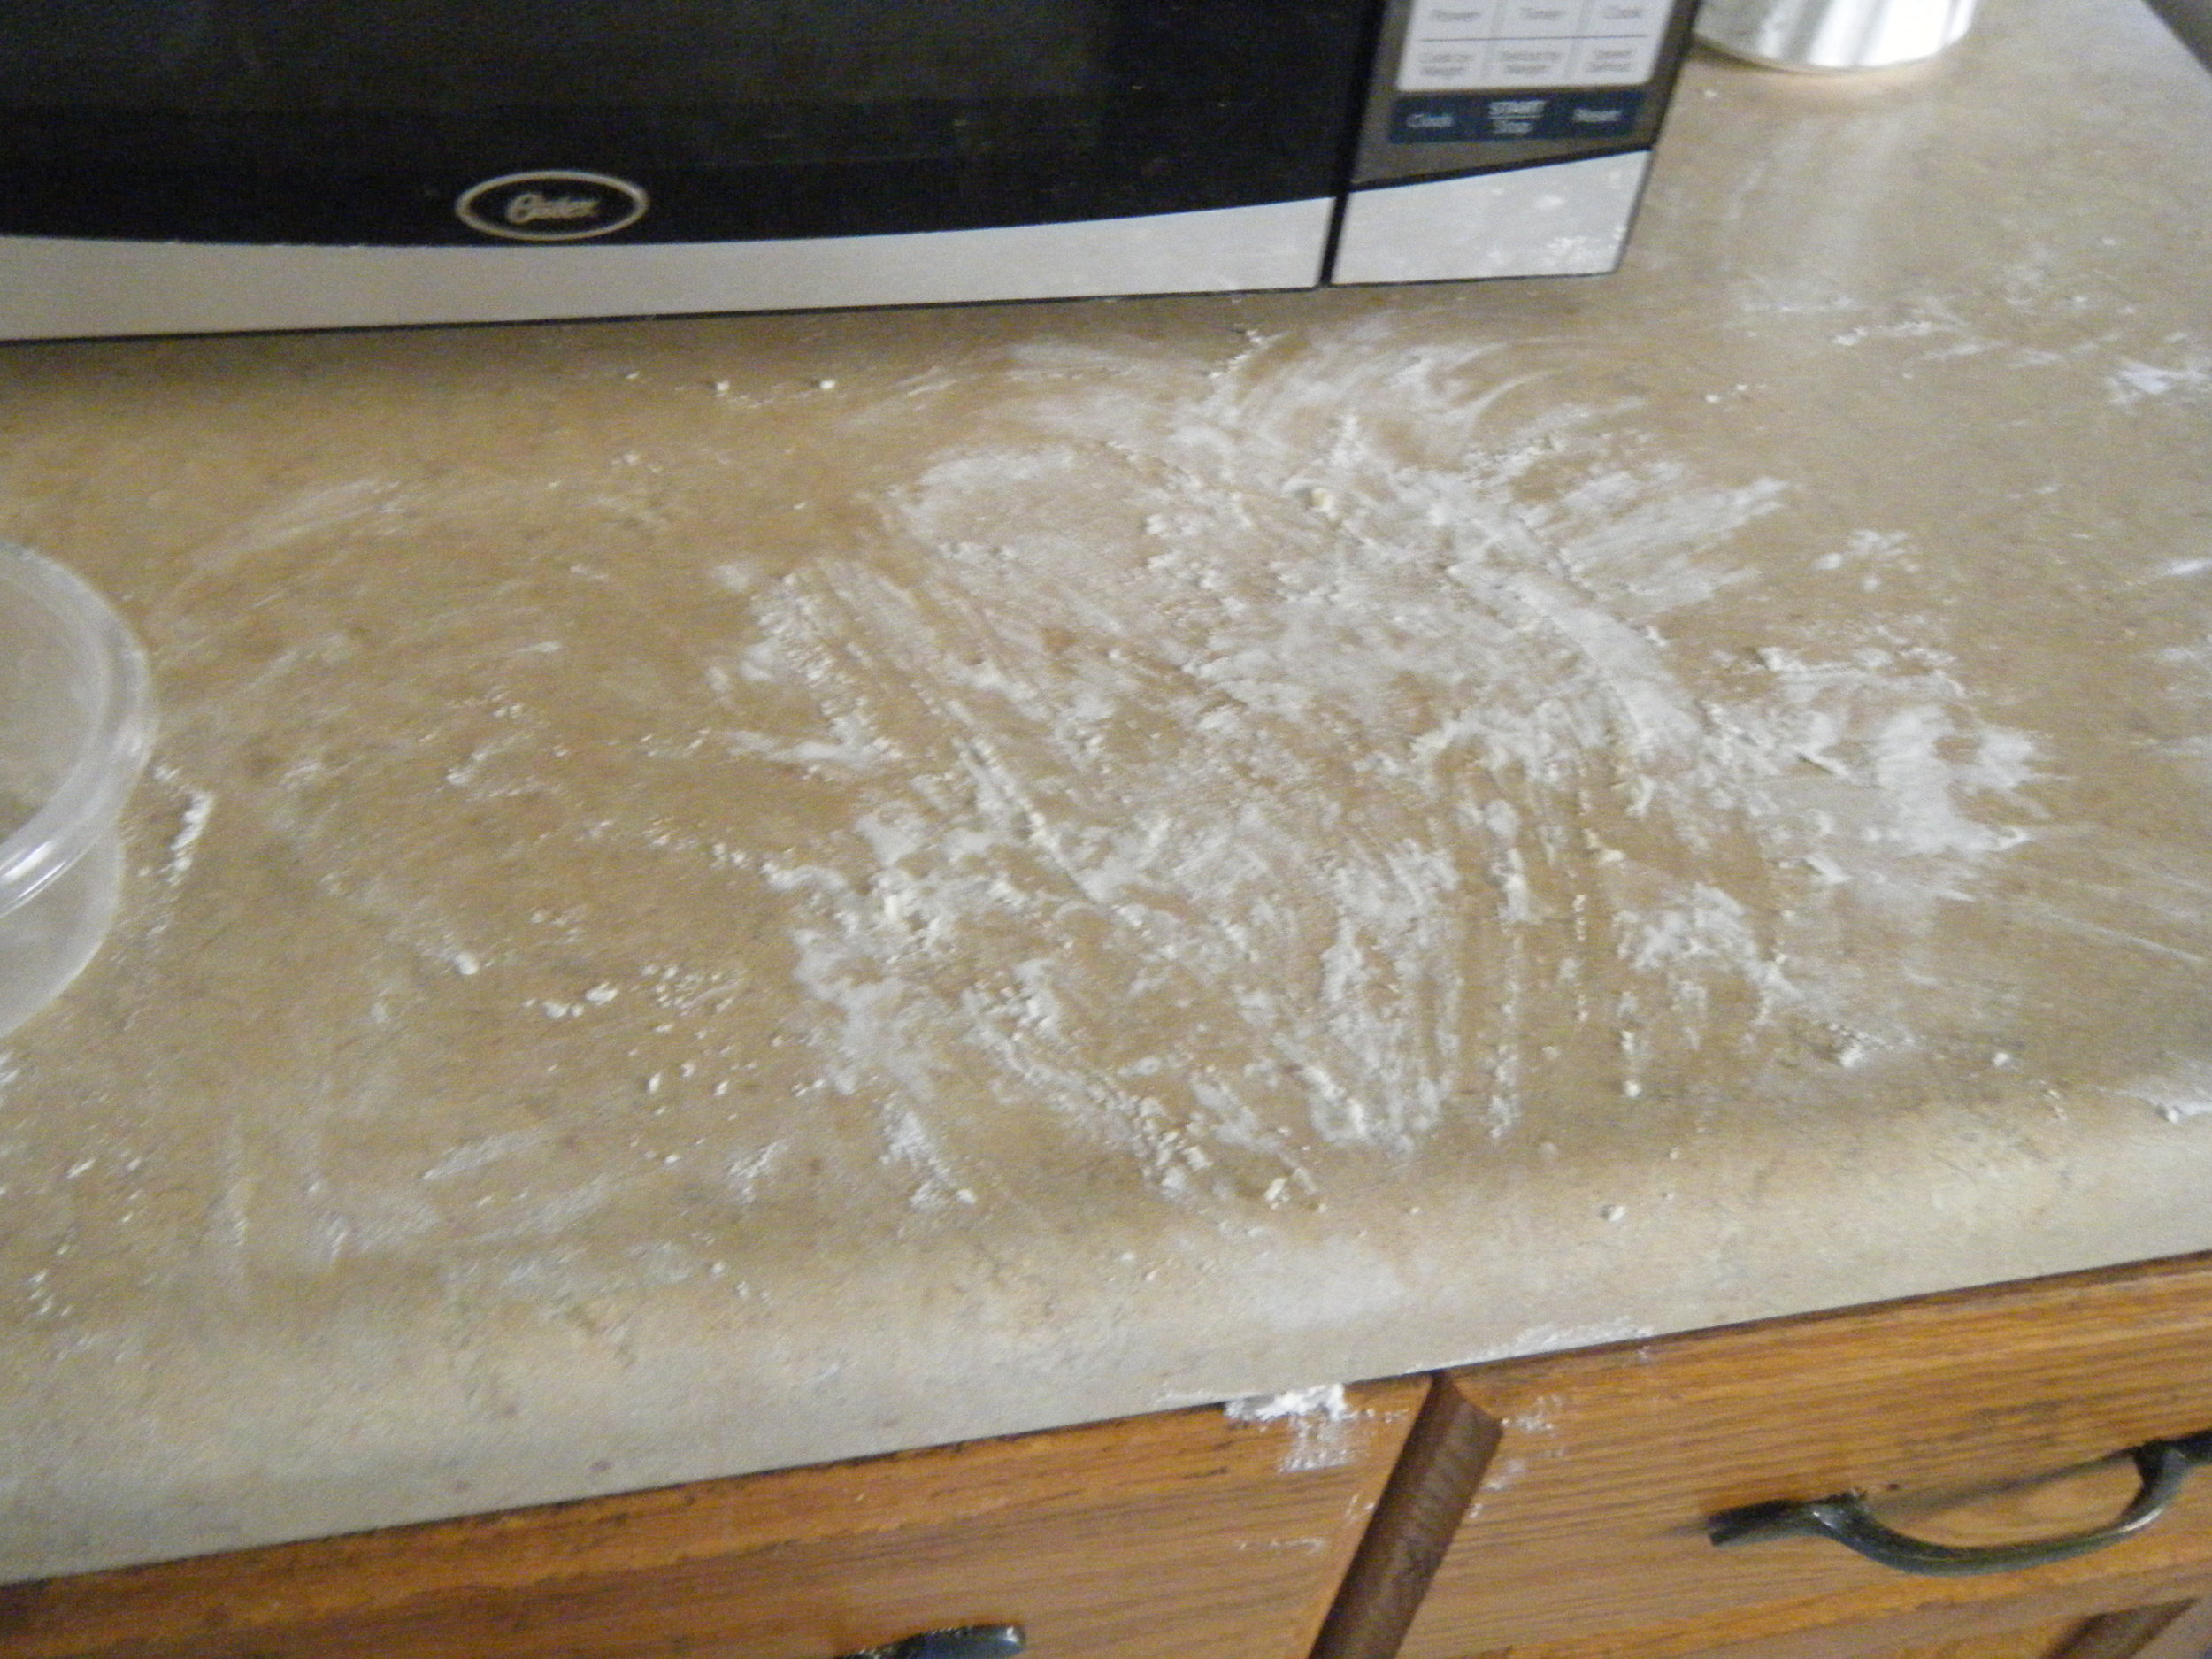
You know what's hard to make? Doughnuts. Seriously, I have so much more respect for the contestants on Donut Showdown now that I've tried it at home. And they're under time constraints! Dough is sticky, flour goes everywhere, oil is HOT, and finding the perfect glaze consistency takes practice. It all takes practice. Is it worth it in the end? You bet. My life was filled with homemade fried dough for several days, and that's all a girl could want.

I've been thinking. I really want my life to look like that scene in Marie Antoinette where all the women do is sit around playing cards, drinking champagne out of coupe glasses, gorging themselves on the most beautiful, fresh-fresh-fresh pastries and candies you've ever seen. And they're doing all this while wearing three pounds' worth of silk, tulle, and ruffles. Oh, and mile-high hair. I've always been a fan of big hair. Ask my beautician. And when I would say "Let them eat cake," no one would be upset with me because I would then immediately follow it up with actual cake. I'd be the most beloved queen in all the land.

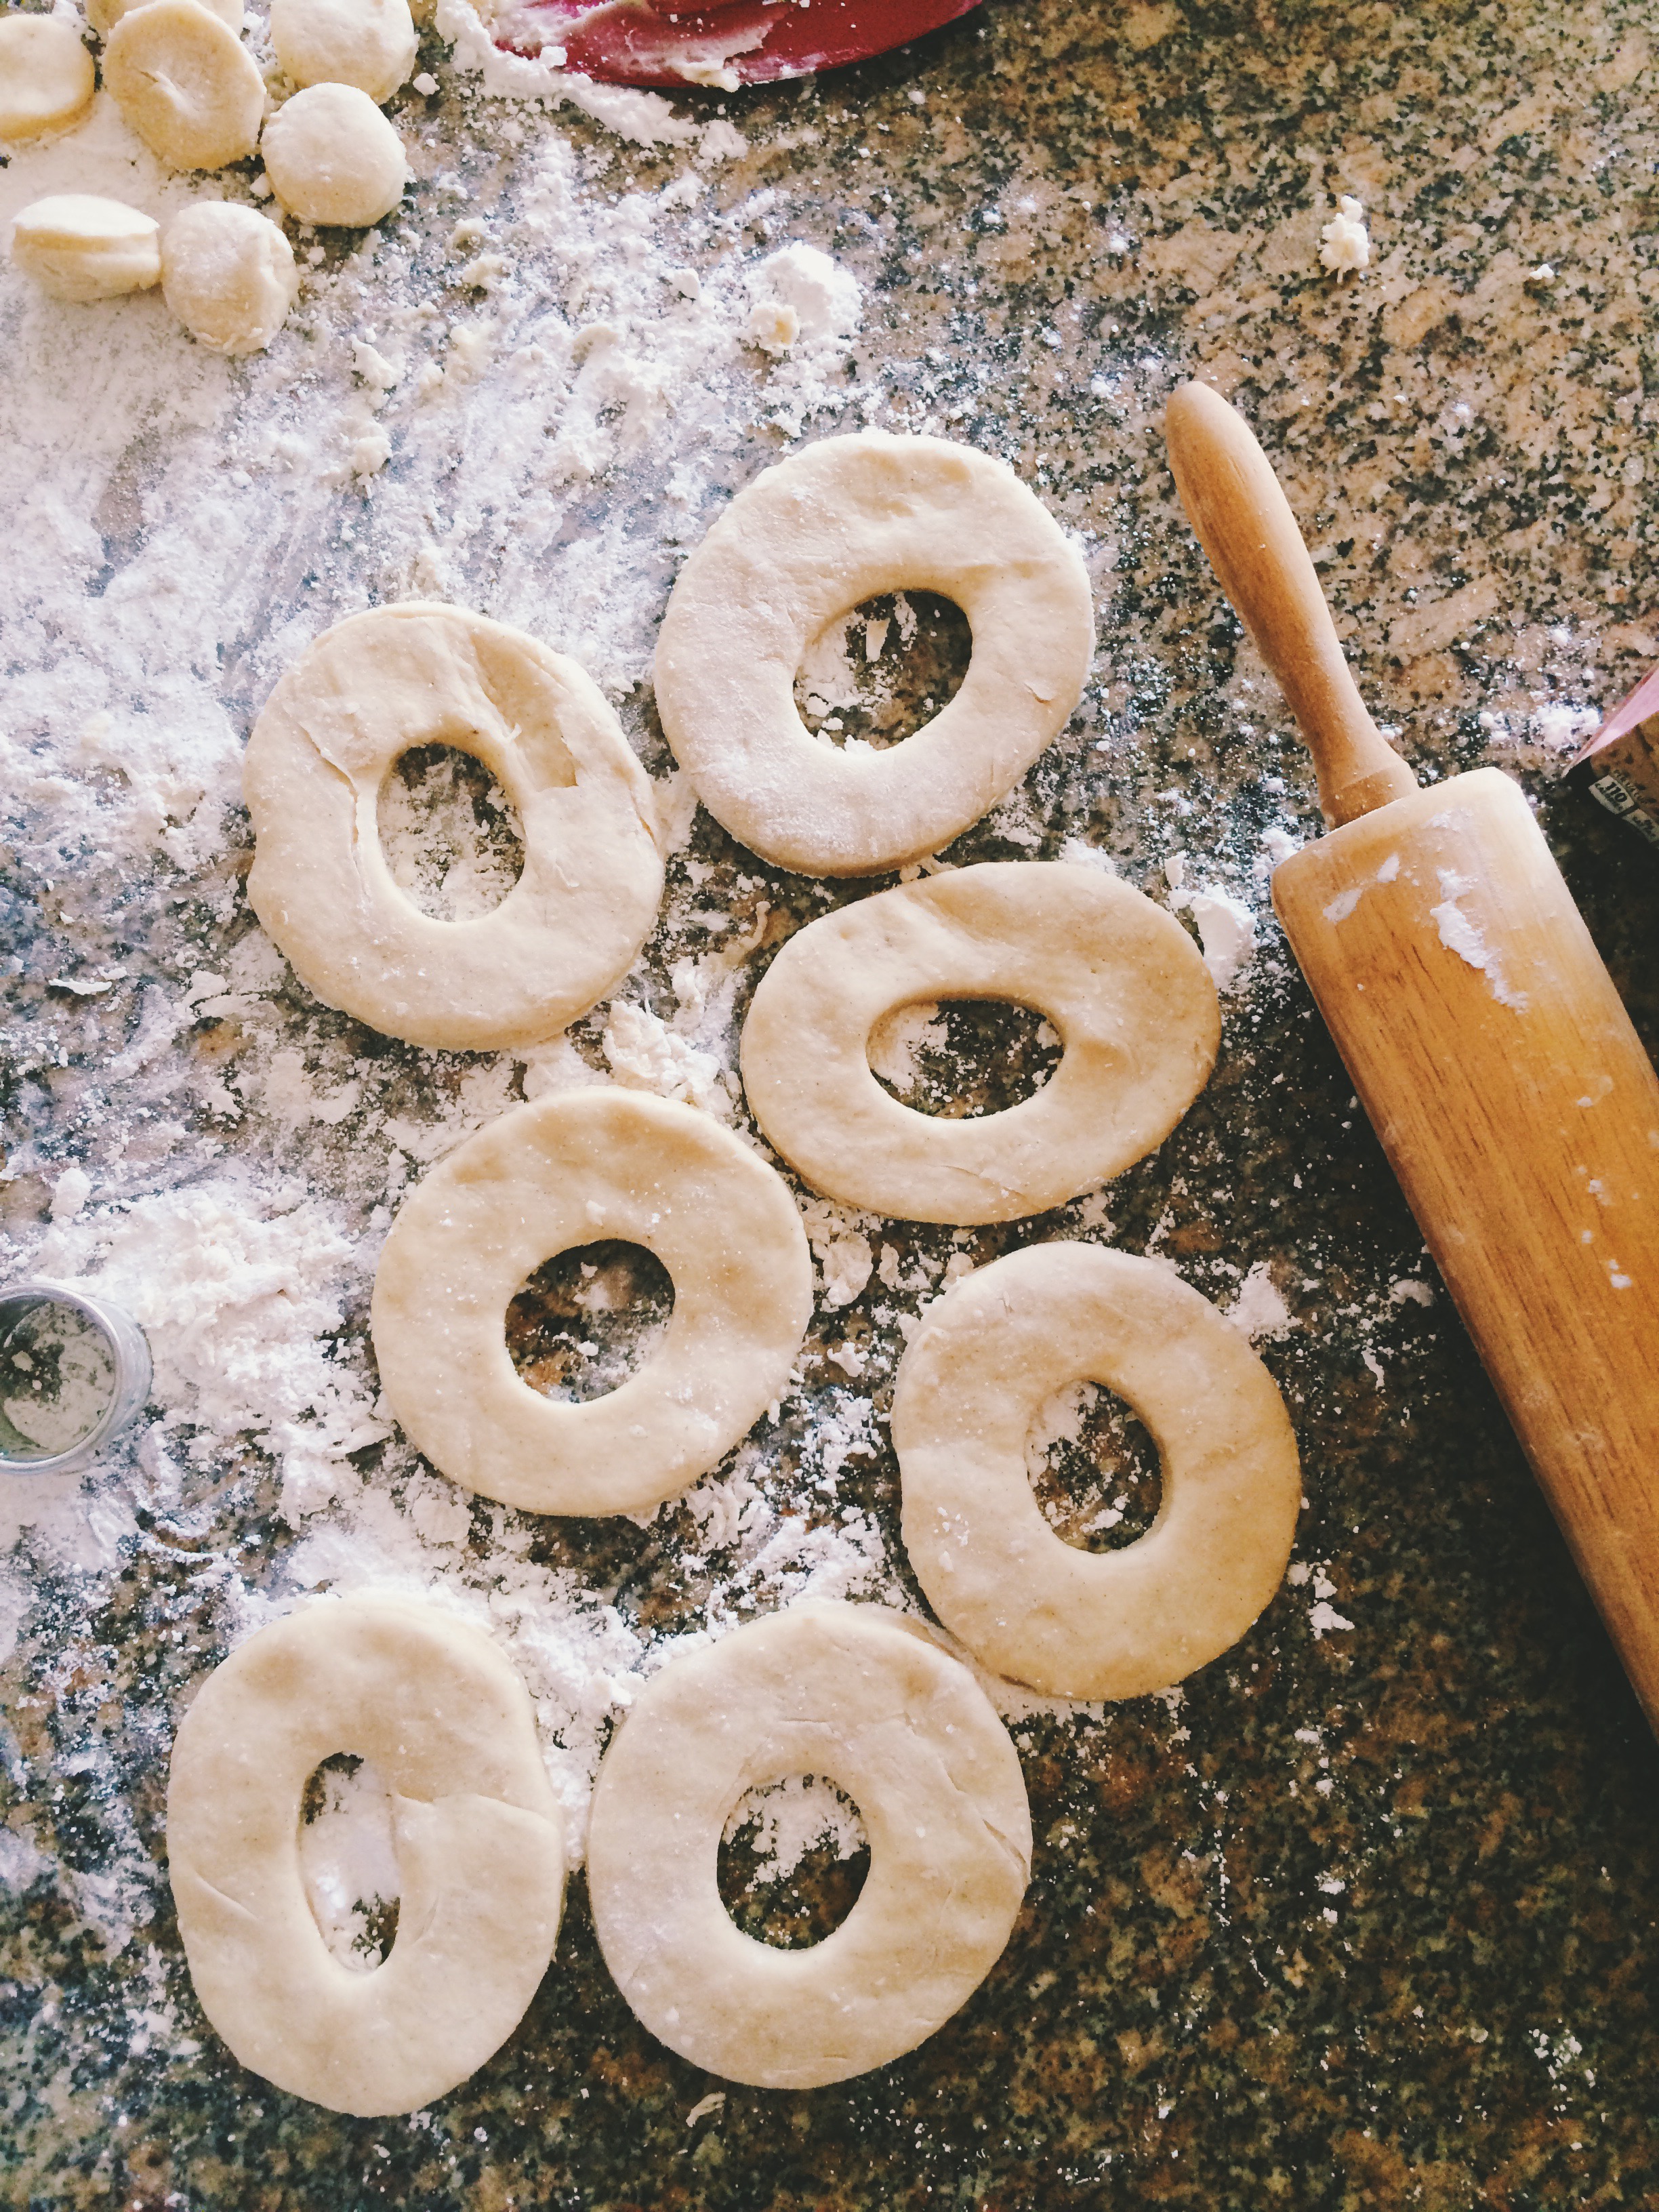
Truth be told, it'll be quite some time before I'm Versailles-level good at making doughnuts and other beautifully complicated pastries. I will say though, that for only my second time frying dough in the kitchen, things didn't turn out badly at all. There could've been a little less rolling and re-rolling involved in the dough-cutting stage.. Oh, and I'm still working on my fear of hot oil, but baby steps. Rome wasn't built in a day (and while we're on the topic of Rome, neither is good pizza).

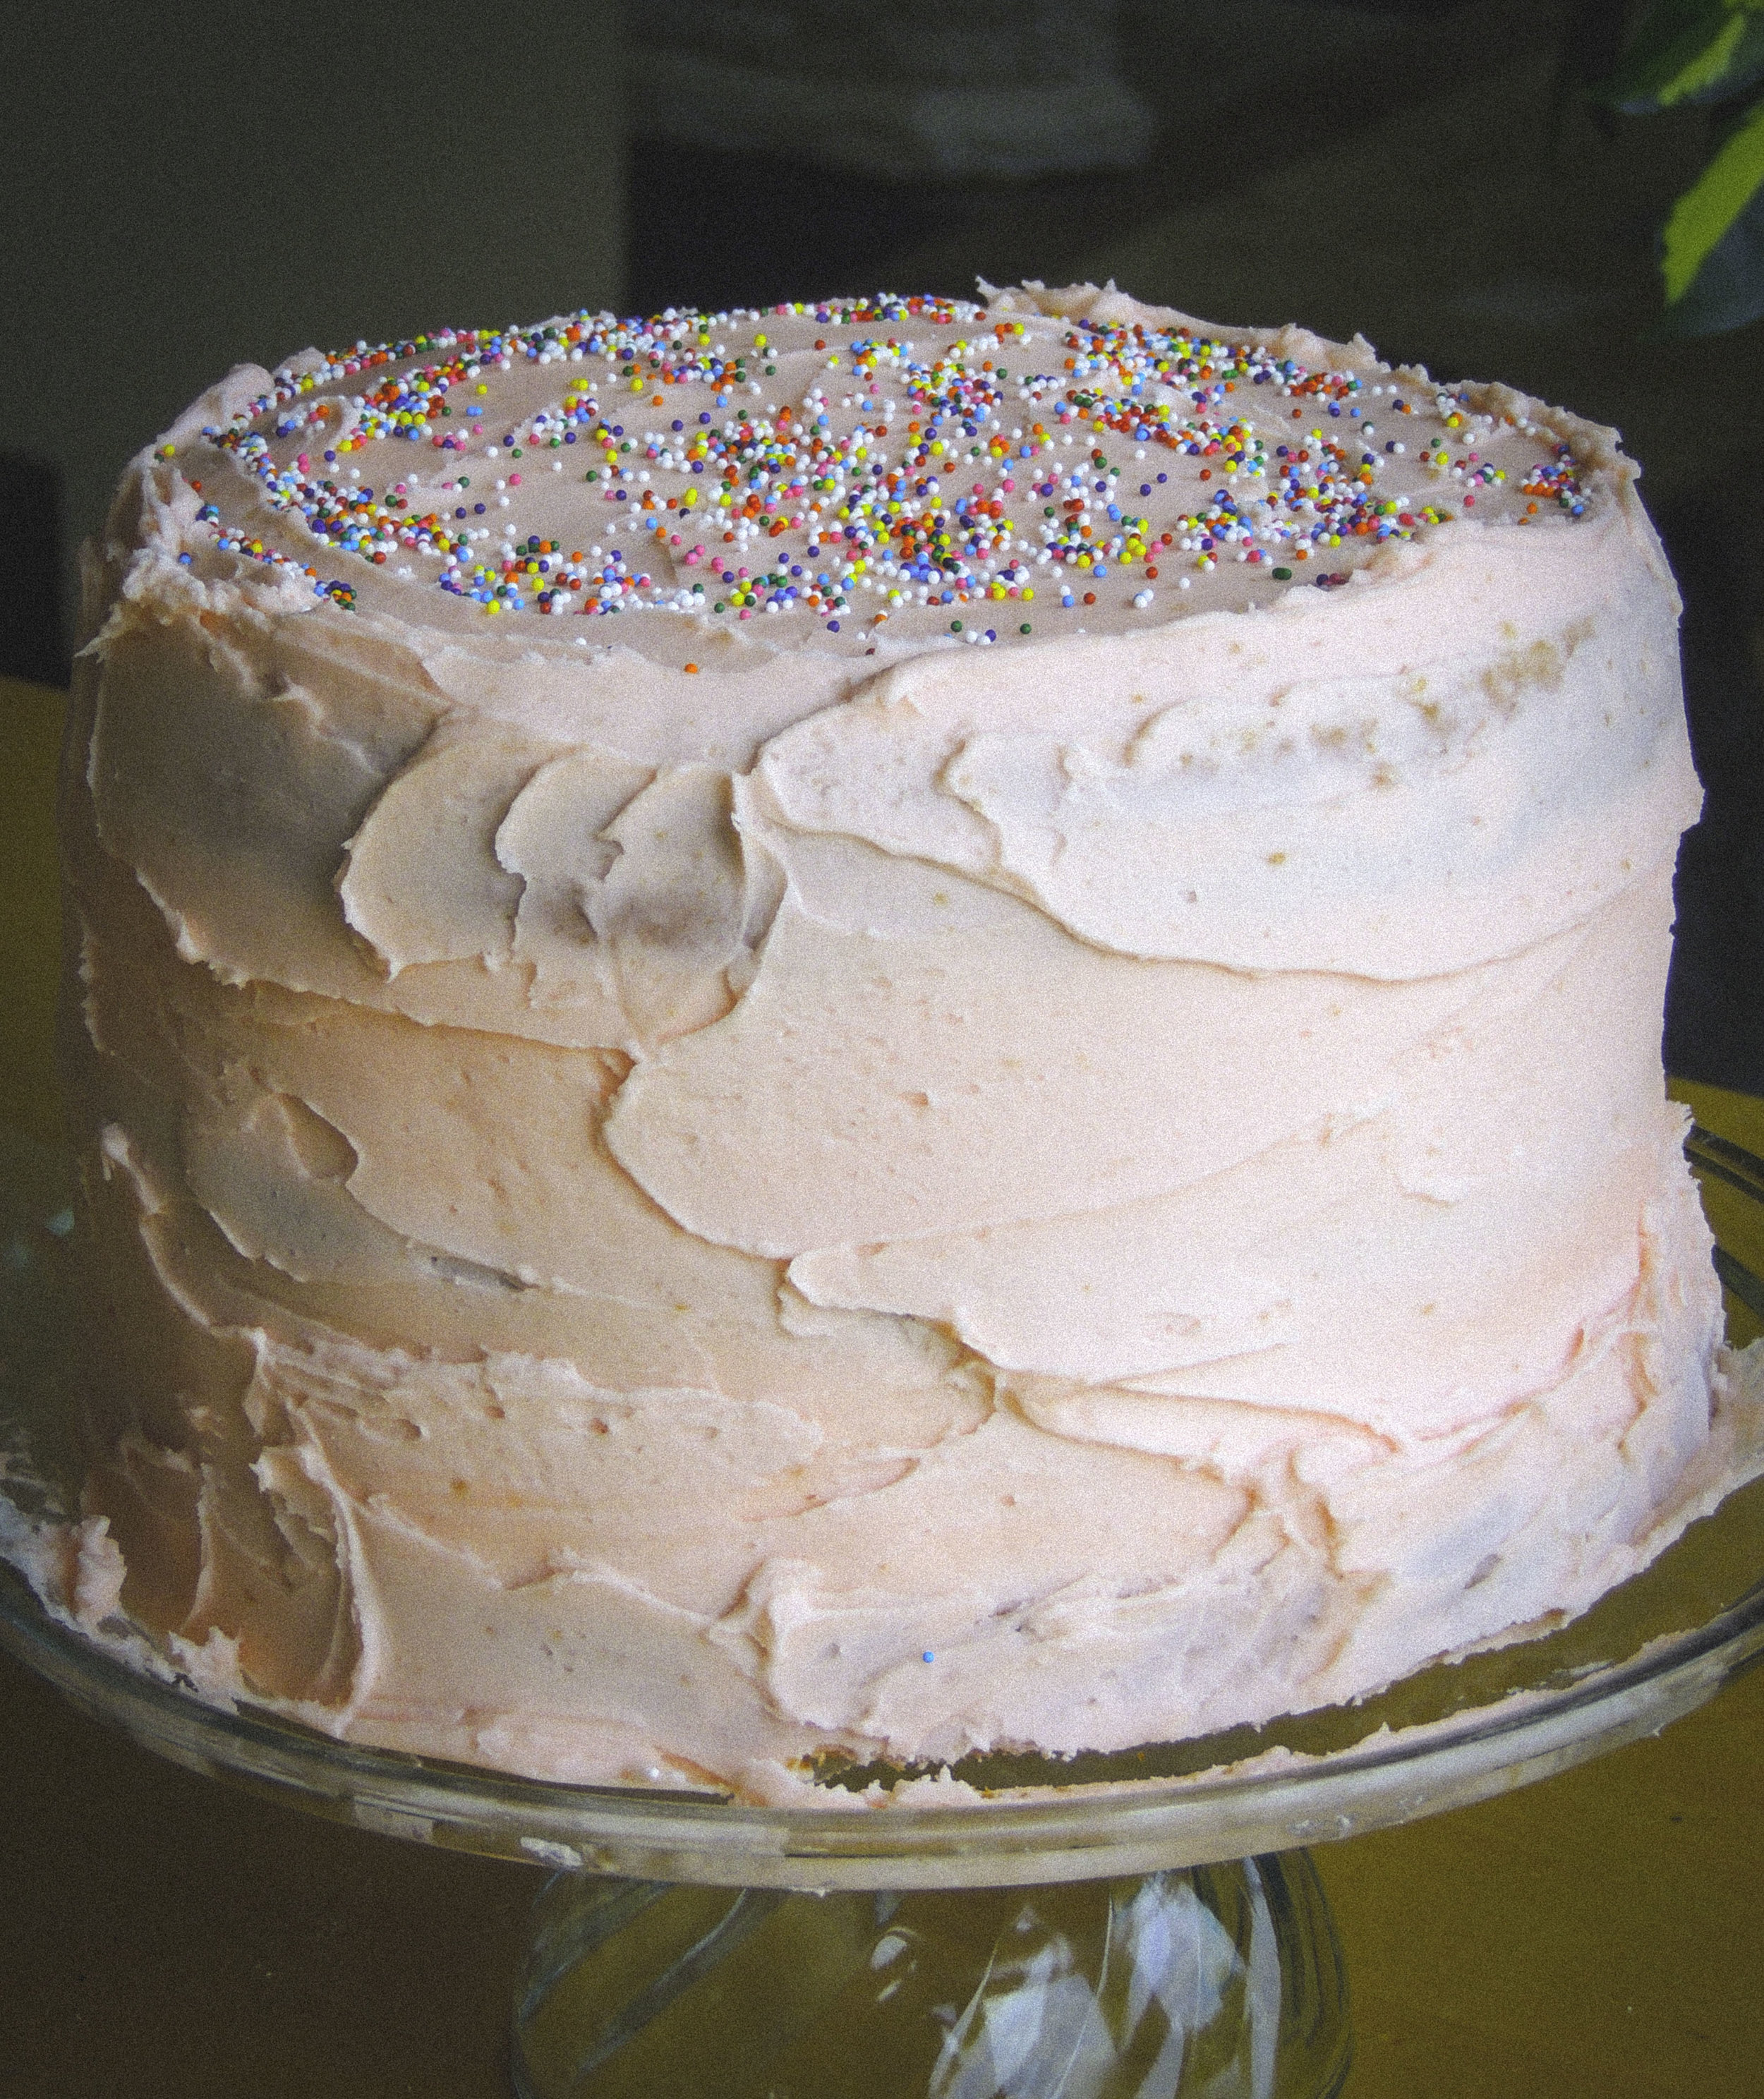
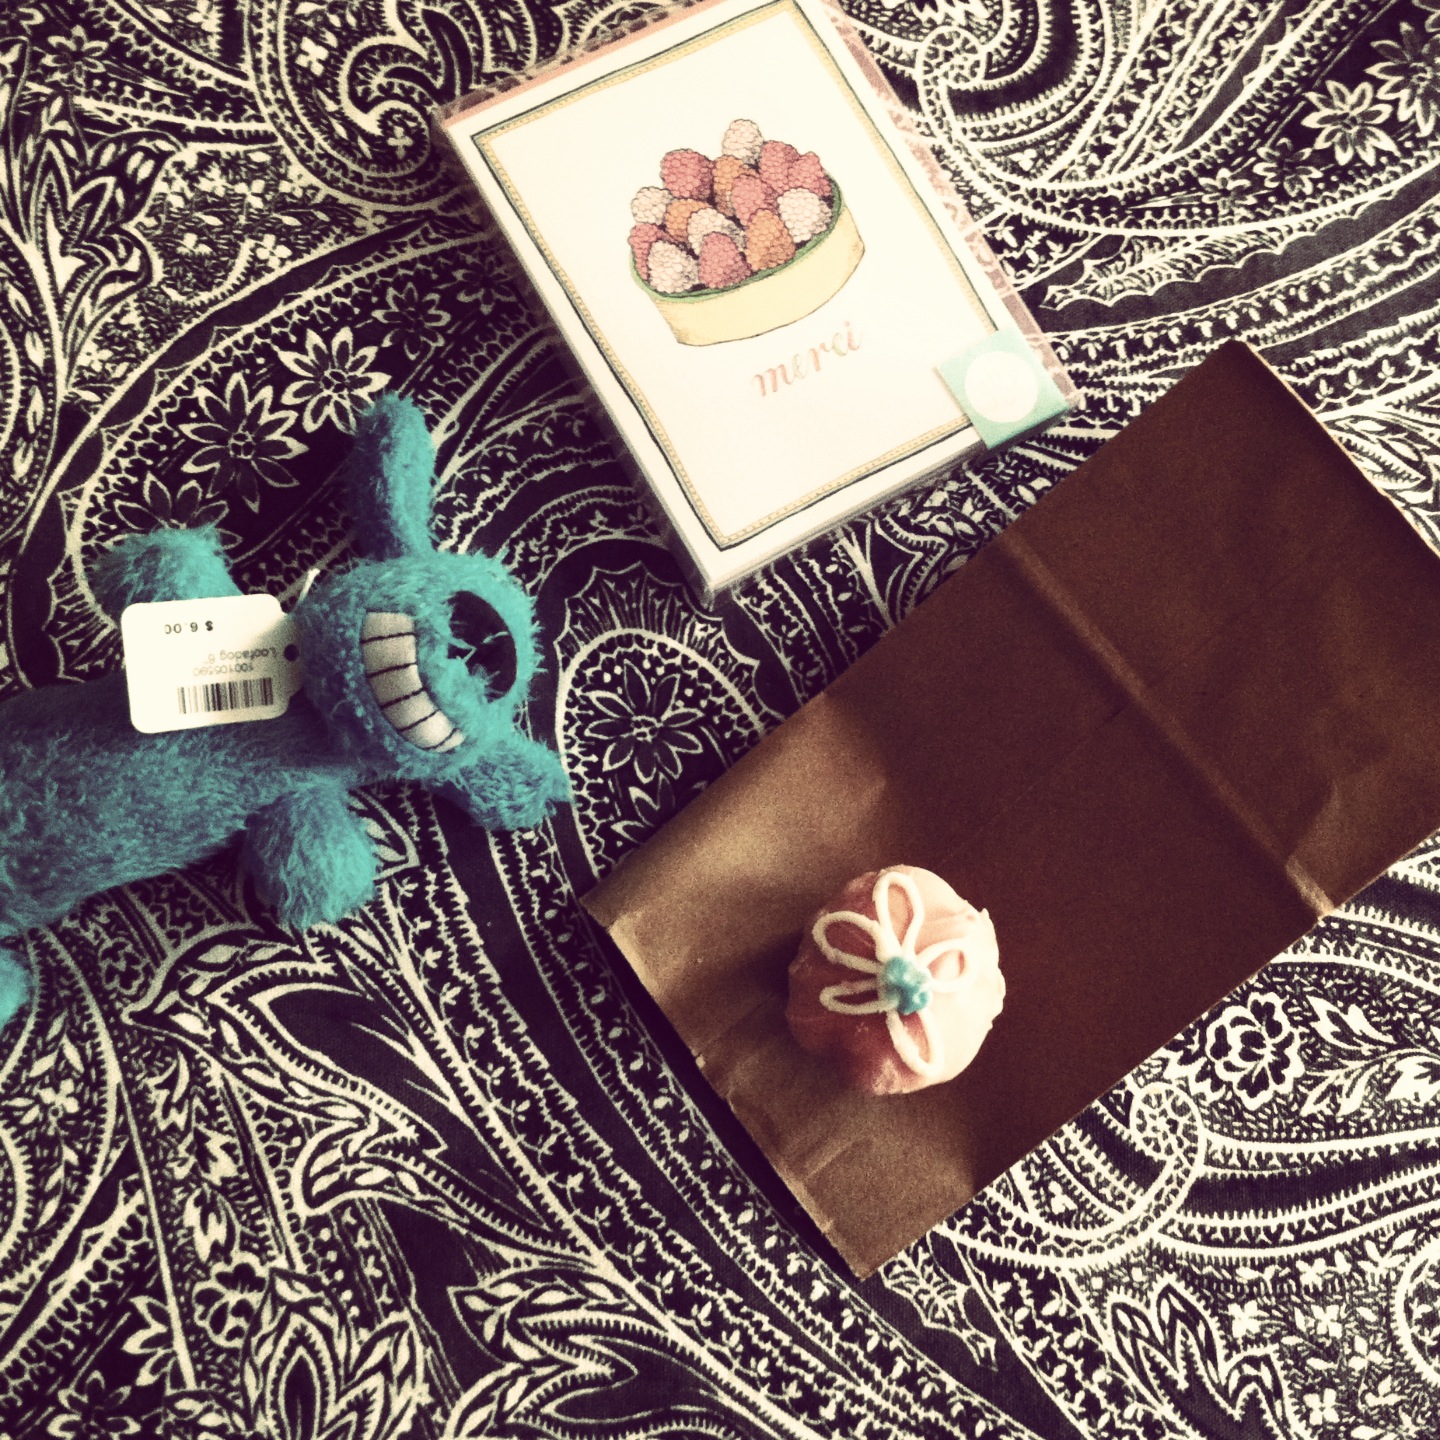
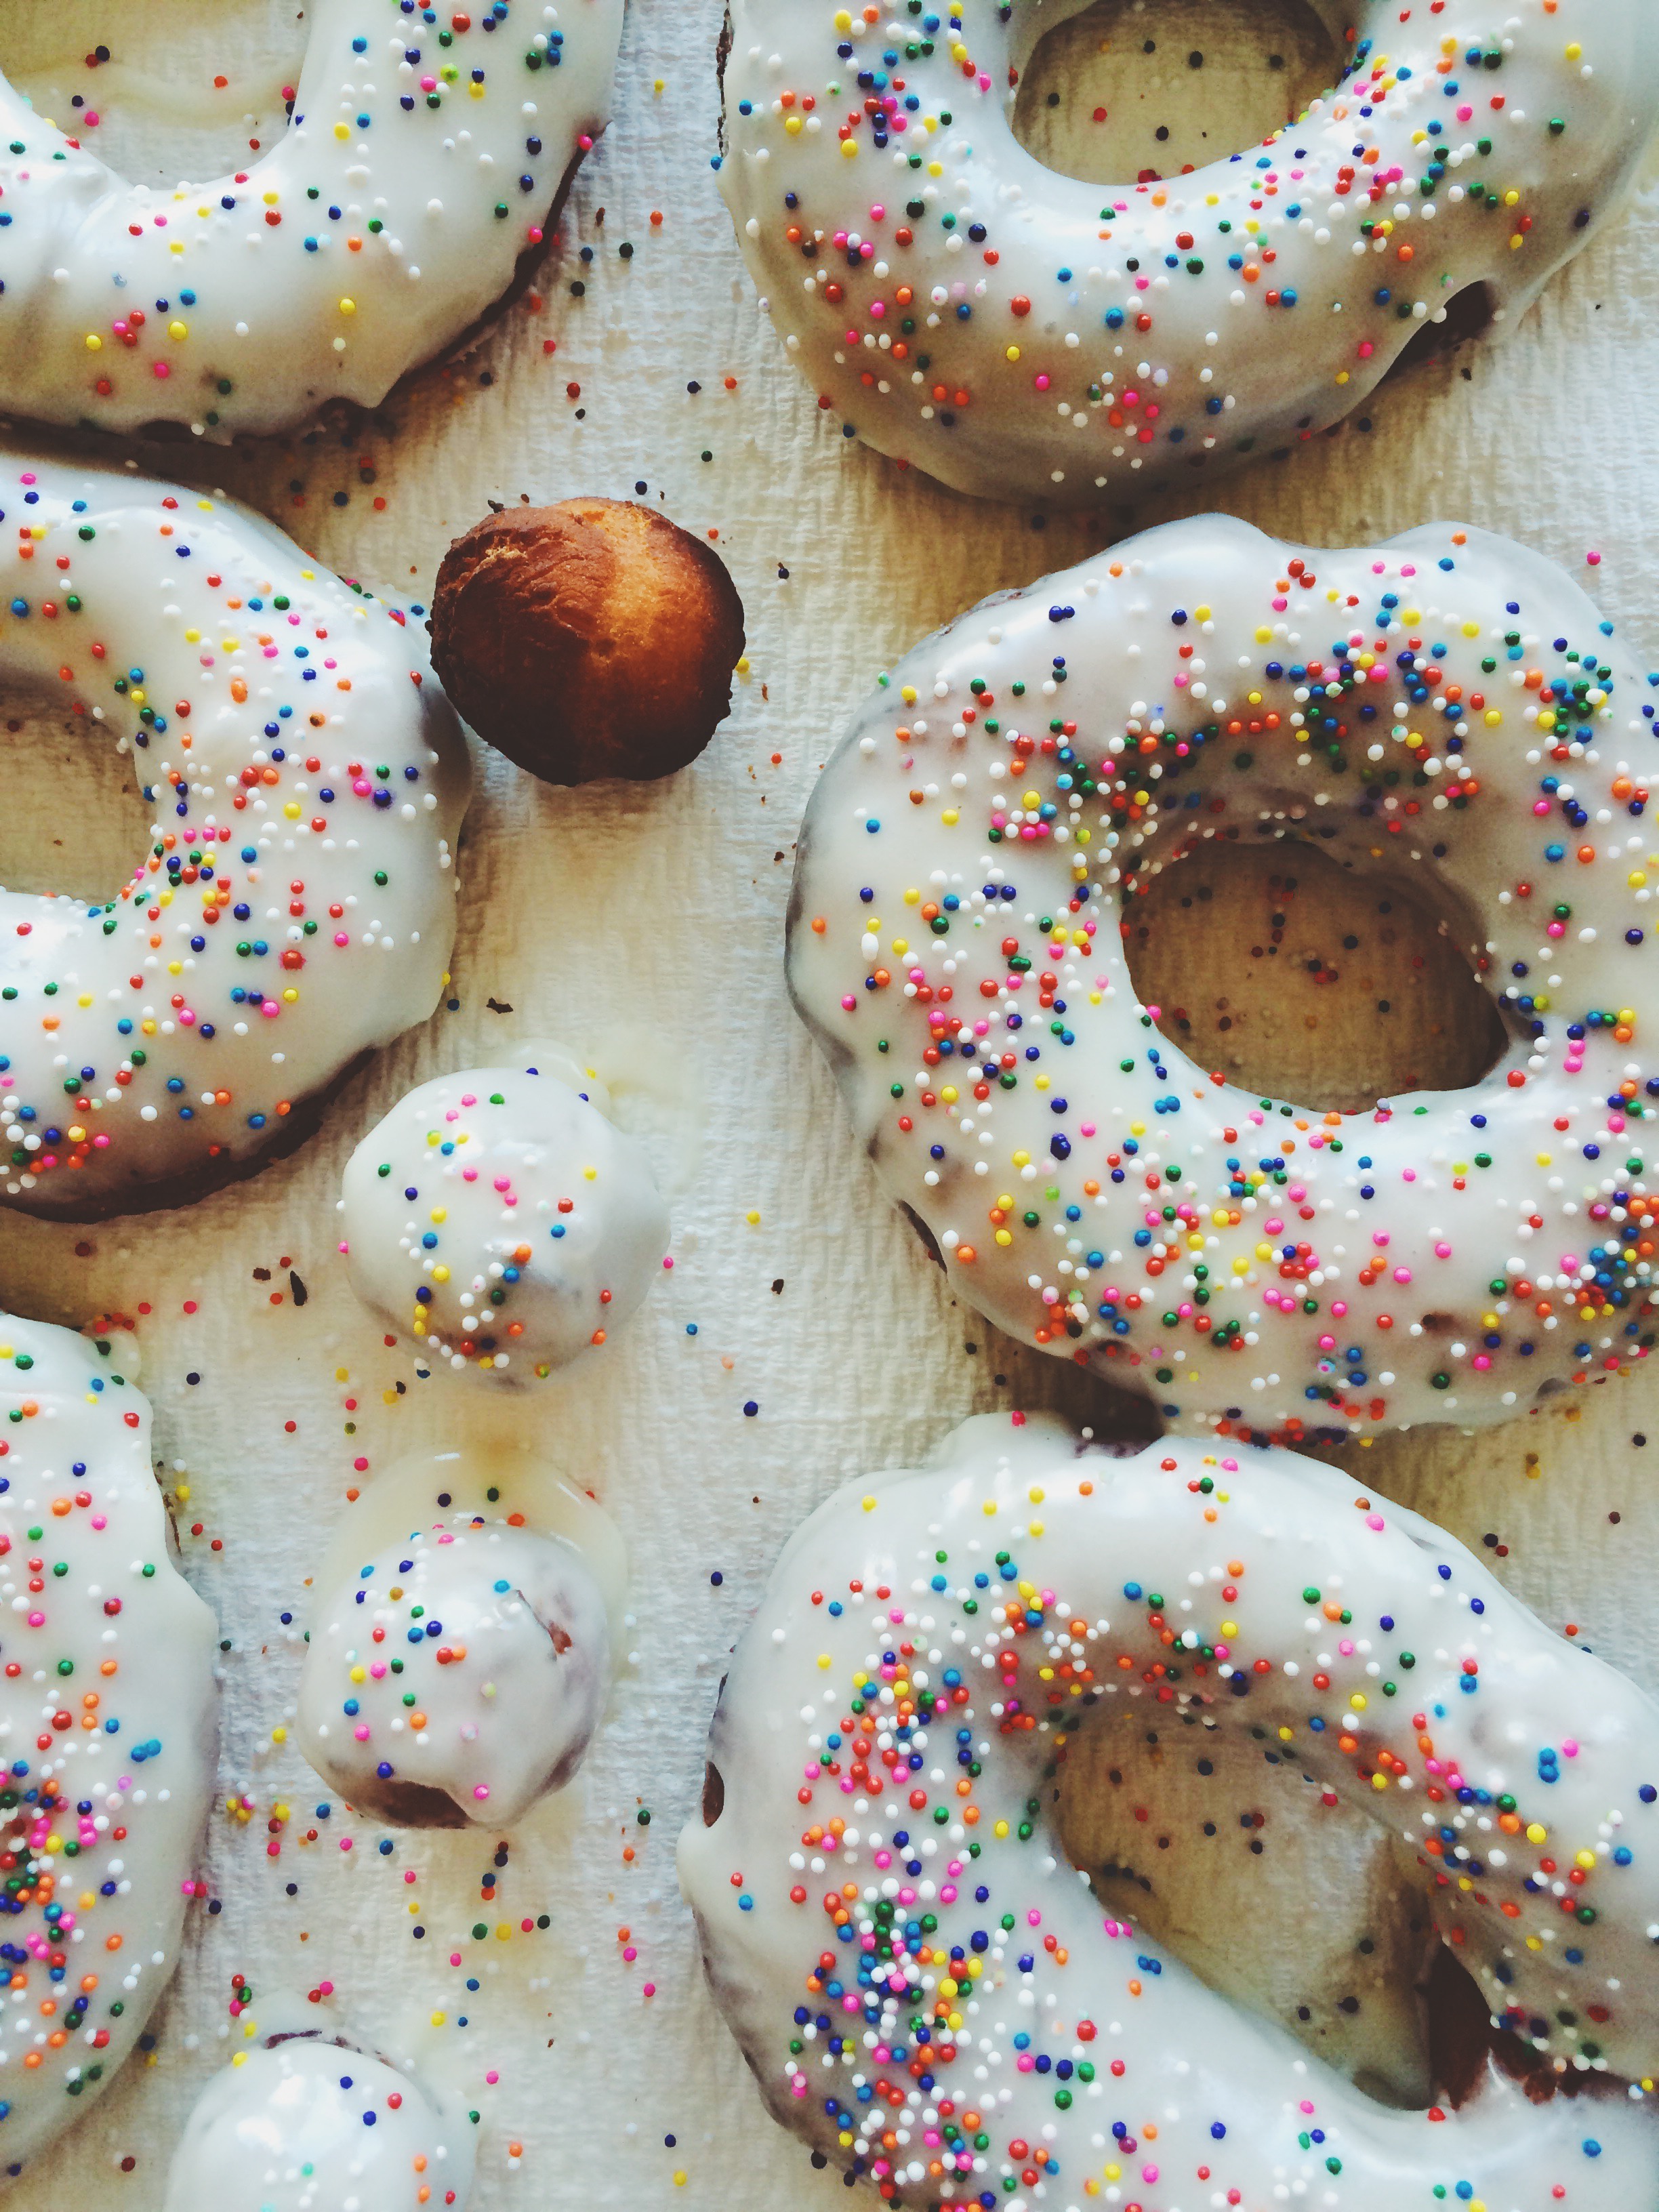
One of my favorite things to get at my local bakery is a classic cake doughnut. More than anything else, I adore a good cake doughnut. Especially when it's Fall and tastes like pumpkins and apple cider and cinnamon sugar. In the summer, I prefer my doughnuts covered in rainbow nonpareils and vanilla glaze. Throw in the comforting speckling of fresh vanilla bean seeds, and you've got me. To be able to make my favorite treat in the comfort of my own home, curlers in hair, 40s Big Band blaring in the background, is such a splendid concept.

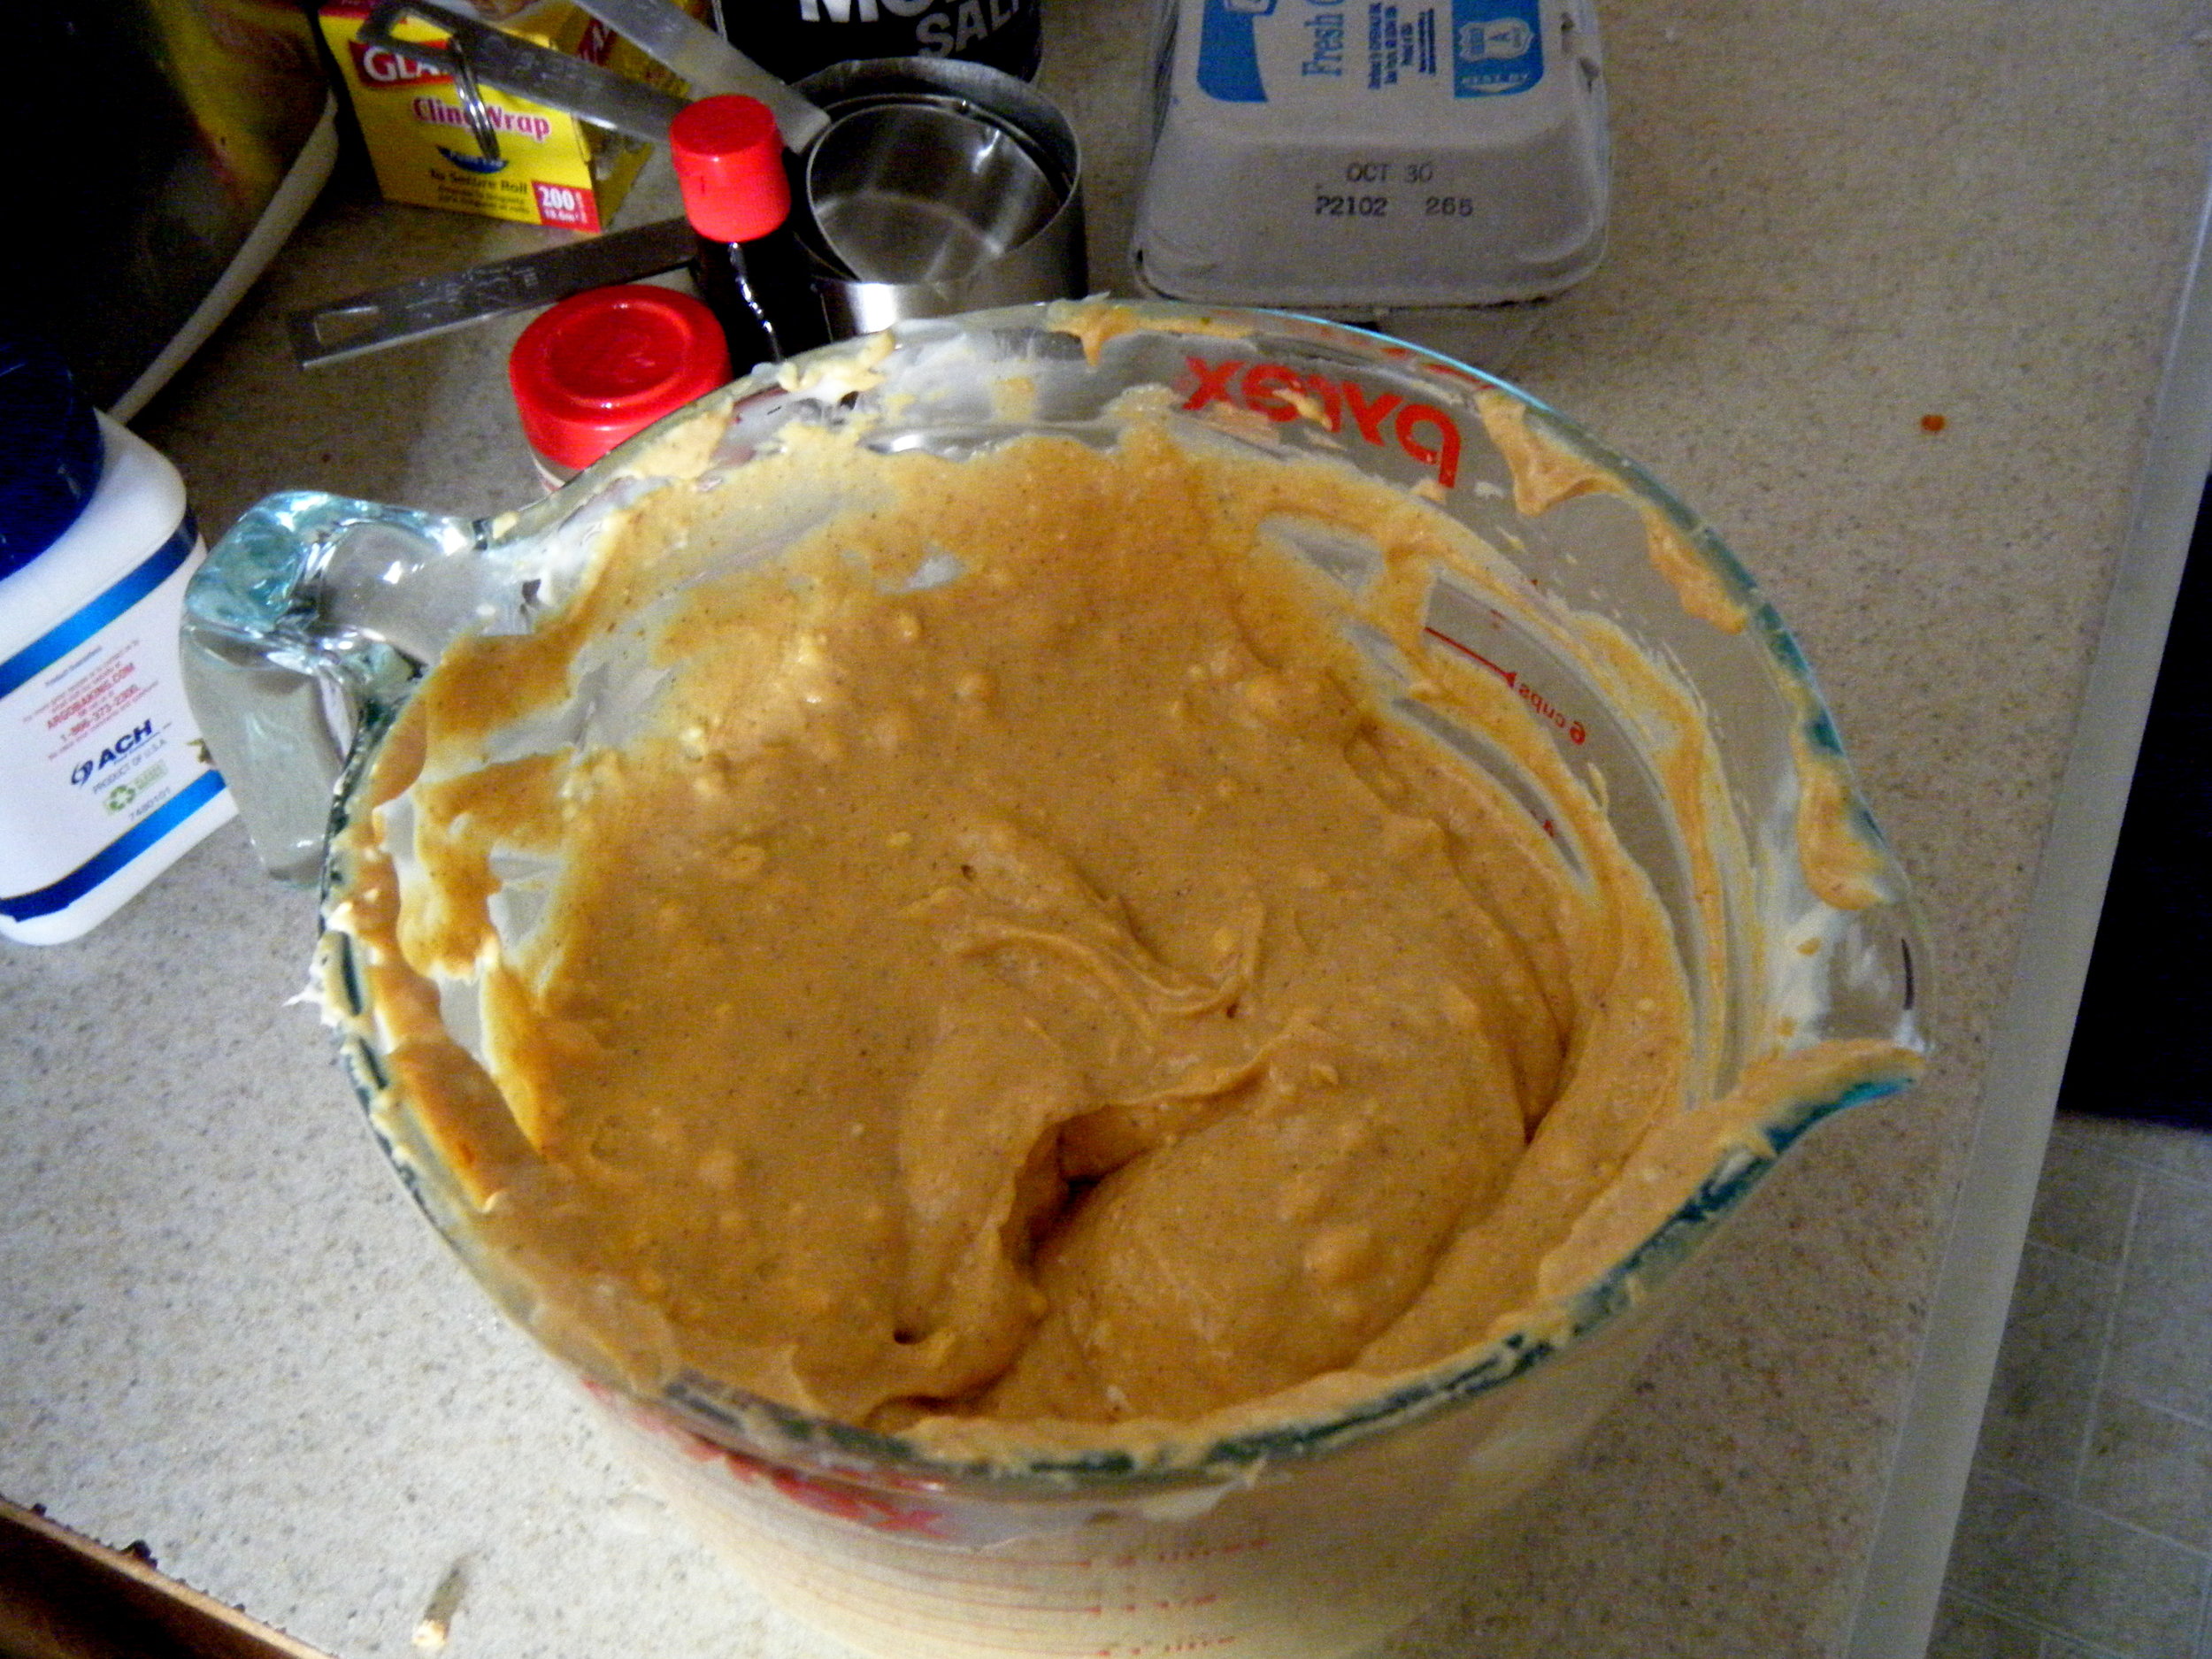
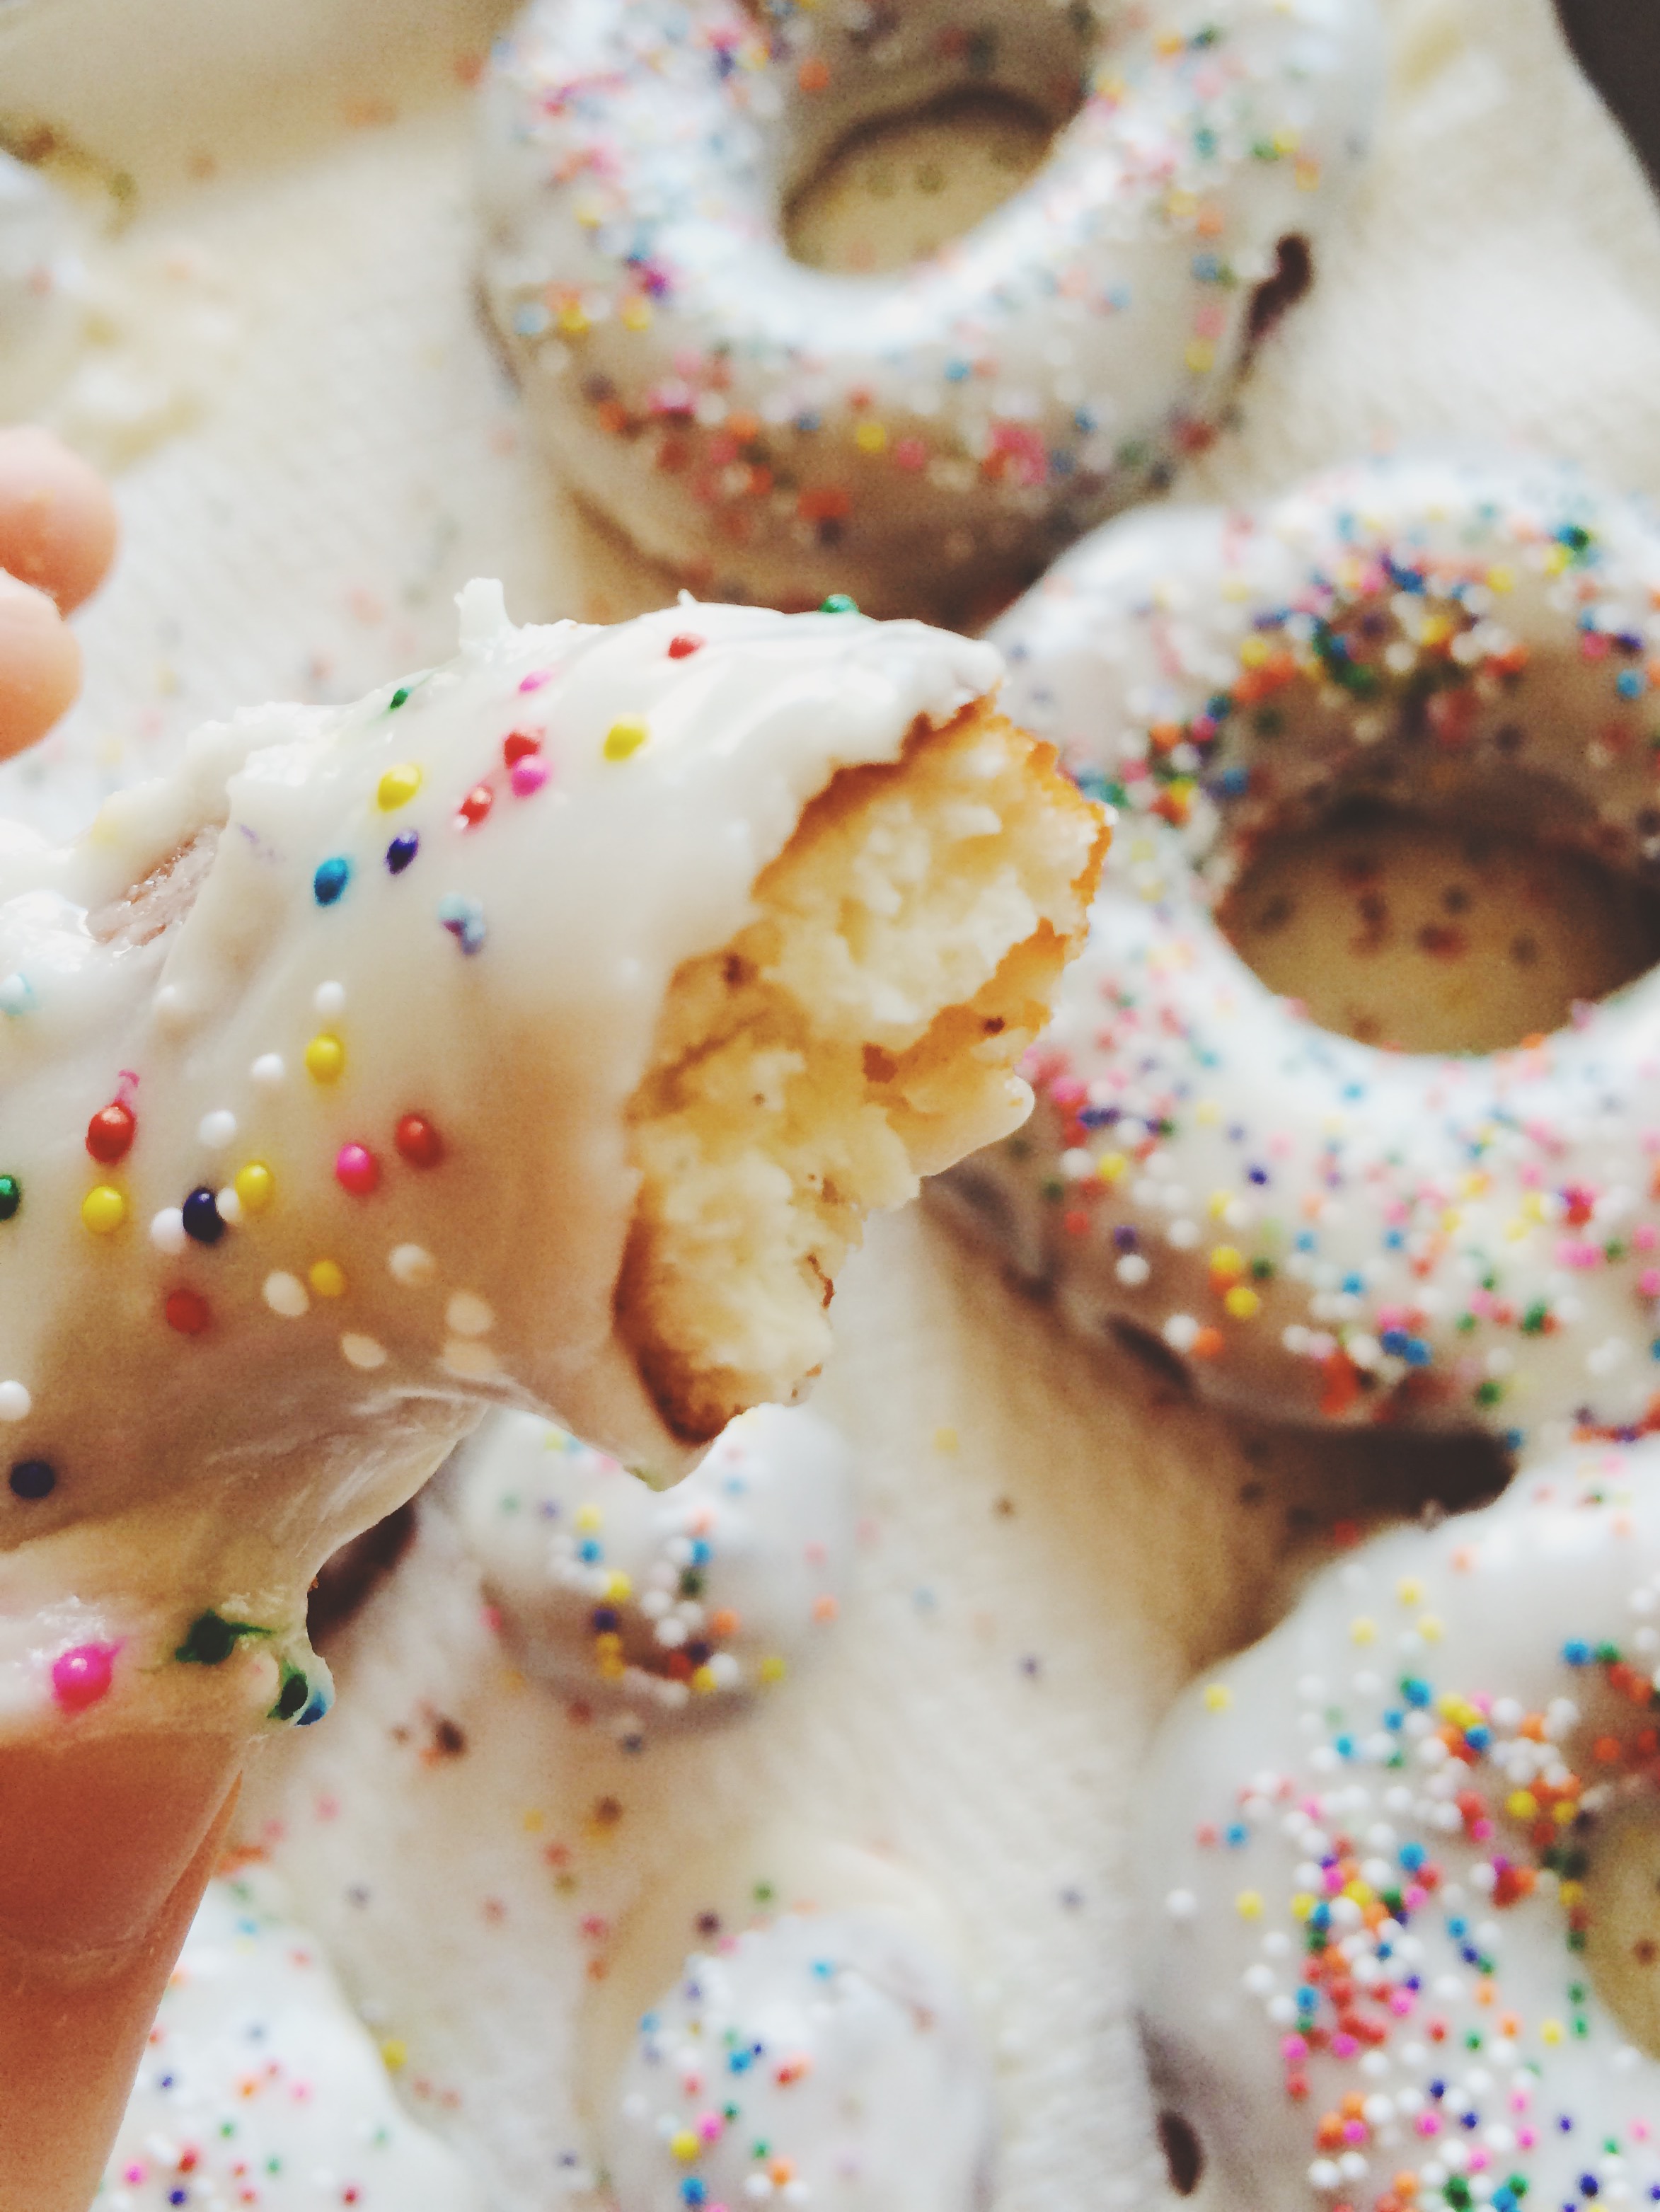
Now, I like you, so I won't lie to you and say that it's particularly easy, or that it isn't time-consuming. But I mean, It's REALLY worth it. Your reward is DOUGHNUTS at the end! That's my incentive for everything, but in this scenario, doughnuts is the actual GUARENTEE. Yes, I do have a few new tiny burn marks from absent-mindedly plopping doughnut holes into 350 degree oil, but I just ran one hand under some very cold water, and popped two slightly-cooled doughnut holes in my mouth with the other. I felt exponentially better after that.

Bottom line: make your own doughnuts. Tell me how it goes.

Why don't you try this Vanilla Bean Cake Doughnut recipe from one of my favorite blogs, Apt.2B Baking Co!


Challah French Toast

challah bread 1 What to do when you can't find challah bread in literally any of the bakeries in your town? Make your own. You know what they say, "Desperate times call for desperate measures" blah blah blah. The truth of the matter is, I've always wanted to make challah completely on my own, so I didn't mind so much that I couldn't find it anywhere. It meant that it was up to me, and also that I better be extra careful not to mess it up; I had a date with french toast the next morning.

It absolutely must be said that I am a complete novice when it comes to this sweet and super delicious bread, so I'm going to refer you to this stellar tutorial over on The Kitchn. Really easy to follow, and SO USEFUL. I'm totally attempting the six-braid method the next time I make challah. (Hope it goes well.)

challah 2

If making challah bread has taught me anything it's this: make sure you read the recipe three times before you even get your mise en place. I always read a recipe several times, but after making this bread, the point has been driven home. It's not that this is a particularly difficult bread to make per seit's that making challah is very time-consuming. There's a lot of waiting involved. Like, hours of waiting in fact. So when you make this bread, make sure you've got the TIME to do it! This is not something you whip up in an hour. Just be patient, and you'll have a really pleasant reward.

The recipe called for proofing in a warm place with a clean dish towel over the top, but I had no idea where I could put it. I've let dough proof before on the counter, but it didn't rise like I so desperately wanted it to. Not properly proofing challah dough would guarantee disaster, so I decided to ask the internet for help. The advice that I got was SPECTACULAR: place your covered bowl on a higher rack in an oven that is completely OFF. Next, boil some water and pour it into a heatproof bowl. Place the bowl with water in it onto a lower rack, SHUT THE DOOR, and keep it shut! Now you've got your warm place, and you'll end up with a dough that has doubled in size once the time comes to take it out. It's thrilling.

challah 3

RIGHT, so let's get on to the french toast part of this post, shall we? You may be wondering what I did with my challah loaf after it was finished cooling. Well, in order to get the perfect french toast, you need slightly stale bread. In fact, it's imperative.. So, once my challah was finished cooling (and I'd gone through several  episodes of 'Tia Mowry at Home' on Cooking Channel) I simply left it slightly uncovered and went to bed. It worried me a little bit that it might dry out too much, but by the time I was finished in the kitchen that night, there weren't many hours left before it was time to get up and make breakfast. And everything turned out just fine. (Thank goodness.)

In the morning I sliced up eight very healthily-sized slices of challah, mixed up my custard , and set to work.

. So now, let's talk about how obsessed I am with challah french toast. BECAUSE I AM OBSESSED.

challah french toast

French toast is decadent, I mean, there's a reason why its present on every brunch menu that has ever existed. But there is just something so beyond  about whipping up a batch of challah french toast on a quiet weekend morning with a light sprinkling of powdered sugar on top from one of those unnecessary-for-anything-else shakers, and a drizzling of divinely warm maple syrup just waiting to be soaked up. THAT is decadence. Throw in a hot cup of hazelnut roast coffee, and a little bowl of fruit salad (in this case it was strawberry, blueberry, and mango with lemon juice) and we are TALKIN', my friend. That's what weekend mornings are all about. Be warned: this breakfast is incredibly rich, but oh my GOSH is it ever worth it.

And would you like to know the best part? It's made completely form scratch. Who needs a brunch menu?


CHALLAH FRENCH TOAST 

What You'll Need:

  • 3 large eggs
  • 1 cup half-and-half
  • Pinch of salt
  • 1 tablespoon of sugar
  • 8 slices of challah bread 1" thick, cut from a slightly stale loaf
  • 2-3 tablespoons butter
  • Powdered sugar for sprinkling on top, optional
  • Fresh Fruit, optional

Directions:

Place a large skillet (Mine is 12 inches) over medium-low heat.

Whisk the eggs, half-and-half, salt, and sugar in a large baking pan (I used an 11X13 rectangular cake pan) until everything is fully incorporated.

Place four slices of bread into the custard to soak for at least one minute on each side (I ended up doing a little longer, but it's up to you. Make sure it's at least one minute though! )

While the bread is soaking, melt one tablespoon of butter in the skillet. You'll know it's ready when it starts to foam. When it has started to foam, move it around so that it coats the entire bottom of the skillet.

Move your cake pan with the soaking pieces of bread next to the stove so that there will be no dripping.

Lift one piece of bread and very gently shake it to get rid of any excess custard, then gently place it in the skillet. Repeat this process with each piece of bread.

After 1-2 minutes, check under a slice of bread to see if it has turned golden brown. When it has turned golden brown, flip each piece of bread and continue cooking until they're golden brown on the other side. Be sure to keep an eye on the skillet so that your toast doesn't burn.

Place your finished first batch onto a serving plate, and your final four pieces of bread into the custard for soaking on each side. (Should you run out of custard before you've run out of bread, I've found that whisking another egg, some more half-and-half, a little sugar, and a little salt works nicely!) Place another tablespoon of butter into your skillet, wait until it foams, and repeat the process of cooking your french toast. Once all of your pieces of bread have turned deliciously golden brown on both sides, transfer them to your serving plate.

Sprinkle a little powdered sugar on the top if you're into that, heat up some delicious maple syrup, and cut up some fruit to use as a topping if you;d like. Enjoy!!


SOURCE: Adapted SUPER SLIGHTLY from The Kitchn 


Birthday 2015

birthdaycake1

I've been a new age for exactly one week today. The slider is quickly reaching the middle of the twenty- something scale, and it is a fact that both scares me and excites me, depending on the day.

There are two types of people I've met in this world: people who absolutely looove birthdays, and people who threaten physical harm if there's even so much as a whisper of their birthday in the air. Me? I think I fall somewhere in the middle. I like birthdays, I think they're cool. I think it's important to celebrate each one because you never know how many you're going to get in this world. But I don't really go all out. Honestly, it's partially because they tend to sneak up on me now that I'm no longer in elementary school and there's no longer the obligation of a parent to throw a mini party with enough tiny forks and plates and cups, and copious amounts of brightly-colored frosted cupcakes for each member of my class. I also don't go all about because there's so much hype around birthdays that once it's over, I always feel a little bit of loss because I have to wait another whole year to again be the Birthday Princess.

birthday2

I do exactly what I want, and when I want on my birthday; absolutely no exceptions. If I want to binge-watch an entire season of Friends in an afternoon, there is no judgement. If I want to sing at the top of my lungs to the hits off of The Emancipation of Mimi album in a house full of people, I'm going to do it. AND, if I want to bake my own birthday cake from start to finish and entirely from scratch, well, yeah I'm going to do it. And I did. I baked my own birthday cake. Three layers of very tender vanilla cake, slathered in a LOT of delicious buttercream frosting dyed a decidedly peach-ish tone depending on the angle, and topped with cute little sprinkles. It took me approximately four hours to make in total, and I loved every single second of it. For one, this cake is a GIANT step up from my last attempt to make a very small, very sad excuse for a cake. That very simple cake was hard work manifested. And it was delicious.

The older you get, the more time you spend reflecting. To that affect:

Five Very Important Things I've Learned in My Twenties So Far

  1. Friends come and go, and friendship is a two-way street. Only make the effort for those who make the effort for you. That's what makes it special.
  2. Quality over quantity in all aspects of life.
  3. Listen to your elders when they're trying to tell you something. They've got stories that are better than anything you'll see in theaters, and, apart from the tiny embellishment here and there to keep your attention, they're totally true.
  4. Work hard and have patience. You'll get everything you need and even some of the things you want, but it's probably going to take some time. And you know what? That’s okay.
  5.  Having a plan is great, but don't forget to deviate sometimes and just enjoy the ride. Nothing ventured, nothing gained as they say.

As far as birthdays go, this one was pretty ace.

Here's to many more, eh?

My Weekend in Pictures

photoOn Friday, my boss took us out for a special Valentine's Day lunch to an awesome restaurant downtown called Myers + Chang. It's actually co-owned by  Joanne Chang, the owner of one of my biggest bakery inspirations, Flour. The place has an eclectic, vintage diner style to it, and serves a fusion of very authentic Asian food. We got there a little early, and it wasn't long until this place was packed. The special of the day was a lemongrass pork burger, which one of my co-workers had been talking and dreaming about all day. He'd made it sound so amazing, that I was positive that was what I was going to get. But looking at the menu, (which was big enough to have a ton of great options, but not so big that you feel overwhelmed) I wasn't so sure. I finally decided on my first Banh Mi, and oh my goodness did I make the best choice.

For those of you who are new to Banh Mi, they're Vietnamese sub sandwiches with a special type of cole slaw, jalapeños, and sriracha. I got the Braised Short Rib with Asian Pear, which tasted just as amazing as it sounds. Hands down, one of the best sandwiches of my entire life. I can't even believe it. So. So. Good. I will be going back to Meyers+ Chang super soon.

On Saturday, I braved the blizzard-like conditions (the Midwest makes you tough! Four to eight inches? PUH-LEASE.) and made my way to Cambridge for some good, much-needed, breakfast food for dinner at The Friendly Toast. Breakfast is my favorite meal of the day, and this place always delivers. It's also a vintage diner style restaurant, with knick knacks and trinkets from all over the place. I think I have a thing for diners, you guys. I can't get enough of 'em. I'd have pictures, but as soon at the food came, I blacked out and mauled my plate. If you go, MAKE SURE you order a piece of the toast. It's homemade, super thick, and so buttery. My mouth is watering, I have to stop. Go to the Friendly Toast, then tell me everything, so we can relive it together.

What'd you do this weekend? singature gray


My Weekend in Pictures

This weekend I got to babysit my co-worker, Maggie. photo

We've known each other for three years now, and she's always there to greet me at the door at the start of the day. When her dad asked me to watch her for the weekend, I leapt at the chance. Not only am I seriously missing my dog these days, but having a pet around can somewhat validate the hundreds of times a day that I carry on conversations with myself. They can't answer, but at least they make eye contact!

You know a person has officially made it in a city when they have a dog, am I right? Like, you see a person walking down the street with an adorable pup on a leash and you think, "Wow, that person definitely has it together. That person has MADE IT." This weekend, I wanted to get a taste of what that's like, so Princess Margret and I, along with my roommate, Sophie, decided to hit the town.

photo photo

We first hit up Polka Dog Bakery in Jamaica Plain. I wanted to get the Princess a little treat, and I'd heard that this was the place to go for fresh "pupcakes" and dog treats. This place has everything: cookies and pupcakes in an actual bakery case, a huge selection of treats and bones, lots of unique toys, and even a little section for cats. We also met a retired racing Greyhound name Rosy. (Or Nosy Rosy, as her friends call her.) Her owners were there to talk about a greyhound shelter that they're apart of in Mass. After talking to them, I was almost certain that I wanted a greyhound...until I considered how much they eat! Super cute though.

photo photoI decided on this ADORABLE "pupcake" because the delicate flower on top reminded me of Maggie. I also asked her if this was the one she wanted, and actually waited for a response that never came. Thankfully I was in an environment where that sort of thing is encouraged, so we're good. And as you can see, I couldn't resist, and bought her a little squeaky toy. I hope that when she plays with it, she thinks of me.

photo-2I don't think I've ever realized how cool Jamiaca Plain is. To be honest, I hadn't ever spent much time there. But after we left Polka Dog, we decided to go exploring. Sophie pointed out a bakery on the same block, and I made a beeline.

It's called Monumental Cupcakes, and it's the kind of bakery that people in the neighborhood would go to, to get their daily doughnut and coffee. It's on the small side, but there are a few tables tucked away in the corners. What caught my attention right away was the advertised Apple Cider Doughnut with a cinnamon sugar glaze. It was. Without a doubt. The best Apple Cider Doughnut I've ever had. The apple flavor was pleasantly pronounced (do they use magic apples?), the cinnamon sugar was an amazing complement and not too heavy, it was fresh, and didn't taste like a doughnut that's been sitting in the case all morning, and the edge had this satisfying crispness that you can only achieve when you're a fryer master. It had me wishing that there was more, and that doesn't happen often with bakery items for me. I highly recommend.

photo photoOn the same block is a shop that is basically a real-life version of Etsy. It's called Aviary, and it's the rustic-chic shop of my dreams.

Aviary is a store that celebrates local and small business.  From their pieces on display from local artists, to clever cards hot off the letterpresses, to repurposed metal jewelry with pressed letters, to independent  magazines and newsletters., it screams "indie."The place is so charming and wonderful that you have this overwhelming feeling to buy something, anything, just to stay and take it all in a little longer. I got some adorable and unique "thank you" notes that are almost too pretty to use.

photoOn the way to the bus stop we passed by a vintage furniture and housewares store called Yesteryear. That place is absolutely filled to the brim with household items, but it was closed! That's a store for another day, I suppose.

On the way home, we may or may not have gotten a little lost. We weren't far from home though, and got to enjoy a brisk walk through some nice neighborhoods.  We were starving by the time we made it home, and it made that doughnut so much sweeter.

photoI took Maggie home yesterday, and I miss my napping buddy already. Maybe this is a sign that it's time to get a baby of my own? Maybe not just yet.


What'd you do this weekend?

singature gray


My Weekend in Pictures

photo-3As a natural homebody, I sometimes have to make myself leave the house and go places other than the grocery store and corner sandwich shop. That's why I'm so glad my best friend Anna (this is her blog!) lives in this city as well. She's one of my favorite activity partners, and also one of the only people I know that doesn't think I talk too much. Bless her, she puts up with my long-winded stories. photo-4If there is one thing that Bostonians can do, it's drink, which means that Boston is nowhere near in short supply of bars and pubs.

As a person who doesn't like to go out much, I can't stand places that play music louder than normal speaking level (Call me crazy, but when is it ever fun to literally shout out a story to a person sitting two feet away from you?). That leaves out a good chunk of establishments for me. But one place that has never failed to keep me happy is Goody Glover's in the North End. It's one of the only restaurants in the neighborhood that isn't Italian, (it's very, very Irish. Like, many of the servers have wonderful Irish accents and everything) and it ticks every box on my list: appropriately balanced audio, friendly staff, a true pub feel complete with dark furniture built into the wall, and food that is TO DIE FOR. You have not lived, my friend, until you have tried one of their potato spring rolls. It's kind of one of those places that can easily get passed up if you're not paying attention, but if you're in the mood for a Grade A burger and a pint of Magner's, find yourself at Goody Glover's this instant.

photo-6Anna and I had time to spare before our movie, so I suggested we hit up my favorite cupcakery in Boston: Sweet. It is the Girly-Girl's dream. There's pink everywhere, Marie Antoinette playing on a loop, and cupcakes with the perfect frosting-to-cake-body ratio. If you've never had a Buttermilk Pancake cupcake, Sweet is the place to fix that. AND, best of all, there are great vegan and gluten-free options that are just as sweet (see what I did there?). Sweet is the kind of bakery that I'd love to open in the (very distant) future.

photo-7Mmm Cookies and Cream.

Side note: Have you heard of the Cupcake Sandwich? If you haven't, then I can assure you, you've been eating your cupcakes all wrong. Listen, the next time you hit up a bakery, take a seat and try this little trick: unwrap the cupcake, carefully split it in half so that one half is the cupcake top with frosting and the other half is plain cake. Carefully join the frosting side and bald cake together to make a sandwich with frosting in the center. Voila, a Cupcake Sandwich. You'll never eat a cupcake the same way again.

photo-2

Hamburgers and cupcakes: do Saturdays get much better?

What did you do this weekend??

singature gray

My Saturday Adventure

I really do love Boston.

photo (34)

Have you ever noticed that when you've lived in a place for a while, you start to forget about all the charms that it has to offer? Maybe you don't necessarily forget, but maybe you start to take for granted things that visitors travel thousands of miles everyday to see. I think that was happening to me. Four years I've been living in this wonderful city, and maybe for the first time in a while, I took the time to really get to know it. And while I know how to get anywhere from anywhere and back, knowing your way around doesn't always equate to knowing  the city that you belong to. (Or that kind of belongs to you. I guess it depends on who you're asking.)

Recently, a friend from many moves ago, one I never thought I would ever see again, moved to Boston. Because I've moved around so much, and left places that I can't really see myself visiting again unless it's for a very specific occasion, I always jump at the opportunity to meet up with people that I once knew, on new turf. Big cities are always common ground, aren't they? They see so many people come and go all the time, that they just remain neutral. It's not really like being in a small town where everyone knows everyone, and can detect visitors.  In Boston everyone belongs. But anyway, back to the story. While he's been here for a few months, he's been pretty busy getting settled into a new living space, and a new job. As you can imagine, that hasn't really left much time for exploration apart from immediate surroundings. And as soon as I heard that he hadn't had a proper introduction to the city, I immediately volunteered. (It should be noted that as soon as he agreed, I started making a list in my head of all my favorite parts of the city, all the quirky things I've never seen myself, and, of course, what snacks to make and bring along the way! Really, who would I be if I didn't mention food at least once?)

I settled on these:

photo (35)

Dark chocolate and oatmeal cookies with sea salt sprinkled on top. They were a hit Saturday, and they're a hit in my house still, today. (I've had three already. I must be stopped.)

ALSO, hi, we're going to take a short detour from the story to talk about my new best friend, Silpat. I have read enough food blogs, and cookbooks, to know all there is to know about these MAGICAL (only word that fits, guys. I'm not even being dramatic. Well, yeah, I am. But it's totally warranted.) baking mats. Gone are the days that I spray baking Pam on my cookie sheets, gone are the days of struggling to tear just enough parchment paper and completely failing, thus having to tear off some of it to make it fit, but then tearing off too much because I can't win, and gone are the days of awkward cookie sheet cleanup where in the process of rinsing the sheet off with the faucet hose, I end up drenching the entire counter behind it. Silpats are flexible, easy to use, and I have never seen more evenly cooked cookies in all my year(s) (I only got good a year ago, but HAVE been attempting to become a baker for years) of baking. Seriously, they were beautiful, and all I had to do was rinse off the mat when I was finished. They're expensive, but TRUST ME, Silpats are 100% well-worth the money.

photo (36)

P.S. Recipe coming soon for these bad boys. If you love extra oats, and LOTS of dark chocolate, you will love these cookies as much as I do.

ANYWAY, BACK TO BOSTON EXPLORATION.

If you are going to travel to Boston, there are at least two books that you need on hand to give yourself the proper, self-guided tour. Number one, of course, is a Michelin:

These books are traditional, and they're important. Michelin is a name you can trust for just about any tour book you purchase. You get recommendations for  anything from restaurant recommendations, to the best hotels, to shopping centers, etc. etc. You always get a very through and detailed explanation of major monuments and landmarks in the city. Very important to have on have.

But then, if you're like me, you want a book that isn't like all the other boring tour books. You want something different and unique. You want:

This book is seriously perfect. It's hilarious, it's informative, and most importantly, the authors aren't afraid to reveal some of the not-so-proper parts of Boston. I love it. When I saw it on the shelf, I knew I had to get it.

So I spent my Saturday with excellent company, going down side streets, visiting monuments I've been to dozens of times, but have only stopped to notice maybe once or twice, dodging the on again/off again rain, and reading from my guidebooks that have been throughly bookmarked and dog-eared. I also spent it eating one of the best sandwiches ever, and a cannoli from The North End. You never really realize what a great place you live in, until you see it with someone wearing a fresh pair of eyes.

I managed to snap a few pictures along the way:

photo (37)

photo (38)

photo (39)

photo (40)

So this weekend, I encourage you to pack your favorite snacks, pack your camera, pack your maps and guide books, grab a friend or significant other, wear comfortable shoes, and really take the time to see what makes your city so great. You won't regret it, I promise. Go ahead, be a tourist for the day.

Happy Monday,

singature gray

So, Let's Talk About Cheesecake.

Two words for you: Pumpkin. Cheesecake. My roommates and I were throwing a little "At the Coffeehouse" themed shindig, and since it was my idea, I wanted to make something appropriate for fall, and fancy! So, pumpkin cheesecake was a no-brainer.  And let me tell you: it was actually (relatively) easy!

So here was my day:

All I want is to be Julia Child in the kitchen.

DSCF0462

Making the DELICIOUS FILLING was pretty interesting. Tons of sour cream, and lots of pureed pumpkin. I would also like to add that I did all of this before I had my baby (my KitchenAid Hand Mixer). The mixing probably took a good 20 minutes. Now that my hand mixer is around, making this in the future will be a quick breeze! (And my wrist won't feel like it's about to fall off.)

DSCF0464

A few things I learned about crusts:

1. When the directions say to use a specific size pan, do what you're told. This crust is meant for a 9 x 13 size pan, but all we had was 7 X 10. We had one very thick crust.

2, Make sure your rolling space is NICE AND FLOURED. If not, it WILL stick:

DSCF0463

Et voila, the final product:

DSCF0470

Since this was the beginning of my Baking Adventures, I cheated and bought cream cheese frosting to spread on the top.

A Few Things I Learned About Frosting Cheesecake:

1. You have to wait until the cake filling is frozen.

2. If you don't wait until the filling is frozen, spreading the frosting is like spreading frosting onto very creamy soup. Also, you will misjudge how much frosting you need, and you'll put too much.

3. Just wait until it's frozen.

I topped off the top with Pumpkin Pie Spice (who even knew there was such a thing? Everyone else, apparently).

It was delicious. DELICIOUS. And I was so proud of myself for making my first dessert with lasting power!

And oh yeah, here's the recipe from Serious Eats!

Ingredients

Makes 24 bars, active time 1 hour, total time 4 hours, including cooling

  • For the Sweet Pastry Dough
  • 1 1⁄2 cups all-purpose flour
  • 1⁄4 cup sugar
  • 1⁄4 teaspoon salt
  • 4 ounces (1 stick) cold unsalted butter, cut into 1⁄2-inch cubes
  • 1 large egg
  • For the Pumpkin Cheesecake Filling
  • 16 ounces cream cheese, softened
  • 1⁄2 cup sugar
  • 3⁄4 cup pumpkin puree (see page 100)
  • 2 tablespoons maple syrup
  • 1⁄2 teaspoon vanilla bean paste
  • 1⁄2 teaspoon salt
  • 1 teaspoon cinnamon
  • 1⁄2 teaspoon freshly grated nutmeg
  • 1⁄2 teaspoon ground ginger
  • 1⁄2 teaspoon ground allspice
  • 2 large eggs
  • Cream Cheese Frosting
  • 4 ounces (1 stick) unsalted butter, softened
  • 8 ounces cream cheese, softened
  • 3 cups confectioners’ sugar, sifted
  • 1 tablespoon pure vanilla extract
  • 1⁄2 teaspoon salt
  • 1⁄2 cup pecans, toasted (page 19), coarsely chopped (optional)

Procedures

  1.  For the Sweet Pastry Dough

    Butter the bottom and sides of a 9-by-13-inch glass or light-colored metal baking pan. Line the bottom with a sheet of parchment paper and butter the parchment.

  2.  Place the flour, sugar, and salt in a food processor and pulse until combined. Add the butter and pulse until sandy (6 to 10 quick pulses). In a small bowl, whisk the egg and add it to the food processor. Pulse just until the dough begins to hold together (if the dough seems exceedingly dry and crumbly, add a teaspoon of water and pulse again). Form the dough into a disk, wrap it tightly in plastic wrap, and refrigerate for at least 1 hour or overnight.
  3.  Dust a work surface with a sprinkling of flour. Using a rolling pin, roll the dough into a rectangle slightly larger than 9 by 13 inches (the size of the pan) and about 1⁄4 inch thick. The dough might be sticky, so turn it with a bench knife or spatula as needed and keep the work surface floured. Some people find it easier to roll the dough between two layers of parchment paper—this can make it less messy and easier to transfer to the pan.
  4.  Ever so gently, guide the dough into the pan and lightly press it—without pulling—into the bottom; it is not necessary to bring the dough up the sides of the pan, only to completely cover the bottom of the pan. Trim off any excess. Place the pan in the freezer for 30 minutes.
  5.  Preheat the oven to 375°F.
  6.  Remove the pan from the freezer, line it with aluminum foil, and fill it three-quarters full with pie weights or dried beans. Bake for 15 minutes, then remove the foil and weights and bake for another 10 minutes, until the crust is lightly browned. Transfer the pan to a wire rack to cool. Reduce the oven temperature to 300 degrees F.
  7.  For the Pumpkin Cheesecake Filling

    In the bowl of a standing mixer fitted with the paddle attachment, beat the cream cheese on medium speed just until it is lump free and smooth. Do not overbeat or the tops of the bars may crack. Add the sugar and beat again until well combined, about 2 minutes.

  8.  In a large bowl, whisk together the pumpkin puree, maple syrup, vanilla bean paste, salt, cinnamon, nutmeg, ginger, and allspice. Add this mixture to the cream cheese mixture and beat on medium-low speed until completely combined. Scrape down the sides and bottom of the bowl and add the eggs, one at a time, beating well after each addition, then beat until the mixture is smooth. Note: This batter is slightly looser than the average cheesecake batter.
  9.  Pour the mixture over the crust and bake for 23 to 30 minutes, or until the bars are set and slightly puffy (if the tops start to crack, the bars are overbaked). Transfer the pan to a cooling rack and allow the bars to come to room temperature, then refrigerate until chilled, at least 2 hours.

For the Cream Cheese Frosting

  1. In the bowl of a standing mixer fitted with the paddle attachment, beat the butter until it is completely smooth. Add the cream cheese and beat until combined. Add the confectioners’ sugar, vanilla, and salt and beat until smooth (be careful not to overbeat the frosting or it will lose its structure). The frosting can be made a day ahead: after mixing, cover the bowl tightly and refrigerate; let it soften to room temperature before using.
  2.  Use an offset spatula to spread the frosting evenly across the top of the filling layer. If you like, sprinkle the pecans evenly over the top of the frosting. Place the bars in the refrigerator for 30 minutes to set before cutting and serving.

The bars can be stored in the refrigerator, tightly covered, for up to 3 days.

Happy Baking!

singature gray