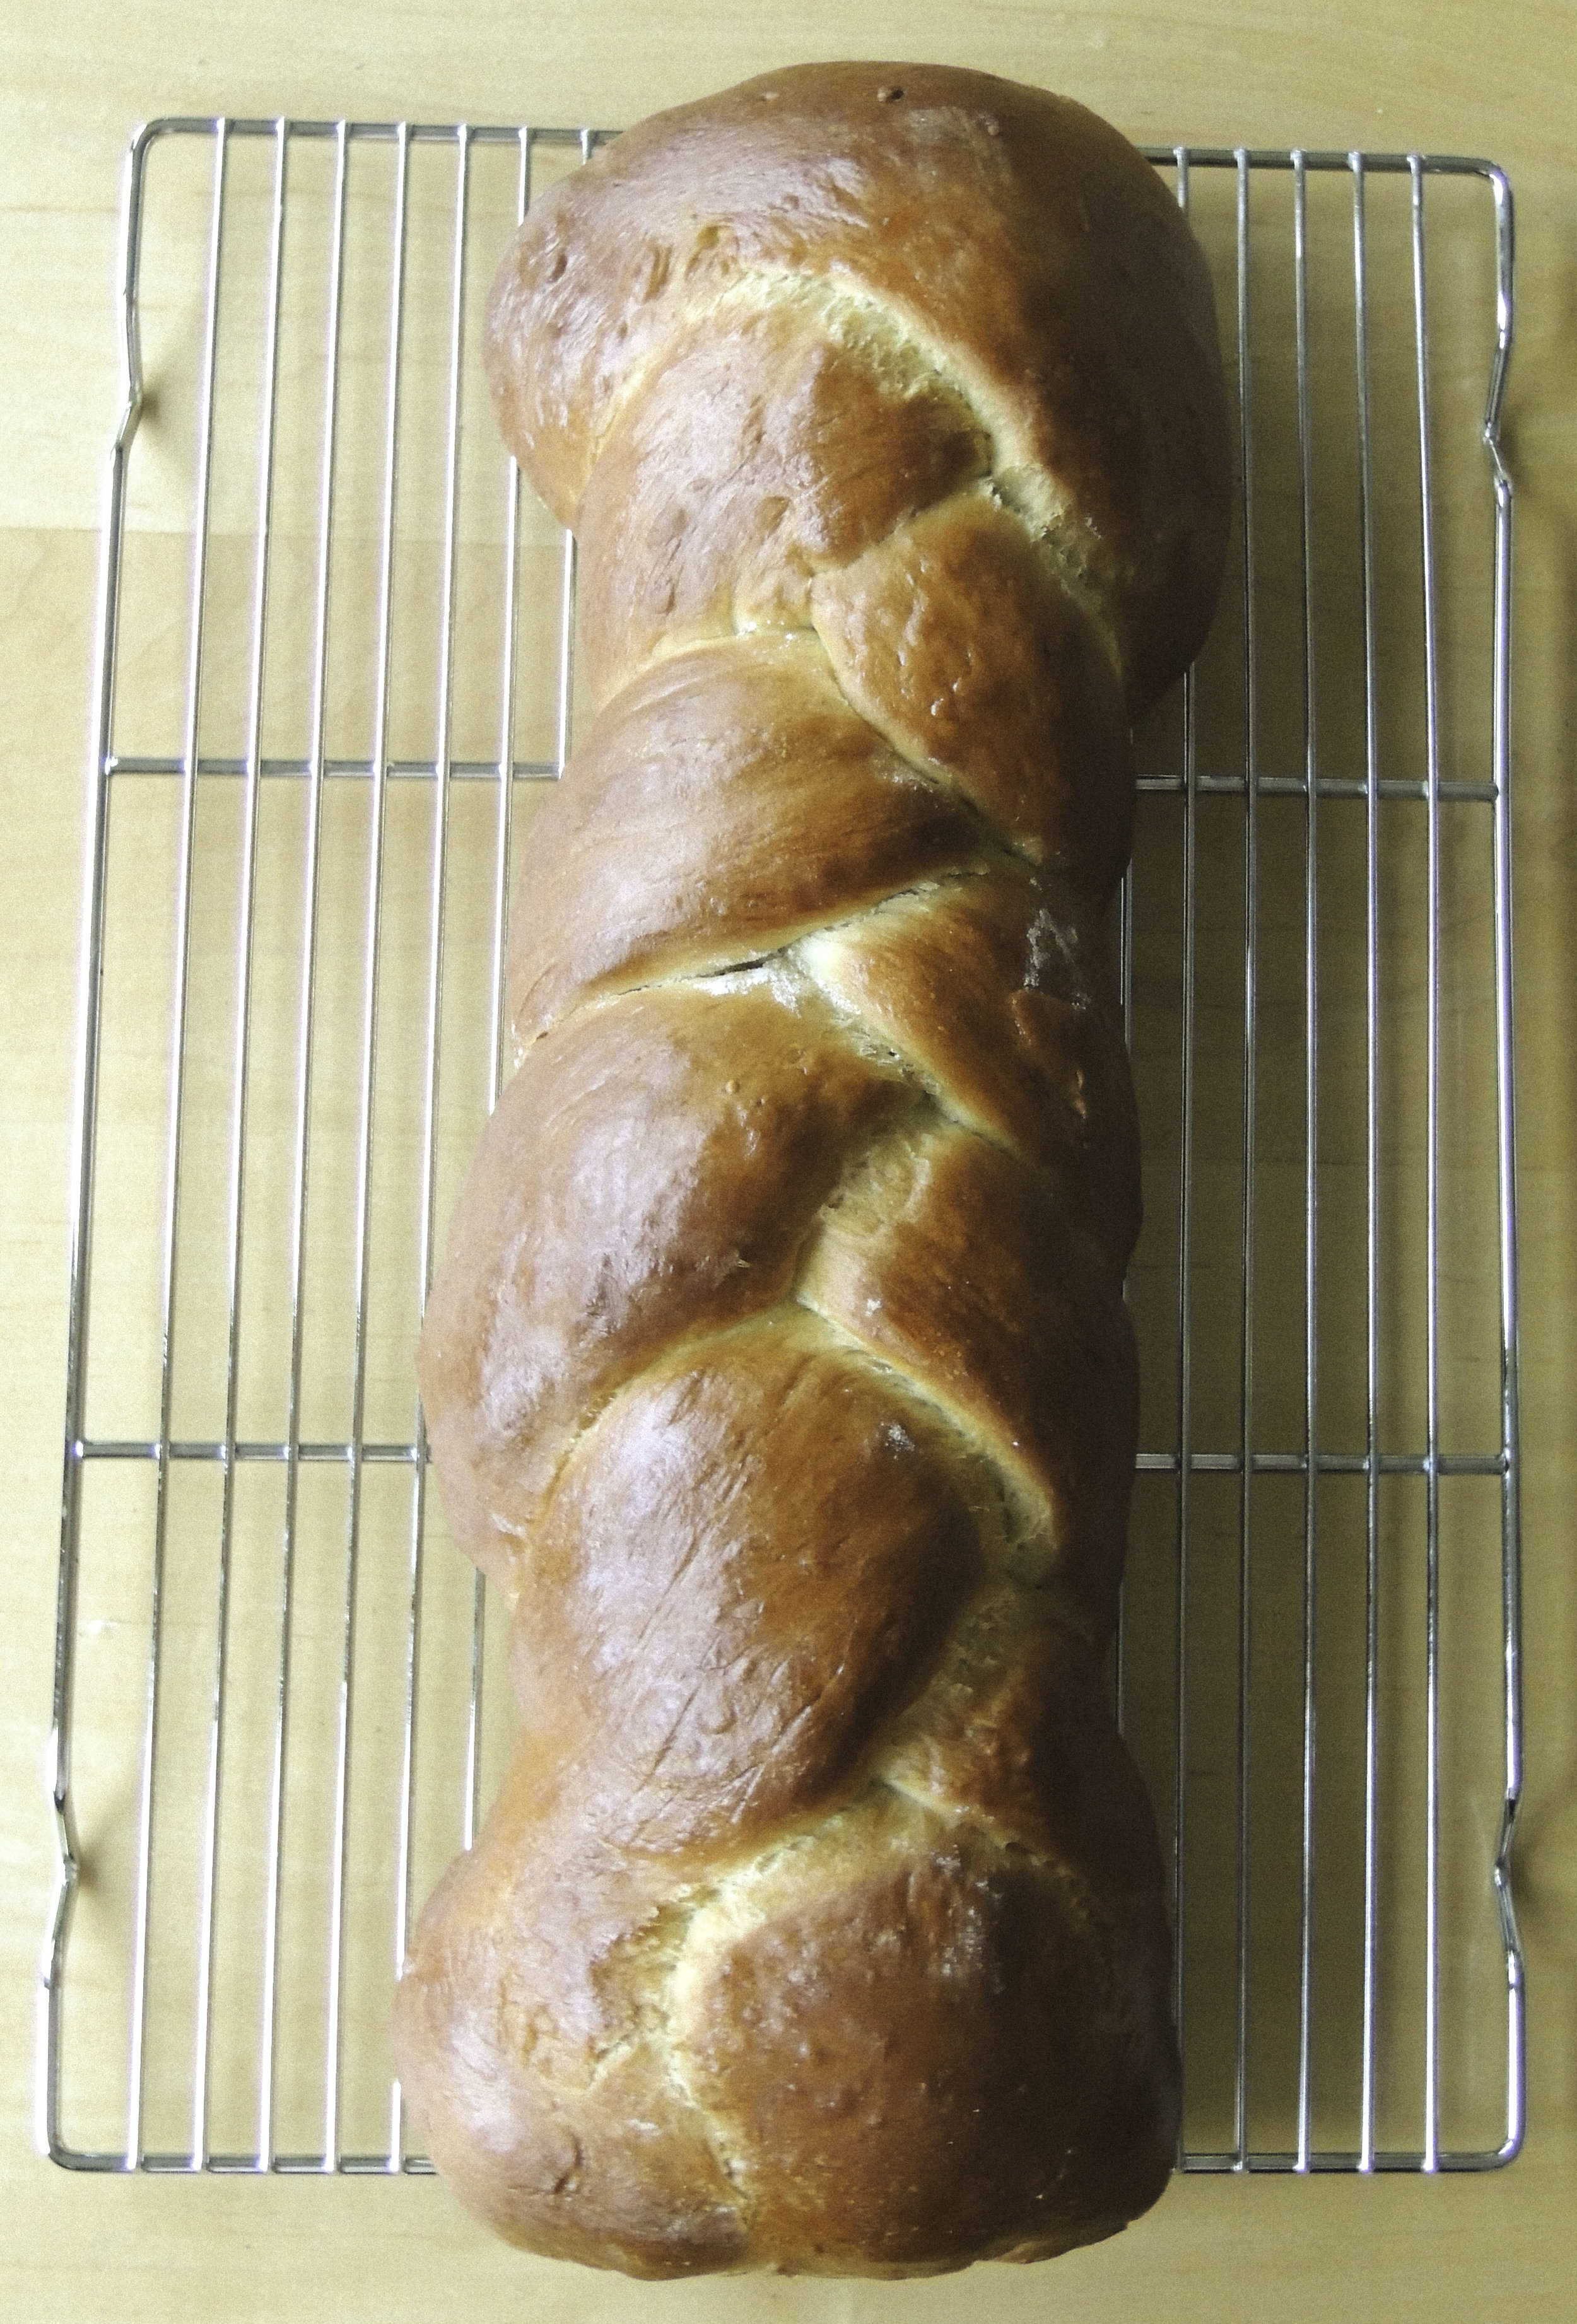
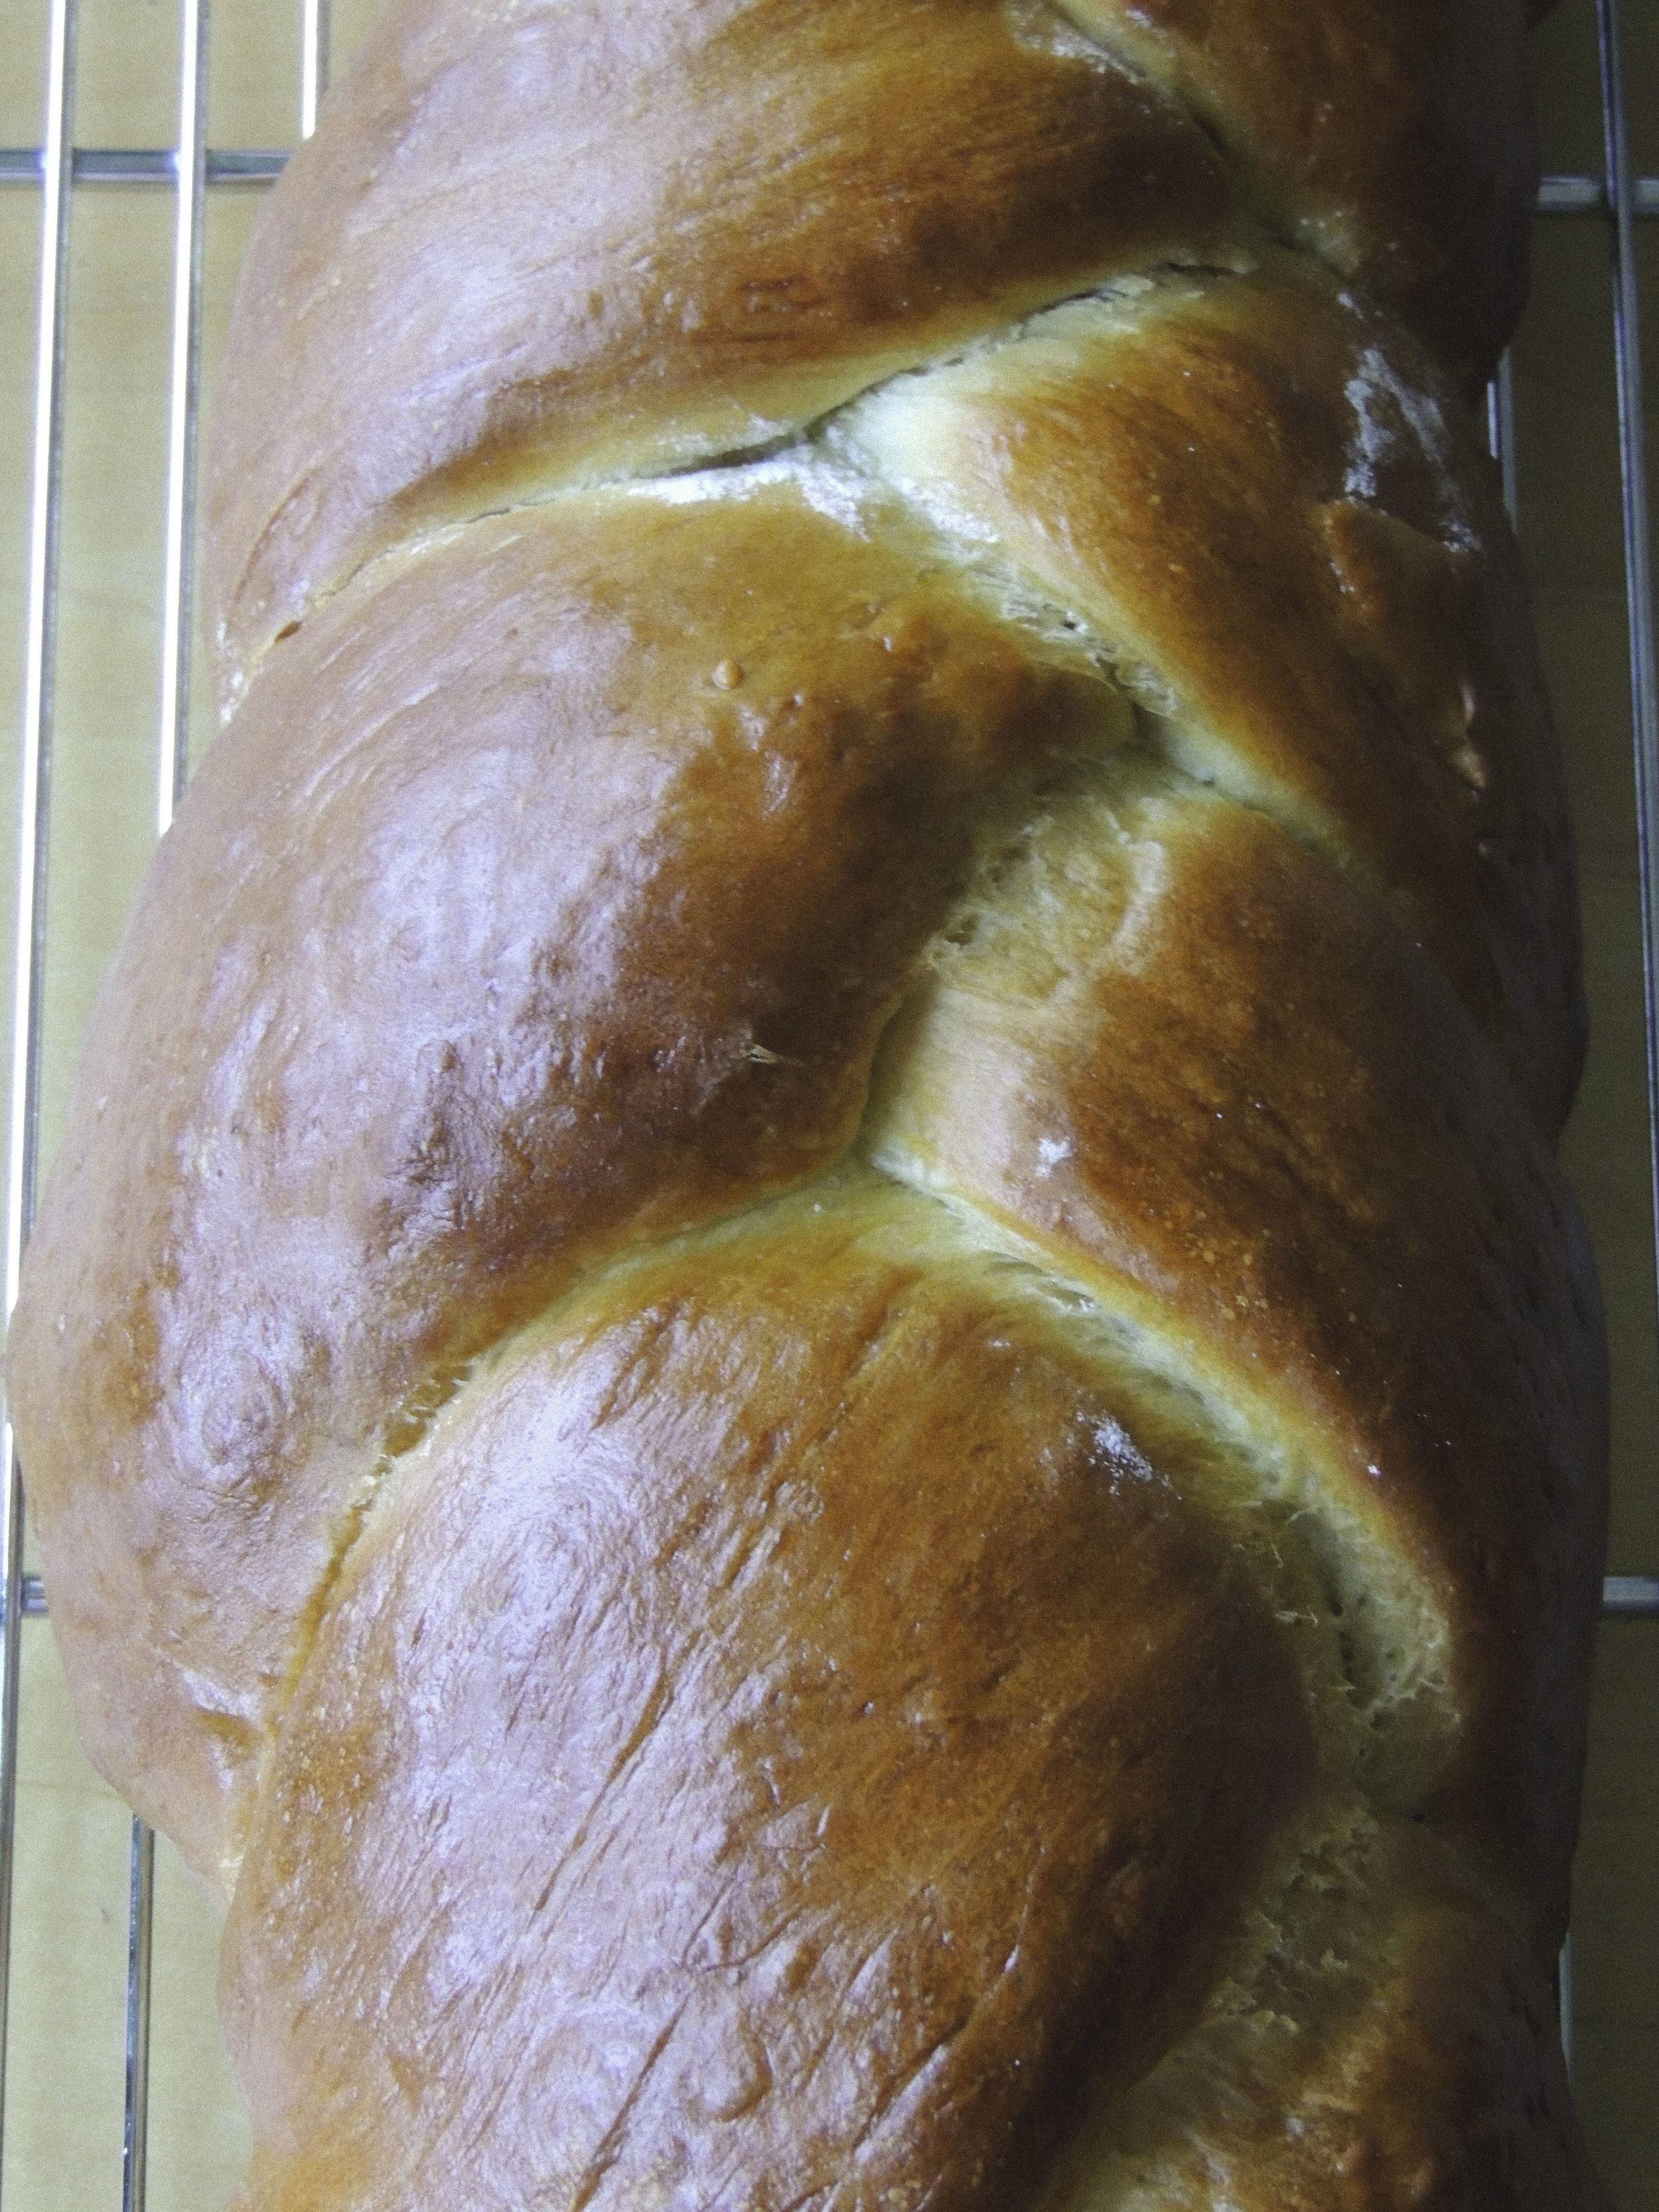
Baked Lemon Brioche French Toast with Raspberries

  Processed with VSCO with s3 preset

Lately I've had a hankering for french toast, but not a ton of time (or patience) in the morning to make it happen.  You have to soak the eggy bread in custard, you have to fry it on the stove, you have to fix the other side dishes that balance out the meal, you have to heat the syrup, etc. etc. etc. Who has time for that when every day you spend a an hour negotiating with your alarm clock for just five more minutes? So what does one do when they need a bright spot in a week of monotony, but very little time in the morning to make that happen? They fall in love with a make-ahead recipe like this one for Lemon Brioche French Toast with a fresh helping of minty-fresh raspberries on the side. Hello, bright spot.

This recipe is a citrus lover's dreaaaam. There's lemon zest in the custard mixture, then another hit in the freshly-squeezed lemon juice glaze.

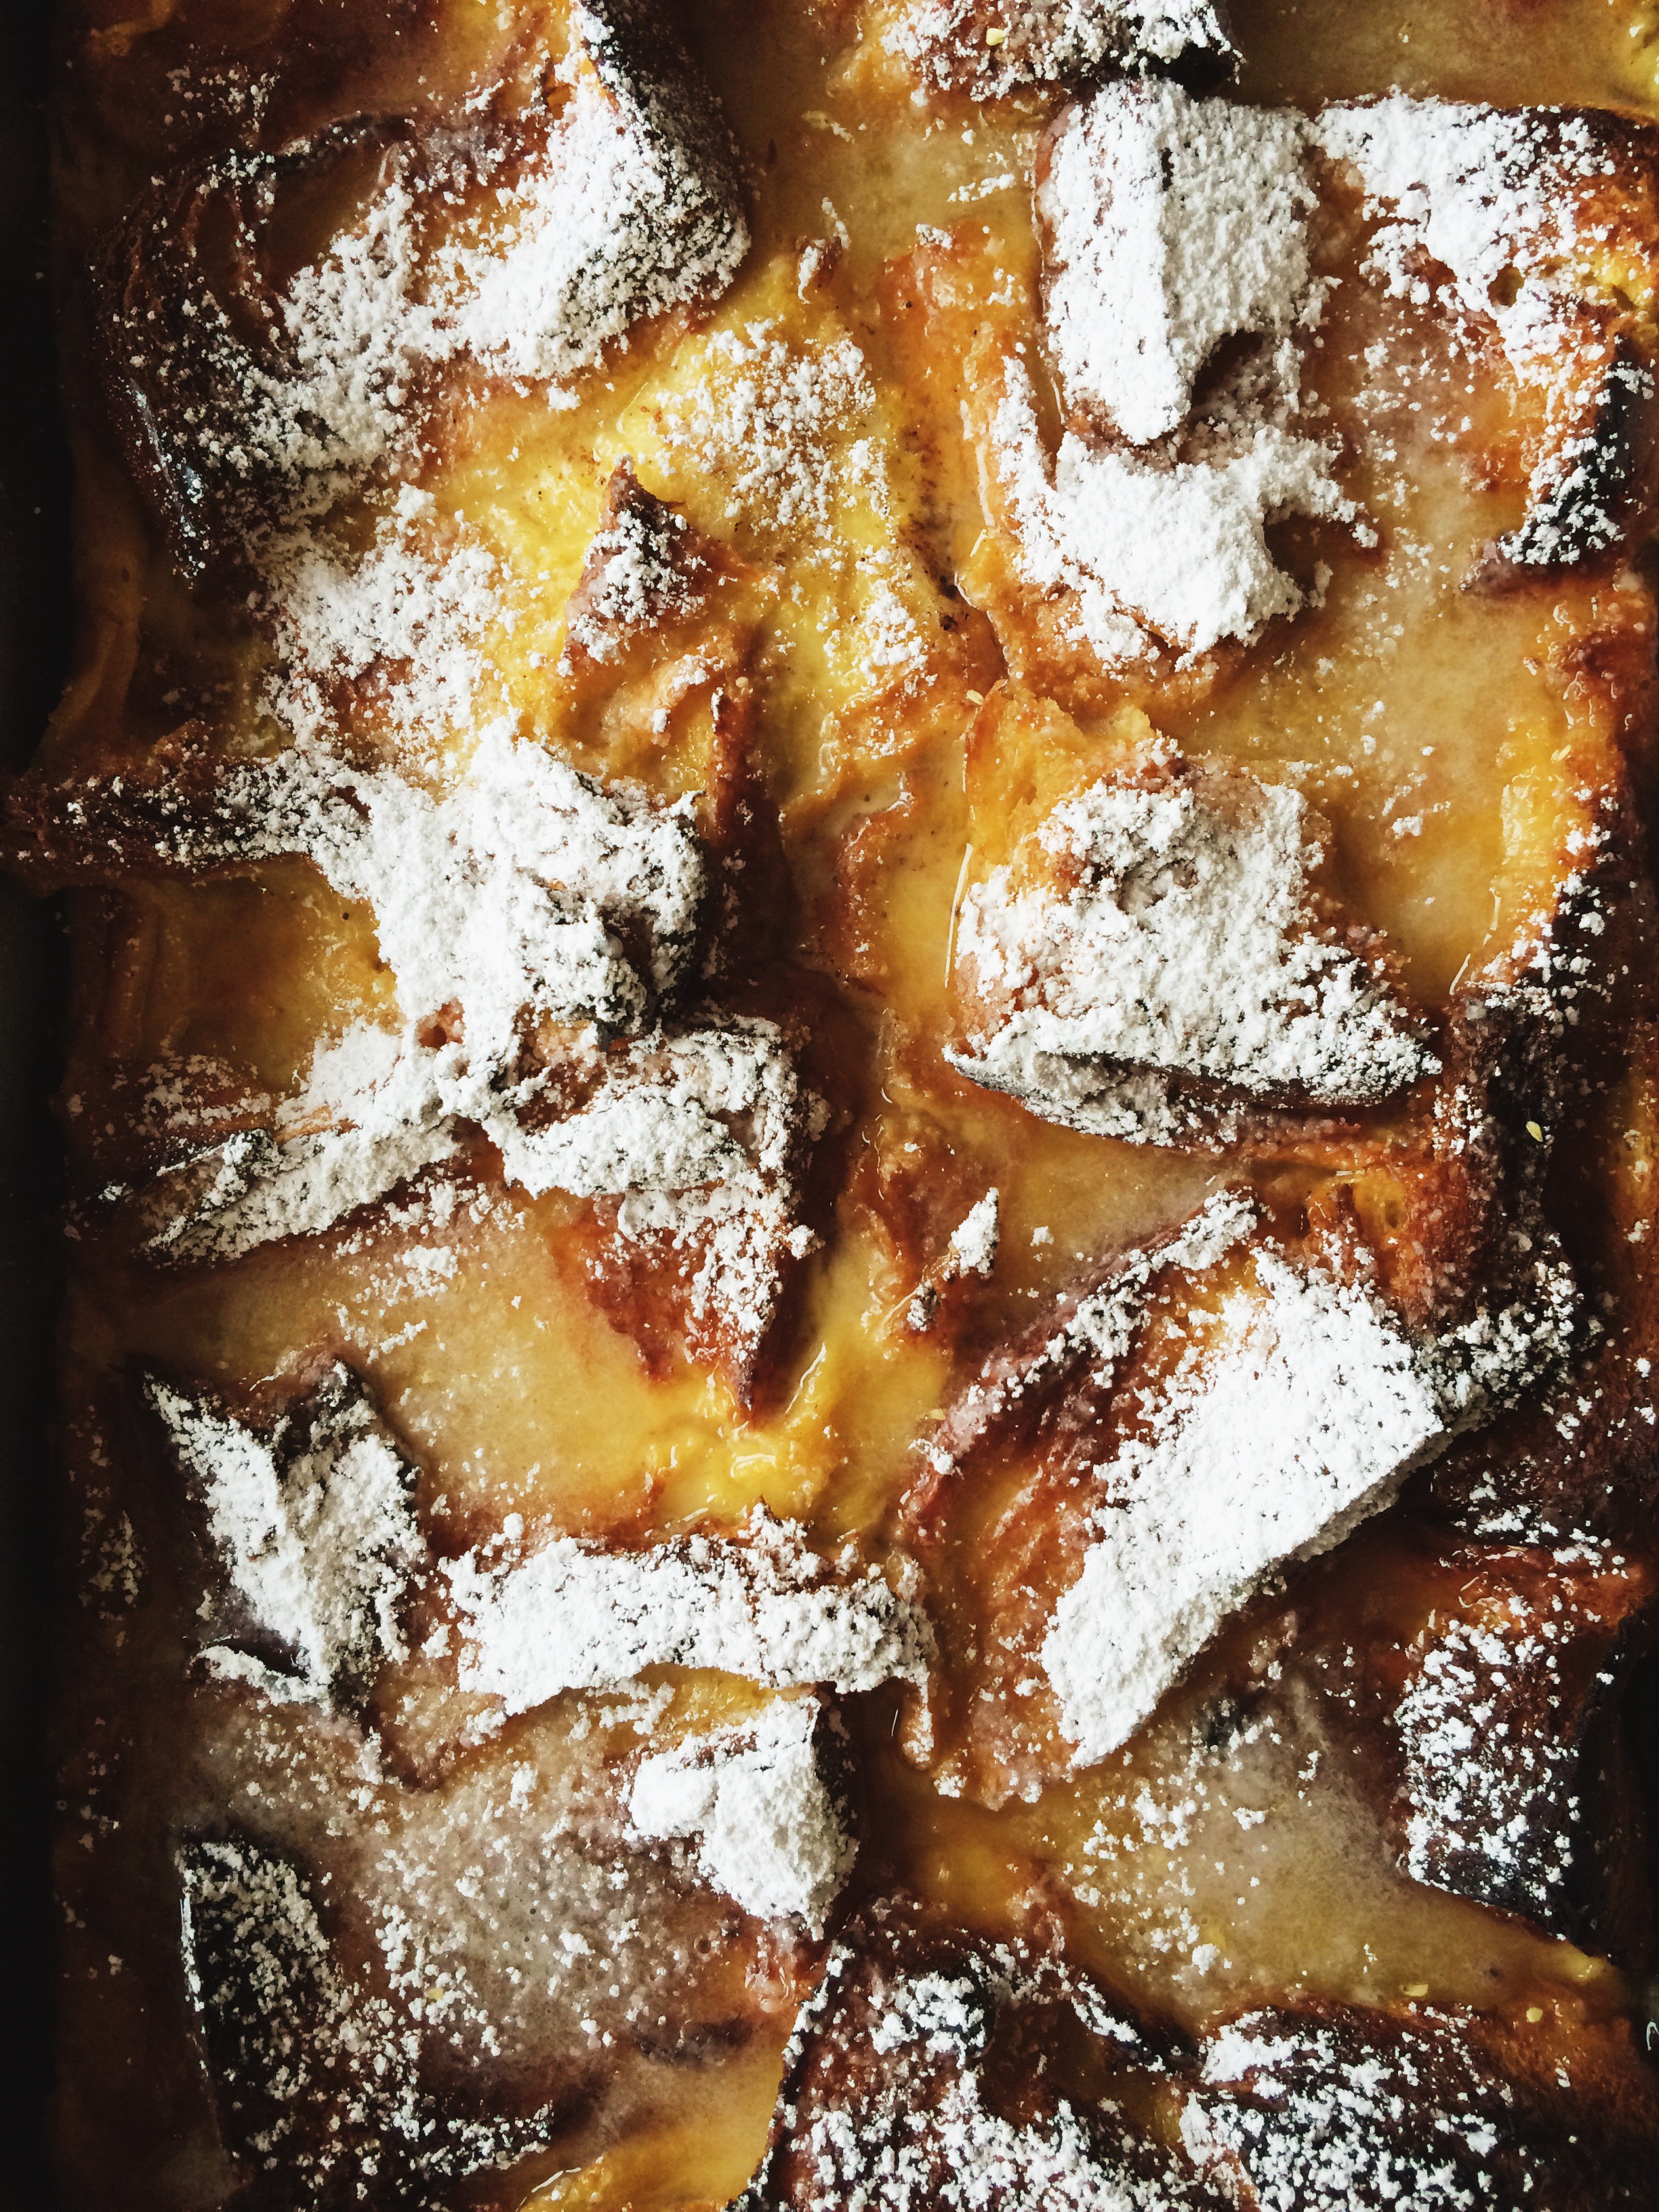
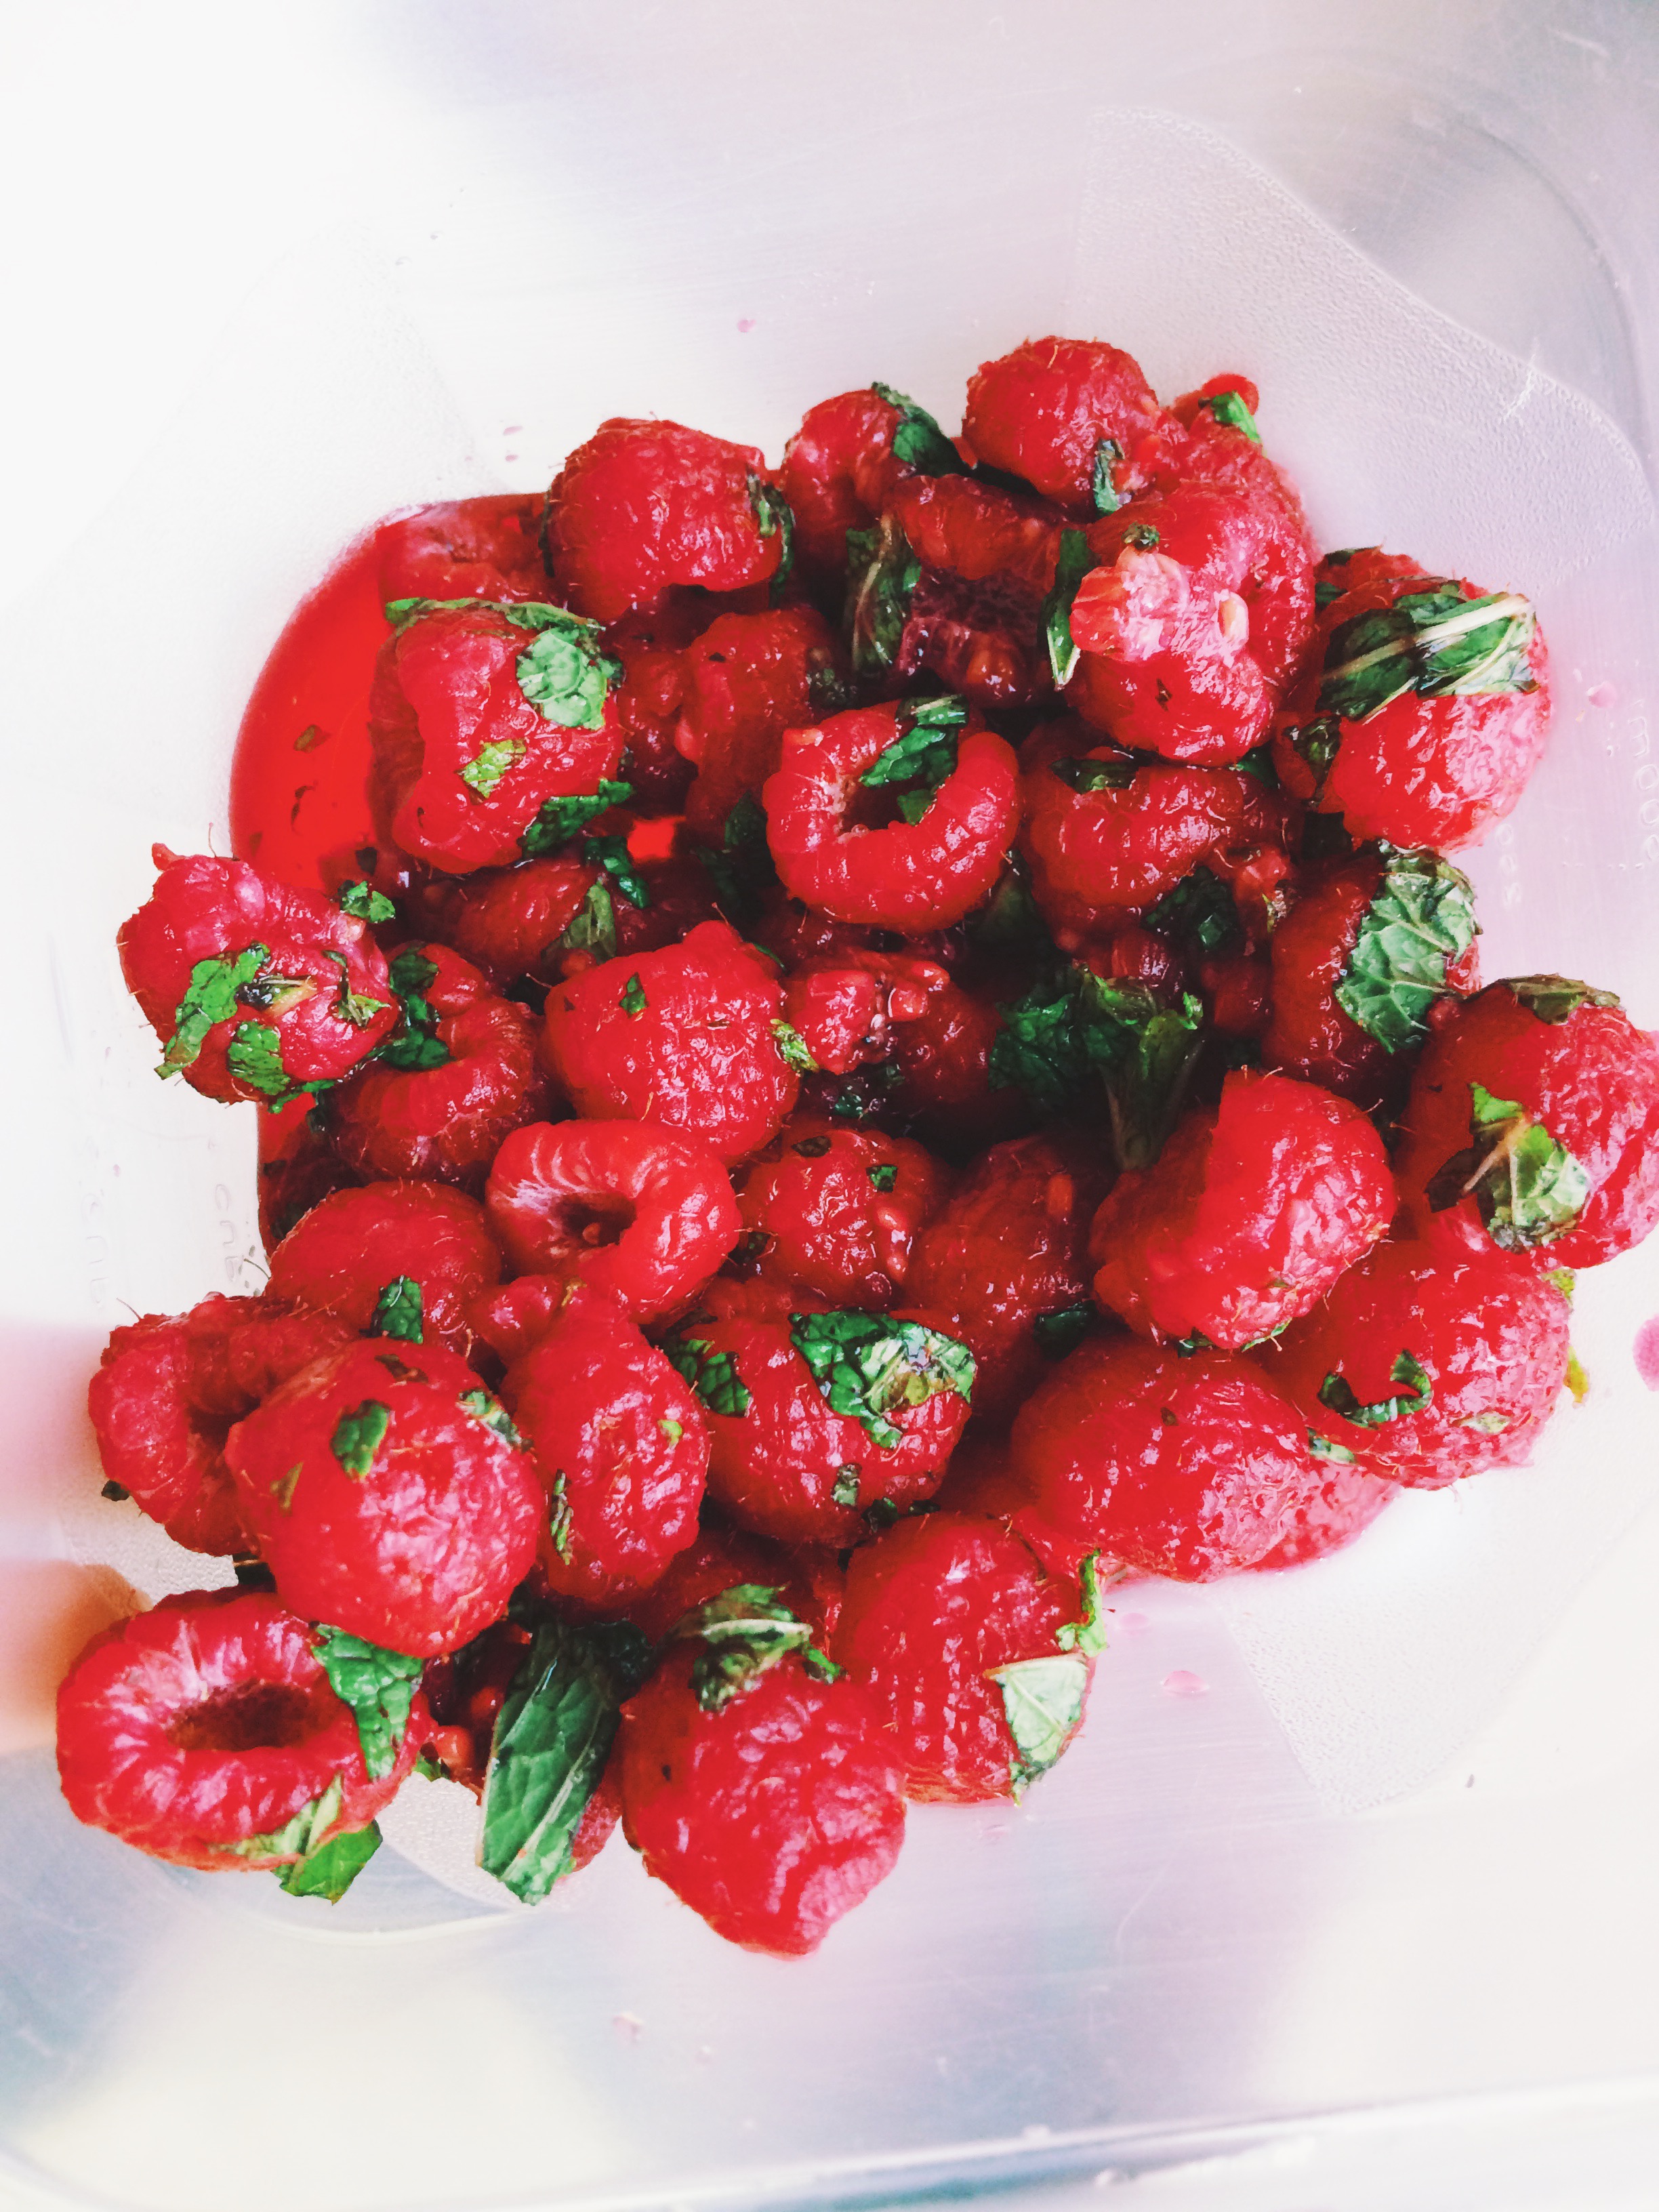
What's lovely about this baked version of french toast is the pillowy-soft consistency (almost like bread pudding) of the inner filling, mixed with a little bit of crispiness from the crusty top layer. And what better complement to the sweetness of the lemon brioche than the fresh, slightly tart macerated raspberries with mint? It's tasty, and your breath will never smell better in your whole life.

This is a breakfast recipe for those bakers out there that love to plan ahead, like myself. Anything that can cut my overall time even the slightest bit, I'm willing to do. The make-ahead factor of this recipe is what makes it a total keeper: this dish can be made 24 whole hours in advance, and, if you ask me, the longer it sits in the fridge, the better it actually becomes! Overall prep time the night before is probably around 20-30 minutes, then cook time the next morning is around 20-30 minutes, making total time an hour MAXIMUM. Fab, right? Imagine what you can get done while your french toast is baking in the oven? We're talkin' bacon, we're talkin' eggs, we're talkin' the works, people. I seriously can't say enough great things about it. Oh wait, there's one more: leftovers reheat PERFECTLY. So don't feel guilty if it's just you enjoying a special breakfast for yourself; there's no need to waste a thing. If you play your cards right, you could have a special breakfast almost every day of the week. And breakfast is the most important meal of the day, you know.

Have it for brunch, or have it on a regular old Monday. Either way, you're on your way to a baked breakfast of champions.


LEMON-BRIOCHE FRENCH TOAST W/ MINTY RASPBERRIES

What You'll Need:

(For the French Toast)

  • 2 lemons, zested and juiced
  • 3 large eggs
  • 1/4 cup light brown sugar, packed
  • 3 cups whole milk
  • 1 teaspoon vanilla extract
  • 1/4 teaspoon salt
  • 1/2 teaspoon ground nutmeg
  • 1 1/2 cups confectioners' sugar, plus more for dusting

(For the Minty-Raspberries)

  • 12 ounces raspberries, lightly washed and inspected
  • 3 tablespoons sugar, plus more if adjustment is needed
  • 1/4 cup loosely-packed mint leaves


DIRECTIONS 

*If you're making it ahead*

Grease well a 9 x 13 pan with butter, then set aside.

Slice the bread into 1/2 inch thick slices, then cut each slice in half. Next, take half of the bread slices and lay them in the baking sheet, making sure that there are overlapping layers. Sprinkle the bread slices with half of the lemon zest.

In a large bowl, whisk the eggs, then whisk in the brown sugar. Whisk until the ingredients are well combined. Next, whisk in the milk, vanilla, salt, nutmeg, and the rest of the lemon zest. Pour half of the custard mixture over the bread in the prepared baking dish, then layer the rest of the bread on top. Evenly pour the rest of the custard mixture over the bread to coat it.

Cover and refrigerate overnight. In the morning, take the casserole out of the fridge and let it sit at room temperature for at least 10 minutes before baking.


*If you're making it the same day*

Preheat the oven to 425 degrees F.

Do all of the instructions above.

When ready, bake the lemon brioche french toast for 20-30 minutes (make sure to check on it every so often because the crust of the bread tends to darken quite quickly), or until golden brown on top and puffy.

While the french toast is baking, whisk the lemon juice with the confectioners' sugar. Once you have taken the french toast out of the oven, immediately drizzle the glaze evenly over the top. Next, add a few extra teaspoons of confectioners' sugar to a fine strainer or shaker and add a light dusting over the top of the casserole.

Let the dish cool for at least 15 minutes before serving,

*While the dish is cooling*

Add the raspberries to a medium-sized bowl, then add the sugar and fresh chopped mint. Gently mix together, then let sit for 5 minutes so that the raspberries have a chance to release their juices. Add more sugar if the raspberries are still a little tart.

Serve the french toast in large slices, with raspberries on the side.


To store: Cover the dish in plastic wrap and store in the fridge. Let it come to room temperature for 10 minutes before reheating in the oven.


SOURCE: Slightly adapted from The Kitchn

Challah French Toast

challah bread 1 What to do when you can't find challah bread in literally any of the bakeries in your town? Make your own. You know what they say, "Desperate times call for desperate measures" blah blah blah. The truth of the matter is, I've always wanted to make challah completely on my own, so I didn't mind so much that I couldn't find it anywhere. It meant that it was up to me, and also that I better be extra careful not to mess it up; I had a date with french toast the next morning.

It absolutely must be said that I am a complete novice when it comes to this sweet and super delicious bread, so I'm going to refer you to this stellar tutorial over on The Kitchn. Really easy to follow, and SO USEFUL. I'm totally attempting the six-braid method the next time I make challah. (Hope it goes well.)

challah 2

If making challah bread has taught me anything it's this: make sure you read the recipe three times before you even get your mise en place. I always read a recipe several times, but after making this bread, the point has been driven home. It's not that this is a particularly difficult bread to make per seit's that making challah is very time-consuming. There's a lot of waiting involved. Like, hours of waiting in fact. So when you make this bread, make sure you've got the TIME to do it! This is not something you whip up in an hour. Just be patient, and you'll have a really pleasant reward.

The recipe called for proofing in a warm place with a clean dish towel over the top, but I had no idea where I could put it. I've let dough proof before on the counter, but it didn't rise like I so desperately wanted it to. Not properly proofing challah dough would guarantee disaster, so I decided to ask the internet for help. The advice that I got was SPECTACULAR: place your covered bowl on a higher rack in an oven that is completely OFF. Next, boil some water and pour it into a heatproof bowl. Place the bowl with water in it onto a lower rack, SHUT THE DOOR, and keep it shut! Now you've got your warm place, and you'll end up with a dough that has doubled in size once the time comes to take it out. It's thrilling.

challah 3

RIGHT, so let's get on to the french toast part of this post, shall we? You may be wondering what I did with my challah loaf after it was finished cooling. Well, in order to get the perfect french toast, you need slightly stale bread. In fact, it's imperative.. So, once my challah was finished cooling (and I'd gone through several  episodes of 'Tia Mowry at Home' on Cooking Channel) I simply left it slightly uncovered and went to bed. It worried me a little bit that it might dry out too much, but by the time I was finished in the kitchen that night, there weren't many hours left before it was time to get up and make breakfast. And everything turned out just fine. (Thank goodness.)

In the morning I sliced up eight very healthily-sized slices of challah, mixed up my custard , and set to work.

. So now, let's talk about how obsessed I am with challah french toast. BECAUSE I AM OBSESSED.

challah french toast

French toast is decadent, I mean, there's a reason why its present on every brunch menu that has ever existed. But there is just something so beyond  about whipping up a batch of challah french toast on a quiet weekend morning with a light sprinkling of powdered sugar on top from one of those unnecessary-for-anything-else shakers, and a drizzling of divinely warm maple syrup just waiting to be soaked up. THAT is decadence. Throw in a hot cup of hazelnut roast coffee, and a little bowl of fruit salad (in this case it was strawberry, blueberry, and mango with lemon juice) and we are TALKIN', my friend. That's what weekend mornings are all about. Be warned: this breakfast is incredibly rich, but oh my GOSH is it ever worth it.

And would you like to know the best part? It's made completely form scratch. Who needs a brunch menu?


CHALLAH FRENCH TOAST 

What You'll Need:

  • 3 large eggs
  • 1 cup half-and-half
  • Pinch of salt
  • 1 tablespoon of sugar
  • 8 slices of challah bread 1" thick, cut from a slightly stale loaf
  • 2-3 tablespoons butter
  • Powdered sugar for sprinkling on top, optional
  • Fresh Fruit, optional

Directions:

Place a large skillet (Mine is 12 inches) over medium-low heat.

Whisk the eggs, half-and-half, salt, and sugar in a large baking pan (I used an 11X13 rectangular cake pan) until everything is fully incorporated.

Place four slices of bread into the custard to soak for at least one minute on each side (I ended up doing a little longer, but it's up to you. Make sure it's at least one minute though! )

While the bread is soaking, melt one tablespoon of butter in the skillet. You'll know it's ready when it starts to foam. When it has started to foam, move it around so that it coats the entire bottom of the skillet.

Move your cake pan with the soaking pieces of bread next to the stove so that there will be no dripping.

Lift one piece of bread and very gently shake it to get rid of any excess custard, then gently place it in the skillet. Repeat this process with each piece of bread.

After 1-2 minutes, check under a slice of bread to see if it has turned golden brown. When it has turned golden brown, flip each piece of bread and continue cooking until they're golden brown on the other side. Be sure to keep an eye on the skillet so that your toast doesn't burn.

Place your finished first batch onto a serving plate, and your final four pieces of bread into the custard for soaking on each side. (Should you run out of custard before you've run out of bread, I've found that whisking another egg, some more half-and-half, a little sugar, and a little salt works nicely!) Place another tablespoon of butter into your skillet, wait until it foams, and repeat the process of cooking your french toast. Once all of your pieces of bread have turned deliciously golden brown on both sides, transfer them to your serving plate.

Sprinkle a little powdered sugar on the top if you're into that, heat up some delicious maple syrup, and cut up some fruit to use as a topping if you;d like. Enjoy!!


SOURCE: Adapted SUPER SLIGHTLY from The Kitchn 


Ladies' Brunch!

  photo

I'd been itching to have a party for a while, so when my friend Grace mentioned an article she'd seen solely devoted to french toast recipes, I knew that a Ladies' Brunch was definitely in order.

As much as I love cooking and baking, I almost never do it for myself. Cooking for one can be a little depressing, so when given the chance to cook for others, I dive head first. All the bases were covered: a cheese plate, (a chalkboard plate I got on sale at Crate and Barrel!) a Florentine Fritata (I got the recipe from Breakfast for Dinner),  delicious and crispy brioche french toast with baked berries and maple syrup (curtesy of Grace!), and last but certainly not least, fresh and giggle-inducing grapefruit mimosas! At my house, you go big with brunch, or you go home.

photo

A good brunch always needs fresh flowers. It brightens up any room, and reminds you that Spring has sprung, and you must embrace it.

photo


Trader Joe's actually has a great selection of cheeses from all over the place, for excellent prices. My local grocery store was trying to charge me almost double, for less product. I don't think so!

photoIt took me 20 minutes to make the mimosas, and I had the best time doing it. Cutting up those grapefruits made the house smell so wonderfully citrusy.


photo

I thank my lucky stars everyday that I decided to keep the champagne glasses I impulse bought at Goodwill last year. I hardly ever use them, but when the time comes, these beauties come in absolute handy.

photo

I've caught the entertaining bug, and I'm thinking a nice, classic dinner party is next!


Grapefruit Mimosas

What You'll Need:

1 750 ml bottle of Prosecco, chilled

4 large grapefruits (should make 3-3.5 cups of grapefruit juice)

Optional Sweetener or Simple Syrup


1. Fill a large pitcher with your freshly squeezed and chilled grapefruit juice, then add the prosecco. (Make sure your pitcher is big enough to handle both the juice, and the contents of the bottle, plus the foam. The foam is what ties it all together!)

2. Add sweetener to taste. (I added a couple spoonfuls of granulated sugar)


Yields about six servings

Source: Jason and Shawnda


If loving brunch is wrong, then I just don't want to be right.

singature gray