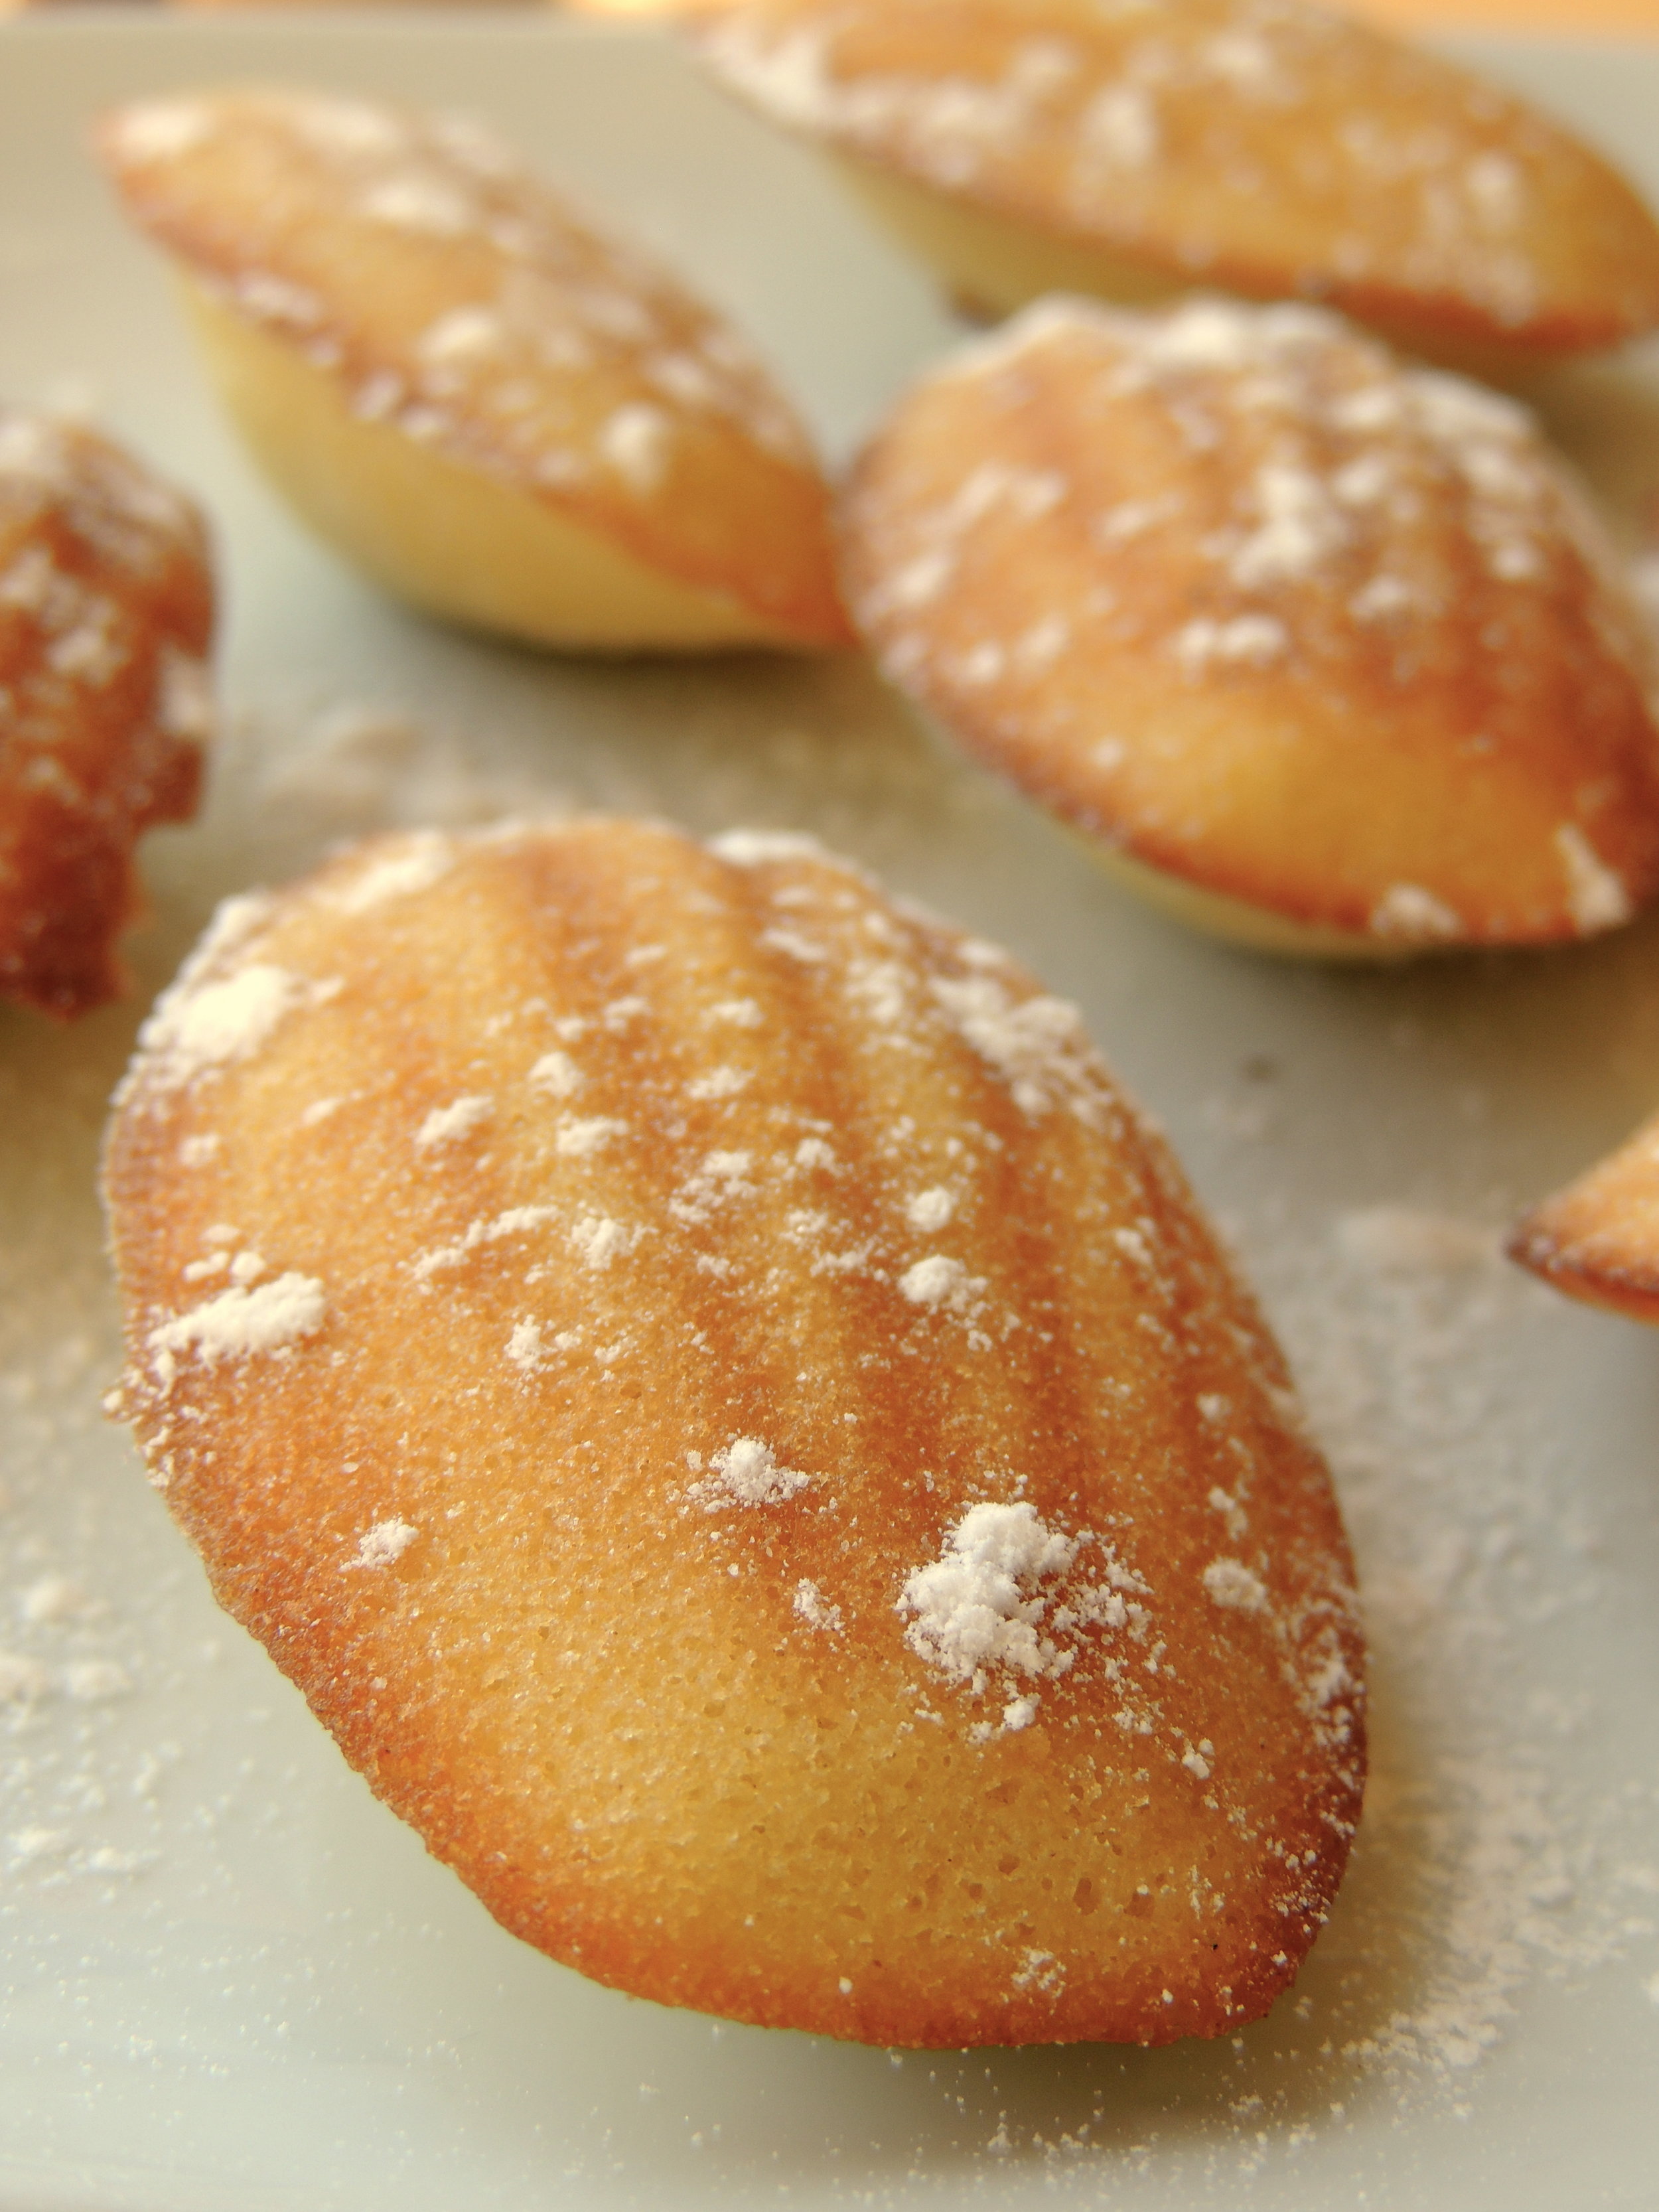
Heart-Shaped Jammy Sammy Cookies
 I know February 14th is long-gone, but I subscribe to Valentine's Day-cutesienss 365 days out of the year.
By the way, how was your Valentine's Day? Mine was surprisingly fun this year, which has freed me from the cycle of weird/awkward/disastrous scenes of Valentine's Day past. I volunteered at the an annual Sweetheart Dinner (last year I made this French Silk Pie), and had a BLAST. There were several courses involved, and no time to take a breath as we were each cooking over our respective dishes (I was on dessert duty but got roped into making seafood Alfredo once we got there). Lots of "behind"-s, and "this is ready to go out!"-s, and "We need more ginger ale for the punch!"-s were thrown out, and it reminded me of how much I love being in a busy kitchen. I live for that hustle and bustle sometimes. I mean, I've never dried so many dishes, or continuously scrubbed the same countertops so many times in my entire life, but MAN was it worth it. It was a really classy affair.
Would you like to know the best bit? These cookies were a BIG HIT!


"Jammy Sammie Cookies" is just the name that I wrote to be cute/slightly annoying. You're probably more familiar with the name "Linzer," because of the filling and shape cut out of the center. I generally see Linzer cookies the most during the Holiday Season, but if you ask me, the cookie cutout + filling pairing should be a yearlong affair. And what goes better with a heart shape on Valentine's Day than fresh strawberry jam? Red is like the official unofficial color of V-Day, so the filling of these cookies were required to match accordingly.
Quick question: how do you feel about homemade jam? Me? I'm all about it. I feel like there's nothing that makes me feel cozier than when I'm making jam from scratch. Sure, it takes way less time to just pick a jar off the shelf at your local grocery store, but when you make it yourself you: A) Know exactly what has gone into it, and B) MADE. IT. YOURSELF. Helloooooooo! It's (relatively) fast, (totally) easy, (unbelievably) fresh, and you know it's always made with love.
Now pair that sweet, sweet jam with some deliciously soft shortbread plus a liberal sprinkling of powdered sugar for good measure, and you've got the stuff of dreams, kids. What could be better?
Since you'll definitely have jam left over after filling the cookies, might I make a few suggestions as to what to use it on?
- Biscuits
- Scones
- Toast
- Fingers dipped in
- By the spoonful
- etc. etc.

And let's just quickly talk about the versatility of these cookies, shall we? Yes, they were made for February 14th, but they can go wayyy beyond that. We're talkin' tea parties, birthday parties, bridal showers, picnics, breakfasts, coffee breaks, dates, etc. etc. Cookie hearts filled with homemade jam never go out of season.
It's a beautiful thing.

HEART-SHAPED JAMMY SAMMY COOKIES
What You’ll Need:
For the shortbread:
2 sticks unsalted butter, at room temperature
1 cup granulated sugar
1/4 teaspoon salt
1 large egg + 1 large egg yolk, room temperature
1 teaspoon vanilla extract
2 1/2 cups all-purpose flour
Powdered sugar for sprinkling
For the jam:
32 oz (two 16 oz containers) strawberries
1/2 cup + 1 tablespoon brown sugar
Pinch of salt
Zest of 1 whole lemon + juice of half a lemon
DIRECTIONS:
First, let’s make the shortbread cookie dough:
In the bowl of a stand mixer fitted with the paddle attachment (or a hand mixer, or a wooden spoon), add the butter, sugar, and salt and beat until light and fluffy, about 3-5 minutes. Add the egg and egg yolk one at a time, making sure each addition is well combined. Next, add the vanilla extract. Add the flour in three batches, making sure each addition is well combined (but don’t over-mix), before adding more flour. When necessary, scrape down the sides of the bowl using a rubber spatula.
Once your dough has just come together, lay your dough out on a plastic sheet, then divide it in half. Wrap each half tightly in plastic wrap, then shape to form discs. Refrigerate the discs for at least one hour, but best is overnight.
Ok, dough’s done, now let’s make the jam:
Rinse strawberries before using, and let drain completely before getting started.
Once your strawberries have been washed, hull each strawberry, then cut into quarters. Place all of your cut up strawberries in a medium sauce pan. Next, add your brown sugar, pinch of salt, lemon zest, and lemon juice. Using a potato masher (or the back of a wooden spoon), muddle all of your ingredients together, making sure that the berries’ juices are starting to release, and your sugar and salt have started to dissolve.
Cook your fruit compote, stirring frequently, over medium-high heat until your jam has thickened, and it passes the line test (a line can be drawn down the center of the spoon without the juices running); On my stove, that takes about 30-35 minutes. Along the way, make sure to give your jam a few taste tests, and adjust the flavors to your liking. The mixture will bubble quite a bit and juice may jump out of the pan occasionally, so watch out for that!
When your jam has come together, take it off the heat and let it cool completely before transferring it to a mason jar or tupperware container.
This jam will last for several weeks refrigerated.
VERY IMPORTANT: DO NOT leave the stove whilst you’re making your jam. One minute it can still be too runny, then the next you’re cleaning burnt strawberry syrup out of the pan until your arms fall off. Trust me. Stay put. Keep stirring.
Ok, my dough has rested. Time to make some cookies!
Preheat the oven to 375 degrees F, and line two baking sheets with parchment paper. Set aside.
Remove the first disc of dough and let sit on a counter for ten minutes; this allows it to come to room temperature, thus making it much easier to roll out.
Liberally flour a rolling pin and work surface.
Roll the cookie dough out to a 1/8 inch thickness, then, using a floured heart-shaped cookie cutter, cut out shapes. Transfer the hearts to the cookie sheets lined with parchment paper, about 1-inch apart. Stamp a hole out of the center of half the cookies using the tip of a circle piping tip. Repeat the process with any remaining scraps, and with the second disc of dough.
Bake the cookies one sheet at a time for 7-10 minutes (depending on your oven), or until the cookies have started to lightly brown around the edges. Allow the cookies to cool for five minutes on the baking sheet before transferring them to wire racks to cool completely.
Transfer the cookies with the holes cut out of the center to one of the cool baking sheets (keep the parchment paper on). Sprinkle a generous amount of powdered sugar over them using a sifter, mesh strainer, or powdered sugar shaker. (Aren’t you glad you have the parchment paper now to catch the excess sugar?) Flip the bottom cookies (no holes in them) over so that the underside is facing you, then apply about a teaspoon of jam right in the center of each. Place the tops on, then lightly press down so that you create a sandwich. The jam should spread evenly to the edges and through the center hole without overflowing. Enjoy!
To Store: Refrigerate in an airtight container for up to a week.
SOURCE: Adapted from A Cozy Kitchen