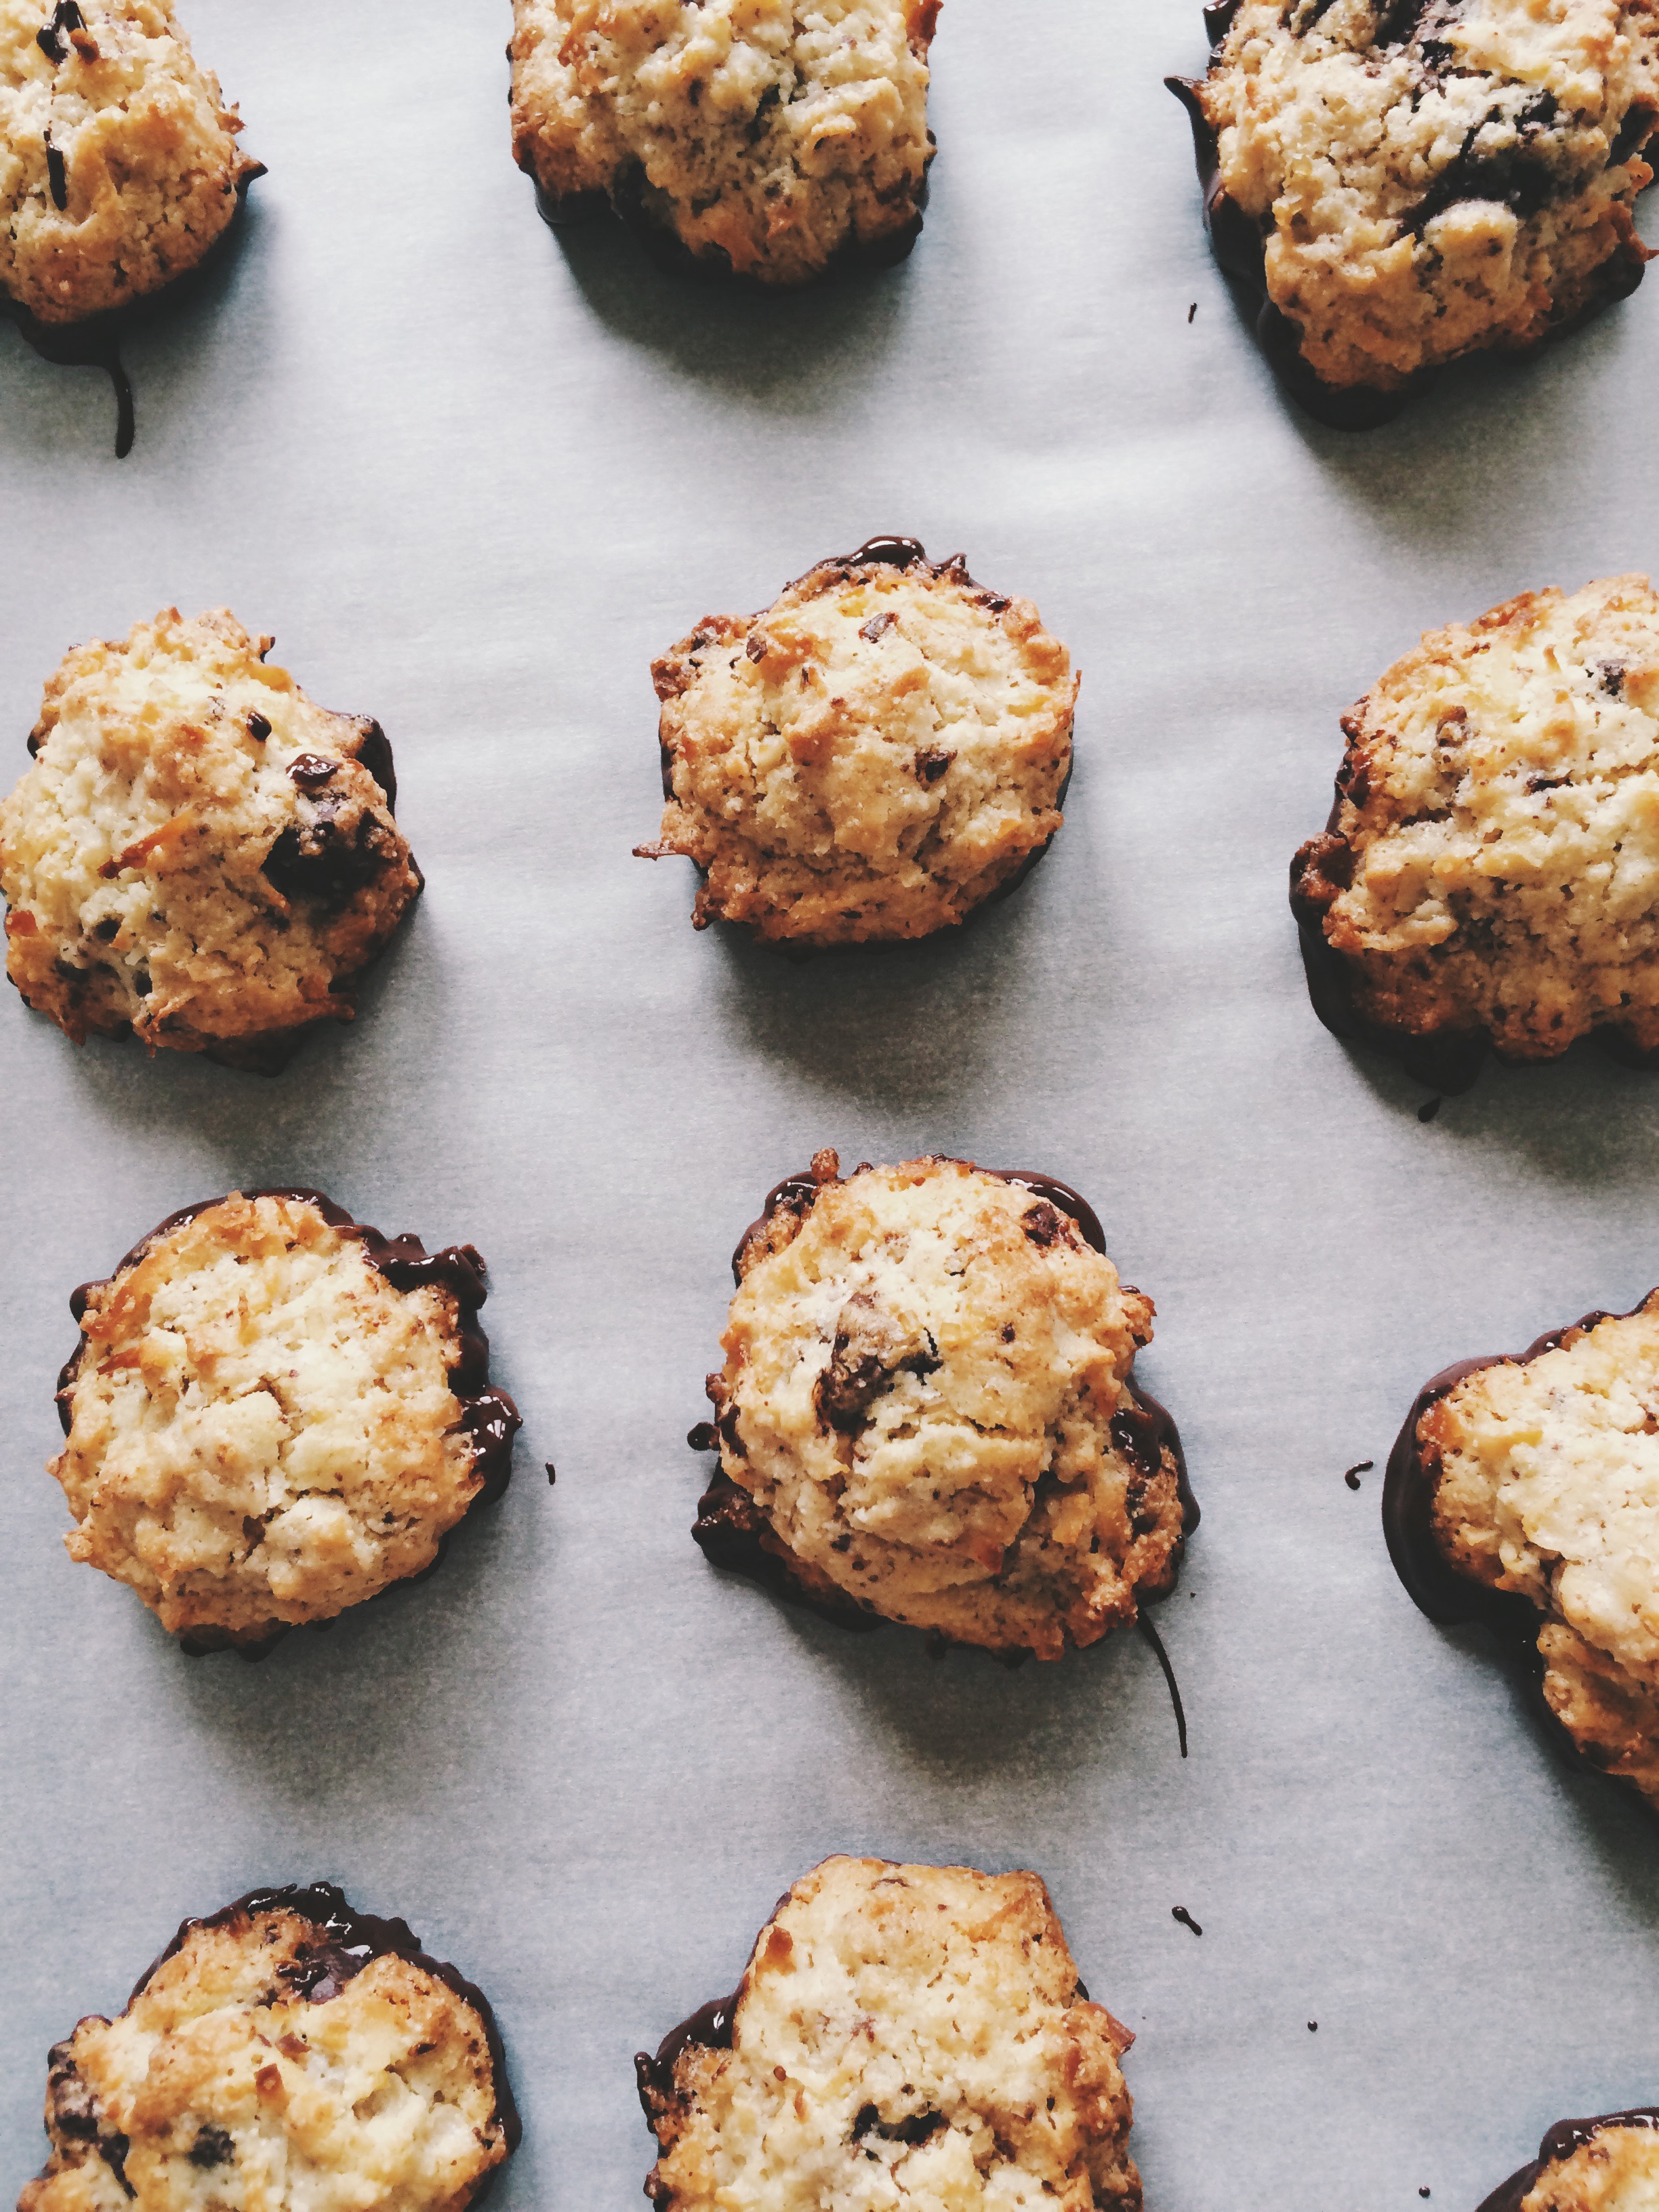
Cappuccino-Chocolate Sandwich Cookies

I have a question for all the Martha Stewart fans out there: Are you watching Martha Bakes?? If not, go. GO RIGHT NOW. GO SET YOUR DVR! I'll wait here.

OK, did you do it? Good. You won't regret it.

You know what's so rare? Baking shows without all the bells and whistles. Shows these days so are heavily edited for "drama," and condensed so much that you don't really feel like you could belong in that world. When I tune into a baking/cooking show, I want to feel like I'm actually in your kitchen as you TEACH ME SOMETHING! I don't want to be dazzled if it means that whatever has dazzled me is so unattainable that I shouldn't even bother to try. That's why I love Martha Bakes. Martha gets down to the nitty gritty. Whatever she makes, she makes in full. And yeah, there is a bit of "TV Magic"; sometimes what she's just made is already baked, but for the most part, the step--by-step, no matter how long it takes, is there. It's perfect. It's attainable.

This week, while going through the collection of MBs on my DVR, I discovered that Martha had done an episode entirely dedicated to coffee. Yes and yes. I was completely on board. She made cakes, she made ice cream, she made pie. It was all quite divine. But what really caught my eye (and I'll be honest: for all the thousands of hours spent watching cooking and baking shows, I hardly ever make anything from the episodes I've watched), was the cappuccino-chocolate sandwich cookies. They were cute and little, so deliciously chocolatey-looking, and a seemingly easy project to take on on a whim. I have an entire mason jar full of ground espresso beans, and I've been looking for ways to lighten the load a little bit. These sandwich cookies did very nicely indeed.

Processed with VSCOcam with s2 preset

You know, it's funny, I feel like a person who can really take or leave coffee. I have friends who have to have it first thing in the morning, and truly treat it like gold. To me, it's nice, but it holds very little significance in my life. (That significance is reserved for Mexican Coca-Cola I think.) But there are times when I positively NEED the taste of coffee as soon as possible. Usually that comes in the form of an emergency trip to a local coffeehouse, but I think it's good to broaden one's horizons to solid forms of coffee as well. And BOY are these cookies  the jolt of caffeine you need to brighten up your day.

Having one of these cookies is like having a quick cup of espresso with a dash of cream. But instead of those sweet little cups, you have a sweet and chocolately three-bite cookie. The dough alone had me breathing deeply, so when it came time to taste-test, OBVIOUSLY I was on cloud nine. I couldn't stop nibbling for ages, so you KNOW the final result was going to be delicious.

The taste of coffee is very present, but not overwhelming. The balance of the two chocolates just enhances the overall pleasure of the ground espresso. And the chocolate cream? OHHHHHHHH so good. Buttery and choclately, and addictive. And since there are two whopping tablespoons of straight-up ground espresso beans in the cookie part, plus a little more  in the chocolate drizzle, I think you can safely swap out that third cup of coffee for one or two of these lil guys.

If you couldn't tell by now, Sydney is allllllll about these cookies. I bounced off the walls and I loved it.

I think you'll love these, too.


CAPPUCCINO-CHOCOLATE SANDWICH COOKIES

What You'll Need:

  • 1 1/3 cups heavy cream
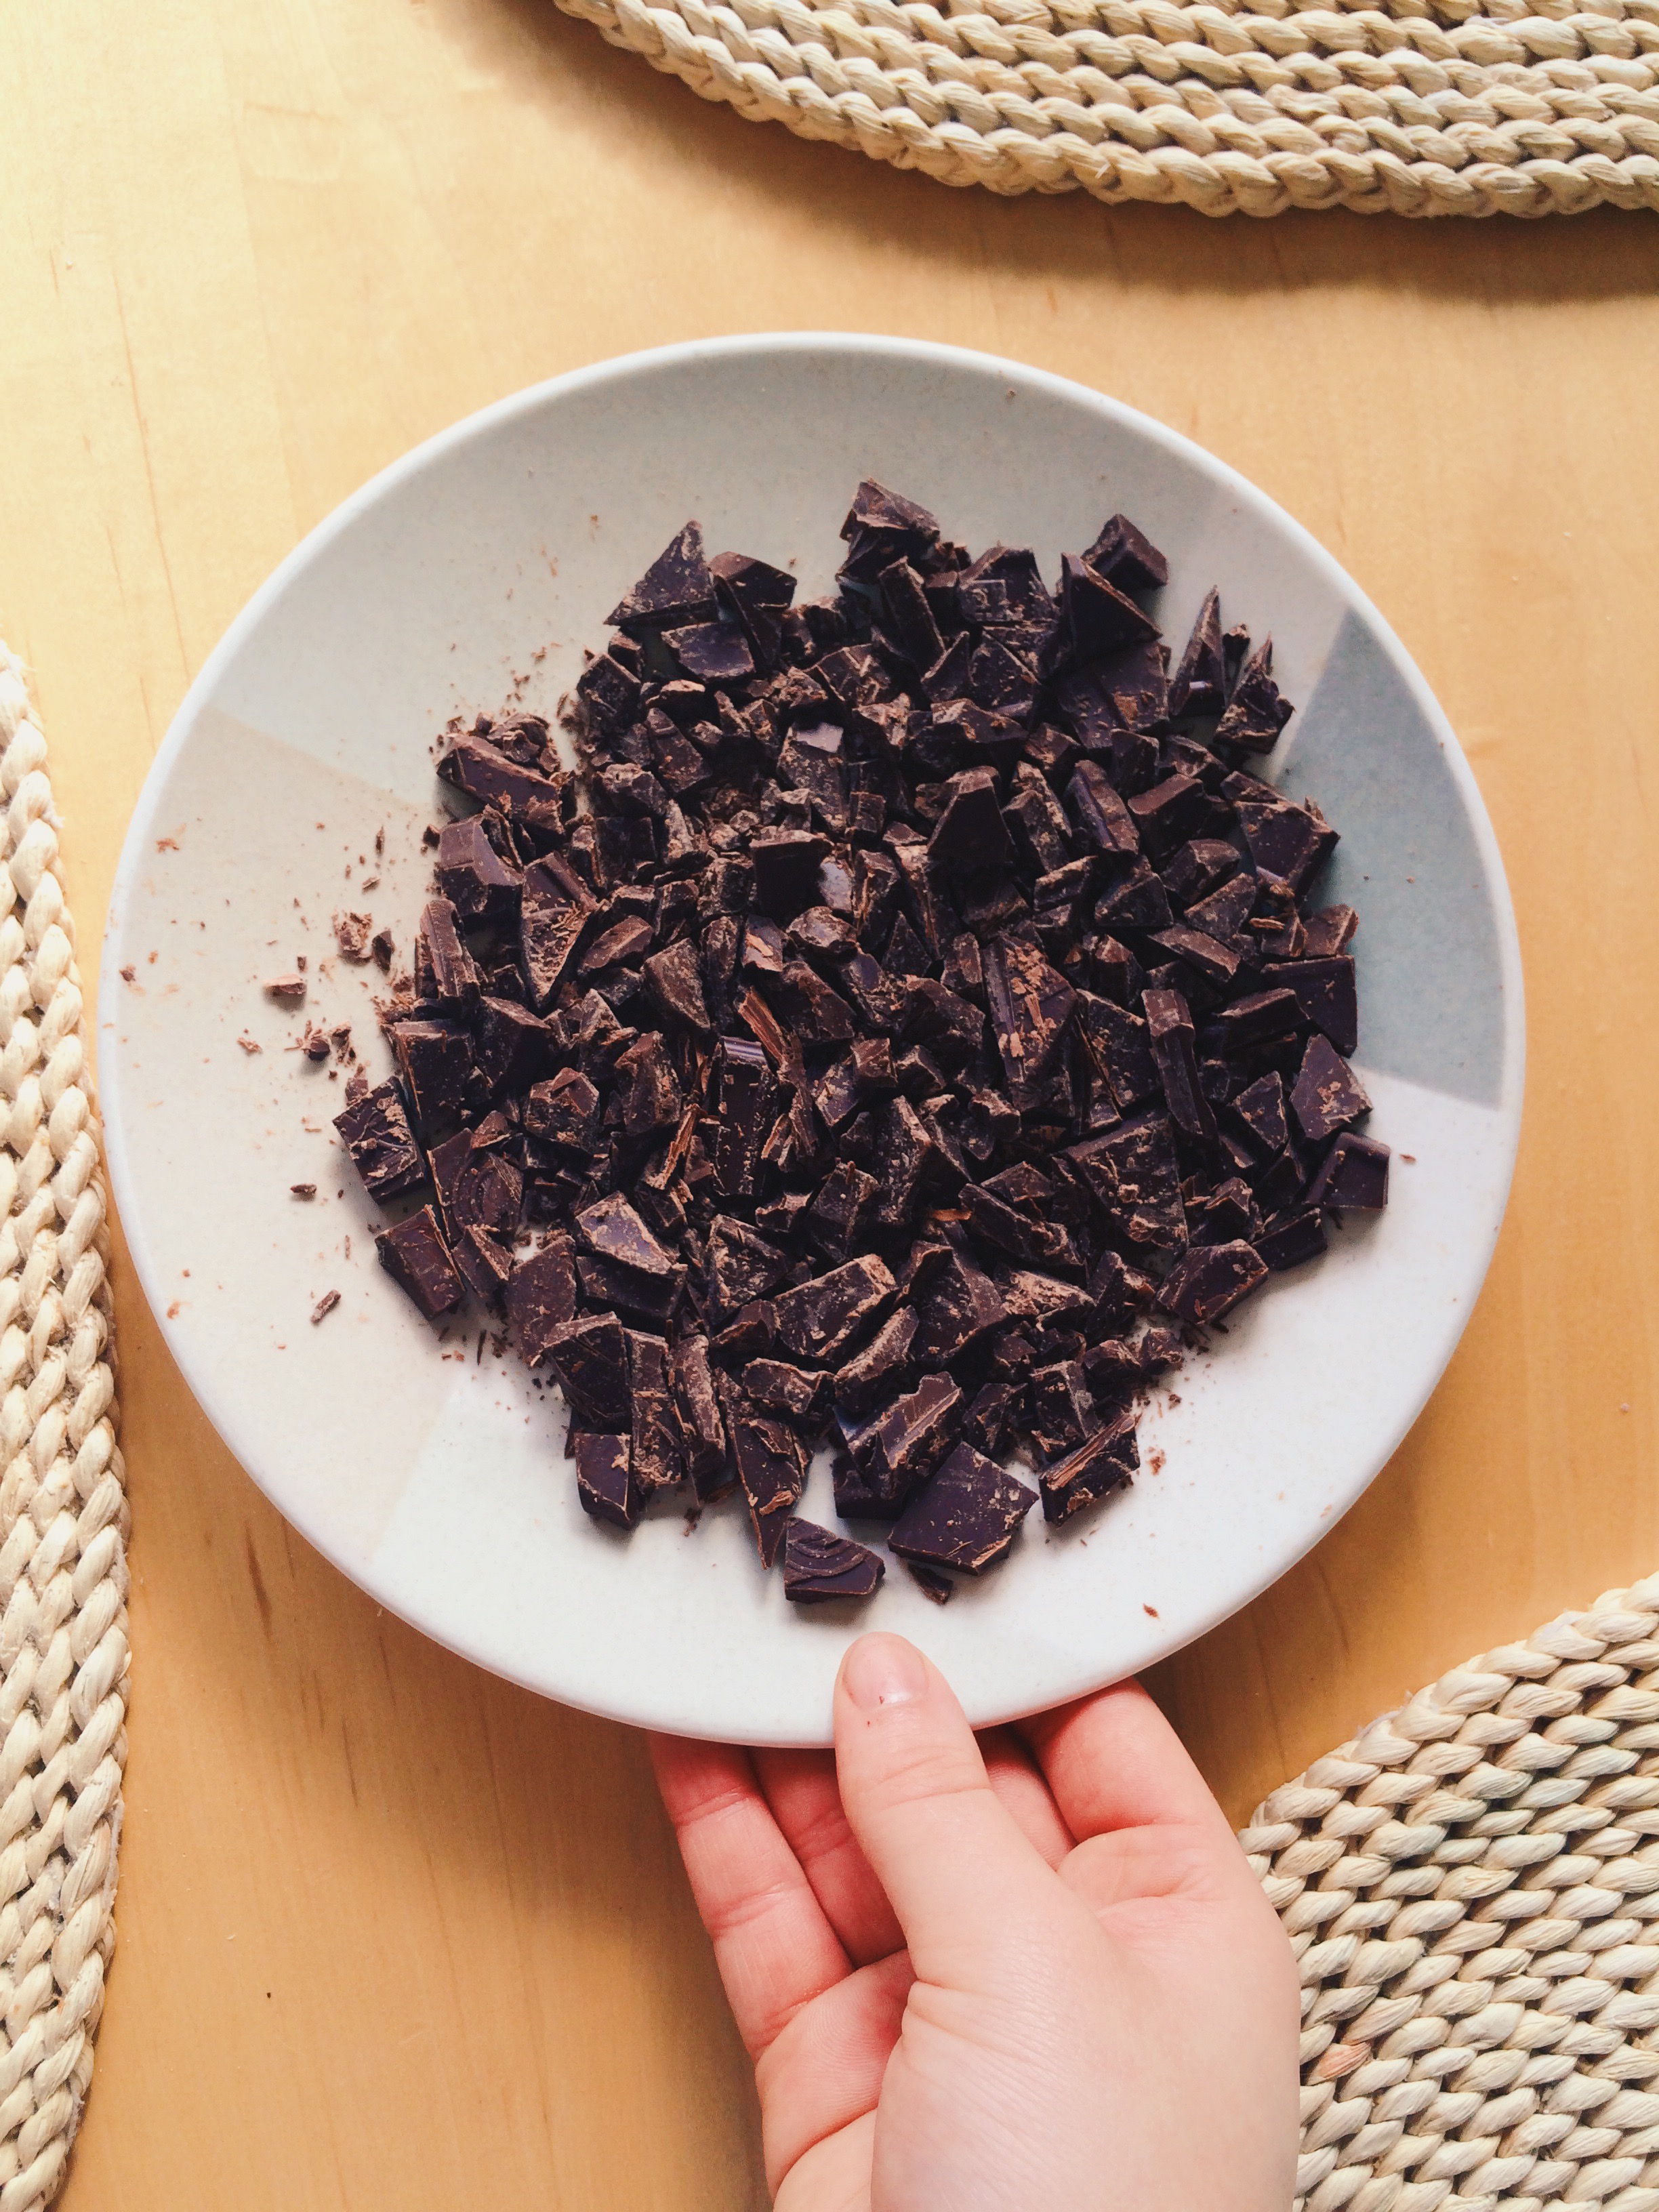
  • 10 oz milk chocolate, finely chopped (I only had chocolate chips, so if that's what you have, use it!)
  • 1 1/3 cups all-purpose flour
  • 2 tablespoons finely ground espresso beans
  • 1/4 teaspoon coarse kosher salt
  • 12 tablespoons (1 1/2 sticks) unsalted butter, softened at room temperature
  • 1/2 cup confectioner's sugar
  • 1 teaspoon vanilla extract
  • 2 oz bittersweet chocolate, for drizzling + 1/8 teaspoon finely ground espresso beans

DIRECTIONS

First, let's make the chocolate ganache filling

Bring heavy cream to a simmer in a small saucepan, then pour over milk chocolate in a bowl. Stir until smooth and there are no lumps left. Place a sheet of plastic wrap directly onto the surface (placing the plastic wrap directly on top prevents it from developing a skin), then let it set in the refrigerator for 4 hours, or overnight.

While the ganache is setting, let's make the cookie dough

In a medium bowl, whisk together the flour, espresso, and salt. Set aside.

In the bowl of a mixer with the paddle attached, beat together butter and sugar on medium-high speed until pale and fluffy, about 5 minutes. Make sure to scrape down the sides of the bowl, Next, add the vanilla.

Add flour mixture to the mixer in two additions, and mix on medium-high speed until the dough JUST comes tougher. Do not over mix. Turn out dough onto a sheet of plastic wrap, and form a disc. Once the disc is formed, tightly wrap it in plastic. Place in the refrigerator for at least 30 minutes. Alternatively, you can freeze the dough for 15-20 minutes if you're running a little short on time.

OK, everything's set, so we should bake the cookies!

Preheat the oven to 350 degrees F, and line two baking sheets with parchment paper.

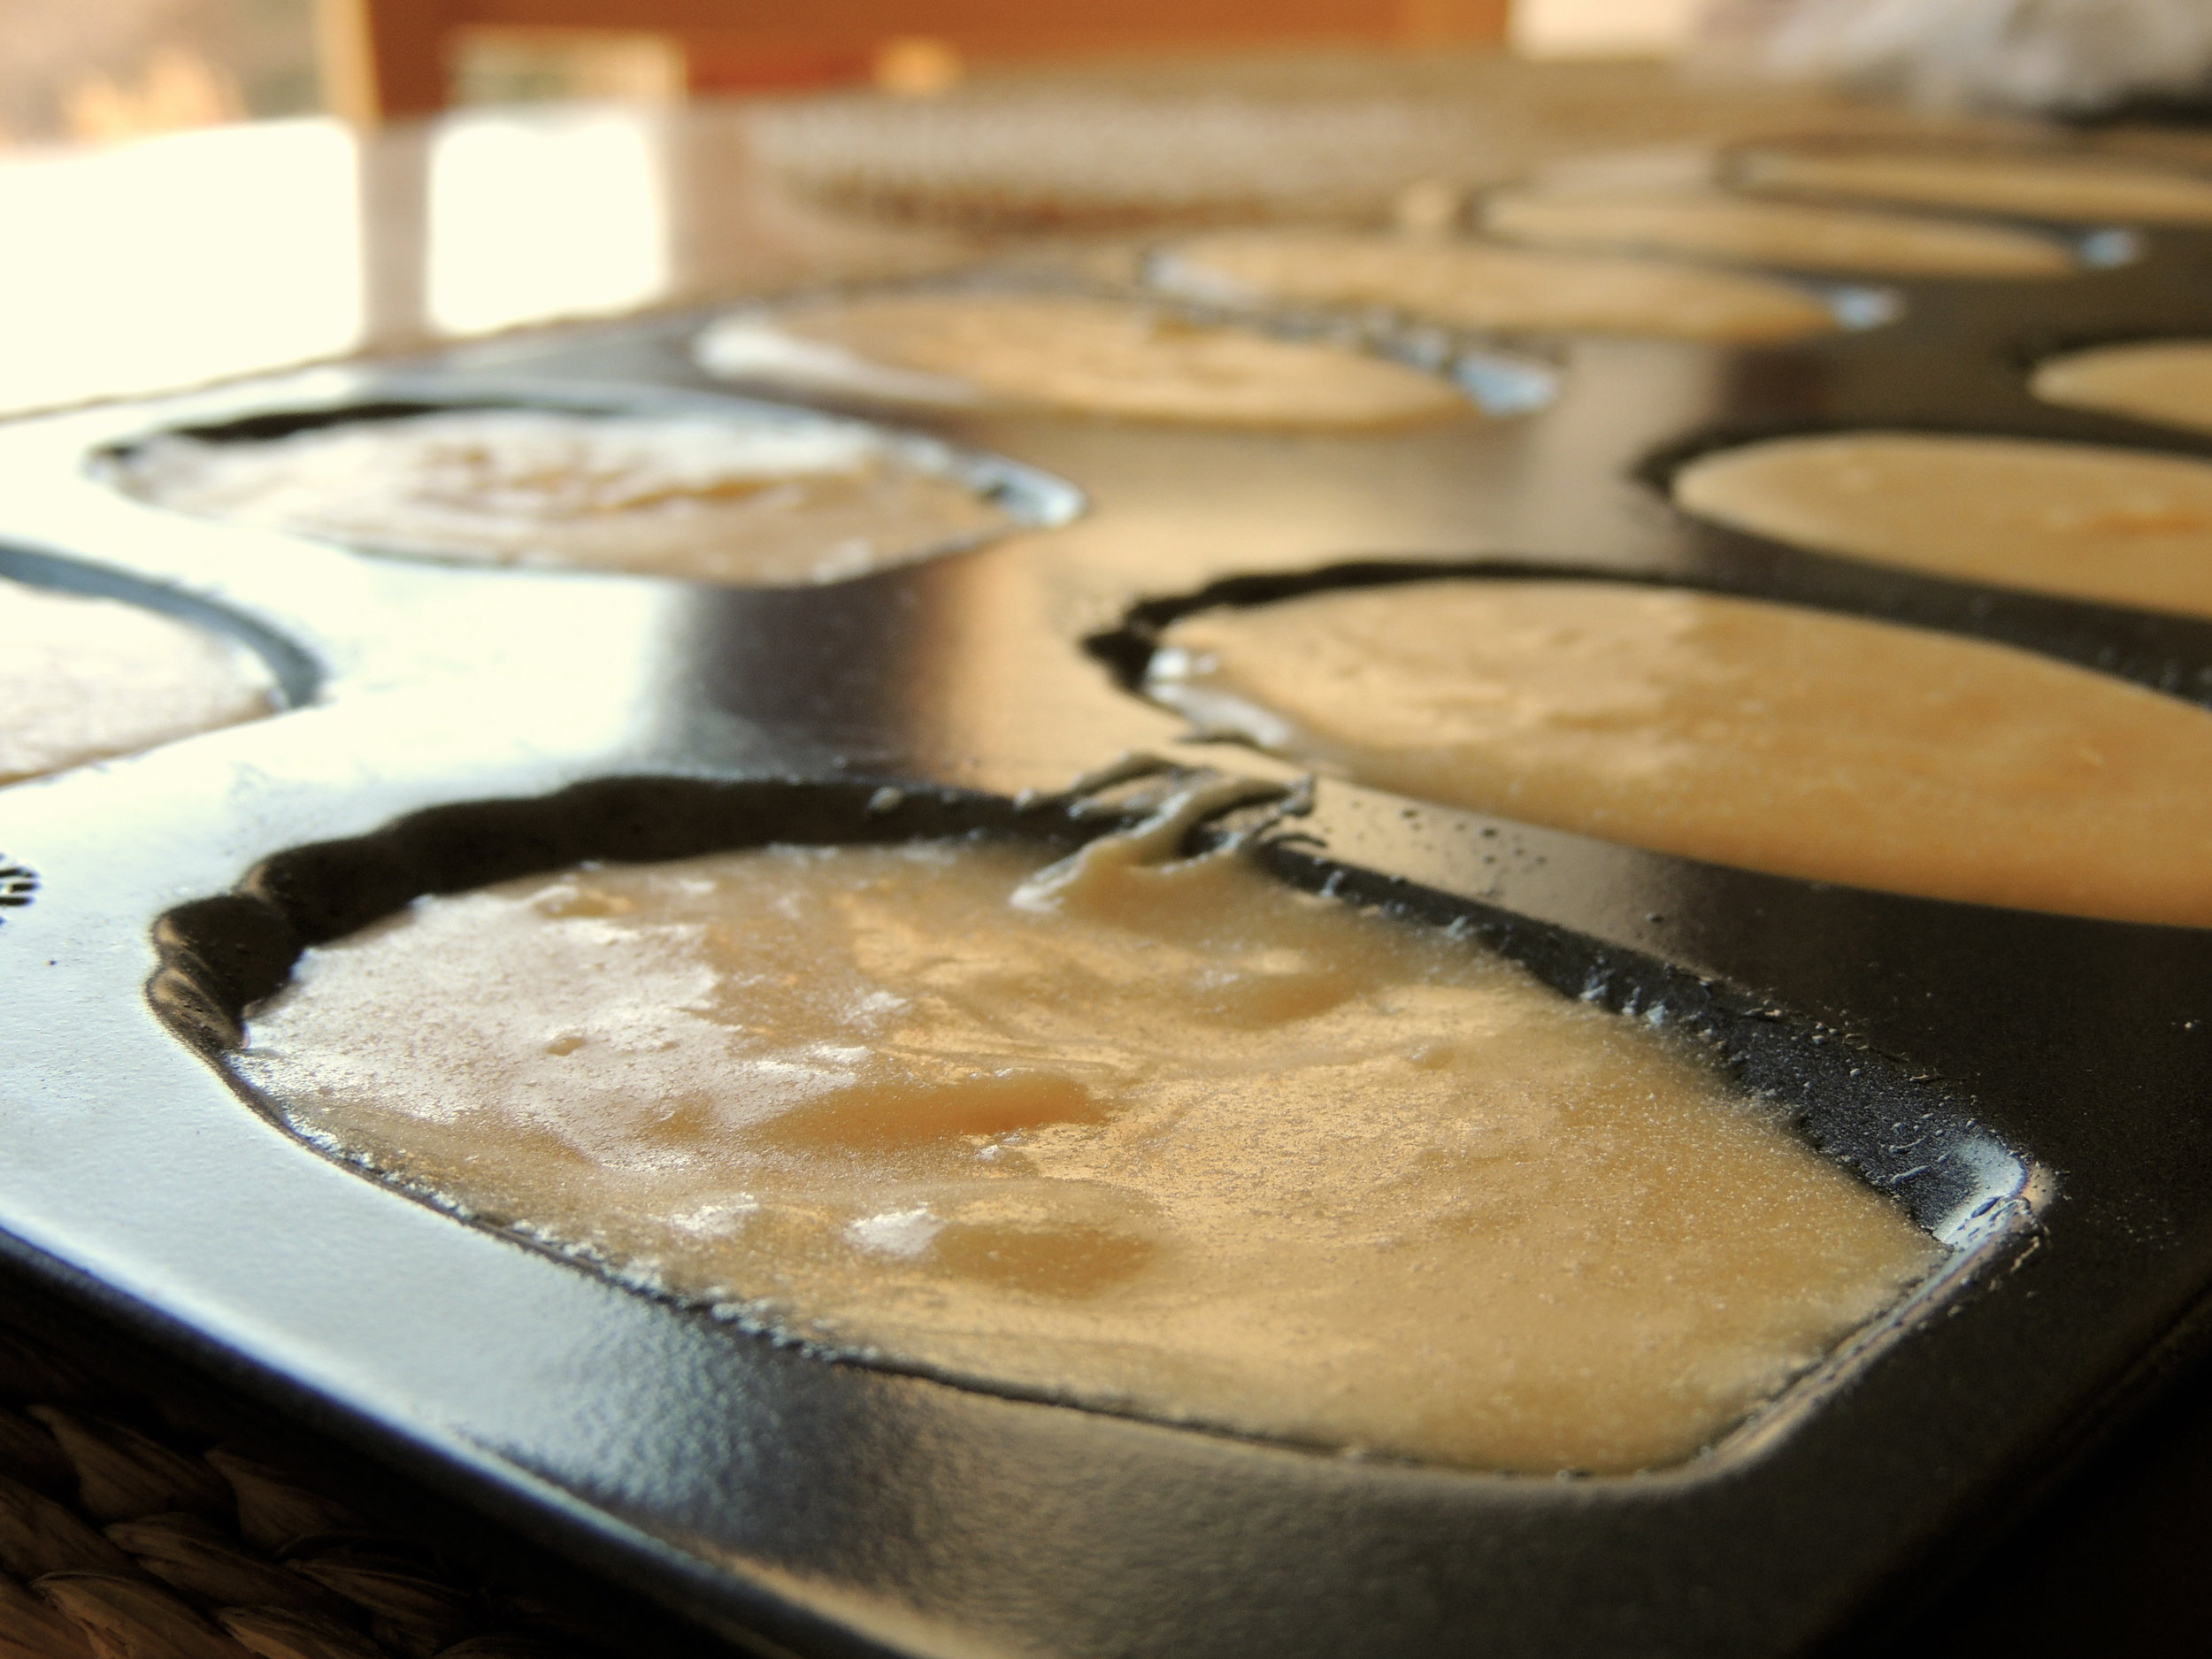
Take the dough out of the refrigerator, and let come to room temperature for about 10 minutes. Once the dough has softened a bit at room temperature, place it between two sheets of parchment paper, and roll out to about 1/8 inch thickness. Using a floured 2-inch cookie cutter, cut out rounds, then transfer them to the lined cookie sheets, placing them about 1/2 inch apart. Re-roll the scraps, and repeat the process. (Note: If the dough gets too soft, wrap it in plastic wrap, then throw it back in the fridge for 5-10 minutes or so.)

Freeze your cookies for 10 minutes to make sure they keep their shape in the oven.

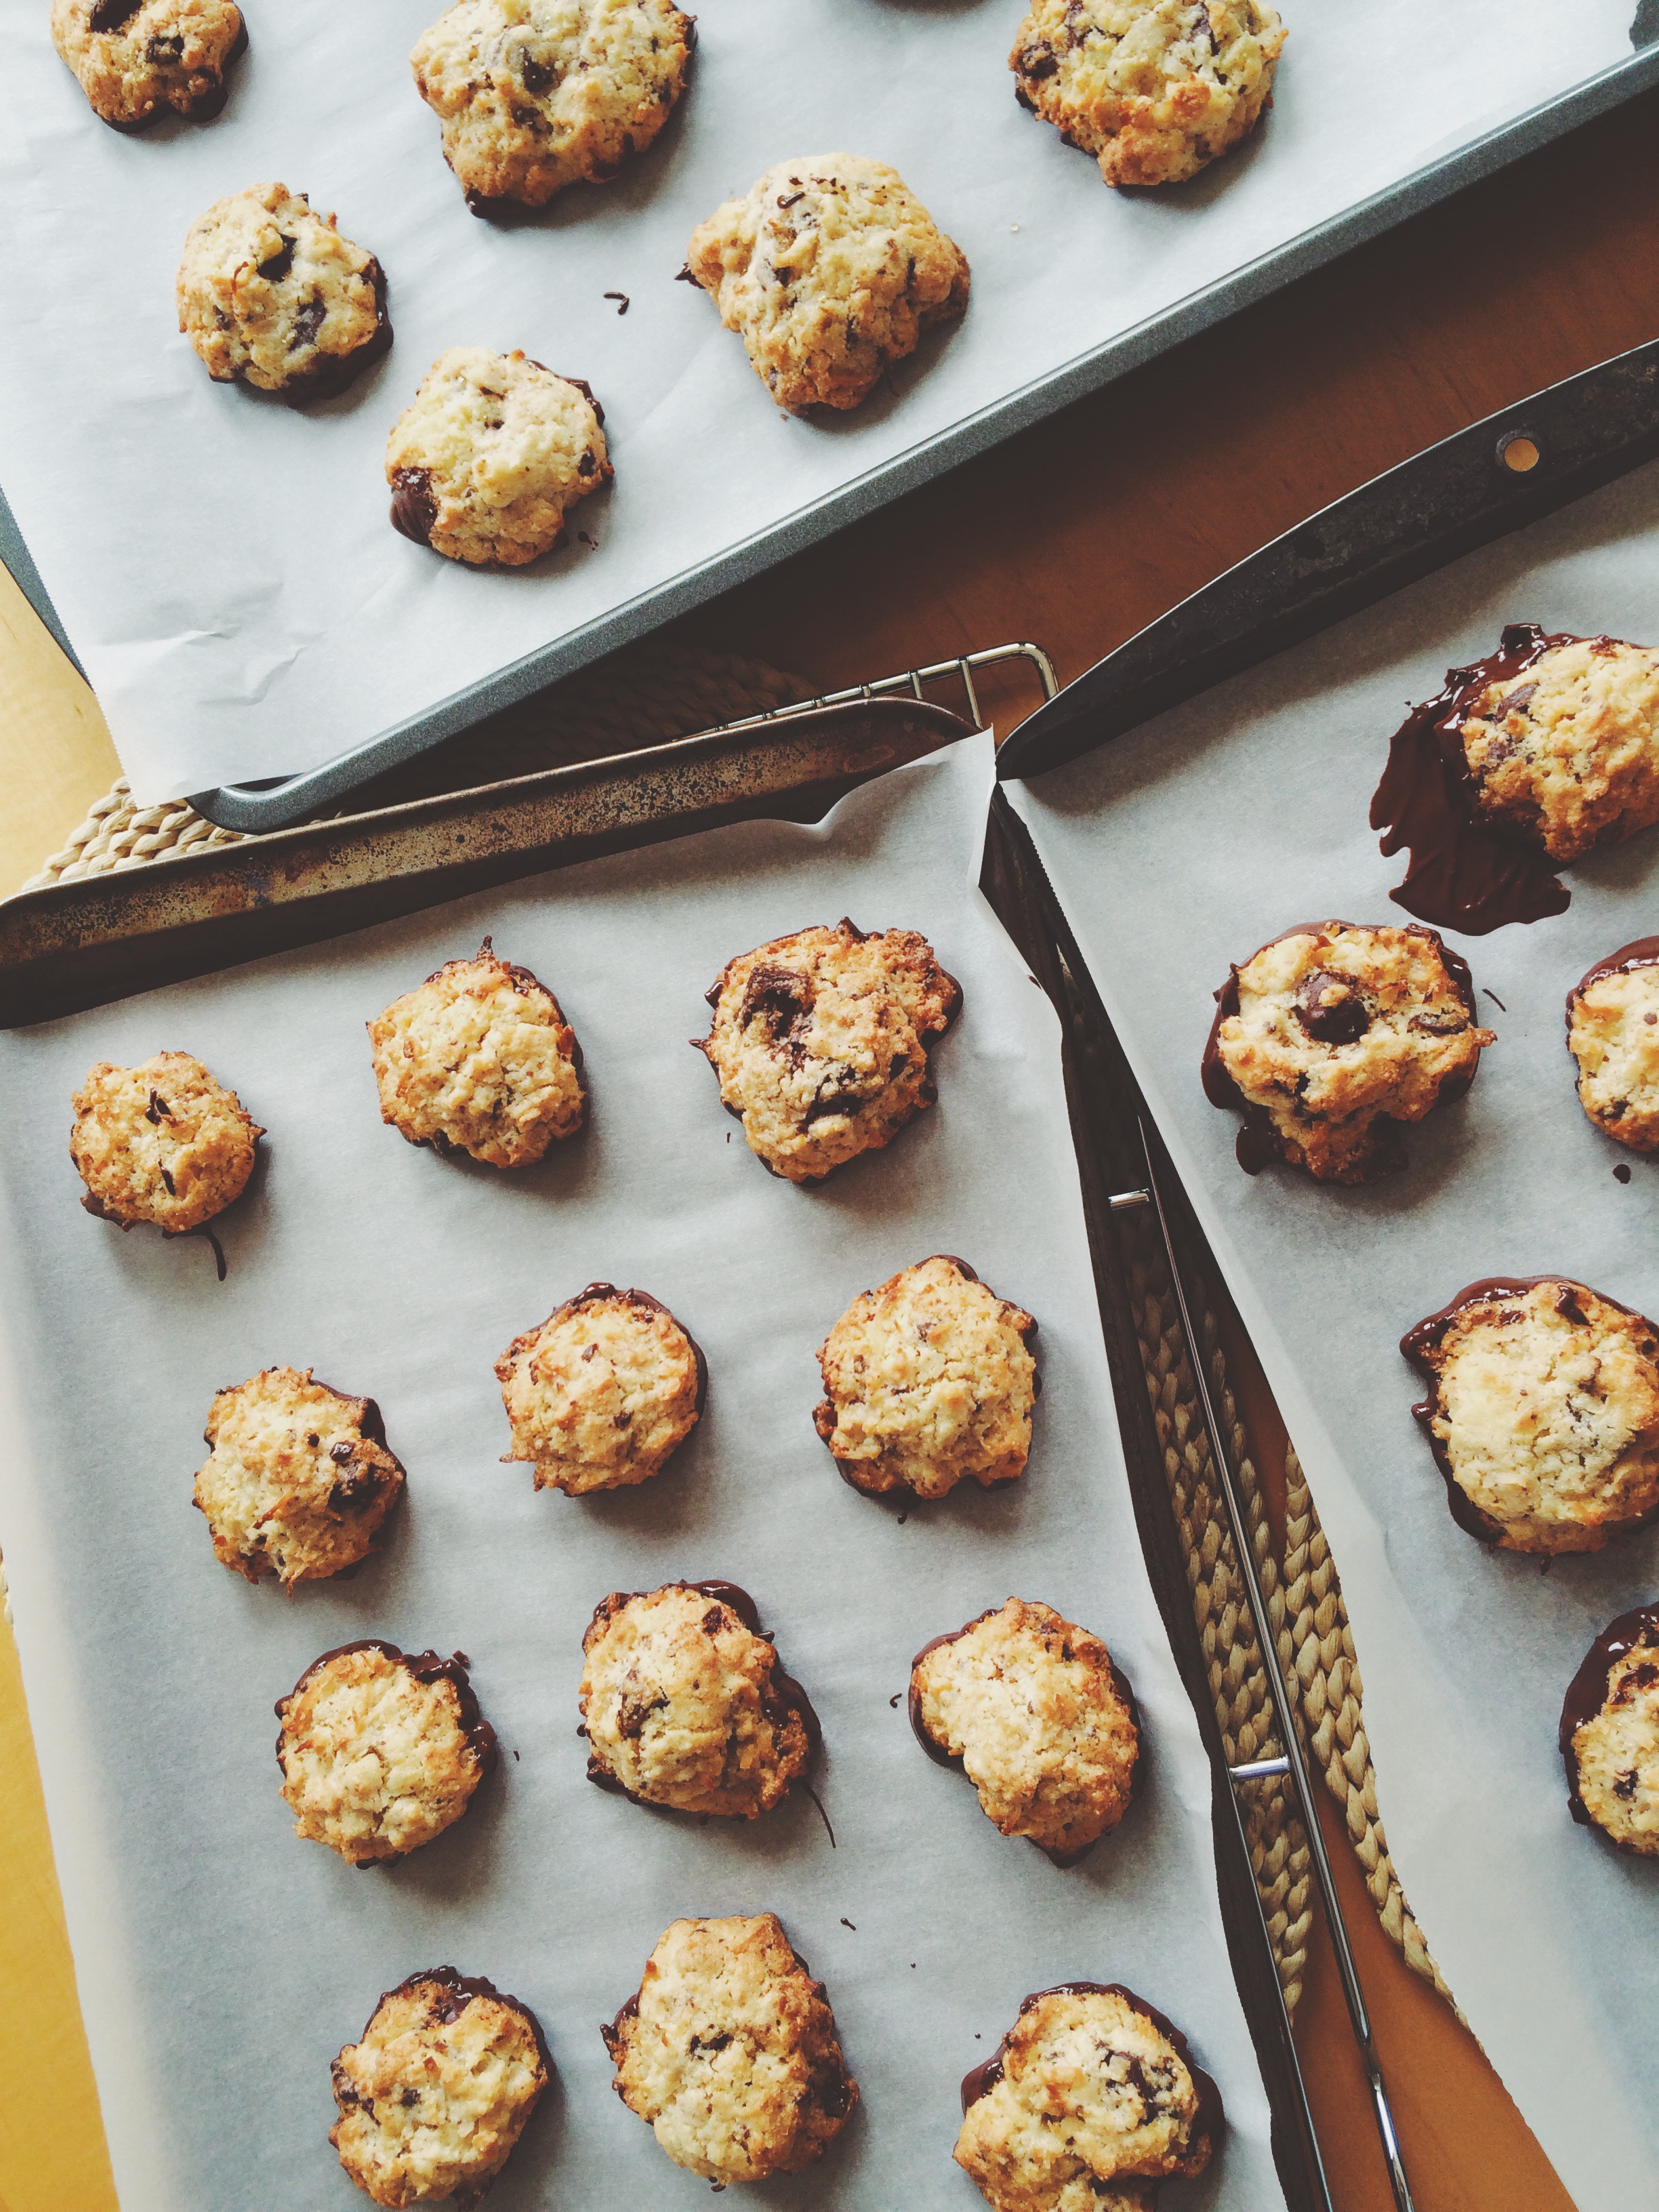
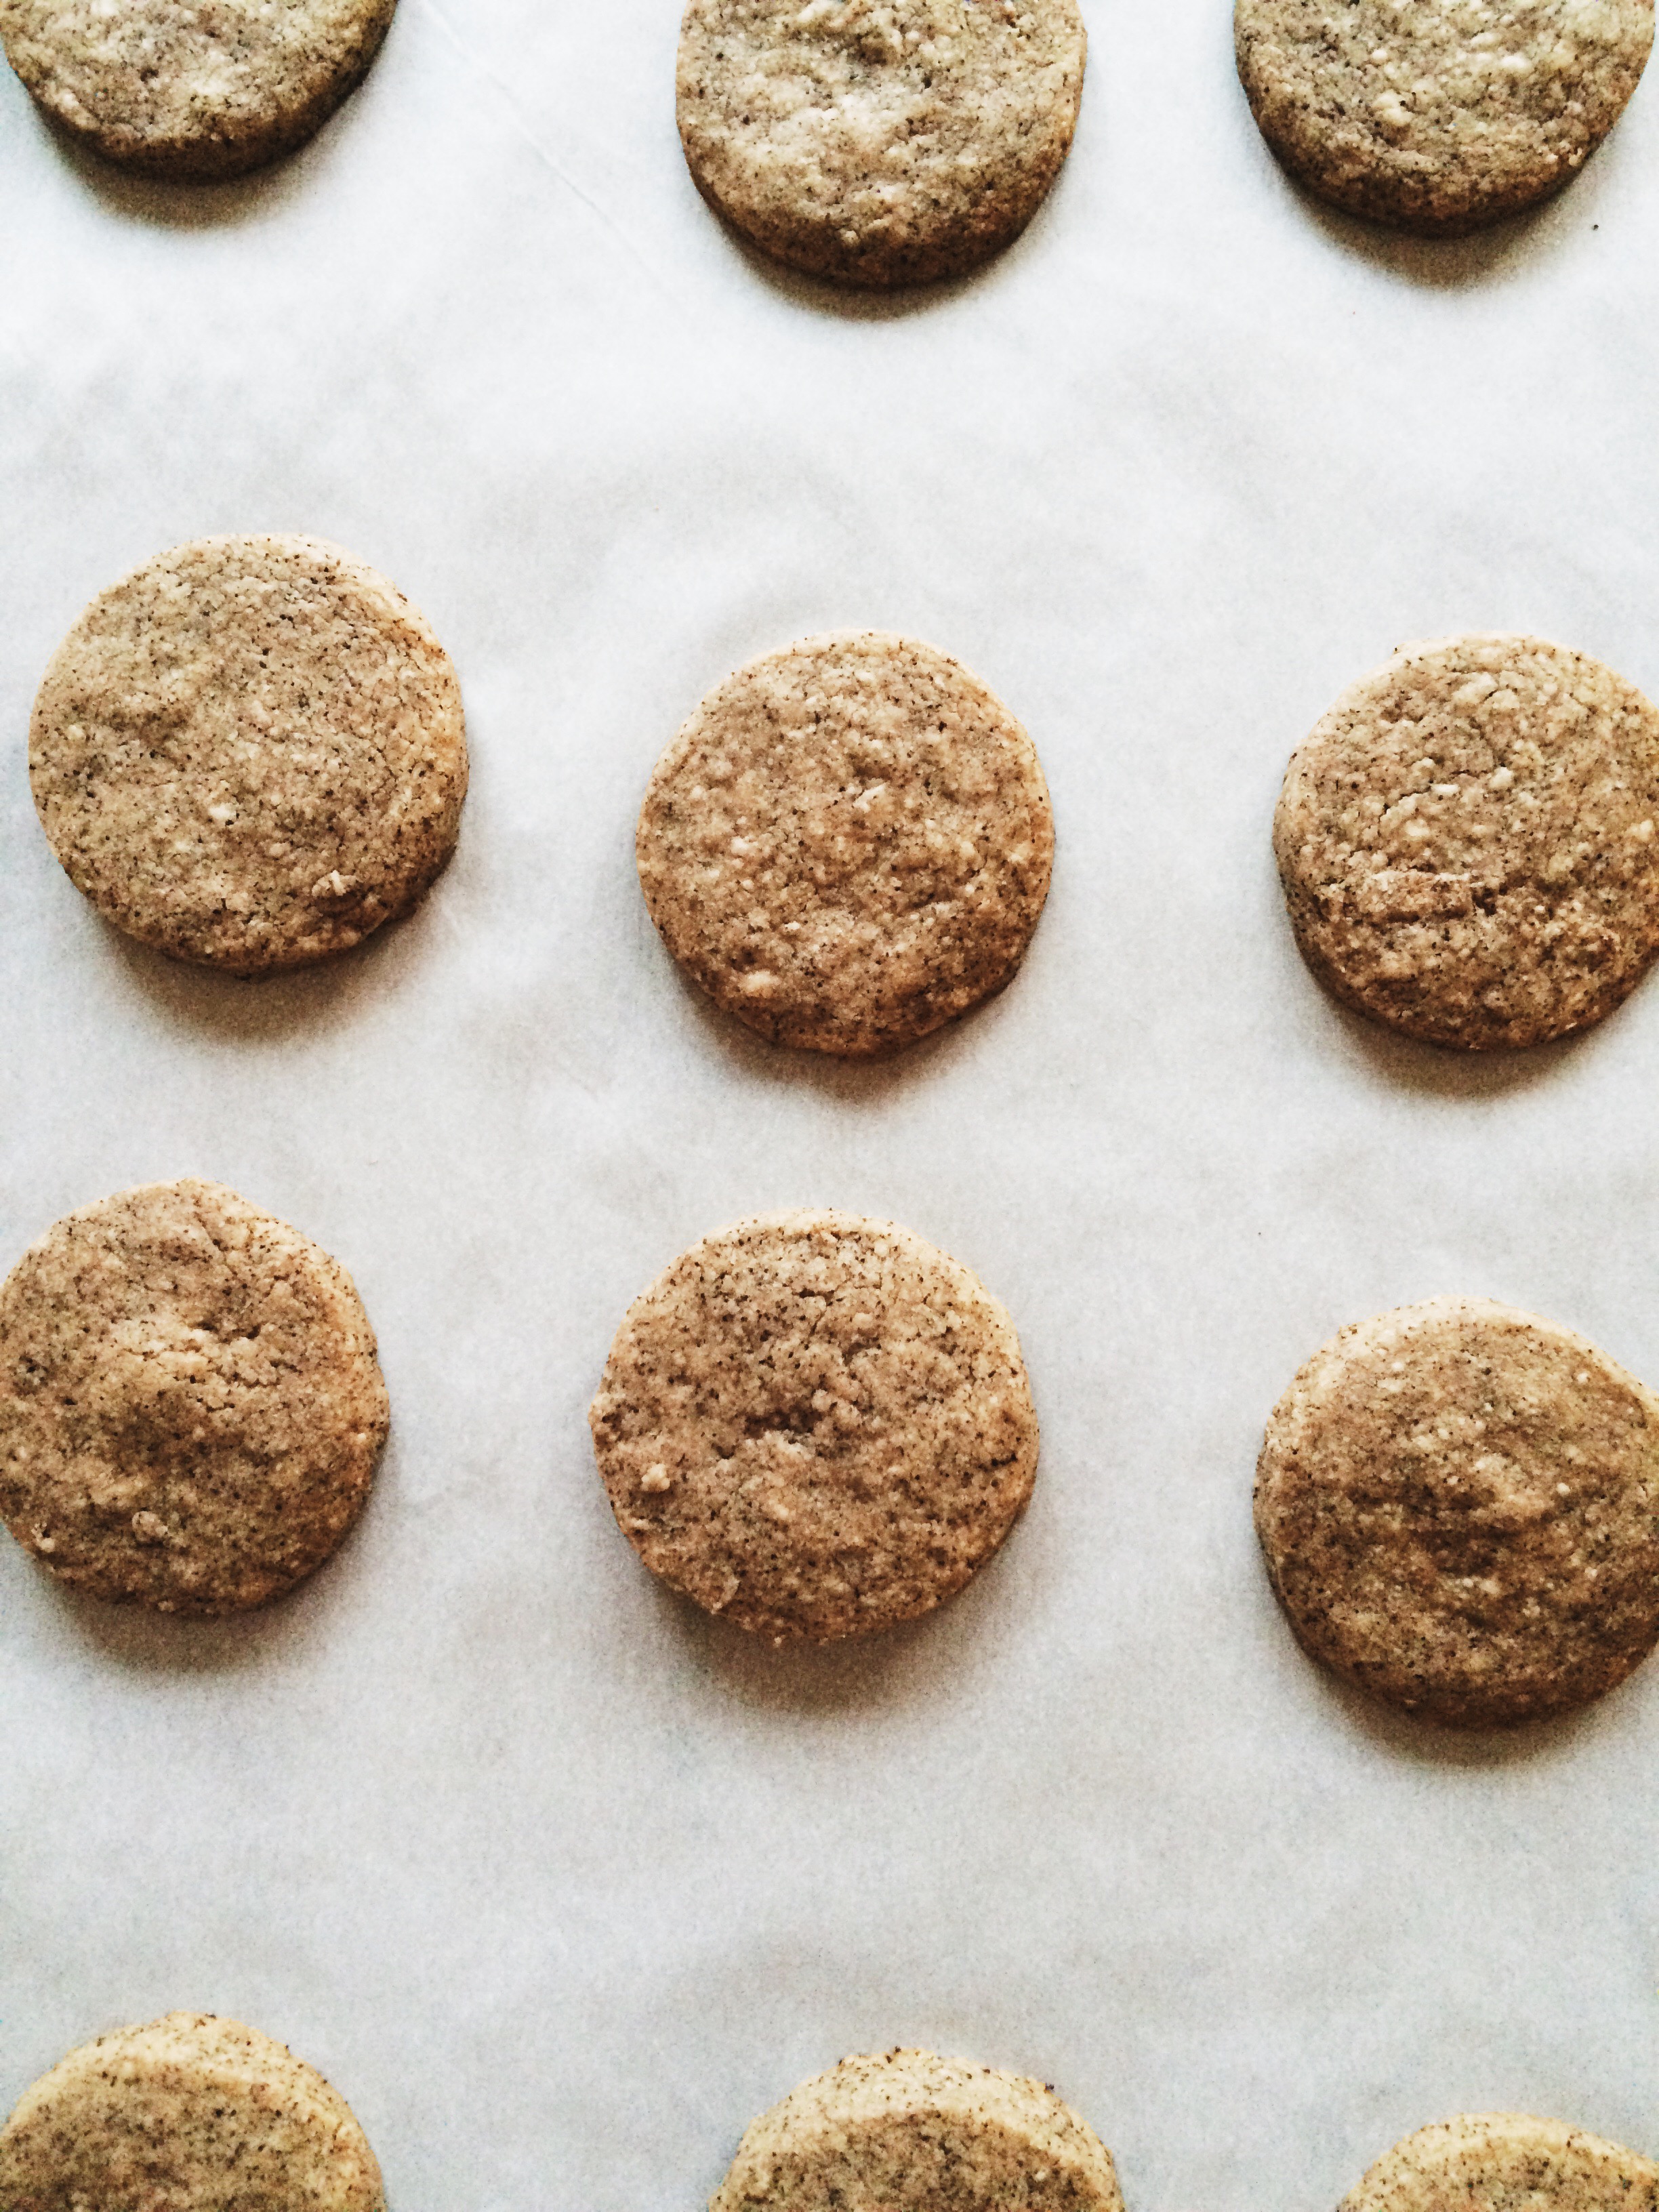
Bake until your cookies are set, but not browned, about 7-9 minutes depending on your oven. Once out of the oven, let cool for 5 minutes on the baking sheets, then transfer the cookies to a wire rack to cool completely.

While your cookies are cooling, it's time to whip some ganache! 

Whisk the chilled ganache filling by hand until soft peaks have formed, about 20 minutes. It might be hard to do at first, but with a little elbow grease, you can whip this heavy cream mixture by hand! YOU CAN DO IT! (Or, you can totally use a mixer if you want.)

Alright, time to put it all together

Transfer the mixture to a pipping bag fitted with a 1/4 inch round piping tip (OR, transfer to a plastic bag with the end snipped off). Turn half of the cookies over so that the bottoms of the cookies are facing you, then pipe about 2 teaspoons  of mixture on top of each. Place the other half of the cookies on top to create sandwiches.

Melt the drizzle chocolate!

Melt the 2 ox of bittersweet chocolate, then mix in the 1/8 teaspoon of espresso. Using a spoon (or another small plastic bag) drizzle chocolate over each cookie sandwich in any pattern you'd like! Let chocolate drizzle set for about 10 minutes. Enjoy!

To store: Place cookies in a single layer in an airtight container for up to 5 days.

SOURCE: Adapted from Martha Stewart via Martha Bakes 

Gluten Free Spiced Pumpkin Pie

K, we should probably start talking about Thanksgiving now, no? And what's better to talk about when we talk about Thanksgiving, than the true table staple? Pumpkin Pie. My favorite.

There's a debate every year in which the people in my family argue the importance of double P. Some people love it, some people hate it. Maybe it's the texture? I'm not really sure. All I know is there better be a silky Pumpkin Pie with hand-whipped cream on the table on the last Thursday of every November, or someone's in trouble. And if I have to be the one to make it, then so be it. At least I'll sleep well knowing that I already have my dessert plate mapped out for maximum consumption. But lately I've been thinking about my gluten-intolerant friends: what do they do when a flaky all-butter crust (my go-to for every pie), or a sweet and buttery graham cracker crust is not an option?

Last weekend we attended a Ladies' Day event in Milwaukee which my mother helped plan, and I volunteered to bake. Everything was going great, meal-plan wise until I was informed that there were gluten allergies and thus, the desserts must be completely gluten-free. I quickly assured her that it wouldn't be a problem, but I'll be honest: I was nervous. Despite the fact that I have a best friend who is gluten-intolerant, whenever food is involved, it's usually someone else making it and I don't have to worry about it. I made her flour-less chocolate cake once (it was DIVINE), but that was it.

Would I really have to buy new flours and ingredients that I probably would never use again? Or worse, use BOXED CAKE MIX?

I shudder to think. (Hi, I'm dramatic.)

Luckily, I was flipping through the pages of the November 2015 issue of Martha Stewart Living and came across the answer to all of my problems: Gluten-Free Pumpkin Pie! I was ecstatic of course. One, because you know how much I love pie and use any excuse to make it. And two, because I could use ingredients I have on hand absolutely all the time! I ran it by the committee, was told that I would have to make three, and was sent on my way.

I may have spent seven hours in the kitchen, but there's nothing I love more than making pie.

Now, what makes this pie GF you may ask? The CRUST! Three cups of Rice Chex (naturally and wonderfully GF), butter, brown sugar, and a little salt. Pulse those together in a food processor (I have a baby one that holds 4 cups), then spread into a pie plate, and bake it for 12 minutes to set. It's SUPER EASY, and CRAZY DELICIOUS. That brown sugar caramelizes in the oven, making the crust buttery and sweet with a hint of a crunch still. And pair that with the sweet pumpkin-y custard that is the filling, plus  the homemade whipped cream that was carefully piped onto the top, and it's just perfect.

I tell ya, it was a total hit amongst the gluten-lovers and gluten-intolerant alike, for we could all stuff our faces with pie in harmony.

Make it for Thanksgiving, make it forever.


GLUTEN-FREE SPICED PUMPKIN PIE 

What You'll Need:

Pie Crust:

  • 3 cups Rice Chex
  • 5 tablespoons unsalted butter, melted
  • 5 tablespoons packed light-brown sugar
  • 1/4 teaspoon coarse salt (I used coarse kosher salt)

Spiced Pumpkin Pie:

  • 1 1/2 cups unsweetened pumpkin puree
  • 3 large eggs, room temperature
  • 3/4 cup packed light-brown sugar
  • 1 tablespoon cornstarch
  • 1/2 teaspoon coarse salt (I used coarse kosher salt)
  • 1 teaspoon ground cinnamon
  • 1/4 teaspoon grated nutmeg
  • 1 cup whole milk

DIRECTIONS

First, let's make the pie crust:

Preheat the oven to 375 degrees

Pulse together the cereal in a food processor until finely ground. Then add the melted butter, brown sugar, and salt. Pulse until well combined.

Press the crust mixture evenly into the bottom and up the sides of a 9-inch pie pan. Bake until golden brown about 12 minutes. Set on a wire rack to cool completely.

OKAY, PIE TIME!

Reduce the oven temperature to 325 degrees F.

In a large bowl, whisk together the pumpkin puree and eggs.

In a smaller bowl, stir together the sugar, cornstarch, salt, cinnamon, and nutmeg. Transfer the dry ingredients into the bowl with the pumpkin-egg mixture, and mix until well combined. Then, whisk in the milk.

Place your cooled pie pan on a rimmed baking sheet to reduce the chance of your filling spilling out on the way to the oven. CAREFULLY pour filling into the center of the crust for more even spreading. DO NOT OVERFILL. You may have some filling leftover, and that's okay! You do not want an overflow in the oven, trust me.

Transfer your pie on the baking sheet to the oven and bake until filling is just set, ABOUT 50-55 minutes, but KEEP AN EYE ON IT. If a custard-based pie (like this one) is over-baked, it will crack, and no one wants that. (But if it does crack, you can always cover it with whipped cream, so don't fret.)

Set on a wire rack to cool completely.

Once cooled, pipe or spread on some homemade whipped cream if you're into it, and transfer pie to the fridge to chill before serving.

(MAKE AHEAD: This pie can be made up to 2 days ahead of time. KEEP REFRIGERATED.)

SOURCE: Slightly adapted from Martha Stewart Living

Last-Minute Halloween: Easy Lady Fingers

If you're trying to be kind of festive, but find yourself running out of time this Hallow's Eve, you should TOTALLY make some lady fingys. It's SUPER EASY: Just a basic sugar cookie recipe, a little food coloring, a paint brush, and some slivered almonds, and you're done!

The movie marathon is starting in a few hours (I may be the only one that watches, but so be it), and I refused to celebrate one of the best holidays without at least SOMETHING kind of creepy and festive. And I love cookies. So here we are.

What's super great about these (besides how simple they are to make) is that you really can't mess up. Halloween isn't about being perfect, in fact, the more imperfect the better! When you're rolling out your fingers, it's up to you how you want them to look. Do you want them to be bent and out of shape with brownish-yellow nails, or perfectly manicured with your favorite color like you've just brought them home from the salon? It's totally up to you. Go all out!

Since I made these for my family, I figured I should keep things kind of tame (I've seen examples of lady fingers where the ends have been dipped in raspberry jelly to look like they'd just been severed off the hand!), but next year? Next year we're upping the ante.

Until then, this is the perfect last-minute Halloween project for you and your friends, served however you'd like. Maybe all in a bowl? Or, you can be like me, and use it as a prop to point to things I want, but am too lazy to get myself. It's whatever you choose!

HAPPY HALLOWEEN, GUYS!! Be safe. Make sure all the kids that come to your door know how adorable they look, because they always do.


LADY FINGERS 

What You'll Need:

  • Food-safe paintbrush
  • 1-2 tablespoons red food coloring (or your favorite color, OR leave them plain)
  • 30 blanched almond slivers
  • 2 large eggs, at room temperature
  • 1/2 teaspoon vanilla extract
  • 1 stick unsalted butter, at room temperature
  • 1/2 cup confectioners' sugar
  • 5 tablespoons granulated sugar
  • Pinch of salt
  • 1 2/3 cups all-purpose flour

DIRECTIONS

Place food coloring in a small bowl, and, using a small food-safe paintbrush, color one side of each almond. Set aside on a sheet of wax paper to dry.

Separate one egg. Set the egg white in the fridge; we'll need it later. In a small bowl, whisk together the yolk, remaining egg, and vanilla extract until well combined. Set aside.

In the bowl of a stand mixer fitted with the paddle attachment (or using a hand mixer, or a wooden spoon), combine the butter, both sugars, and salt. Beat on medium speed until well combined. Next, add the egg mixture and mix until well combined and smooth, about 2-3 minutes. Add the flour, then mix on low speed until JUST combined.

Wrap the dough in plastic wrap, then chill in the fridge for 25-30 minutes to firm up.

While the dough is chilling, preheat the oven to 350 degrees F, and line two cookie sheets with parchment paper.

Once your dough has chilled, divide the dough in half, working with one half at a time. Keep the remaining half in the fridge wrapped in plastic wrap until you're ready to use it. Lightly flour your work station.

Using a knife or bench scraper, divide the first half into 15 pieces. Roll each piece back and forth with your palms into a finger shape (whether they be really thin fingers, or really short fingers, or really craggily fingers, it's up to you!), about 3-4 inches long. Pinch the dough in two places on one end to create knuckles. Lightly score each finger with the back of the knife to create the natural lines we have in our fingers. Push down on the nail bed LIGHTLY to make it easier to attach the fingernails later. Transfer fingers to the cookie sheets, and repeat the process with the other half of dough. (Note: Make sure to work kind of quickly when making the fingers because the dough warms up really fast, making it harder to work with!)

Once all of your fingers have been formed, brush the egg white from earlier lightly over each finger to create a light browning once they're in the oven. Position each almond nail, then push down to attach (Be careful not to push to0 hard so you don't a. chip a nail or b. misshape the finger). If you find that the nail isn't attaching, add a little more egg white to the area to create a sort of glue.

Bake in the oven until slightly browned, about 10-12 minutes. Let cool completely.

Enjoy!

SOURCE: Adapted from Martha Stewart 

Bite-Size Biscotti

I really, really like my beautician. Partially because she's one of the only people in this world who I would trust to dye my hair just-so, and partially because I've known her for a big chunk of my life. She likes me, and I like her, and she likes my baking, so I like her even more. When true-blue baking season starts up, the kitchen is always filled with more treats than my family could ever possibly eat, and I always pick out the best of the best to bring to her. Lately she's really been dropping hints that I've been slacking in the baked-good-delivery department, so I'm stepping up my game.

I love biscotti. It's crunchy and delicious, and there are so many flavor combinations out there that I'll never become bored with it. It's the perfect companion to cold-weather beverages, and since my tea kettle has seen a lot more action lately, I thought I would give these a shot.

Traditional biscotti can be time consuming, and nerve-wracking. If you don't get the first bake right, it can throw off the entire process. After all, you don't eat soft biscotti, you're looking for that satisfying crunch. If you still want the crunch, but don't have all day, try the mini version. These are just as satisfying, but it'll only take you a few hours, and most of that time is spent impatiently checking to see if the chocolate has set so you can dig in. Patience is your friend when baking, now and forever.

It should be noted that in this recipe, it calls for the zest of grapefruit, but  I think any citrus you've got laying around will do. It's not so much about the grapefruit as it is the presence of citrus that makes these biscotti bites stand out. I zested that grapefruit until I could zest no more because it was $1.25 and I was going to get my money's worth or die trying. (Dramatic, sorry.)

These bite-sized biscotti are for all fans of the salt-chocolate-cocunut-citrus-more chocolate flavor combination. May your teaspoons be heaping, your cookies crunchy,  your chocolate smoothly-tempered, and your tummies full of the quintessential coffeehouse treat. There are going to be some happy faces at the beauty shop tomorrow.

BITE-SIZED BISCOTTI

What You'll Need:

  • 1 1/4 cups all-purpose flour
  • 1 1/4 cups fine cornmeal (I used white cornmeal)
  • 1/2 teaspoon baking powder
  • 1/2 teaspoon coarse salt
  • 3/4 stick (12 tablespoons) unsalted butter, at room temperature
  • 1 cup granulated sugar
  • 2 large eggs, at room temperature
  • 1 1/2 cups sweetened shredded coconut
  • 2 tablespoons grapefuit zest (or two tablespoons of zest of your choice. Could be orange!)
  • 11 ounces bittersweet chocolate, finely chopped
  • Sanding sugar (I used Demerara because that's what I had in my pantry!), for sprinkling

DIRECTIONS 

Preheat oven to 350 degrees F.

In a medium bowl, whisk together flour, cornmeal, baking powder, and coarse salt. Set aside.

In the bowl of a standing mixer with the paddle attachment, beat the butter on medium speed until pale and fluffy, about 3 minutes. Add eggs, one at a time, until well combined. Next add the flour mixture and beat on low until just combined. Beat in the coconut, grapefruit zest, and about 5 ounces of the bittersweet chocolate. Mix until everything is evenly distributed.

Drop generous heaping teaspoonfuls of biscotti dough on parchment-lined baking sheets. Set each dough ball about 1 inch apart. Sprinkle the tops of each with a generous sprinkling of sanding sugar. Refrigerate for 30 minutes. (Note: I don't have an industrial-size refrigerator, so my fridge only holds so many baking sheets. My solution: scoop the remainder of your dough into a bowl and refrigerate. It'll still be cold enough to form dough balls that keep their shape in the oven.)

Bake, rotating sheets halfway through, until golden brown. This should take about 18-20 minutes depending on your oven.

Let cool completely on wire racks.

Once your biscotti bites have completely cooled, temper the remaining amount of bittersweet chocolate, stirring until smooth. Remove from heat. Dip the bottoms of the cookies in the melted chocolate, scraping off any excess chocolate with a spoon, or using the edge of the bowl. Set each on clean parchment-lined baking sheets. Refrigerate until chocolate is set, about 30 minutes. (Note: I didn't refrigerate again. Instead, I let them to set in a cool place in the house. It took a little longer, but I didn't have to take all of my food out of the fridge again.)

To Store: These can be be stored in a single layer for up to one week.

SOURCE: Martha Stewart

Making Madeleines

DSCN0668 I'm not usually one to spend money on baking pans that are only designed for one thing (save for the time I bought that donut pan...But that was different because there are hundreds of donut combinations!), but I just couldn't resist those adorable Madeleine pans any longer! How can I have a proper tea party without shell-shaped cookies? How can I pretend that I'm French without cake-y cookies with tons of powdered sugar sprinkled on the top? The Madeleine pan was an investment really, I mean, if you think about it. Kind of. Maybe?

Anyway, there is now a Madeleine pan siting in my pantry, and lots of tiny, delicious, half cake/half cookies on the table waiting for me to devour them. So, it's been a good day.

DSCN0664Besides the fact that these sophisticated little ladies (Because they're obviously girls. All that's missing, really. are mini strands of pearls.) are totally delicious, they are also surprisingly easy to make. I know that I say that so often, but it's for real this time!

DSCN0666

These special cookies are perfect for several occasions, which makes them so fun to have around. I've currently enjoyed them at breakfast time, tea time, after dinner, and a quick snack on-the-go. They're so beautifully light that they can be eaten any time with very little guilt. (Although, you should never feel guilty about dessert. It's sweet for a reason!)


Get yourself a Madeleine pan and try these!


What You'll Need:

  • 1/2 cup (1 stick) unsalted butter, melted and cooled 
  • 4 large eggs, room temperature
  • 1/4 teaspoon salt
  • 1/2 cup sugar
  • 1 teaspoon pure vanilla extract
  • 1 cup sifted all-purpose flour
  • 1/2 teaspoon baking powder

1. Preheat oven to 375 degrees. Butter and flour your Madeleine pan. Set aside.

2. In a bowl, whisk eggs, sugar, and salt together until thick (about 7 or 8 minutes). Add vanilla.

3. Using a rubber spatula, gently, but with a little speed, fold in flour. Next, quickly but gently fold in the melted butter, making sure that it fully incorporates and does not sink to the bottom.

4. Spoon mixture into the Madeleine pan quickly. Make sure that you don't fill the molds more than 3/4 full to avoid overflow. Bake until just golden; About 8-10 minutes. Gently remove from pan and transfer to a wire rack to cool. Repeat this process with the remaining batter.

5. Sprinkle powdered sugar on top to your heart's content!

SOURCE: Martha Stewart 


HAPPY THANKSGIVING WEEK!!!


singature gray