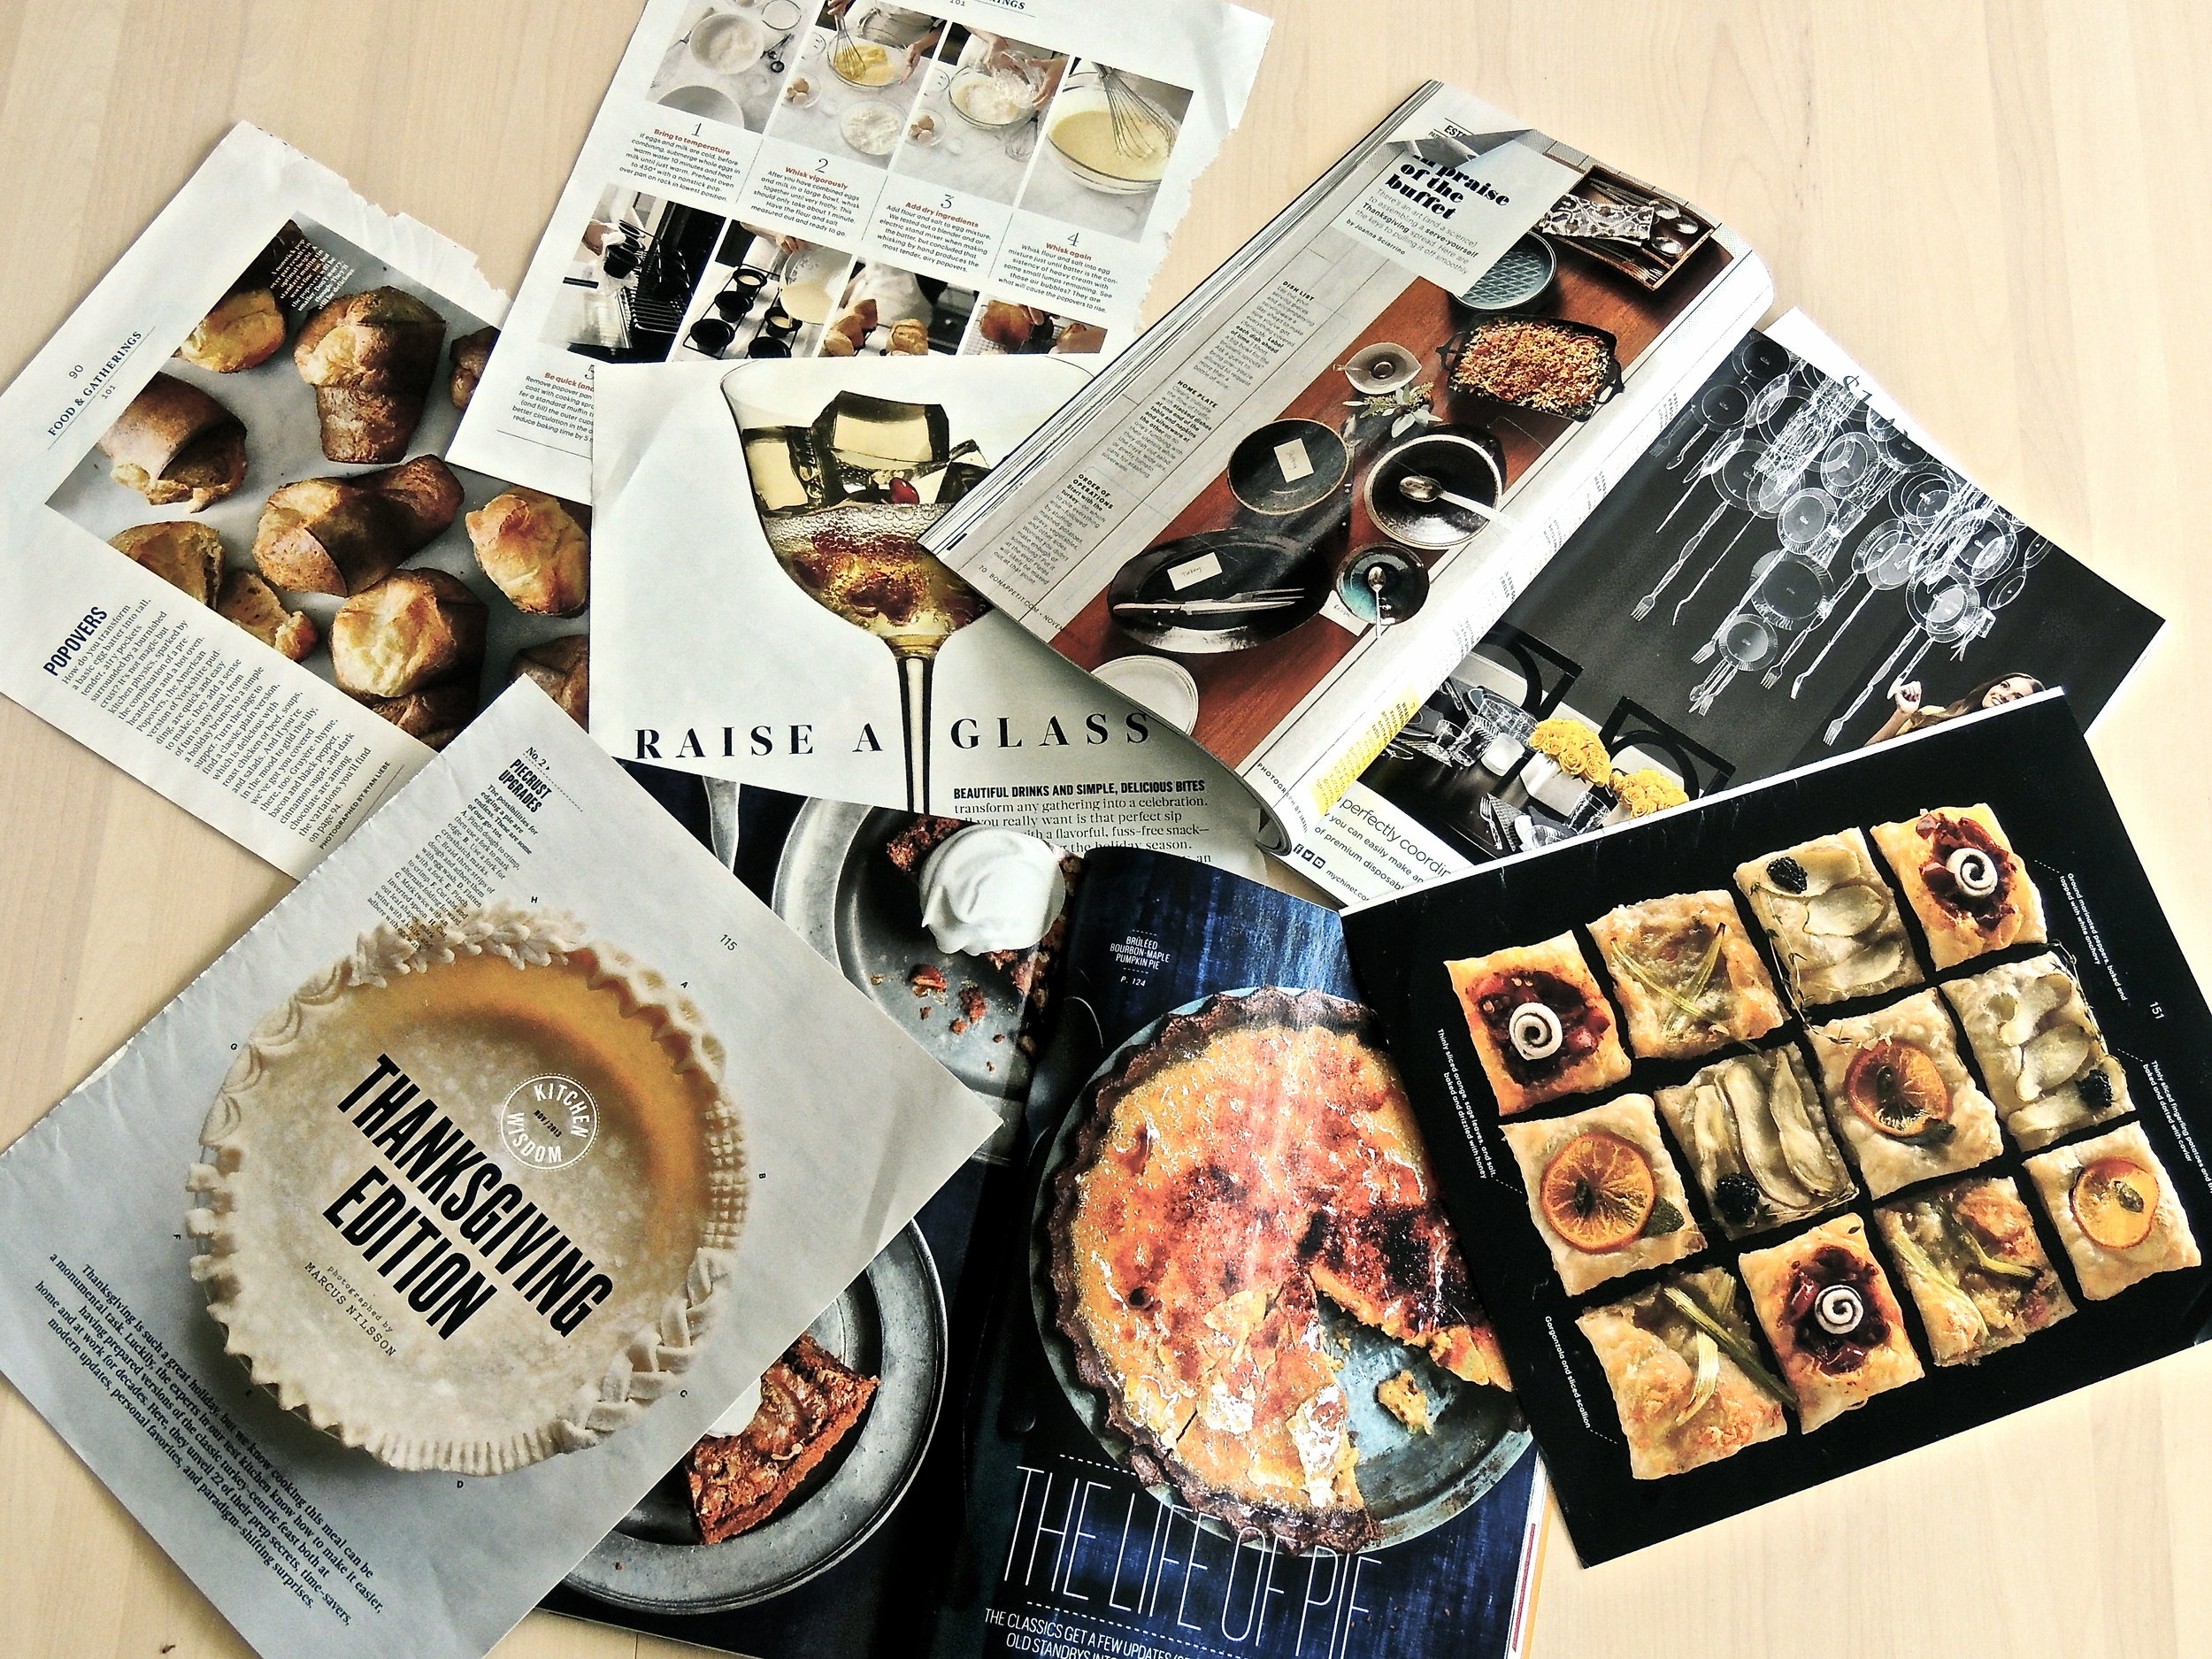
Homemade Dinner Rolls

Some things about Thanksgiving are going to be different this year. Usually, for the cold-weather holidays, my family heads down south to see our relatives, watch football, play Spades (I don’t personally know how to play, but the temporary drama that ensues between my extended family could rival any Real Housewives franchise), and eat our weight in cornbread and stuffing, But this year, my immediate family is staying home and celebrating everything we’re grateful for by having a micro-Thanksgiving. We’re still planning to eat all the foods we’re used to (in smaller quantities), and a well-coordinated Zoom call is scheduled so that we can pretend to all be at the same table, but I’d be lying if I said I won’t miss fully participating in our traditions.
Yes, some things will certainly be different, but one thing that will never change? The battle between my mother and myself for control of the dinner menu.
Every year since I was in my early twenties, my mother and I have duked it out over who would make what come Thanksgiving Day. The turkey, macaroni and cheese, pies, and stuffing are all up for discussion as we’ve tried every year to lessen the load for my elderly grandmother who plays host. Even though we’re in New England this year, we’ve managed to keep the spirit of that particular tradition alive and well. And in keeping with tradition, I have once again lost. (So long, Thanksgiving turkey. I hope to learn how to cook you by myself one day...) But I didn’t totally concede! While everything else was claimed before I could get my hands on the shopping list, I DID manage to negotiate making one thing for the table. I usually call dibs on dessert since baking is in my wheelhouse, but it was the first item on the menu to be finalized. So, I chose the second most important thing: dinner rolls.
Hear me out for a sec. The turkey, all golden and crispy, is the showstopper for obvious reasons. The greens, macaroni and cheese, and stuffing all have their rightful places on the plate because they’re classics (and, if you cook them like my family does, filled with enough butter to make your heart stop), but the rolls? They’re the silent supporters who keep the meal in check. Good for eating quickly as you wait in line to fill your plate or for mopping up the remnants of leftover food, the dinner roll can do anything. Humble though the roll may be when placed next to perfectly-toasted marshmallows atop sweet potatoes, without it there, you’d notice. And yes, you could buy some already made, but with just a few ingredients you can make your own, and believe me, it’s worth it.

The perfect dinner rolls are pillowy soft, buttery (but not overwhelmingly so - gotta make sure you can add extra butter for yourself), golden brown, and deliciously yeasty. These homemade dinner rolls, based on the world-famous Parker House rolls, check all the boxes. Add a little flaky sea salt on top and you’ve taken a classic and made it extra fancy!
Homemade Dinner Rolls
What You’ll Need:
1 envelope active dry yeast
1/4 cup water, warmed to 110 degrees Fahrenheit
1 cup whole milk
1/2 cup unsalted butter, softened at room temperature and divided into two 1/4 cup halves
3 tablespoons sugar
1 1/2 teaspoons fine kosher salt
1 large egg at room temperature
3 1/2 cups all-purpose flour, plus more for dusting your work surface
Vegetable oil
3 tablespoons unsalted butter, melted
Directions:
Whisk yeast and warm water in a small bowl and let stand for 5 minutes until the yeast has dissolved and bubbles have formed on the top.
Heat the milk in a small saucepan over medium-low heat until it has just warmed through, about 2 minutes.
In a large bowl, mix together 1/4 cup butter, sugar, and kosher salt. Next, add the warm milk and whisk until the ingredients are fully blended (the mixture may look curdled at this stage if the butter has not completely melted - that’s okay, just keep going!). Add the flour all at once and stir continuously with a wooden spoon until a dough forms. Lightly flour your hands and a clean work surface. Turn the dough out onto the surface and knead until the dough has become smooth and pliable, about 5-6 minutes (if the dough is too sticky, feel free to add more flour to the surface a little bit at a time until it becomes easier to work with - careful not to add too much!)
Lightly oil a large bowl with the vegetable oil and transfer the dough into it, turning the dough over once to make sure it is covered on both sides. Loosely cover the bowl with plastic wrap and let rest and rise at room temperature until it has doubled in size, about 90 minutes.
Preheat the oven to 350 degrees Fahrenheit and adjust the oven rack to the center of the oven. Melt 1/4 cup butter in a small saucepan then, using a pastry brush, brush some butter into a 9x13 -inch baking dish. Set the remaining butter aside for a moment.
Punch down the dough (it should’ve risen quite a bit at this point!), and transfer it back onto a lightly-floured, clean workspace. With floured hands, carefully shape the dough into a 12-inch log. Using a sharp knife or bench cutter, carefully cut the log into 18 pieces that are roughly the same size. Next, cut each piece in half so that you end up with 36 pieces in total. Roll each piece into the shape of a ball.
Working one at a time, roll each ball out into a 3-inch oval using a floured rolling pin. Brush the interior with a light layer of melted butter, then fold the oval in half lengthwise so that the butter-covered interior is covered. Next, reshape each piece back into a ball and place it in the buttered baking dish with the seam side down. Repeat this step until all the pieces have been buttered on the inside and four rows of dough balls are in the baking dish.
Brush the tops of the rolls with the remaining melted unsalted butter (if it has started to resolidify, just pop it on the stove for a few minutes on low until it has reliquified), then lightly cover the baking dish with plastic wrap and refrigerate for at least 30 minutes or up to 6 hours.
Bake the rolls in the oven until they have puffed up and taken on a golden color on the top, about 25-35 minutes. Brush the tops of the warm rolls with the 3 tablespoons of melted unsalted butter and sprinkle liberally with flaky sea salt. Rolls are best served warm.
TO STORE: Rolls can be kept at room temperature when wrapped tightly with aluminum foil for at least 3 days. When ready to serve, heat the oven to 350 degrees Fahrenheit, wrap the rolls in aluminum foil, and let them warm in the oven for 5-10 minutes.
(Tip: For best results, if you don’t have a scale, spoon the flour into your measuring cup and sweep off the excess with a knife to avoid over-packing.)
SOURCE: Adapted from Bon Appetit