Pumpkin Spice Scones

What to do when you have a ton of pumpkin puree leftover from making pumpkin pie? Make pumpkin spice scones, and have a happy breakfast-time for the rest of the week! Sounds like a plan.

We're getting snow, guys. The first snowfall of the year is upon us, and I don't actually think I'm ready for it. I mean, I'm a cold weather person for SURE, but you actually have to ease me into it! You can't just spring potentially six inches of snow on me like it's no big deal. First, a beautiful dusting. Then, an inch or two. Then, a beautiful blanket just in time for Christmas. THAT'S how it's supposed to go. Ah,well. We'll get it right next year.

At any rate, one of the nicer things about terrible weather is the comforting heat of the oven, and obviously the baked reward that emerges from it. And these scones? Great reward.

First of all, anything with pumpkin in it gets a big ol' stamp of approval from me no matter what. But to have it in a wedge, drizzled with deliciously-sweet spiced glaze, is extra special. Perfect for your coffee. Perfect for your life.

For those of us that love pumpkin bread, these scones will be right up your alley. Generally, scones are more on the biscuit side, but the moisture from the pumpkin puree actually shakes things up...in a good way. What you get with these is a crispy-on-the-edge, moist-in-the-middle combination that is totally divine. Just make sure to keep a close watch on these little guys--- too long in the oven and they'll dry out a little too much, losing what I think makes them so great.

If you're looking for a quick and DELICIOUS way to 1) make breakfast 2) use up precious pumpkin, these are totally the way to go.

Now, go. Go make them.

PUMPKIN SPICE SCONES

What You'll Need:

For the scones:

  • 1 3/4 cups all-purpose flour
  • 1/3 cup sugar
  • 2 teaspoons baking powder
  • 1/2 teaspoon baking soda
  • 1/4 teaspoon salt
  • 1 teaspoon cinnamon
  • 1/8 teaspoon ground cloves
  • 1/8 teaspoon ground ginger
  • 1/8 teaspoon nutmeg
  • 1/4 cup very cold unsalted butter, cut into 1/2 inch cubes
  • 1/2 cup pumpkin puree
  • 2 tablespoons buttermilk
  • 1 large egg, room temperature
  • 1 teaspoon vanilla extract

For the glaze:

  • 1 cup powdered sugar, sifted
  • 1/4 teaspoon cinnamon
  • 1 1/2 tablespoons milk
  • 1 tablespoon unsalted butter, melted
  • 1 tablespoon vanilla extract

DIRECTIONS

Preheat the oven to 400 degrees F. Line a baking sheet with parchment paper. Set aside.

Whisk together the flour, sugar, baking powder, baking soda, salt, and all the spices in a large bowl. Add your cubed butter into the bowl and, using either your fingers or a pastry cutter, cut in the butter until the mixture resembles a coarse meal. Set aside.

In a smaller bowl, whisk together the pumpkin, buttermilk, egg, and vanilla extract until well combined. Fold your wet ingredients into the bowl with your dry ingredients until just incorporated.

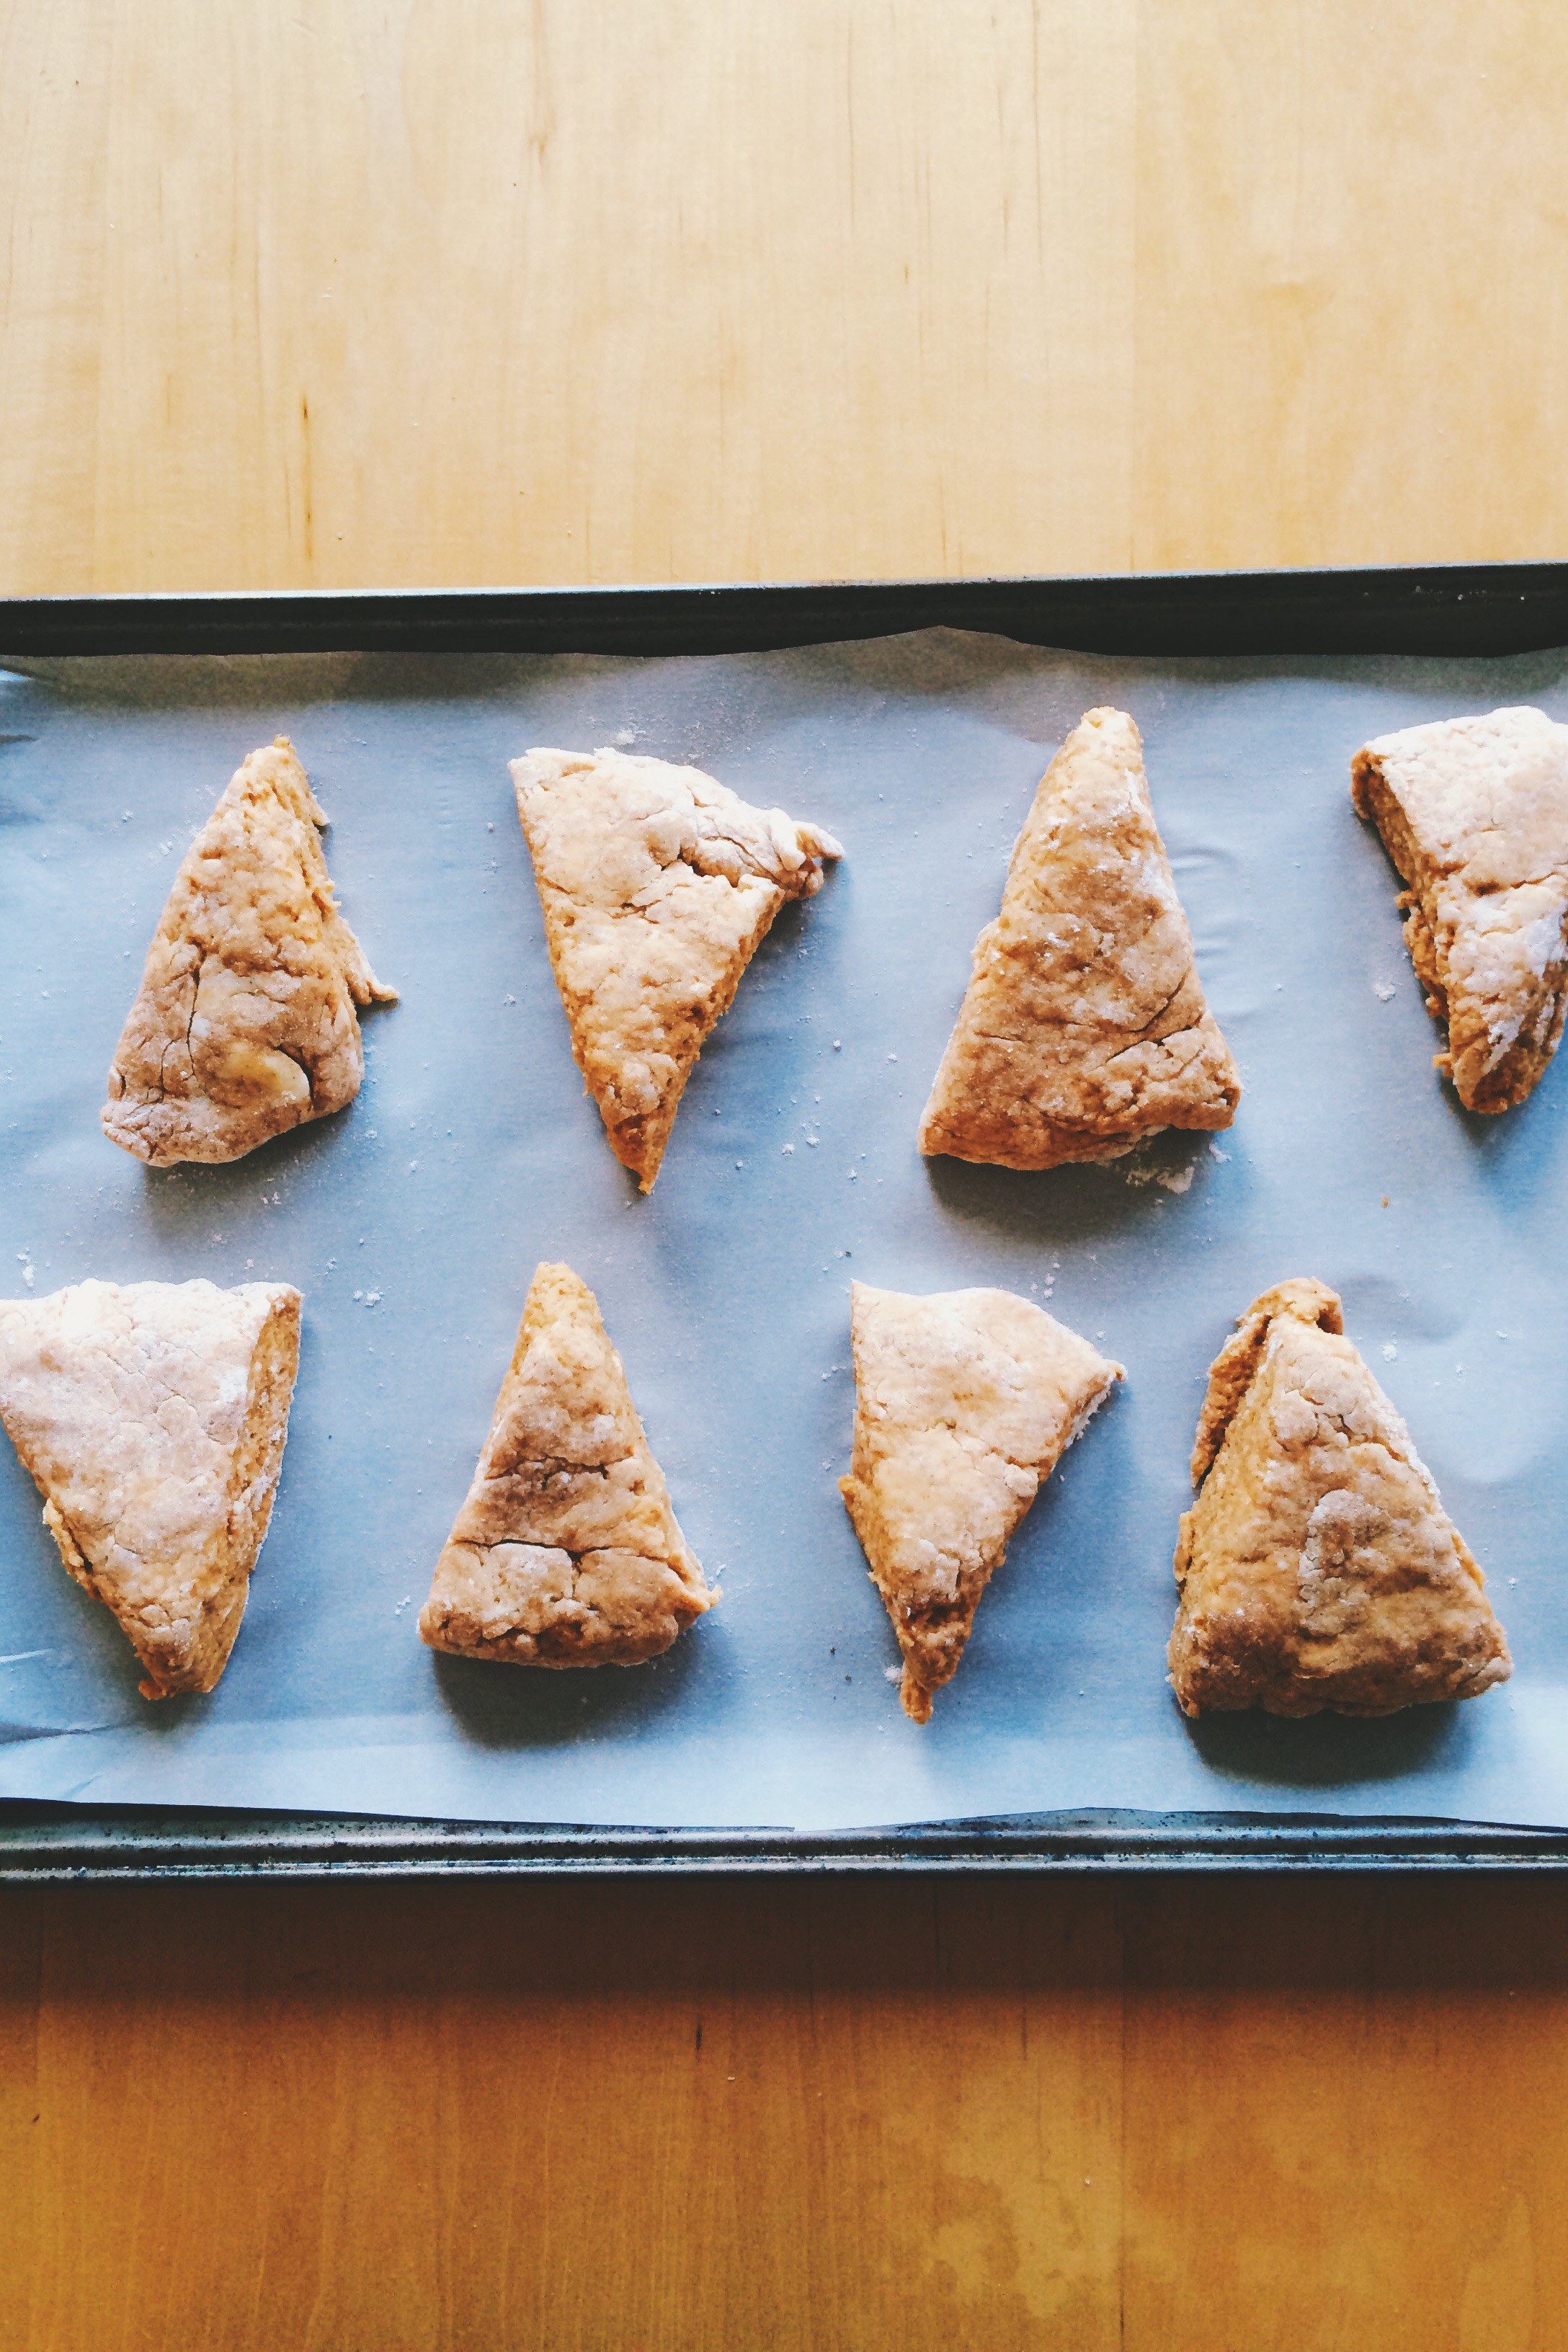
Using a floured wooden spoon, or a floured bench scraper, scrape the mixture out onto a a lightly floured surface. Using floured fingers, carefully pat the dough into a roughly-8 inch circle. Then, using either a floured knife, or floured bench scraper, cut the circle into eight equal wedges. Once your wedges are formed, transfer each to your prepared baking sheet. If you'd like, use a dry pastry brush to brush off any excess dough.

Bake until golden, about 15-17 minutes. Keep a close eye on them so they don't burn. Once out of the oven, let cool for two minutes on the baking sheet before transferring to a wire rack to cool.

While They're Cooling, Let's Make the Glaze!

Combine the sugar, cinnamon, milk, butter, and vanilla extract in a small bowl.

Final Step! Glaze Those Scones!

Place a baking sheet lined with wax paper under your wire cooling rack to catch any drippings. Add glaze to your scones in any design you'd like. Dip them in, or drizzle glaze over each top using a spoon. It's totally up to you! Once glazed, let set for at least 20 minutes.

To store: If you're not eating the scones the day you make them, store them unglazed in an airtight container for up to 2 days ahead of time, and  glaze just before you're ready to serve.


SOURCE: Adapted slightly from Tutti Dolci 

Fall Mornings

photo-8  

Don't you just love Fall? Sure, everything's dying, the chilly wind might be a little much to take first thing in the morning, and you're just creeping closer and closer to snow everywhere, all the time. But I don't mind. I adore sweater weather and sometimes find myself counting down the days in the summer when the heat and humidity (and constant re-applying of sunscreen) makes me a little cranky, and also very, very burned. I've never been one for warm weather. Give me a cool, sunny 70 degrees and we're good. Give me a balmy 90, and we can't talk because I'll be inside hugging an air conditioner like a long lost friend.

Fall means the start of lots of things. When I was a student, it meant going back to school and seeing how people had changed in just three months. It meant going on a Back-to-School shopping spree at Target and pretending you were a contestant on one of those grocery store game shows from the 90s (Fill up the cart! Fill up the cart!). Now, it means the beginning of Holiday Season, and all that comes with it. I'll admit that it is often disconcerting to see Santa Claus in late August, but it's wonderful to see him still greeting me in December. Sure, it might be a little too soon to start playing a holiday record here or there, but one will never get tired of hearing Ella Fitzgerald sing "Sleigh Ride" no matter what time of year it is.

For me, Fall means the door has been opened to the holidays I live for. I don't mind the extra jacket because it means I'm well on the way to spending time with relatives far away, and eating my weight in cookies, cakes, pies, etc. You will never eat enough pumpkin-apple-cinnamon-spice ANYTHING, and that, my friends, is an actual Fall fact of life.

So, bring on the chilly weather! I'll just put on thicker socks.


P.S. HAPPY HALLOWEEN WEEK!

singature gray

Learning How to Get to Nature Valley

DSCN0373I love granola bars. Love, love, love them. You can find them in my lunch bag as my 3:00 snack, my purse (to stave off the hungry and angry "Bear," that I become when I go shopping), and sometimes as a cereal substitute when I've run out of Cheerios. But stocking up on granola bars can get expensive (unless you're an Extreme Couponer. Seriously, I've been marathoning this show on Netflix, and I CANNOT get over how much these people save on their shopping trips. It's very tempting, but I have neither the time, nor the basement full of floor-to-ceiling shelving units it takes.). And while I'll never quit buying my Nature Valley bars cold turkey, I thought it best to at least give my wallet a rest, and learn to make them on my own for a while. Enter this recipe: Pumpkin Granola Bars. Maybe I chose this recipe because I  can't get enough of Pumpkin...Or maybe it's  because I had a can in the fridge with the perfect amount left...Who knows, it's a mystery of life! (It's because I had a can of pumpkin left. Mystery solved.)

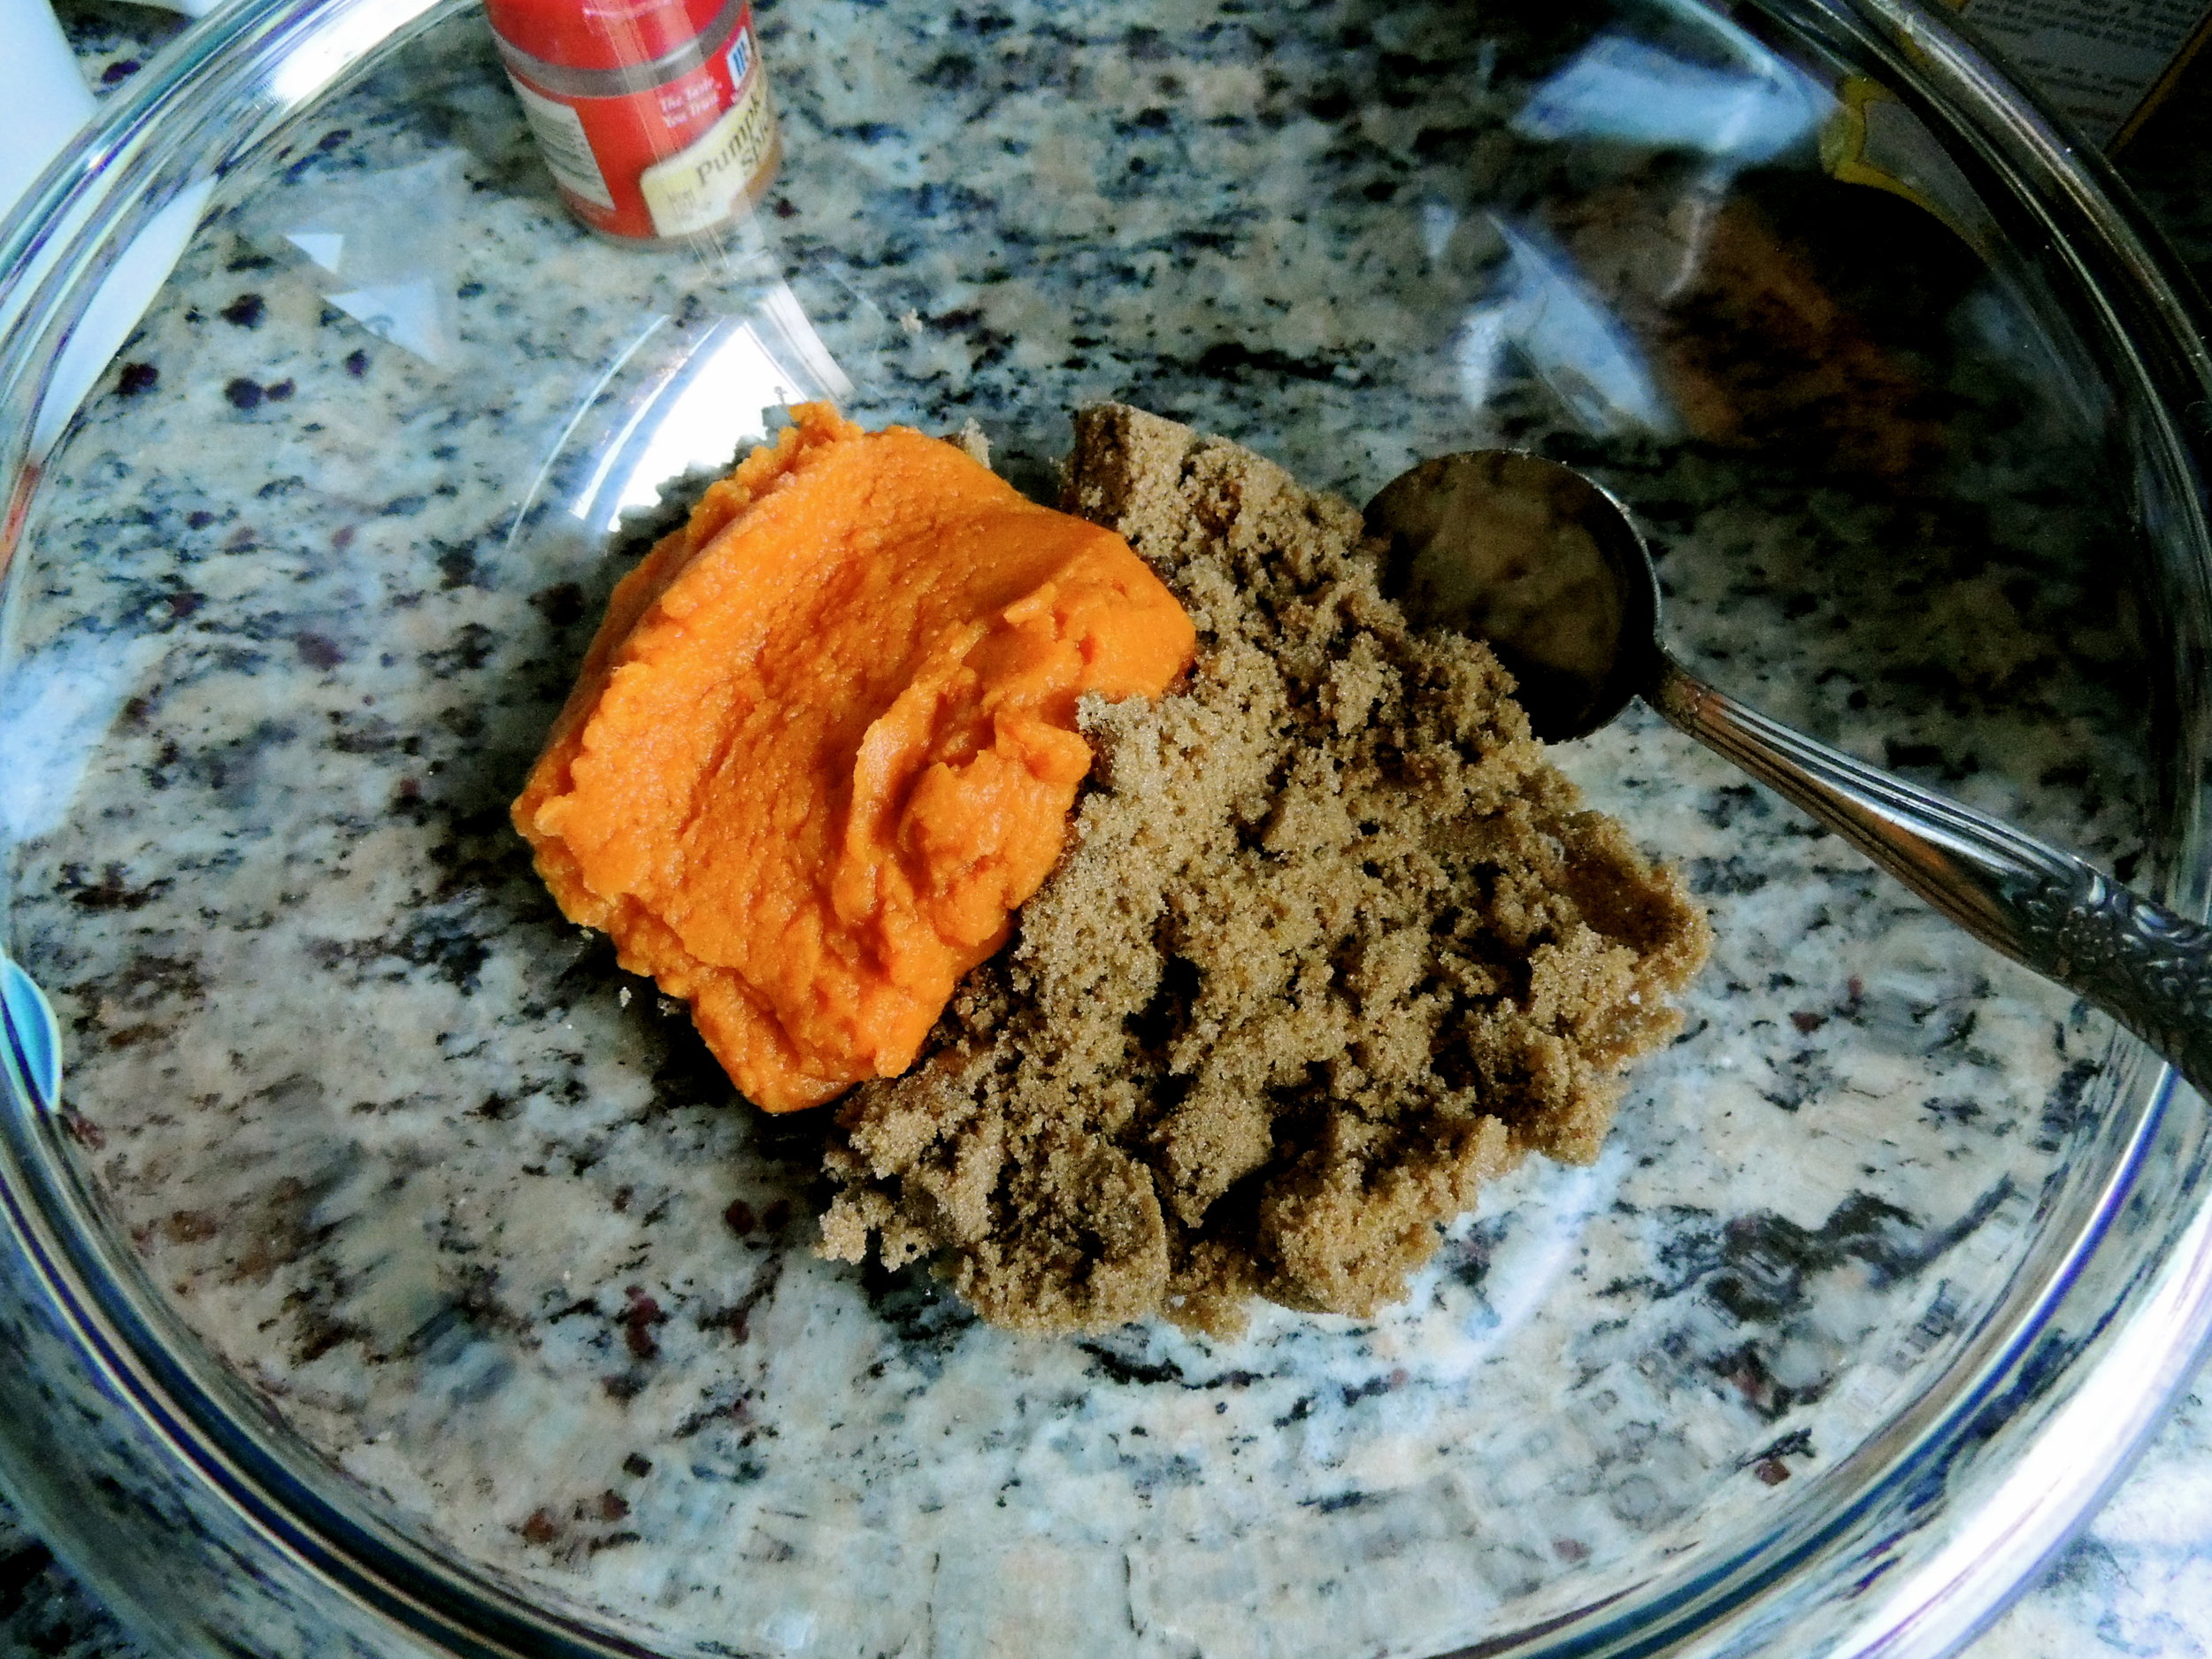
DSCN0364About a month back, our grocery store was having a sale on those big bags of Domino Brown sugar that I couldn't pass up. And in the moment, I was too BLINDED BY A GOOD DEAL, to read the label, and picked up two bags of DARK Brown Sugar, instead of LIGHT Brown Sugar. But by the time I set to work on making these granola bars, and realized my mistake, I had neither the strength, nor desire to walk the 2 minutes back over to the grocery store to buy a box. And anyway, I think my local grocery store is starting to see a little too much of me. So, I decided to substitute dark brown sugar instead, and see what happened. Not bad, I gotta say it.

DSCN0374 DSCN0379It was really interesting to learn some of the elements that go into granola bars. I'm not exactly sure what I thought it was that was holding them together, but I didn't realize what a huge part honey plays. It's the glue that binds the whole operation together and without it, you've got mushy, uncooked oatmeal with pieces of fruit in it. Also interesting, this recipe called for 1/4 cup applesauce. It helps keep some of the moisture during baking, and it makes all the difference.

DSCN0386I liked that this recipe called for white chocolate chips for three reasons:

1. White chocolate chips were on sale today for $0.79

2. I don't think I've ever baked with white chocolate before.

3. I like white chocolate a lot. White Chocolate + Granola Mix= A really great idea!

And while the chocolate chip pieces melt away, their memory, and taste, are not forgotten. They add such a special sweetness to the mixture.

DSCN0389I could not stop eating this once it was finished. As a result, I don't really have granola "bars" per se, but instead granola "chunks" or granola "weirdly shaped, unevenly sized pieces." No regrets, it's not for sharing. The only person that will be appreciating this first batch is me, and my taste buds are in no way picky when it comes to presentation.

These granola bars are delicious, were easy to make, and now probably a new staple in my pantry. But bakers beware: this granola is addicting, so keep your wit's about you!

Give it a try!

PUMPKIN GRANOLA BARS:

What You'll Need:

  • 3 cups old fashioned oats
  • 2 teaspoons pumpkin pie spice
  • 1/2 teaspoon salt
  • 3/4 cup packed light brown sugar (or try dark brown sugarIt made things a lot sweeter!)
  • 1/2 cup pumpkin puree
  • 1/4 cup applesauce
  • 1/4 cup honey
  • 1 teaspoon vanilla extract
  • 1/2 cup dried cranberries
  • 1/2 cup white chocolate chips

To Make:

Preheat oven to 350° F. Line a baking sheet (9x9 is suggested, but I think my sheet is 9x11, and it turned out fine. Use what you have!) with foil allowing for 1 inch to hang on the sides of the pan. Spray foil with Pam, or another non-stick cooking spray, and set aside.

In a large bowl, combine oats, pumpkin pie spice, and salt. Set aside.

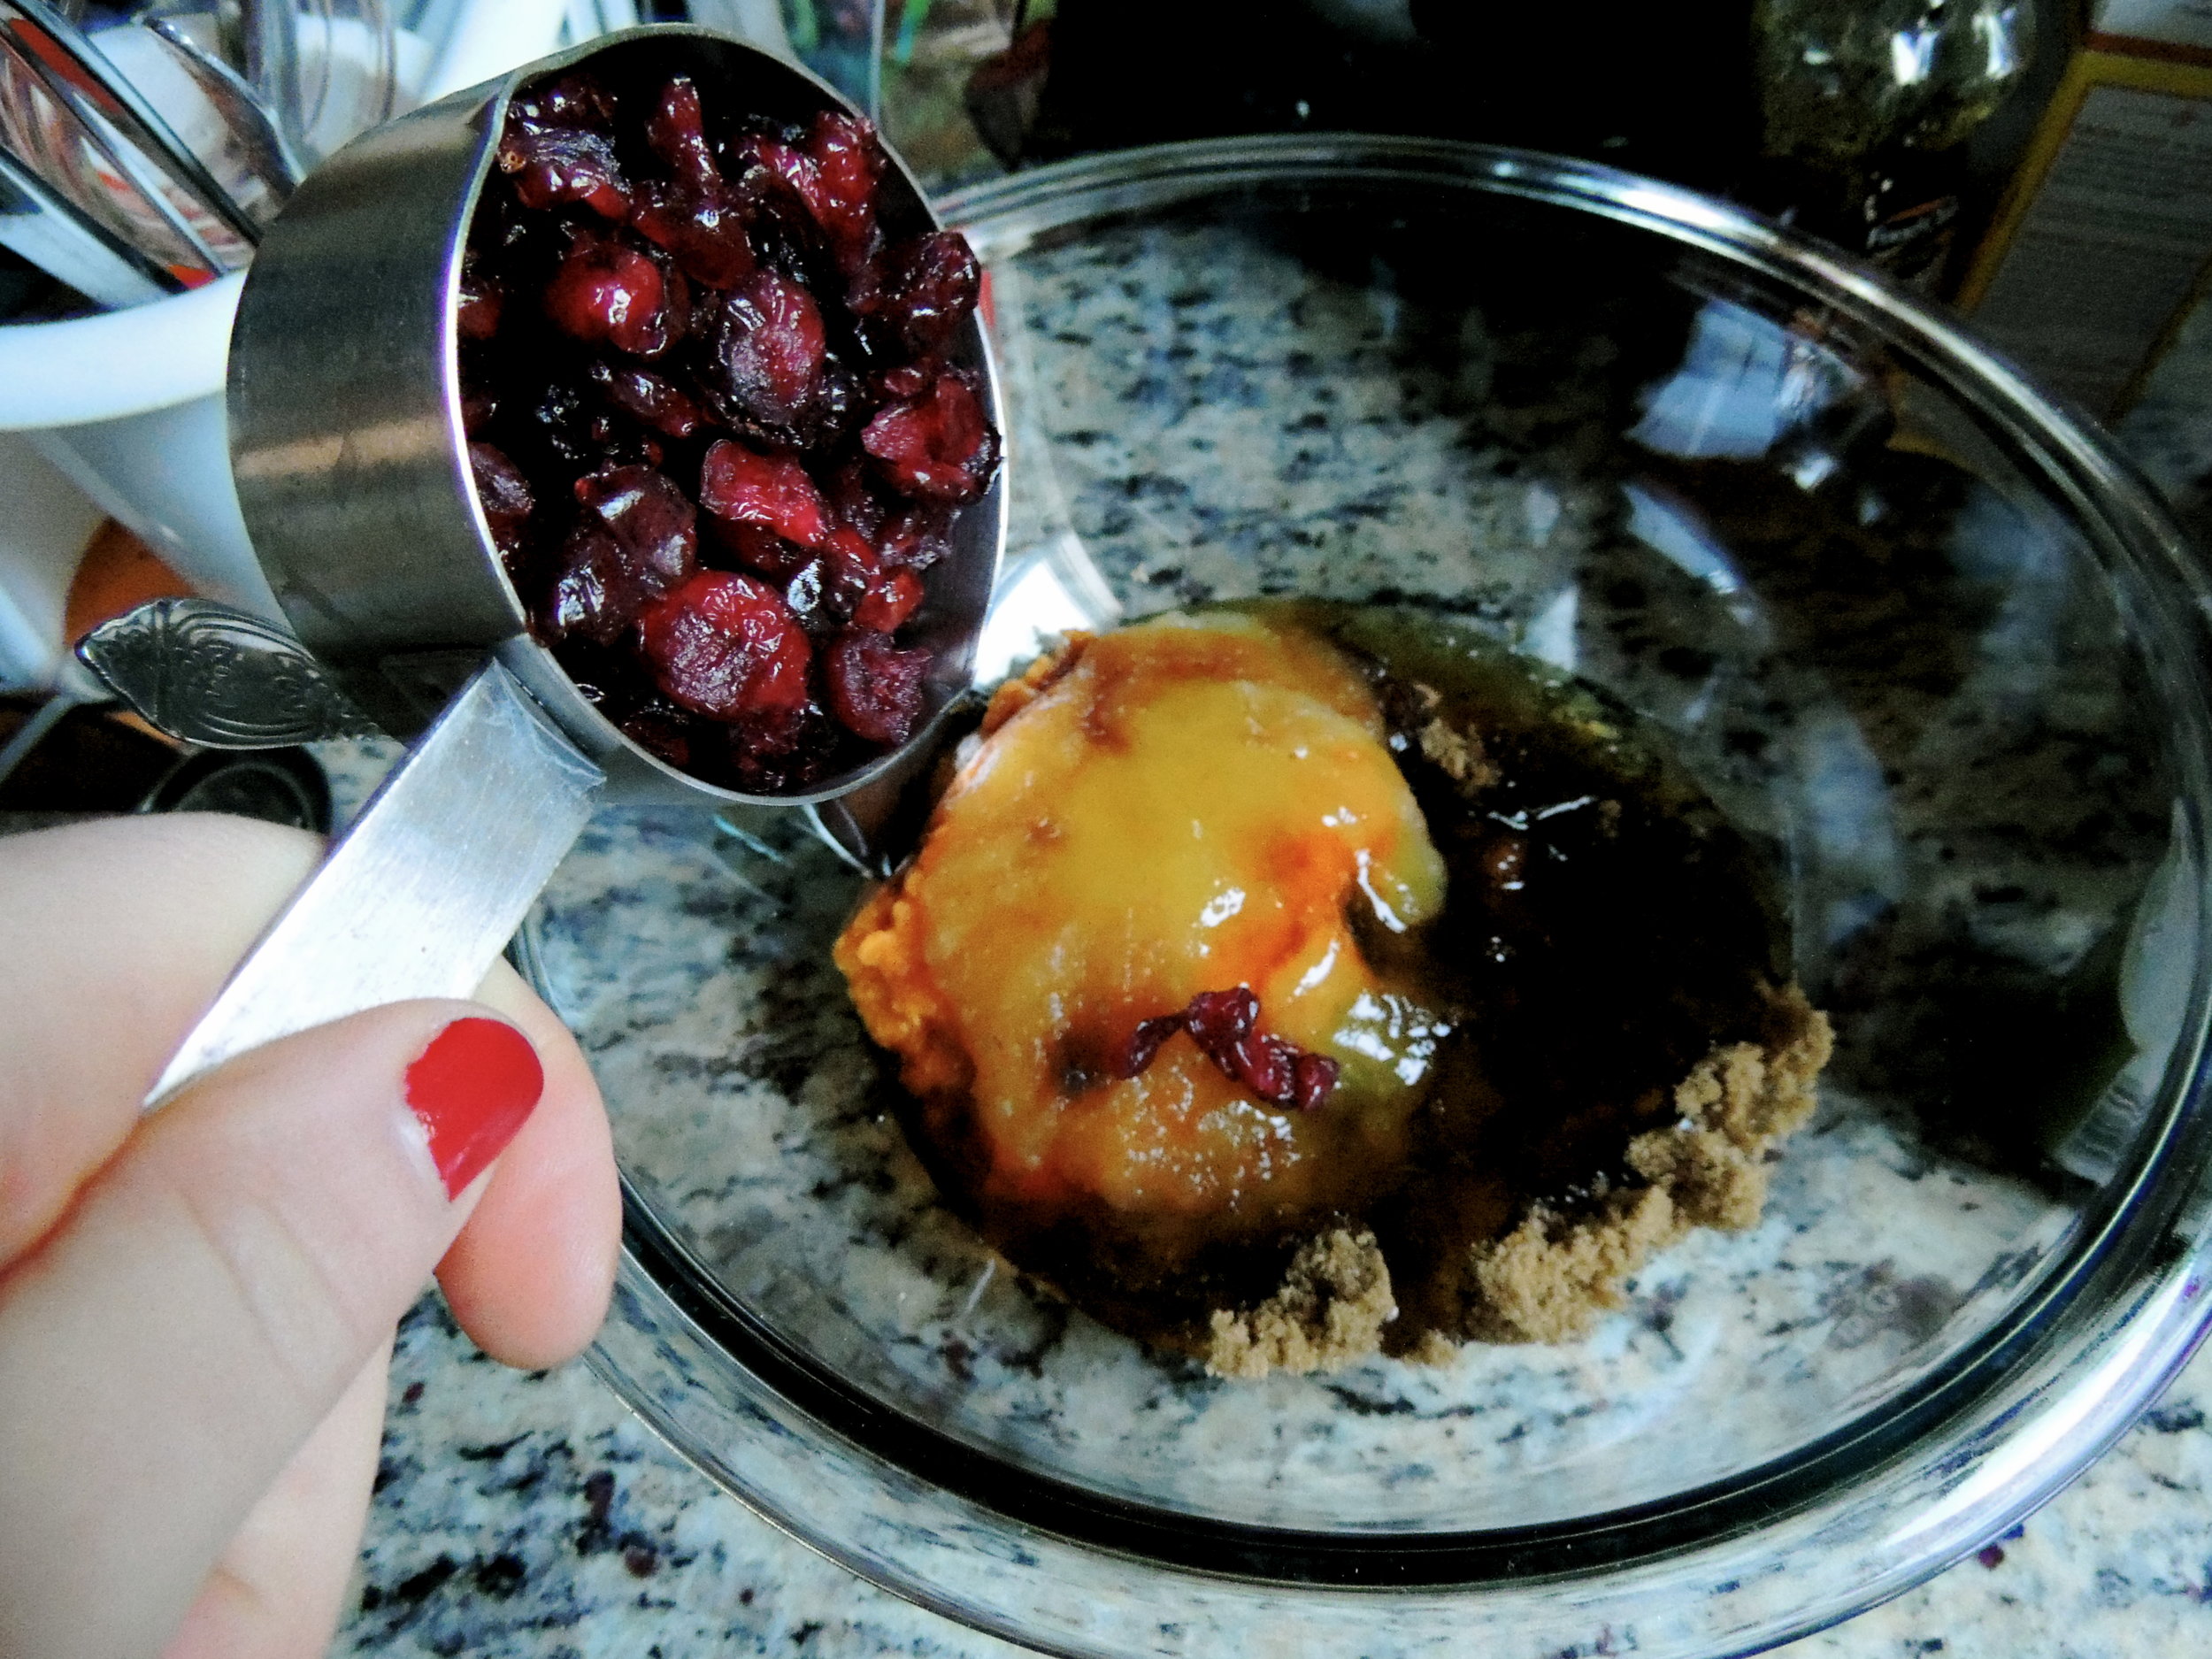
3. In a medium bowl, whisk together the brown sugar, pumpkin puree, applesauce, honey, and vanilla extract until smooth. Pour over oats and stir until oats are moistened. Stir in the cranberries and white chocolate chips.

4. Evenly press oat mixture onto the prepared baking sheet. Bake for 35-40 minutes, or until golden brown. Be sure not to under bake. Transfer to a cooling rack to cool completely.

5. Use a sharp knife to cut into bars. (Or just, eat it while you're impatiently waiting for it to cool, and make it into fun, unexpected shapes of granola like I did! Yeah!)

Source: Very minimally adapted from My Baking Addiction

Happy baking!

singature gray

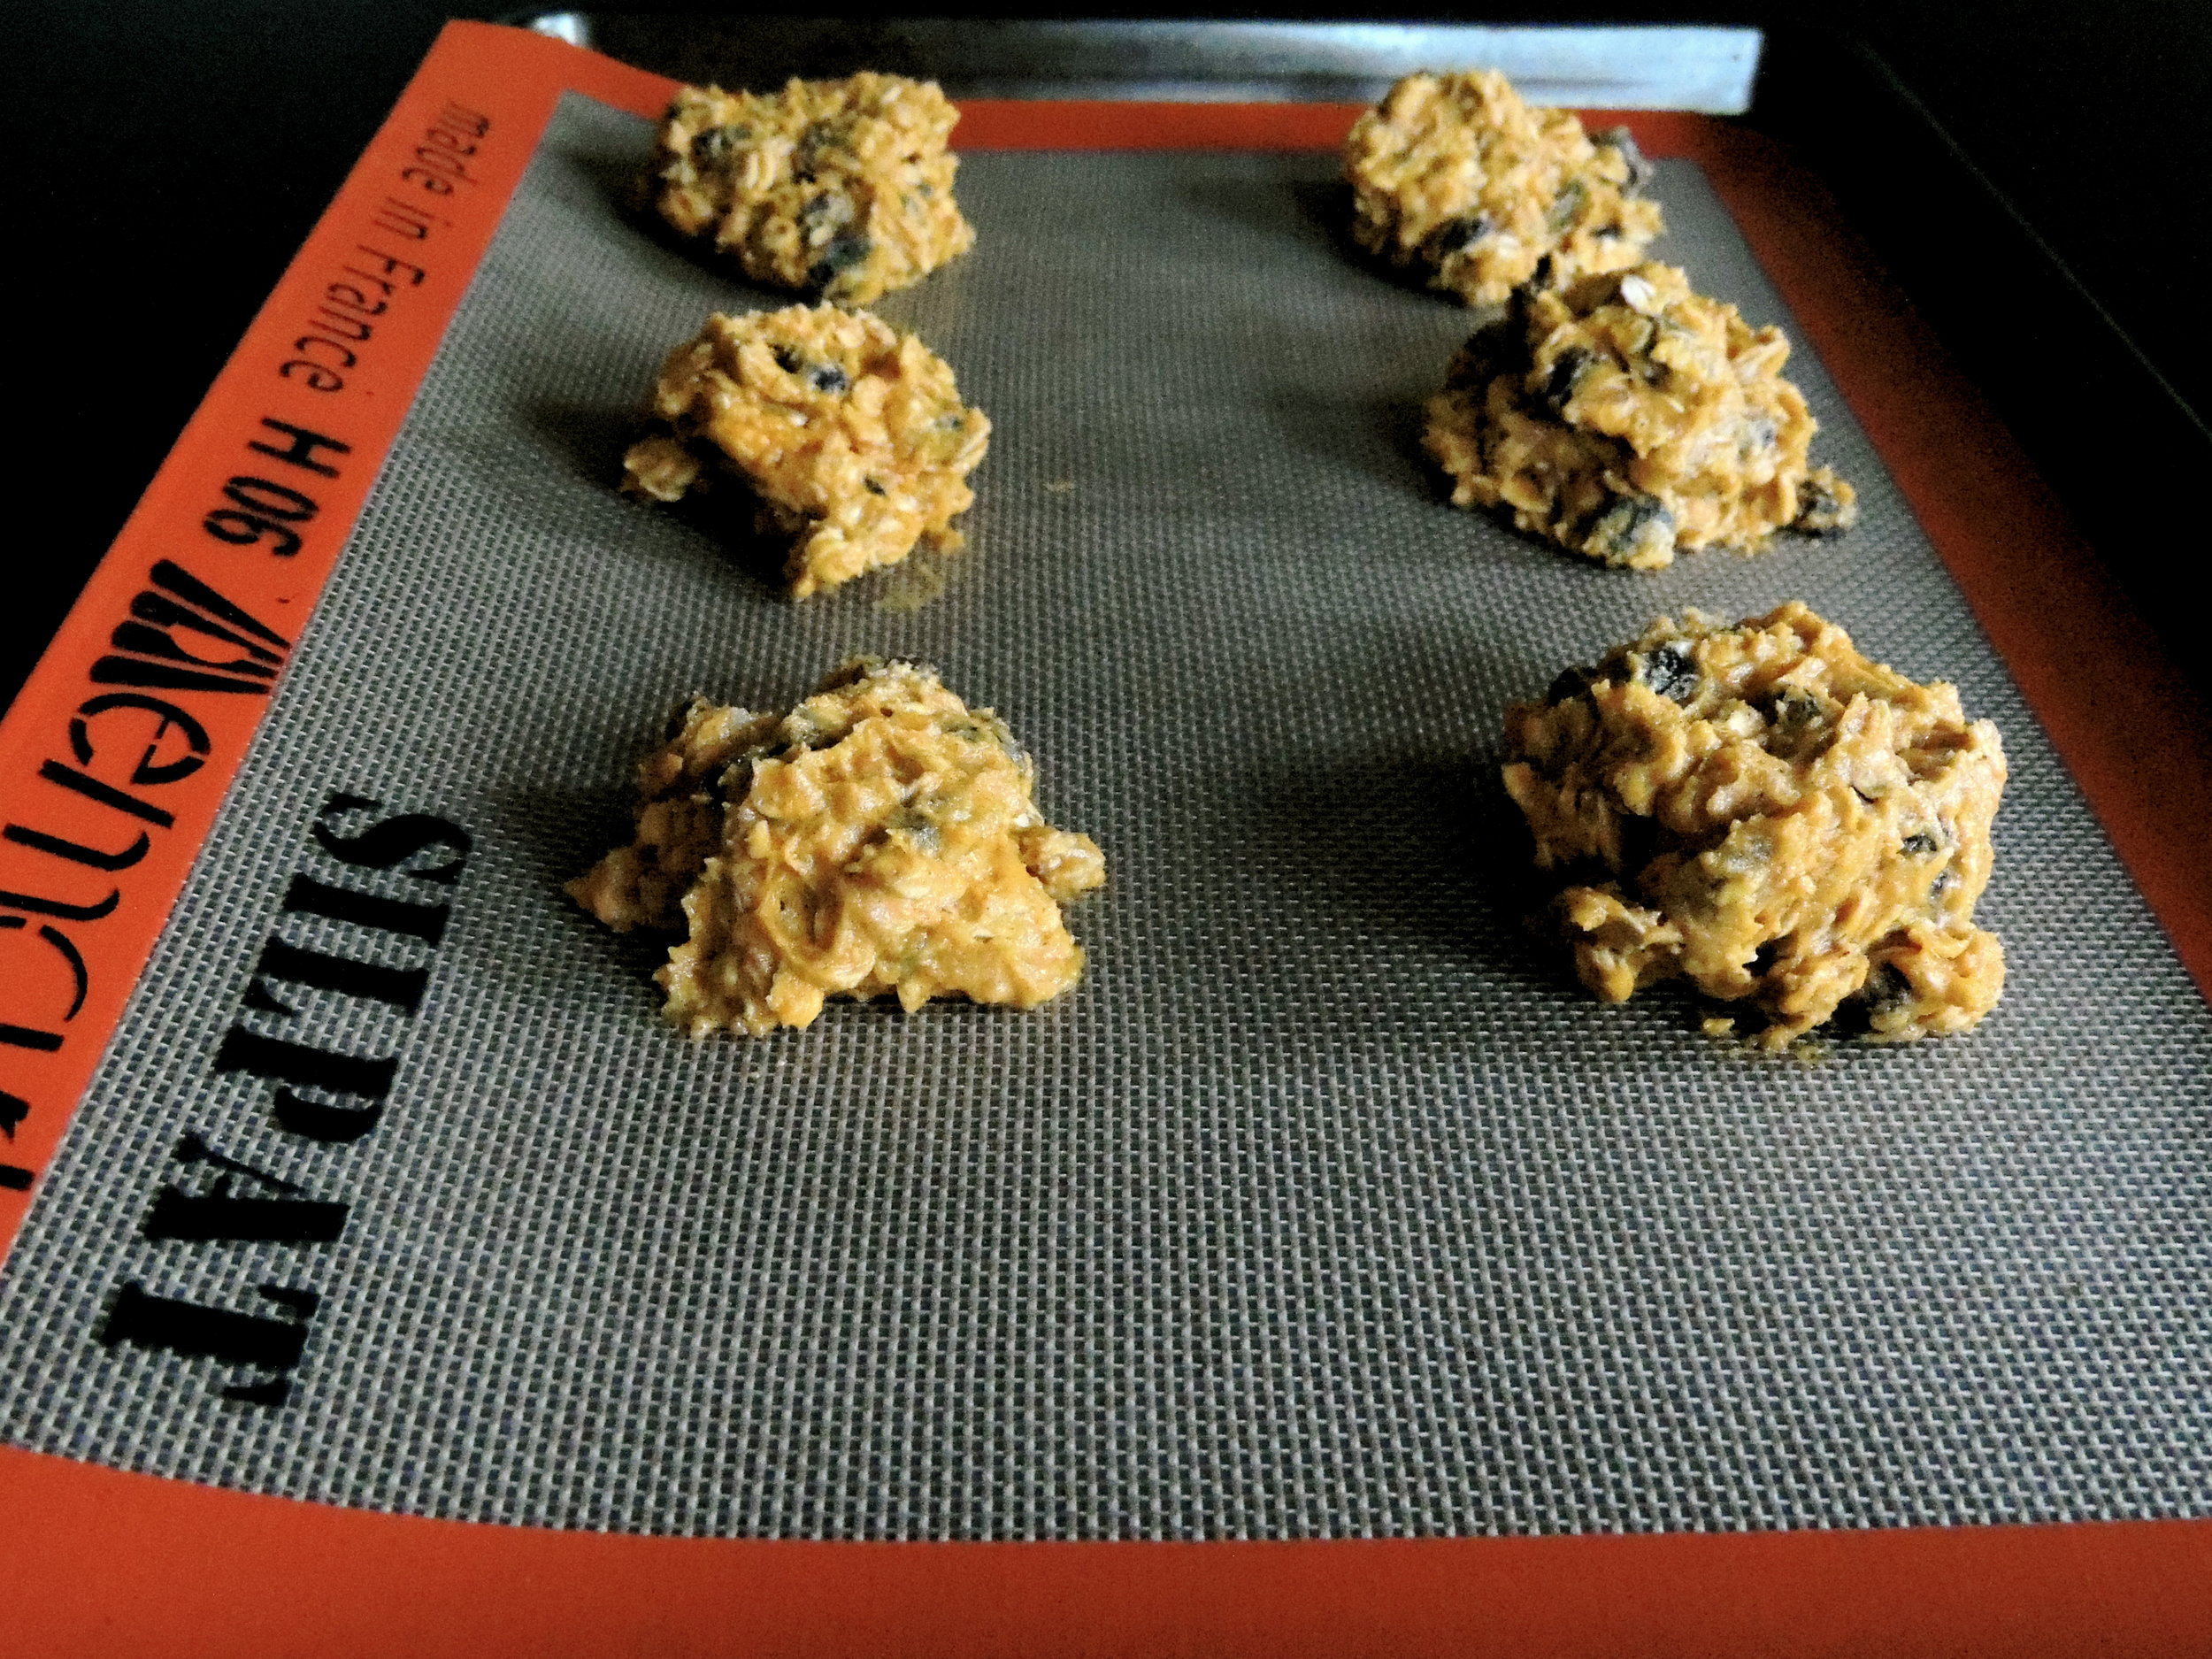
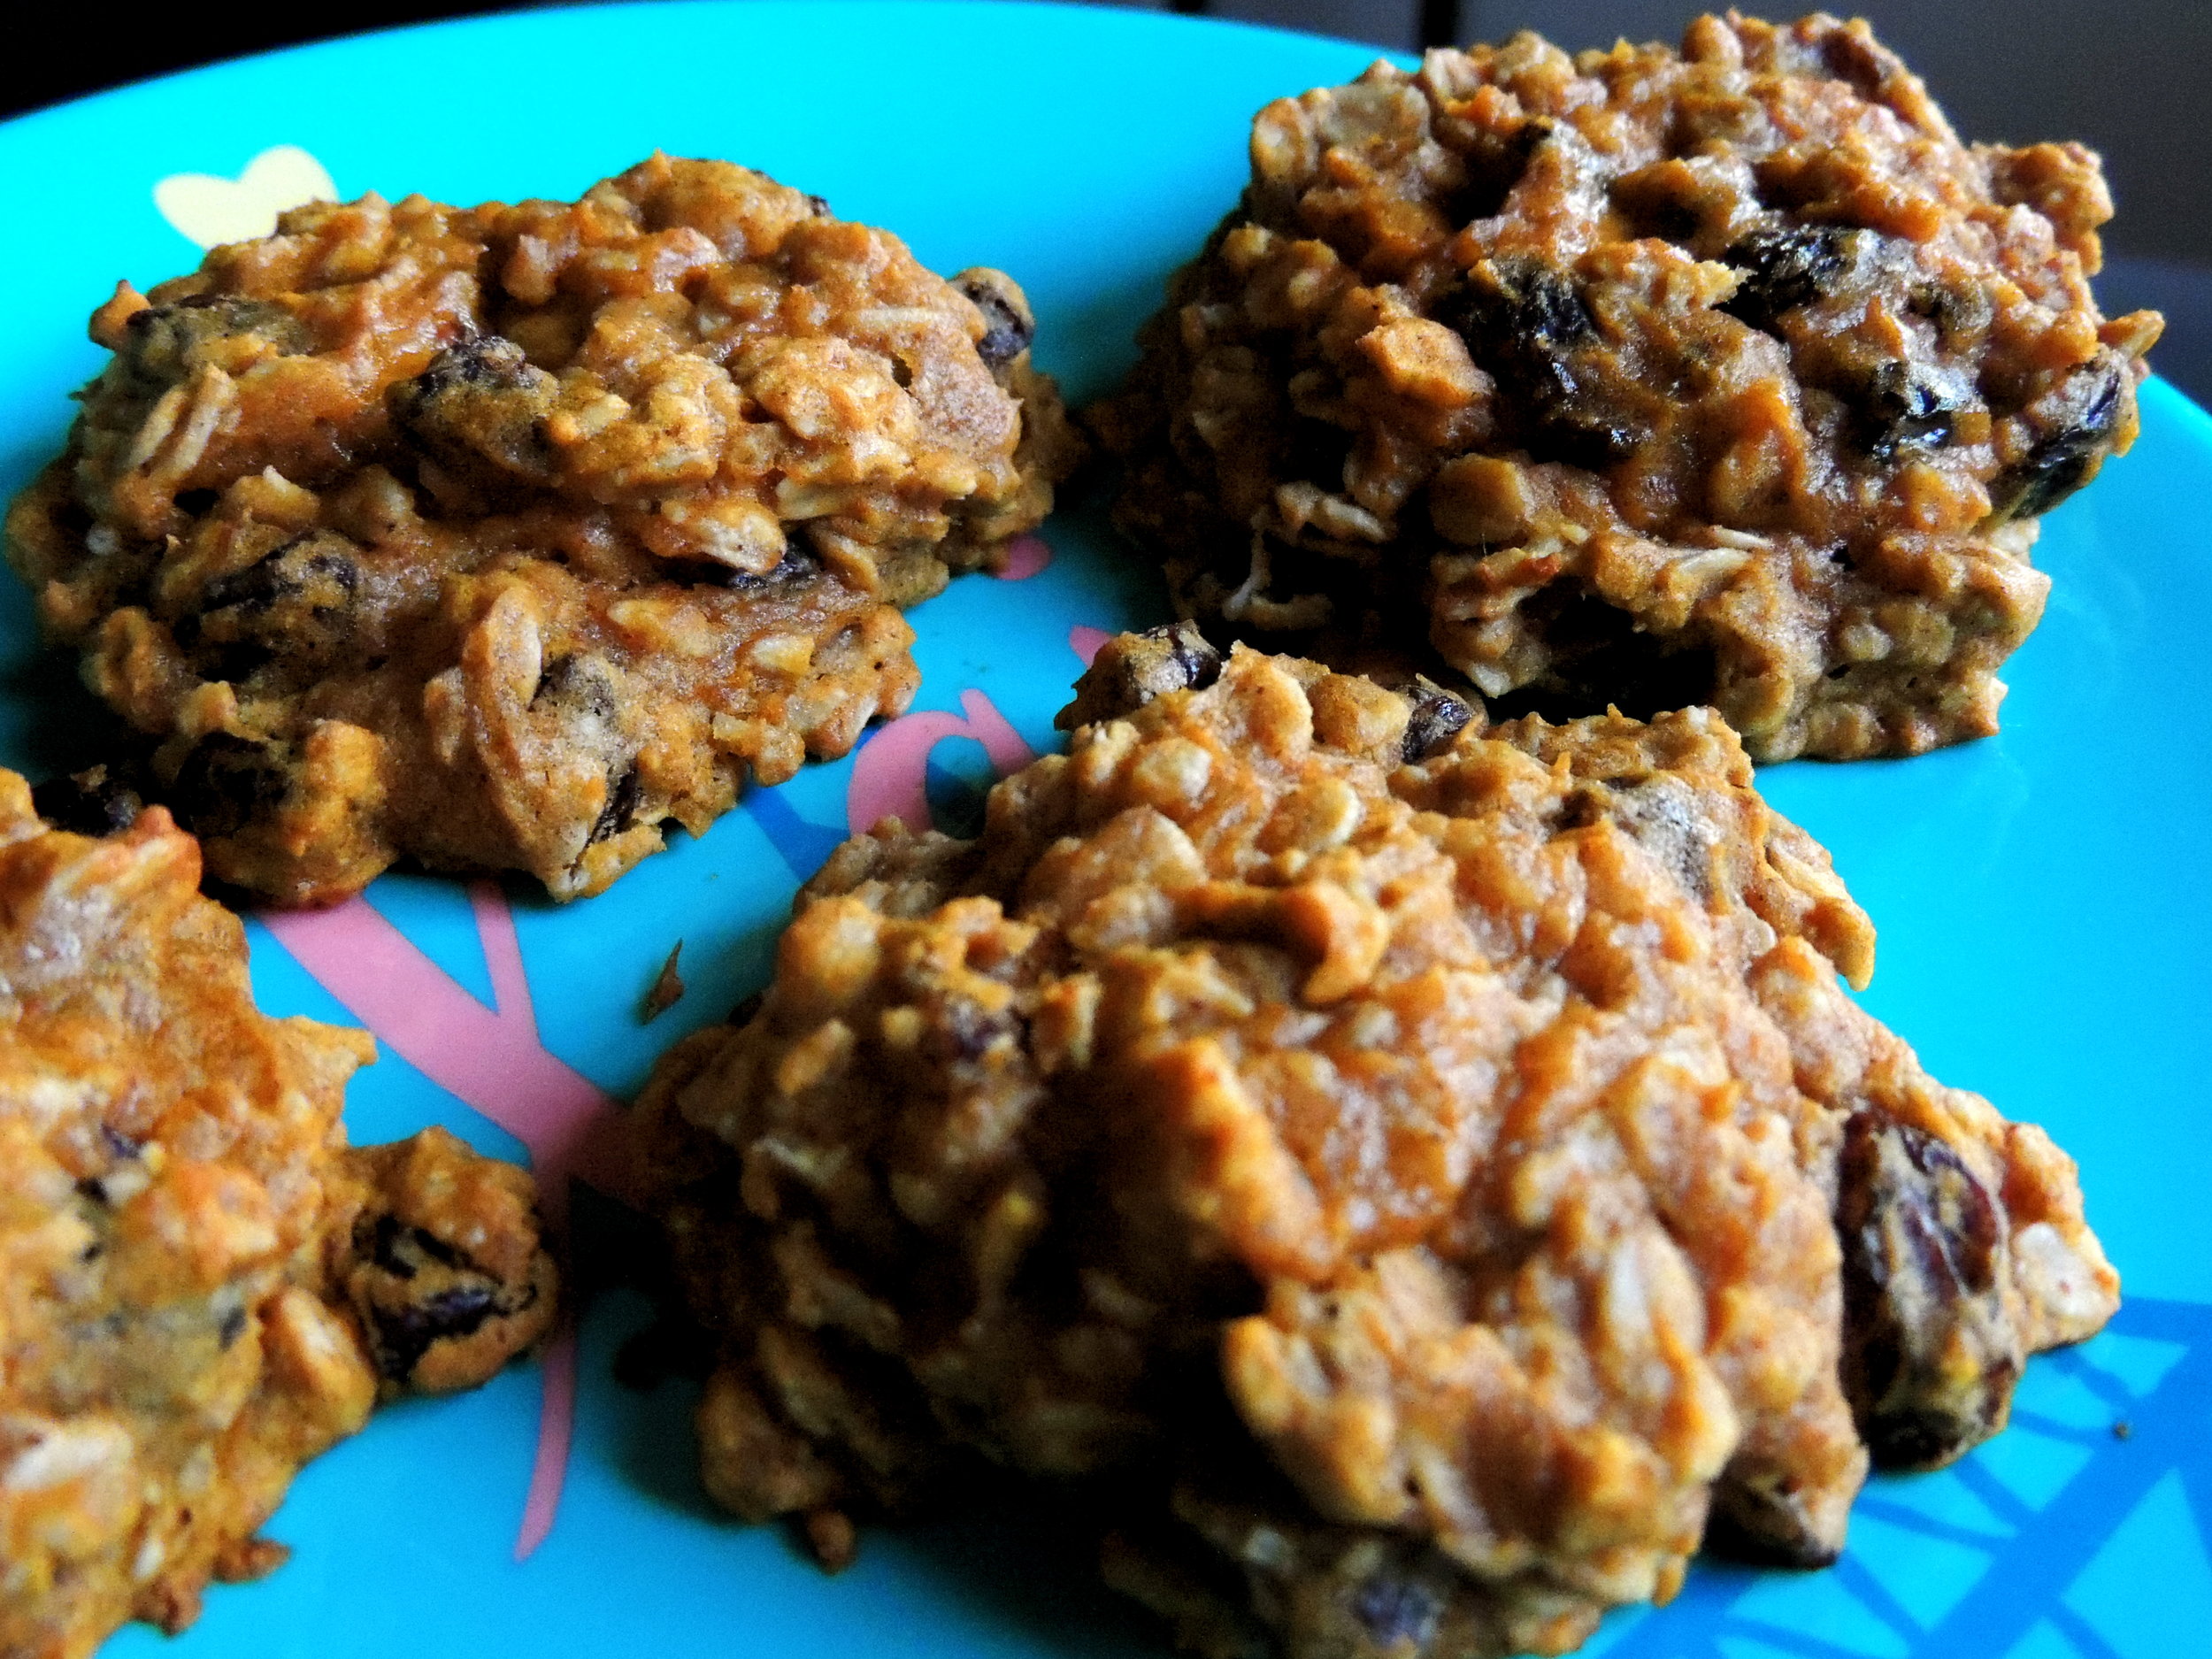
Making it My Own: Pumpkin Oatmeal Raisin Cookies

DSCN0308 The story really began on Sunday, when my friend Grace and I decided to hit up the neighborhood bakery, after completely stuffing ourselves at brunch. No regrets, the weekends are the days that I feast. My neighborhood has the CUTEST bakery with tons of handwritten signs everywhere, and a really great pastry selection. What I had in mind for a post-brunch treat was a cannoli because hey, if you're going to have dessert after essentially having dessert, you have to go all out. But these days, I leave cannolis to the experts in the North End, and no where else. Instead, I locked eyes on (well, eye to baked good) a pumpkin raisin cookie. It just so happens that a few days before, I'd heard talk of a pumpkin aatmeal raisin cookie, and I'd been dying to try one ever since. But when I asked the salesperson if the cookie had oats, she shook her head "no," and sort of looked at me quizzically. Well, whatever, there was nothing else in the bakery I wanted more than that cookie, so I paid, and we left. And, I have to say it: I was super disappointed. I mean, I ate the whole thing obviously, but every bite was a reminder that I may have chosen the wrong thing at the bakery. It was missing one very important element: oats.

Honestly, think about it: had there been no pumpkin, it would have just been a raisin cookie. WHO EATS PLAIN RAISIN COOKIES? It's oatmeal raisin, or nothing. So as I took my last bite, I looked over at Grace and said, "I think I'm going to remake this cookie."

So I did.

DSCN0307

I started my baking adventure like I always do: running furiously to the store in search of ingredients that I definetly should have collected before I decided to start baking. And I often embarrass myself once I get there. This particular time, after going up and down two aisles twice looking for raisins, I finally found someone that worked there, who told me to go to Produce. And after looking in Produce for .2 seconds, I decided to ask for help. Now, let me just preface this by saying that my trip to the store yesterday was the first time I'd been out all day, so I was still adjusting to being around other people, and also speaking out loud. Here was my interaction with the (pretty cute, by the way) salesperson in Produce:

Me: Excuse me, could you tell me where the grapes are?

SP: Grapes? Sure they're just------

Me:  OH NOPE. SORRY, I meant raisins! Ha, y'know like OLD GRAPES? HAHA

SP: ...Um. Okay, yeah, they're over here. Follow me...

Me: Yep. okay then...

So yeah, THAT happened. Nevertheless, I got my raisins. And I set to work!

DSCN0316A few hours later, I had warm, chewy, Pumpkin Oatmeal Raisin cookies. And better than the bakery's cookies by a mile, if I do say so myself.

DSCN0329

DSCN0340I'm taking these little pieces of Fall goodness to work with me so that my Official Recipe Tasters (aka my co-workers and roommates) can give me the final word. I'm going to share this recipe, I promise!

HAPPY THURSDAY, GUYS! The weekend's almost here!

singature gray

Baby, We're Rollin' (in Dough)

Doughnut circle

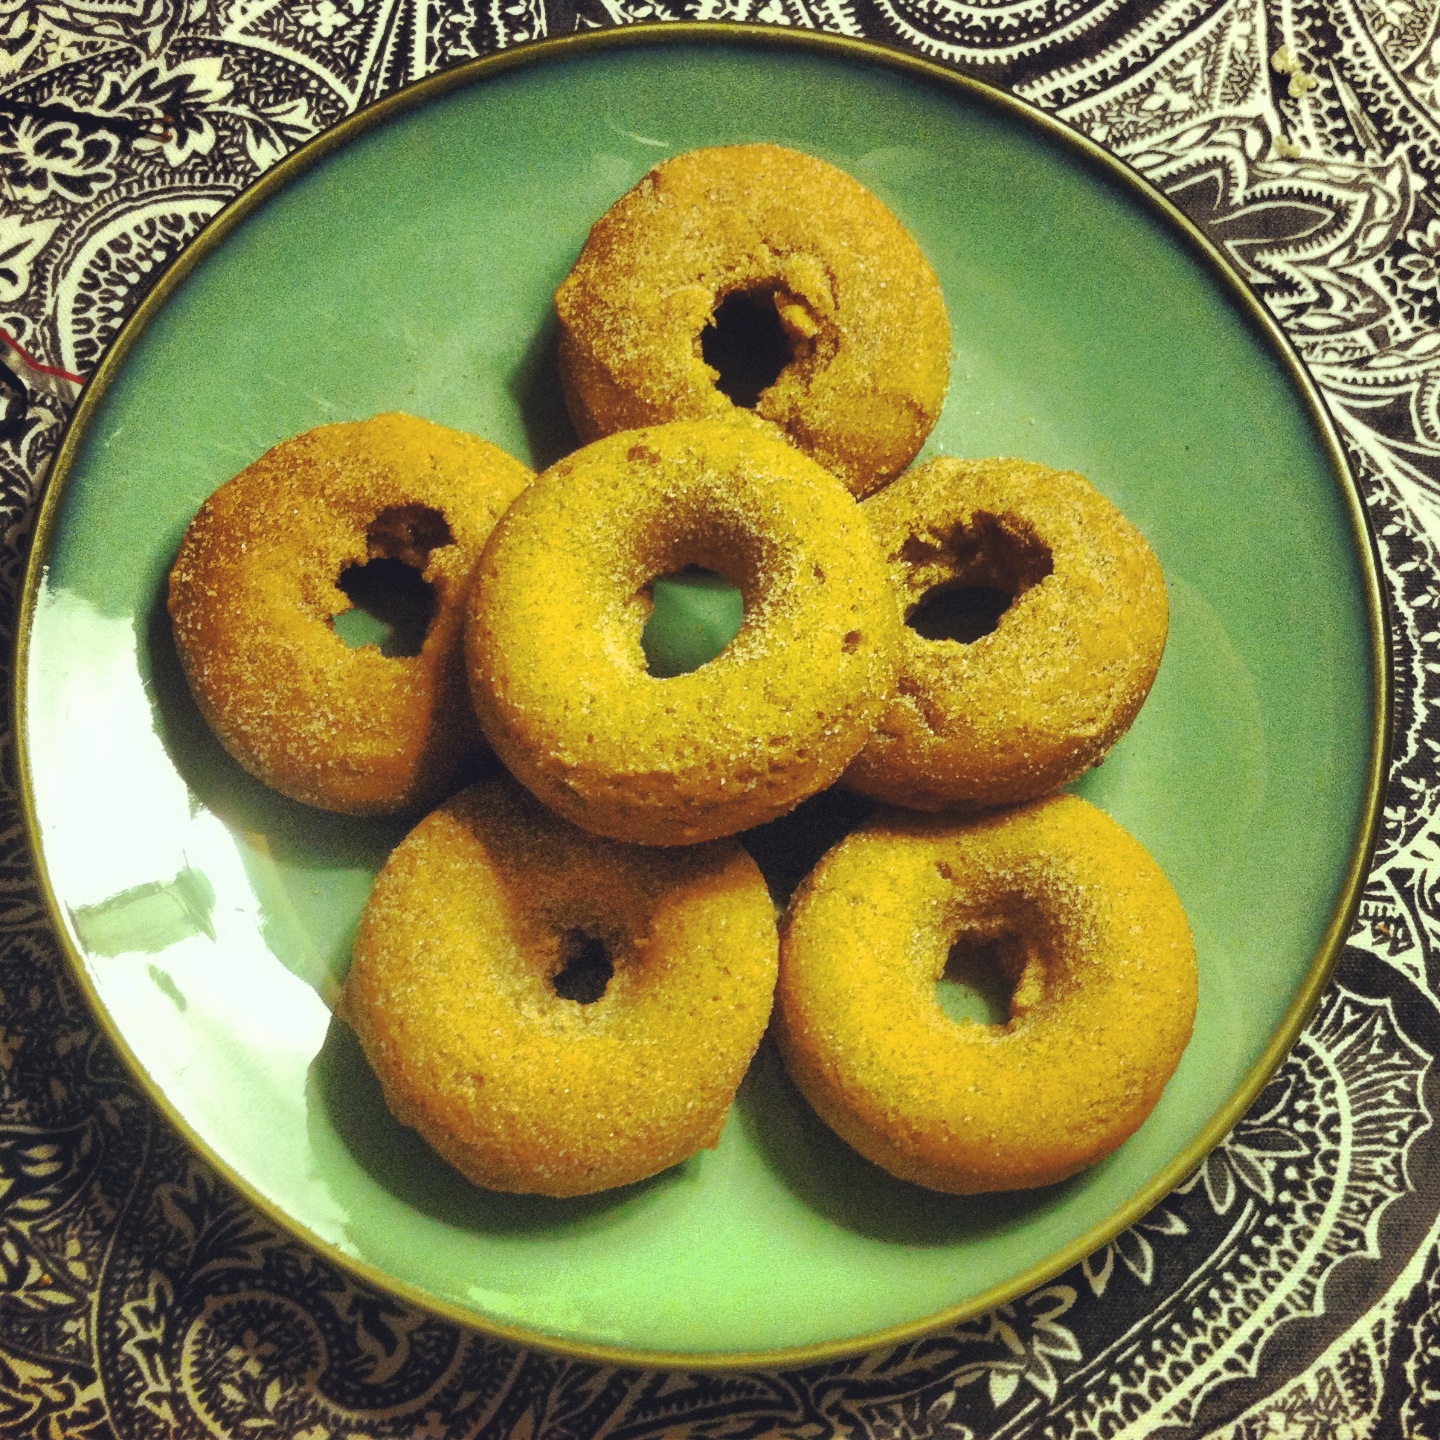
I made doughnuts.

That's it. My life is forever changed.

And these weren't just ANY doughnuts, my friends. Oh no. These were...are you ready for this?

You sure?

ARE YOU SURE YOU'RE READY FOR THIS?

Okay, okay, sorry. I get a little too dramatic in the mornings.

 BAKED. PUMPKIN. CAKE. DOUGHNUTS.

Yes.

I took a  trip to Target about a month ago, and was perusing the home section when I came across a Nordic Non-Stick Doughnut Pan for a low, low price. Being one to never pass up a good deal, I threw it in the cart without even the slightest bit of hesitation.

Also, can we just take a moment to talk about the magic that is Target itself? Has anyone honestly ever gone in there thinking, "I'm just going in to get ______, then I'm out of there!"? No. Never. It's impossible. At Target, you have the semi-freedom to shop with abandon...You always learn your lesson when you get to the register of course, but by then it's too late, and you've already figured out a place for your new items in respective rooms in your home. I love it there, and Boston's about to get one a LOT closer to home! And you know where I'll be opening day.

Let's move on!

on the road to doughnuts

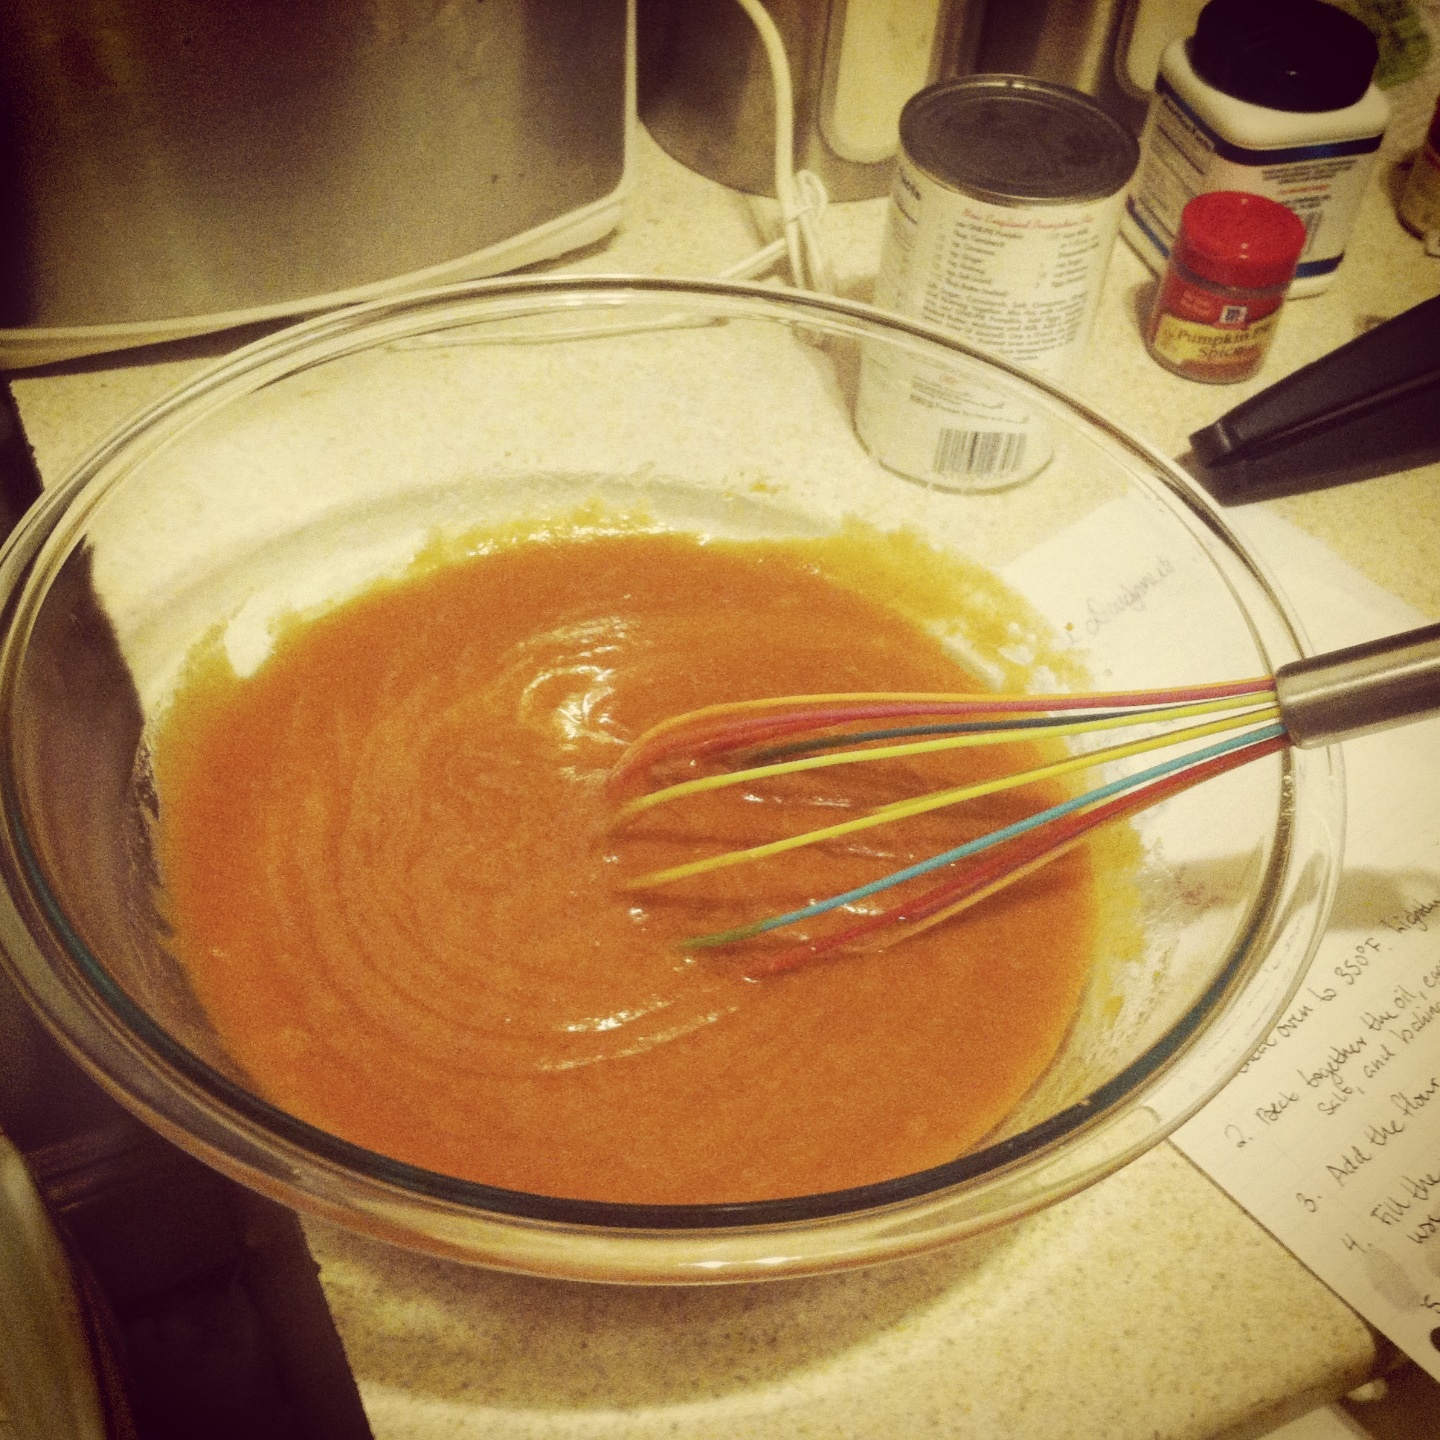
The recipe itself was amazingly simple. Honestly, all I did was throw a few things in the bowl. And for tools? Bowl, spoon, whisk, measuring cups, doughnut pan. That's it. I'm sure all you bakers out there can agree that sometimes the simpler the recipe, the less cleanup, the happier EVERYONE IS. We all like to dabble in complicated masterpieces, but on occasion, it's just nicer to take it easy in the kitchen. Especially in the summer, especially after all this heat.

I think I spent a total of 30 minutes preparing the mixture, then scooped it into the pan using my handy dandy 1/4 cup ice cream scoop, set the oven to about 17 minutes, and it was done!

doughnuts on display

Dunkin' Donuts, you eat your heart out. Then, you can come over for doughnuts.

What You'll Need:

Doughnuts:

  • 1/2 cup vegetable oil
  • 3 large eggs
  • 1 1/2 cups granulated sugar
  • 1 1/2 cups pumpkin purée (canned pumpkin)
  • 1 1/2 teaspoons pumpkin pie spice, or 3/4 teaspoon ground cinnamon plus heaping 1/4 teaspoon each ground nutmeg and ground ginger
  • 1 1/2 teaspoons salt
  • 1 1/2 teaspoons baking powder
  • 1 3/4 cups + 2 tablespoons  Unbleached Flour

Coating:

  • 3 tablespoons cinnamon-sugar mixture

Get the recipe here!

Happy baking!

singature gray

So, Let's Talk About Cheesecake.

Two words for you: Pumpkin. Cheesecake. My roommates and I were throwing a little "At the Coffeehouse" themed shindig, and since it was my idea, I wanted to make something appropriate for fall, and fancy! So, pumpkin cheesecake was a no-brainer.  And let me tell you: it was actually (relatively) easy!

So here was my day:

All I want is to be Julia Child in the kitchen.

DSCF0462

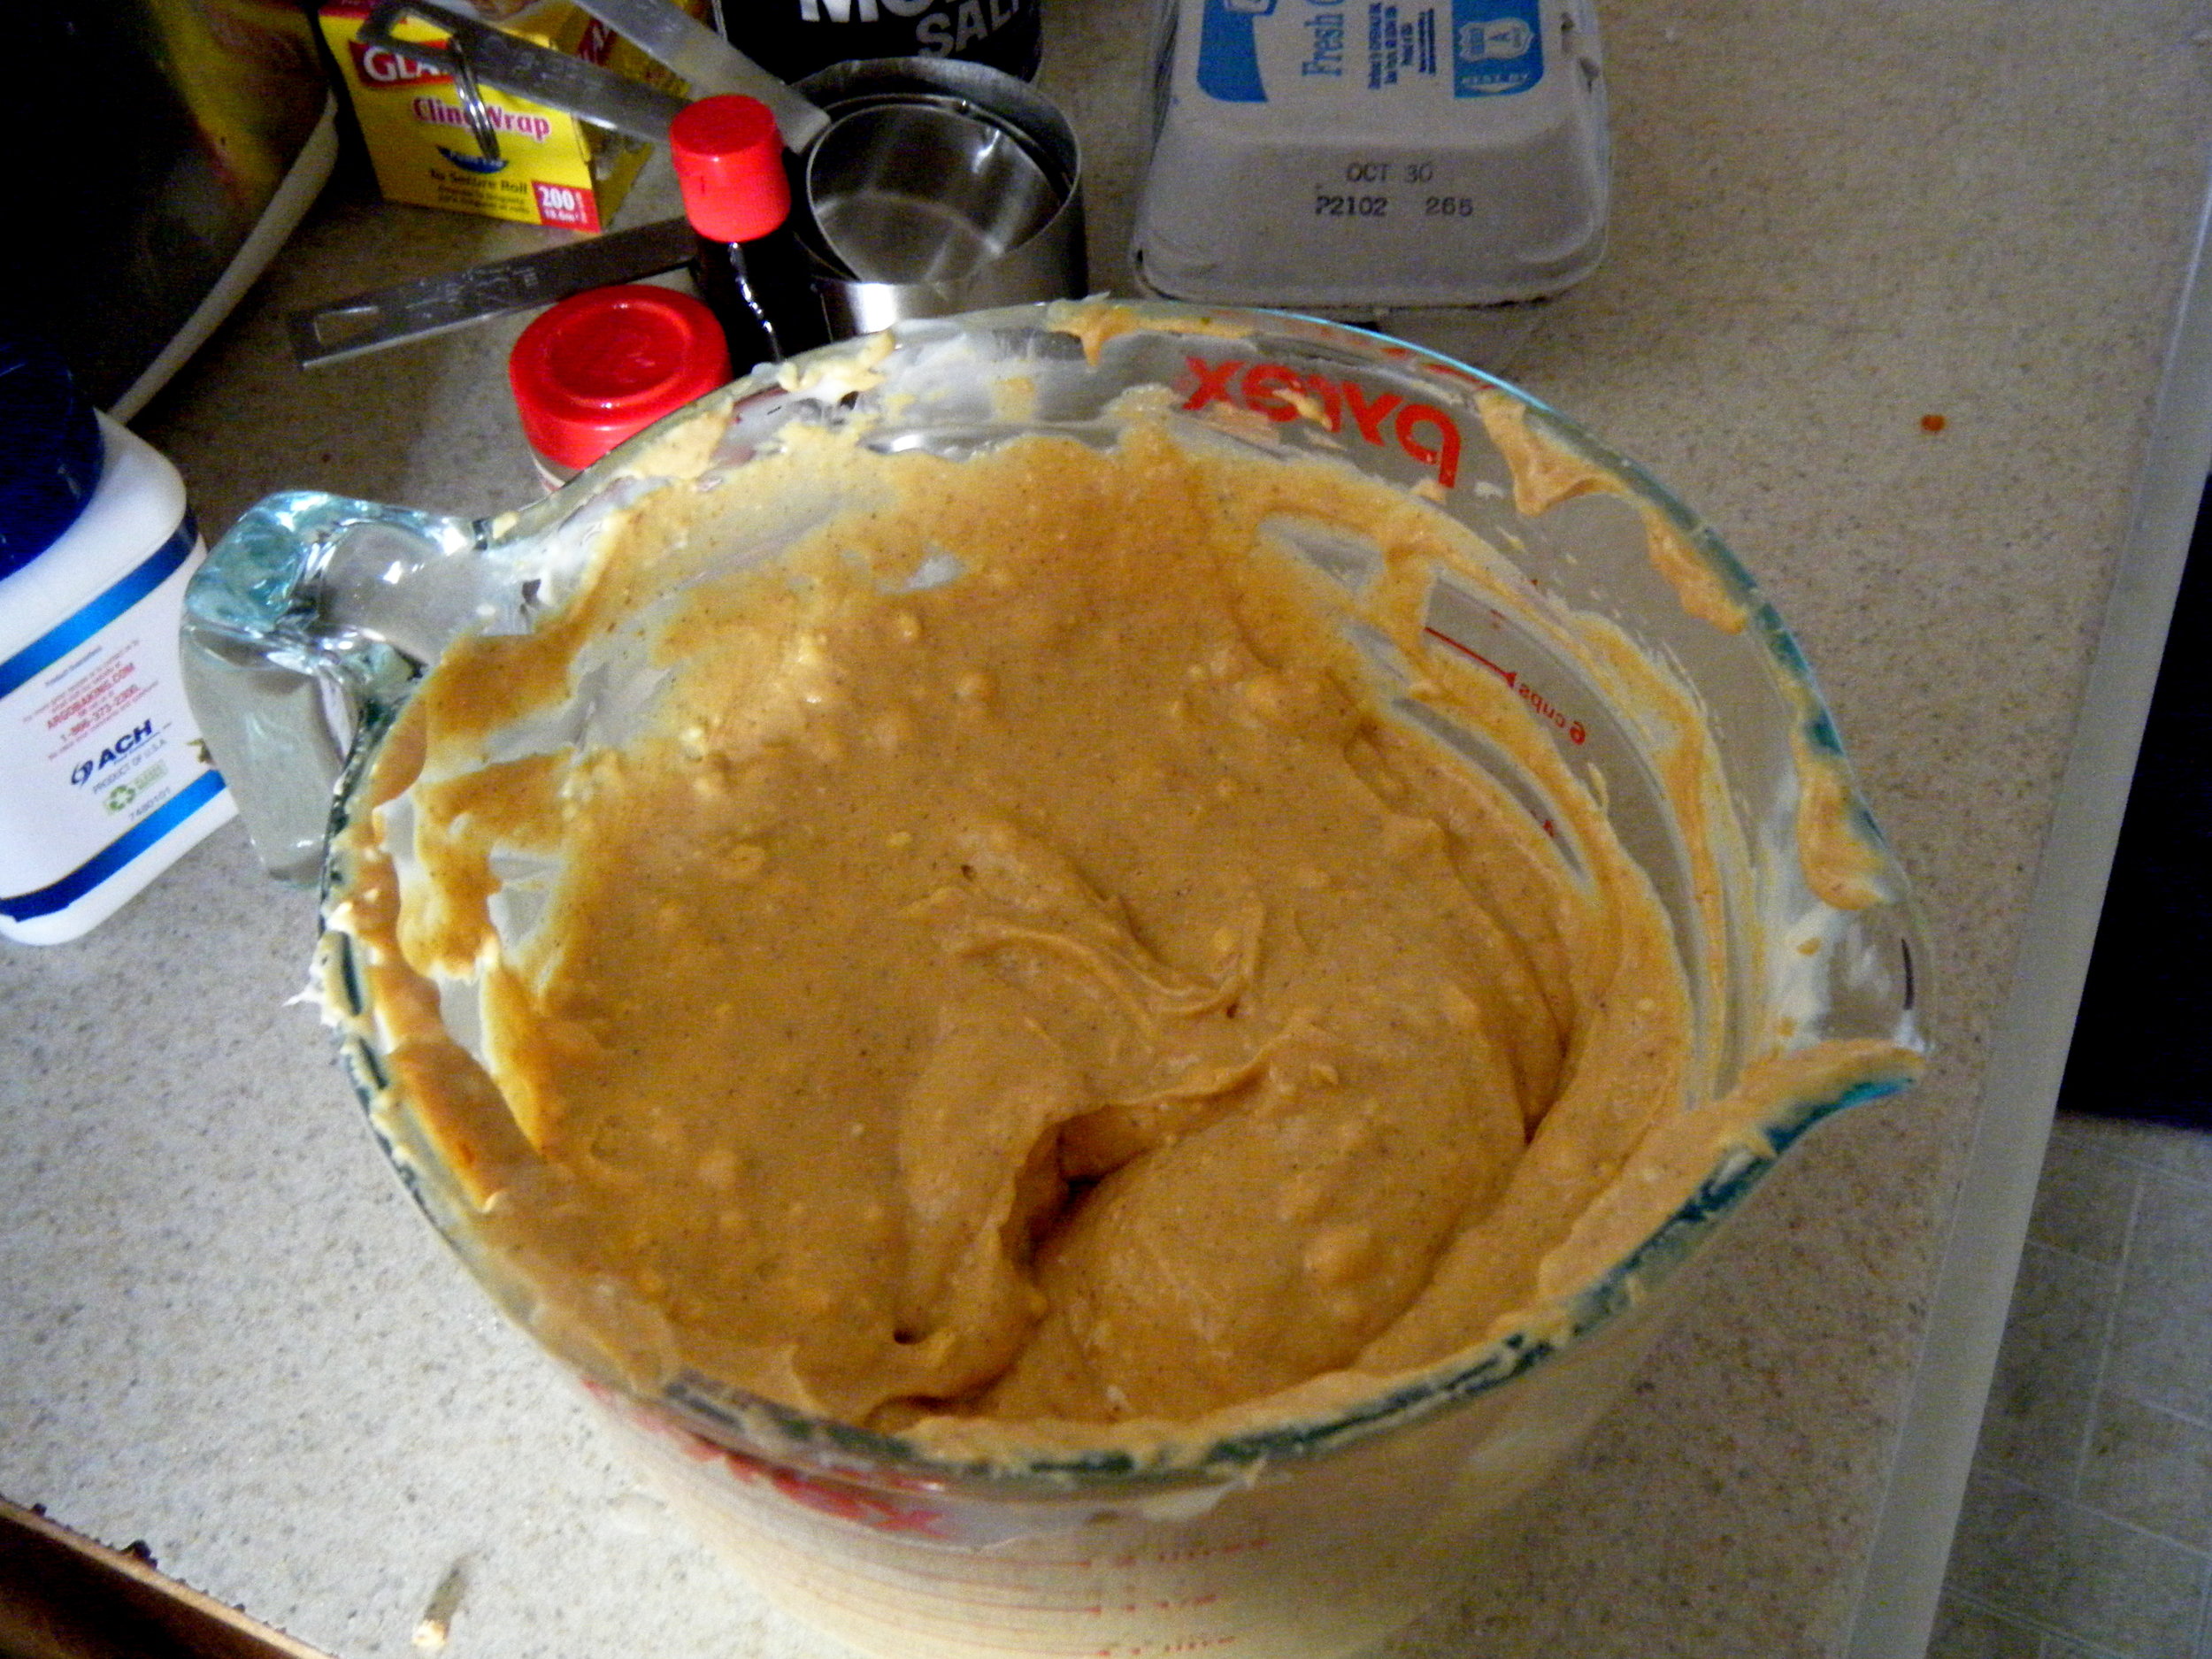
Making the DELICIOUS FILLING was pretty interesting. Tons of sour cream, and lots of pureed pumpkin. I would also like to add that I did all of this before I had my baby (my KitchenAid Hand Mixer). The mixing probably took a good 20 minutes. Now that my hand mixer is around, making this in the future will be a quick breeze! (And my wrist won't feel like it's about to fall off.)

DSCF0464

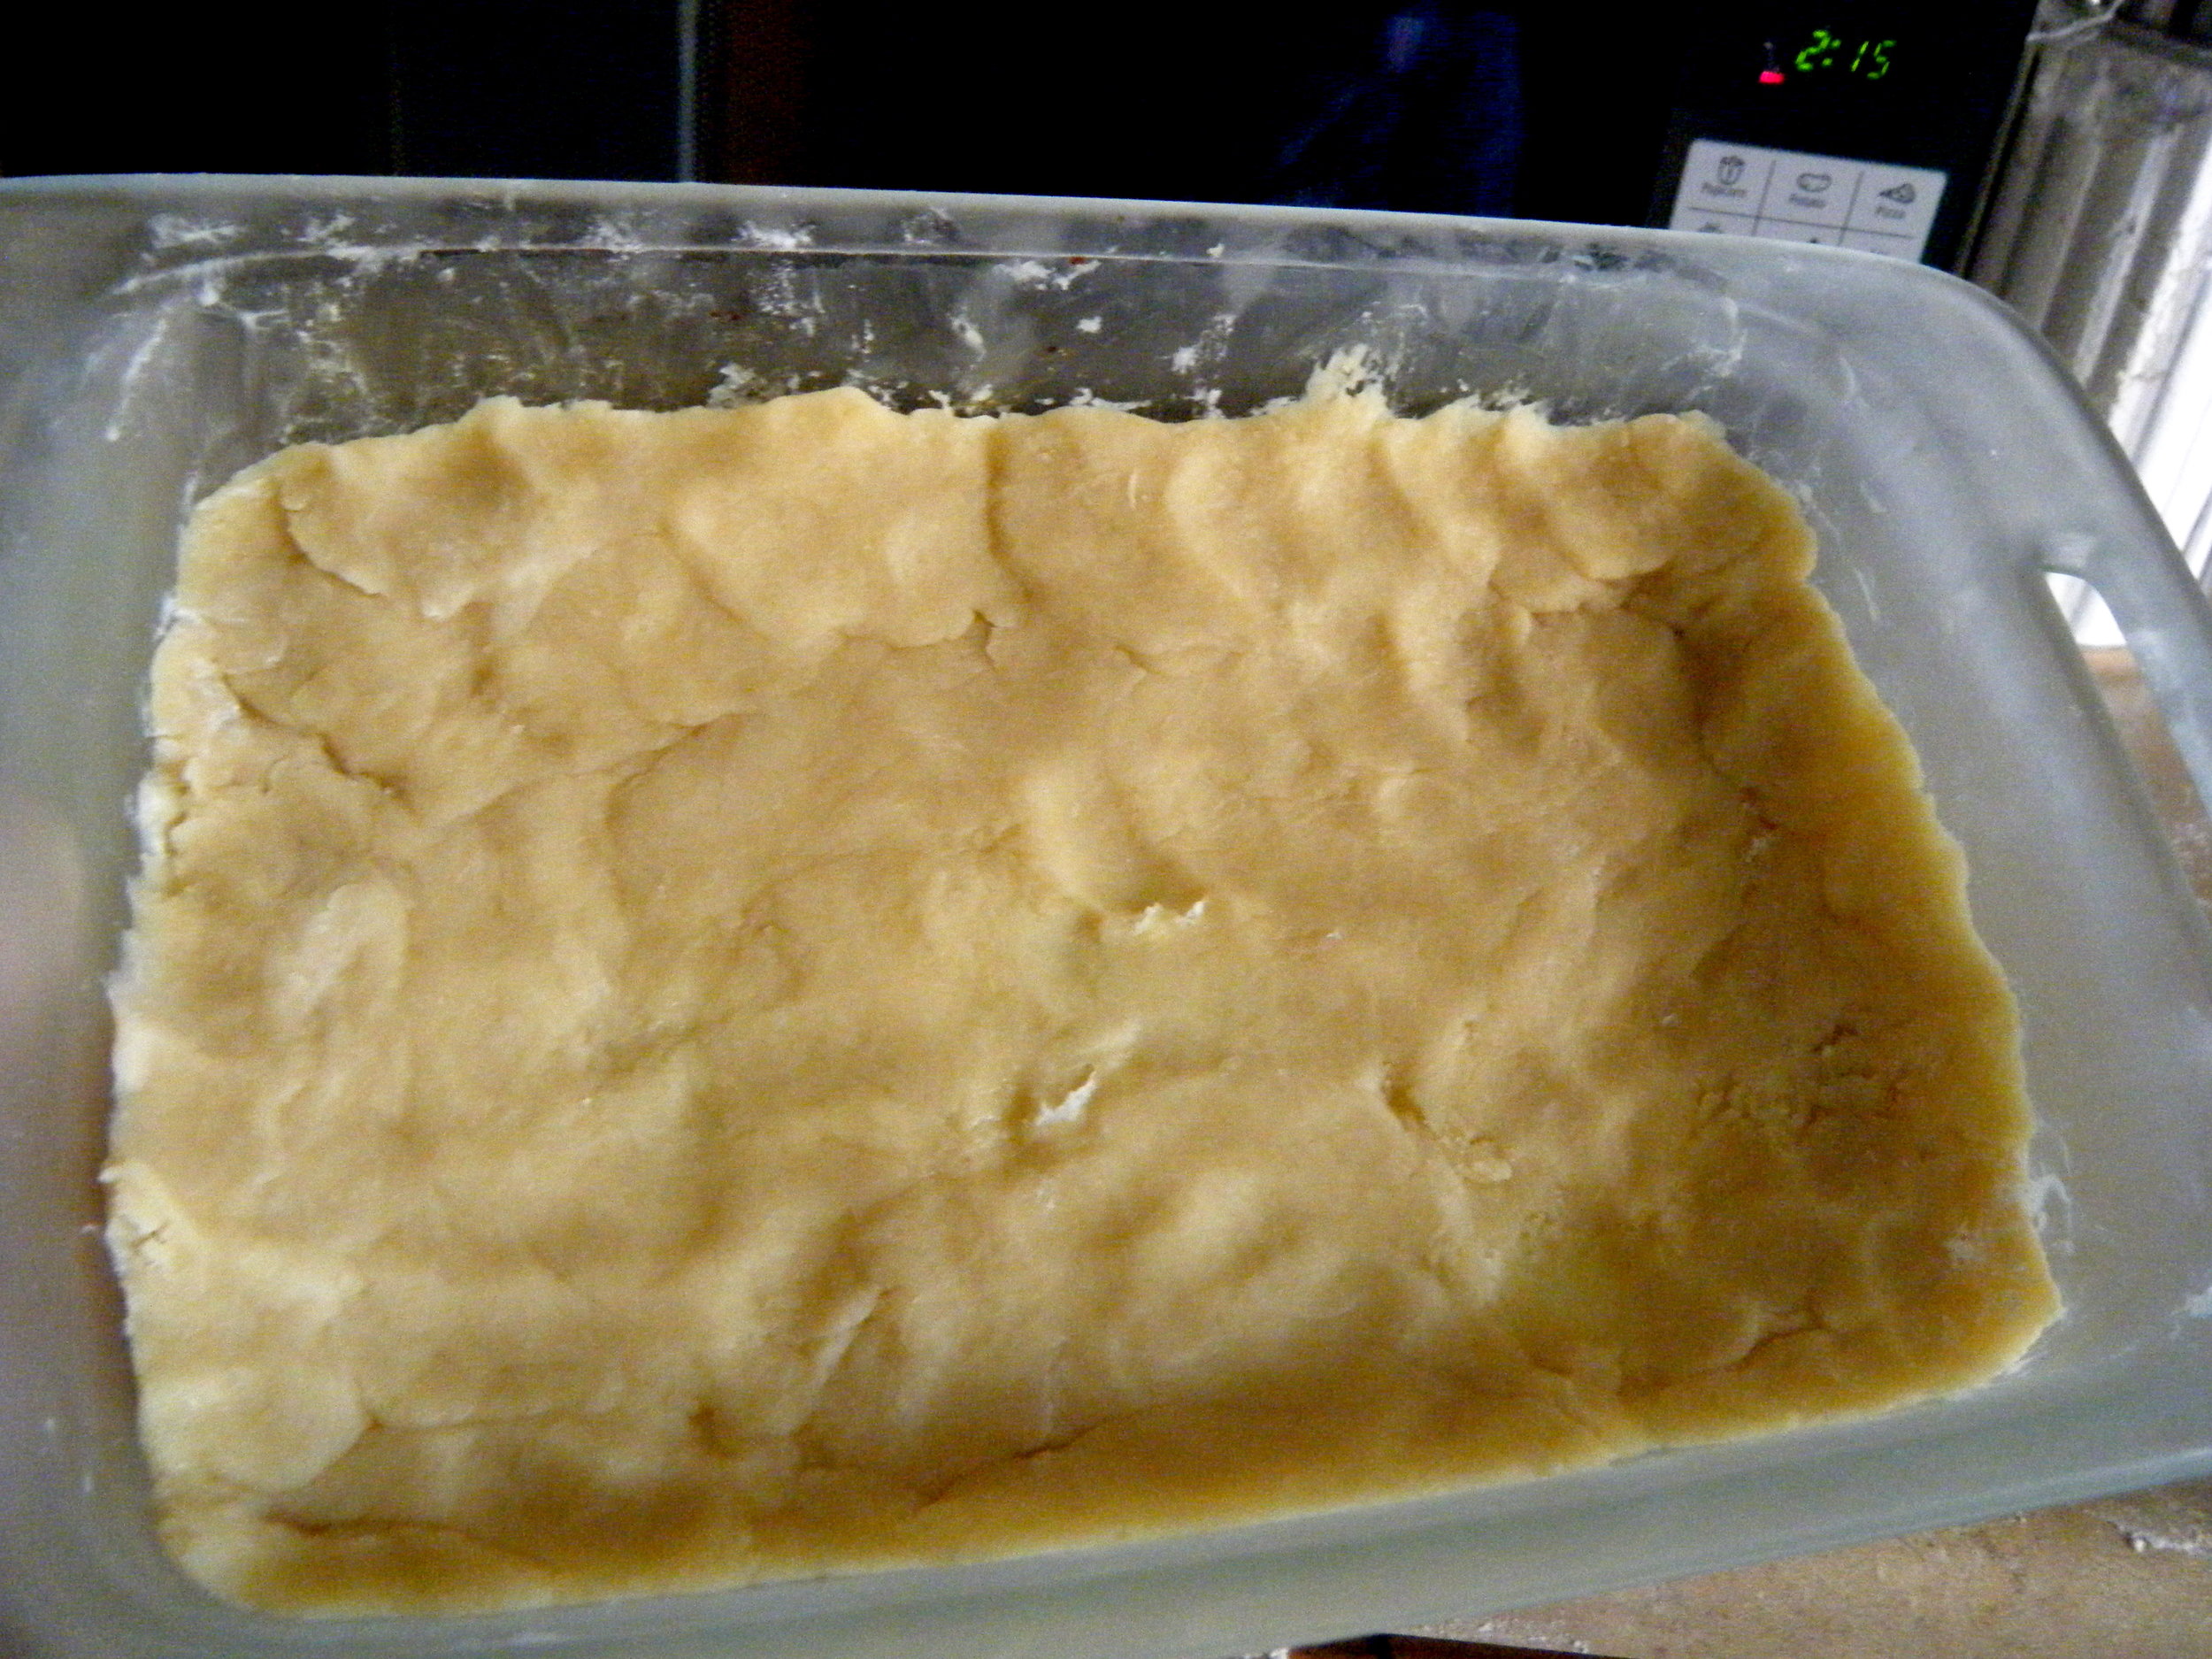
A few things I learned about crusts:

1. When the directions say to use a specific size pan, do what you're told. This crust is meant for a 9 x 13 size pan, but all we had was 7 X 10. We had one very thick crust.

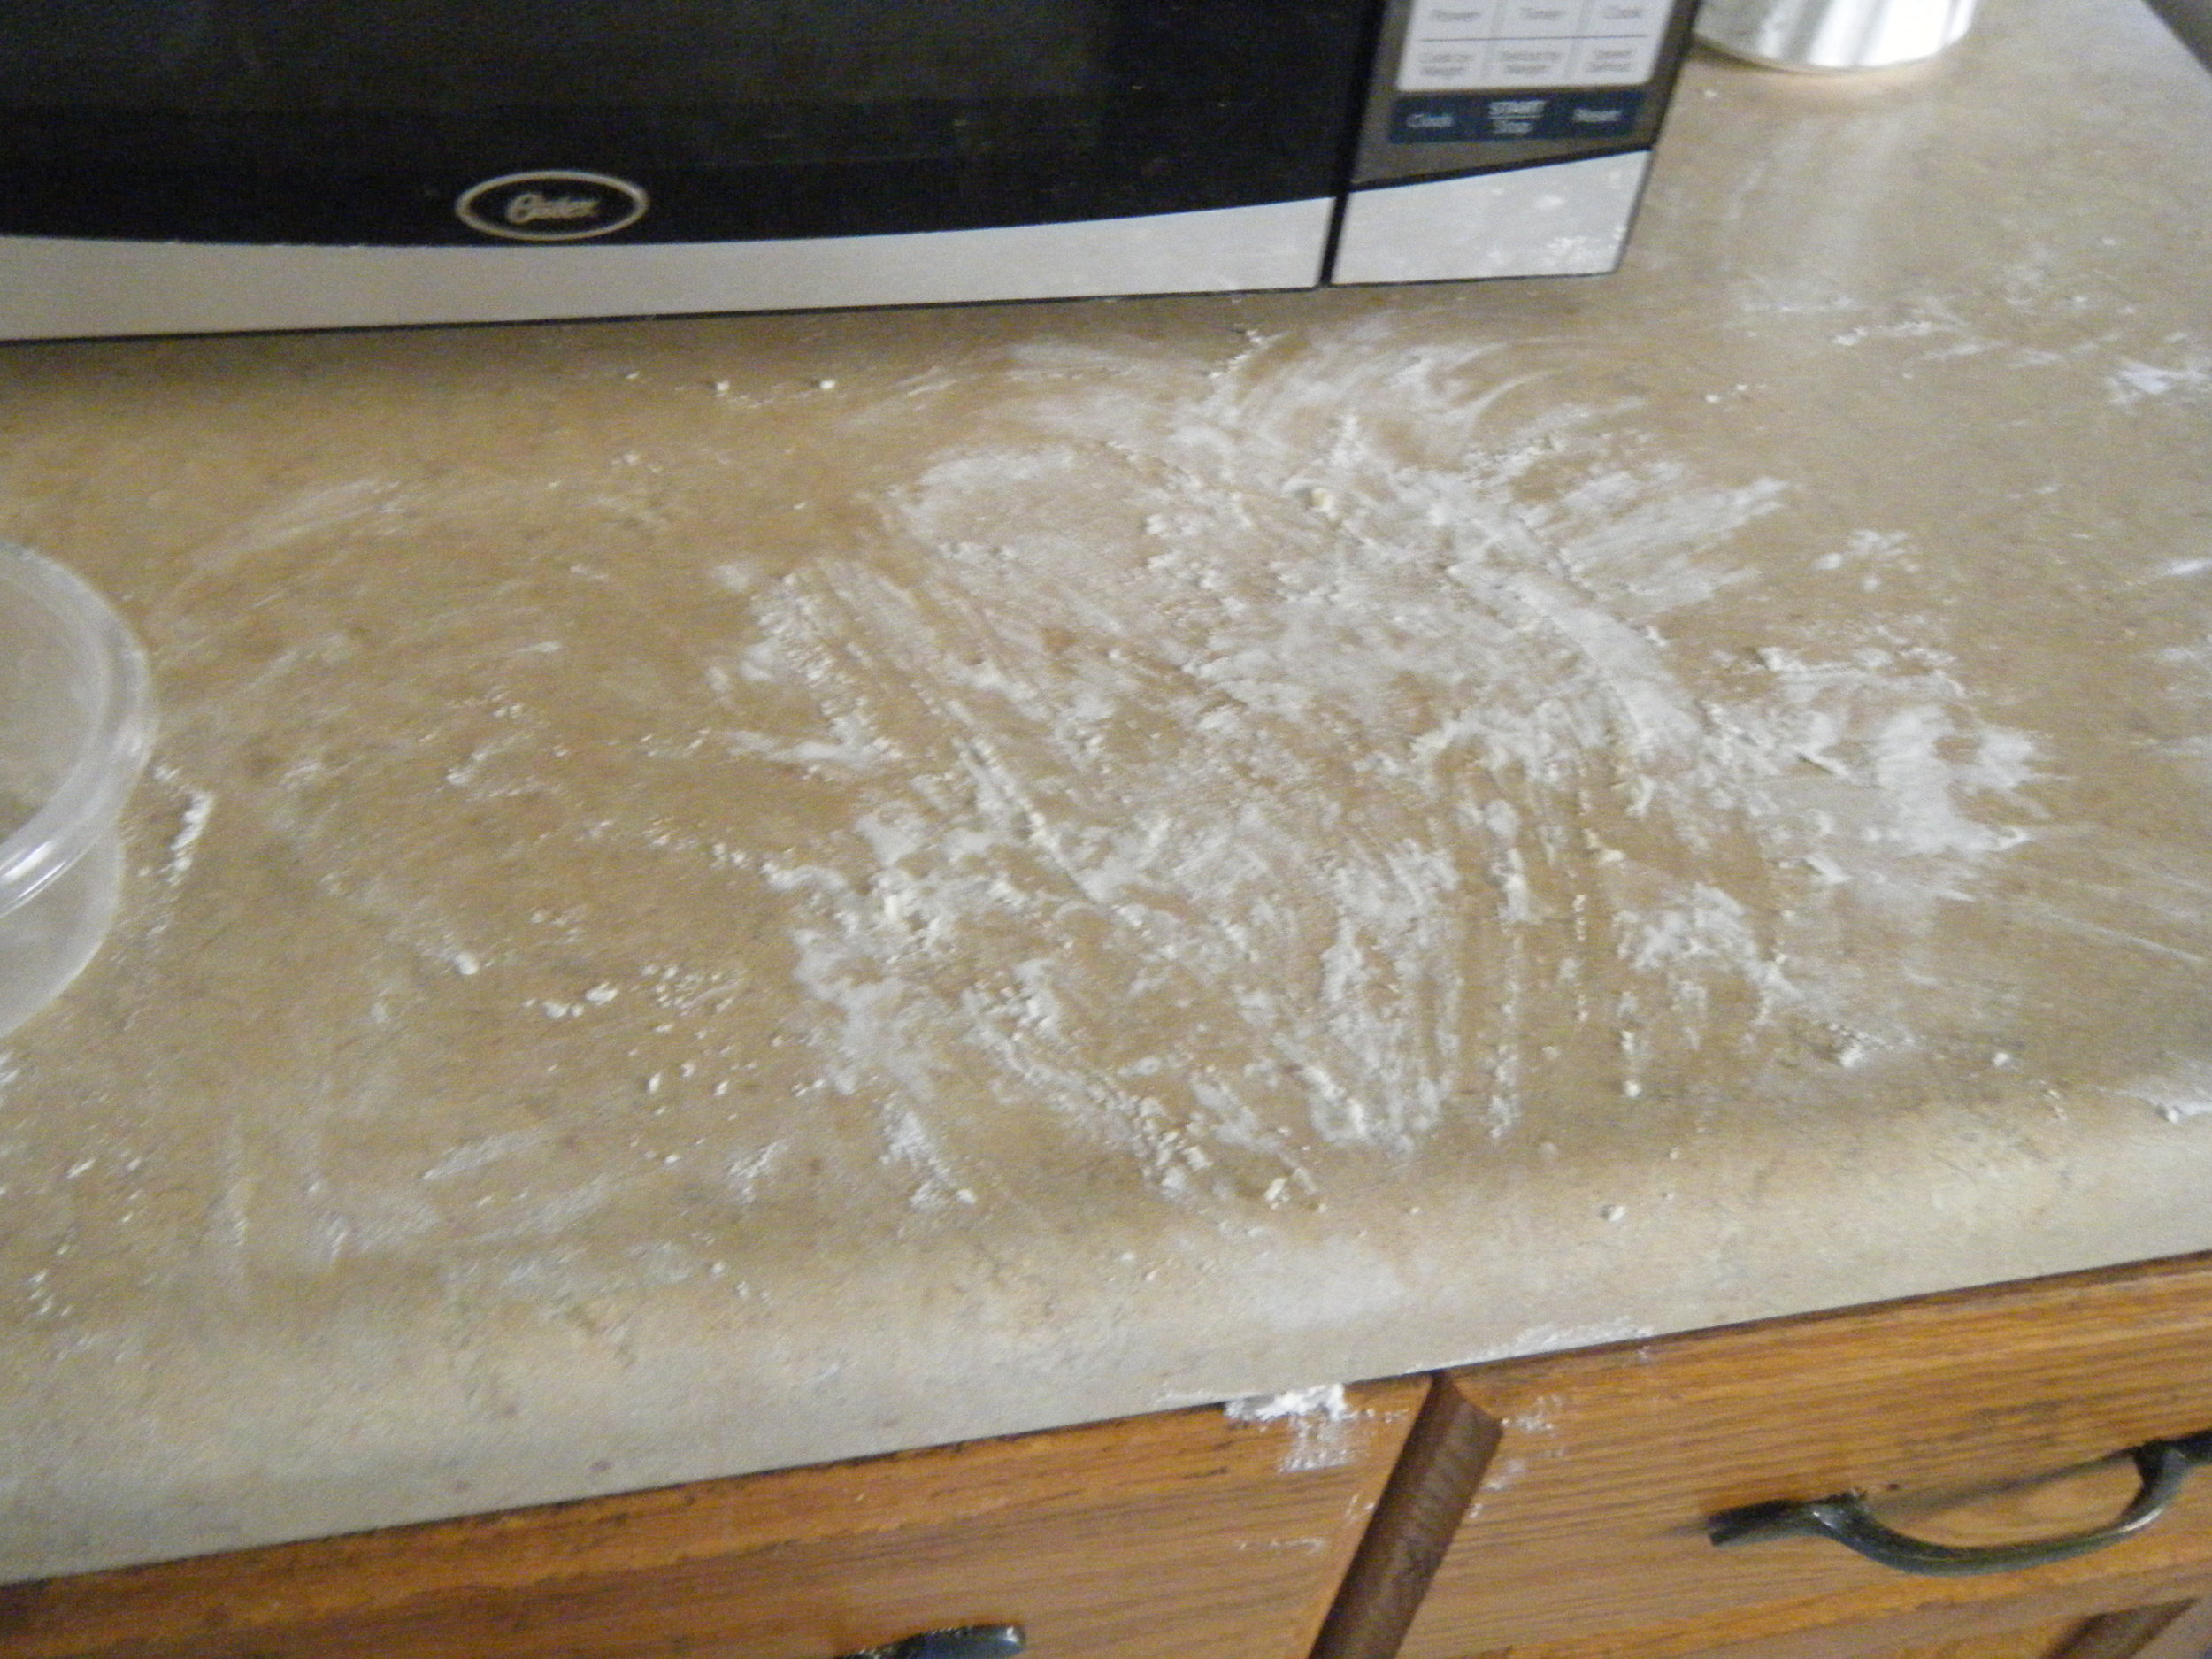
2, Make sure your rolling space is NICE AND FLOURED. If not, it WILL stick:

DSCF0463

Et voila, the final product:

DSCF0470

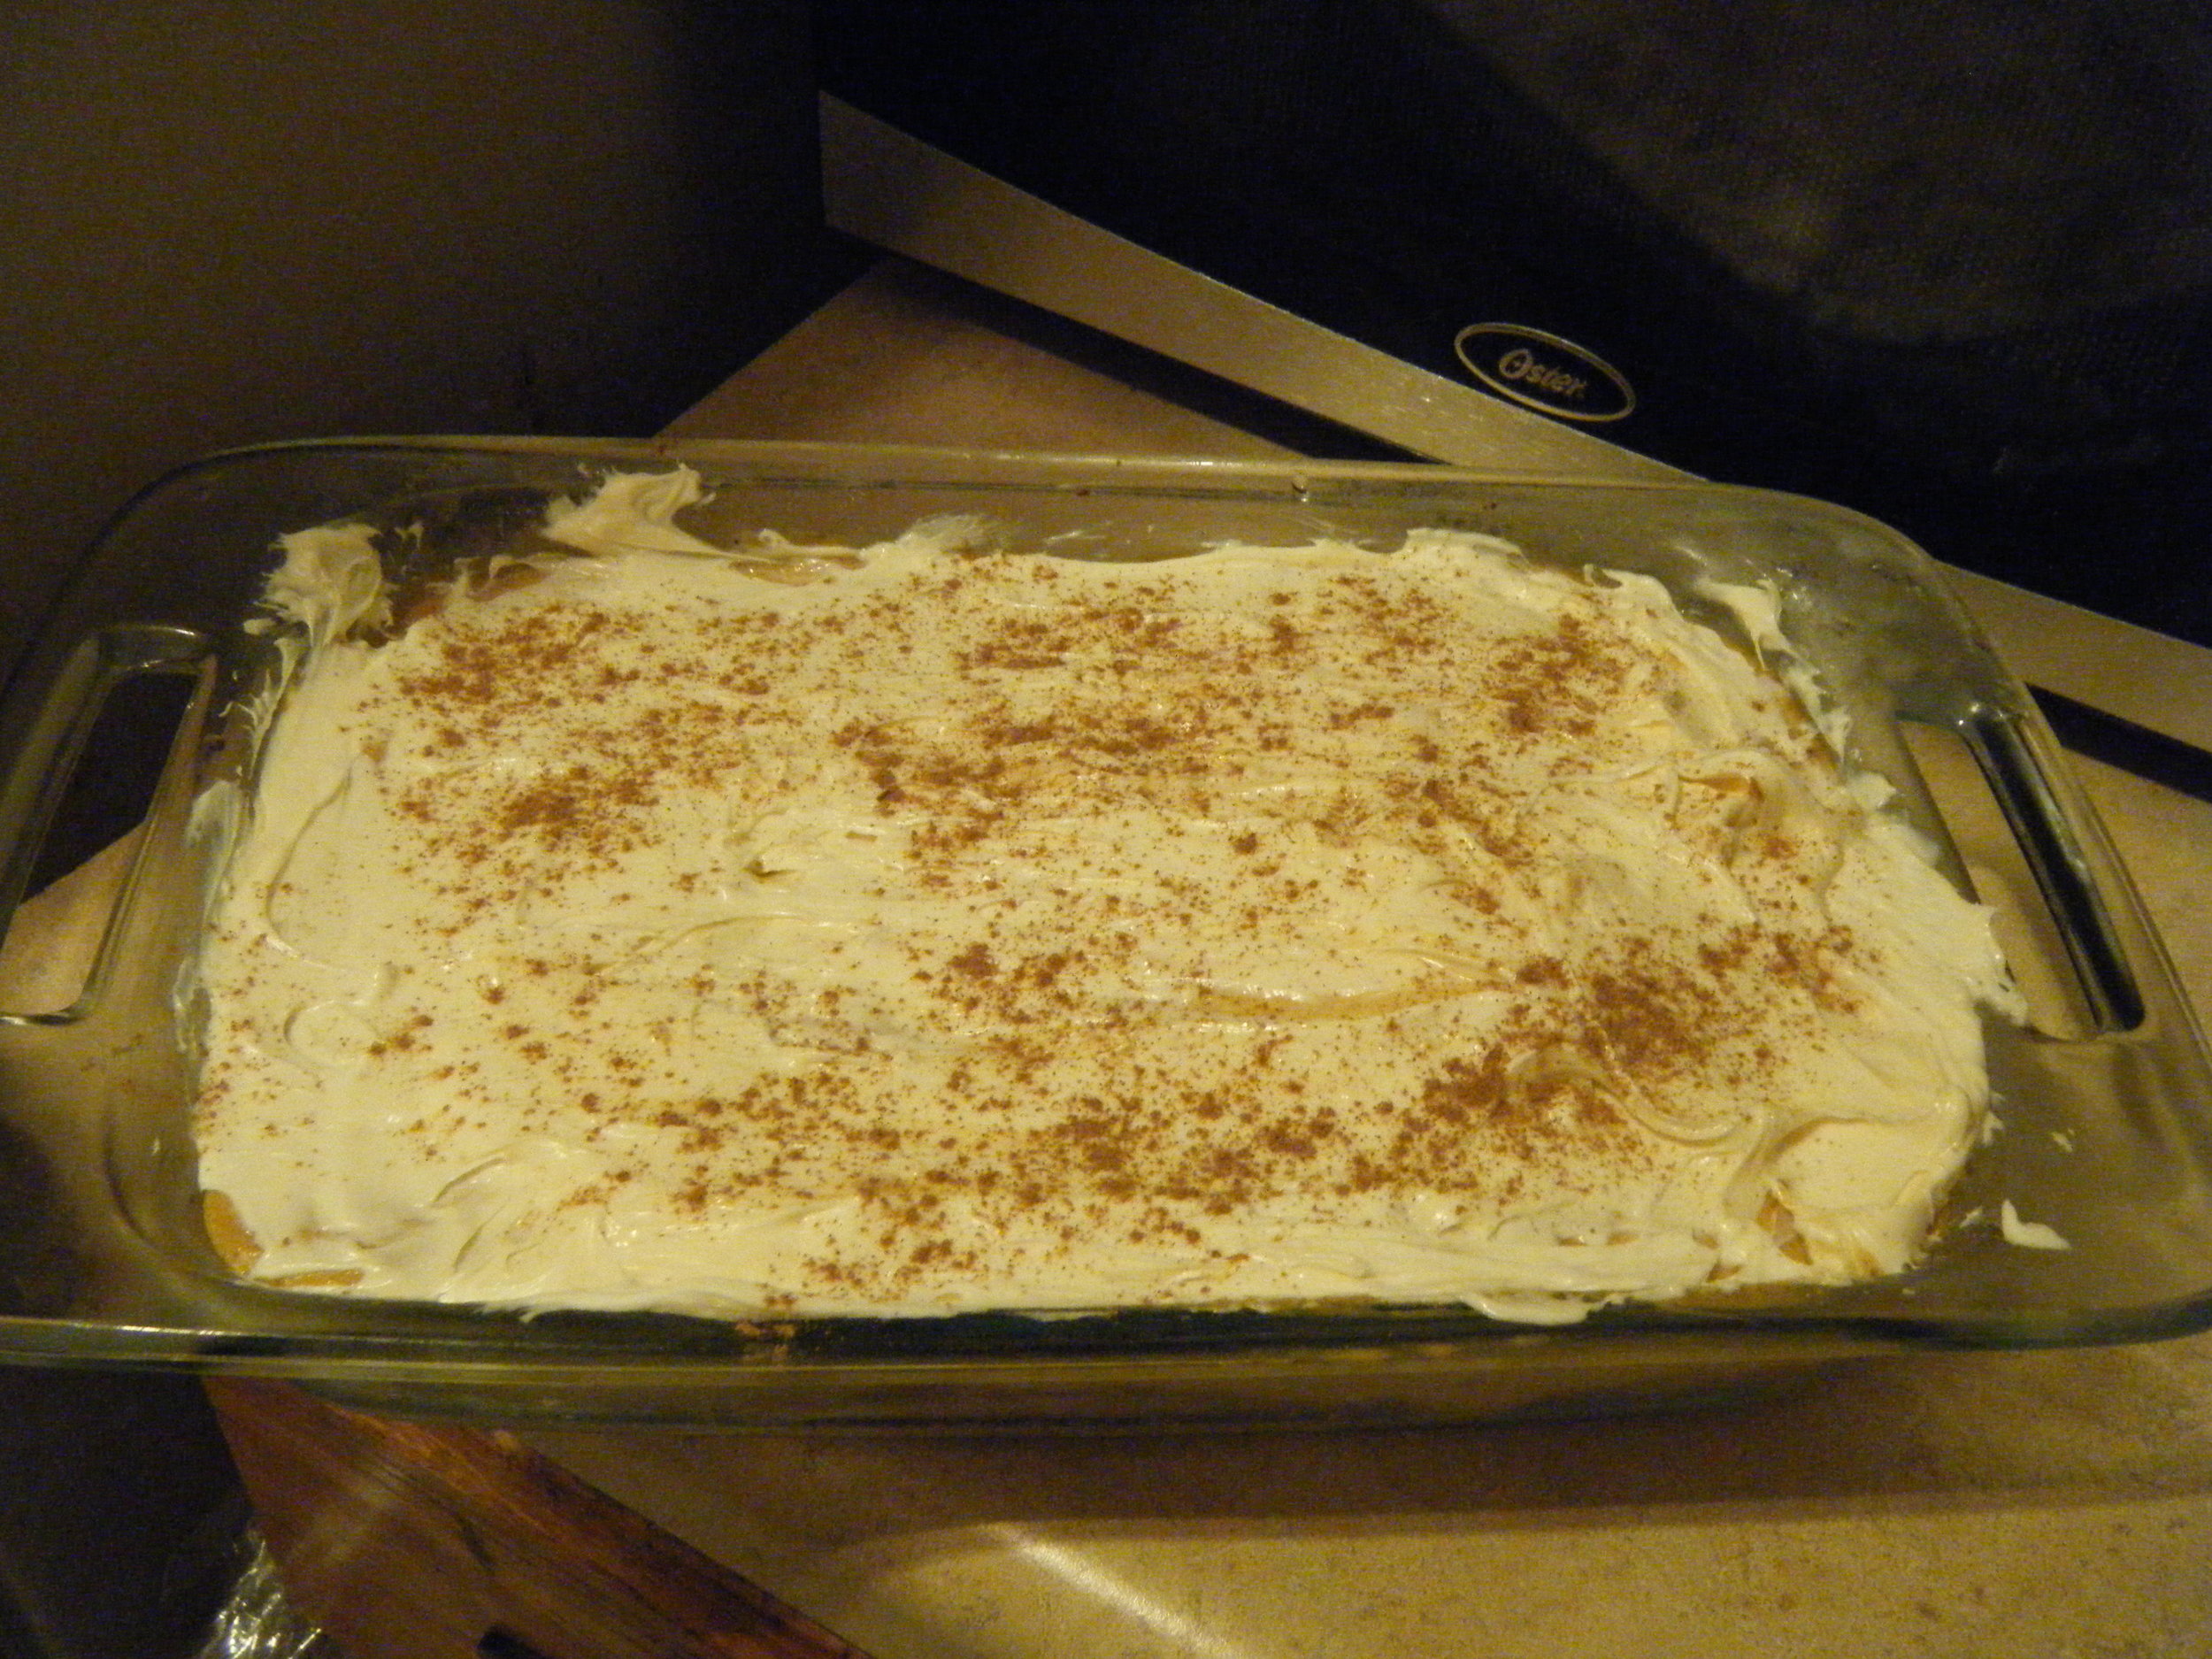
Since this was the beginning of my Baking Adventures, I cheated and bought cream cheese frosting to spread on the top.

A Few Things I Learned About Frosting Cheesecake:

1. You have to wait until the cake filling is frozen.

2. If you don't wait until the filling is frozen, spreading the frosting is like spreading frosting onto very creamy soup. Also, you will misjudge how much frosting you need, and you'll put too much.

3. Just wait until it's frozen.

I topped off the top with Pumpkin Pie Spice (who even knew there was such a thing? Everyone else, apparently).

It was delicious. DELICIOUS. And I was so proud of myself for making my first dessert with lasting power!

And oh yeah, here's the recipe from Serious Eats!

Ingredients

Makes 24 bars, active time 1 hour, total time 4 hours, including cooling

  • For the Sweet Pastry Dough
  • 1 1⁄2 cups all-purpose flour
  • 1⁄4 cup sugar
  • 1⁄4 teaspoon salt
  • 4 ounces (1 stick) cold unsalted butter, cut into 1⁄2-inch cubes
  • 1 large egg
  • For the Pumpkin Cheesecake Filling
  • 16 ounces cream cheese, softened
  • 1⁄2 cup sugar
  • 3⁄4 cup pumpkin puree (see page 100)
  • 2 tablespoons maple syrup
  • 1⁄2 teaspoon vanilla bean paste
  • 1⁄2 teaspoon salt
  • 1 teaspoon cinnamon
  • 1⁄2 teaspoon freshly grated nutmeg
  • 1⁄2 teaspoon ground ginger
  • 1⁄2 teaspoon ground allspice
  • 2 large eggs
  • Cream Cheese Frosting
  • 4 ounces (1 stick) unsalted butter, softened
  • 8 ounces cream cheese, softened
  • 3 cups confectioners’ sugar, sifted
  • 1 tablespoon pure vanilla extract
  • 1⁄2 teaspoon salt
  • 1⁄2 cup pecans, toasted (page 19), coarsely chopped (optional)

Procedures

  1.  For the Sweet Pastry Dough

    Butter the bottom and sides of a 9-by-13-inch glass or light-colored metal baking pan. Line the bottom with a sheet of parchment paper and butter the parchment.

  2.  Place the flour, sugar, and salt in a food processor and pulse until combined. Add the butter and pulse until sandy (6 to 10 quick pulses). In a small bowl, whisk the egg and add it to the food processor. Pulse just until the dough begins to hold together (if the dough seems exceedingly dry and crumbly, add a teaspoon of water and pulse again). Form the dough into a disk, wrap it tightly in plastic wrap, and refrigerate for at least 1 hour or overnight.
  3.  Dust a work surface with a sprinkling of flour. Using a rolling pin, roll the dough into a rectangle slightly larger than 9 by 13 inches (the size of the pan) and about 1⁄4 inch thick. The dough might be sticky, so turn it with a bench knife or spatula as needed and keep the work surface floured. Some people find it easier to roll the dough between two layers of parchment paper—this can make it less messy and easier to transfer to the pan.
  4.  Ever so gently, guide the dough into the pan and lightly press it—without pulling—into the bottom; it is not necessary to bring the dough up the sides of the pan, only to completely cover the bottom of the pan. Trim off any excess. Place the pan in the freezer for 30 minutes.
  5.  Preheat the oven to 375°F.
  6.  Remove the pan from the freezer, line it with aluminum foil, and fill it three-quarters full with pie weights or dried beans. Bake for 15 minutes, then remove the foil and weights and bake for another 10 minutes, until the crust is lightly browned. Transfer the pan to a wire rack to cool. Reduce the oven temperature to 300 degrees F.
  7.  For the Pumpkin Cheesecake Filling

    In the bowl of a standing mixer fitted with the paddle attachment, beat the cream cheese on medium speed just until it is lump free and smooth. Do not overbeat or the tops of the bars may crack. Add the sugar and beat again until well combined, about 2 minutes.

  8.  In a large bowl, whisk together the pumpkin puree, maple syrup, vanilla bean paste, salt, cinnamon, nutmeg, ginger, and allspice. Add this mixture to the cream cheese mixture and beat on medium-low speed until completely combined. Scrape down the sides and bottom of the bowl and add the eggs, one at a time, beating well after each addition, then beat until the mixture is smooth. Note: This batter is slightly looser than the average cheesecake batter.
  9.  Pour the mixture over the crust and bake for 23 to 30 minutes, or until the bars are set and slightly puffy (if the tops start to crack, the bars are overbaked). Transfer the pan to a cooling rack and allow the bars to come to room temperature, then refrigerate until chilled, at least 2 hours.

For the Cream Cheese Frosting

  1. In the bowl of a standing mixer fitted with the paddle attachment, beat the butter until it is completely smooth. Add the cream cheese and beat until combined. Add the confectioners’ sugar, vanilla, and salt and beat until smooth (be careful not to overbeat the frosting or it will lose its structure). The frosting can be made a day ahead: after mixing, cover the bowl tightly and refrigerate; let it soften to room temperature before using.
  2.  Use an offset spatula to spread the frosting evenly across the top of the filling layer. If you like, sprinkle the pecans evenly over the top of the frosting. Place the bars in the refrigerator for 30 minutes to set before cutting and serving.

The bars can be stored in the refrigerator, tightly covered, for up to 3 days.

Happy Baking!

singature gray