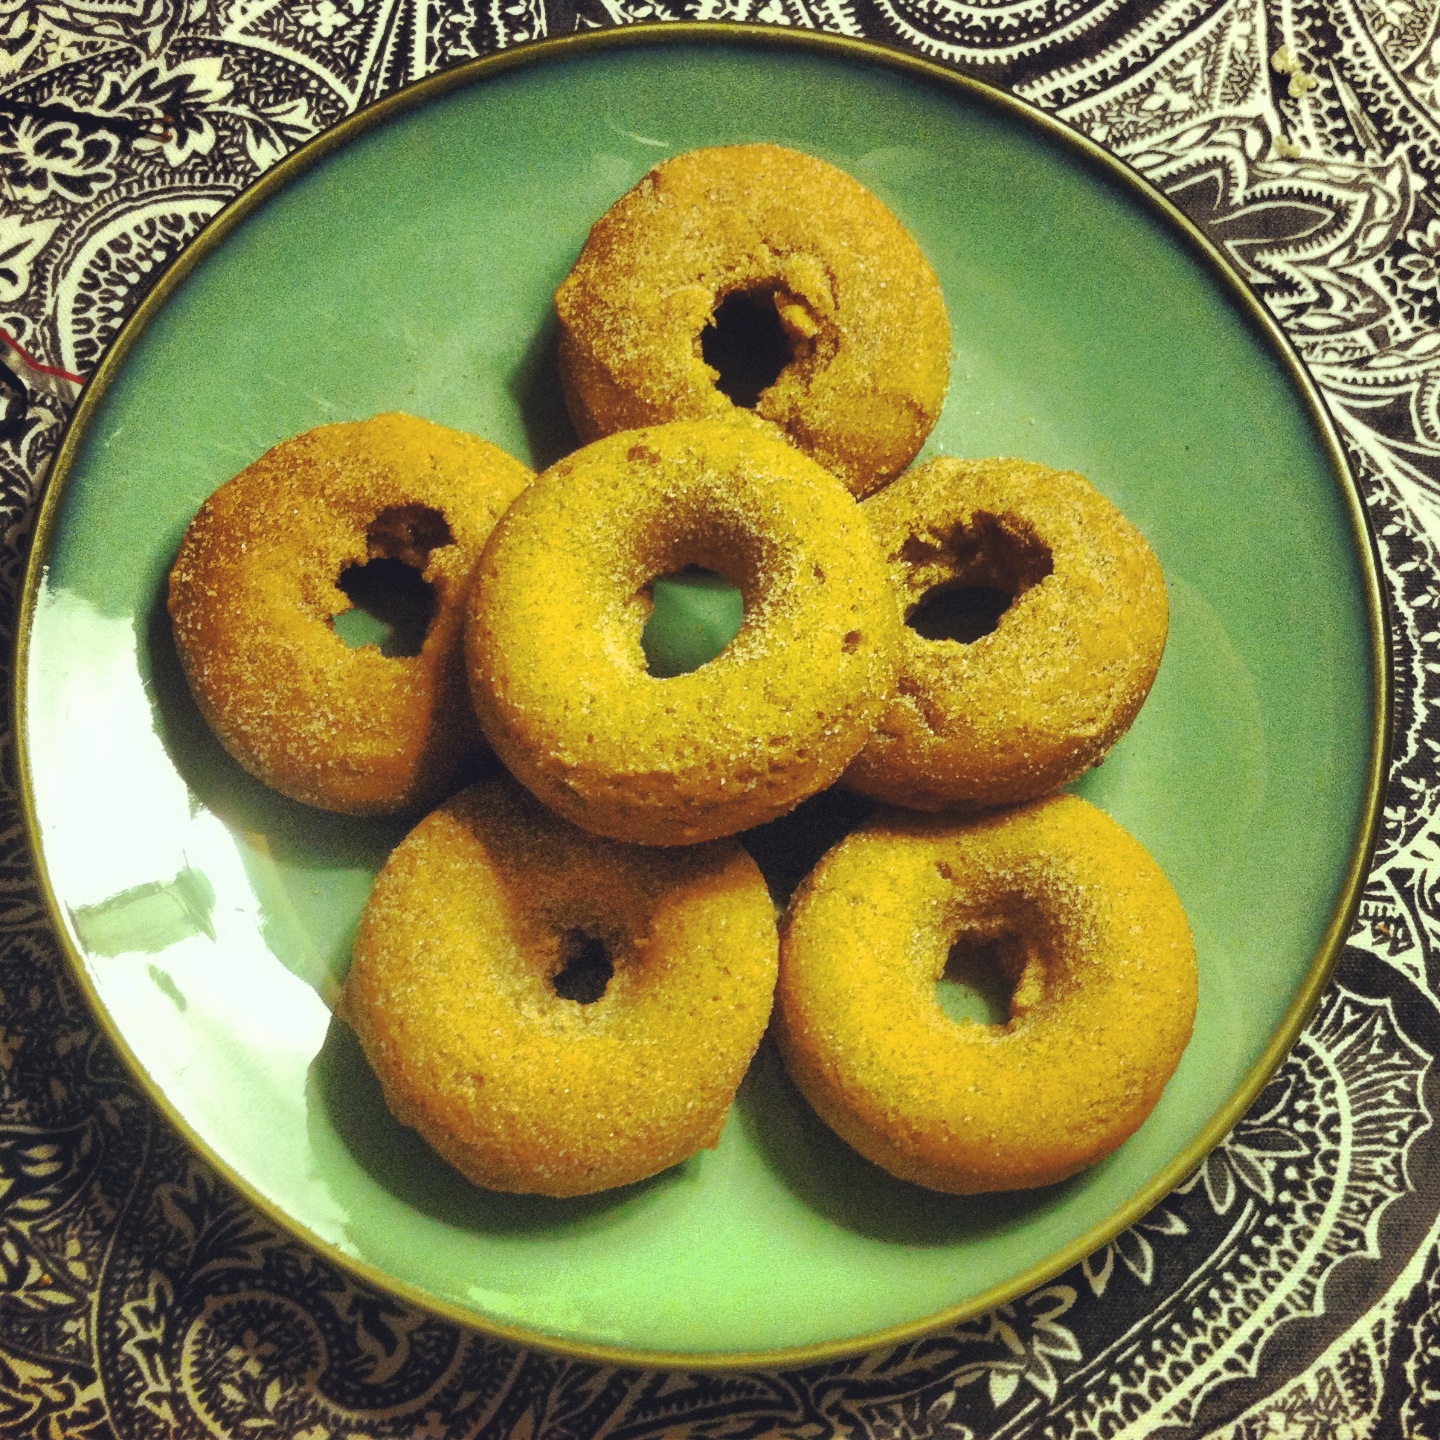
Election Cake

Recipe: Election Cake - Seasoned with Sydney blog

Did you know that there was once a time in American history when Election Day was deemed more important than Christmas, Easter, and Halloween combined? It’s true! The only holiday more revered? Thanksgiving. And since there is no more American way to celebrate literally any occasion than with food, the Election Cake was born.

Recipe: Election Cake - Seasoned with Sydney blog

Based on the traditional English fruitcake, Muster Cake (known later as Election Cake) was originally prepared by colonial women for American farmers summoned, or “mustered,” for military training by British troops in colonies still controlled by King George III of Great Britain. The first Muster Cake of its kind to be documented was in 1771 - five years before the American Revolution - and combined the natural leavening agent yeast with brandy-soaked fruit, flour, and spices such as cinnamon, nutmeg, and allspice.

Post-Revolution, Muster Cake, now renamed Election Cake, was brought to early voting sites by women (not yet allowed to vote, but still making their voices heard loud and clear!) to help “muster” votes and celebrate the burgeoning democracy. But the big day didn’t stop there! Election Day was such a huge deal in New England that towns would get together to throw colonial-equivalent RAGERS, complete with huge bonfires, barbecues, tons of whiskey, and, of course, an abundance of (booze-filled) cake. But if you thought that the Election Cake of yesteryear was anything like what we make today - a springy dough that fits neatly into a well-buttered Bundt or loaf pan - you’d be wrong! In fact, the original recipe yielded something much, MUCH, bigger. Published in 1796 by Amelia Simmons in her book, American Cookery, the Election Cake recipe called for a whopping 30 quarts (roughly 120 cups) of flour, ten pounds of butter, fourteen pounds of sugar, twelve pounds of raisins, three dozen eggs, one pint of wine, one quart of brandy, four ounces of cinnamon, four ounces of ground colander seed (modern day coriander), and three ounces of ground allspice. As you can imagine, these were massive cakes (there’s a record of one weighing at least 12 pounds!) meant to feed the masses and keep voter enthusiasm at an all time high. Election Cakes were so vital to Election Day merrymaking in the 18th and 19th that they even led to an unofficial tradition: a cake off! Housewives all over New England would often compete with one another to see who could make the best cake as a means of solidifying the reputations and social standings of their households. In other words, if you wanted a seat at the table, you better bring that cake.

Recipe: Election Cake - Seasond with Sydney blog

By the turn of the 20th century, an influx of non-English immigrants had ventured to America in the hopes of securing a new life and opportunities, and with them came fresh traditions and holiday customs. That, paired with an uptick in enthusiasm for Easter and Christmas, two holidays that had been shunned by the Puritan inhabitants of colonial America, Election Day began to lose a bit of its luster, and the tradition of Election Cake fell out of favor. But it’s 2020, ya’ll, I think it’s time we bring it back!

Recipe: Election Cake - Seasoned with Sydney blog

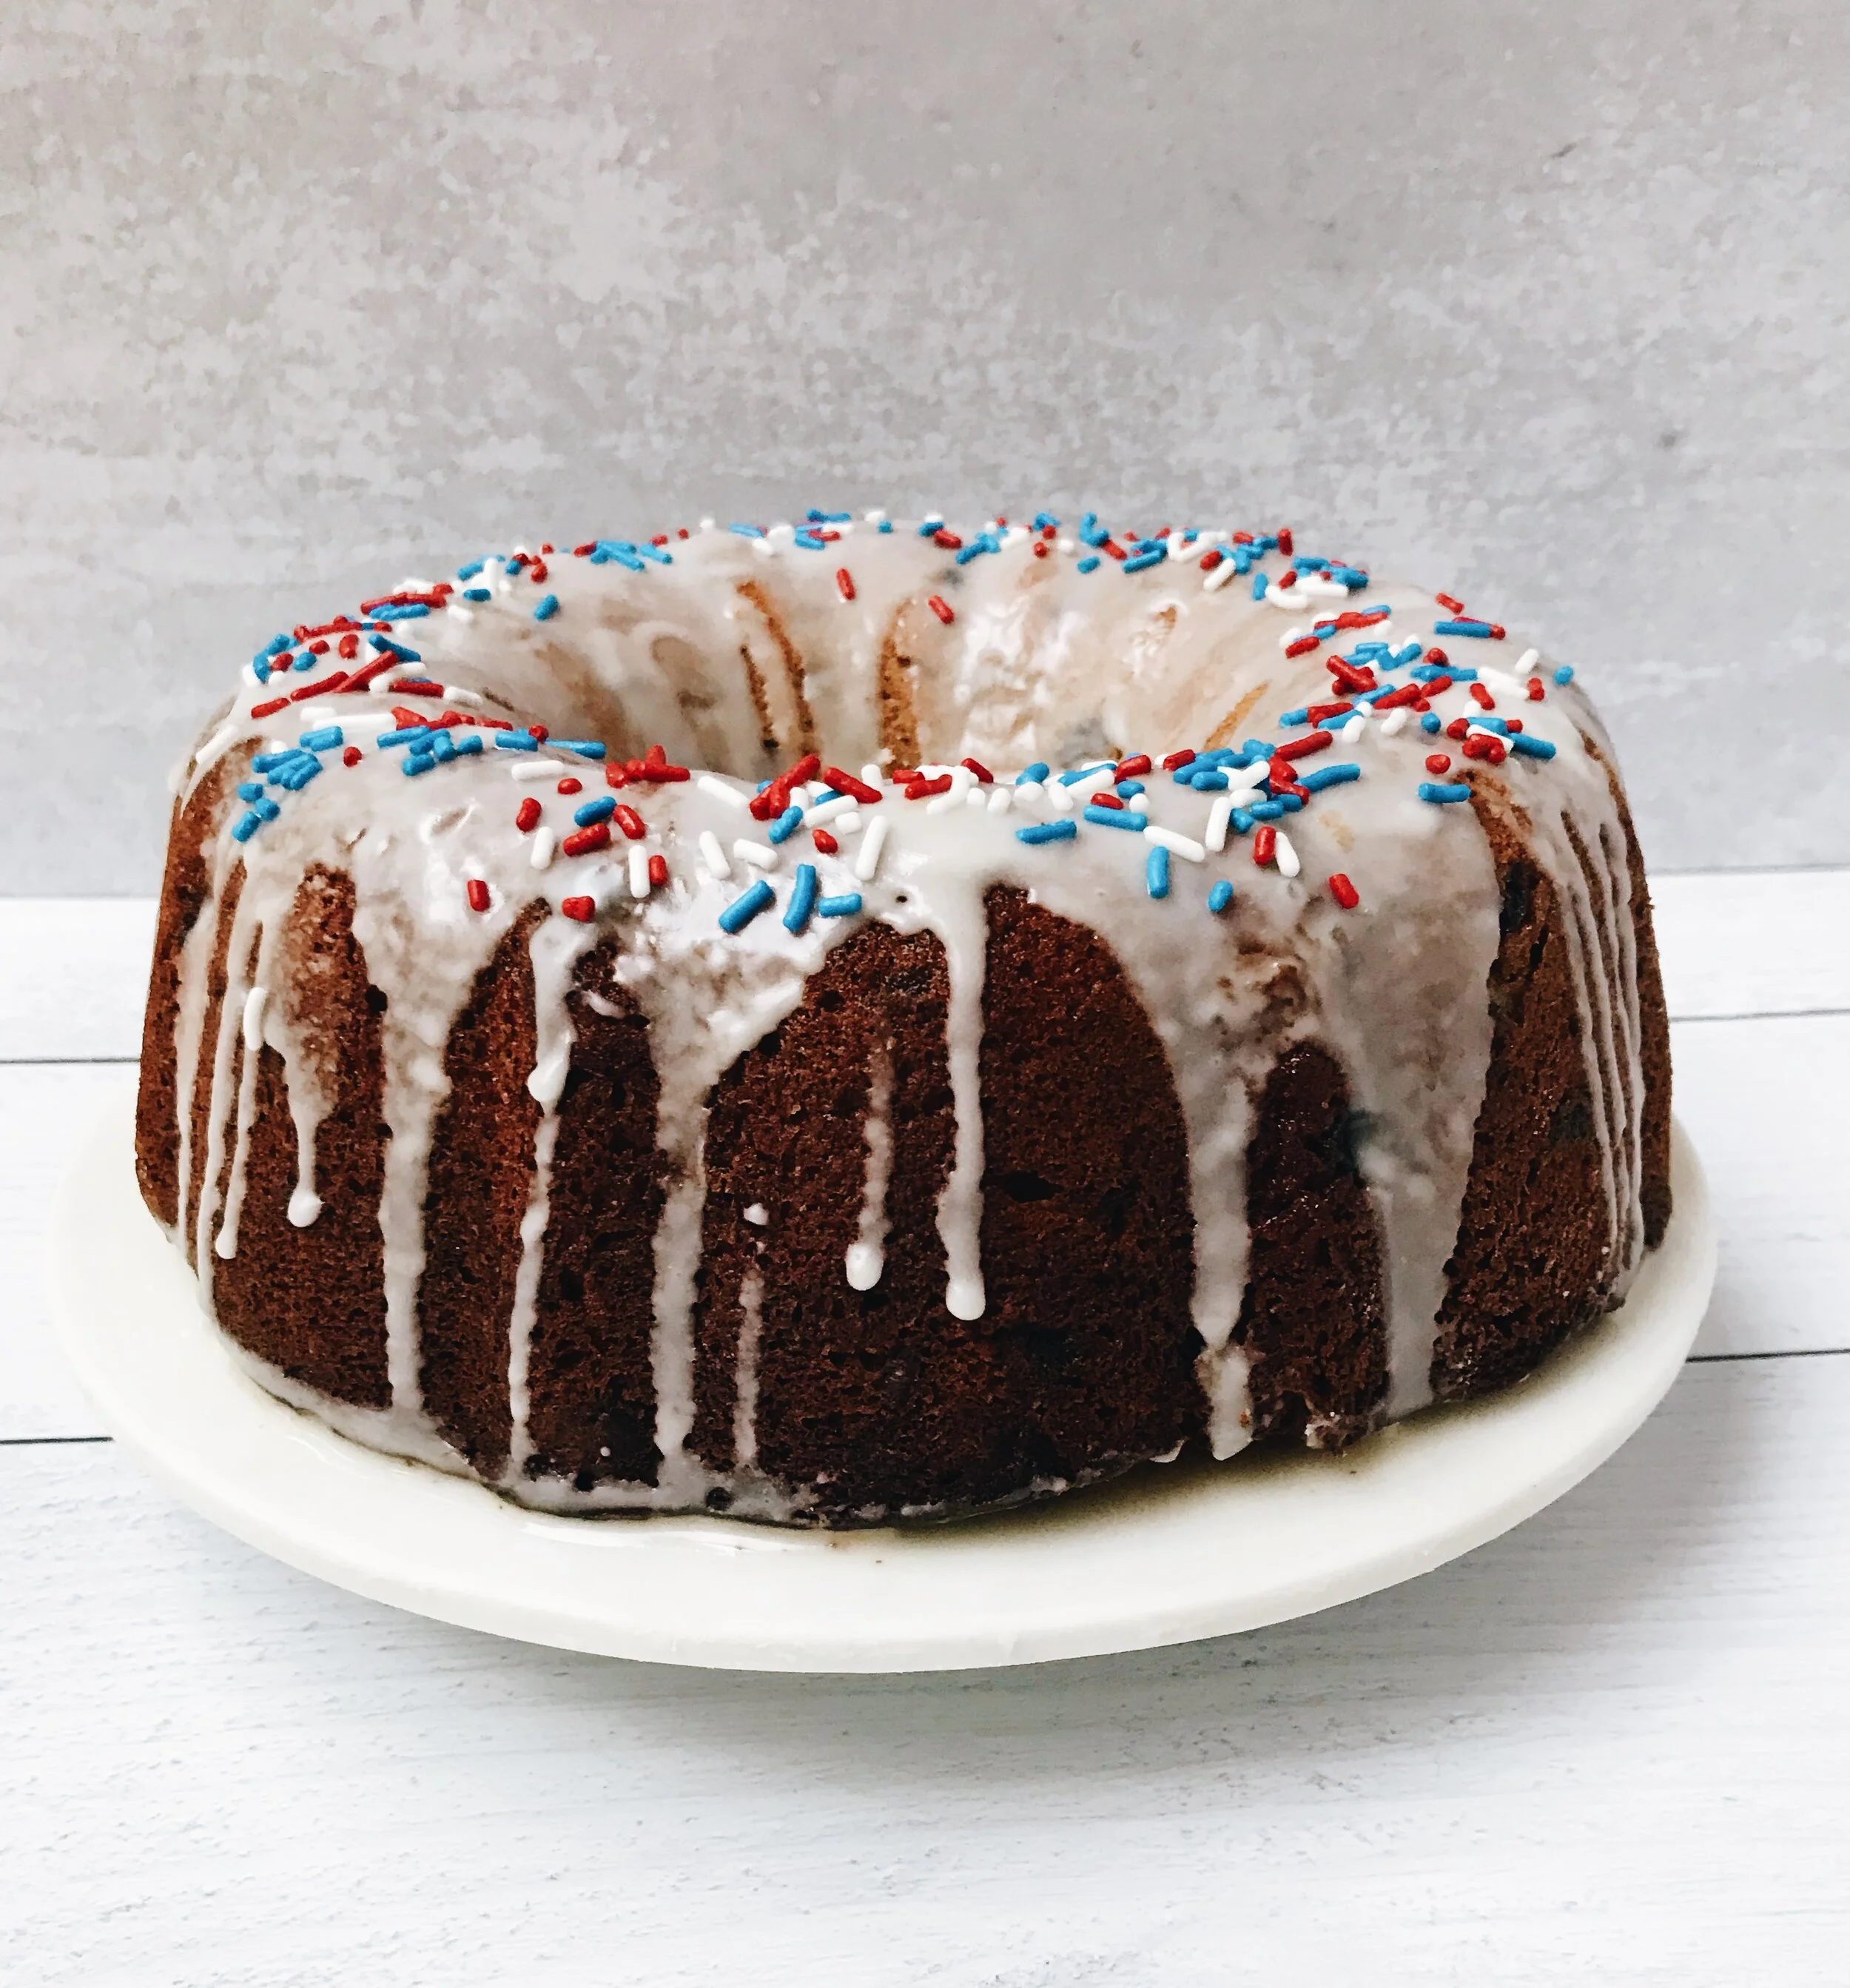
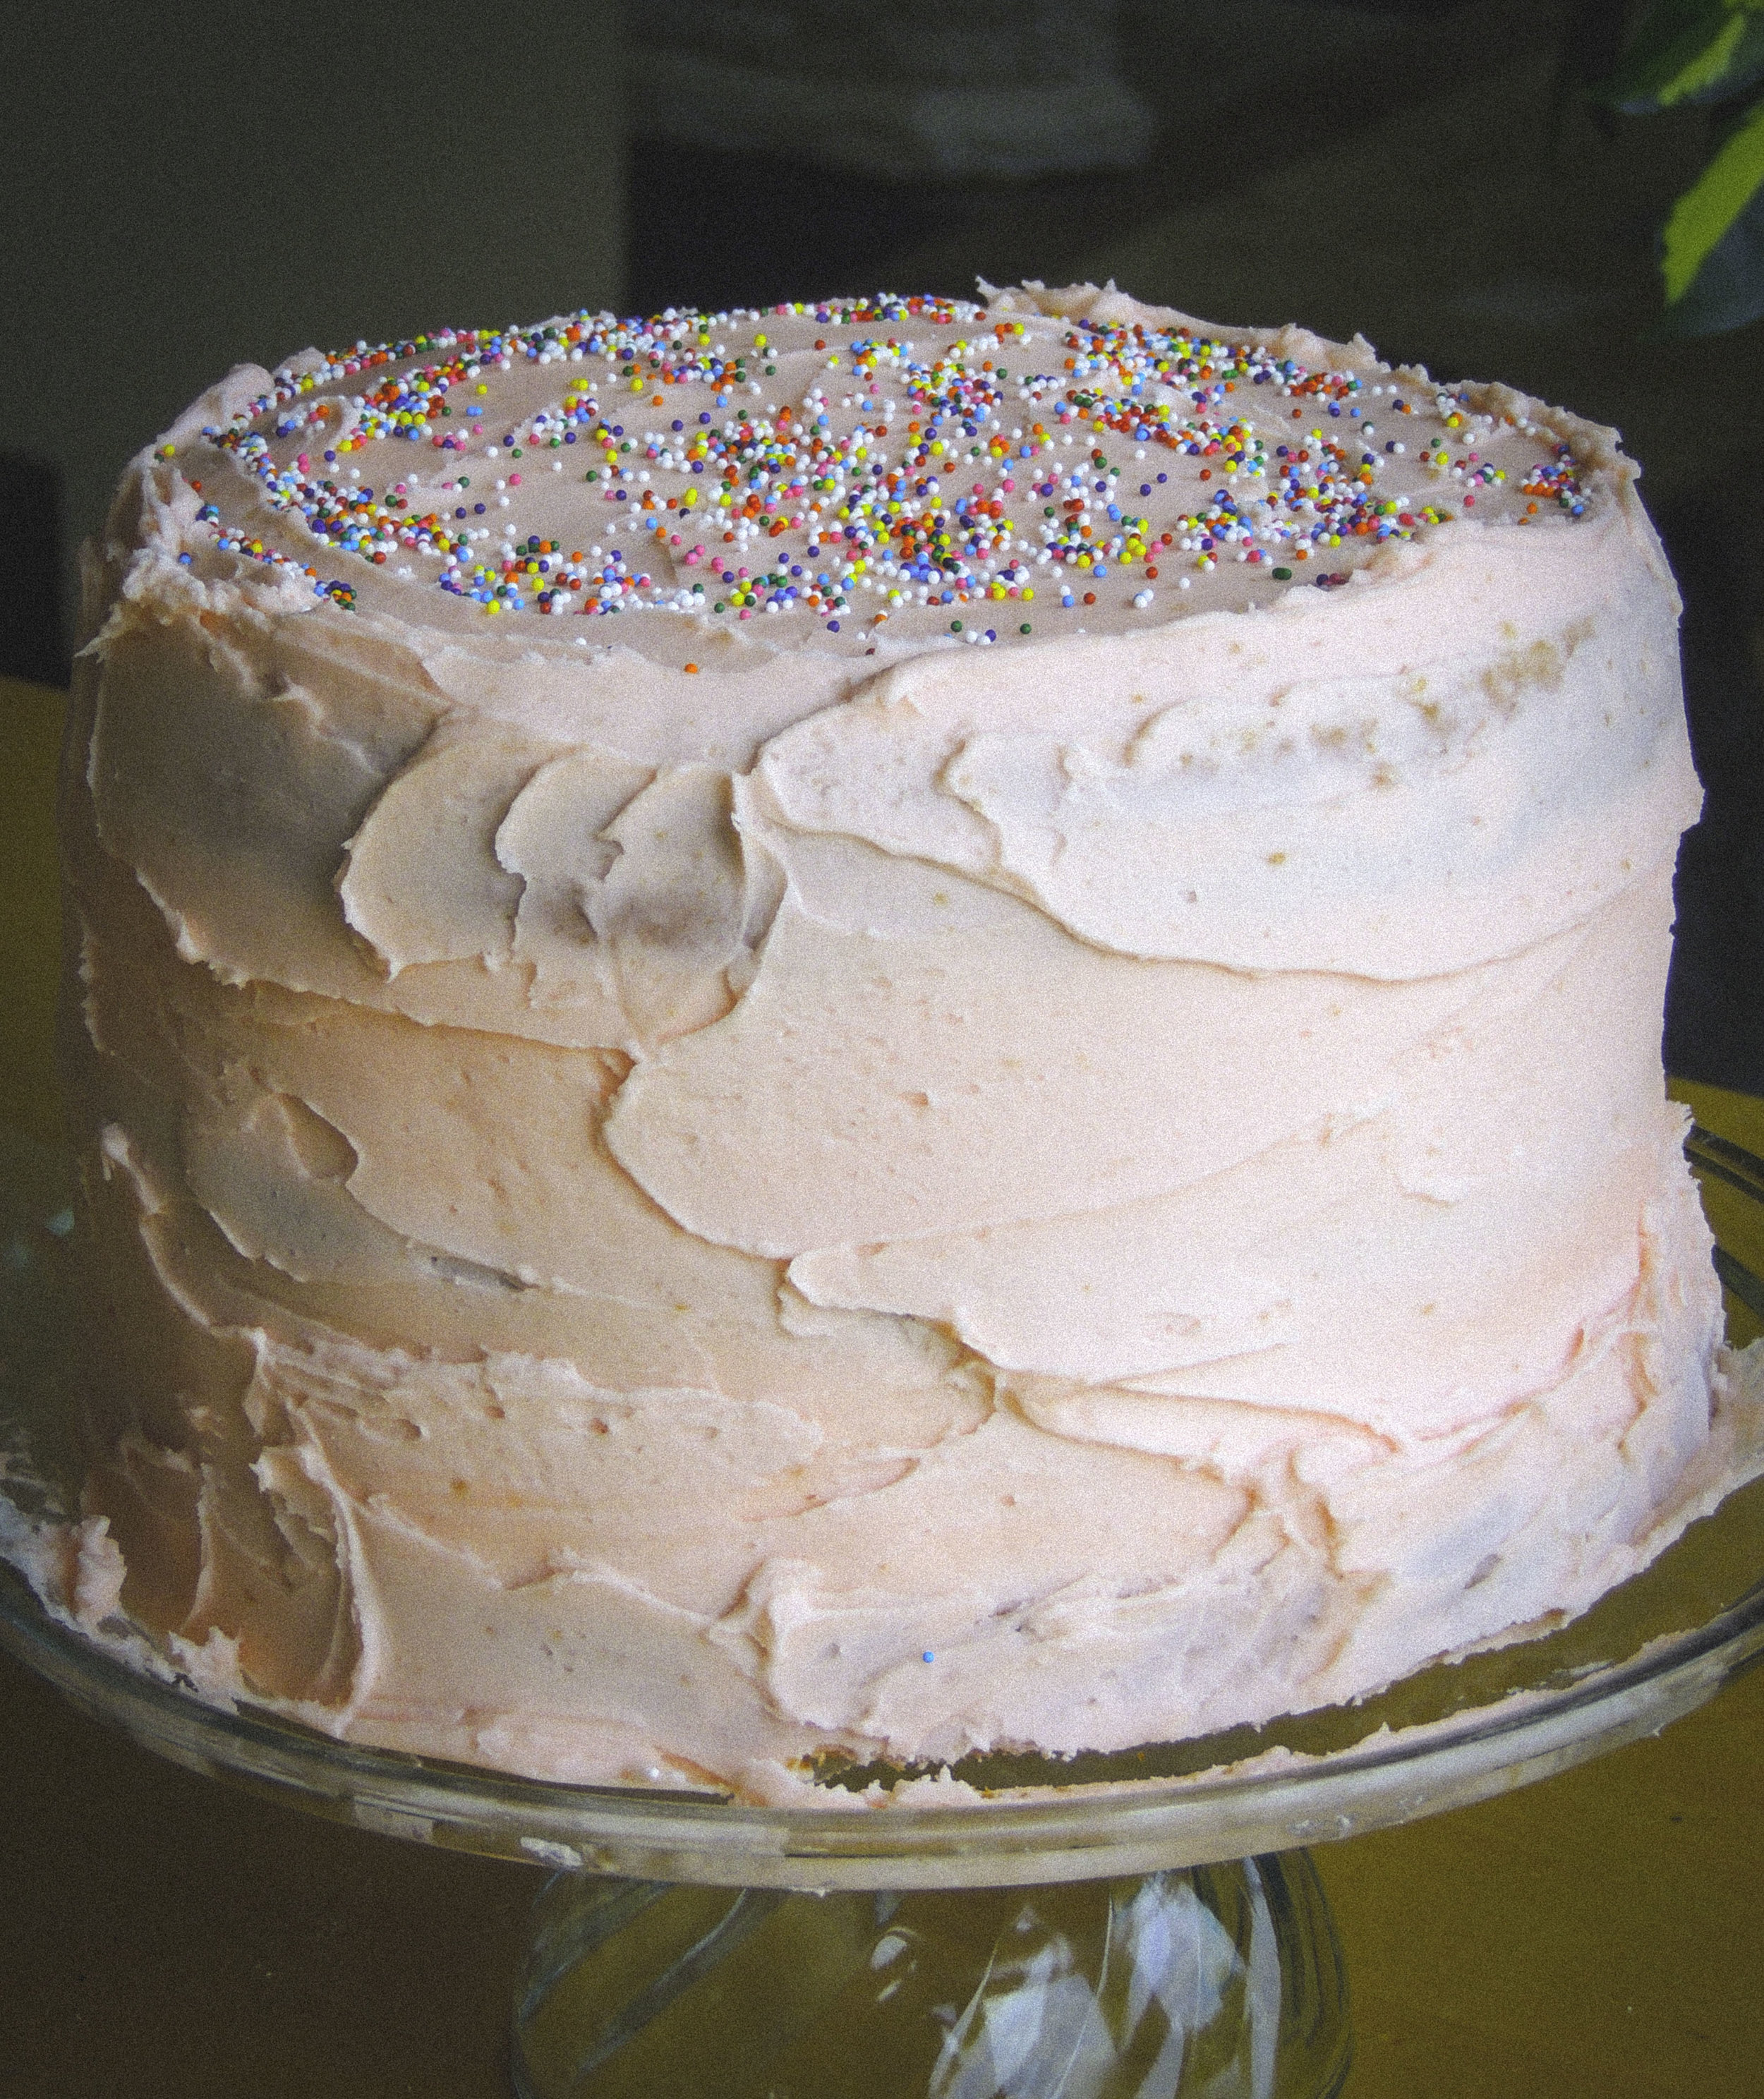
While we might be deviating just a tad from the original recipe (I like to share, but I’m not trying to make a cake for my entire neighborhood), this modern-day take on Election Cake has everything I love all rolled into one: yeast, warm spices, dried fruit reconstituted with bourbon, a moist texture, and a lovely, light glaze for just an extra hint of sweetness. Pair that with some red, white, and blue sprinkles, and you’ve got a right festive cake to ring in another Election Day!

You might stress-eat it, you might celebrate with it. Either way, this Election Cake is the only thing you’ll need on November 3rd. Oh, and if you haven’t done so already, don’t forget to VOTE!

Election Cake

What You’ll Need:

  • Two 1/4 ounce packets of active dry yeast

  • 1 cup warm water (105-110 degrees Fahrenheit)

  • 3 cups all-purpose flour

  • 3/4 cup raisins

  • 1/4 cup dried cranberries

  • 1/2 cup pecans, roughly chopped

  • 1/3 cup bourbon

  • 3/4 cup plus 2 tablespoons firmly packed dark brown sugar

  • 1 1/2 teaspoons cinnamon

  • 1/2 teaspoon cardamom

  • 1/2 teaspoon fine table salt

  • 1 1/2 sticks unsalted butter, at room temperature, plus more for greasing the pan

  • 1/4 cup granulated sugar

  • 3 large eggs, at room temperature

  • 2 teaspoons vanilla extract

  • 1 cup confectioners’ sugar

  • 2 tablespoons whole milk

Directions

In a large bowl, pour in the water, then sprinkle in the yeast. Stir, then let sit for 1-2 minutes until the yeast has dissolved and bubbles have begun to form on the top. Next, sift in 1 1/2 cups flour, then stir to combine. Cover with plastic wrap and let sit in a warm place for 30 minutes. The mixture will expand, and large bubbles will appear on the surface.

While the flour-yeast mixture is rising, place the raisins, dried cranberries, pecans, bourbon, and 2 tablespoons of brown sugar into a medium-sized, microwave-safe bowl. Stir until the sugar has fully dissolved, then microwave in 30-second intervals until the mixture is hot and bubbling (this should take about 1-2 minutes). Stir, then set aside to cool.

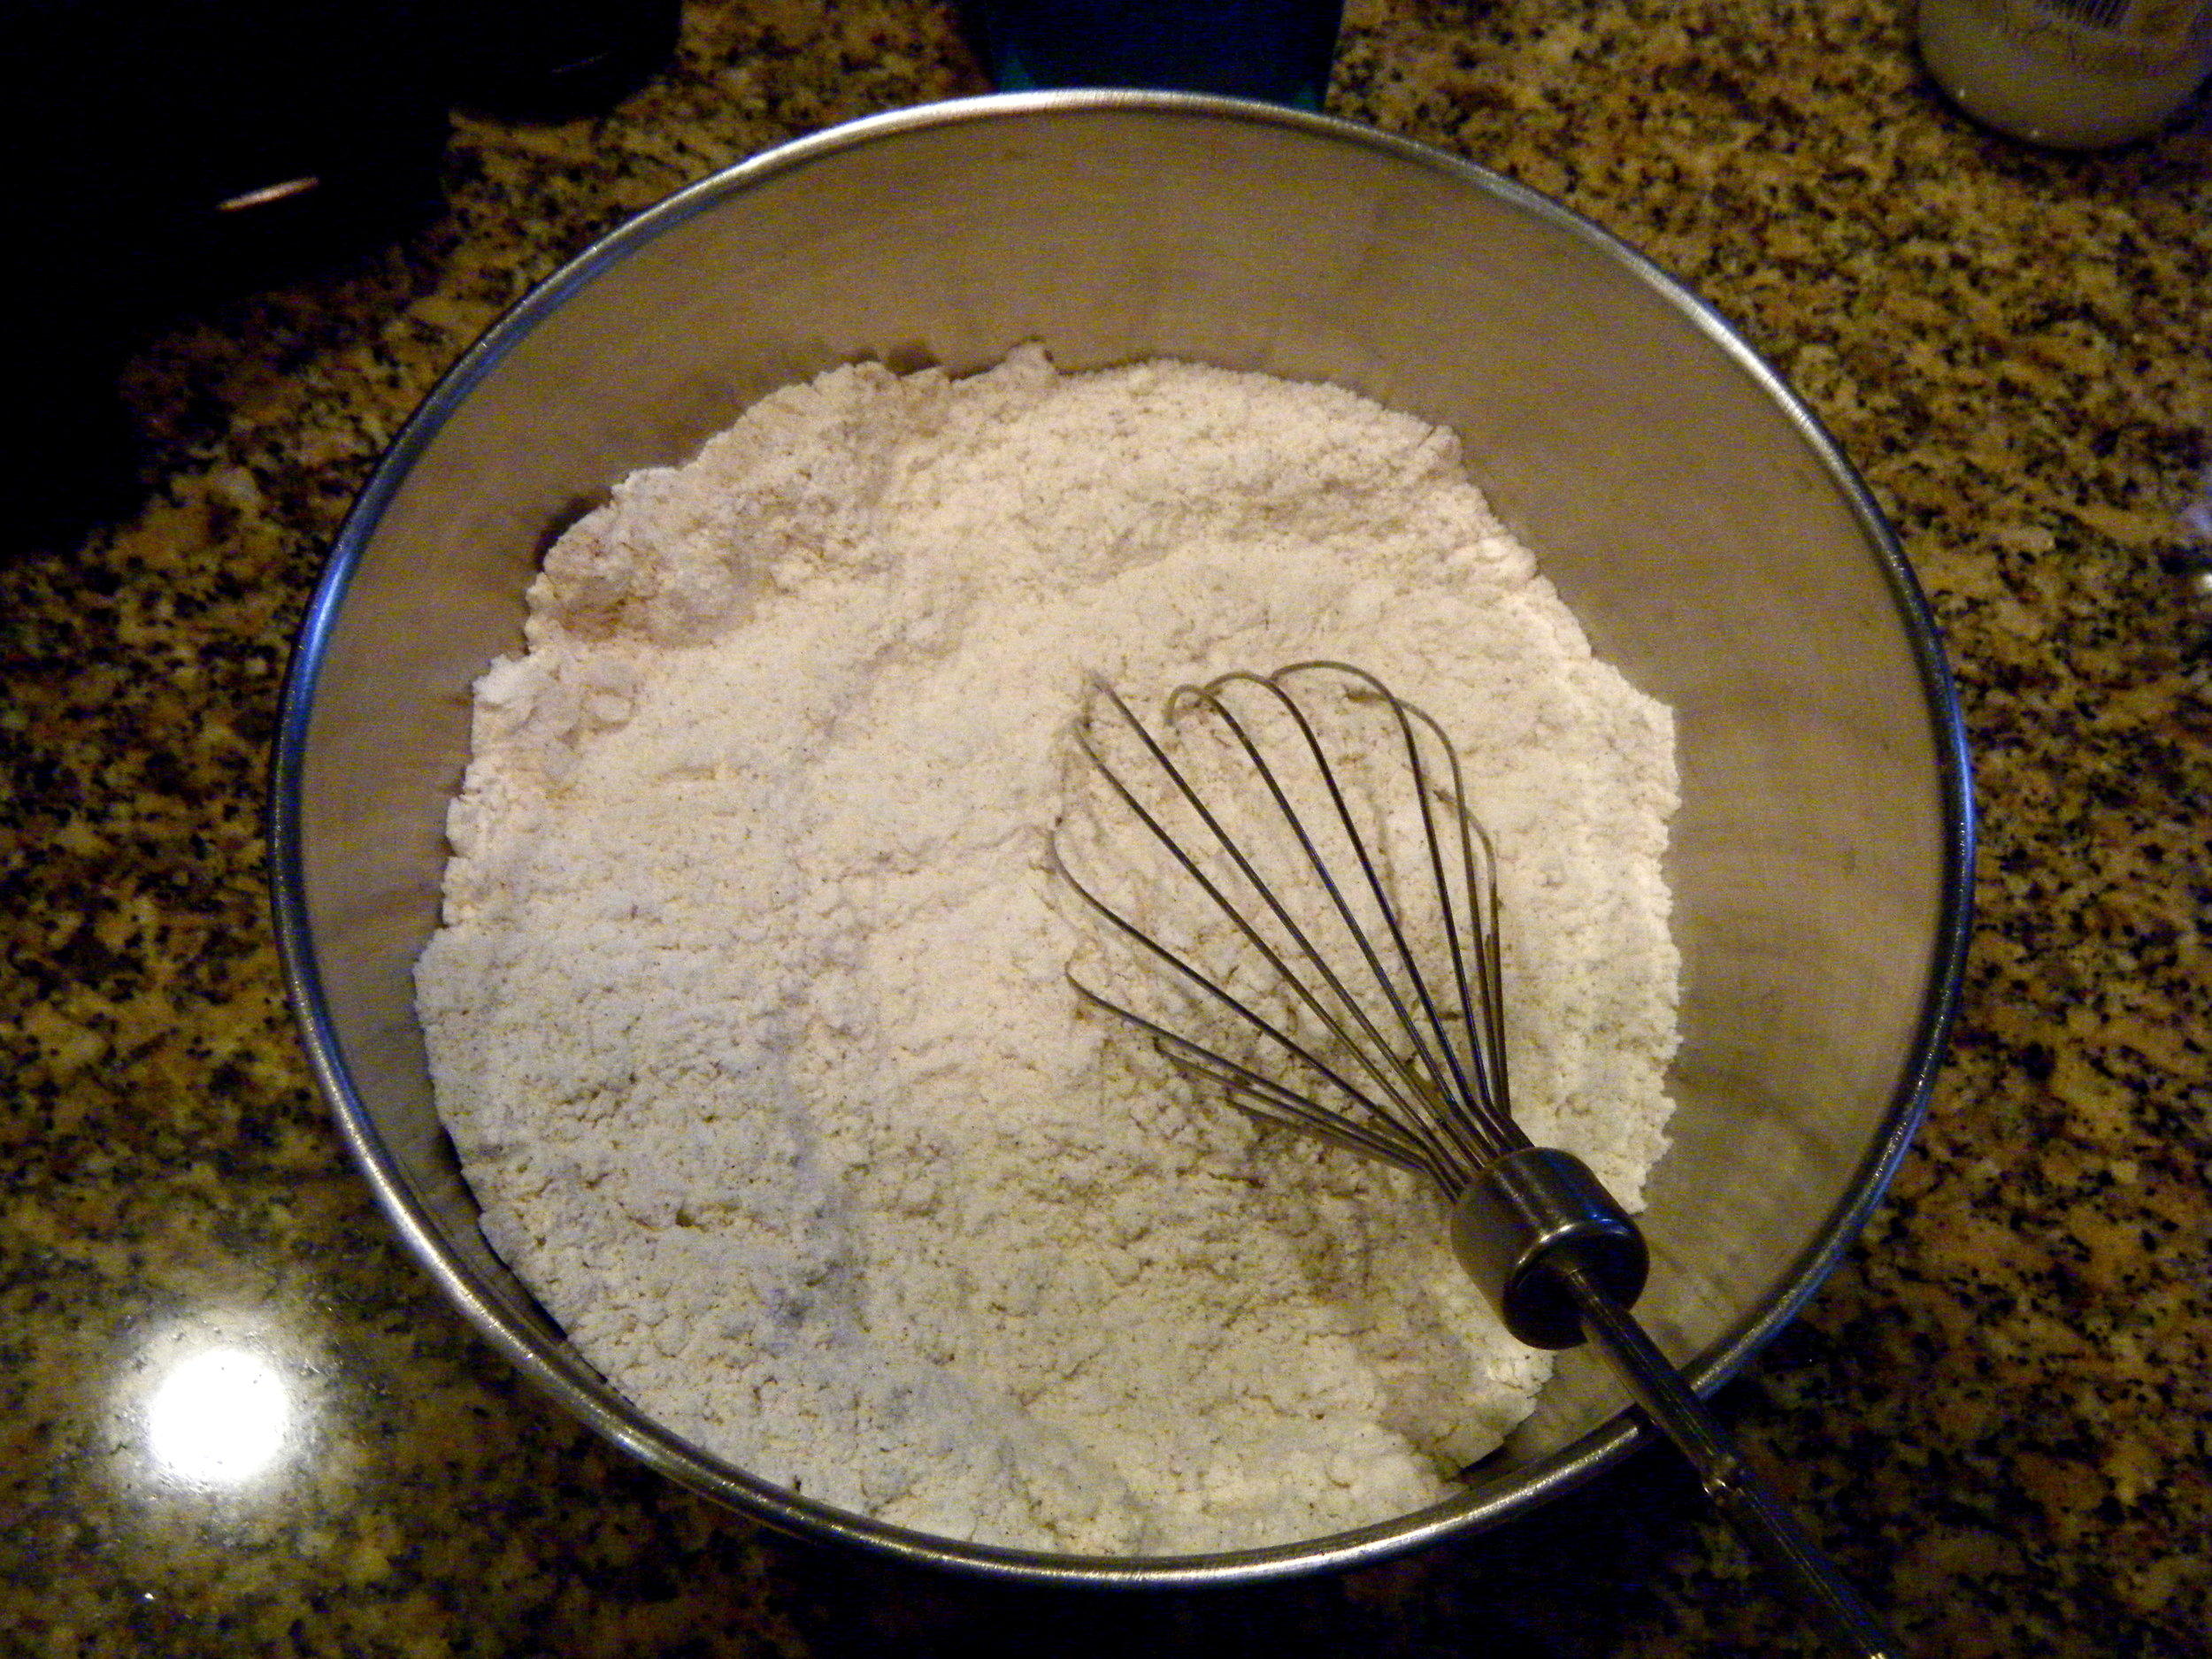
In another medium-sized bowl, whisk together the remaining 1 1/2 cups flour, cinnamon, cardamom, and salt. Set aside.

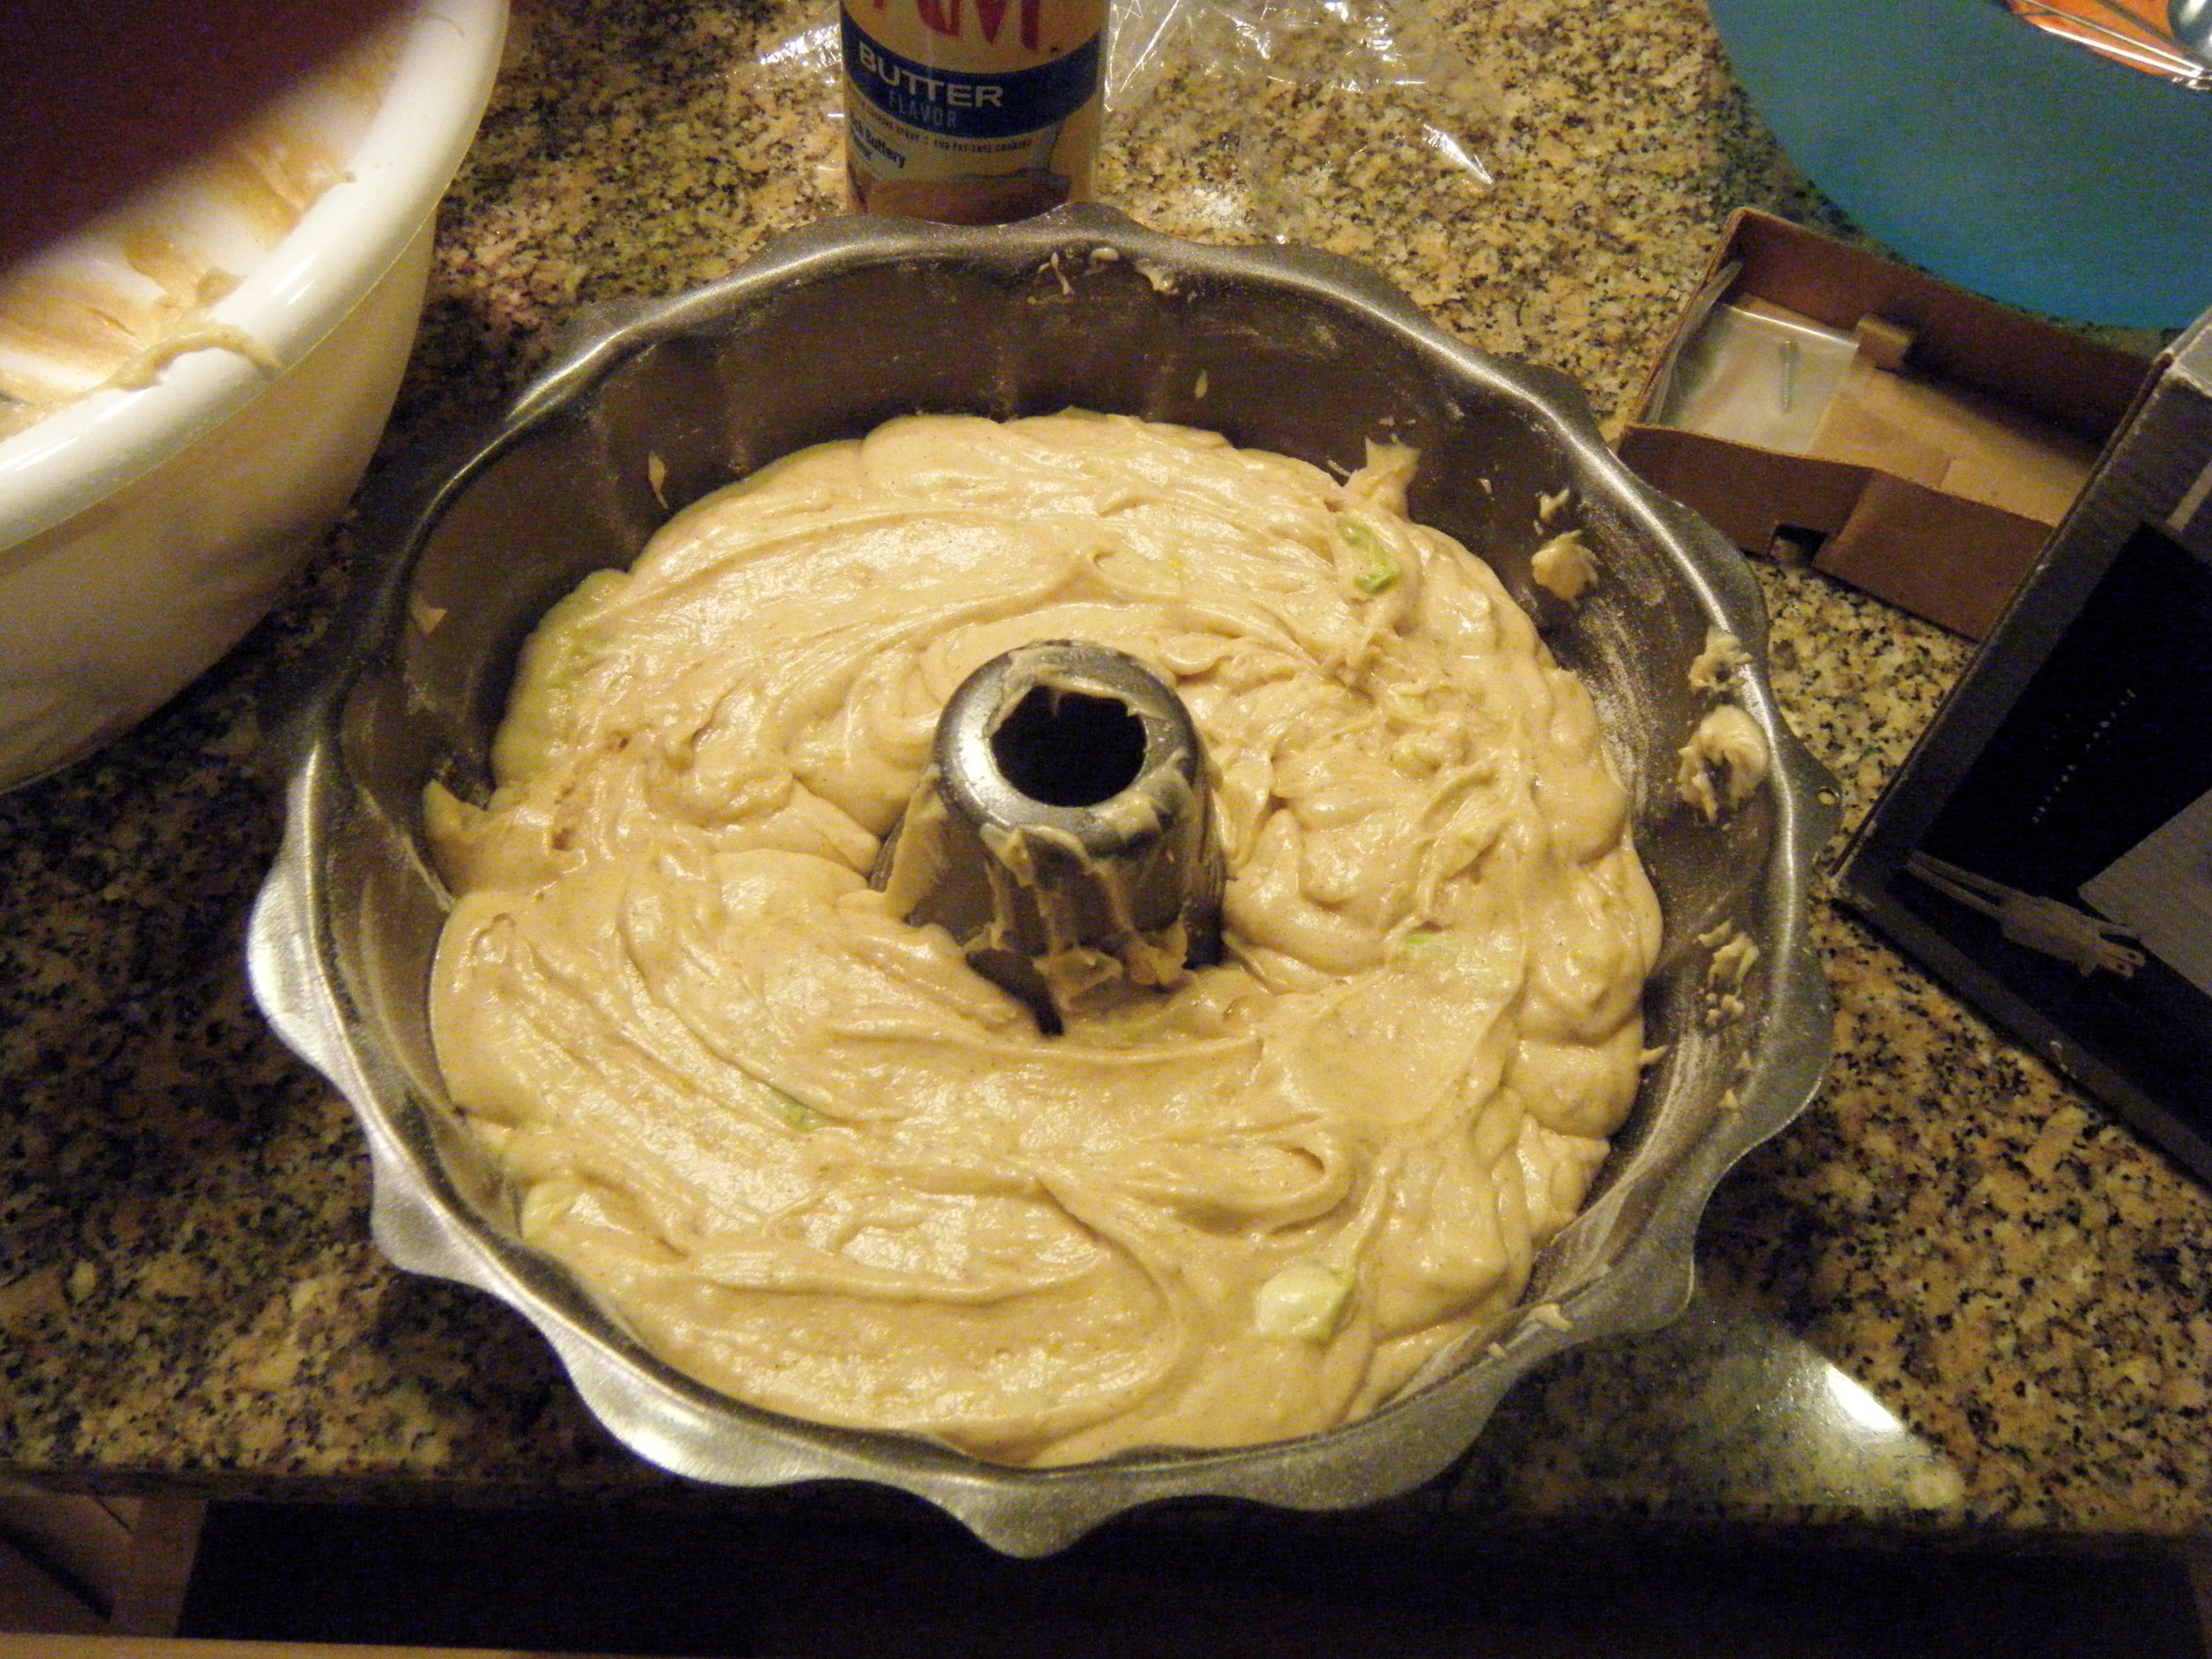
Generously butter a 9-inch Bundt pan, then set aside. (At the end of this you want that cake to come out of the pan in one piece, so don’t hold back on how much butter you use to grease the pan. There really is no such thing as too much butter when buttering a pan.)

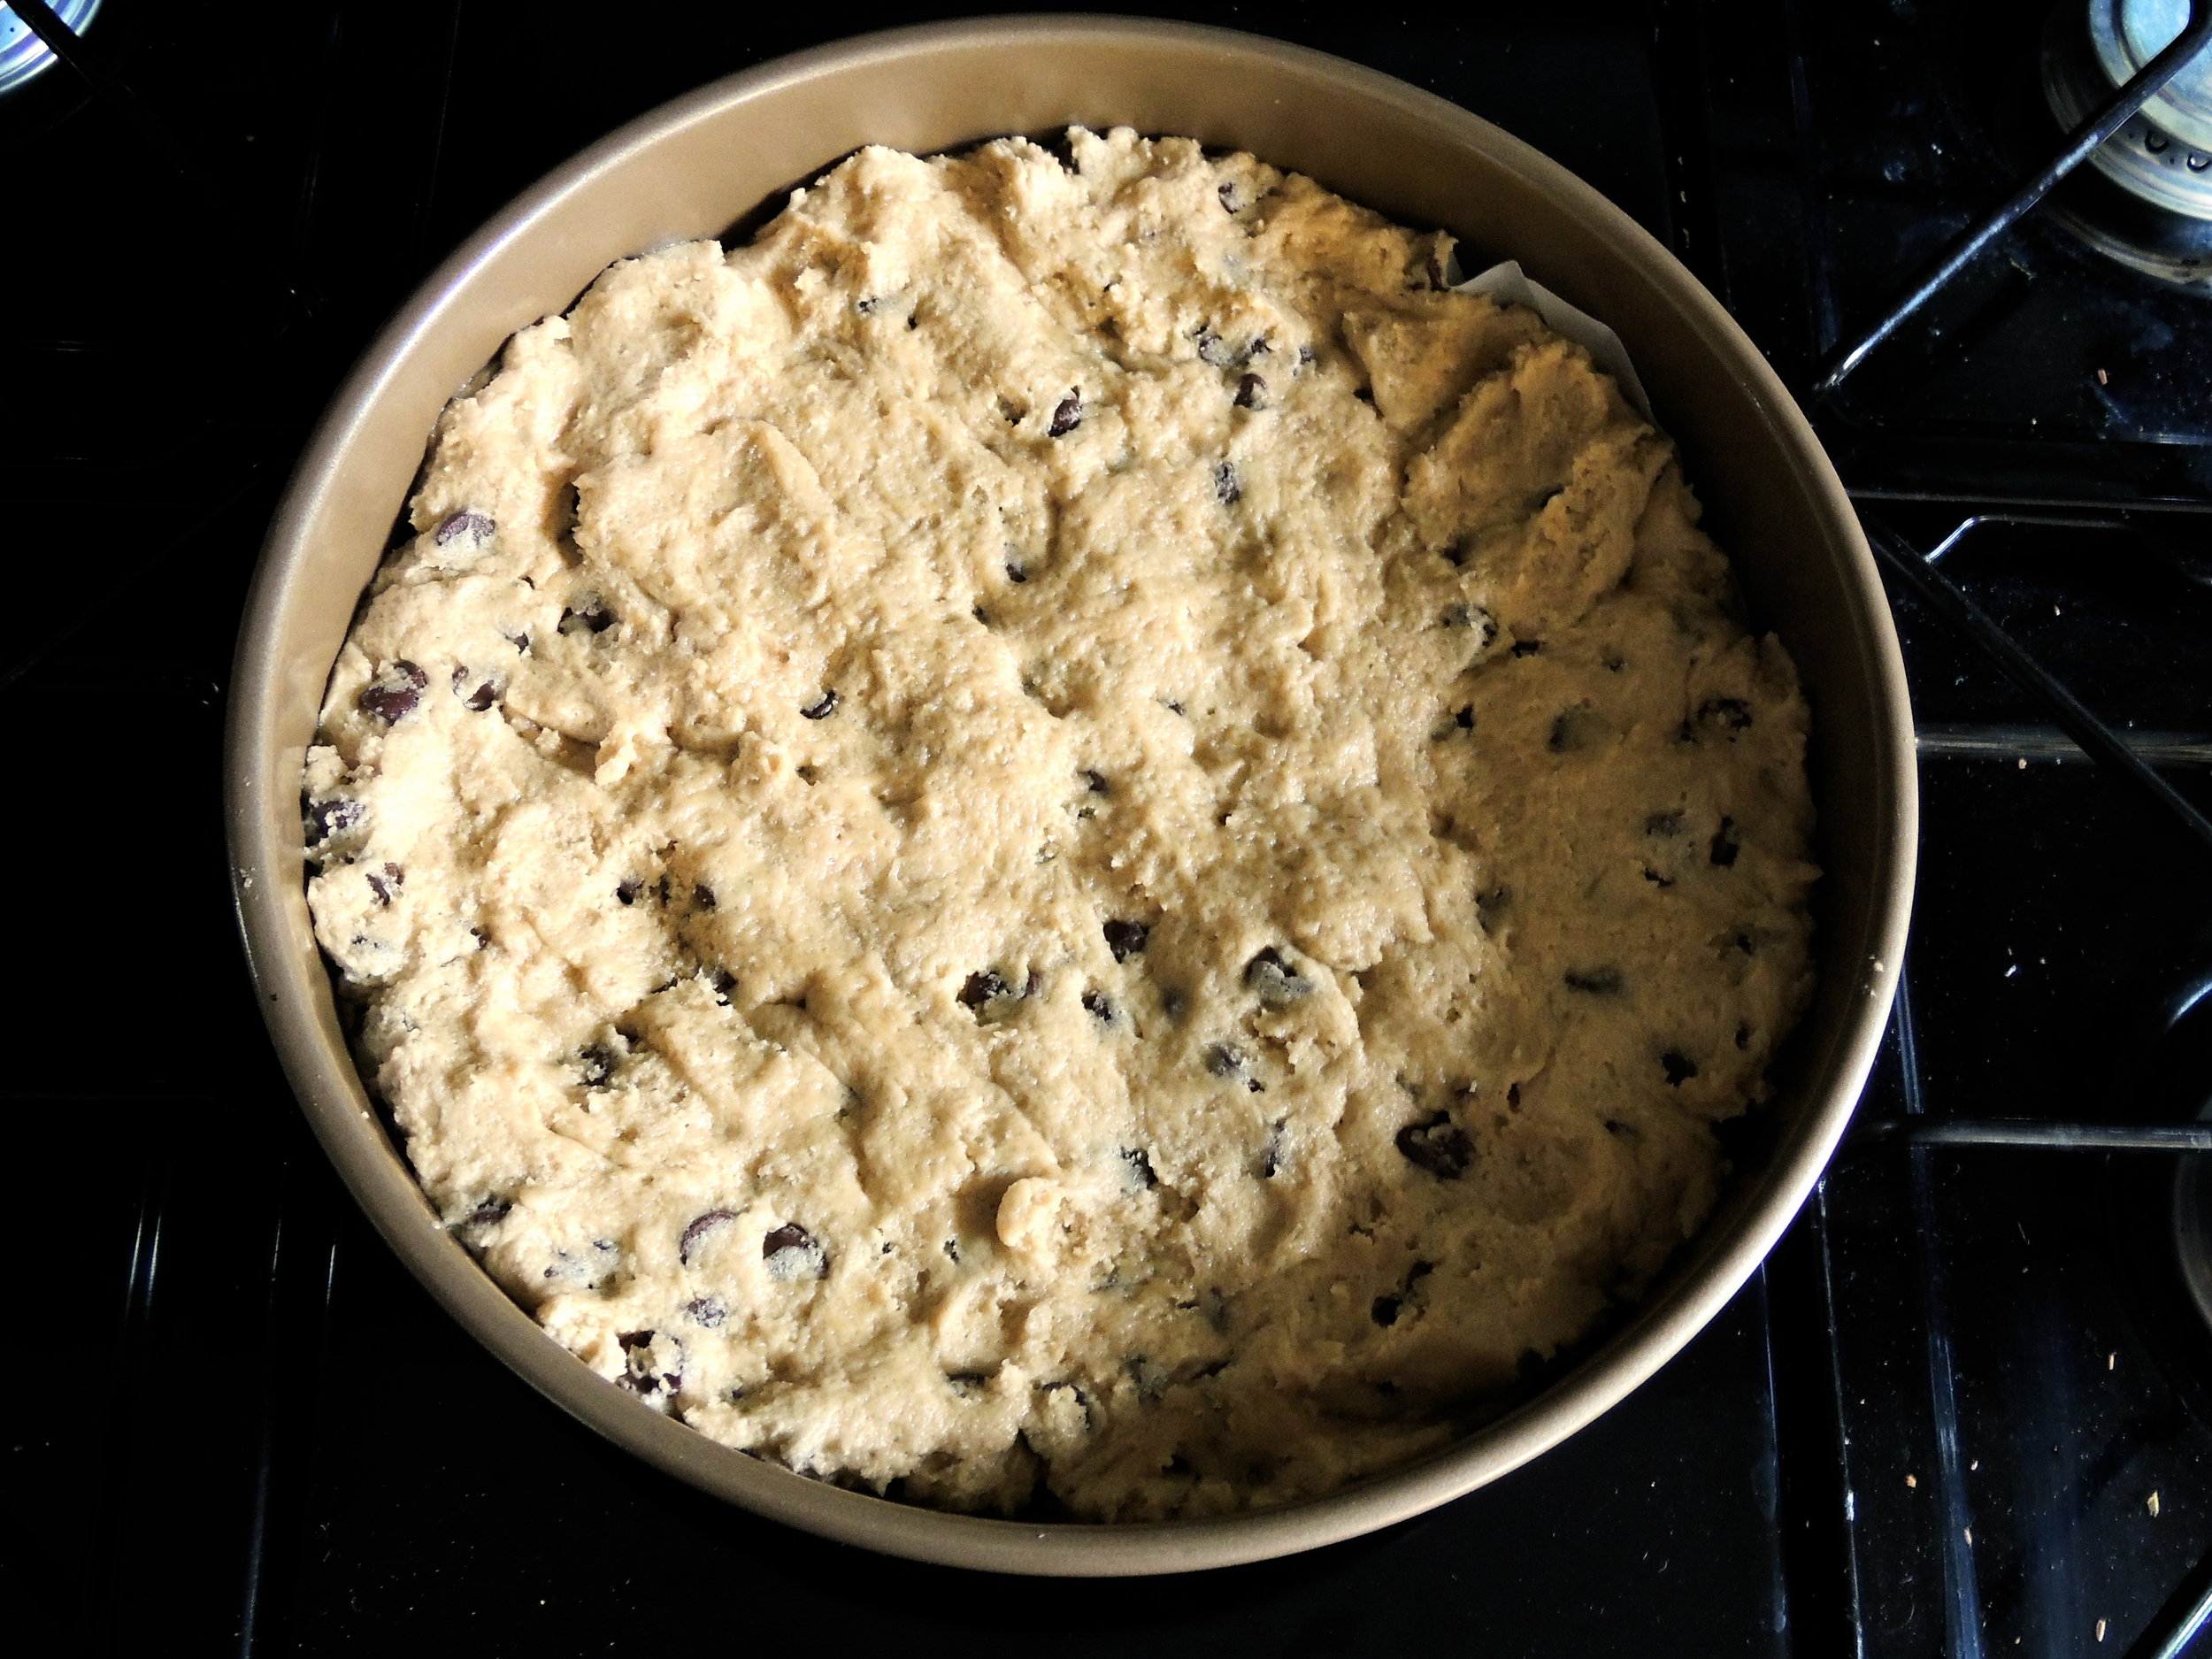
When the flour-yeast mixture has risen, beat the butter, granulated sugar, and 3/4 dark brown sugar on medium-high in the bowl of an electric mixer with the paddle attachment on, until light and fluffy. (I have also done this using a wooden spoon.) Next, beat in the eggs one at a time until fully combined, then add 1 1/2 teaspoons of vanilla. Beat in the flour-yeast mixture until fully combined, then turn the mixer down to low. Slowly add the flour-spice mixture, being mindful not to add too much at a time or you’ll end up with flour all over the counter. Once the flour-spice mixture is fully combined, bring the mixer speed back up to medium and add the fruit-nut mixture as well as any remaining liquid. Beat until the fruits and nuts are well incorporated. When finished, the dough should look soft and loose, and will be elastic to the touch.

Transfer the dough to the buttered Bundt pan and cover the top with plastic wrap. Set the pan in a warm place for the dough to rise for 1 hour. Place a rack in the middle of the oven, then preheat the oven to 375 degrees Fahrenheit.

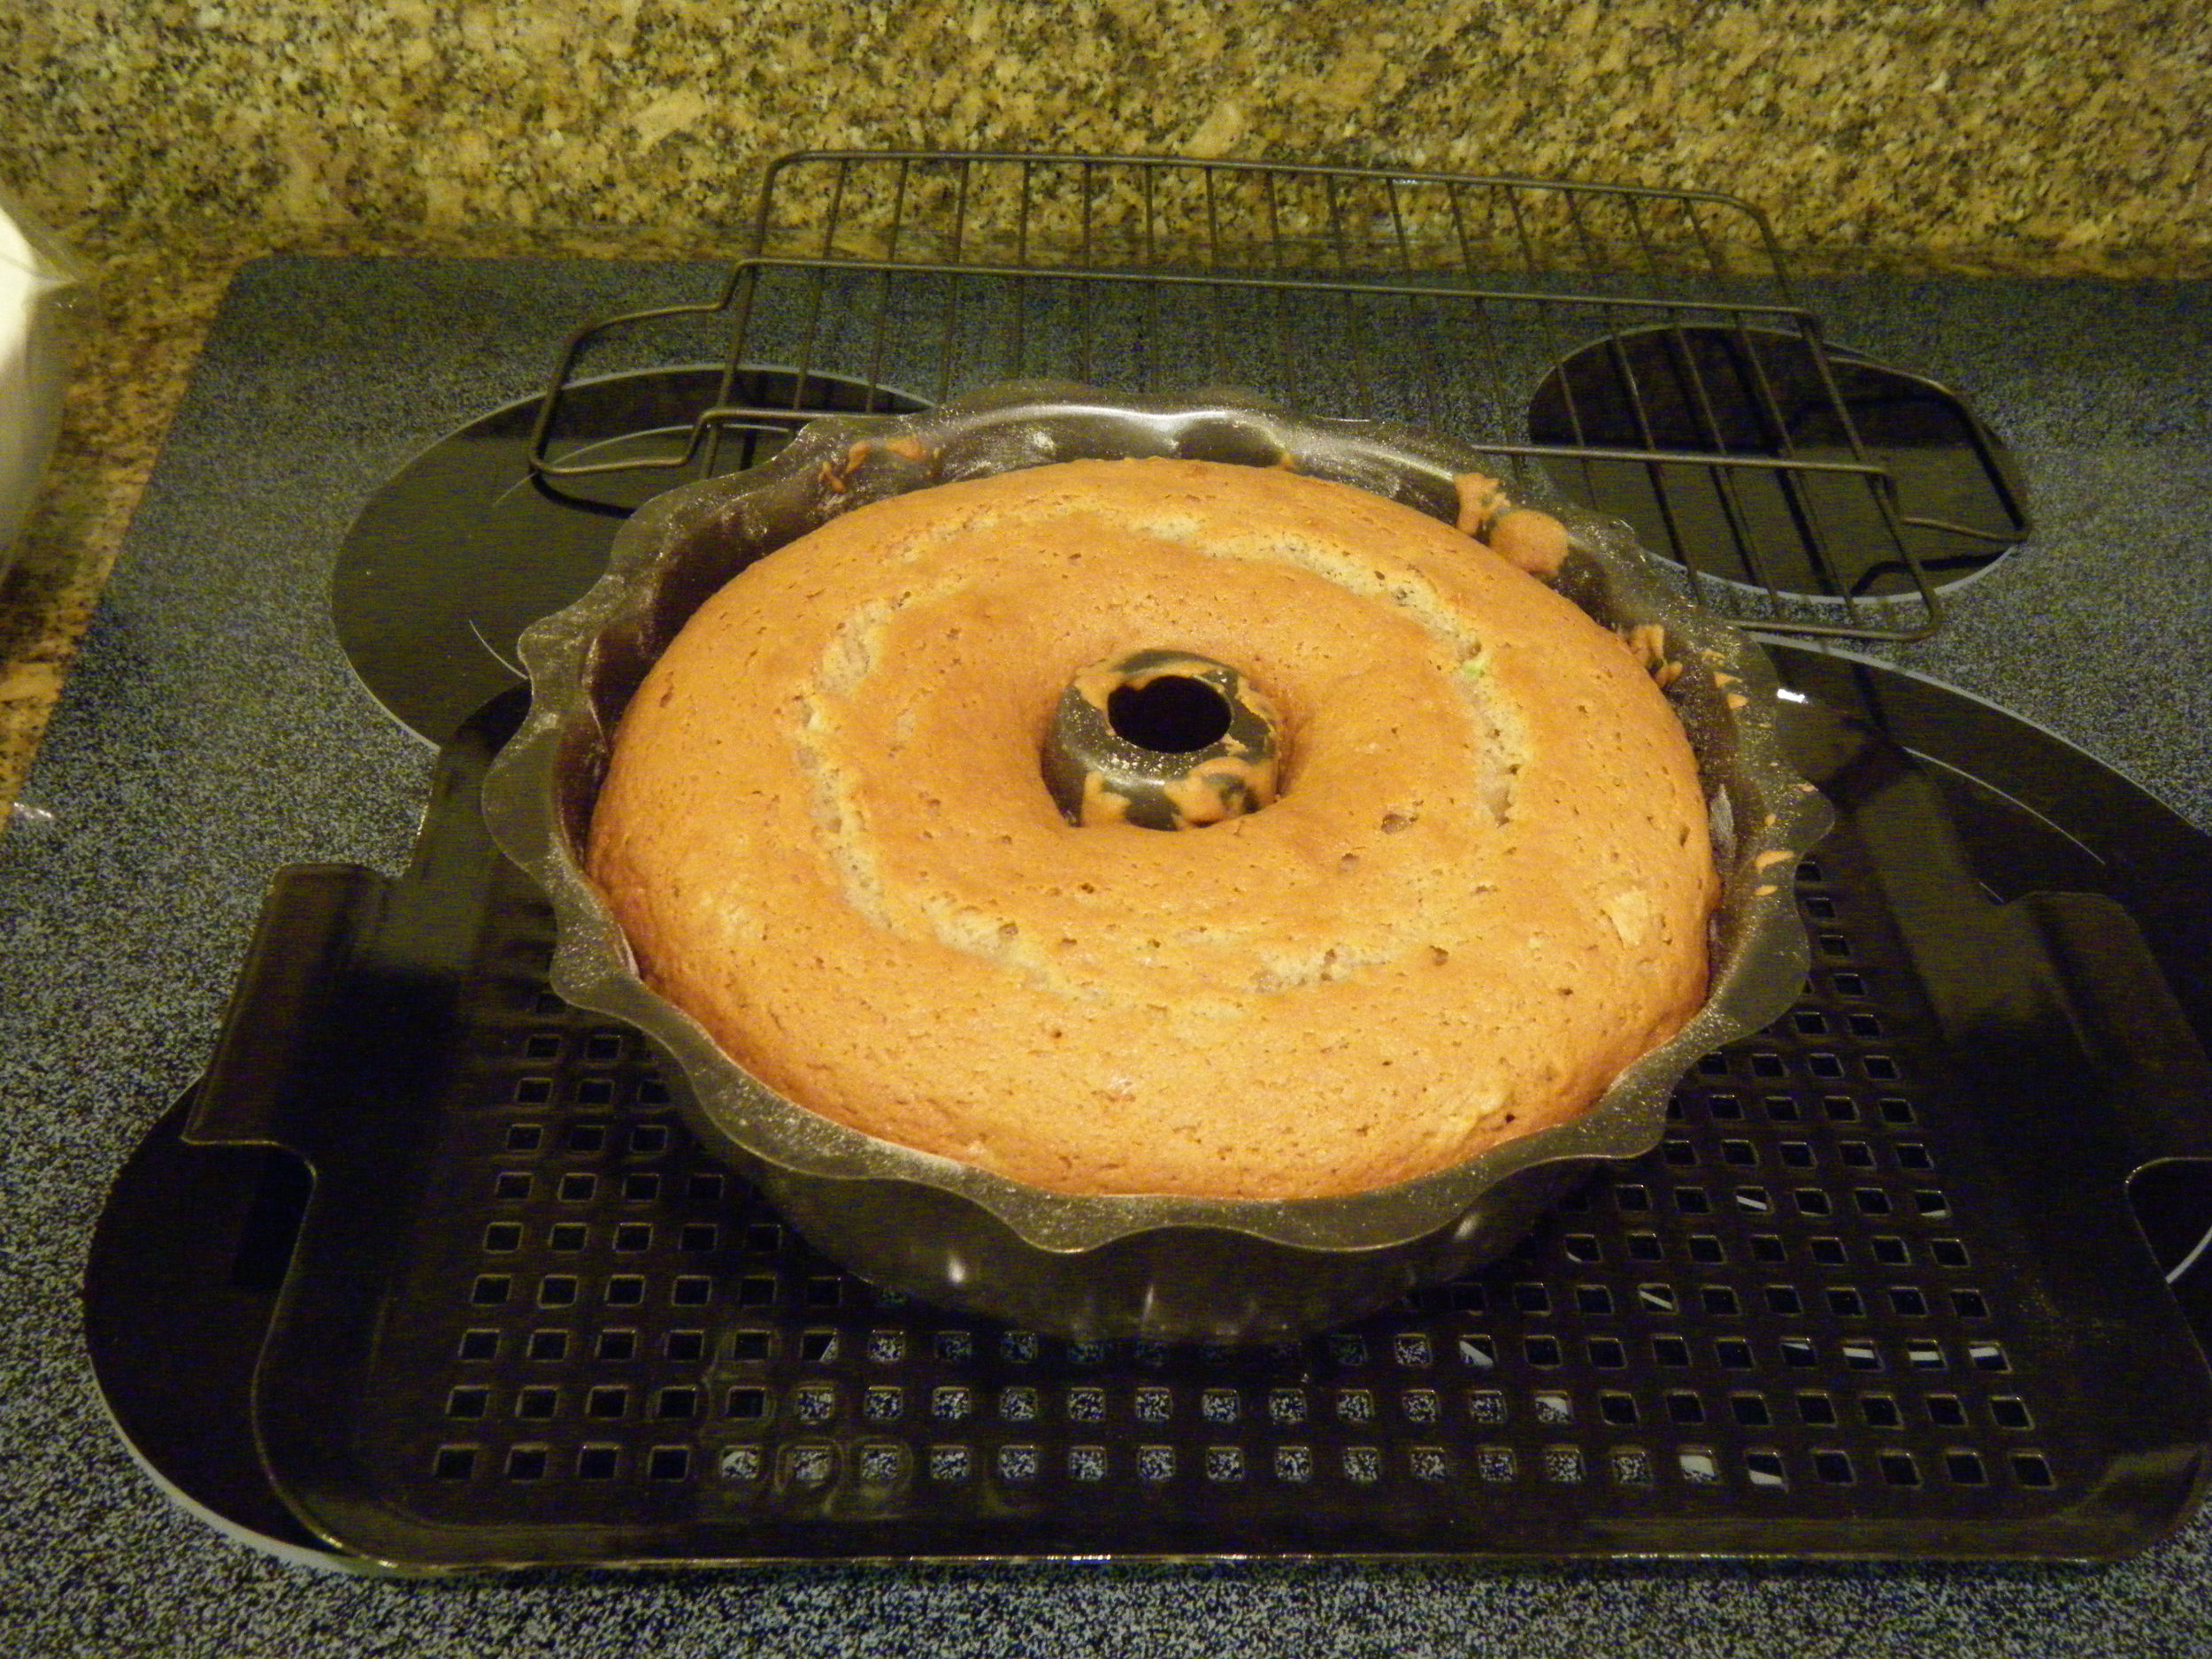
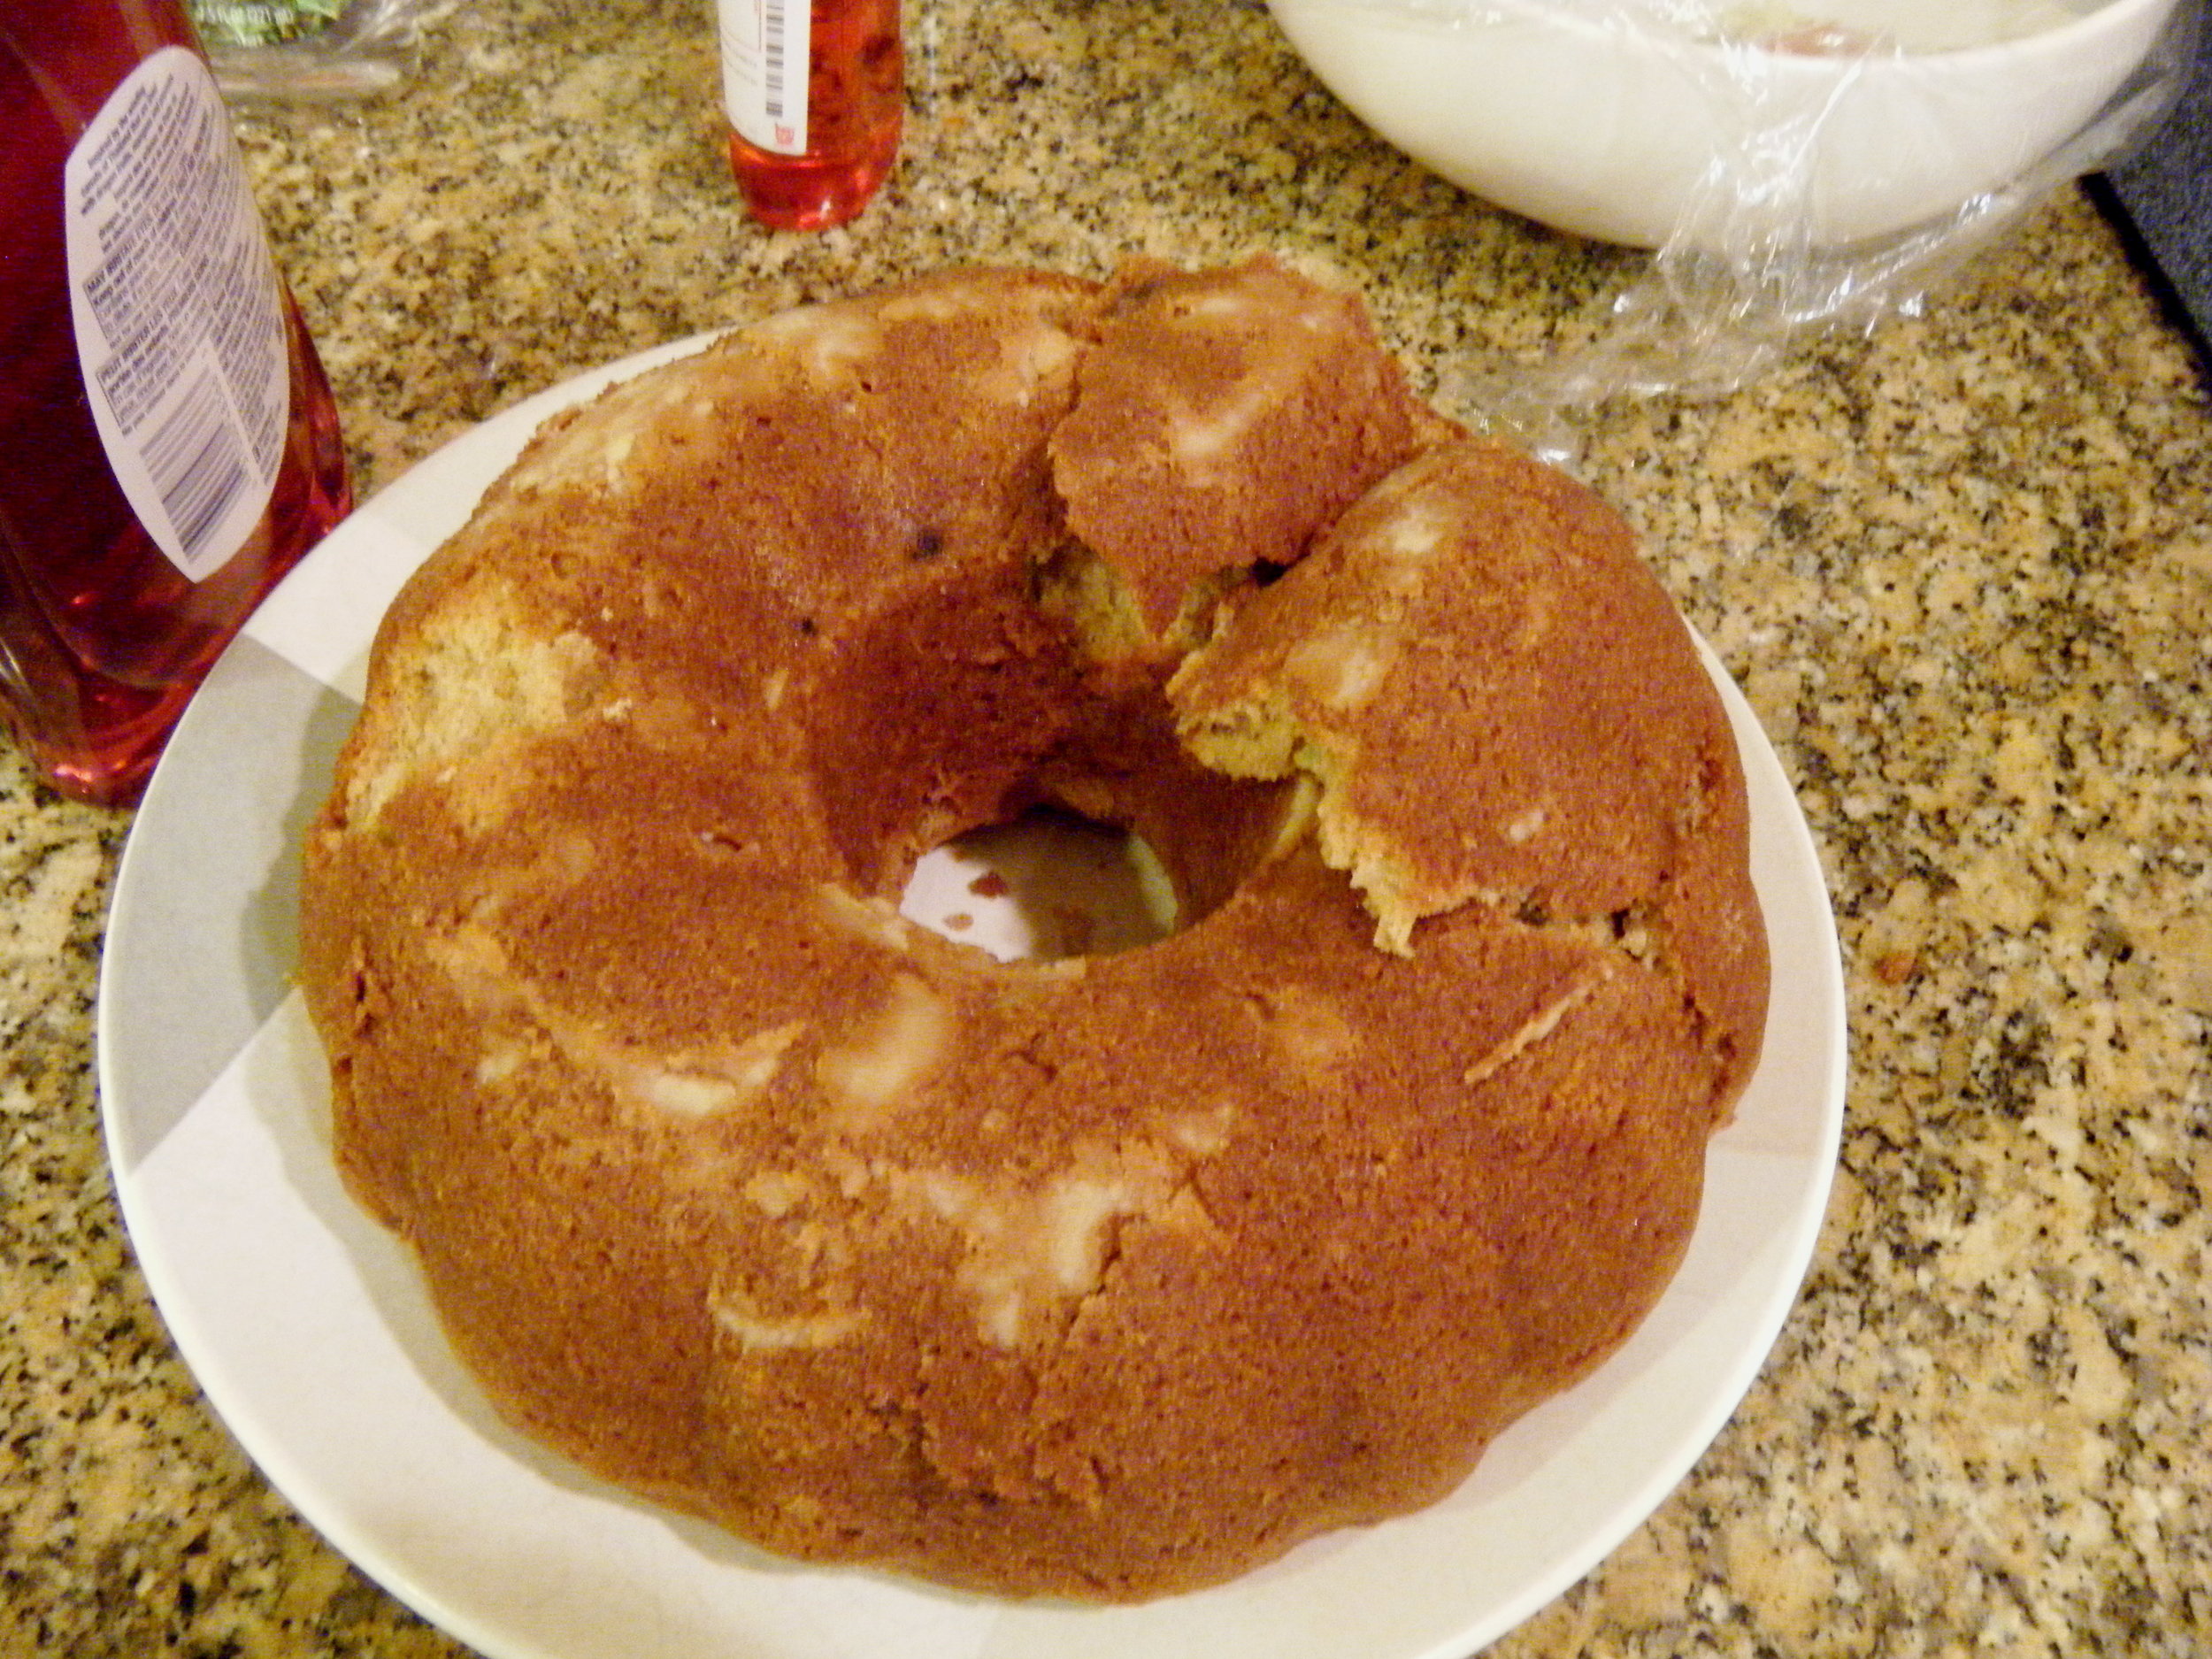
Remove the plastic wrap from the cake, then place the Bundt pan on a cookie sheet (this will catch any overflow) before transferring to the oven. Bake the cake until it has taken on a golden brown hue and a cake tester or toothpick inserted inside has come out clean, about 40-45 minutes. Take the Bundt pan off the cookie sheet and set on a wire rack to cool for 30 minutes. Carefully run a small offset spatula or butter knife around the sides of the cake to loosen any stubborn bits, then slowly turn the Bundt cake out, flat-side down, onto the wire rack to cool completely.

Once the cake has cooled, stir the confectioners’ sugar, 1/2 teaspoon vanilla, and one tablespoon of whole milk in a small bowl until combined. If the mixture seems too thick to be poured or spooned over the top of the cake, gradually add in the remaining tablespoon of milk until the icing has reached your desired consistency. Pour or spoon the glaze over the top of the cake, letting it run down both the inside and outside of the cake. Add desired decorations, then let the glaze harden for a few minutes before serving.

TO STORE: Cake can be kept at room temperature for several days when wrapped well in plastic wrap.

SOURCE: Adapted from Food Network

Brown Butter Raspberry-Ricotta Breakfast Cake

Rasp ricotta cake 2Listen, there comes a time in every young woman's (or man's) life where s/he just has to throw every single thing down, and have cake for breakfast. Okay? You just have to have cake for breakfast sometimes. Cereal is my breakfast meal of choice. There are occasions where I or a loved one will have the energy to whip up pretty impressive omelets, but those times are pretty rare on the weekdays. And as much as I do actually genuinely enjoy a crunchy spoonful of cornflakes, sometimes all I want need first thing is a beyond-moist, tender, fruity-flavor-packed slice of cake. And I want to eat it with my hands. Forks are great, but we don't need 'em!

rasp ricotta cake 5

The selection of fruit at the grocery store is very hit-or-miss, which can be very frustrating as all anyone ever talks about in the food world is "embracing seasonality." It's hard to do that when you're looking at crates full of fuzzy raspberries. The great news is, not only is frozen fruit totally welcome in this cake, it's actually a requirement. Thank goodness for the Frozen Foods section.

rasp ricotta cake 4

rasp ricotta cake 3

So, what makes this cake so moist? FULL FAT RICOTTA CHEESE. Don't you dare get that skim nonsense! We're having cake for breakfast, so let's not torture ourselves by trying to make it healthy, alright? And anyway, you want the cake to be as thick and rich as possible, so whole milk ricotta it is!

And let''s just talk about the brown butter for a second. Ohmygosh I love brown butter. It adds a certain depth to any and everything, and I don't even know what I did with my life before I knew how to do it.

rasp ricotta cake 1

It's just been a really good breakfast (and also dessert) week in this house.

And P.S. This is a GREAT choice for your 4th of July Weekend red-white-and-blue-food-eating festivities!! Fourth of July Breakfast Cake is a thing, right?


BROWN BUTTER RASPBERRY-RICOTTA CAKE 

What You'll Need:

  • Nonstick cooking oil spray
  • 1 stick plus 3 tablespoons unsalted butter
  • 1 1/2 cups all-purpose flour
  • 1 cup sugar
  • 2 teaspoon baking powder
  • 3/4 teaspoon kosher salt
  • 3 large eggs, room temperature
  • 1 1/2 cups ricotta cheese, preferably whole milk
  • 1/2 teaspoon vanilla extract
  • 1 cup frozen raspberries, divided
  • 1 teaspoon lemon juice
  • 1 teaspoon of sugar

DIRECTIONS:

Preheat the oven to 350 degrees F.

Line a 9-inch round cake pan with parchment paper, and lightly spray with nonstick cooking oil spray.

To brown the butter:

In a medium saucepan, melt your butter over medium-low heat. After a few minutes, your melted butter will start to crackle and bubble vigorously; those are the milk solids and water evaporating. After 2-3 minutes of the butter crackling, you should start to smell a nutty aroma coming from the pan, and your butter will start to darken in color. DO NOT leave while the butter is browning as it can go from brown to burnt fairly quickly.  The bubbling and crackling will eventually subside, and your darkened butter should have little brown bits floating around on the bottom. Take the butter off the heat, and let it cool slightly.

Let's make the cake:

In a large bowl, whisk the flour, sugar, baking powder, and kosher salt. Set aside.

In a medium bowl, whisk the eggs, ricotta, and vanilla extract until combined, then fold them into the dry ingredients until they are just combined.

Fold in the melted butter, then VERY GENTLY fold in 3/4 cup of the raspberries, being very careful not to crush any berries.

In a small bowl, gently toss the remaining 1/4 cup of raspberries with the lemon juice and sugar. If the raspberries seem a little too tart, you can sprinkle in a little more sugar to fit your tastes. 

Scrape your cake batter into your prepared pan and scatter the raspberries that you have just tossed with lemon and sugar, over the top. (Get creative with your design!)

Bake your cake until it is golden brown and a toothpick that has been inserted into the center, comes out clean; about 50-60 minutes. (Depending on your oven, your cake may need a little less time, so keep an eye on it when the time gets closer to 50 minutes.)

Let your cake cool for at least 20-30 minutes in the pan, on a wire rack, before unmolding and serving.

To Store:

Wrap the cake TIGHTLY in cling wrap and store at room temperature.


SOURCE: Adapted froBon Appetit 

Birthday 2015

birthdaycake1

I've been a new age for exactly one week today. The slider is quickly reaching the middle of the twenty- something scale, and it is a fact that both scares me and excites me, depending on the day.

There are two types of people I've met in this world: people who absolutely looove birthdays, and people who threaten physical harm if there's even so much as a whisper of their birthday in the air. Me? I think I fall somewhere in the middle. I like birthdays, I think they're cool. I think it's important to celebrate each one because you never know how many you're going to get in this world. But I don't really go all out. Honestly, it's partially because they tend to sneak up on me now that I'm no longer in elementary school and there's no longer the obligation of a parent to throw a mini party with enough tiny forks and plates and cups, and copious amounts of brightly-colored frosted cupcakes for each member of my class. I also don't go all about because there's so much hype around birthdays that once it's over, I always feel a little bit of loss because I have to wait another whole year to again be the Birthday Princess.

birthday2

I do exactly what I want, and when I want on my birthday; absolutely no exceptions. If I want to binge-watch an entire season of Friends in an afternoon, there is no judgement. If I want to sing at the top of my lungs to the hits off of The Emancipation of Mimi album in a house full of people, I'm going to do it. AND, if I want to bake my own birthday cake from start to finish and entirely from scratch, well, yeah I'm going to do it. And I did. I baked my own birthday cake. Three layers of very tender vanilla cake, slathered in a LOT of delicious buttercream frosting dyed a decidedly peach-ish tone depending on the angle, and topped with cute little sprinkles. It took me approximately four hours to make in total, and I loved every single second of it. For one, this cake is a GIANT step up from my last attempt to make a very small, very sad excuse for a cake. That very simple cake was hard work manifested. And it was delicious.

The older you get, the more time you spend reflecting. To that affect:

Five Very Important Things I've Learned in My Twenties So Far

  1. Friends come and go, and friendship is a two-way street. Only make the effort for those who make the effort for you. That's what makes it special.
  2. Quality over quantity in all aspects of life.
  3. Listen to your elders when they're trying to tell you something. They've got stories that are better than anything you'll see in theaters, and, apart from the tiny embellishment here and there to keep your attention, they're totally true.
  4. Work hard and have patience. You'll get everything you need and even some of the things you want, but it's probably going to take some time. And you know what? That’s okay.
  5.  Having a plan is great, but don't forget to deviate sometimes and just enjoy the ride. Nothing ventured, nothing gained as they say.

As far as birthdays go, this one was pretty ace.

Here's to many more, eh?

When Chocolate Chip Cookies Just Aren't Enough

The sad news: My work chum, Kate, had her last day at the office today. The happy news: We ate like champions.

DSCN0614

When Kate told me that this week would be her last, I immediately started brainstorming the perfect going away surprise. But the more i thought about, and the more I scoured my cookbooks for the answer, the less certain I became. So I asked her: What was her favorite go-to dessert? Her answer: chocolate chip cookies. Good. Done.

But then I thought about it: chocolate chip cookies are always amazing, and absolutely no one can tell me otherwise, but are they good for goodbyes? I guess it depends on who you ask, but for me, no way. They're the perfect treat to have in hand for hangout sessions, good for break ups, great for sick days, and perfect for when you need a quick pick-me-up. But for goodbyes, they're just not epic enough. So it was time to think outside of the box: how can I stay true to her favorite, while still taking it to the next level? Then it came to me: a chocolate chip cookie cake. 

DSCN0617

When I was little, my parents got for me one Christmas a Mrs. Fields Cookie Oven. They were just like the Easy Bake Ovens, but way better because it was like having a mall favorite right in your play room. I made tiny cookie cakes and brownies constantly, and as I set out to make Kate's cake, it took me back. What was so good about those cakes, other than the fact that they cooked like magic under a dinky light bulb, was that they always turned out gloriously under-baked. So chewy, so yummy. And now that I'm feeling all nostalgic, I wonder what happened to it...

(Note to self: scour the basement next time I'm home. I've got mini cookies to make.)

photo

I've got a fun little story to tell you. Last night, I made two of these cakes. And it wasn't because I wanted us to have one at home. It was because I didn't exercise enough patience, and tragically broke Cake # 1.

A word to the wise: If a recipe tells you to wait until something is completely cooled before taking it out of the pan, wait until it is completely cool. In my haste to start frosting this thing, I thought that just leaving the pan on the wire rack for thirty minutes would do the trick. I was wrong. Very, very wrong. Yeah, it came out of the pan alright, but in several very large chunks. Cake #1 was hurled in pieces into both the trash and my mouth. Cake #2 went straight into the freezer as soon as it was out of the oven, and cool enough for me to handle it without an oven mitt on.

I would also like to note that this was my first successful attempt at using a pastry bag! Also, this was my first time using gel-based food coloring instead of liquid. The colors are more vibrant, you don't taste the colors, so to speak, and it just takes a few drops to get the shade you desire. Use gel food coloring. Trust me.

photo

After frosting, cover your cake and pop it in the fridge overnight. It allows the buttercream to set, and makes it taste OUT OF THIS WORLD. Seriously, the buttercream was the best part, and I saved the best part for last.

One piece of this cake, and you're done. But man, is it worth it.


I miss my work chum Kate already, but we had a forced office group hug, so I'm counting today as one of the best I've had in a while.


Chocolate Chip Cookie Cake:

What You'll Need:

  • 2¼ cups all-purpose flour
  • 3/4  teaspoon baking powder
  • 1/2 teaspoon baking soda
  • 1/2 teaspoon salt
  • 12 tablespoons unsalted butter, melted and cooled to room temperature
  • 1 cup light brown sugar
  • 1/2 cup granulated sugar
  • 1 egg  and 1 egg yolk
  • 2 teaspoons vanilla extract
  • 1 cup semisweet chocolate chips

Preheat the oven to 325F. Throughly grease a  9 inch round cake pan, then line the bottom with a piece of parchment paper cut to size. Set aside.

Whisk together the flour, baking powder, baking soda, and salt in a medium bowl. Set aside.

With an electric mixer set to medium speed, beat the butter and both sugars together until combined. Beat in the egg, then egg yolk, one at a time until combined. Then add the vanilla. Slowly add the dry ingredients and beat at a low speed until just combined. Fold in the chocolate chips using a rubber spatula.

Scoop the dough into the prepared cake pan, and use your fingers to evenly press the dough into the pan. Bake until the cake is golden, and the outer edges have started to harden; about 20-25 minutes (Watch out for cracking!) Place on a wire rack to cool COMPLETELY before removing from the pan.

Make sure to throughly wrap in plastic wrap to ensure freshness. If kept at room temperature, this can last for up to five days.


SOURCE Brown Eyed Baker


THE PERFECT BUTTERCREAM FROSTING 

What You'll Need:

  • 2 cups powdered sugar, sifted
  • 5 tablespoons unsalted butter, at room temperature
  • 2 tablespoons whole milk
  • 1/4 teaspoon vanilla extract

Beat the powdered sugar and butter together using an electric mixer on medium speed until the mixture comes together, and is throughly mixed.

With the mixer on low speed, combine the milk and vanilla extract, and slowly stream it into the butter-sugar mixture.

Once fully incorporated, turn the mixer to high speed and beat until the frosting is perfectly light and fluffy, for a minimum of five minutes. (As Joy the Baker says: "The longer the frosting is beaten, the lighter and fluffier it becomes!")

Add dyes into the frosting for the desired color, and beat until fully incorporated.


Next stop: Key Lime Pie for my work chum Brad's 25th!


HAPPY FRIDAY, MY LAMBS!

singature gray

When You're in the Mood for Cheesecake...

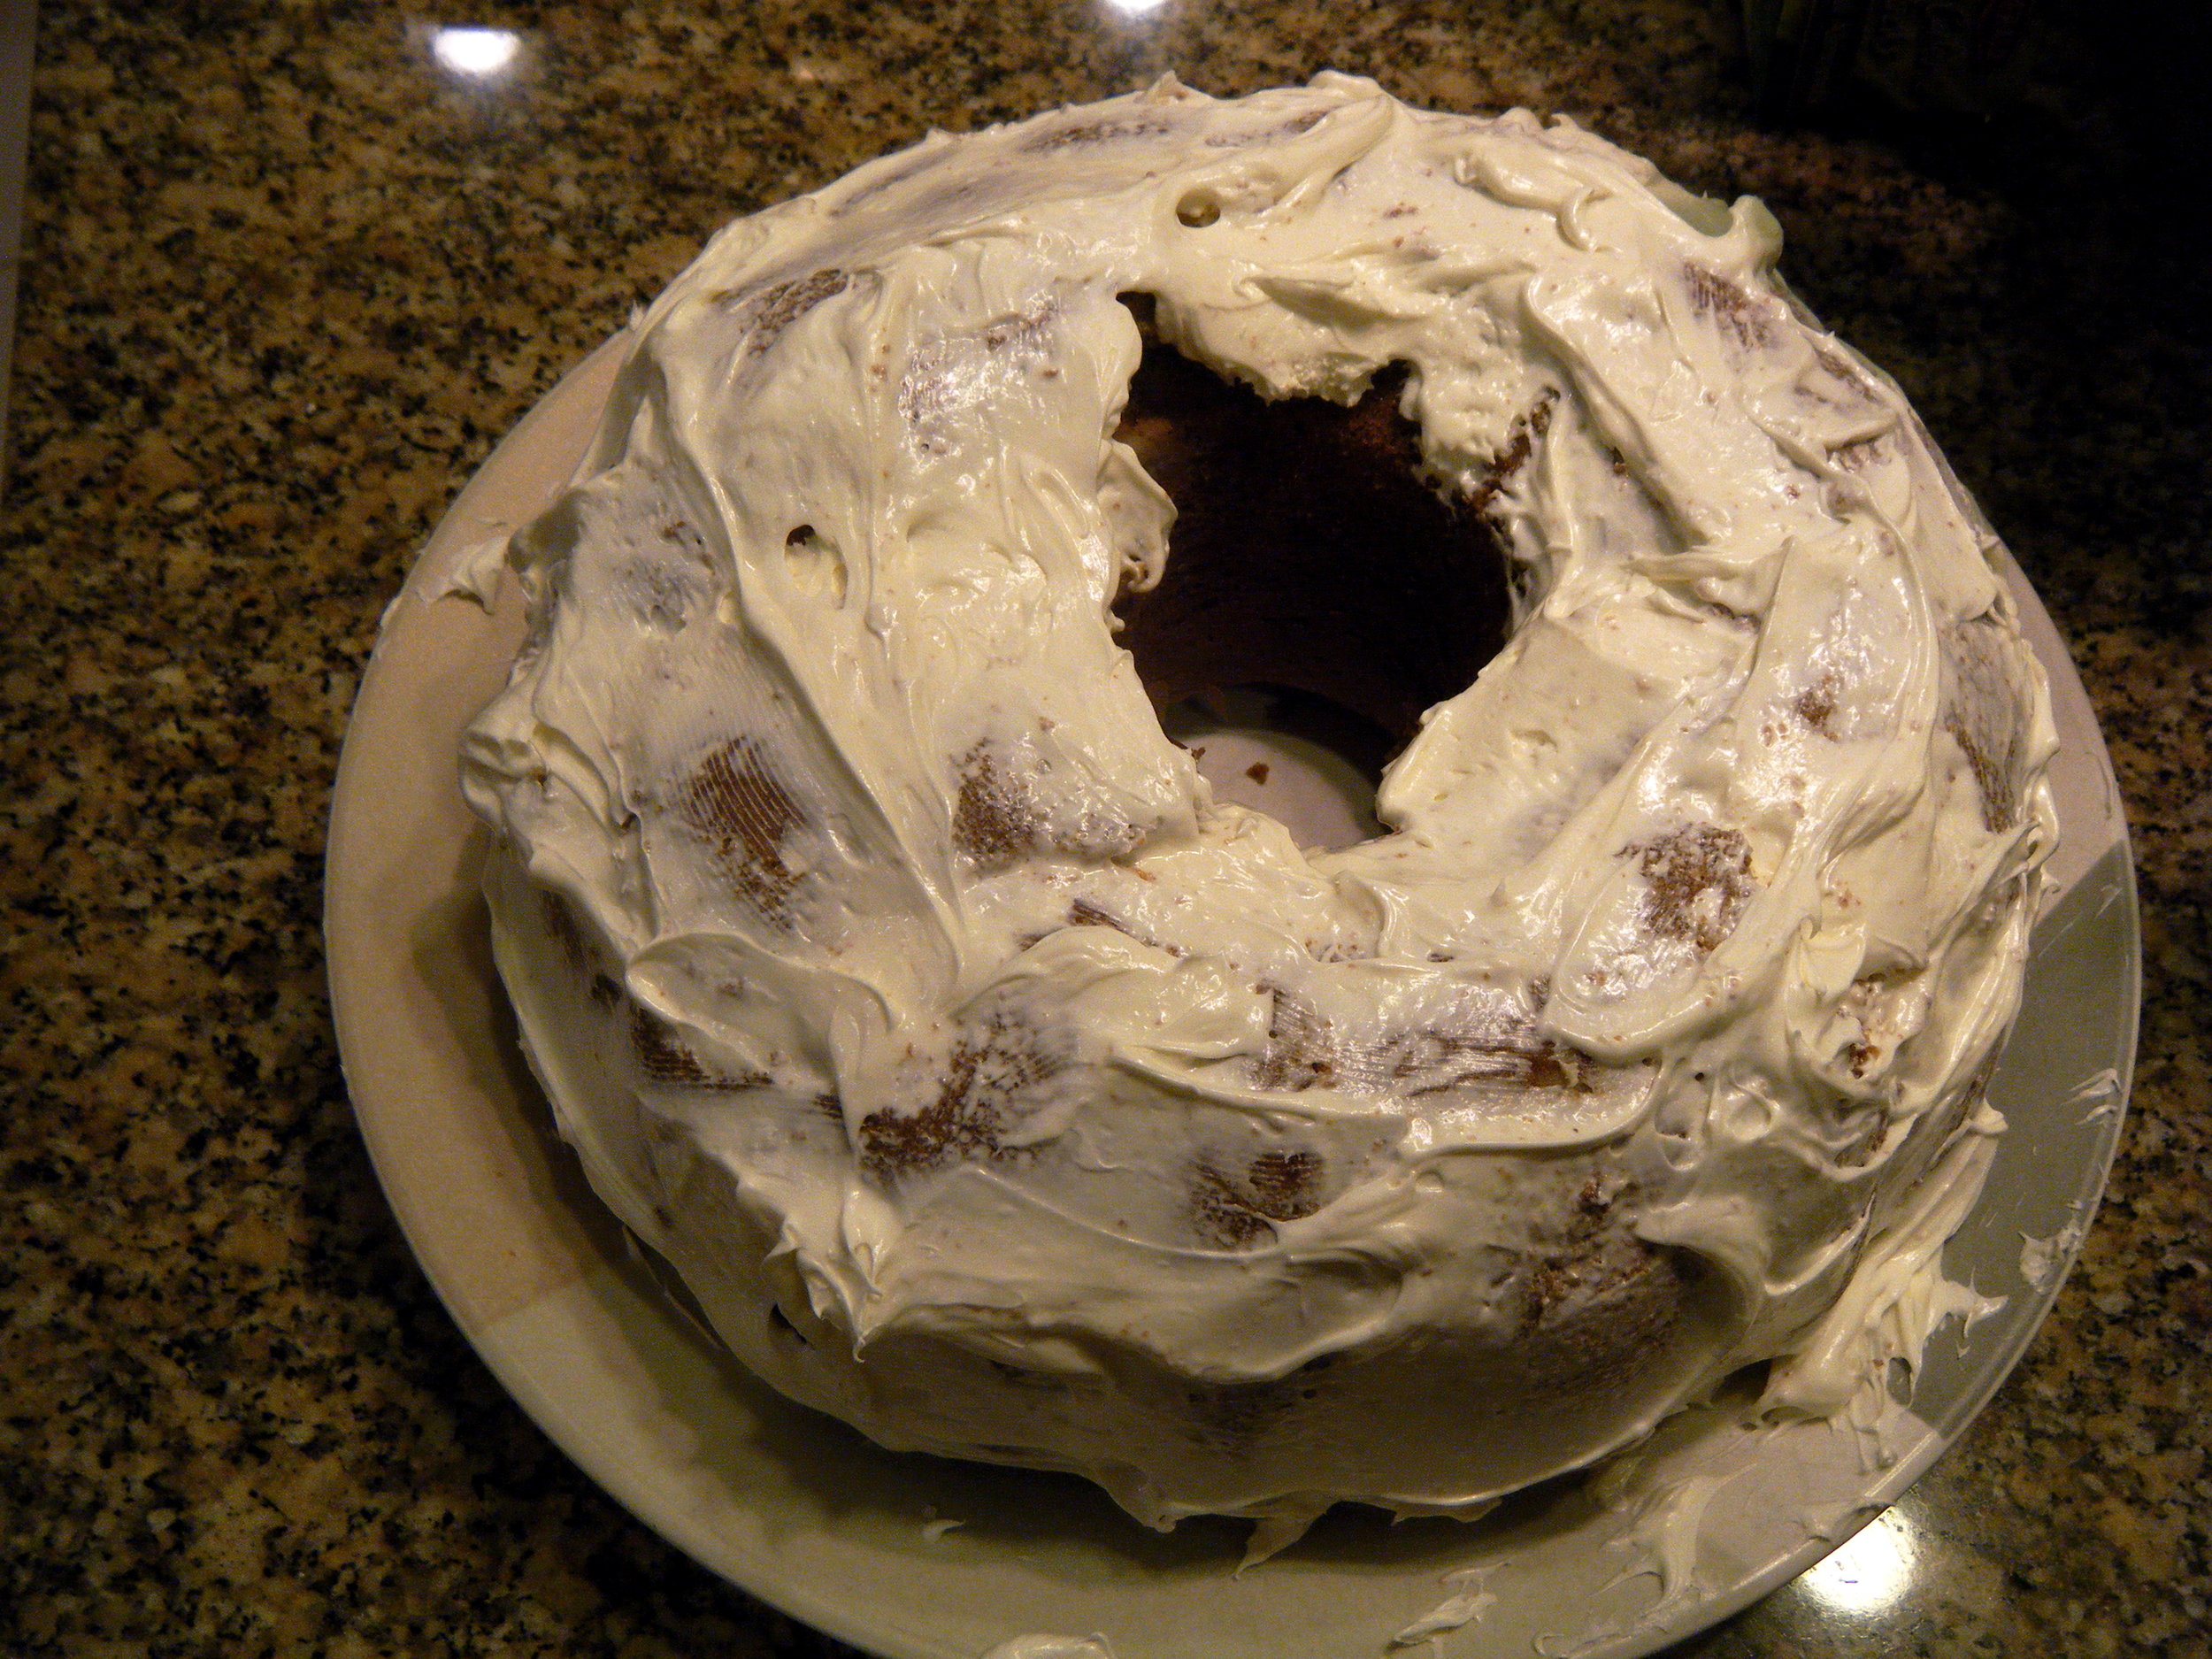
On Tuesday, my works chums and I were shooting the breeze for a little while, and decided that as a way to bond, we should have a little workday get-together. Mind you, we wouldn't leave our desks, and we wouldn't stop working, but we would share a little something. And because I have a massive sweet tooth,  I volunteered to provide that little something. What that "little something" would be, was going to be a surprise of course; for them mostly, but for me as well. Even though I had quickly volunteered, I had no idea what to make at first. And really, when I set out to bake something, I hardly ever do.

I was surfing Tumblr the next morning when it came to me: Chocolate Chip Cookie Dough Cheesecake. It was like the Heavens had opened up, and placed it on my dashboard. And I looooove when that happens. When I have no idea what I'm doing, and then BAM! There it is. That sort of thing happens with other parts of my life as well: songwriting, books to read, and of course, what to watch on Netflix. So many choices, sometimes I need a little guidance.

So off I went to the store, ingredient list in hand, and the chill of Fall finally in the air, followed by a giant gust of cold wind, followed by me ever wondering why I would wish cold weather upon anyone. I ran into Roche Brothers and emerged 20 minutes later with all the fixins' to make me a cheesecake!

LOOK HOW MANY CHOCOLATE CHIPS THERE ARE. Ughh. It took everything I had not to eat every bit of this as I slowly rolled them into dough balls and placed them on a carefully parchment-papered cookie sheet. Side note: the cookie dough portion of this recipe is glorious in that, there are no eggs. And you know what that means: no salmonella! WHICH MEANS, you can make these cookie dough balls at a separate time, and place them into your classic vanilla ice cream! It's brilliant, and a great way to spice up a classic, but sometimes boring, ice cream flavor. Or, you know, you can just eat them as is. (There is no shame in that, believe me. I did it.)

FINALLY FINISHED and ready for the oven!

And after fully cooling, and taking all night to get its beauty rest...

DSCN0217

This little baby was born, and ready to be devoured.  Sadly, it cracked. But that did NOT stop it from being one of the tastiest treats ever produced in Sydney's Kitchen.

My workmates, who I'm pretty sure had forgotten about my promised treat, were throughly surprised and delighted. We each had a piece, rubbed our bellies because that is a LOT of sweetness on one plate, drank like, a gallon of water each, then went back for seconds.

Cheesecake is always a great way to cheer up a rather gloomy, windy, Thursday.

What You'll Need:

Cookie Dough:
  • ½ cup butter, softened
  • ½ cup sugar
  • ½ cup packed light brown sugar
  • 2 tablespoons milk
  • 2 teaspoons vanilla extract
  • 1 cup all-purpose flour
  • 1/4 teaspoon salt
  • 1 cup mini chocolate chips
  • Set aside an additional 1 cup mini chocolate chips to fold into the batter with the cookie dough balls
Crust:
  • 4 tablespoons butter, melted
  • 2 1/2 cups graham cracker crumbs or chocolate cookie crumbs (like Oreos) I used crushed up (I spent 20 minutes!) Nilla wafers! It gives it a little something extra!
Filling:
  • 4 (8-ounce) blocks cream cheese, softened to room temperature
  • 1 cup sugar
  • 4 large eggs
  • 1 teaspoon all-purpose flour
  • 1 teaspoon vanilla
  • 1 cup sour cream
For the recipe, click here!
HAPPY BAKING!!
singature gray

Cakeland Adventures Continued

DSCN0196 This weekend I decided that I wanted to make a cake.

In my life, I've only made two cakes, whether it be alone, or with a little help. And I have to say it: this is no easy feat, is it? Making a cake is a lot of work, but it's incredibly rewarding (And obviously delicious) in the end, and that makes it all worth it.

Let me first start off by saying that I went all over Boston (Okay, just to Macy's) to find the proper tools for this cake. While I've got buttercream frosting on lock, I didn't have an icing spatula. And while I have plates to serve the cake on, I had no cake stand. These are both very essential to proper cake making. In two years, I want people to come to me asking for me to make them a cake. I HAVE A LONG WAY TO GO, but practice makes perfect, no?

So with my nine-inch cake pans in place, my favorite apron on, and about a million ingredients littering the counters, I set to work on a two-layer, vanilla with buttercream frosting cake. Four hours later (There was a lot of checking, then double-checking, then triple-checking the recipe to make sure I was doing it right. Then I had to wait for the unusually hard unsalted butter to soften)  I had my two-layer cake, and a countertop, and arm, covered in buttercream frosting. But HEY, I made myself a cake, and I'm proud.

DSCN0197

Ahem. Couple things: this isn't the prettiest cake in the world. I know this, I said this several times to my roommate after I set in on the table. BUT IT WAS DELICIOUS.  This was my first time using cake flour instead of all purpose, and I must say, the consistency is interesting! it's a bit lighter, and I like it. I still prefer AP flour, but I like it enough for this cake.

In case you can't tell (icing gel from Betty Crocker is THE. WORST. I had these neat designs in mind for the cake, but couldn't snip the top off the tube like it suggested. After probably a good five minutes of snipping that top, I got a little frustrated and cut off the entire bottom, then filled a squeeze bottle we have for icing. There wasn't enough gel from the tube to fill the squeeze bottle, so I had to change up everything. Bottom line: be careful buying Icing gel from Betty Crocker) I wrote "One" on my cake. This is try number one. And there will be many more tries in the future, and they'll all be documented here.

At the end of the day, I'm still learning. Baking makes me happy. It's something that I love to do, and it's gotten me a few friends along the way. But I'm still learning, and I'll continue to learn until I can't anymore. And that's what DaintyDwellings is about for me. It's about always learning, always trying to better a craft, always trying to learn more about the things I'm passionate about, always trying to build a community with bloggers trying to do the same thing. I want to be the best, so I have to learn from the best.

And I've still got a lot to learn, so keep those challenges coming.

Night, Dwellers!

singature gray


Baby, We're Rollin' (in Dough)

Doughnut circle

I made doughnuts.

That's it. My life is forever changed.

And these weren't just ANY doughnuts, my friends. Oh no. These were...are you ready for this?

You sure?

ARE YOU SURE YOU'RE READY FOR THIS?

Okay, okay, sorry. I get a little too dramatic in the mornings.

 BAKED. PUMPKIN. CAKE. DOUGHNUTS.

Yes.

I took a  trip to Target about a month ago, and was perusing the home section when I came across a Nordic Non-Stick Doughnut Pan for a low, low price. Being one to never pass up a good deal, I threw it in the cart without even the slightest bit of hesitation.

Also, can we just take a moment to talk about the magic that is Target itself? Has anyone honestly ever gone in there thinking, "I'm just going in to get ______, then I'm out of there!"? No. Never. It's impossible. At Target, you have the semi-freedom to shop with abandon...You always learn your lesson when you get to the register of course, but by then it's too late, and you've already figured out a place for your new items in respective rooms in your home. I love it there, and Boston's about to get one a LOT closer to home! And you know where I'll be opening day.

Let's move on!

on the road to doughnuts

The recipe itself was amazingly simple. Honestly, all I did was throw a few things in the bowl. And for tools? Bowl, spoon, whisk, measuring cups, doughnut pan. That's it. I'm sure all you bakers out there can agree that sometimes the simpler the recipe, the less cleanup, the happier EVERYONE IS. We all like to dabble in complicated masterpieces, but on occasion, it's just nicer to take it easy in the kitchen. Especially in the summer, especially after all this heat.

I think I spent a total of 30 minutes preparing the mixture, then scooped it into the pan using my handy dandy 1/4 cup ice cream scoop, set the oven to about 17 minutes, and it was done!

doughnuts on display

Dunkin' Donuts, you eat your heart out. Then, you can come over for doughnuts.

What You'll Need:

Doughnuts:

  • 1/2 cup vegetable oil
  • 3 large eggs
  • 1 1/2 cups granulated sugar
  • 1 1/2 cups pumpkin purée (canned pumpkin)
  • 1 1/2 teaspoons pumpkin pie spice, or 3/4 teaspoon ground cinnamon plus heaping 1/4 teaspoon each ground nutmeg and ground ginger
  • 1 1/2 teaspoons salt
  • 1 1/2 teaspoons baking powder
  • 1 3/4 cups + 2 tablespoons  Unbleached Flour

Coating:

  • 3 tablespoons cinnamon-sugar mixture

Get the recipe here!

Happy baking!

singature gray