Happy Thanksgiving!

You guys. You guys. I've been up since before the sun came up, hunched over lightly floured services cutting holes out of dough, peeling so many apples that my fingers became prunes, and definitely accidentally licking the bitter white part of a lemon while trying to sneak some of the juice on the sly. But you know what they say: No pain, no pie...

...That's how that saying goes, right?

I'm so tired.

Despite the increase in yawning this afternoon, I'm feeling GREAT. Thanksgiving pies are FINISHED, cooling, and getting ready to be wrapped up tight for maximum Turkey Day freshness. Also, I'm one step closer to achieving my goal of being Pie Queen of the Midwest. I think I've finally, FINALLY mastered pie dough, and everything's coming up Sydney today.


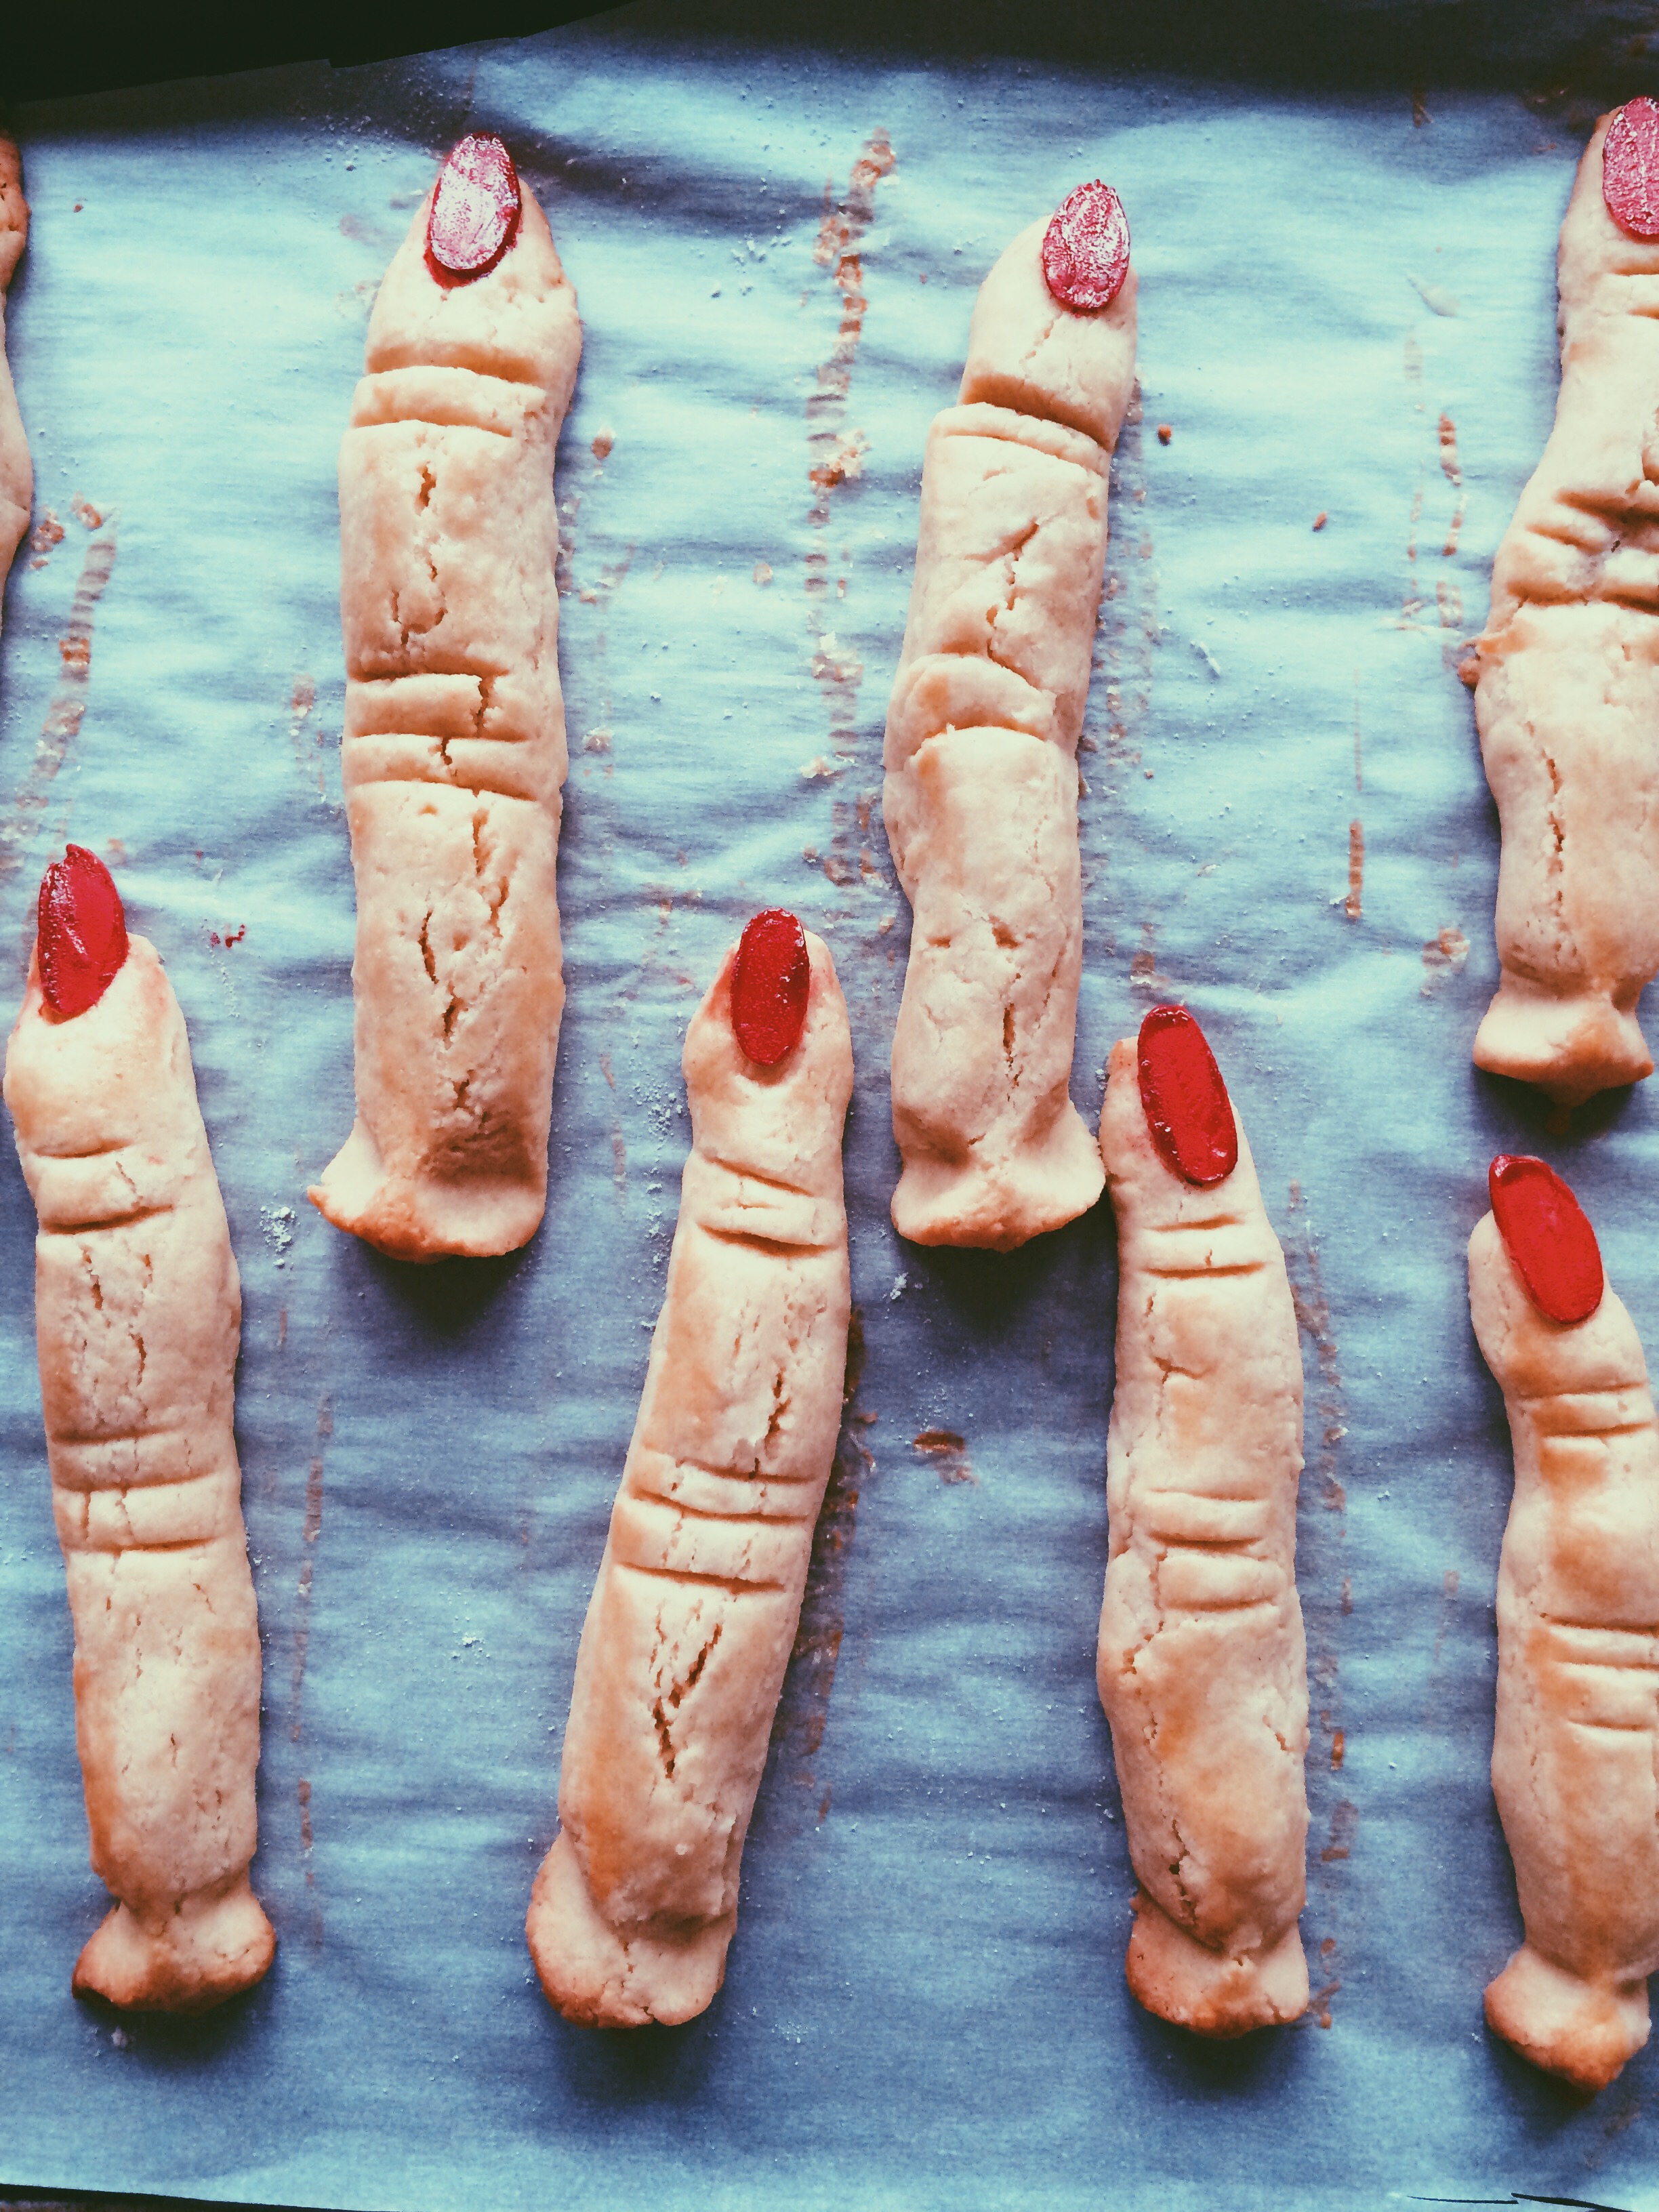
I was really inspired by this video and decided to try out making a few freehand designs for my pie vents. AND I got to use some of my extra dough to make some freehand leaves! They're very easy to make, and I think it adds a little something. If nothing else, the leaves remind you that this pie is a celebration of the Harvest Season.  If you're wondering what kind of pie this is, it's the Double Apple-Pear Pie, with about 1 and 1/2 teaspoons finely chopped thyme. Adding herbs gives it some sophistication, and I'm REALLY excited to taste it. THANKSGIVING NEEDS TO GET HERE FASTER!!

I hope you have the BEST THANKSGIVING that has ever Thanksgiving'd.

It's nap time.

Last-Minute Halloween: Easy Lady Fingers

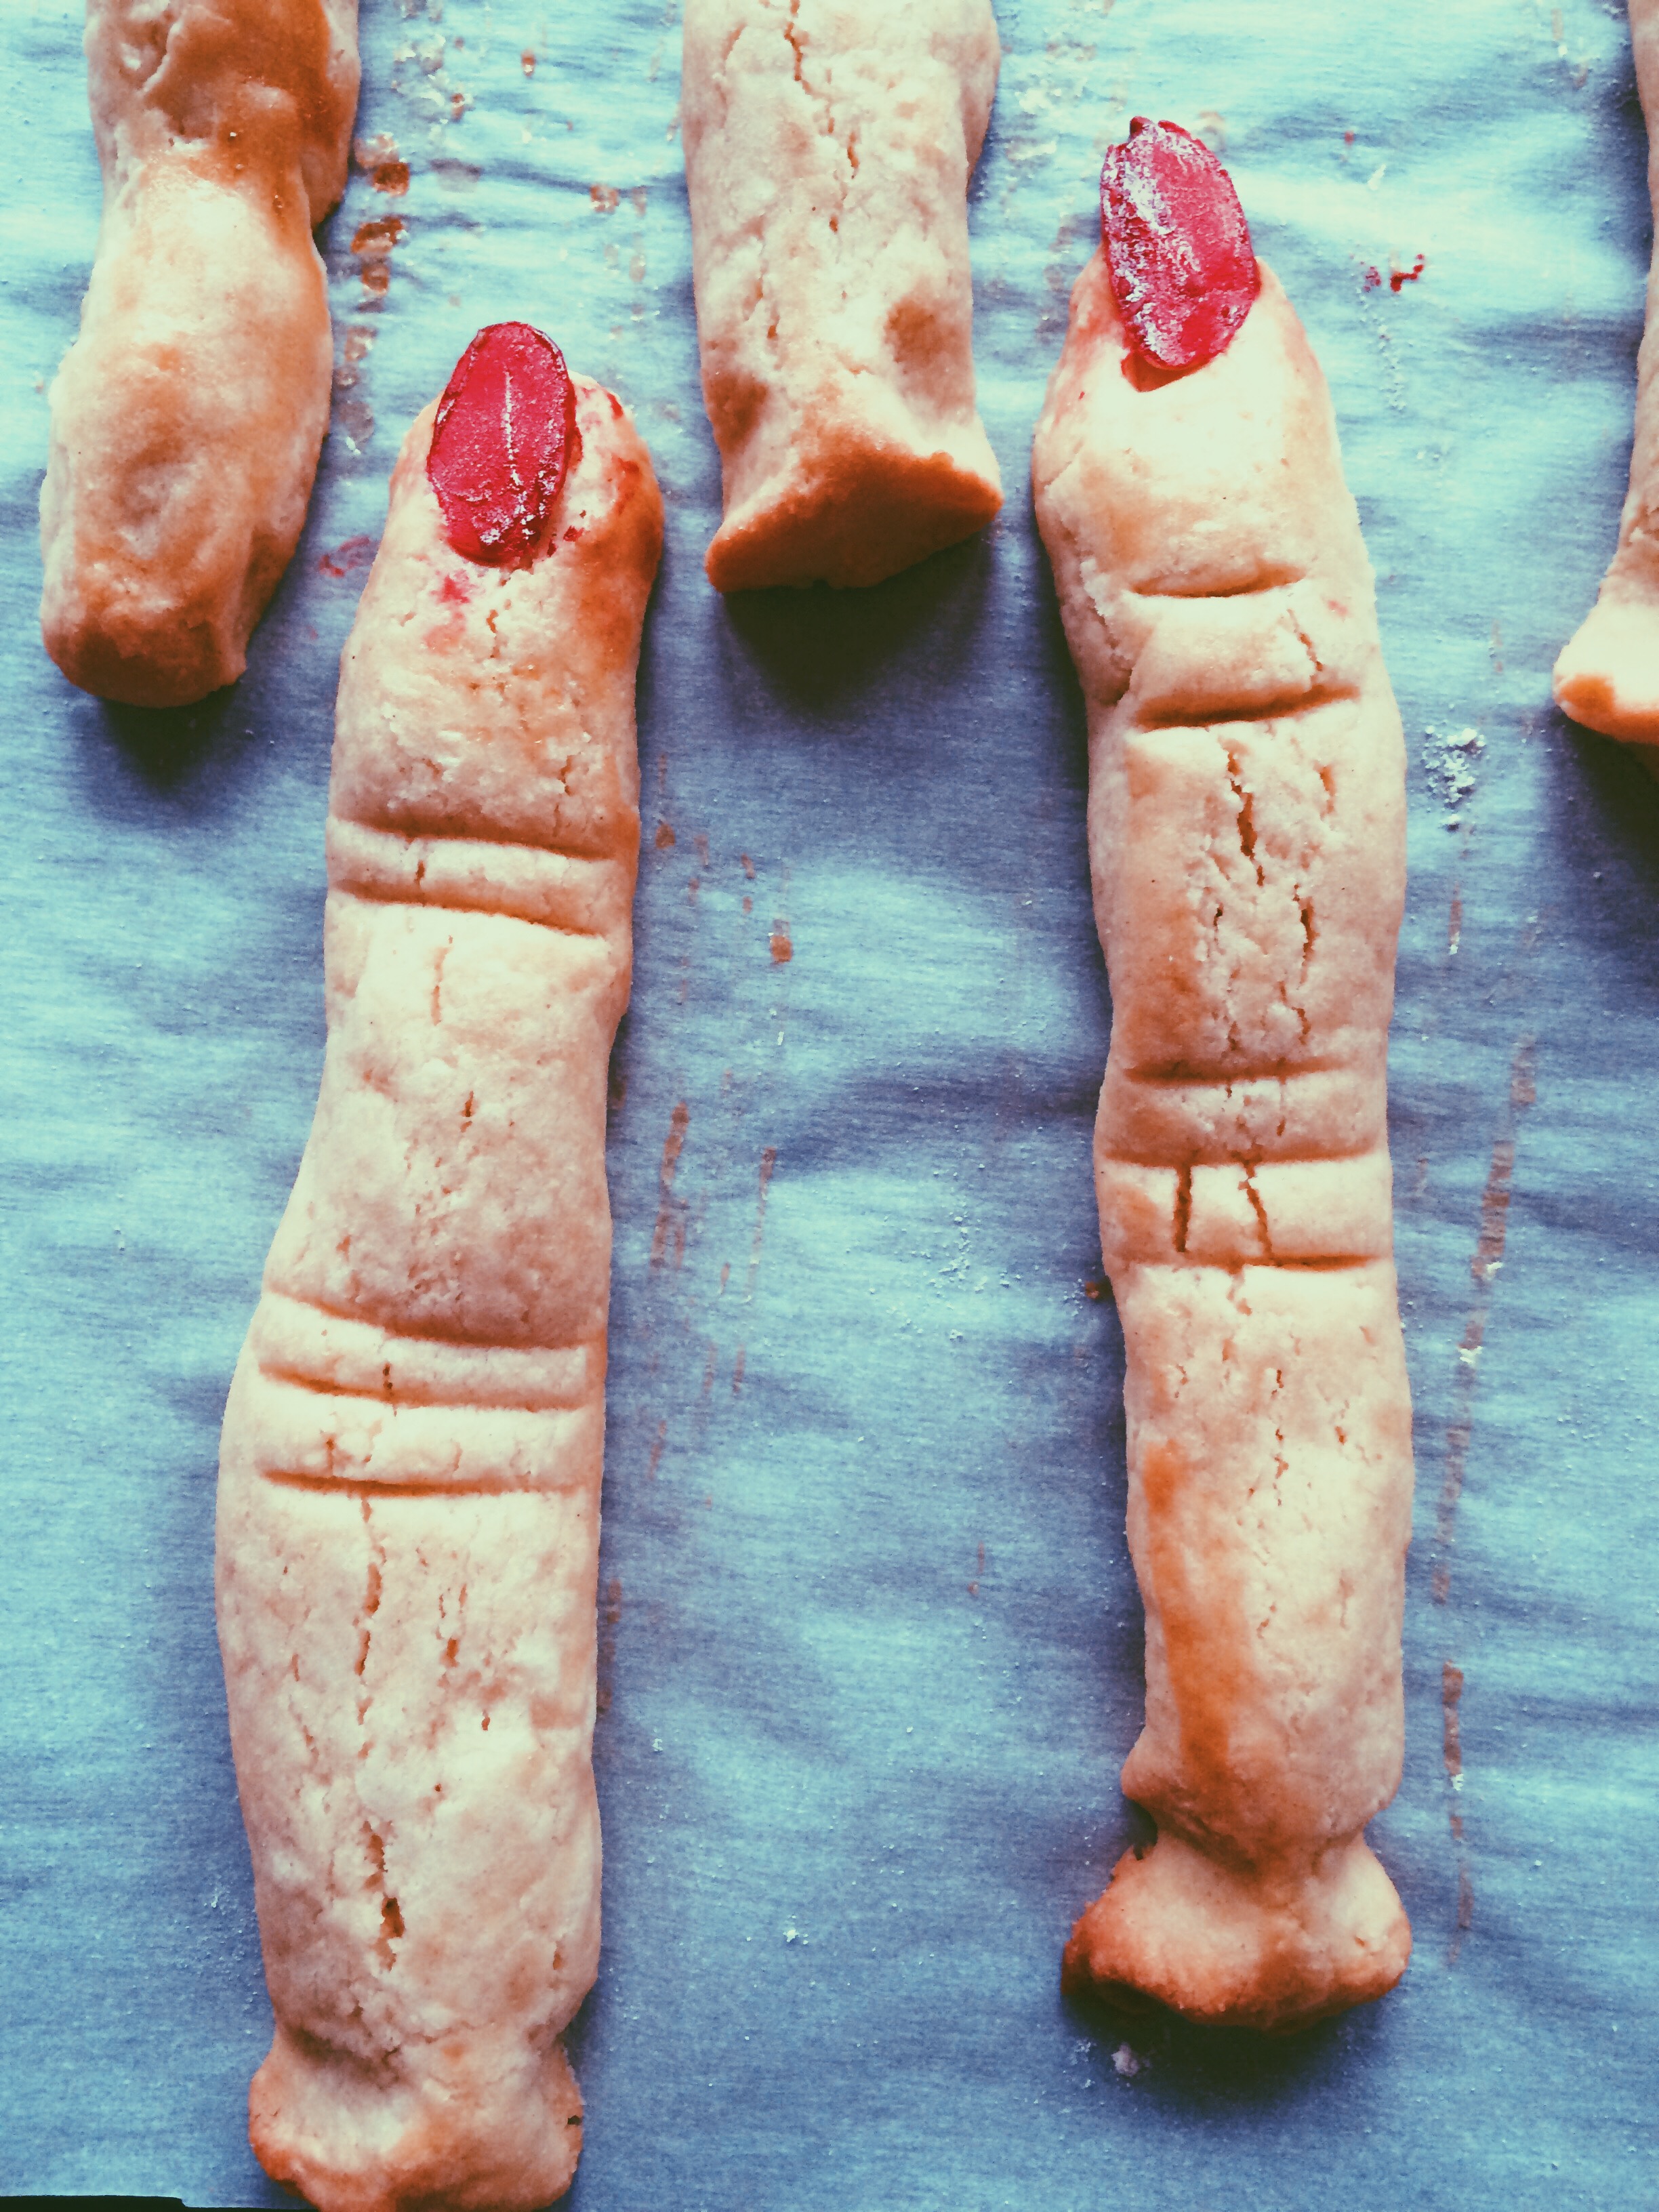
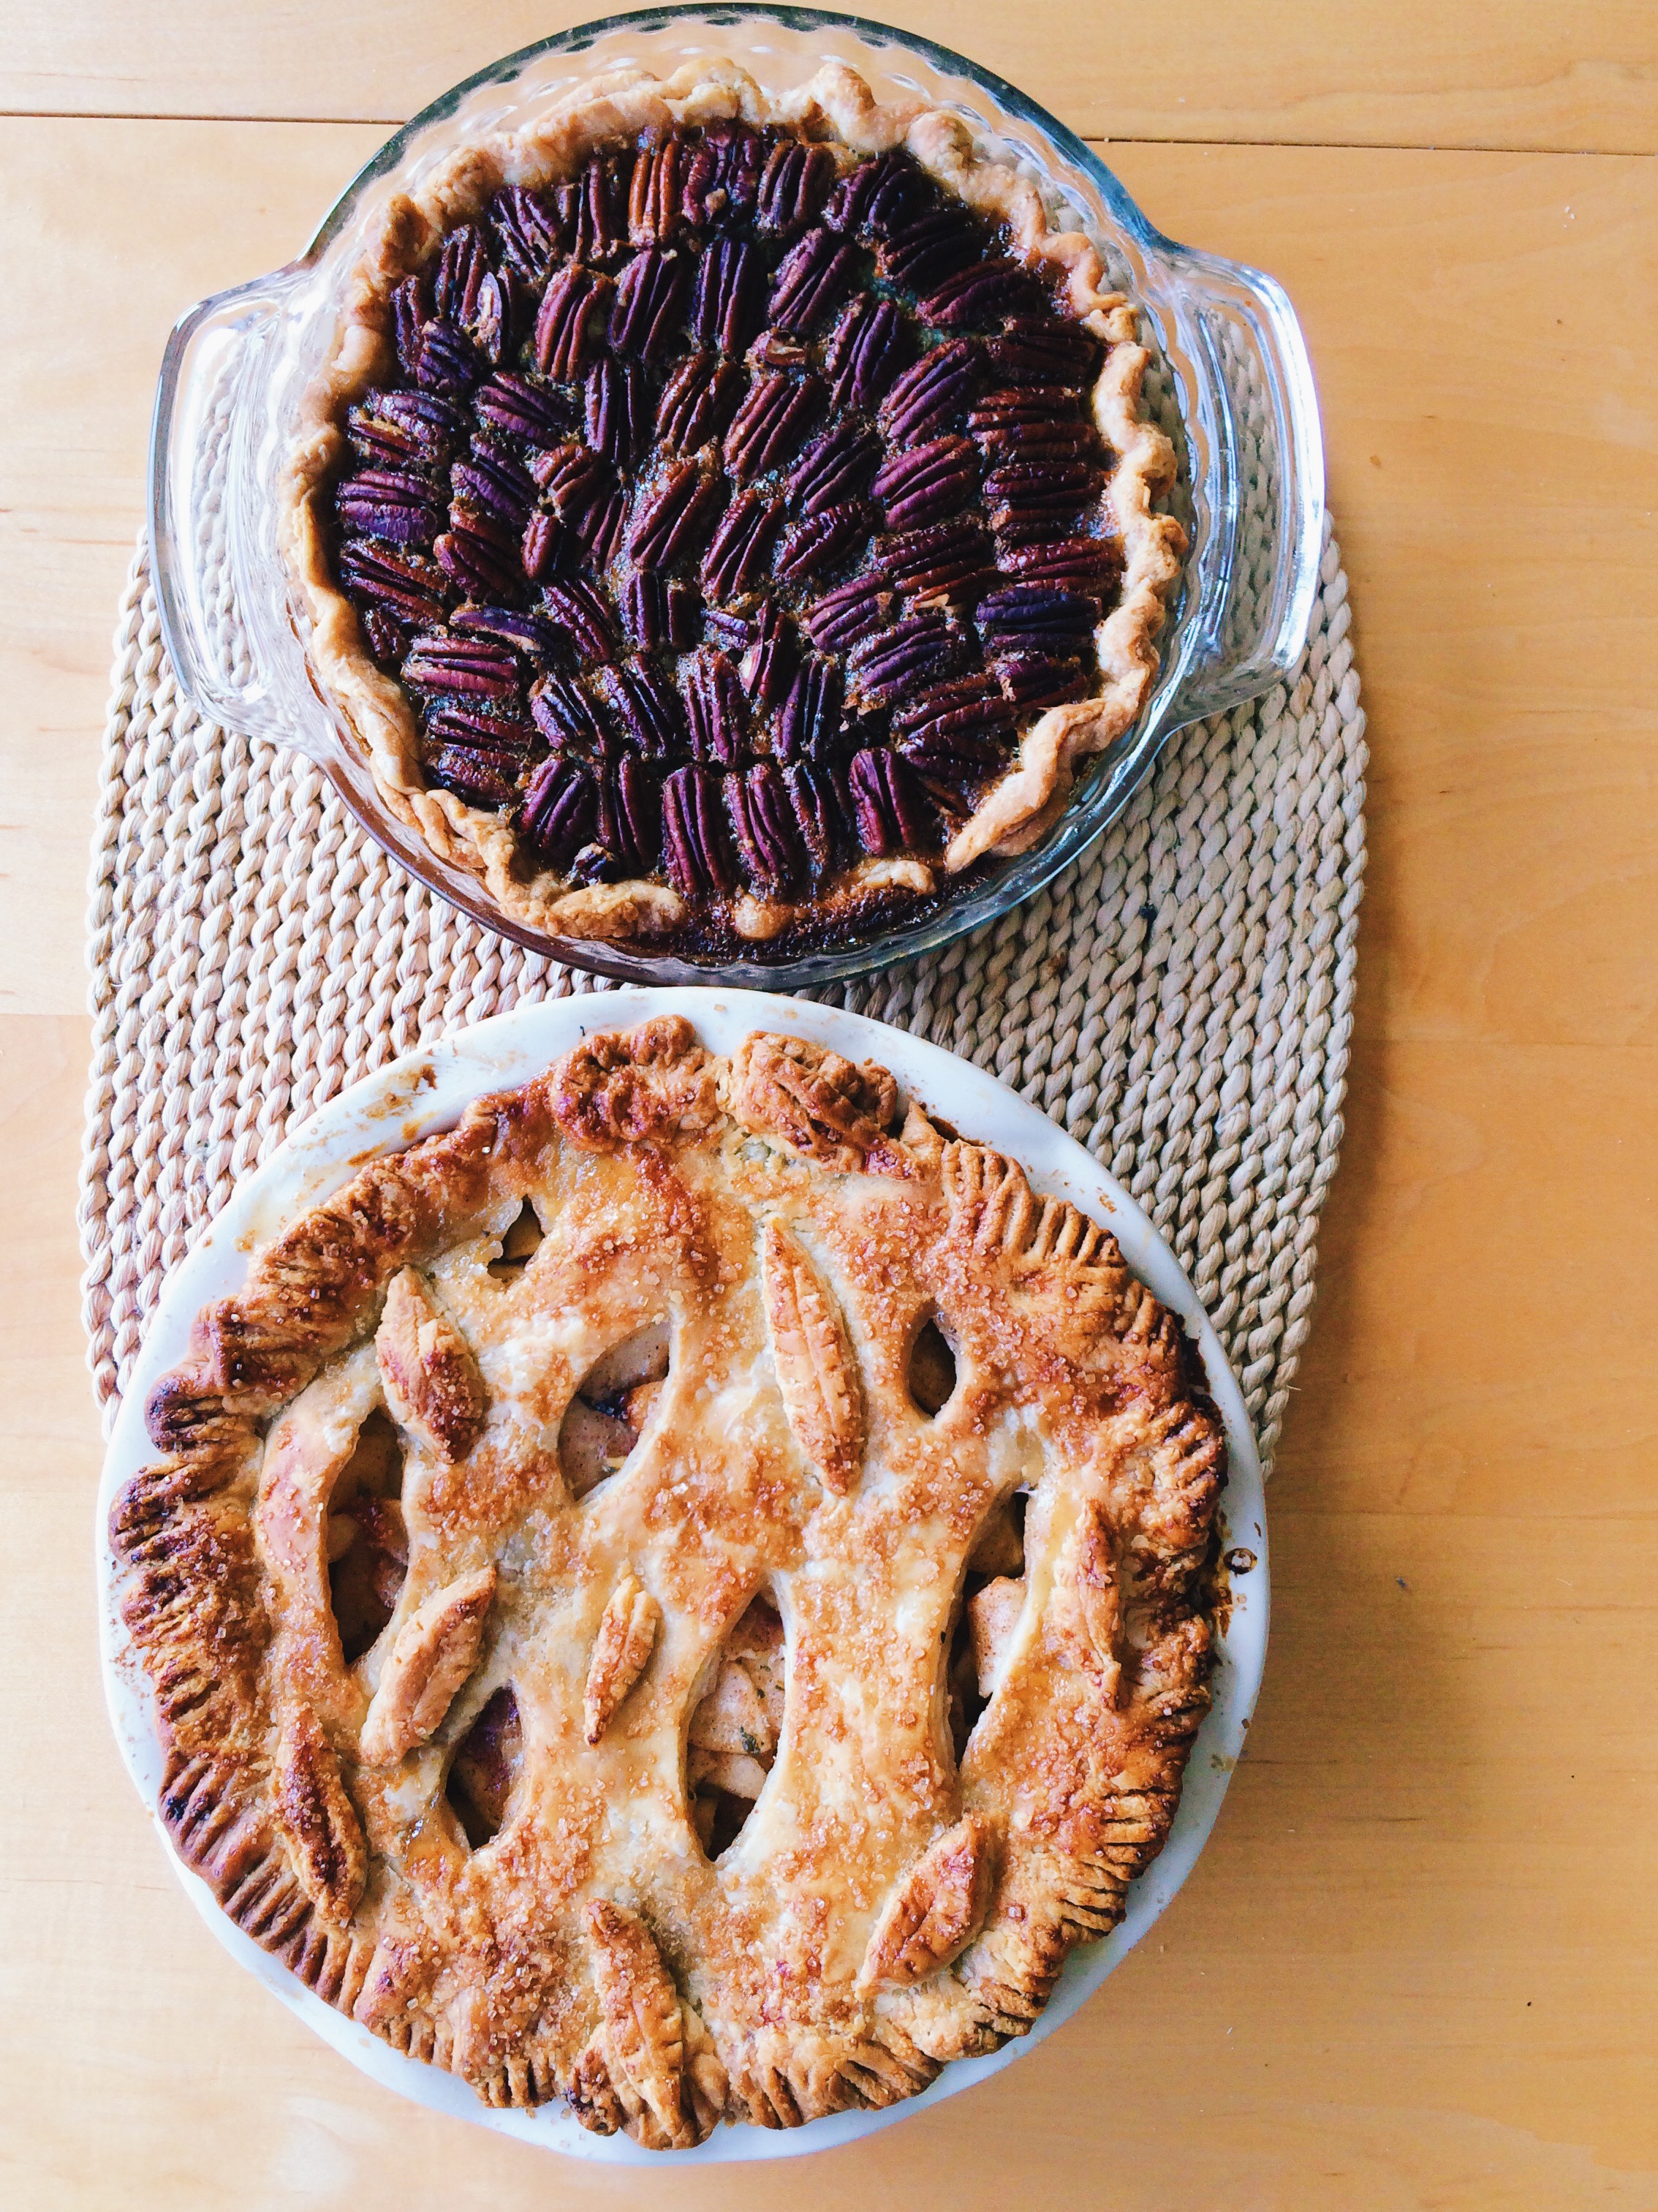
If you're trying to be kind of festive, but find yourself running out of time this Hallow's Eve, you should TOTALLY make some lady fingys. It's SUPER EASY: Just a basic sugar cookie recipe, a little food coloring, a paint brush, and some slivered almonds, and you're done!

The movie marathon is starting in a few hours (I may be the only one that watches, but so be it), and I refused to celebrate one of the best holidays without at least SOMETHING kind of creepy and festive. And I love cookies. So here we are.

What's super great about these (besides how simple they are to make) is that you really can't mess up. Halloween isn't about being perfect, in fact, the more imperfect the better! When you're rolling out your fingers, it's up to you how you want them to look. Do you want them to be bent and out of shape with brownish-yellow nails, or perfectly manicured with your favorite color like you've just brought them home from the salon? It's totally up to you. Go all out!

Since I made these for my family, I figured I should keep things kind of tame (I've seen examples of lady fingers where the ends have been dipped in raspberry jelly to look like they'd just been severed off the hand!), but next year? Next year we're upping the ante.

Until then, this is the perfect last-minute Halloween project for you and your friends, served however you'd like. Maybe all in a bowl? Or, you can be like me, and use it as a prop to point to things I want, but am too lazy to get myself. It's whatever you choose!

HAPPY HALLOWEEN, GUYS!! Be safe. Make sure all the kids that come to your door know how adorable they look, because they always do.
 

LADY FINGERS 

What You'll Need:

  • Food-safe paintbrush
  • 1-2 tablespoons red food coloring (or your favorite color, OR leave them plain)
  • 30 blanched almond slivers
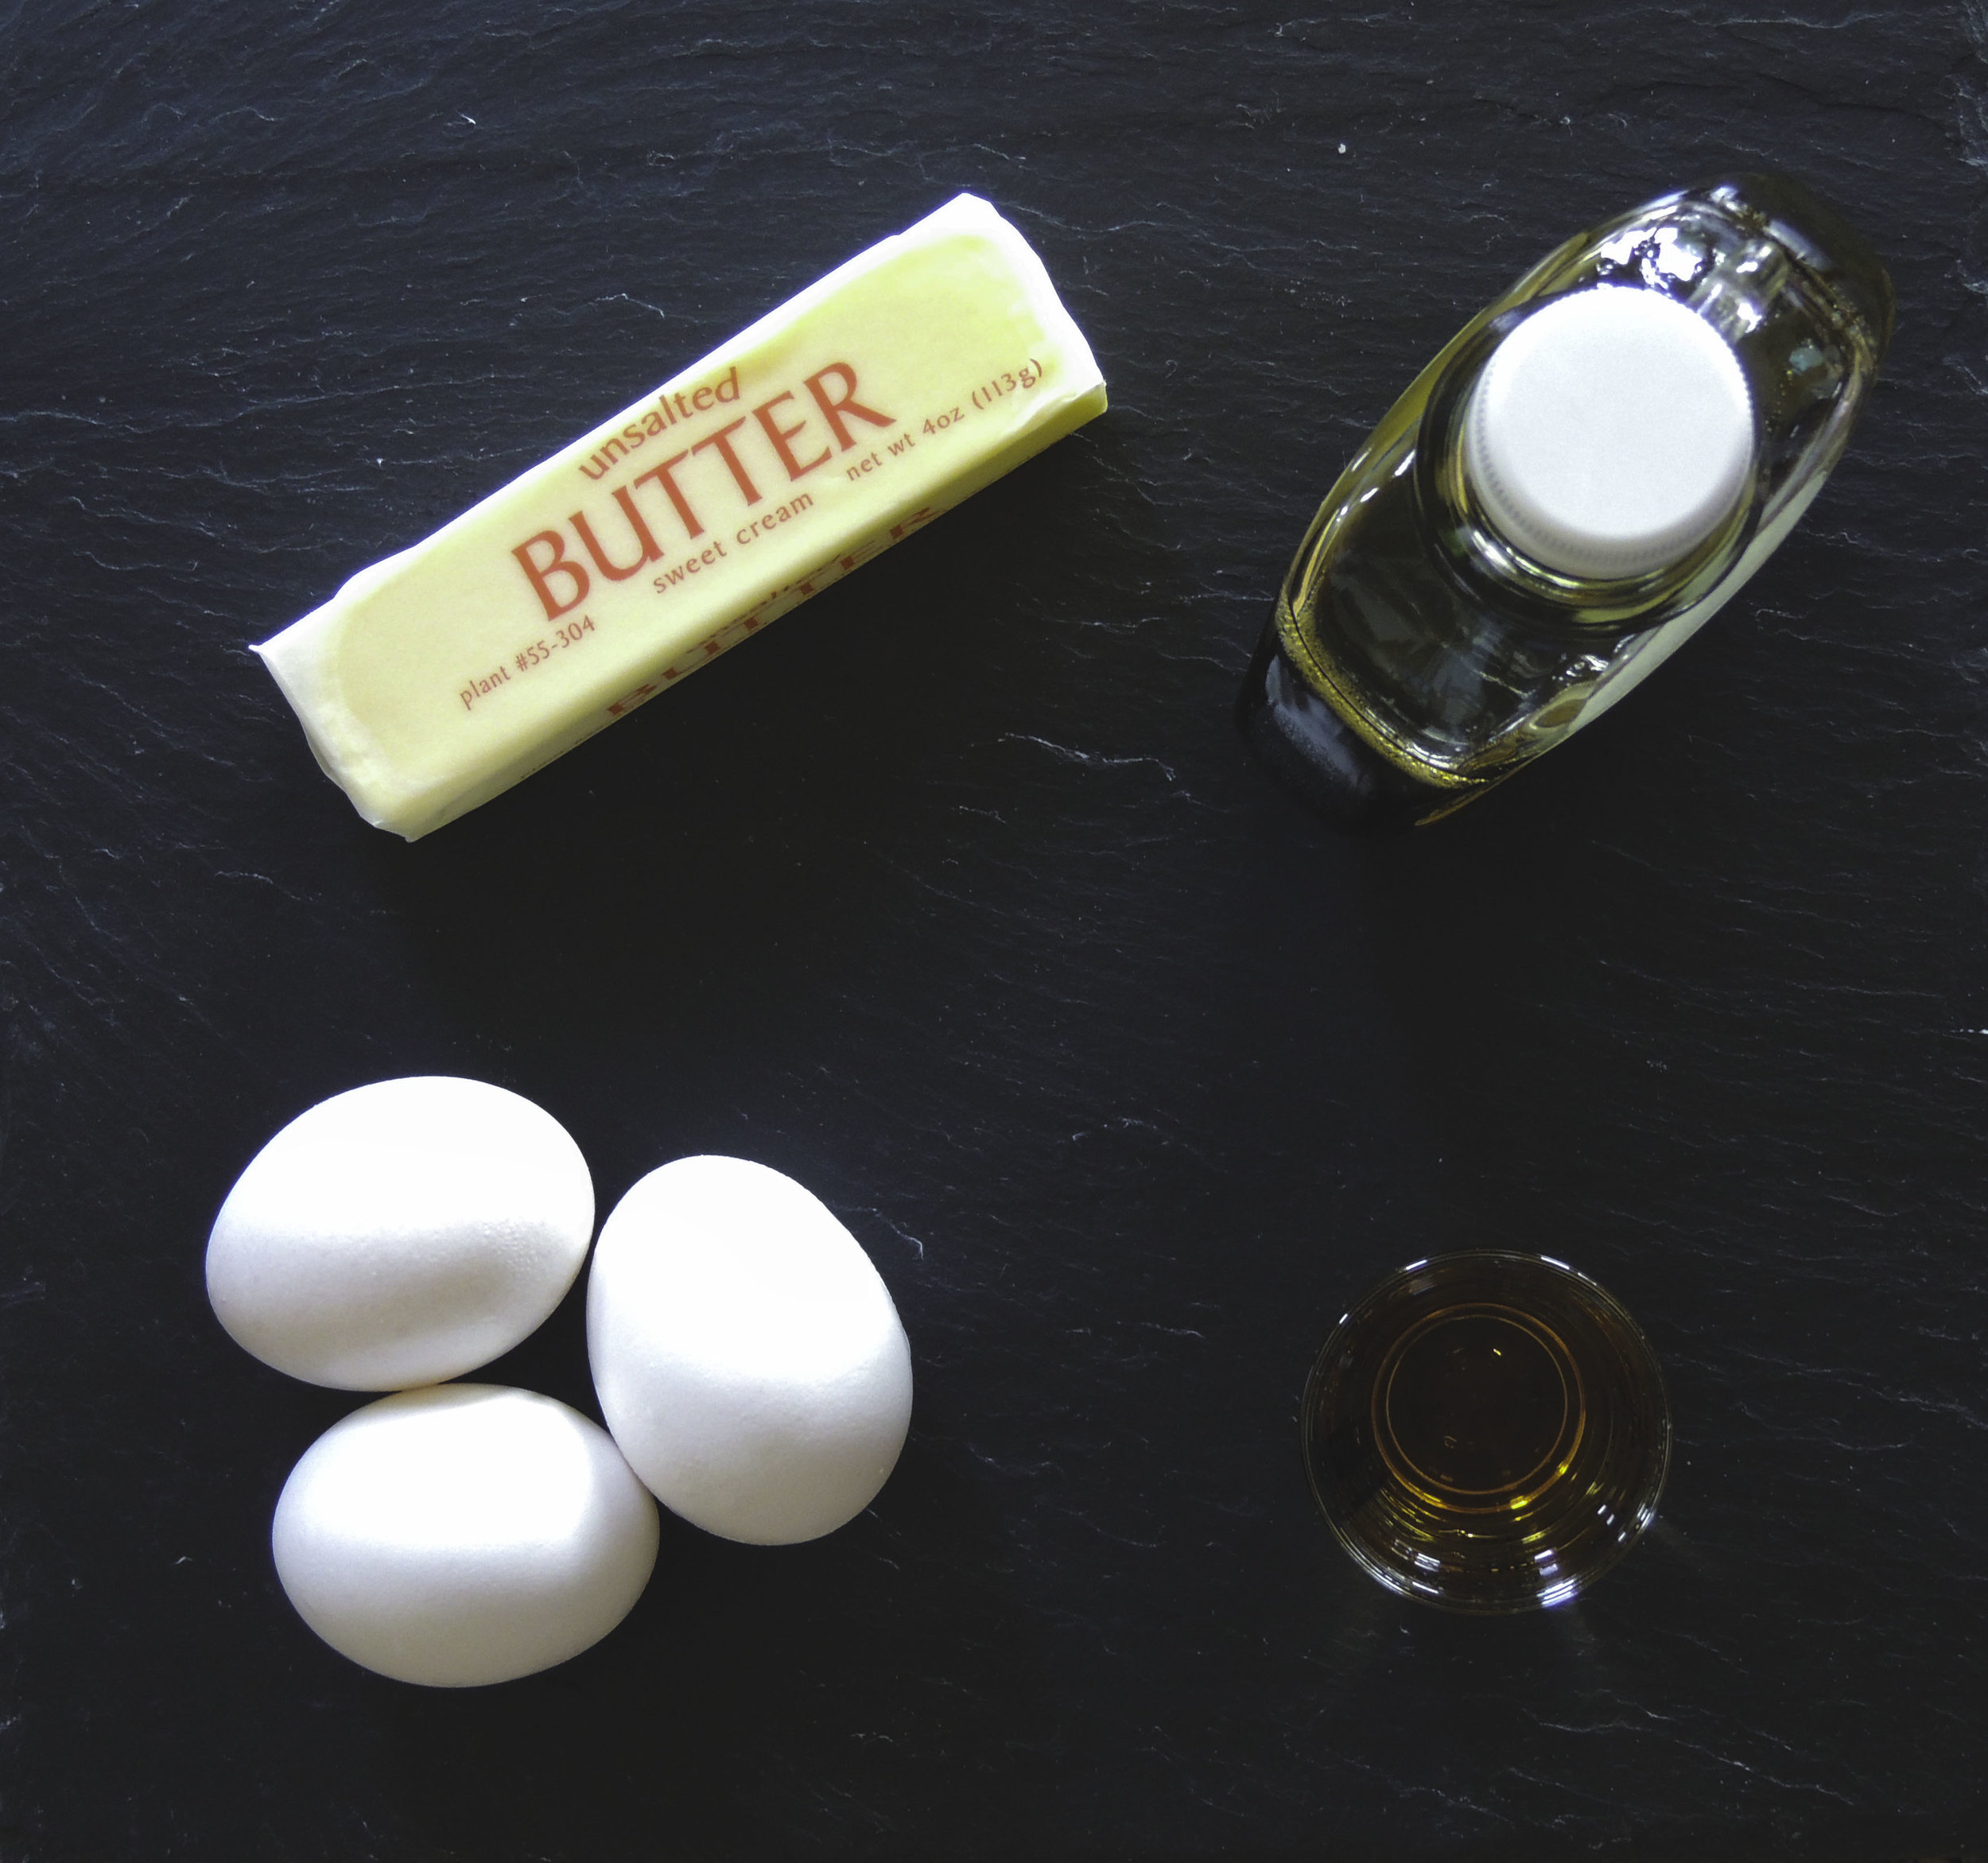
  • 2 large eggs, at room temperature
  • 1/2 teaspoon vanilla extract
  • 1 stick unsalted butter, at room temperature
  • 1/2 cup confectioners' sugar
  • 5 tablespoons granulated sugar
  • Pinch of salt
  • 1 2/3 cups all-purpose flour

DIRECTIONS

Place food coloring in a small bowl, and, using a small food-safe paintbrush, color one side of each almond. Set aside on a sheet of wax paper to dry.

Separate one egg. Set the egg white in the fridge; we'll need it later. In a small bowl, whisk together the yolk, remaining egg, and vanilla extract until well combined. Set aside.

In the bowl of a stand mixer fitted with the paddle attachment (or using a hand mixer, or a wooden spoon), combine the butter, both sugars, and salt. Beat on medium speed until well combined. Next, add the egg mixture and mix until well combined and smooth, about 2-3 minutes. Add the flour, then mix on low speed until JUST combined.

Wrap the dough in plastic wrap, then chill in the fridge for 25-30 minutes to firm up.

While the dough is chilling, preheat the oven to 350 degrees F, and line two cookie sheets with parchment paper.

Once your dough has chilled, divide the dough in half, working with one half at a time. Keep the remaining half in the fridge wrapped in plastic wrap until you're ready to use it. Lightly flour your work station.

Using a knife or bench scraper, divide the first half into 15 pieces. Roll each piece back and forth with your palms into a finger shape (whether they be really thin fingers, or really short fingers, or really craggily fingers, it's up to you!), about 3-4 inches long. Pinch the dough in two places on one end to create knuckles. Lightly score each finger with the back of the knife to create the natural lines we have in our fingers. Push down on the nail bed LIGHTLY to make it easier to attach the fingernails later. Transfer fingers to the cookie sheets, and repeat the process with the other half of dough. (Note: Make sure to work kind of quickly when making the fingers because the dough warms up really fast, making it harder to work with!)

Once all of your fingers have been formed, brush the egg white from earlier lightly over each finger to create a light browning once they're in the oven. Position each almond nail, then push down to attach (Be careful not to push to0 hard so you don't a. chip a nail or b. misshape the finger). If you find that the nail isn't attaching, add a little more egg white to the area to create a sort of glue.

Bake in the oven until slightly browned, about 10-12 minutes. Let cool completely.

Enjoy!

SOURCE: Adapted from Martha Stewart 
Vanilla Bean Cake Doughnuts

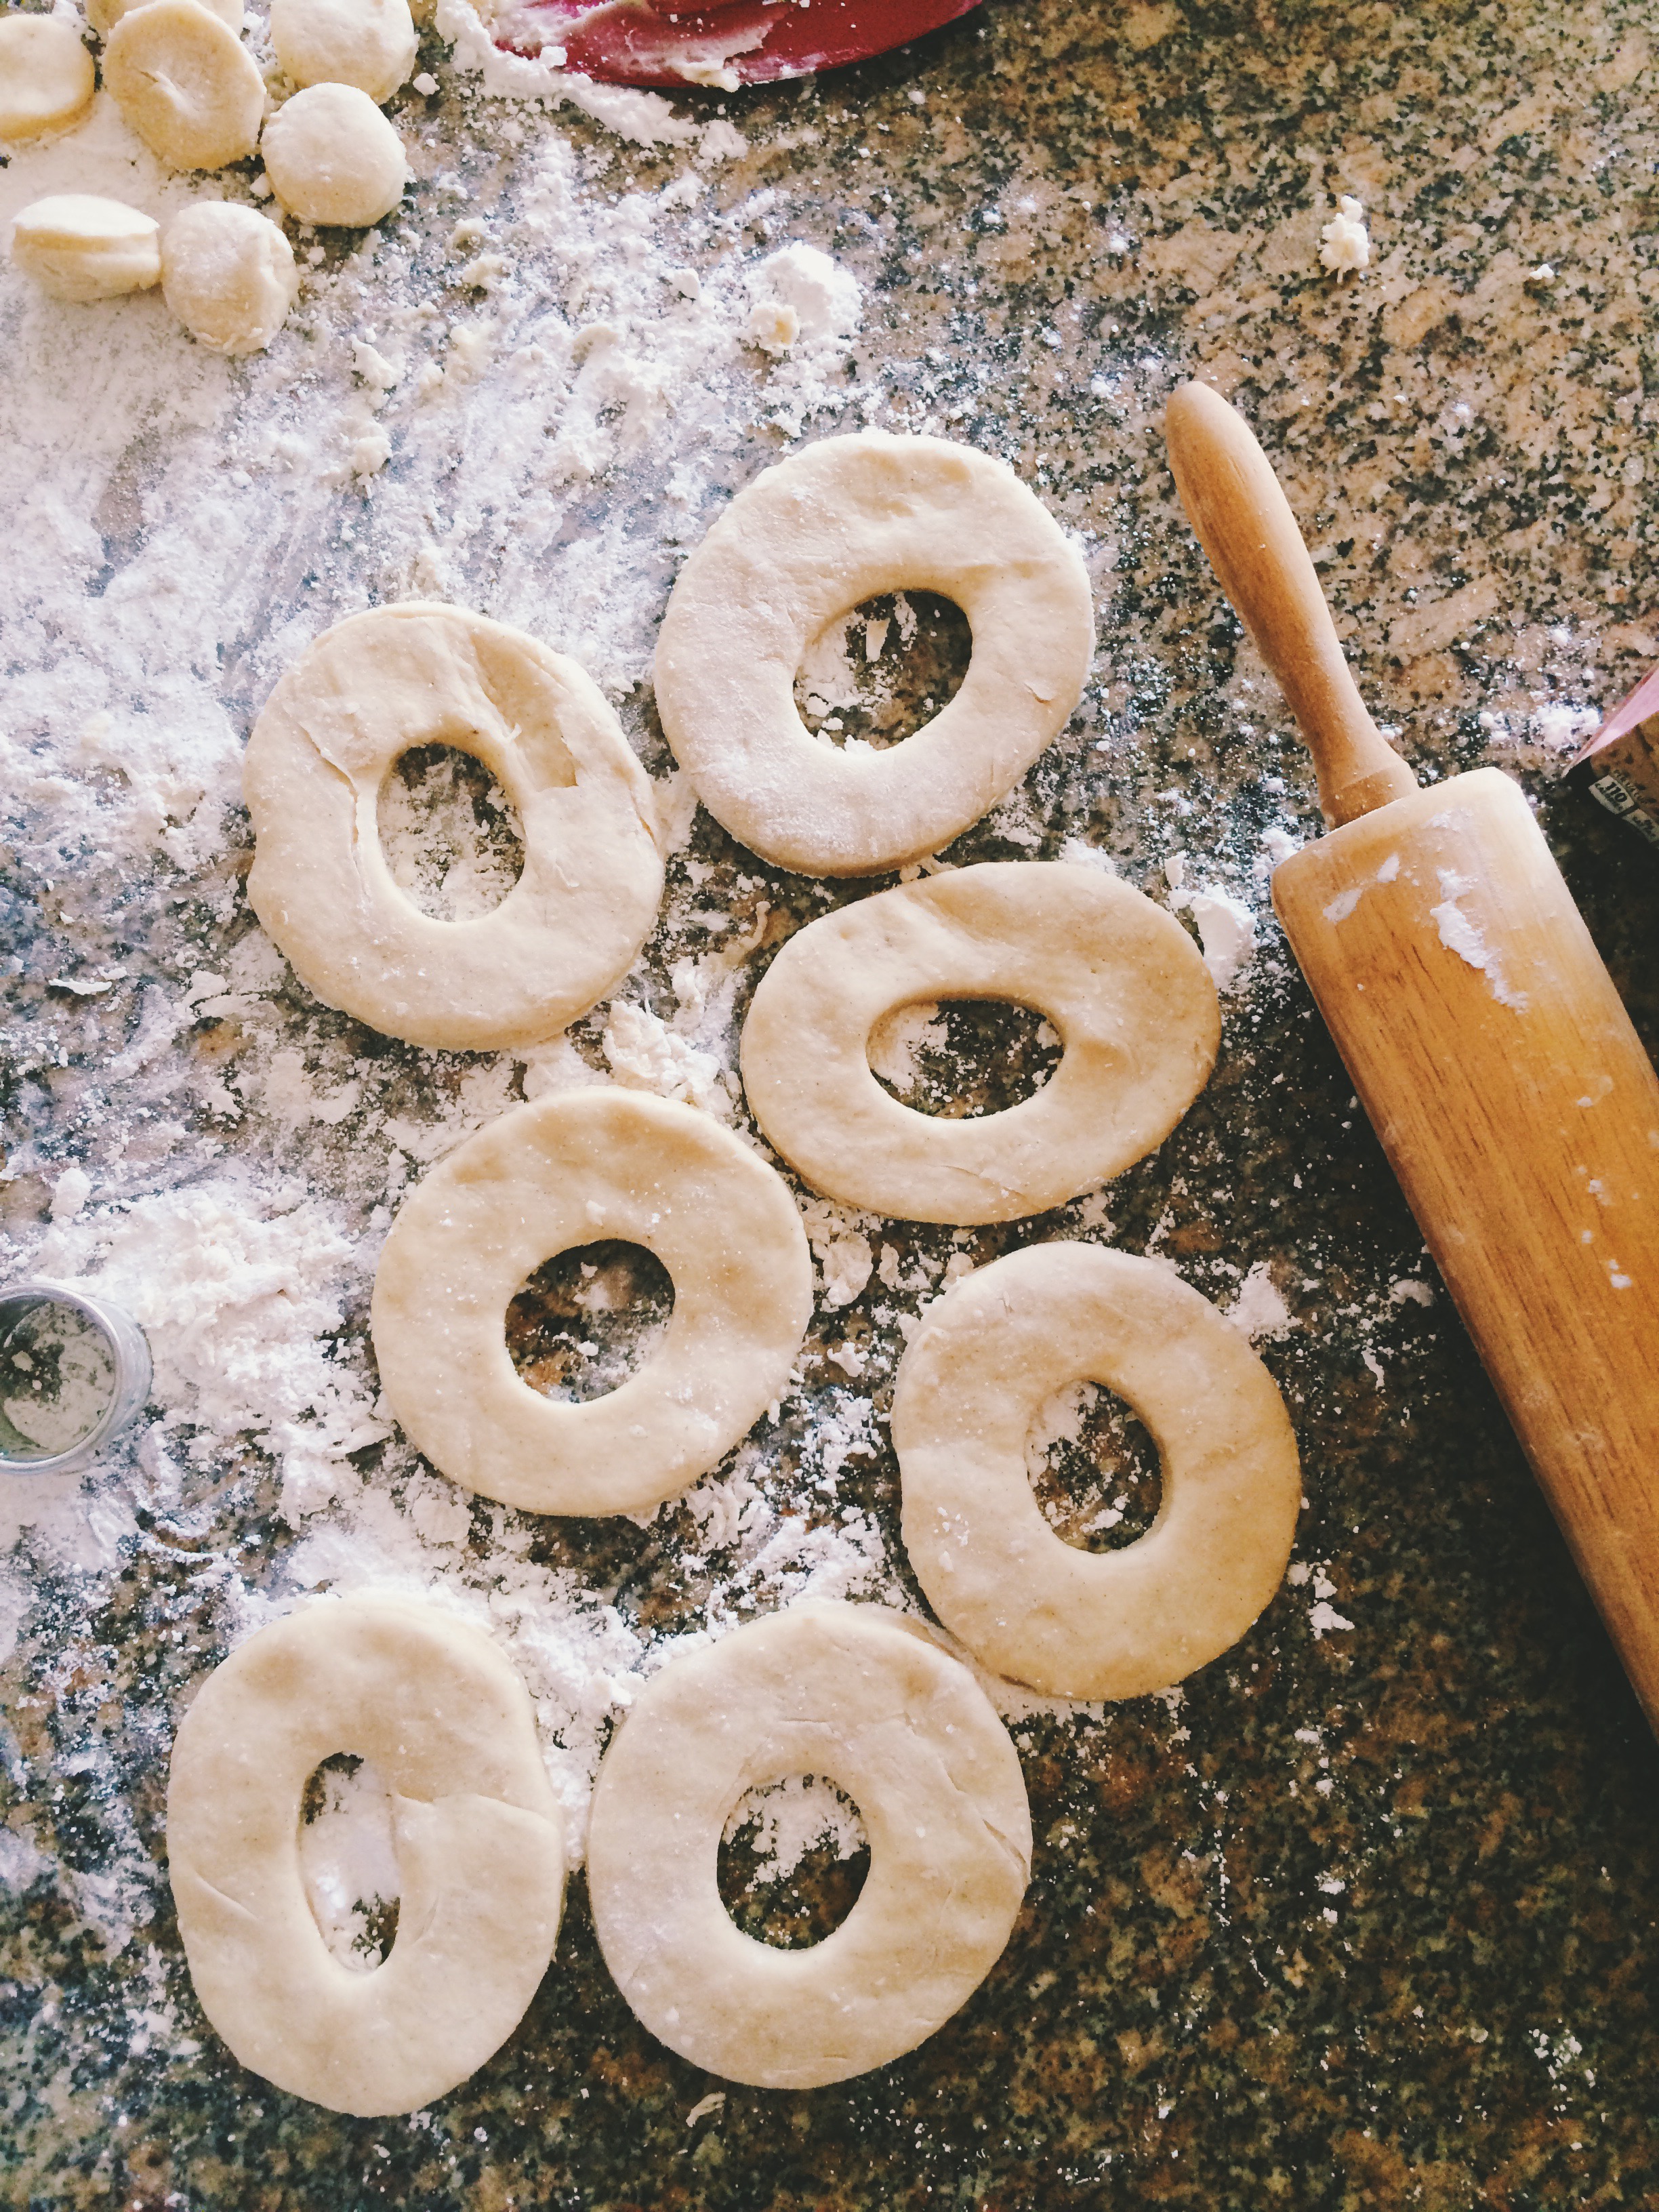
You know what's hard to make? Doughnuts. Seriously, I have so much more respect for the contestants on Donut Showdown now that I've tried it at home. And they're under time constraints! Dough is sticky, flour goes everywhere, oil is HOT, and finding the perfect glaze consistency takes practice. It all takes practice. Is it worth it in the end? You bet. My life was filled with homemade fried dough for several days, and that's all a girl could want.

I've been thinking. I really want my life to look like that scene in Marie Antoinette where all the women do is sit around playing cards, drinking champagne out of coupe glasses, gorging themselves on the most beautiful, fresh-fresh-fresh pastries and candies you've ever seen. And they're doing all this while wearing three pounds' worth of silk, tulle, and ruffles. Oh, and mile-high hair. I've always been a fan of big hair. Ask my beautician. And when I would say "Let them eat cake," no one would be upset with me because I would then immediately follow it up with actual cake. I'd be the most beloved queen in all the land.

Truth be told, it'll be quite some time before I'm Versailles-level good at making doughnuts and other beautifully complicated pastries. I will say though, that for only my second time frying dough in the kitchen, things didn't turn out badly at all. There could've been a little less rolling and re-rolling involved in the dough-cutting stage.. Oh, and I'm still working on my fear of hot oil, but baby steps. Rome wasn't built in a day (and while we're on the topic of Rome, neither is good pizza).

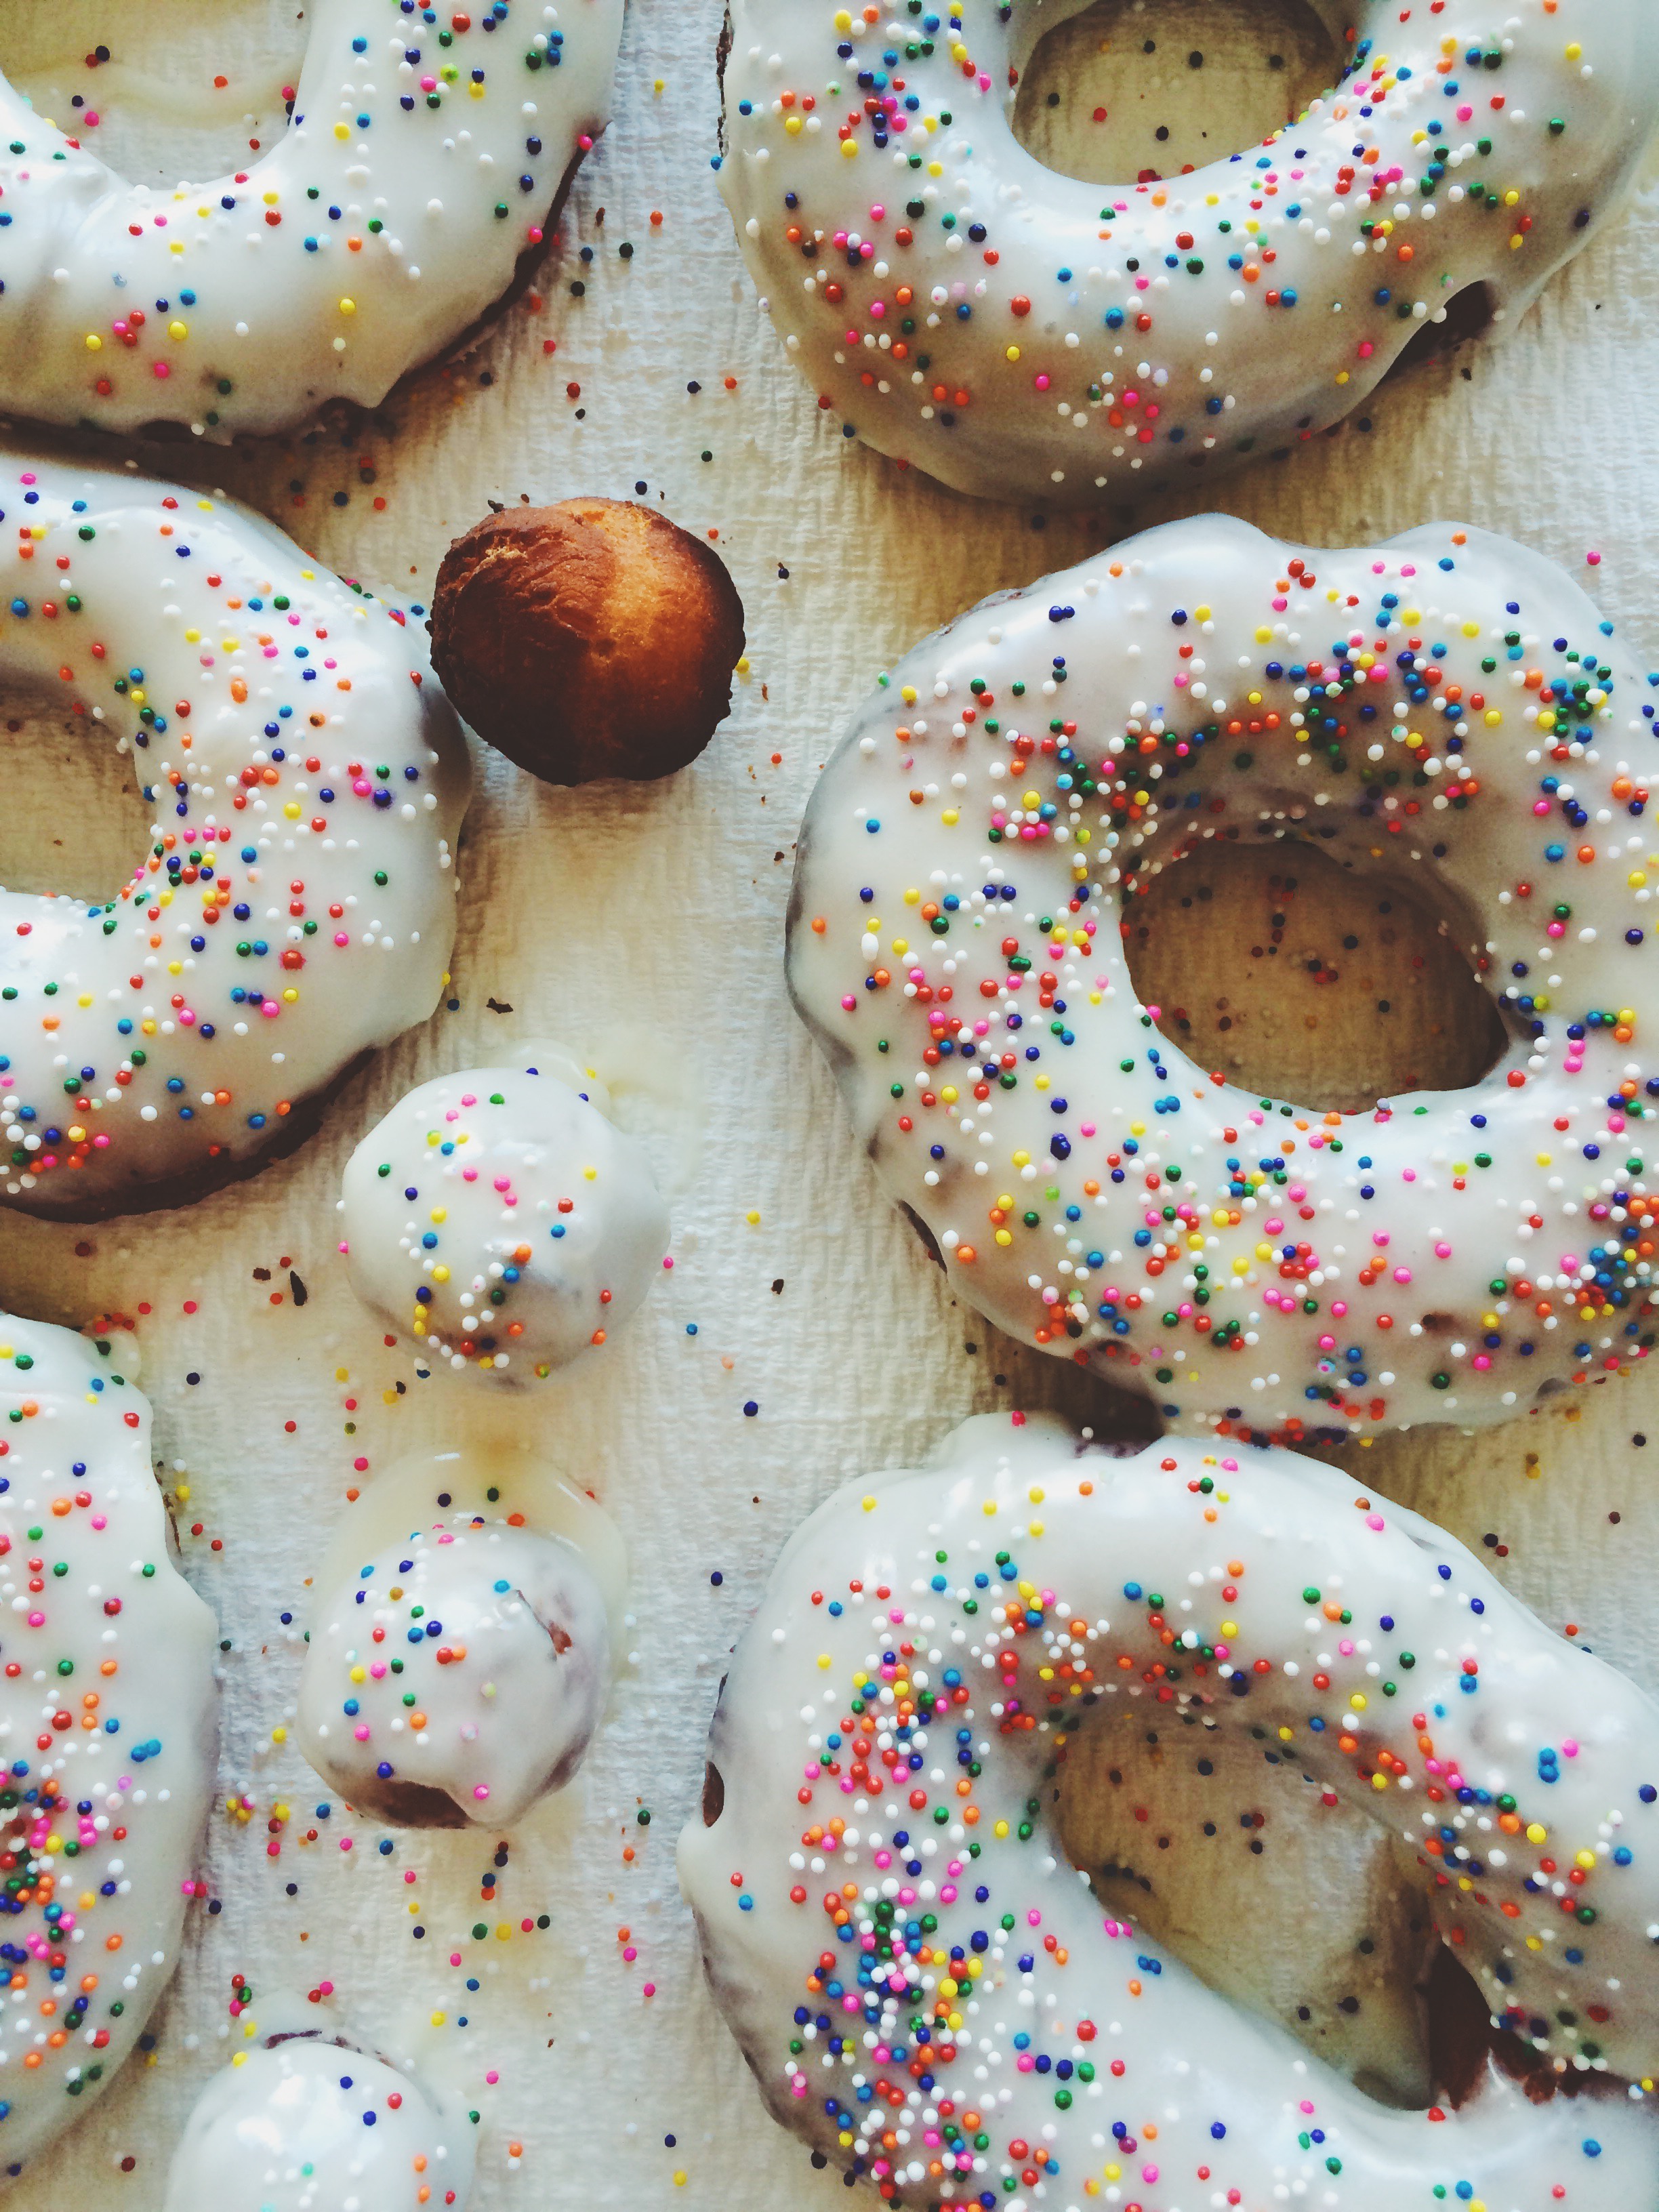
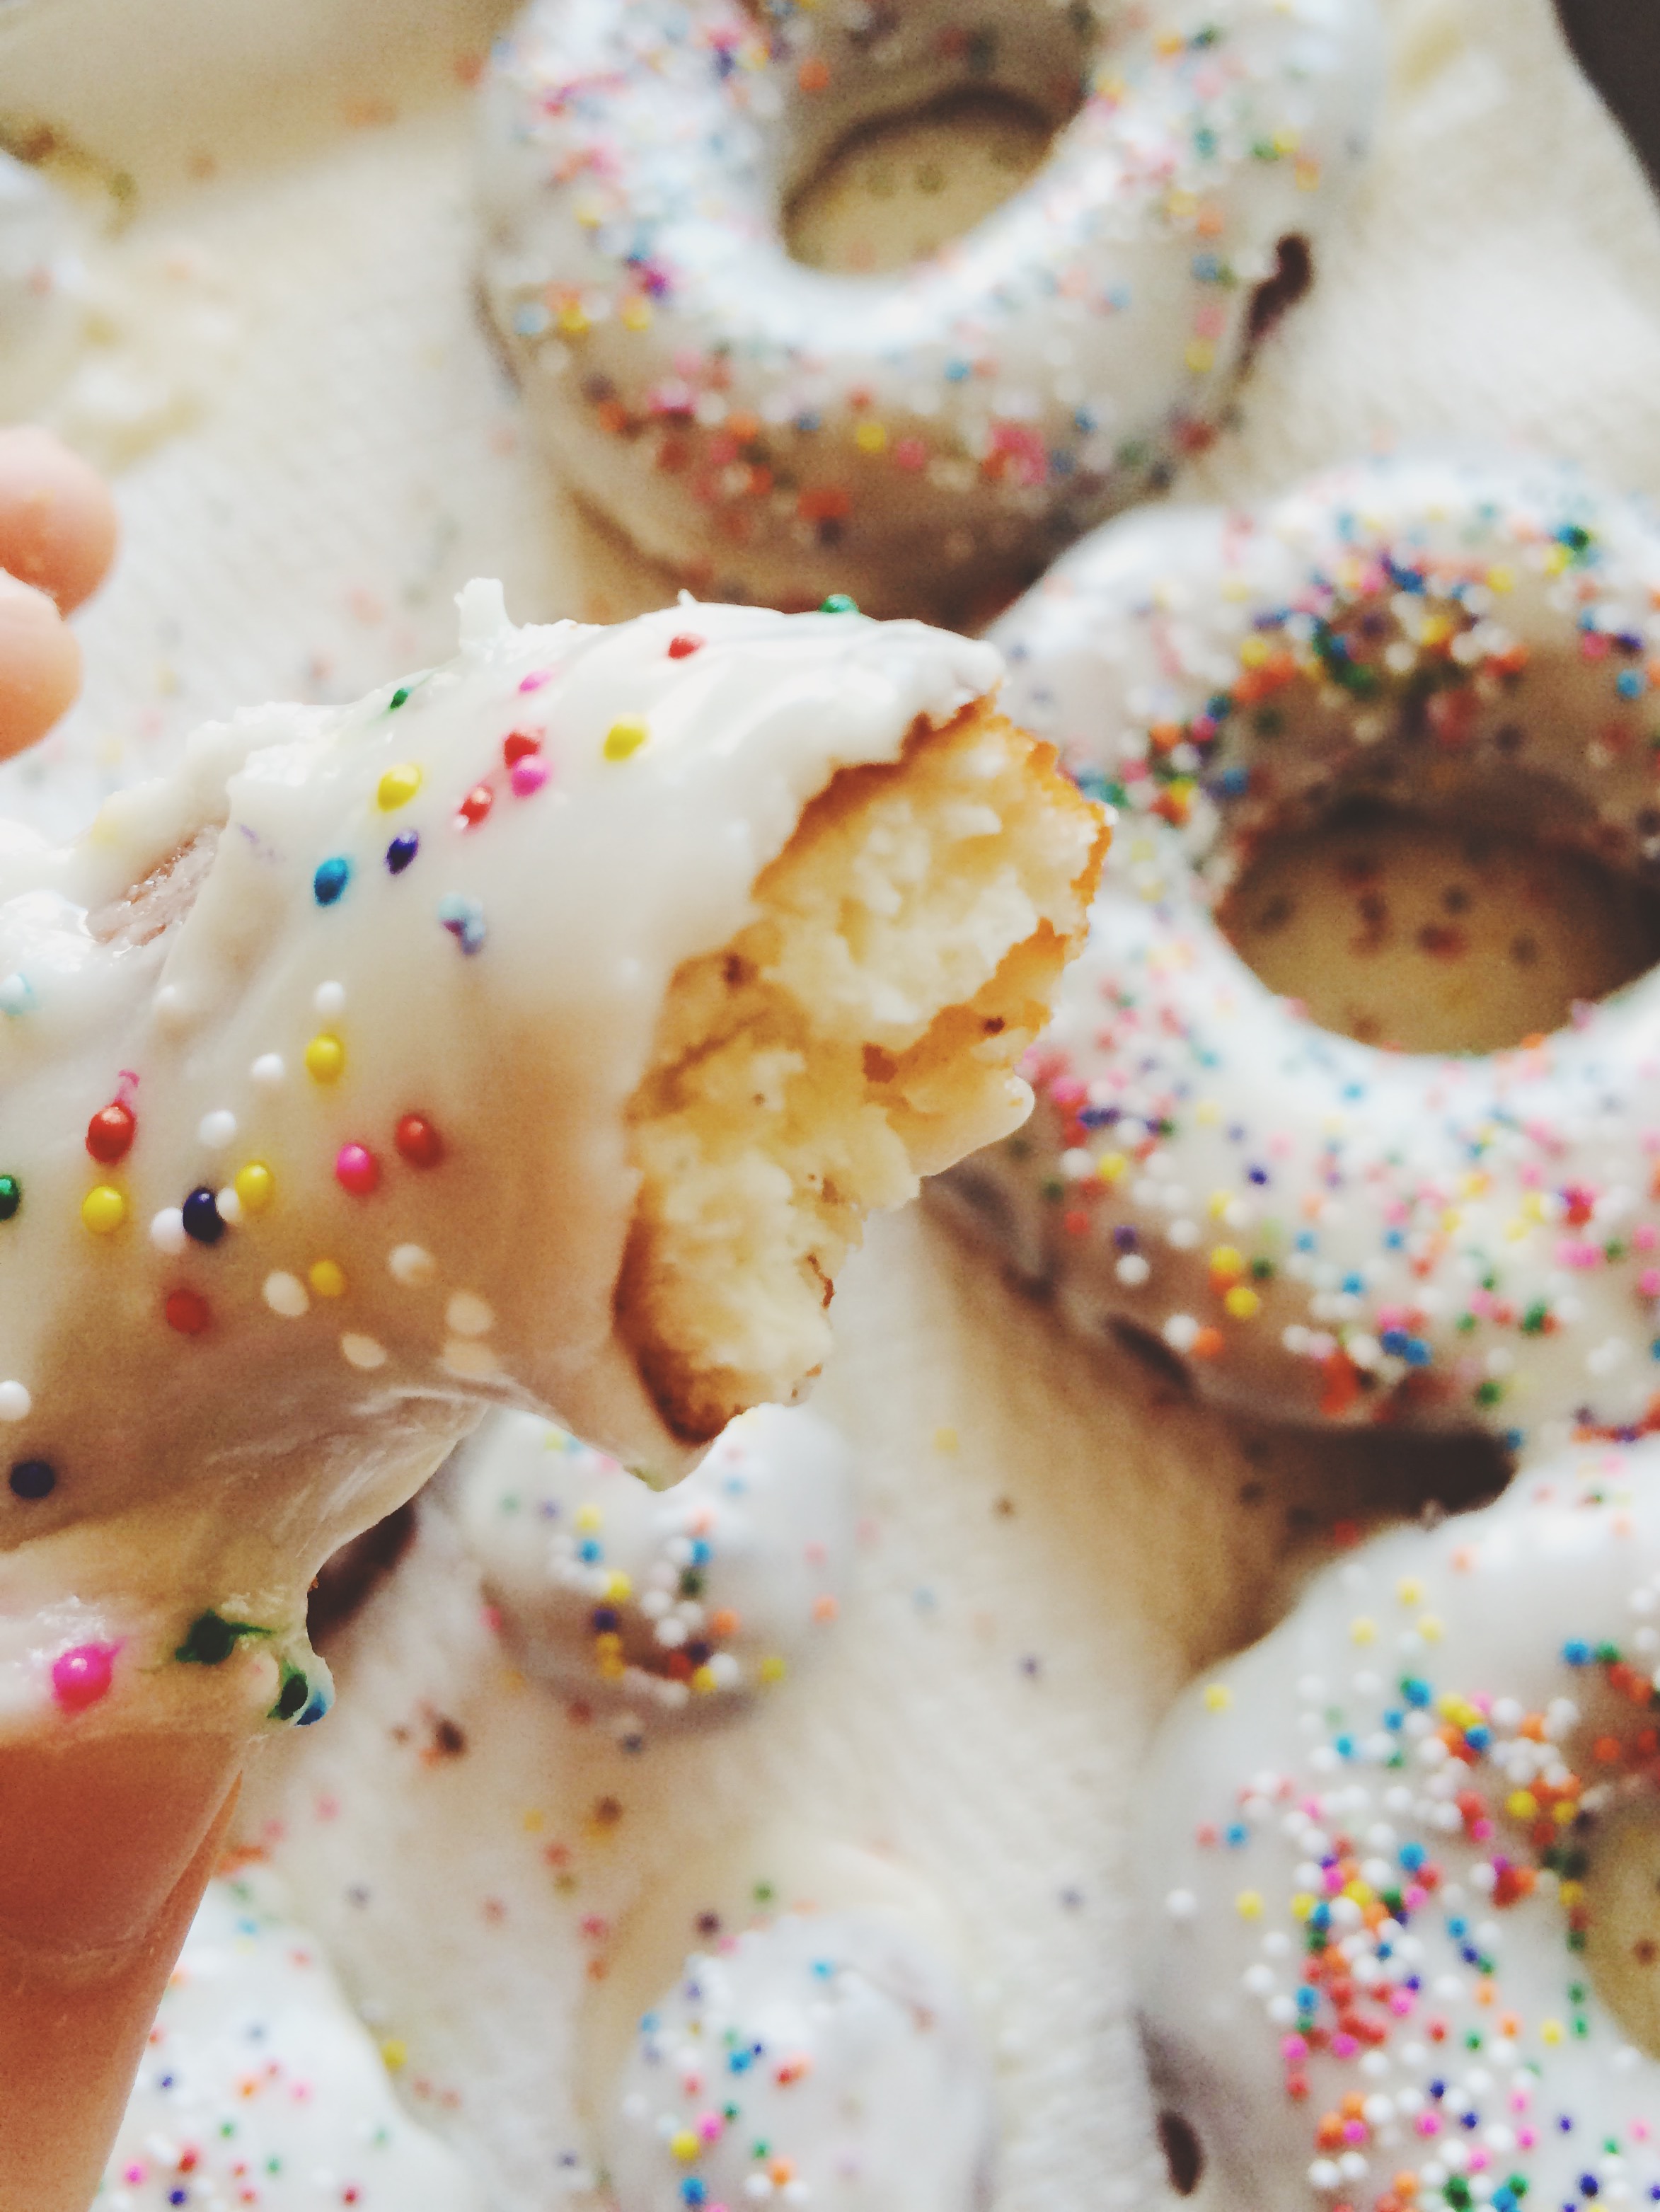
One of my favorite things to get at my local bakery is a classic cake doughnut. More than anything else, I adore a good cake doughnut. Especially when it's Fall and tastes like pumpkins and apple cider and cinnamon sugar. In the summer, I prefer my doughnuts covered in rainbow nonpareils and vanilla glaze. Throw in the comforting speckling of fresh vanilla bean seeds, and you've got me. To be able to make my favorite treat in the comfort of my own home, curlers in hair, 40s Big Band blaring in the background, is such a splendid concept.

Now, I like you, so I won't lie to you and say that it's particularly easy, or that it isn't time-consuming. But I mean, It's REALLY worth it. Your reward is DOUGHNUTS at the end! That's my incentive for everything, but in this scenario, doughnuts is the actual GUARENTEE. Yes, I do have a few new tiny burn marks from absent-mindedly plopping doughnut holes into 350 degree oil, but I just ran one hand under some very cold water, and popped two slightly-cooled doughnut holes in my mouth with the other. I felt exponentially better after that.

Bottom line: make your own doughnuts. Tell me how it goes.

Why don't you try this Vanilla Bean Cake Doughnut recipe from one of my favorite blogs, Apt.2B Baking Co!


Maple-Bourbon Pecan Pie

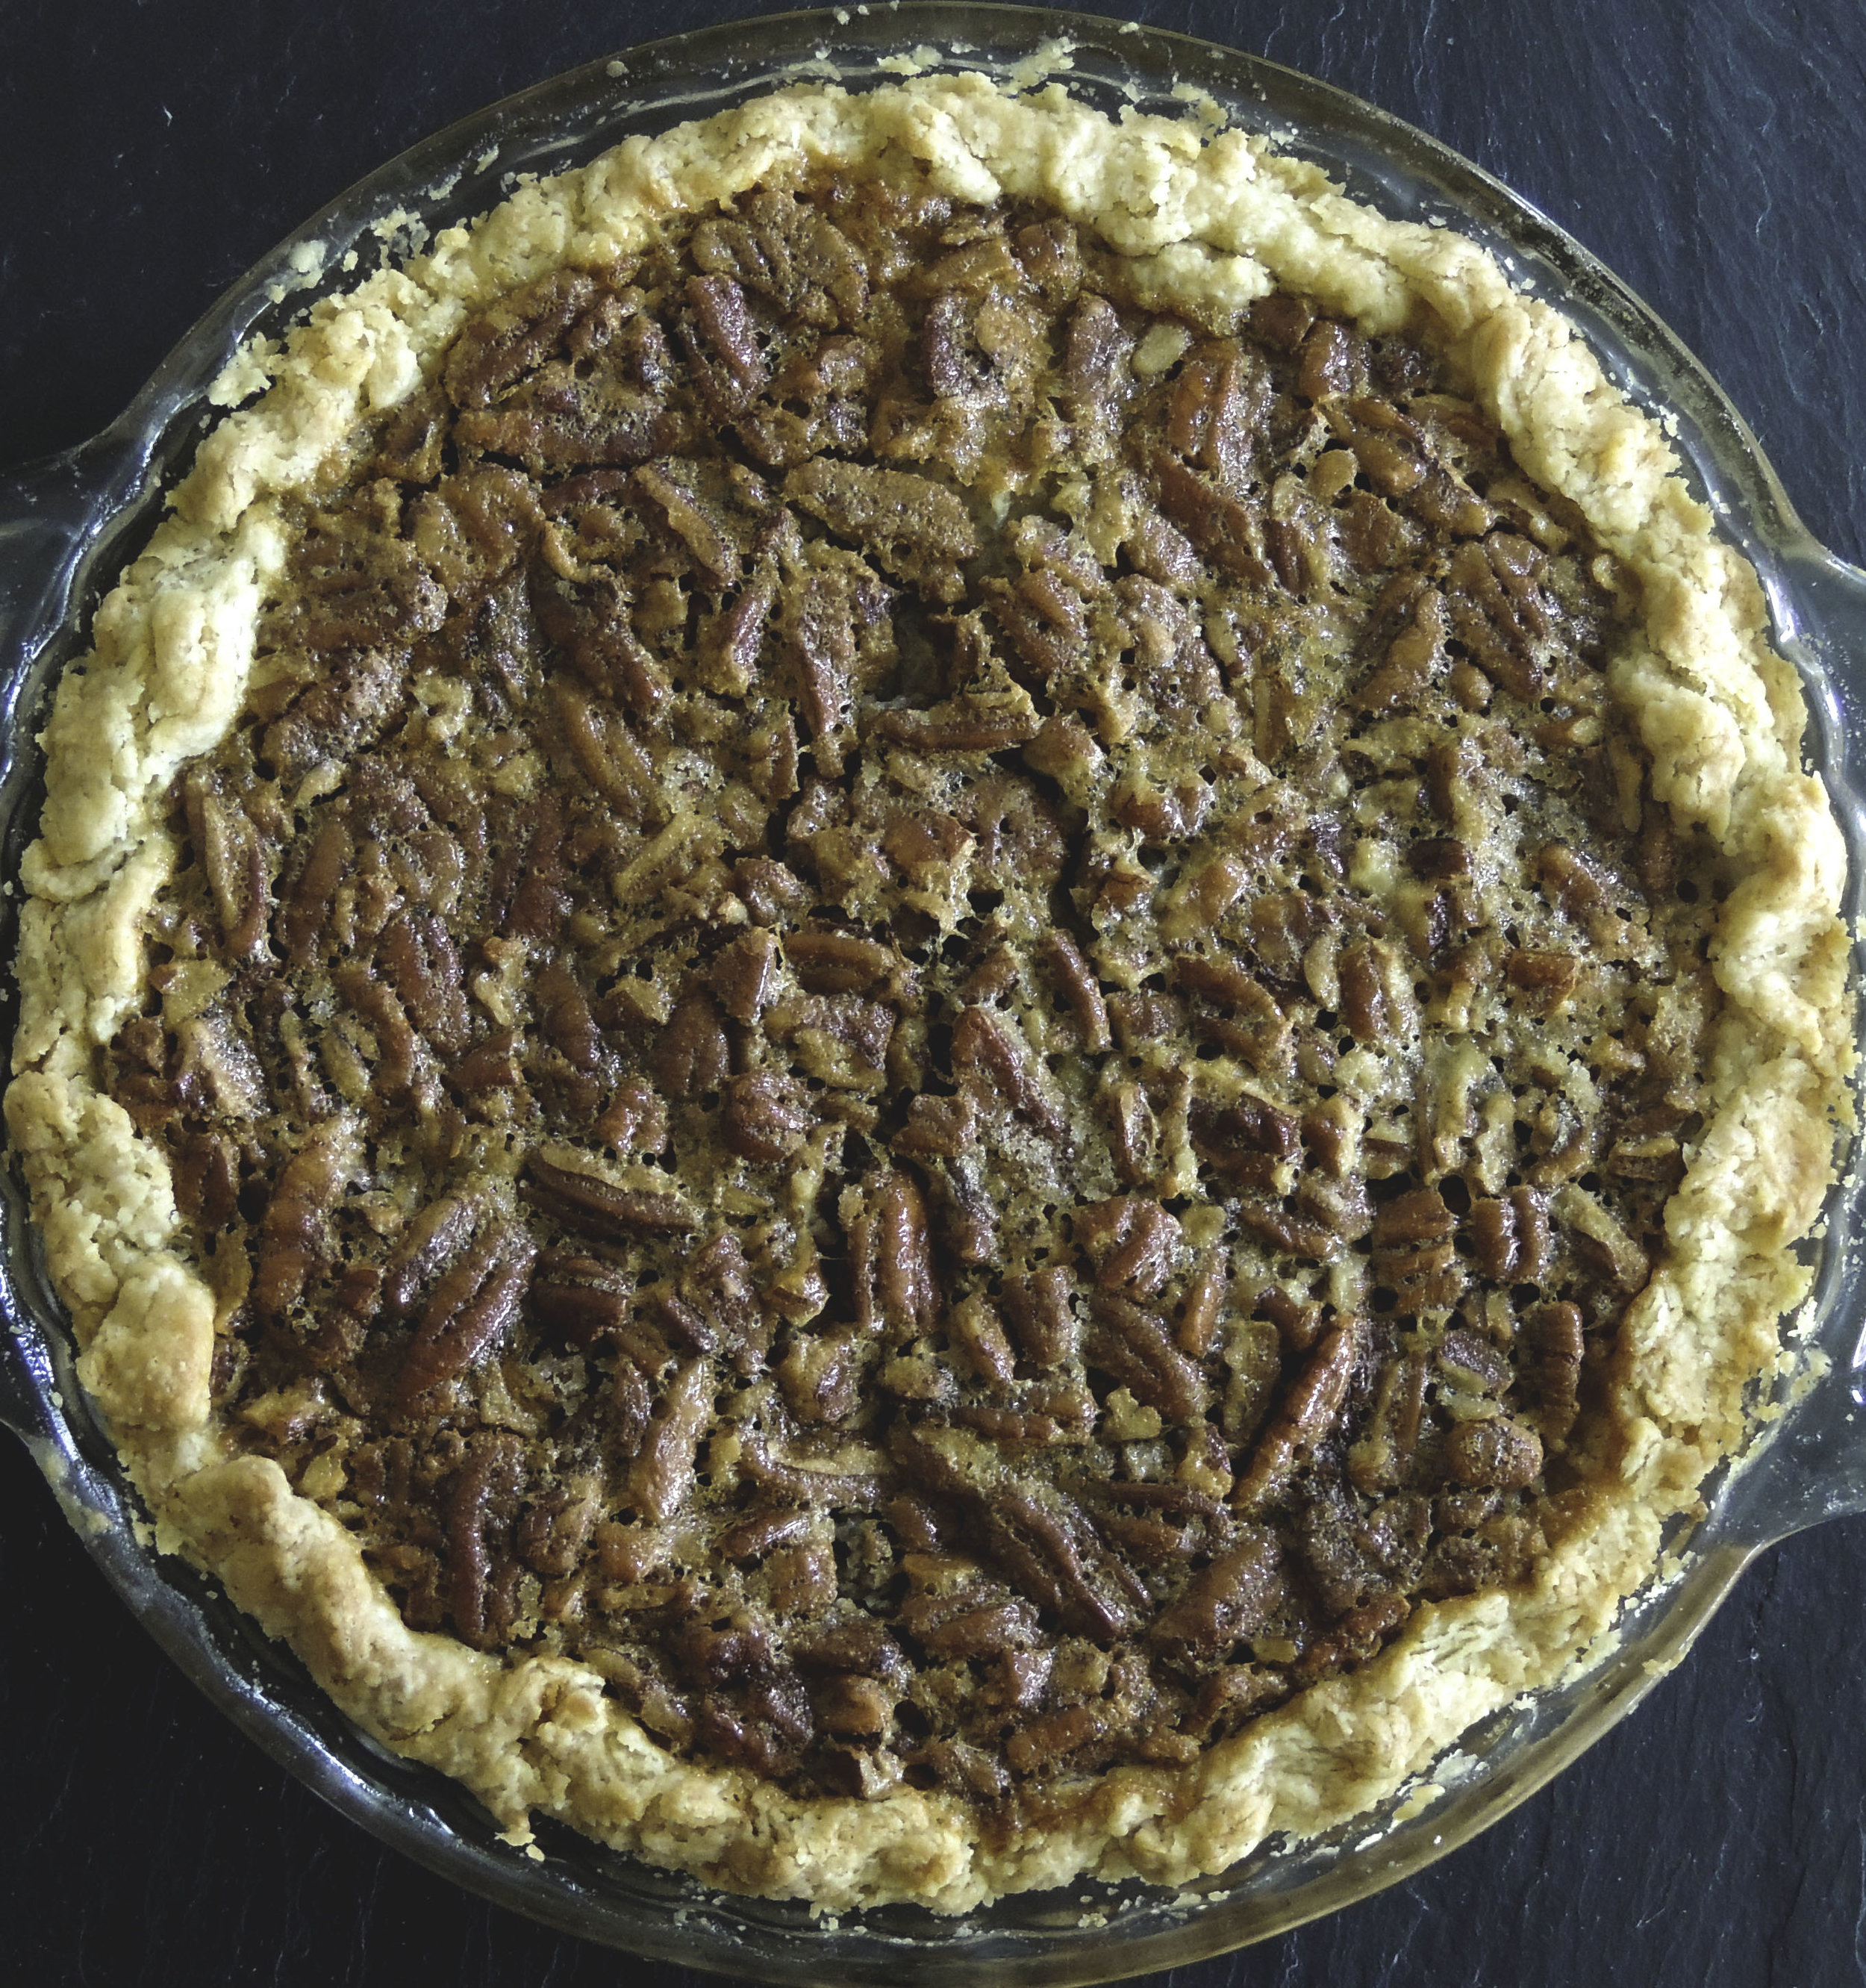
pecan pie 2 My dad's birthday was Sunday, and birthday cakes just don't fly with him. He'll eat them, but he never request them. Instead, you better be pulling out that pecan pie recipe. (Side note: how do you pronounce "pecan"?  In the Midwest, it's pronounced "pe-cahn." In the South, it's "pee-can" or else. I generally go with the latter, despite my upbringing.)

But ugh, pecan pies can be so boring if you're not careful, and making the same things over and over again can drive a girl crazy. But, it was his birthday, and on his birthday, things have to stay the same...with a few amped up modifications, of course!

pecan pie 1

Enter: bourbon. I love baking with bourbon. I don't like drinking it, but I LOVE the taste of it. It adds a richness, and a bit of sweet vanilla-smokiness that always takes things to the next level. Have you ever tried making vanilla extract with bourbon? Or how about bourbon caramels? I have to tell you, I can never make either any other way again.

pecan pie 3

Not only is bourbon a key component to this new pie, but there's also the addition of a little maple syrup. It's not a large amount, and it definitely doesn't stand out quite as boldly as the bourbon, but it has a very special place: it helps add more depth, and more complexity. Maple syrup is quite subtly-smoky, and so rich. When you add that subtle hint of smokiness, and mix it with the vanilla and oak notes that the bourbon brings, you've got a very flavorful partnership.

This whole pie works. IT JUST WORKS. The pie crust is flaky and soooo buttery, the pecans are crisp, and add that satisfying crunch, and that maple-bourbon combination? Just out of this world. Dad loved it (perhaps more than the traditional?), and was throughly sad to see an empty pie plate once again, a mere three days later. We were all sad to see it go, really.

pecan pie 4


So, OK, it's time to come clean: this pie was an experiment. I knew maple and bourbon would get along famously with the rest of the ingredients, but I was a bit nervous about the measurement modifications. When the expectation after dinner is to be served a slice of something you've grown to love just the way it is, deviations can be tricky. Perhaps this recipe was the real deal, or perhaps I got real  lucky. Either way, it'll take a few more test drives in the ol' test kitchen before it finds itself on DD. 

BUT, I'd never leave you hanging.. Here are some excellent recipes to try in the meantime:

Martha Stewart's Maple Bourbon Pecan Pie 

This simple Bourbon Pecan Pie (with an option to add a teaspoon or two of maple syrup) from Garden and Gun Magazine

OR how about this one from Epicurious?


Whichever you choose, know that I'll be right there next to you in spirit, with a fork in my hand ready to dig in.