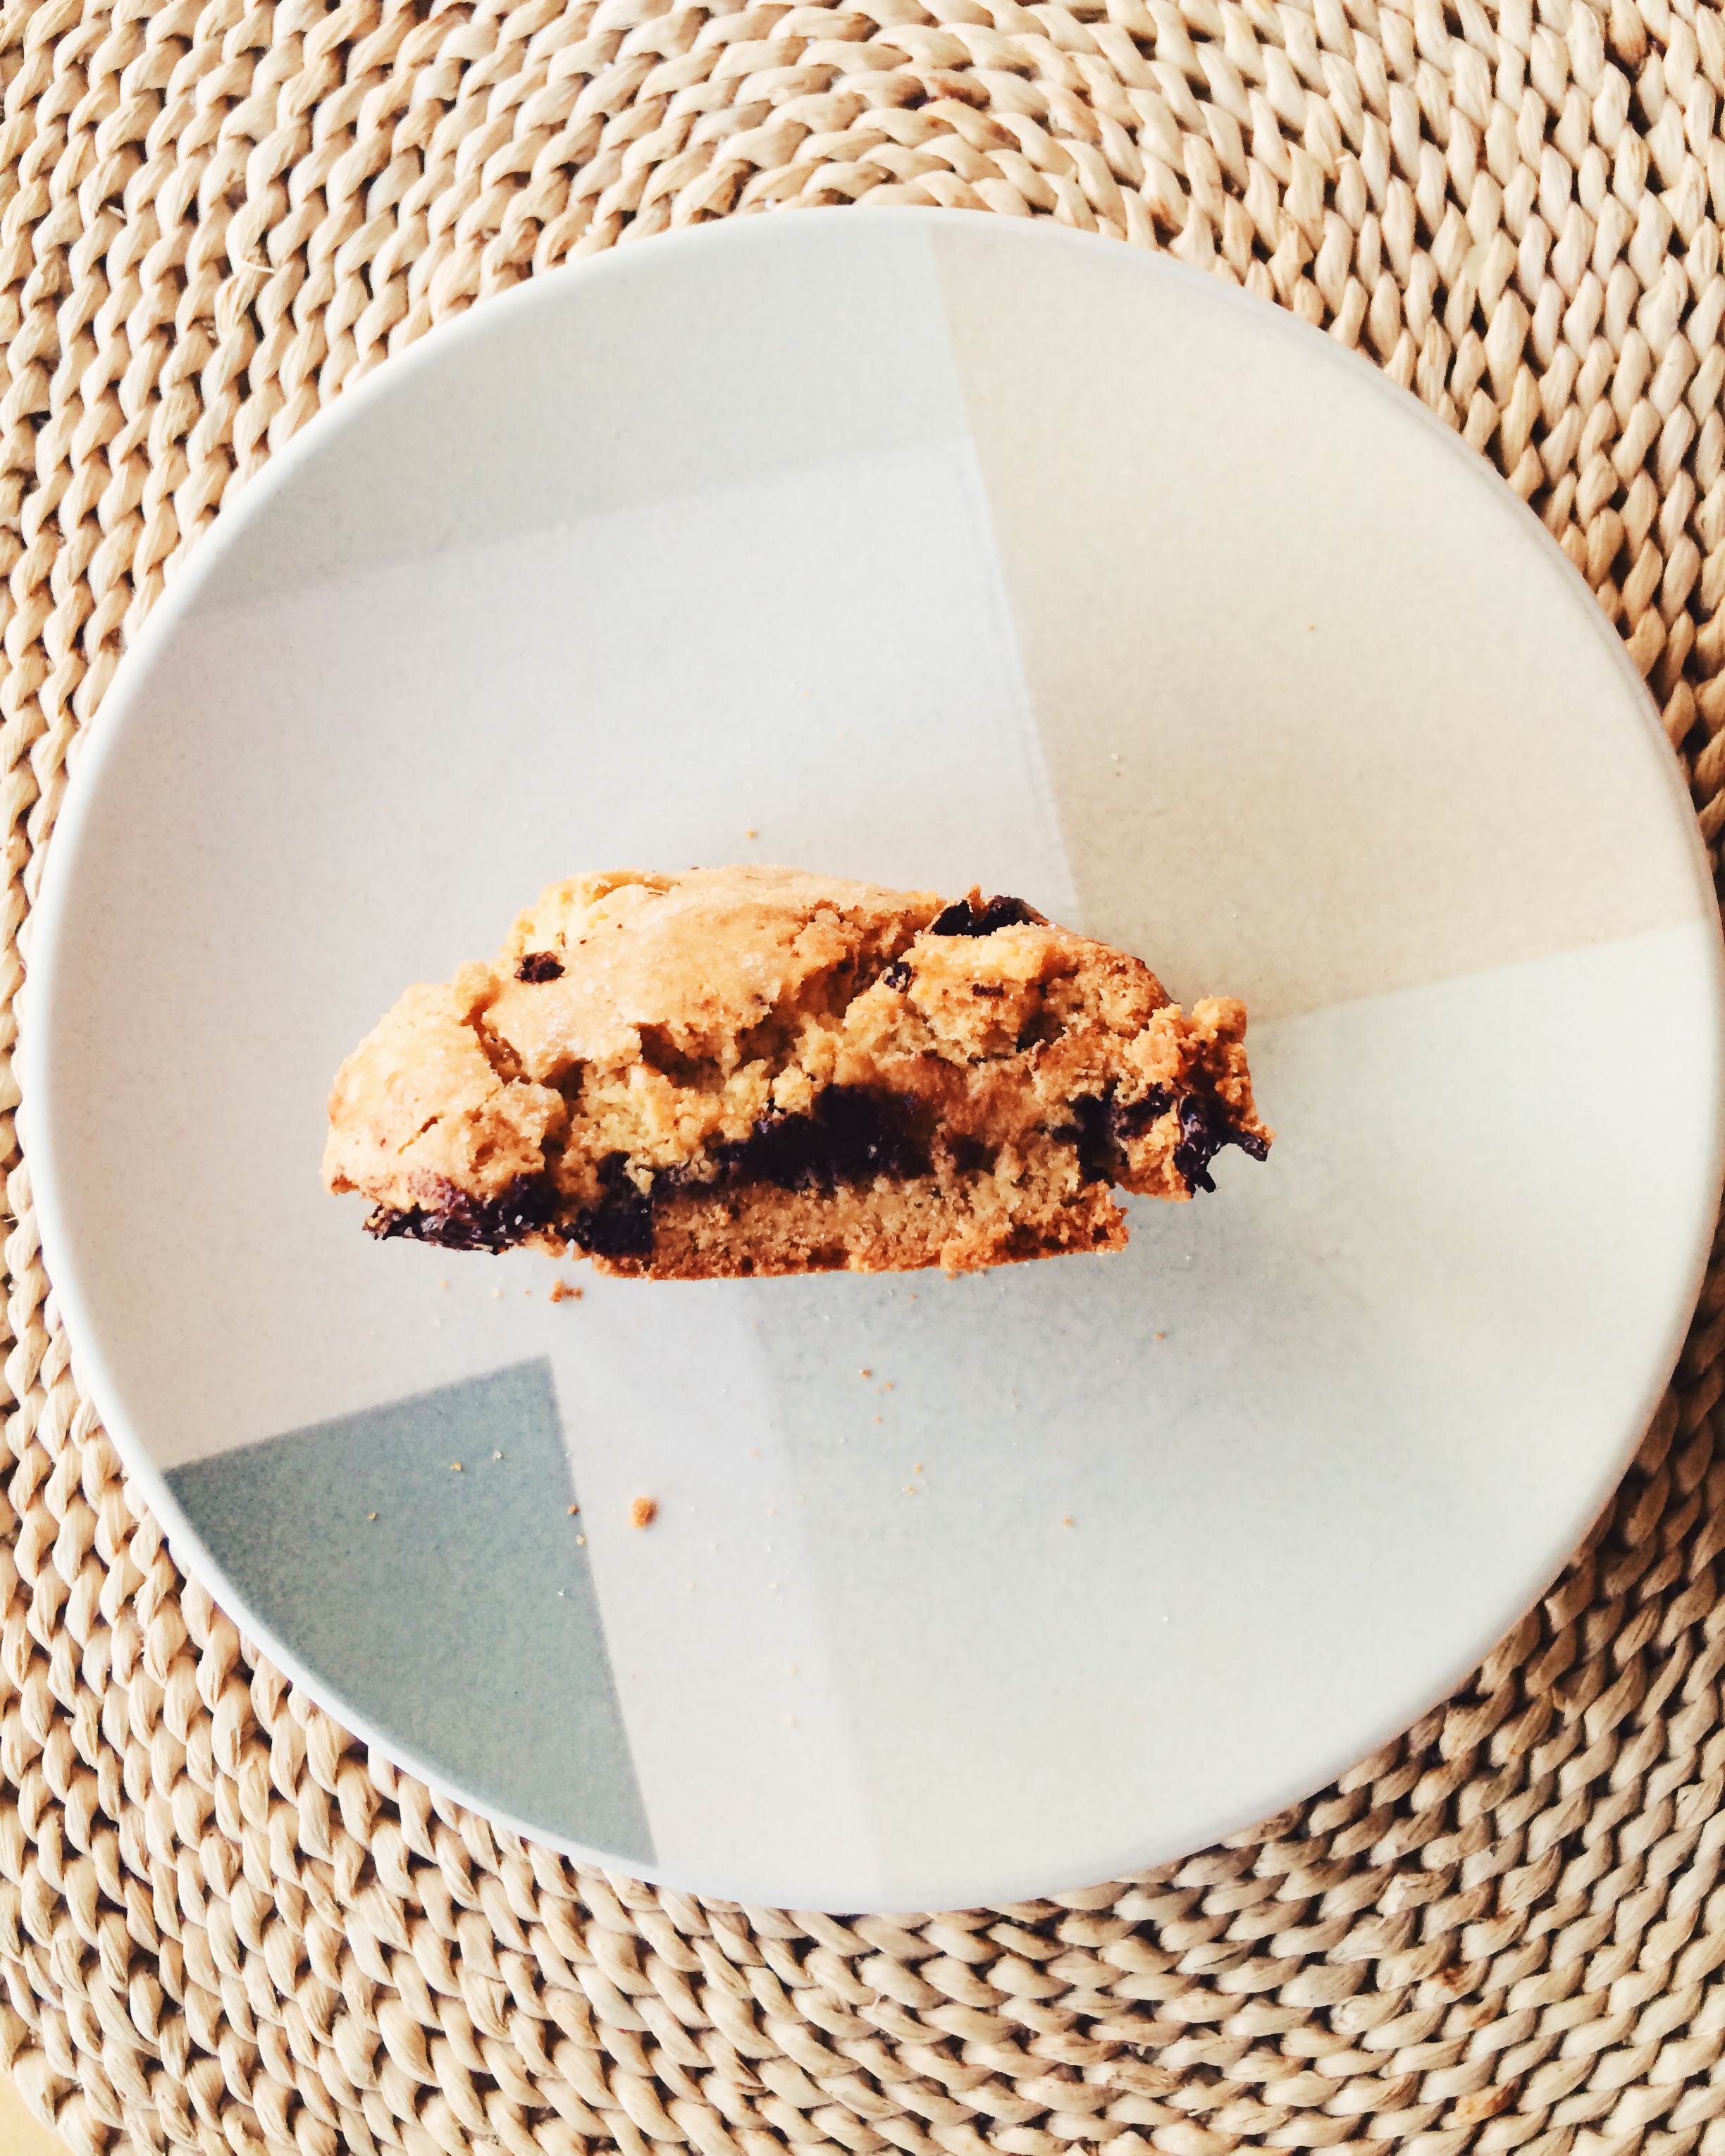
Dark Chocolate and Anise Biscotti
There are two sides to me. One side has this need to bake things all the time. The other side is aware that if I bake all the time, then I will feel obligated to eat everything I've made in the event that I don't have anyone to share the wealth with. It's very complicated. That's why I love, love, love biscotti. They're crunchy, they're sturdy, and they last for WEEKS at a time.  I have the freedom to nibble (or not nibble) at my leisure without the looming pressure to not waste a single crumb. It's beautiful.

Biscotti are tough cookies in the best way. The longevity of them is fantastic, but they're also the perfect option for care packages. As much as I love the Midwest (especially now that I can walk outside without a parka), most of the people I care about live in completely different parts of the country. You know that I am a big fan of sending and receiving gifts in the mail. but the edible options for packages are limited. Biscotti are PERFECT for this task.

This week I whipped up a quick batch of Buttery-Cayenne Pecans, then made these Dark Chocolate Anise Biscotti, wrapped everything in half a roll of bubble wrap, threw in a couple of heartfelt cards, then sent them on their way. Two days later, I got a "thank you" text, and a very warm heart. Care packages are my jam. And one of these days, you and I are going to make one together, step-by-step.

As you're well aware by now, I am a huge fan of deceptively easy recipes. Making biscotti? Wayyyy easier than you think. All you have to do is keep up with the time. The rest is a total breeze.

What I love most about this recipe is that it's a lot like having a chocolate chip cookie, but with a hint of licorice. And if you aren't a black licorice fan (I'm not,), have no fear, you'll still love these The anise seeds bring a subtle flavor of licorice that does nothing but completely compliment the oodles of dark chocolate chunks throughout. And I will never turn down a crispy cookie that brings a little texture to the game. If a little softness is more of what you're after, you totally have my permission to dunk a couple of these babies in a steaming cup of coffee.

Eat some biscotti.

Send some to your friends.

Do your thing.


DARK CHOCOLATE AND ANISE BISCOTTI 

What You'll Need:

  • 2 cups all purpose flour
  • 1 1/2 teaspoons anise seeds, slightly crushed
  • 1 teaspoon baking powder
  • 1/4 teaspoon salt
  • 6 tablespoons unsalted butter, softened
  • 1 cup granulated sugar, plus more for sprinkling
  • 2 large eggs
  • 1 large egg yolk
  • 4 oz chocolate, roughly chopped

DIRECTIONS

Place oven racks in the center and upper third of the oven, then preheat to 325 degrees F. Line two cookie sheets with parchment paper. Set aside.

Whisk together the flour, slightly crushed anise seeds, baking powder, and salt in a medium bowl, then set aside.

In the bowl of a stand mixer fitted with the paddle attachment (or with a hand mixer, or with a wooden spoon), cream together the butter and sugar on medium speed until light and fluffy; about 5 minutes.

Reduce mixer speed to low, then add one egg and the egg yolk, then beat until well combined; about 3 minutes.

Add the flour mixture all at once to the stand mixer, and beat on low until well combined. The dough may seem a bit crumbly. Next, add the chocolate chunks and make sure they are evenly distributed throughout.

Divide the dough in half, then place each half on a parchment-lined cookie sheet. Gently knead the dough a few times, just to get it to come together a little more. Next, shape each dough into logs about 8 inches long, and 1 1/2 inches wide. Beat the remaining egg, then generously brush it over each log. Next, sprinkle sugar liberally over each log.

Bake the biscotti on both racks for 20 minutes, then swap racks and bake for an additional 15-20 minutes, until the biscotti are golden brown and baked all the way through.

Take your cookie sheets out of the oven, and let the biscotti rest for a few minutes. Once the biscotti logs are cool enough to handle, cut into 1-inch slices using a serrated knife, cutting in a swift motion.

Place the cookies cut side up onto the baking sheets, then put back in the oven for another 15-25 minutes, depending on how crisp you'd like your biscotti to be. (I prefer mine on the crispier side, so I kept an eye on mine for 25 minutes.)

For an even crispiness, flip your biscotti over and bake for another 2-5 minutes.

Let cool, then store in an airtight container for up to 2 weeks. 


SOURCE: Adapted from Joy the Baker Cookbook: 100 Simple and Comforting Recipes 

How to Make Chicken Stock Without a Recipe (But There's a Recipe!)

Remember that time, just a month ago, when everyone was in awe of the warm weather outside and we thought, "Aw, man. I kind of miss the snow, and that delicious nip of cold in the air..." HOW WRONG WE WERE! I haven't seen the ground in two weeks, and I have an industrial-sized bottle of lotion by my side practically 24/7. But I suppose it could be worse. It could be 2 degrees F outside. OH WAIT. ALSO HAPPENING. Someone wake me when Spring gets here.

I will say this: when I have nowhere to go, there is nothing prettier or more serene than the wintery wonderland I see out my window. It's so peaceful, and so beautiful. It makes the cold almost worth. Almost.

But Midwestern winters aren't all bad; freezing temperatures give me the chance to catch up on all the domestic projects that I keep writing down on my never-ending list. One big one? Making homemade chicken stock!

It's 2016, people. Let's start making our own.

I go through a lot of chicken stock at my house. I use it for burrito bowls and soups, mostly, and I definitely get tired of running to the store all the time to pick up multiple containers. It's so incredibly easy to make at home, PLUS, you're not wasting a thing! All you need is a rotisserie chicken from the grocery store (you can use the meat in sandwiches, salads, on nachos, in soups, etc. etc.) and some of your favorite vegetables and herb seasonings. It's so simple, so economical, and VERY TASTY.

The fun part about making your own chicken stock is that you get to modify it to your particular tastes. If you like things a little spicier, kick it up a notch with a teensy bit of cayenne (a lot goes a long way). If you hate celery, leave it out! And homemade stock is an especially fun thing to make when you have a ton of leftover veggies and nothing to put them in. Waste not, want not.

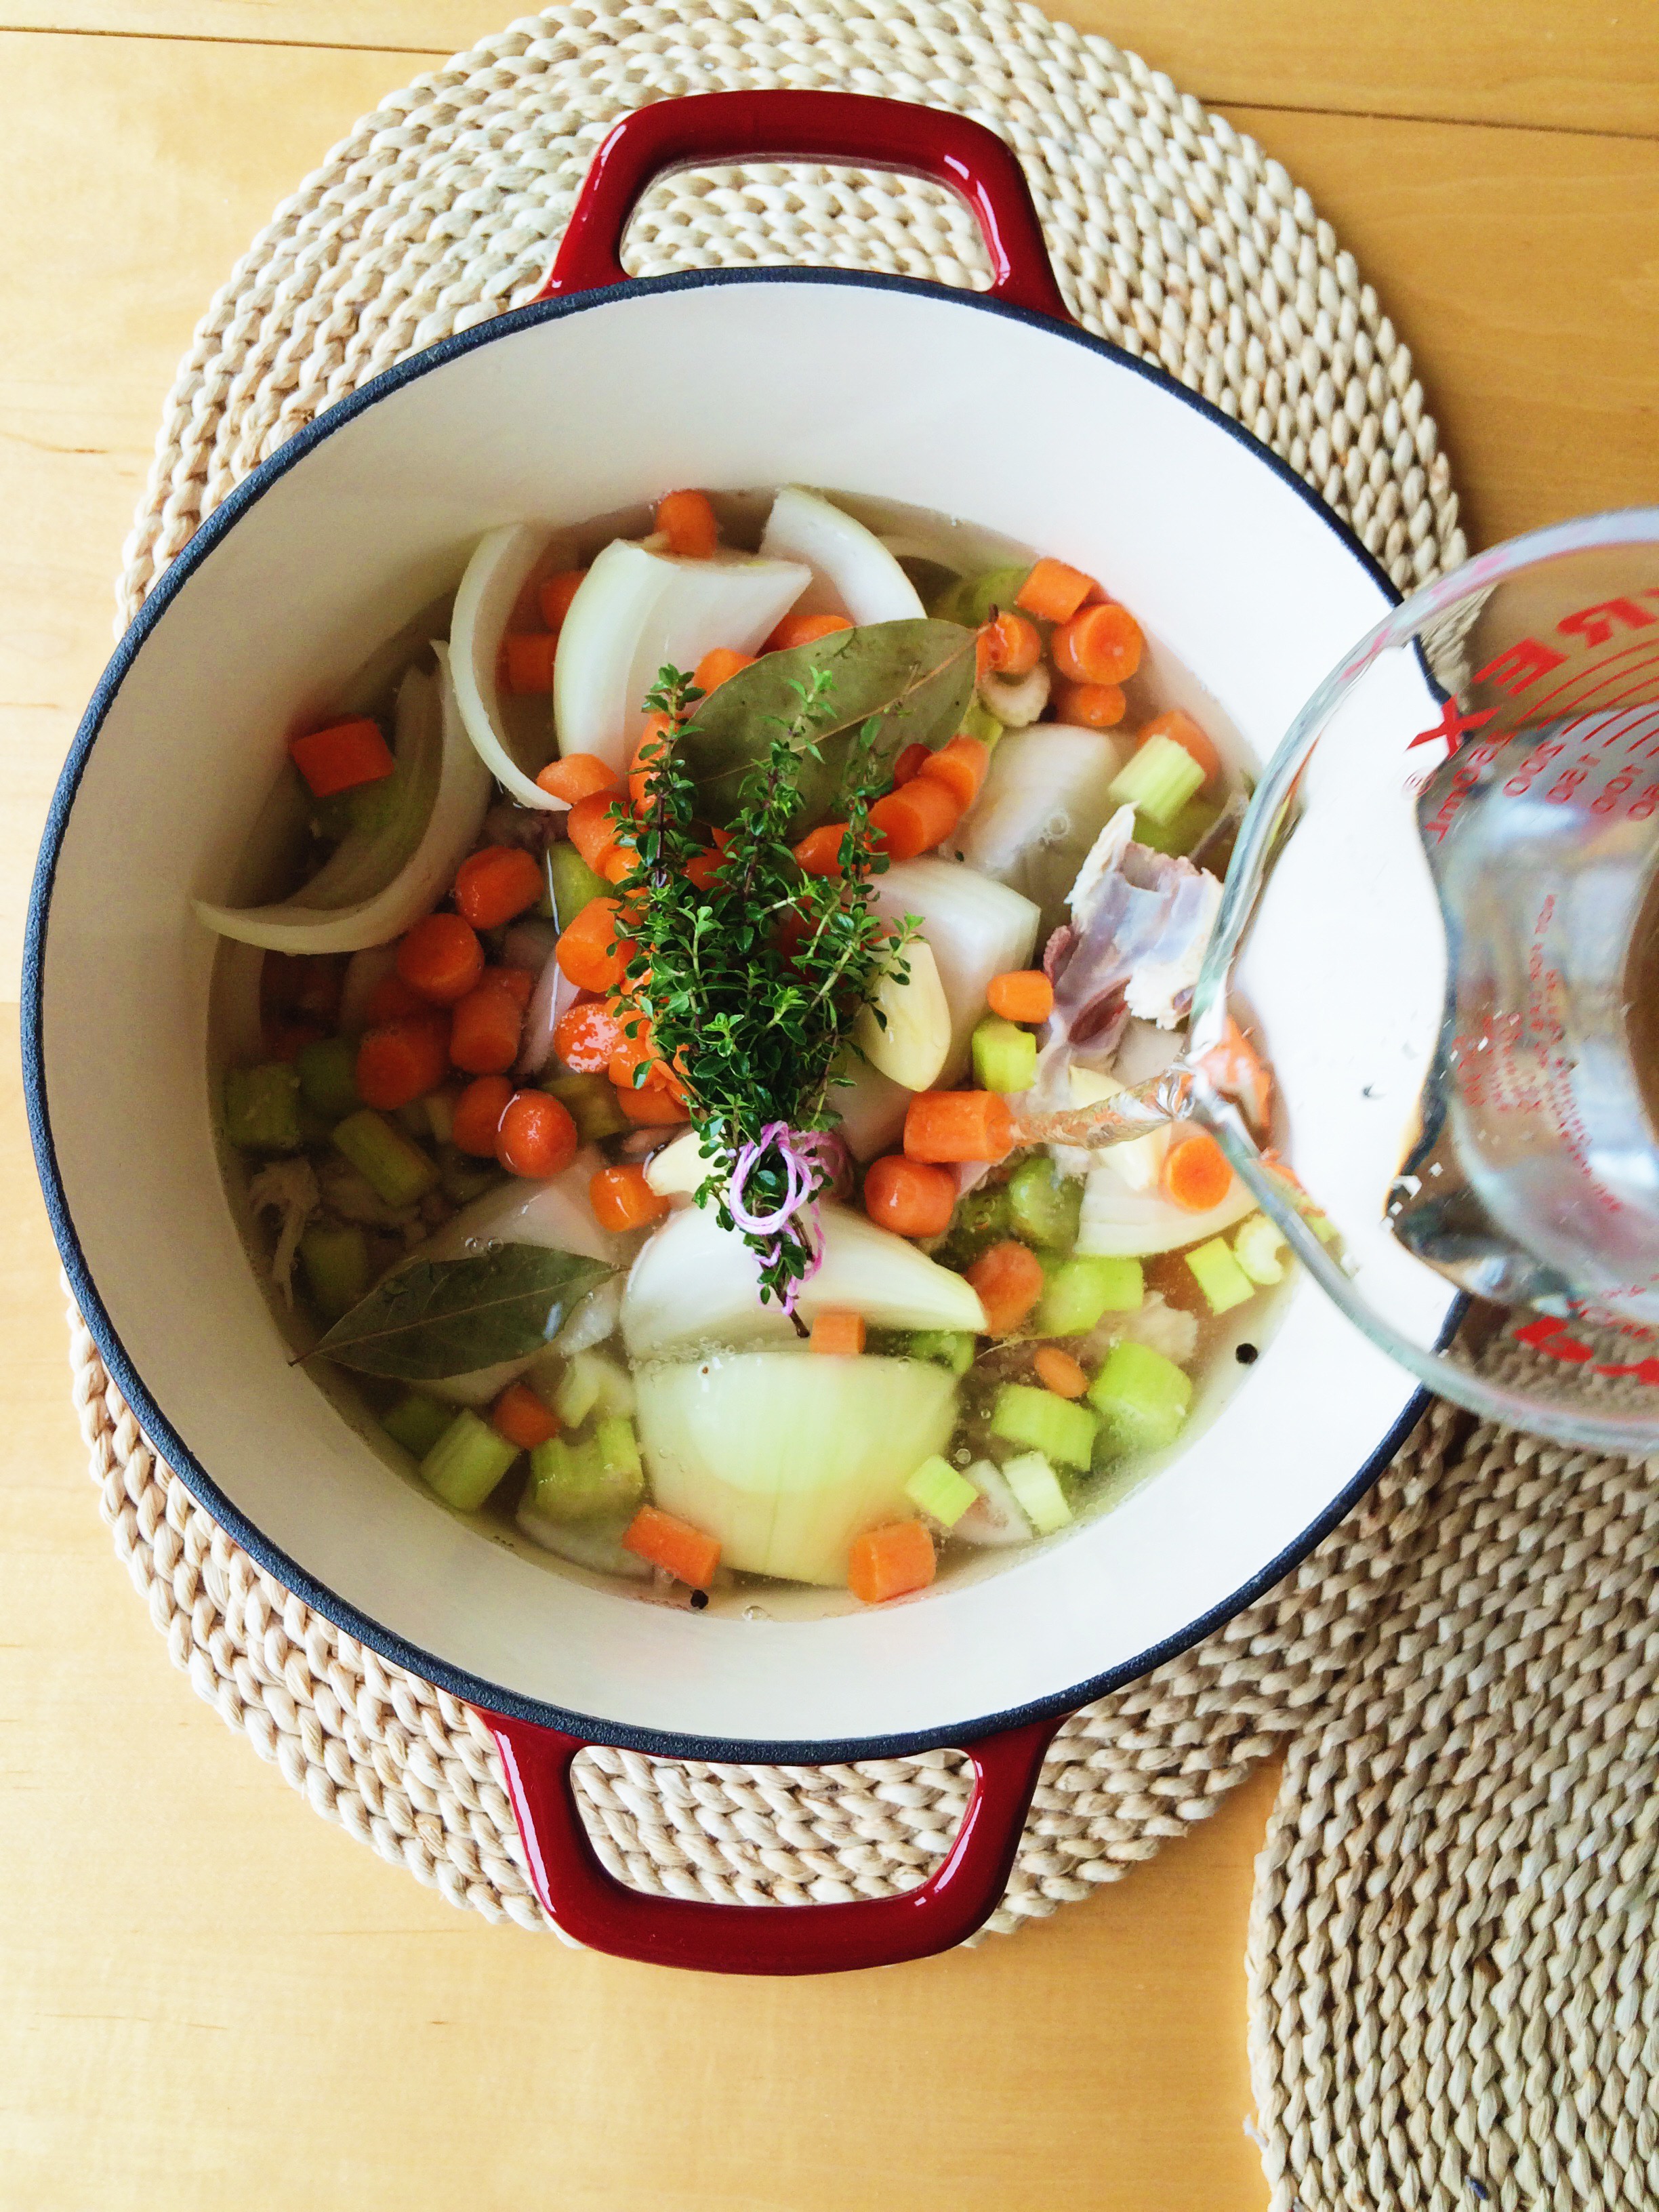
Your main ingredients are: a chicken carcass cut into pieces, water, salt, and pepper. After that, it's up to you! Once you've put the ingredients you like into the pot, fill it with water so that everything is covered by about 1-2 inches, bring it to a boil, then let it simmer for three hours. If at any point you start to see the water level get a little low, simply add more! And that's it. Once your stock is done, skim off any film that's reached the top with a slotted spoon, strain the stock into a large bowl, and discard all the solids. (Here's a tip: When I'm using fresh herbs, I like to tie them all together with a little kitchen twine. That way, once it's time to strain, I can easily fish them out. ) Make sure your stock is completely cool, then separate it evenly into Mason or Weck jars. If you have plans to use it within a week, pop some stock in the fridge. If you've got future plans, pop your jars in the freezer. It lasts indefinitely. Just make sure to defrost it in the refrigerator overnight before you use it!

And there you have it. You can totally make homemade stock without a recipe! But if you're looking for a little guidance, scroll down for what I put in mine.

Everything's better homemade.


HOMEMADE CHICKEN STOCK

What You'll Need:

  • 1 chicken carcass, broken into pieces
  • 2 whole onions, quartered
  • 8+ baby carrots, chopped
  • 5 celery sticks, chopped
  • 3 whole garlic cloves, peeled
  • 1/2 teaspoon whole black peppercorns
  • 2 bay leaves
  • 4+ sprigs of fresh thyme, tied together with kitchen twine
  • Pinch of salt

DIRECTIONS

In the bottom of a pot that is at least 4 quarts, place the broken-up chicken carcass, onions, baby carrots, celery sticks, garlic cloves, peppercorns, bay leaves, thyme, and salt. Make sure that everything is evenly distributed.

Fill the pot with water until all of the contents are covered by at least 1-2 inches of water.Place the pot over medium-high heat, and bring to a boil. Reduce the heat to low, then let simmer for 3 hours. The stock will occasionally bubble, and the contents may shift a little bit. If the water starts to reduce, add more. You want to make sure that everything is fully submersed in water at all times.

Using a slotted spoon, collect and discard any foam or film on the top of  the stock, then strain the stock into a large bowl. Throw away all of the solid pieces that have landed in the strainer. Let the stock cool completely before transferring it evenly into Mason or Weck jars. If you're planning to use the stock within a week, store it in the refrigerator. If not, it will freeze indefinitely. Once you're ready to use it, simply let the frozen stock defrost in the refrigerator overnight.

Hey, you just made chicken stock. 'Grats.


SOURCE: Adapted from The Kitchn Cookbook

Last-Minute Halloween: Easy Lady Fingers

If you're trying to be kind of festive, but find yourself running out of time this Hallow's Eve, you should TOTALLY make some lady fingys. It's SUPER EASY: Just a basic sugar cookie recipe, a little food coloring, a paint brush, and some slivered almonds, and you're done!

The movie marathon is starting in a few hours (I may be the only one that watches, but so be it), and I refused to celebrate one of the best holidays without at least SOMETHING kind of creepy and festive. And I love cookies. So here we are.

What's super great about these (besides how simple they are to make) is that you really can't mess up. Halloween isn't about being perfect, in fact, the more imperfect the better! When you're rolling out your fingers, it's up to you how you want them to look. Do you want them to be bent and out of shape with brownish-yellow nails, or perfectly manicured with your favorite color like you've just brought them home from the salon? It's totally up to you. Go all out!

Since I made these for my family, I figured I should keep things kind of tame (I've seen examples of lady fingers where the ends have been dipped in raspberry jelly to look like they'd just been severed off the hand!), but next year? Next year we're upping the ante.

Until then, this is the perfect last-minute Halloween project for you and your friends, served however you'd like. Maybe all in a bowl? Or, you can be like me, and use it as a prop to point to things I want, but am too lazy to get myself. It's whatever you choose!

HAPPY HALLOWEEN, GUYS!! Be safe. Make sure all the kids that come to your door know how adorable they look, because they always do.


LADY FINGERS 

What You'll Need:

  • Food-safe paintbrush
  • 1-2 tablespoons red food coloring (or your favorite color, OR leave them plain)
  • 30 blanched almond slivers
  • 2 large eggs, at room temperature
  • 1/2 teaspoon vanilla extract
  • 1 stick unsalted butter, at room temperature
  • 1/2 cup confectioners' sugar
  • 5 tablespoons granulated sugar
  • Pinch of salt
  • 1 2/3 cups all-purpose flour

DIRECTIONS

Place food coloring in a small bowl, and, using a small food-safe paintbrush, color one side of each almond. Set aside on a sheet of wax paper to dry.

Separate one egg. Set the egg white in the fridge; we'll need it later. In a small bowl, whisk together the yolk, remaining egg, and vanilla extract until well combined. Set aside.

In the bowl of a stand mixer fitted with the paddle attachment (or using a hand mixer, or a wooden spoon), combine the butter, both sugars, and salt. Beat on medium speed until well combined. Next, add the egg mixture and mix until well combined and smooth, about 2-3 minutes. Add the flour, then mix on low speed until JUST combined.

Wrap the dough in plastic wrap, then chill in the fridge for 25-30 minutes to firm up.

While the dough is chilling, preheat the oven to 350 degrees F, and line two cookie sheets with parchment paper.

Once your dough has chilled, divide the dough in half, working with one half at a time. Keep the remaining half in the fridge wrapped in plastic wrap until you're ready to use it. Lightly flour your work station.

Using a knife or bench scraper, divide the first half into 15 pieces. Roll each piece back and forth with your palms into a finger shape (whether they be really thin fingers, or really short fingers, or really craggily fingers, it's up to you!), about 3-4 inches long. Pinch the dough in two places on one end to create knuckles. Lightly score each finger with the back of the knife to create the natural lines we have in our fingers. Push down on the nail bed LIGHTLY to make it easier to attach the fingernails later. Transfer fingers to the cookie sheets, and repeat the process with the other half of dough. (Note: Make sure to work kind of quickly when making the fingers because the dough warms up really fast, making it harder to work with!)

Once all of your fingers have been formed, brush the egg white from earlier lightly over each finger to create a light browning once they're in the oven. Position each almond nail, then push down to attach (Be careful not to push to0 hard so you don't a. chip a nail or b. misshape the finger). If you find that the nail isn't attaching, add a little more egg white to the area to create a sort of glue.

Bake in the oven until slightly browned, about 10-12 minutes. Let cool completely.

Enjoy!

SOURCE: Adapted from Martha Stewart